Home>Gardening & Outdoor>Pool & Spa Care>How To Dry Out A Hot Tub Cover
Pool & Spa Care
How To Dry Out A Hot Tub Cover
Modified: January 3, 2024
Learn the best techniques for drying out a hot tub cover to keep it clean and prolong its lifespan. Get expert tips for pool and spa care.
(Many of the links in this article redirect to a specific reviewed product. Your purchase of these products through affiliate links helps to generate commission for Storables.com, at no extra cost. Learn more)
Introduction
Owning a hot tub is a luxurious and enjoyable experience, offering relaxation and therapeutic benefits. However, proper maintenance is essential to ensure the longevity and functionality of your hot tub. One crucial aspect of hot tub care is ensuring that the cover remains clean and dry. A wet hot tub cover not only looks unsightly but can also lead to mold and mildew growth, which can compromise the integrity of the cover and potentially affect the water quality.
In this comprehensive guide, we will walk you through the essential steps to effectively dry out your hot tub cover. By following these simple yet crucial steps, you can maintain a clean, dry, and well-protected cover, ultimately prolonging its lifespan and preserving the overall aesthetics of your hot tub area. Let's dive into the details and learn how to keep your hot tub cover in top condition for years to come.
Key Takeaways:
- Keep your hot tub cover clean and dry to prevent mold and mildew growth, preserving its longevity and the overall aesthetics of your hot tub area.
- Thoroughly wipe down and air dry your hot tub cover, then apply a protective coating to safeguard it from environmental elements, ensuring it remains in top condition for years to come.
Read more: How To Repair A Hot Tub Cover
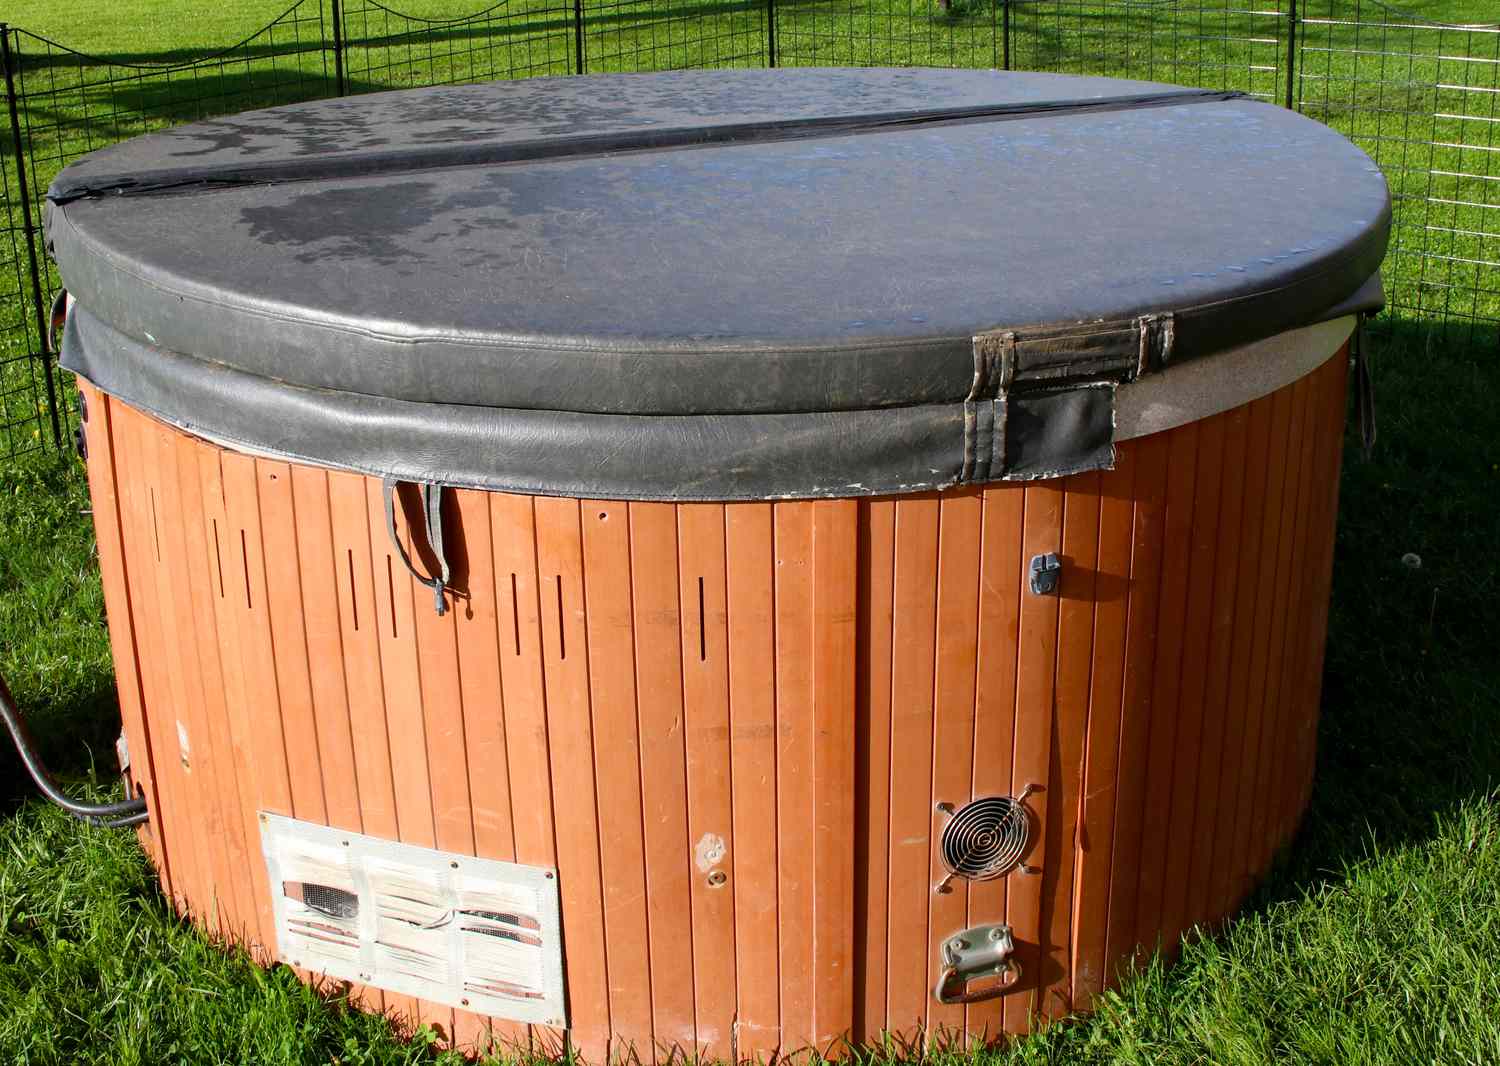
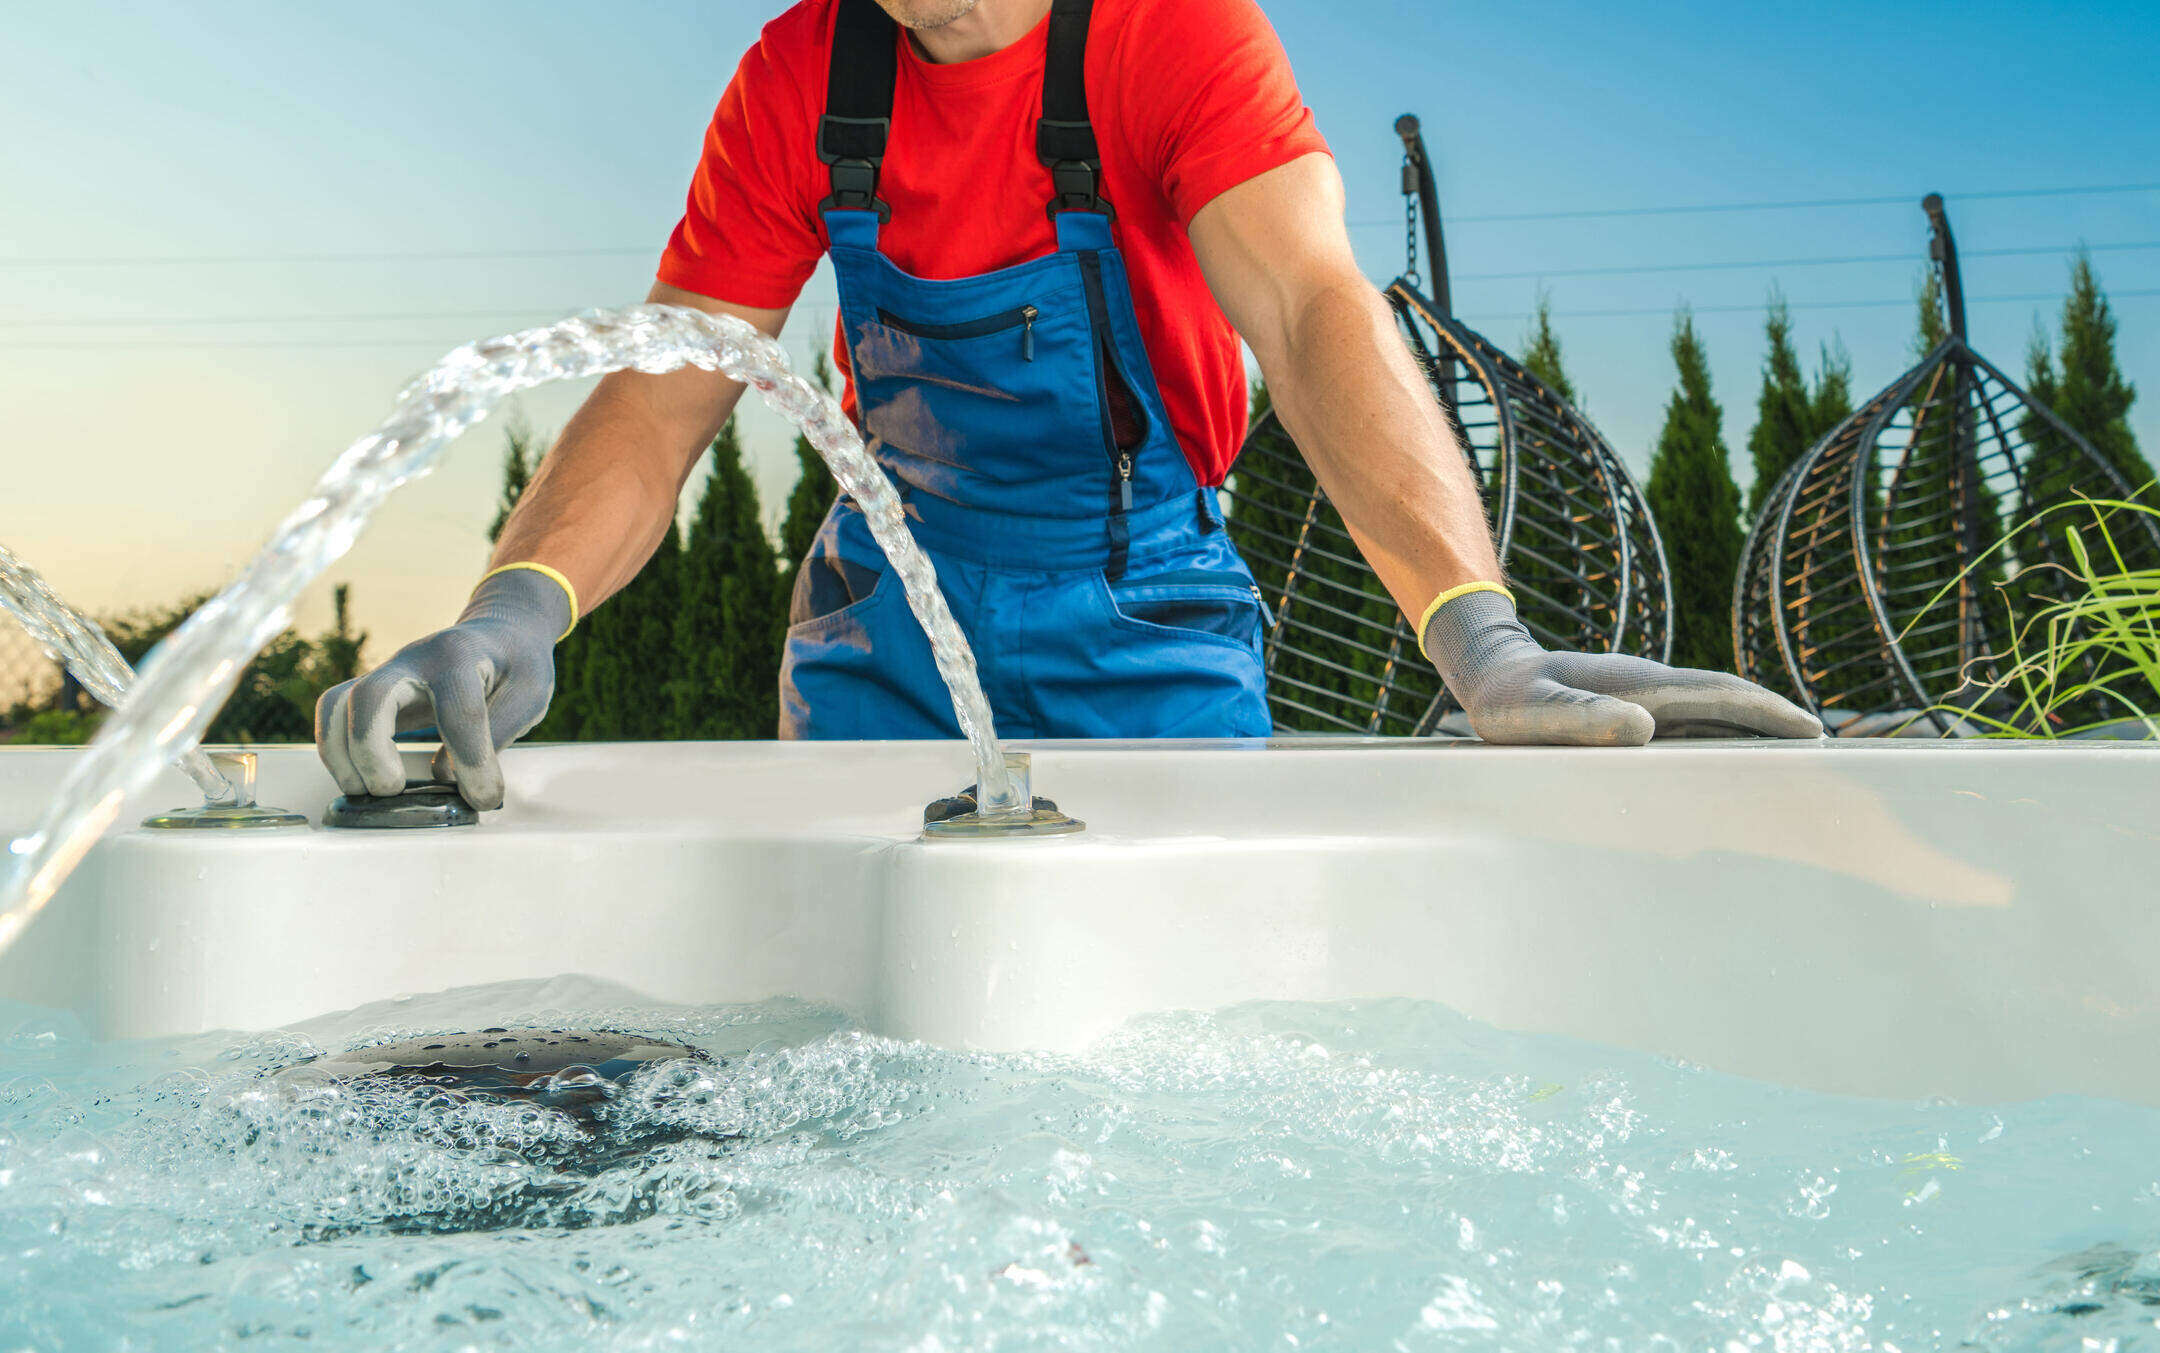
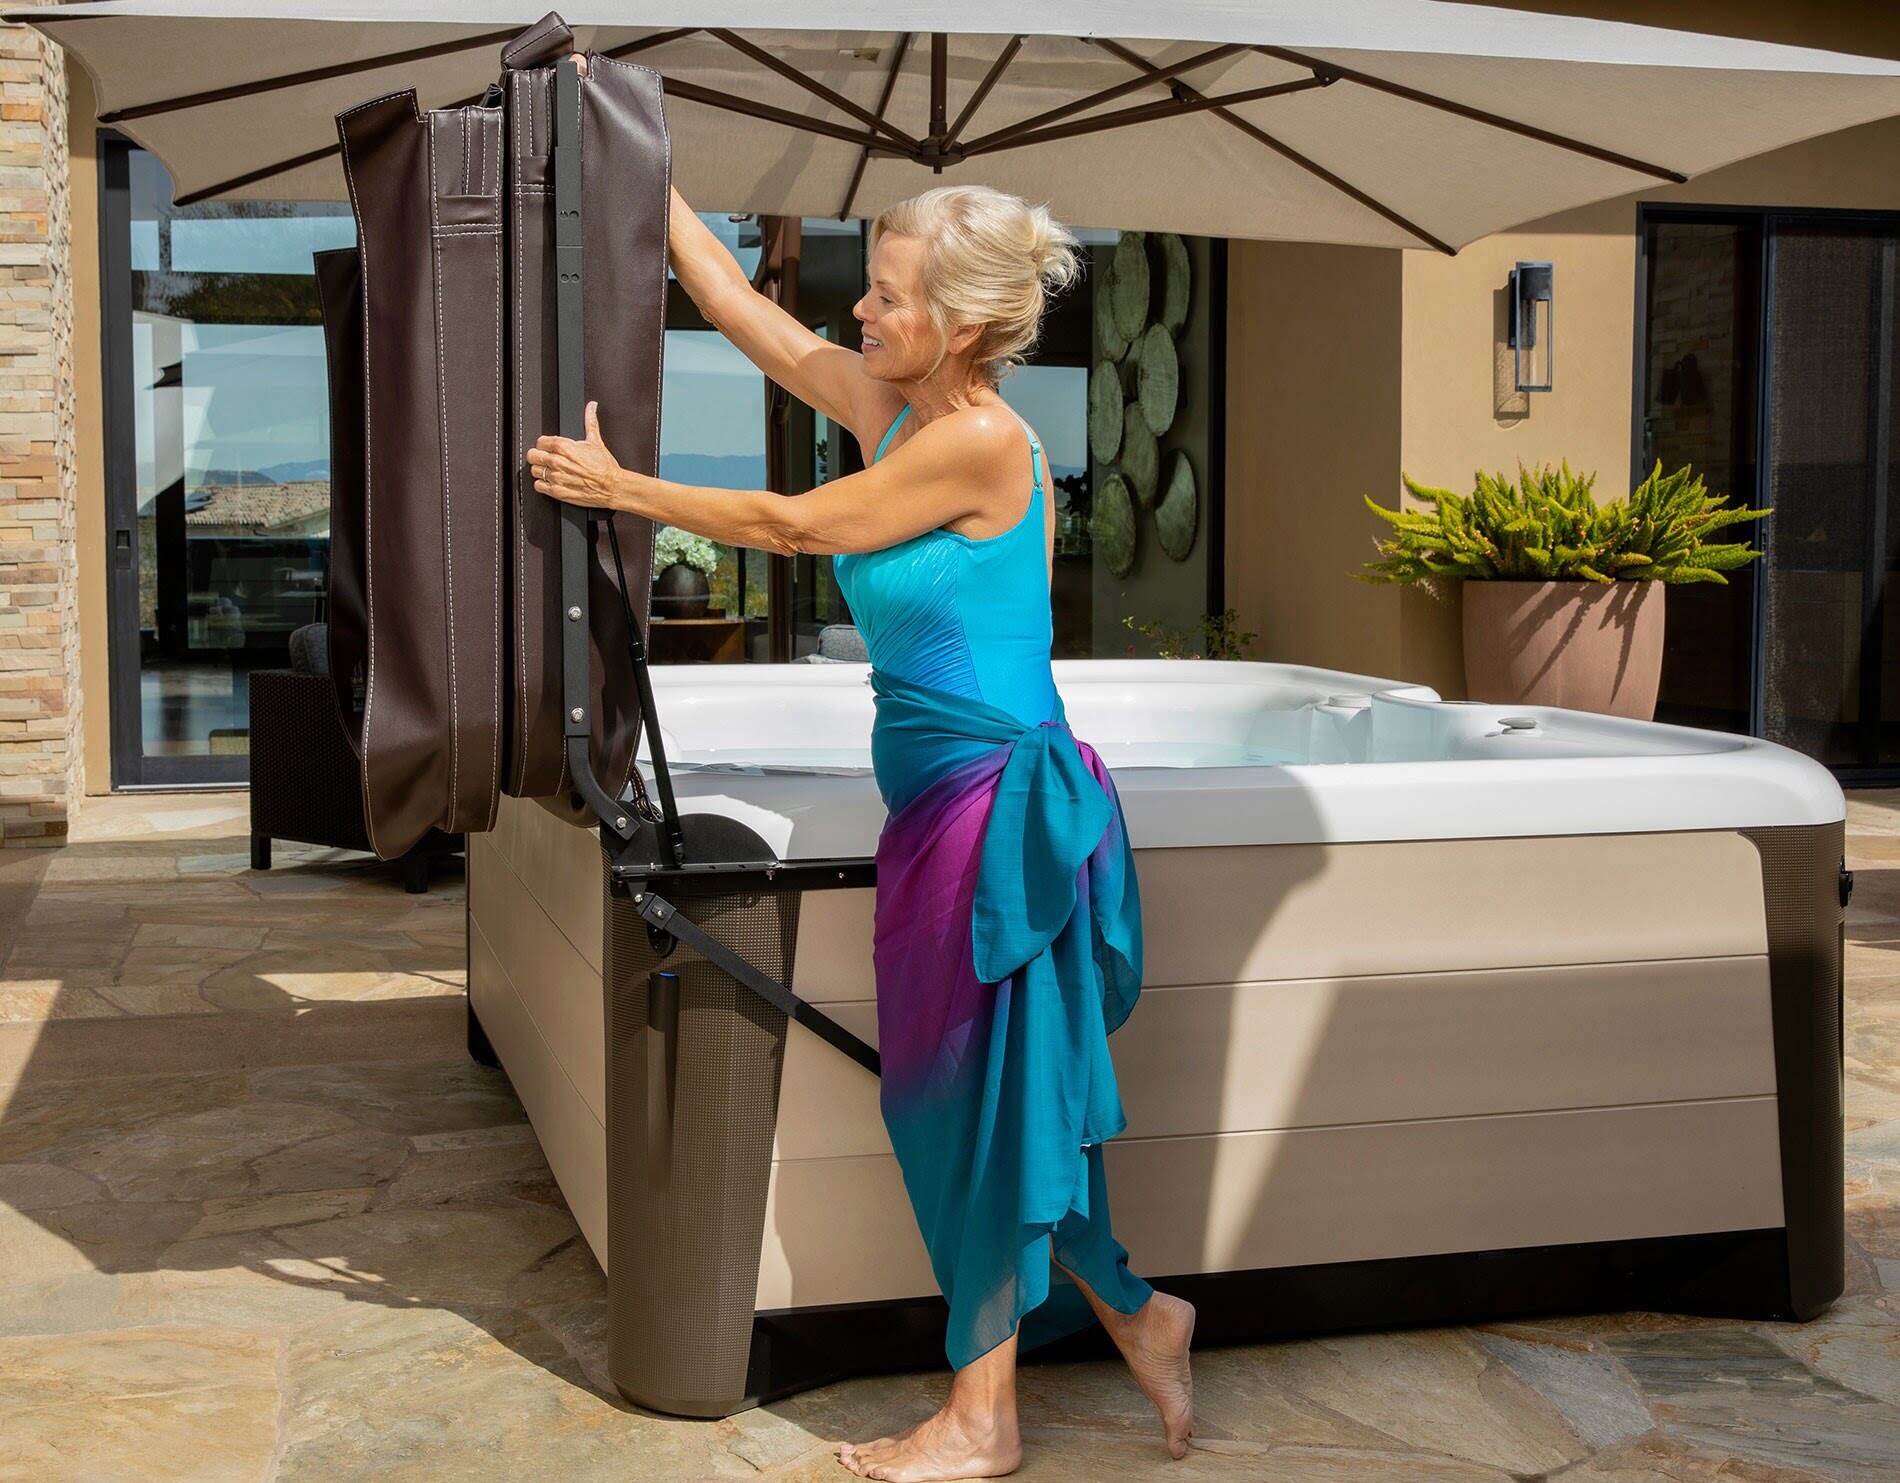
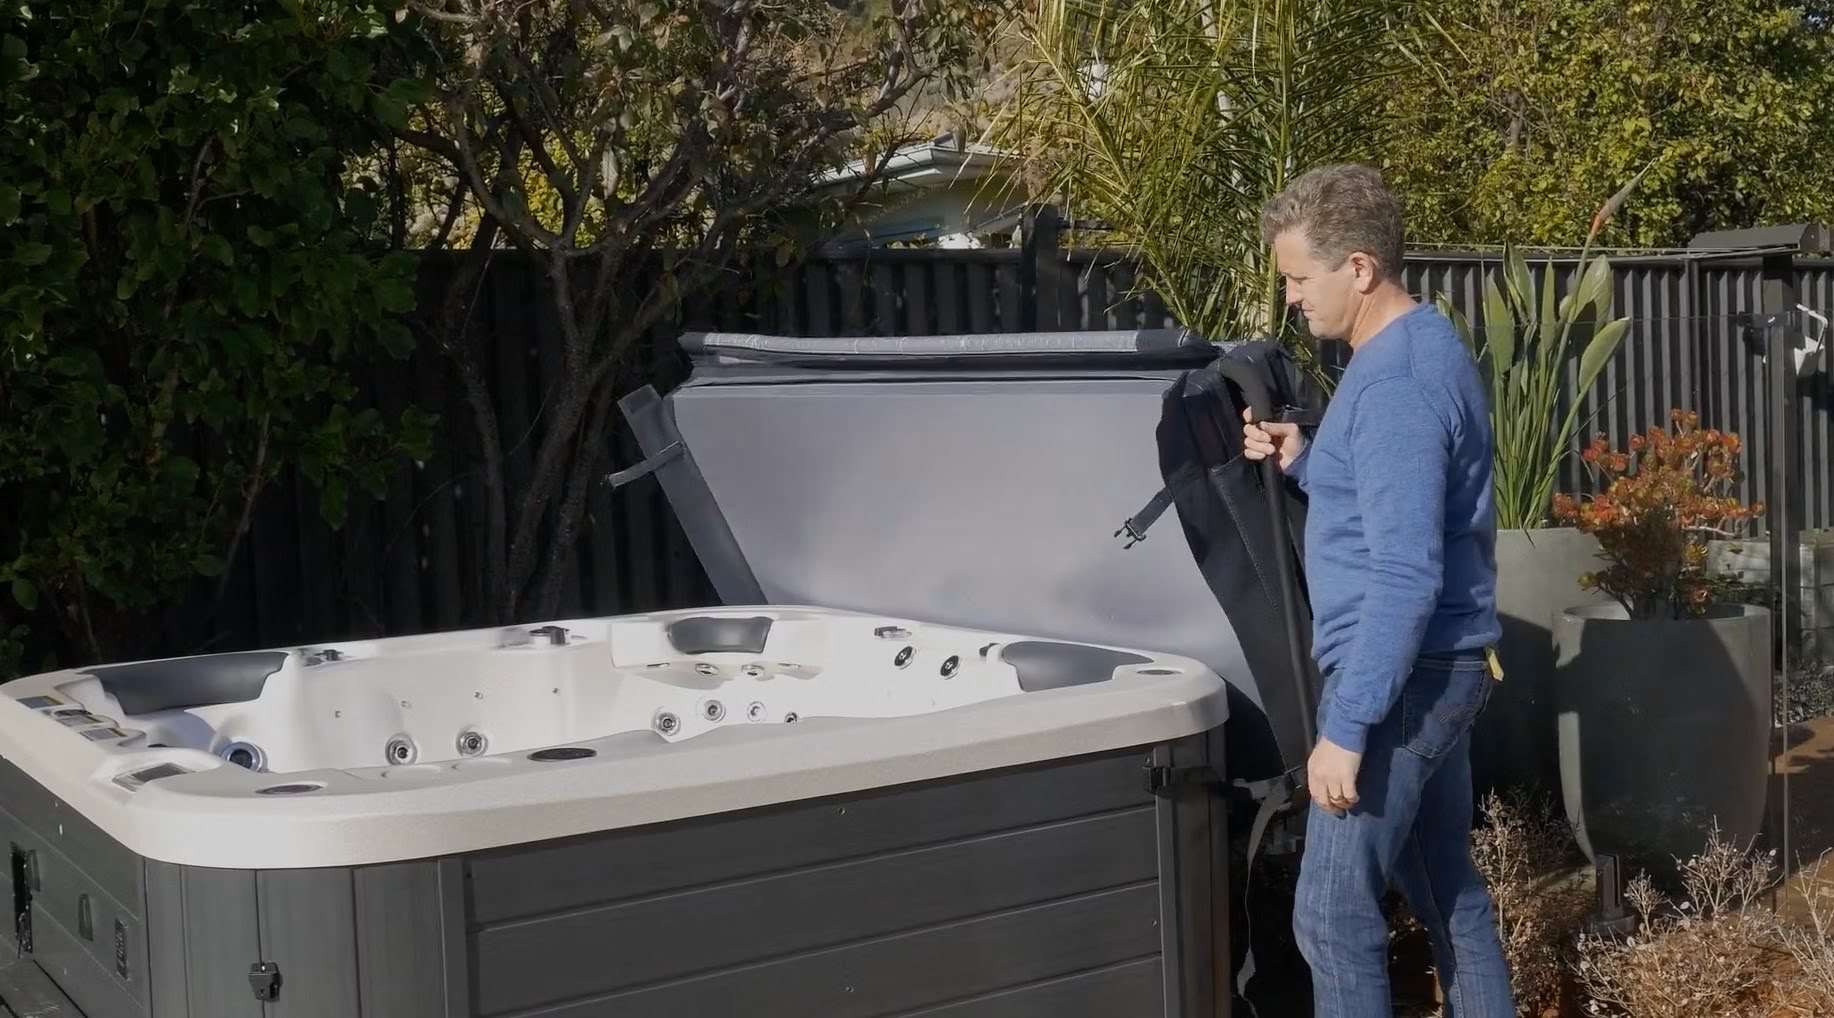
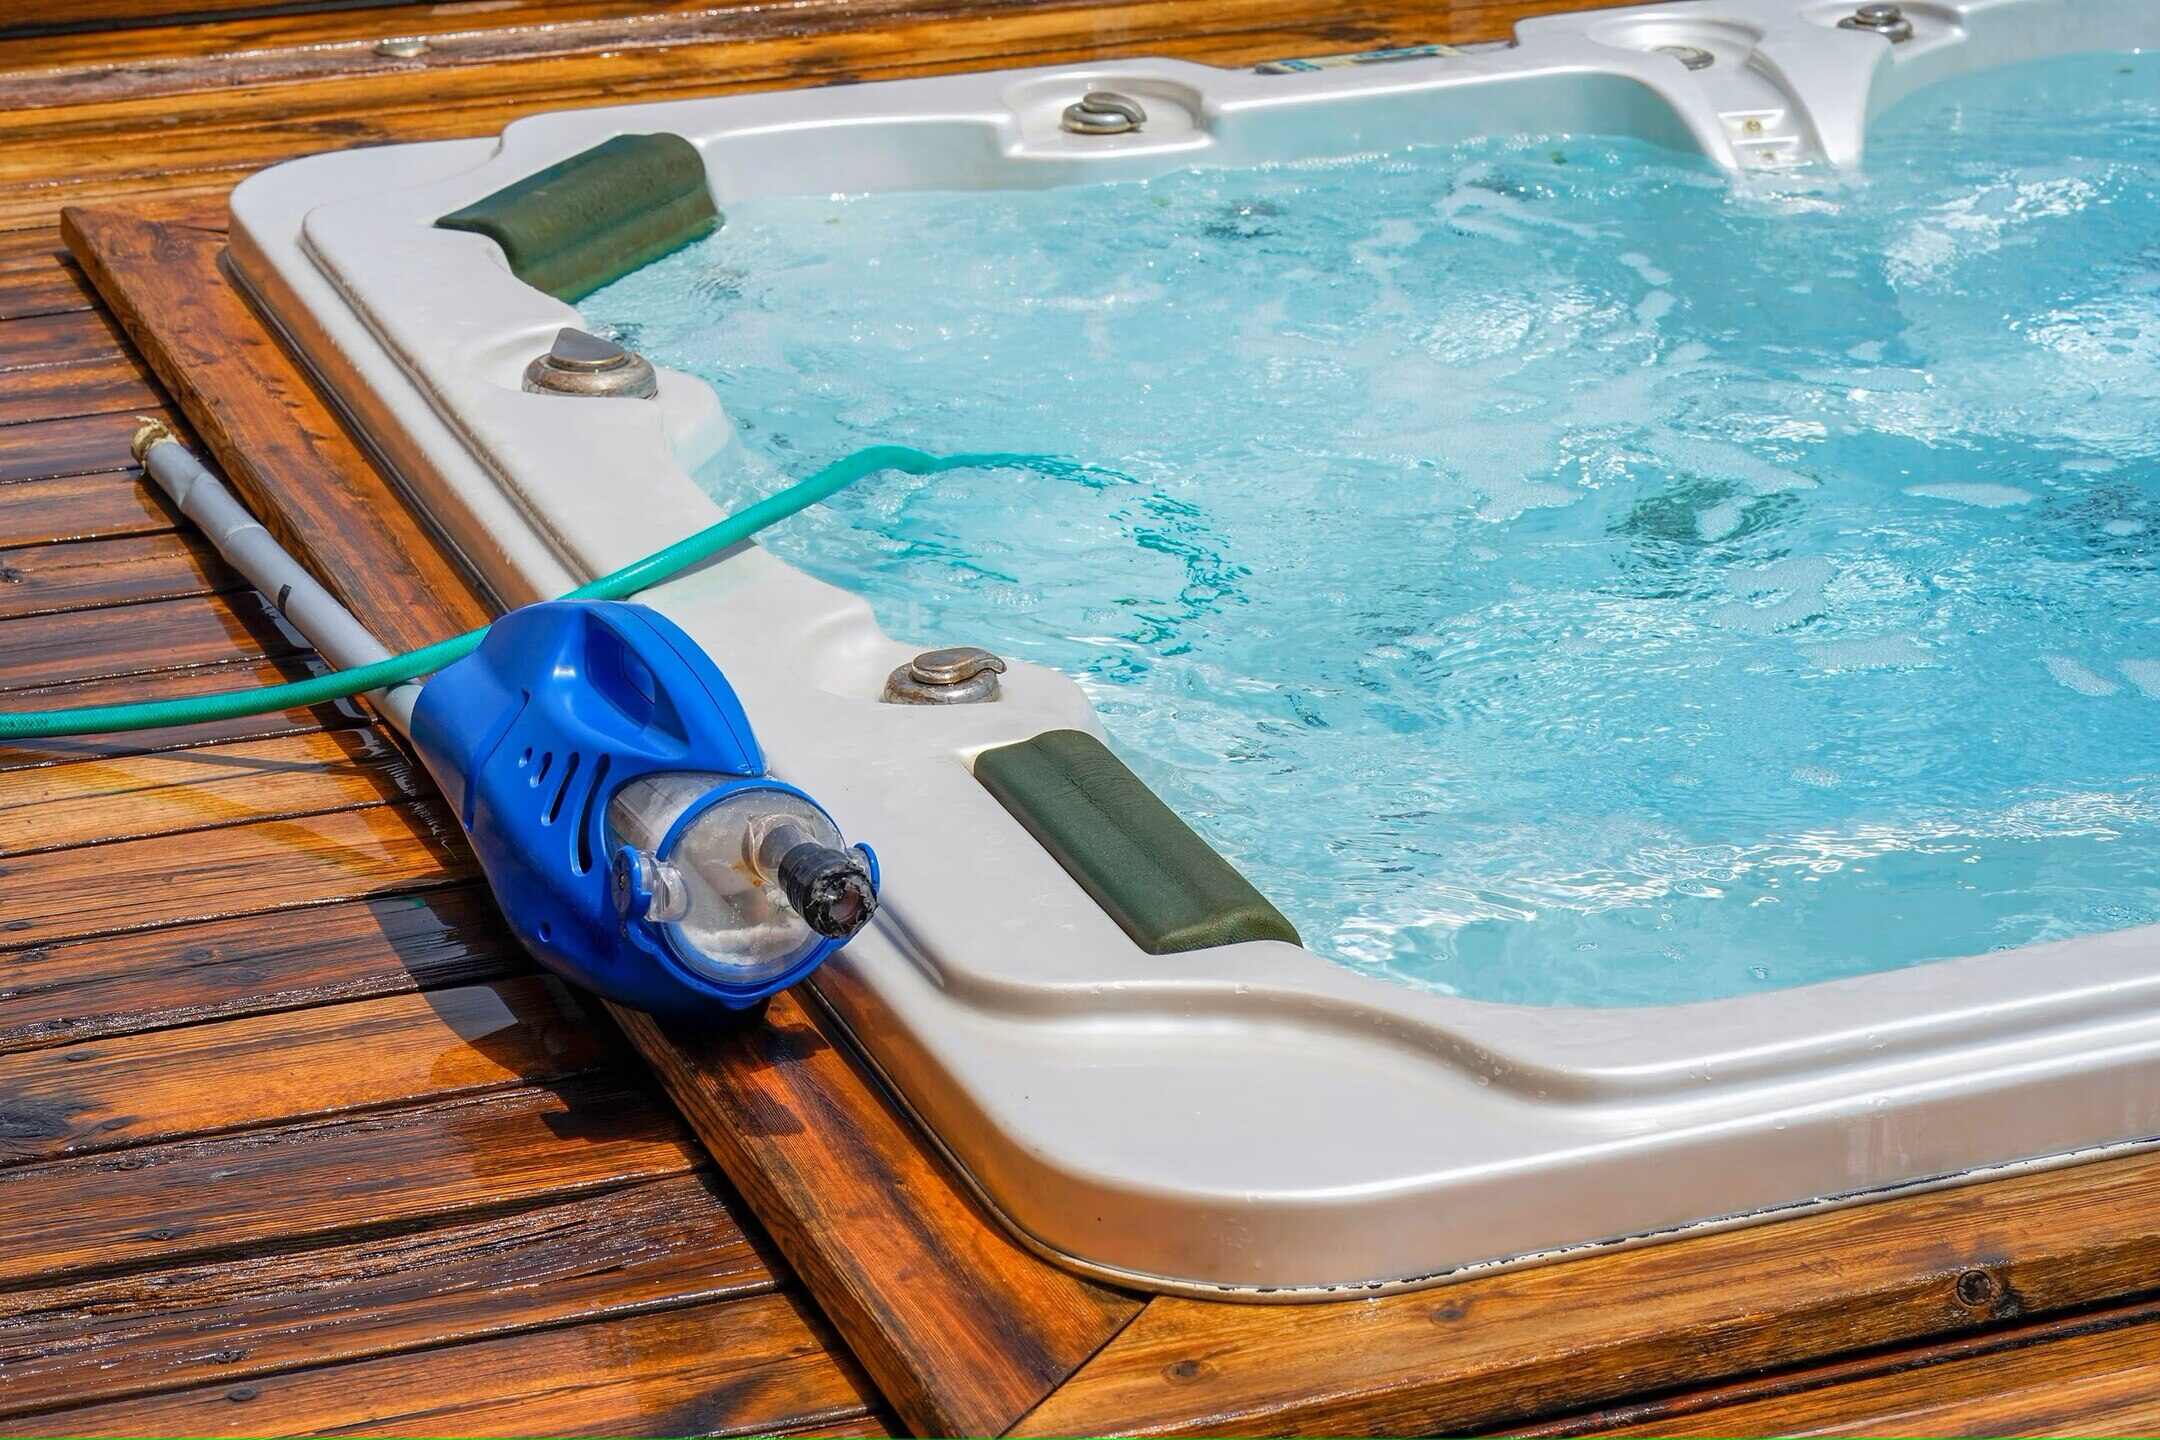
Step 1: Remove the Cover
Before you can begin the process of drying out your hot tub cover, you need to carefully remove it from the hot tub. Start by unlocking and unfastening any securing straps or clips that hold the cover in place. If your hot tub cover features a lock or key, ensure that it is unlocked before attempting to lift the cover.
Once the cover is unsecured, carefully lift it off the hot tub, taking care to avoid dragging it on the ground or causing unnecessary strain on the cover's hinges. It's advisable to have a helper to assist with this step, especially if the cover is large or heavy. By lifting the cover with care, you can prevent any undue stress on its components, such as the hinges and insulation, ultimately prolonging its lifespan.
After removing the cover, place it on a clean and flat surface, such as a deck or patio, where you can easily access all sides for cleaning and drying. With the cover successfully removed, you are now ready to proceed to the next step in the process of drying out your hot tub cover.
Step 2: Wipe Down the Cover
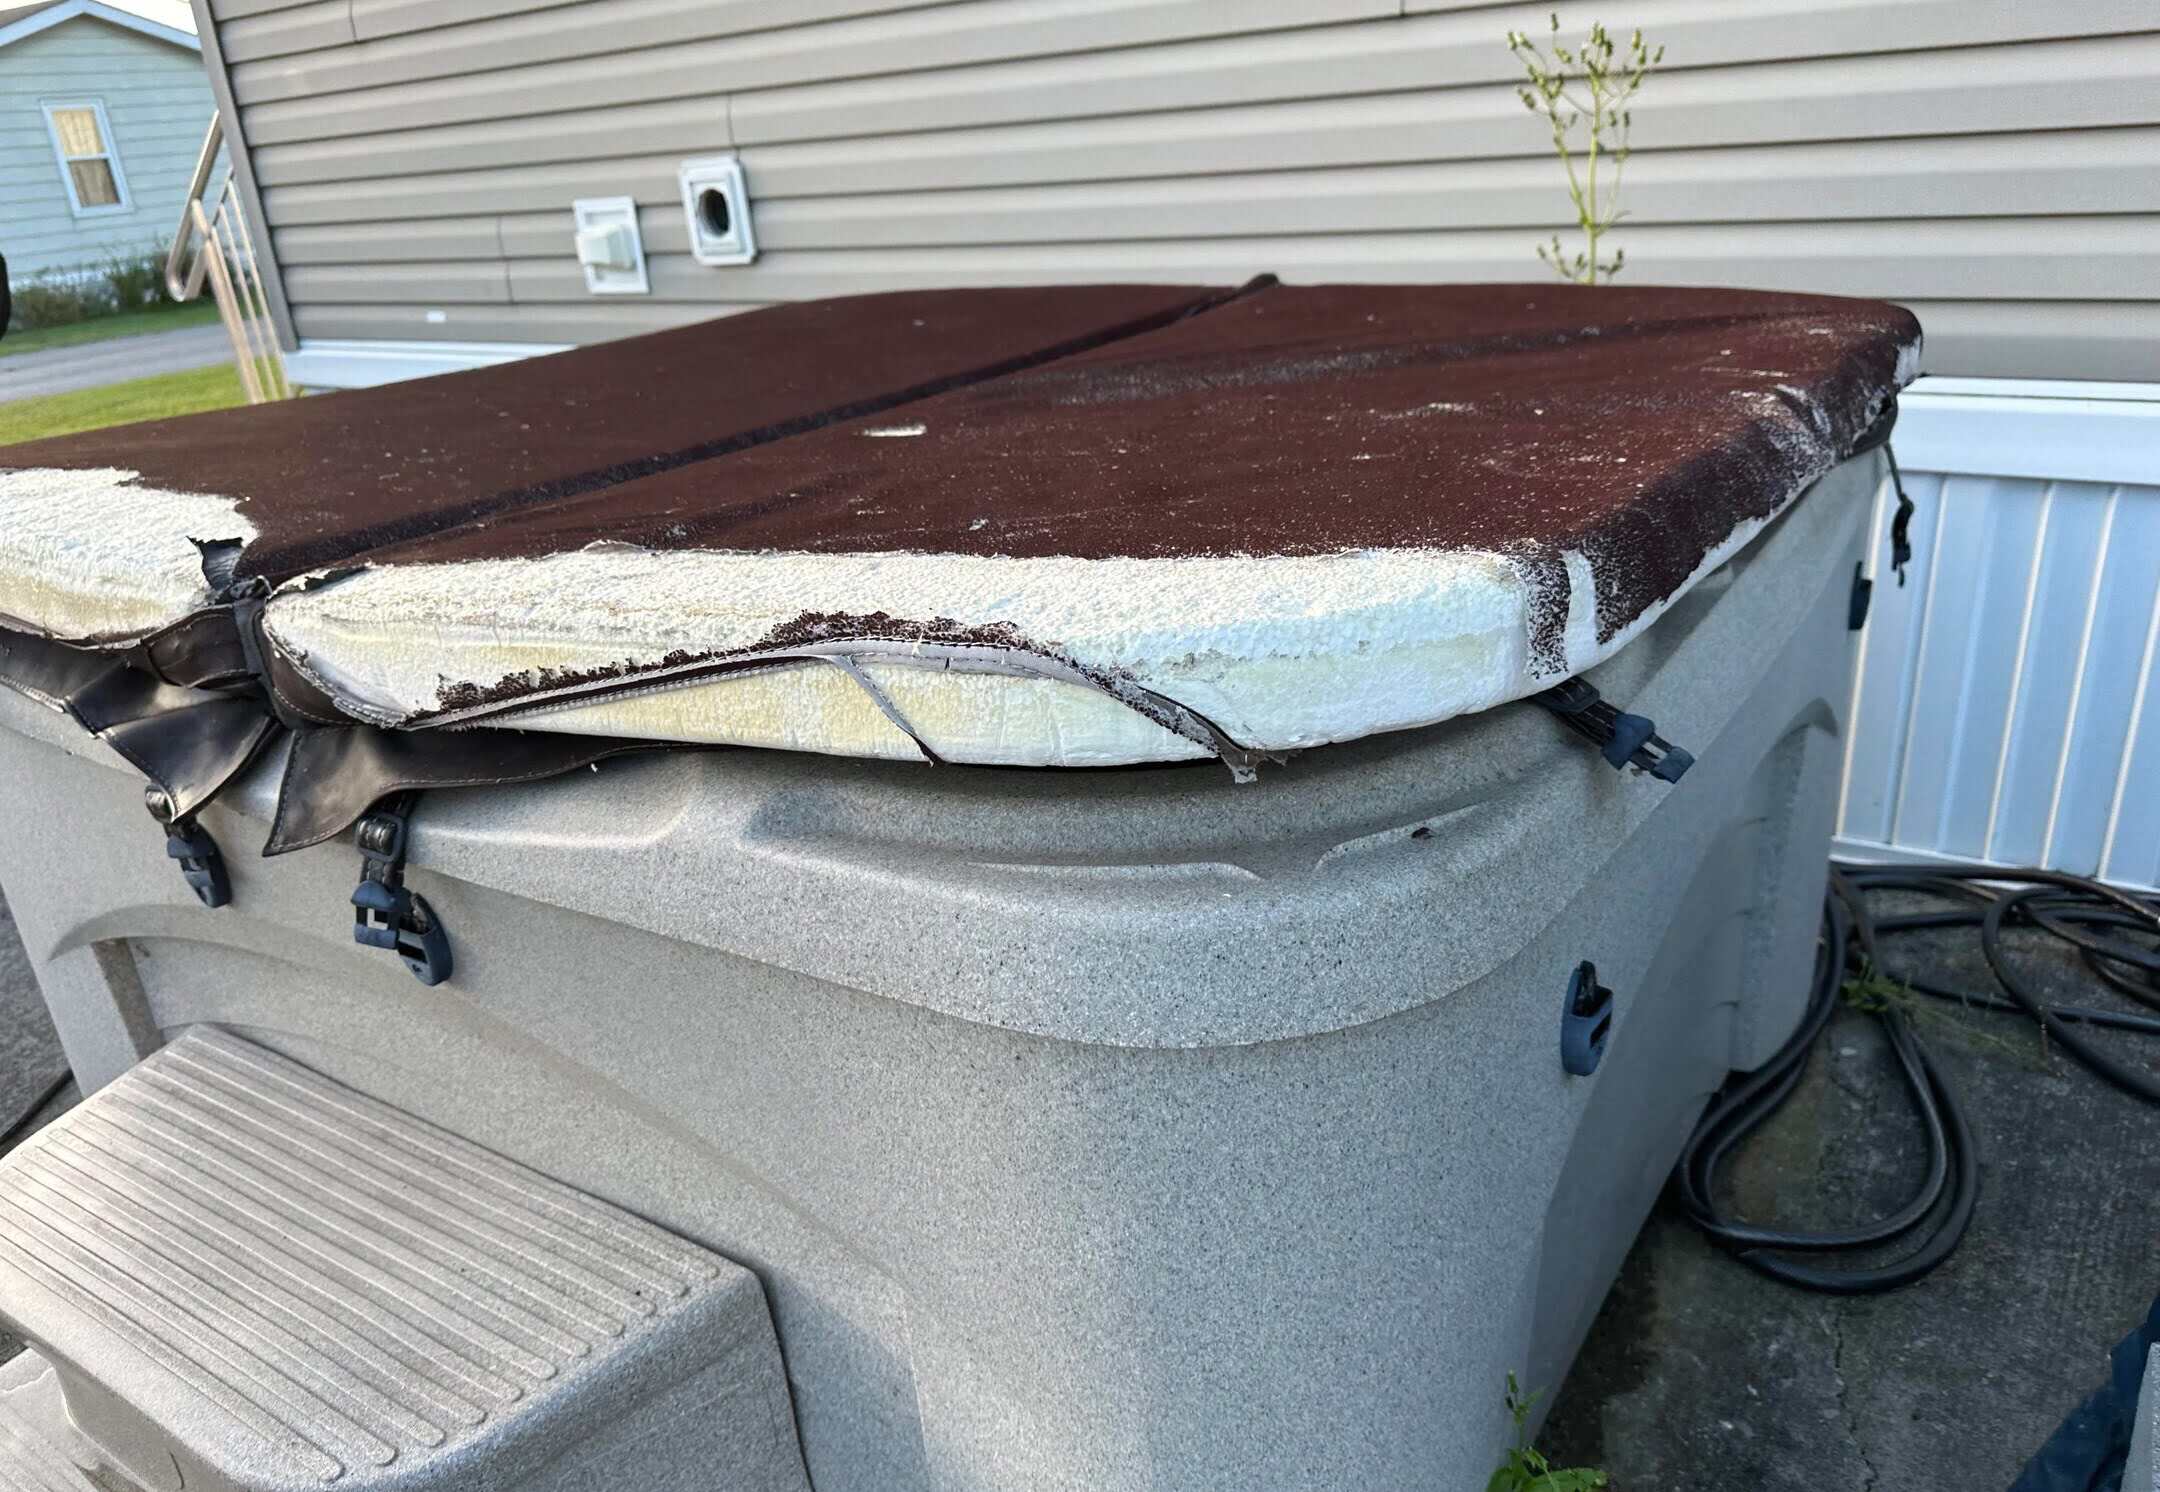
Once the hot tub cover is removed from the hot tub, it’s essential to thoroughly wipe it down to remove any accumulated moisture, dirt, or debris. Begin by using a soft, non-abrasive cloth or sponge and a mild cleaning solution specifically designed for hot tub covers or vinyl surfaces. Avoid using harsh chemicals or abrasive cleaners, as these can damage the cover’s material and affect its longevity.
Gently wipe the entire surface of the cover, paying particular attention to any areas where moisture may be trapped, such as along the seams and folds. If there are stubborn stains or mildew spots, you can use a vinyl cleaner or a mixture of mild soap and water to spot-treat these areas. Take care to rinse the cover thoroughly after spot-treatment to remove any residual cleaning solution.
It’s important to ensure that the cover is completely dry before proceeding to the next step. Using a clean, dry cloth, carefully pat the surface of the cover to absorb any remaining moisture. If the weather permits, you can also take advantage of natural sunlight and air circulation to aid in the drying process. However, avoid prolonged exposure to direct sunlight, as this can cause the cover’s material to deteriorate over time.
By thoroughly wiping down the cover and removing any moisture or contaminants, you are not only preparing it for the drying process but also contributing to its overall cleanliness and longevity. With the cover now clean and free of excess moisture, you can move on to the next crucial step in the process of drying out your hot tub cover.
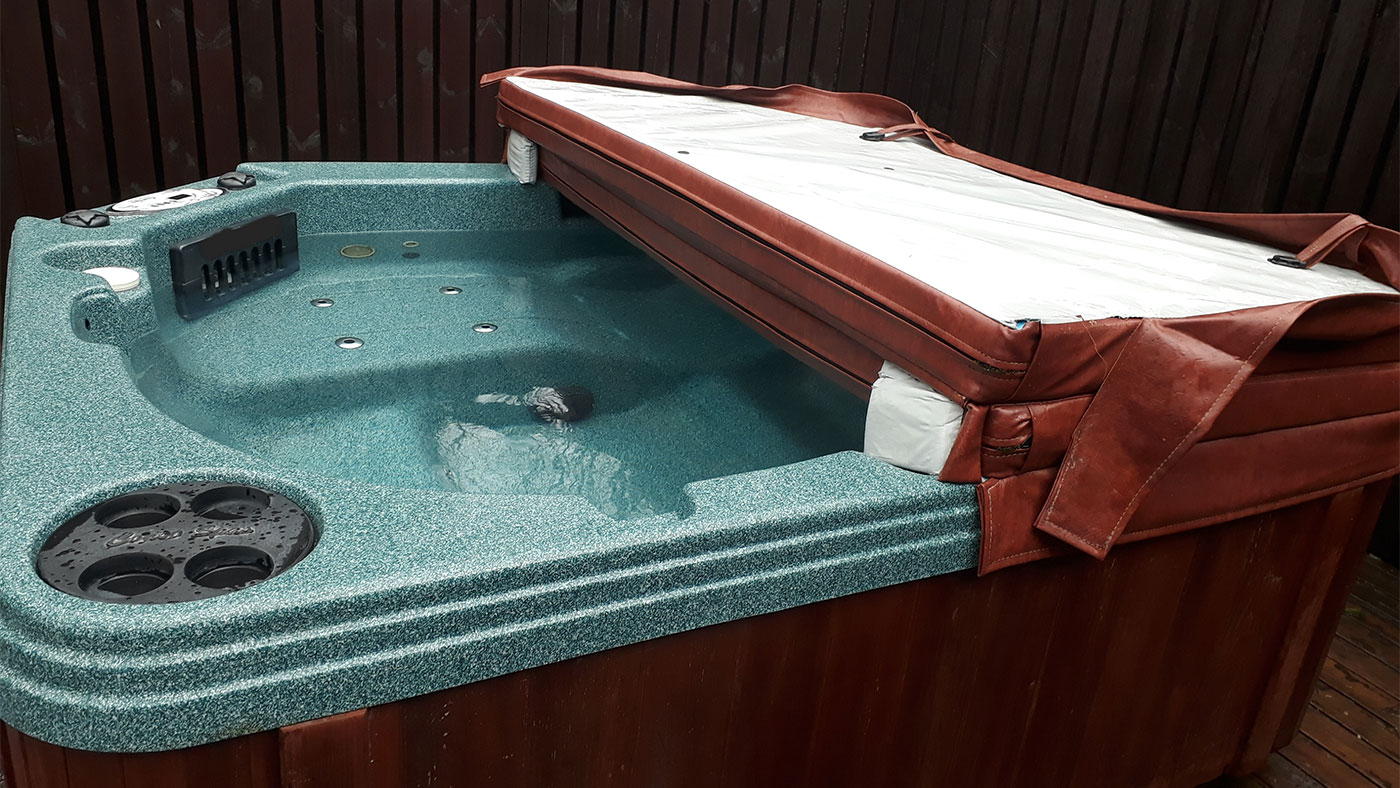
Step 3: Air Dry the Cover
With the hot tub cover thoroughly wiped down, the next step is to allow it to air dry completely. Proper air drying is crucial in ensuring that the cover is free of any residual moisture before it is reinstalled on the hot tub. There are several methods you can use to facilitate the air drying process, depending on the prevailing weather conditions and available space.
If the weather is conducive, you can lay the cover flat on a clean, dry surface in a well-ventilated area. Ensure that the surface is level to prevent any pooling of water and that the cover is positioned in such a way that air can circulate around it freely. This allows for natural evaporation and helps expedite the drying process. Periodically check the cover to assess its dryness and reposition it if necessary to ensure even drying.
In the event of inclement weather or limited outdoor space, you can use a portable fan to aid in the drying process. Position the fan at a safe distance from the cover and set it to a moderate setting to promote air circulation. This can be particularly effective in hastening the drying of hard-to-reach areas, such as the underside of the cover or within folds and creases.
It’s important to exercise patience during the air drying process, as thorough drying is essential to prevent mold, mildew, and musty odors from developing within the cover. Depending on the ambient humidity and airflow, the drying process may take several hours to a full day. Once the cover is completely dry to the touch, you can proceed to the next step in the maintenance process.
By allowing the hot tub cover to air dry effectively, you are taking proactive measures to ensure that it is free of moisture and ready for the next phase of maintenance. With the cover now clean, dry, and well-maintained, you can move forward with confidence in preserving its longevity and functionality.
To dry out a hot tub cover, remove it from the hot tub and lay it flat in the sun. Wipe off any excess water with a towel and leave it to air dry completely before putting it back on the hot tub.
Step 4: Apply a Protective Coating
After the hot tub cover has been thoroughly cleaned and air-dried, it’s beneficial to apply a protective coating to safeguard the material and enhance its resilience against environmental elements. A high-quality protective coating can help prolong the life of the cover and maintain its appearance, ensuring that it continues to effectively shield the hot tub from debris, UV rays, and inclement weather.
When selecting a protective coating, opt for a product specifically formulated for hot tub covers or vinyl surfaces. These coatings are designed to provide UV protection, water resistance, and anti-microbial properties, effectively safeguarding the cover from the detrimental effects of sun exposure, moisture, and microbial growth. Additionally, choose a coating that is non-toxic and safe for use in hot tub environments to prevent any adverse effects on the water chemistry.
Prior to applying the protective coating, ensure that the cover is clean and completely dry to facilitate optimal adhesion and effectiveness of the product. Using a clean, soft cloth or applicator pad, apply the protective coating evenly across the entire surface of the cover, working in small sections to ensure thorough coverage. Pay particular attention to the seams, edges, and any areas prone to wear and tear, as these areas benefit greatly from added protection.
Allow the protective coating to dry according to the manufacturer’s recommendations, ensuring that the cover is positioned in a well-ventilated area during the drying process. Once the coating has fully cured, inspect the cover to ensure that it is uniformly coated and that no excess product remains. If necessary, buff the surface gently with a clean, dry cloth to remove any residual product and achieve a smooth, even finish.
By applying a protective coating to the hot tub cover, you are proactively safeguarding its integrity and enhancing its ability to withstand the rigors of outdoor exposure. This step not only contributes to the longevity of the cover but also helps maintain its aesthetic appeal, ensuring that your hot tub area remains an inviting and well-maintained oasis of relaxation.
Read more: How To Clean A Hot Tub Cover
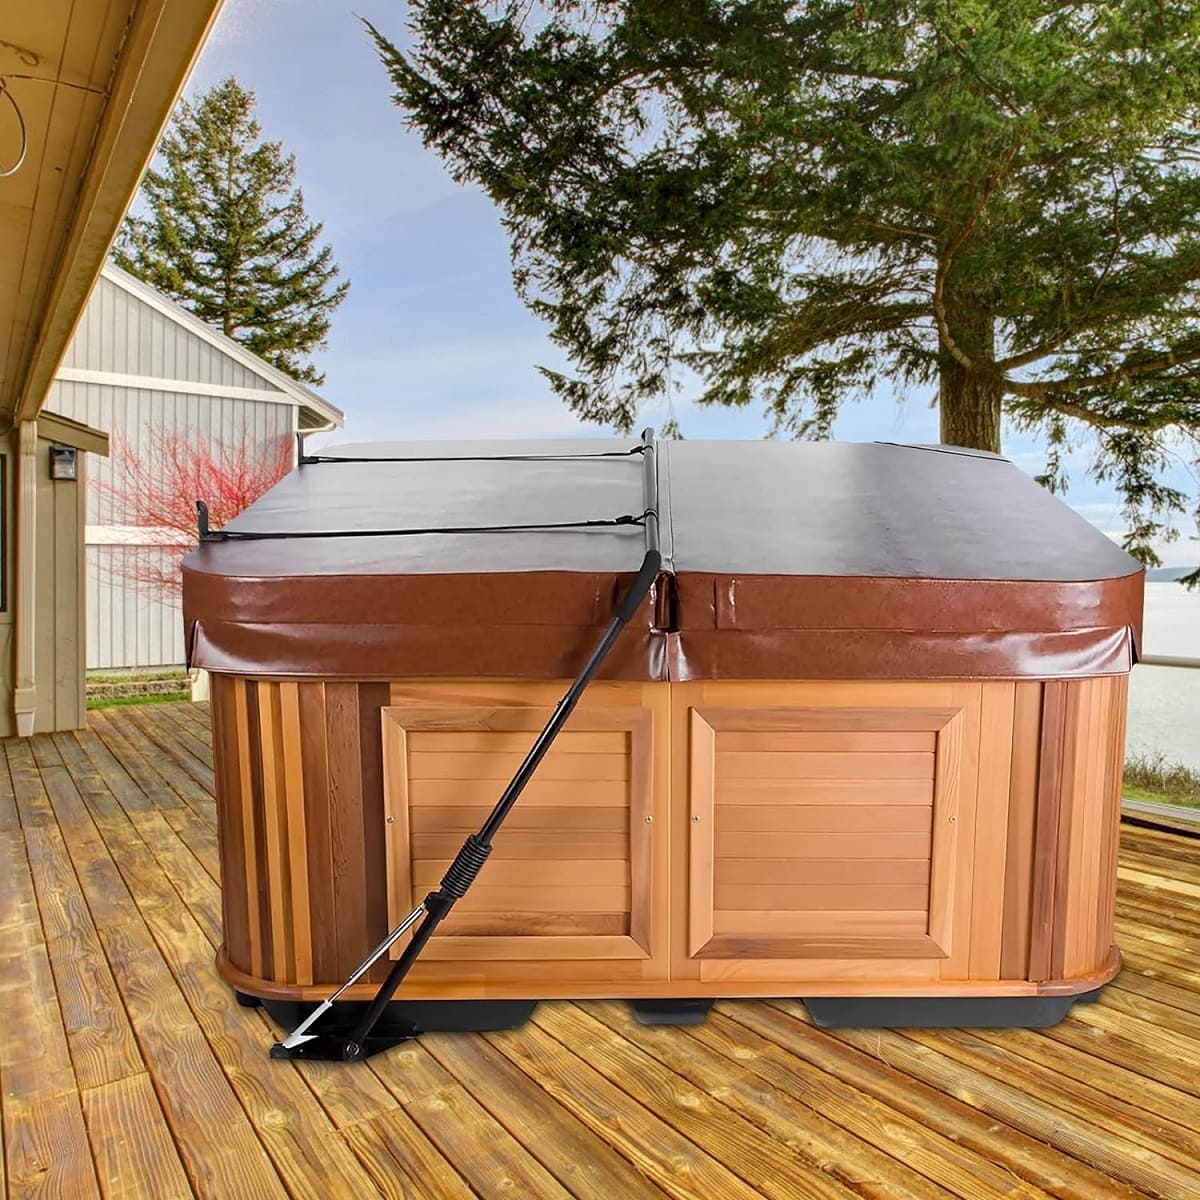
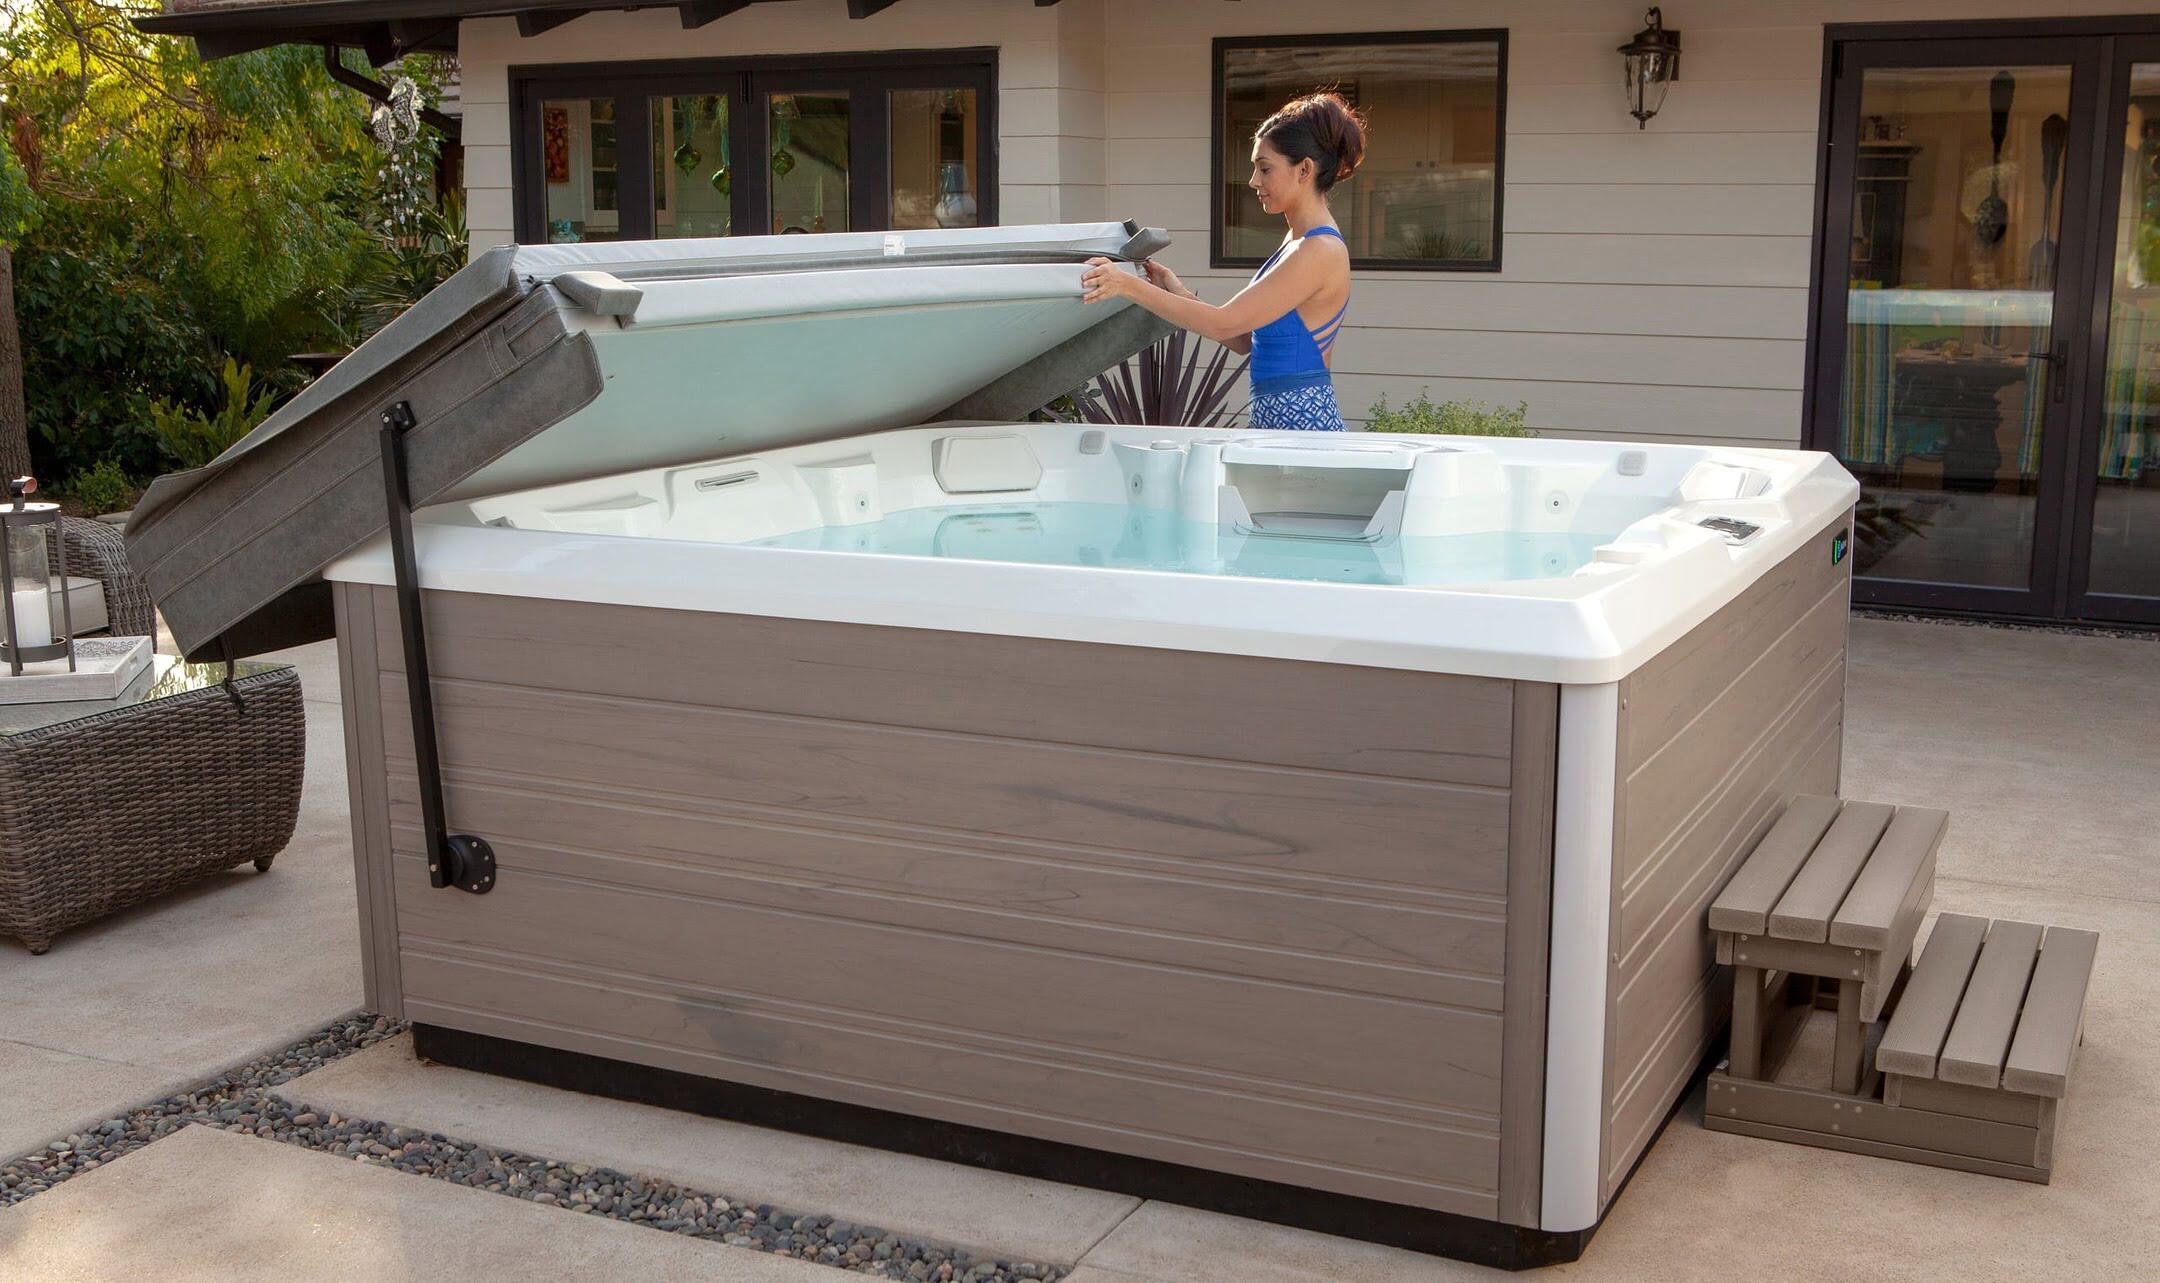
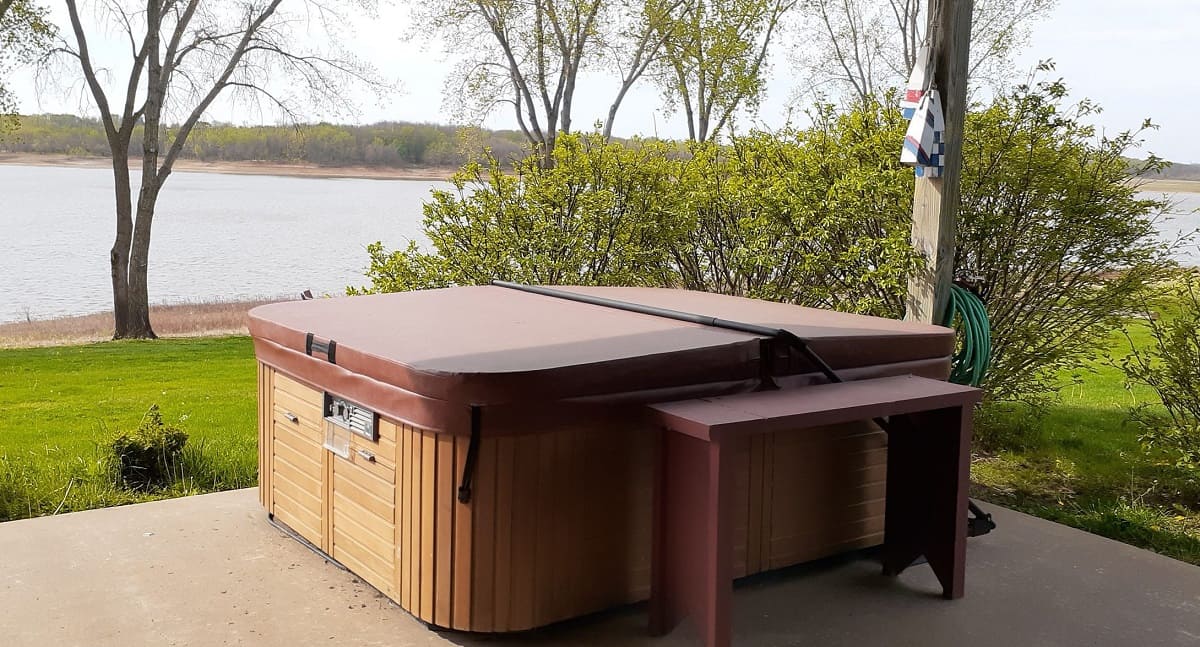
Step 5: Reinstall the Cover
With the hot tub cover now clean, dry, and protected, it’s time to reinstall it onto the hot tub. Proper installation is essential to ensure that the cover functions effectively and provides the necessary insulation and protection for your hot tub. Follow these steps to reinstall the cover with care and precision:
- Positioning the Cover: Lift the cover carefully, ensuring that it is aligned correctly with the hot tub. Take care to avoid dragging or sliding the cover on the hot tub’s surface, as this can cause unnecessary wear and tear.
- Securing the Cover: Fasten any securing straps, clips, or locks to ensure that the cover is firmly in place. Verify that the cover is evenly positioned and that the seals along the edges make proper contact with the hot tub to prevent heat loss and debris ingress.
- Inspecting the Alignment: Once the cover is secured, inspect the alignment and fit to confirm that it is uniform and snug. Address any areas of concern, such as gaps or misalignment, to ensure that the cover provides effective insulation and protection.
- Testing the Operation: Open and close the cover to verify that it moves smoothly and without resistance. Check the hinges and lifting mechanisms for any signs of wear or damage, addressing any issues promptly to maintain the cover’s functionality.
By reinstalling the hot tub cover with attention to detail and care, you can ensure that it continues to serve its essential role in preserving the cleanliness, safety, and energy efficiency of your hot tub. With the cover securely in place, your hot tub area is ready to provide you with countless hours of relaxation and enjoyment.
Conclusion
Maintaining a clean, dry, and well-protected hot tub cover is a fundamental aspect of hot tub care and maintenance. By following the comprehensive steps outlined in this guide, you can effectively preserve the integrity and functionality of your hot tub cover, ultimately contributing to the longevity of your hot tub and the overall enjoyment of your relaxation space.
From the careful removal and thorough cleaning of the cover to the application of a protective coating and precise reinstallation, each step plays a crucial role in ensuring that your hot tub cover remains in optimal condition. By incorporating these maintenance practices into your regular hot tub care routine, you can mitigate the risk of mold, mildew, and premature wear, ultimately saving time and expense in the long run.
Remember that proactive maintenance and care are key to maximizing the lifespan and performance of your hot tub cover. Regularly inspect the cover for signs of wear, clean it as needed, and promptly address any issues to ensure that it continues to provide effective insulation, protection, and aesthetic appeal for your hot tub area.
By investing time and attention in the maintenance of your hot tub cover, you can look forward to countless hours of relaxation and rejuvenation in your well-maintained hot tub oasis. With a clean, dry, and properly protected cover, you can fully enjoy the therapeutic benefits and tranquility that your hot tub brings to your lifestyle.
Embrace these maintenance practices as part of your commitment to preserving the allure and functionality of your hot tub, and reap the rewards of a pristine and inviting hot tub environment for years to come.
Frequently Asked Questions about How To Dry Out A Hot Tub Cover
Was this page helpful?
At Storables.com, we guarantee accurate and reliable information. Our content, validated by Expert Board Contributors, is crafted following stringent Editorial Policies. We're committed to providing you with well-researched, expert-backed insights for all your informational needs.
0 thoughts on “How To Dry Out A Hot Tub Cover”