Home>Gardening & Outdoor>Pool & Spa Care>How To Make A Hot Tub Cover
Pool & Spa Care
How To Make A Hot Tub Cover
Modified: October 18, 2024
Learn how to make a custom hot tub cover for your pool and spa with our step-by-step guide. Save money and keep your hot tub protected!
(Many of the links in this article redirect to a specific reviewed product. Your purchase of these products through affiliate links helps to generate commission for Storables.com, at no extra cost. Learn more)
Introduction
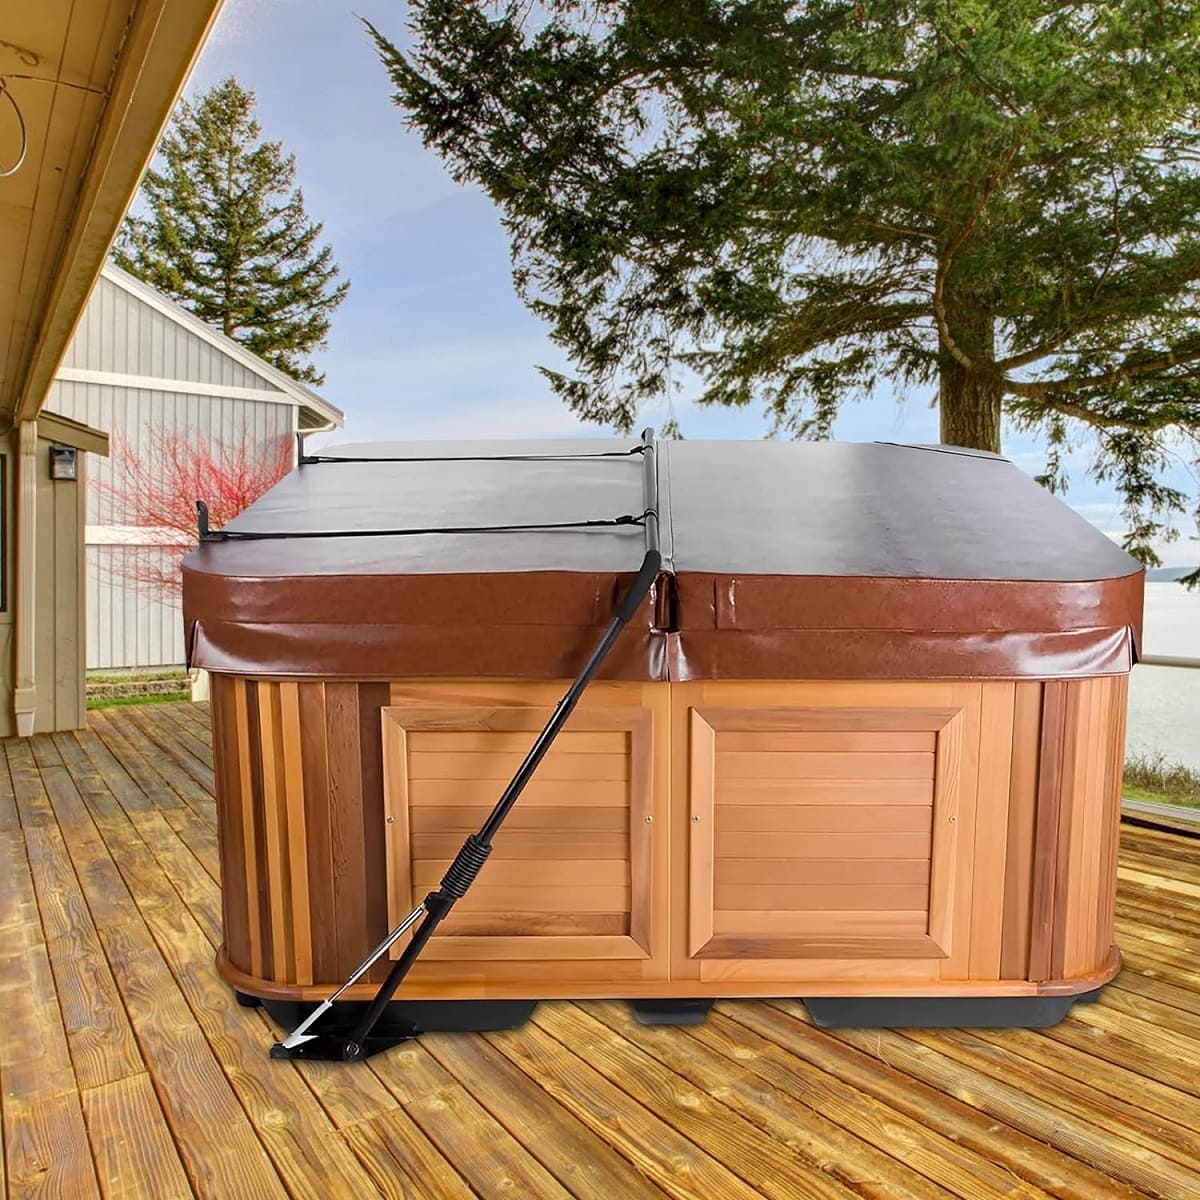
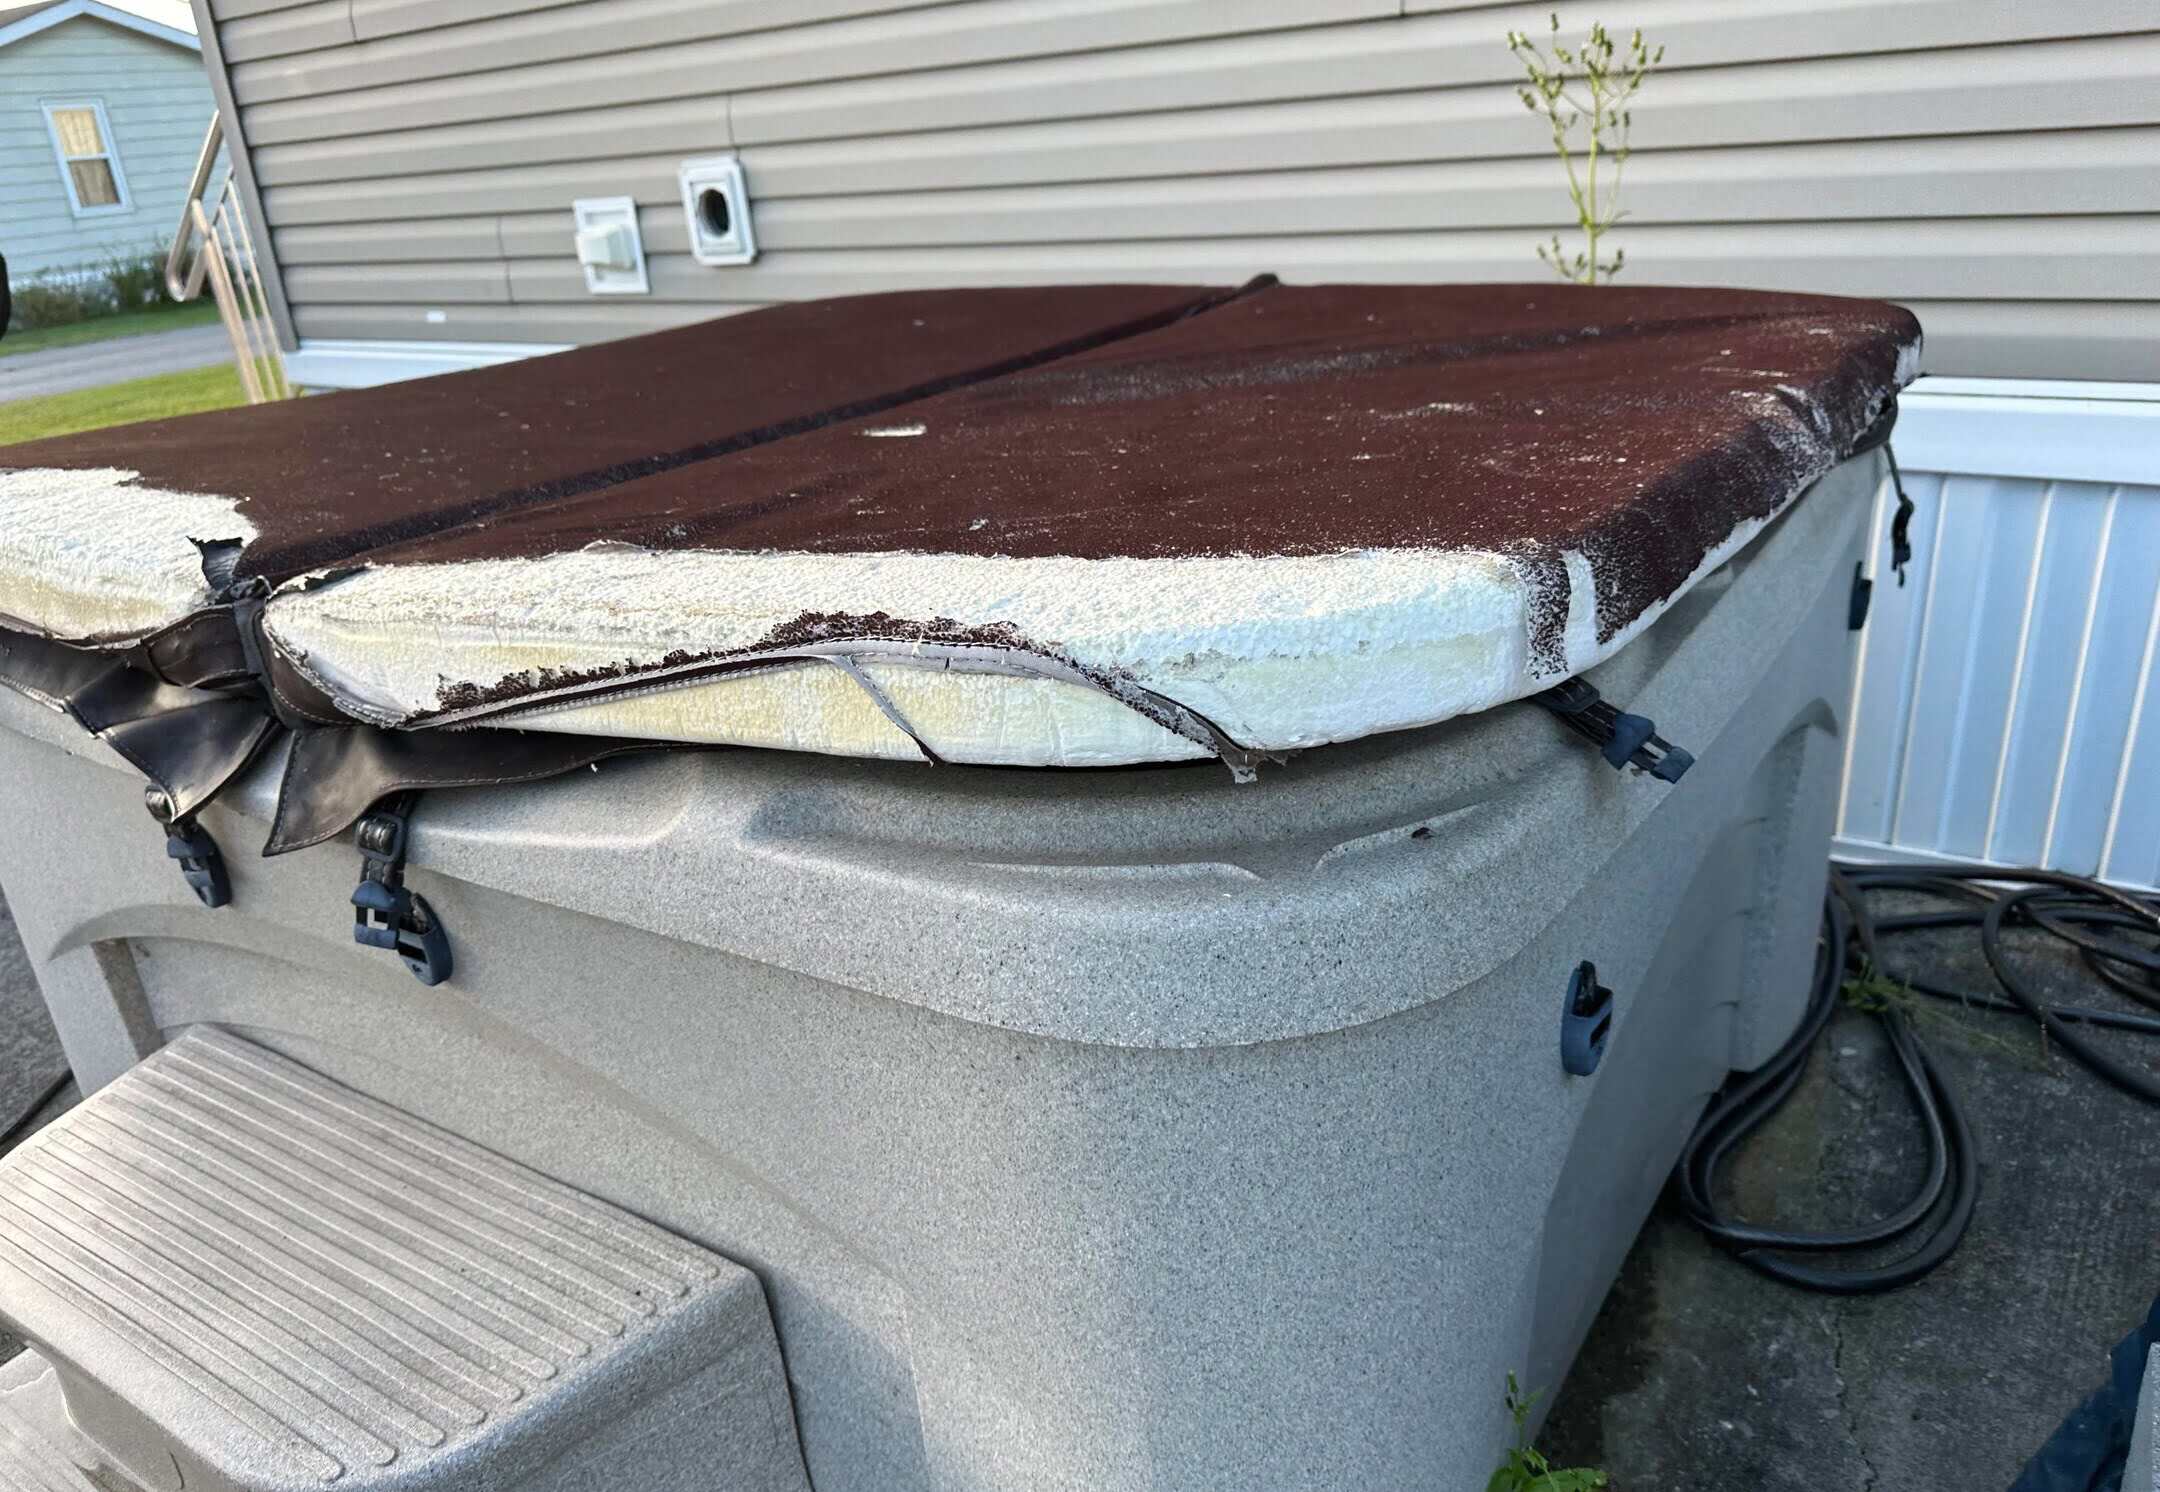
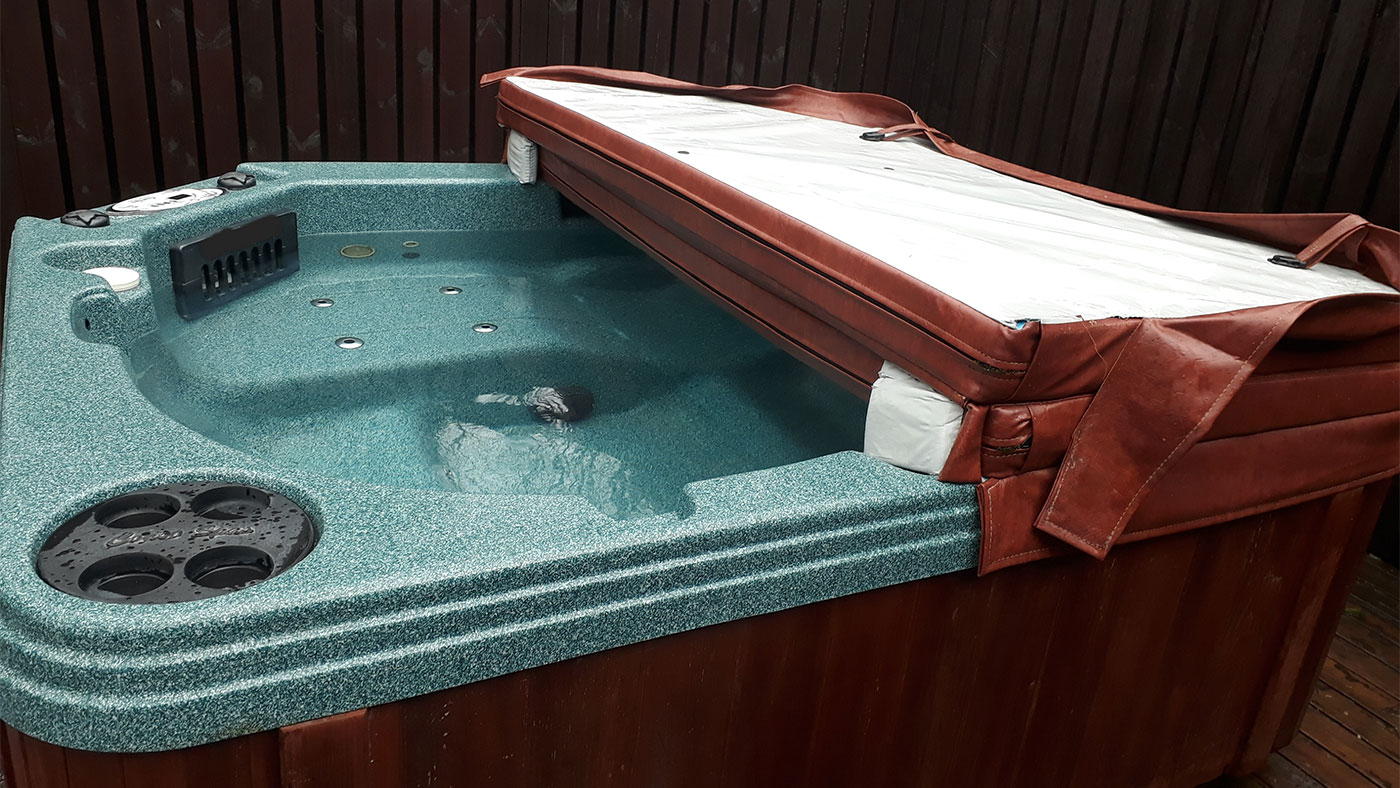
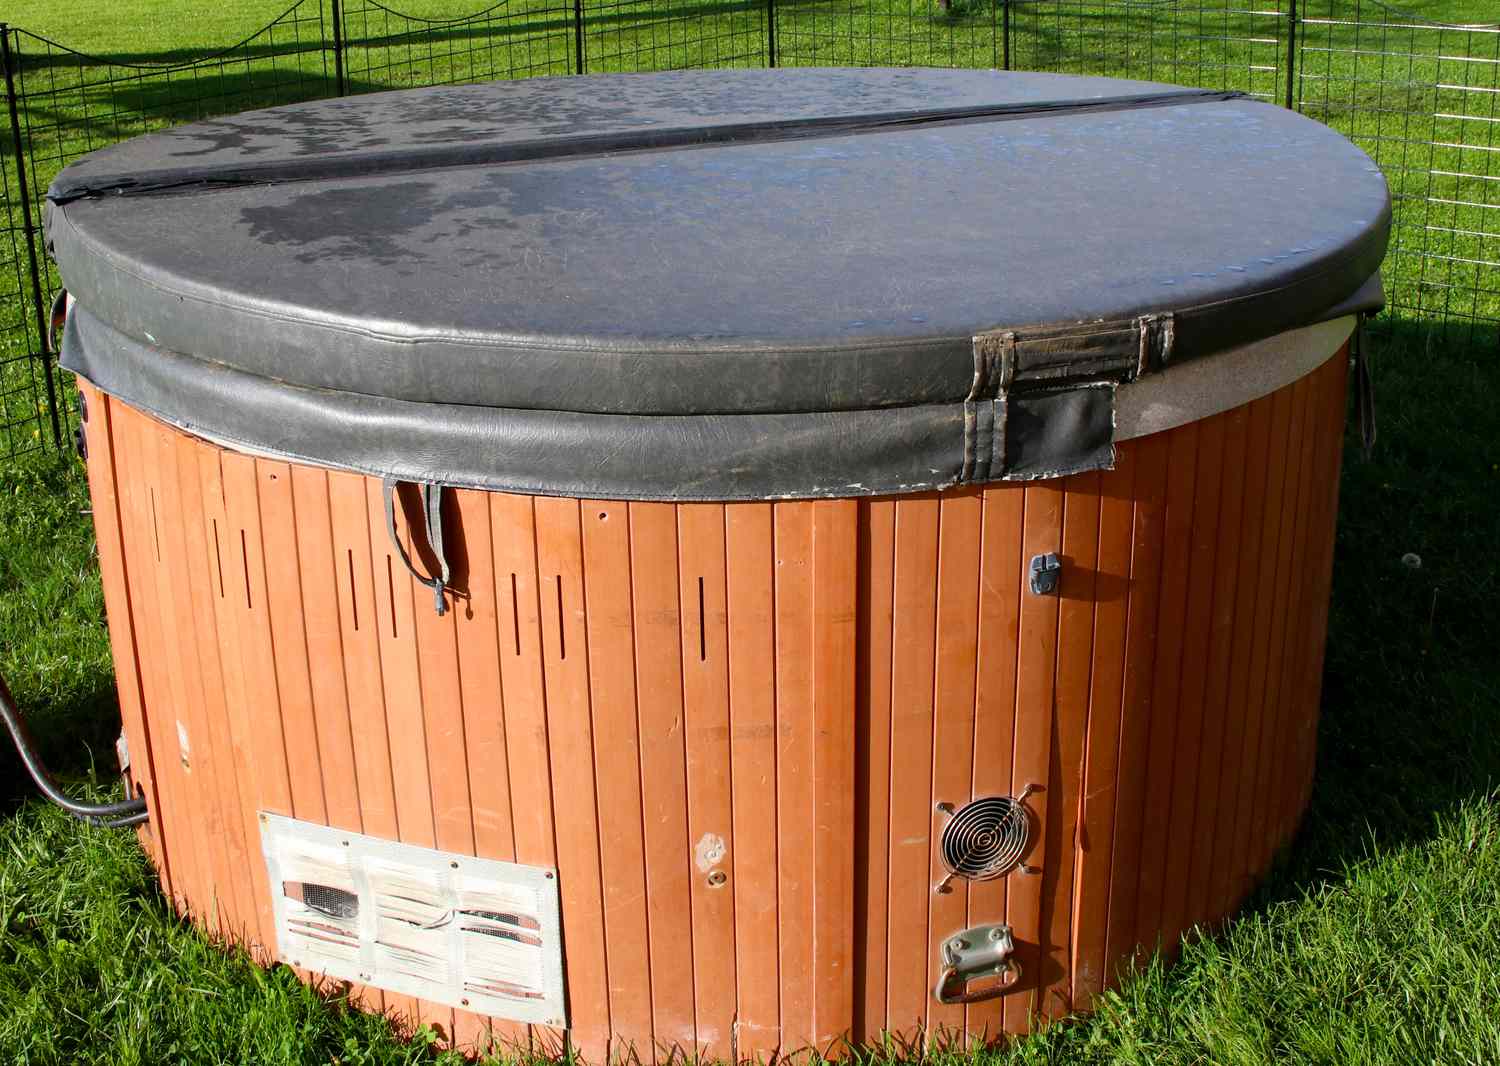
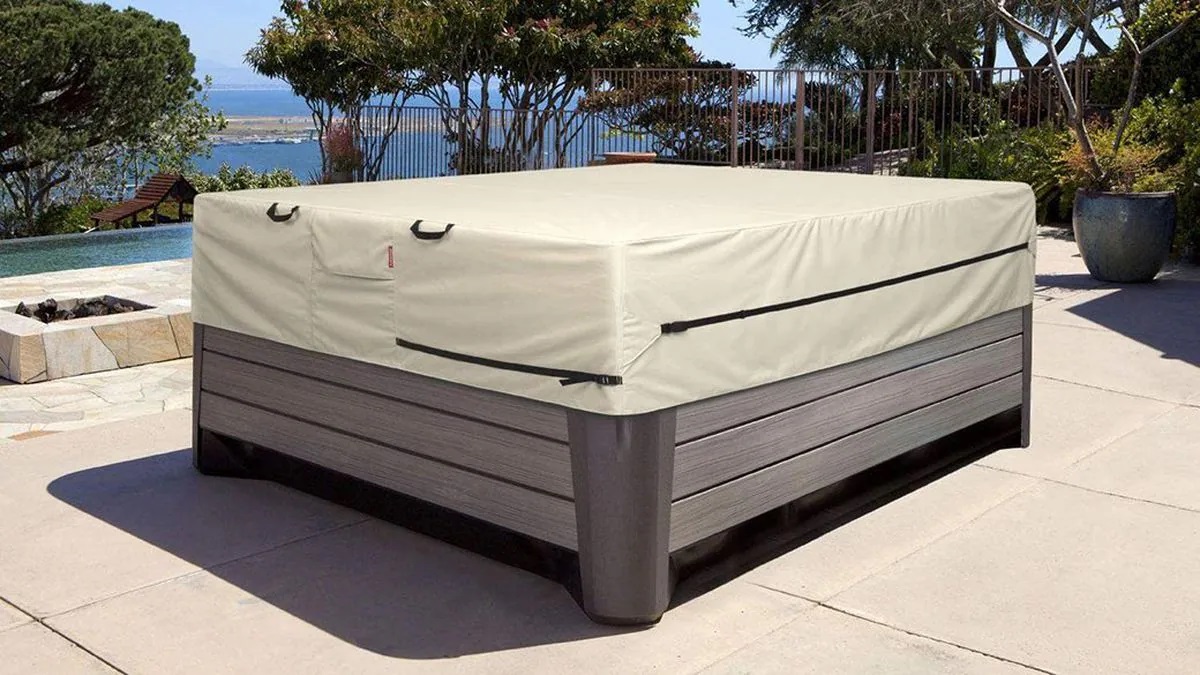
Owning a hot tub is a luxurious and enjoyable experience, but it also comes with the responsibility of proper maintenance. One crucial aspect of hot tub care is ensuring that it is covered when not in use. A well-crafted cover not only helps to maintain the water temperature but also keeps debris and leaves out of the tub, reducing the frequency of cleaning. While there are ready-made covers available in the market, making your own hot tub cover can be a rewarding and cost-effective DIY project. In this comprehensive guide, we will walk you through the step-by-step process of crafting a custom hot tub cover that perfectly fits your spa. From gathering the necessary materials to measuring, cutting, sewing, and adding finishing touches, you will learn everything you need to know to create a durable and attractive cover for your beloved hot tub. So, roll up your sleeves and get ready to embark on this fulfilling journey of DIY craftsmanship. Let's dive in!
Key Takeaways:
- Crafting your own hot tub cover is a fun and cost-effective DIY project that can help maintain water temperature and keep debris out of your spa, reducing cleaning frequency.
- By adding straps and handles to your custom hot tub cover, you can ensure a secure fit and make it easier to handle and maintain.
Read more: How To Repair A Hot Tub Cover
Materials Needed
Before starting the hot tub cover-making process, it’s essential to gather all the necessary materials. Here’s a list of items you’ll need:
- Measuring tape: To accurately measure the dimensions of your hot tub.
- Durable outdoor fabric: Choose a weather-resistant material that can withstand exposure to the elements. Marine-grade vinyl or outdoor canvas are excellent options.
- Foam insulation: Opt for closed-cell foam, which provides excellent insulation and buoyancy. The thickness of the foam will depend on your specific hot tub dimensions.
- Thread: High-quality, UV-resistant thread for sewing the fabric together.
- Heavy-duty sewing machine: A sturdy sewing machine capable of handling thick fabric and foam.
- Straps and buckles: To secure the cover in place, preventing it from being blown away by strong winds.
- Handles: Sturdy, weather-resistant handles for easy handling and removal of the cover.
- Weighing materials: Optional, but useful for adding weight to the cover to prevent it from being displaced by wind.
- Scissors and utility knife: For cutting the fabric and foam to the required dimensions.
- Marker or chalk: To mark the fabric and foam for precise cutting and sewing.
By ensuring you have all these materials on hand, you’ll be well-prepared to commence the hot tub cover creation process. Now that we have our materials ready, let’s move on to the next steps of this DIY project.
Measuring and Cutting the Foam
Accurate measurements are crucial for crafting a hot tub cover that fits perfectly. Start by measuring the dimensions of your hot tub. Use a measuring tape to record the length, width, and depth of the tub, taking into account any rounded corners or irregular shapes. Once you have these measurements, you can proceed to cut the foam insulation to the appropriate size.
Place the foam insulation on a flat surface, and using the measurements you obtained, mark the dimensions on the foam using a marker or chalk. Double-check the measurements to ensure precision before cutting the foam. A utility knife or an electric carving knife can be used to cut the foam along the marked lines. Take care to make clean, straight cuts to achieve a professional-looking result.
It’s important to note that the foam should be cut slightly larger than the actual dimensions of the hot tub to ensure a snug fit when the cover is in place. This additional allowance accounts for the thickness of the fabric and provides a secure seal to retain heat and keep debris out of the tub.
Once the foam is cut to size, you can move on to the next step in the process: sewing the cover.
With the foam insulation now prepared, you’re one step closer to completing your custom hot tub cover. The next stage involves sewing the fabric to encase the foam and create a durable and visually appealing cover for your hot tub. Let’s explore the sewing process in detail.
Consider using a durable, weather-resistant material like marine-grade vinyl for your hot tub cover. This will help protect it from the elements and extend its lifespan.
Sewing the Cover
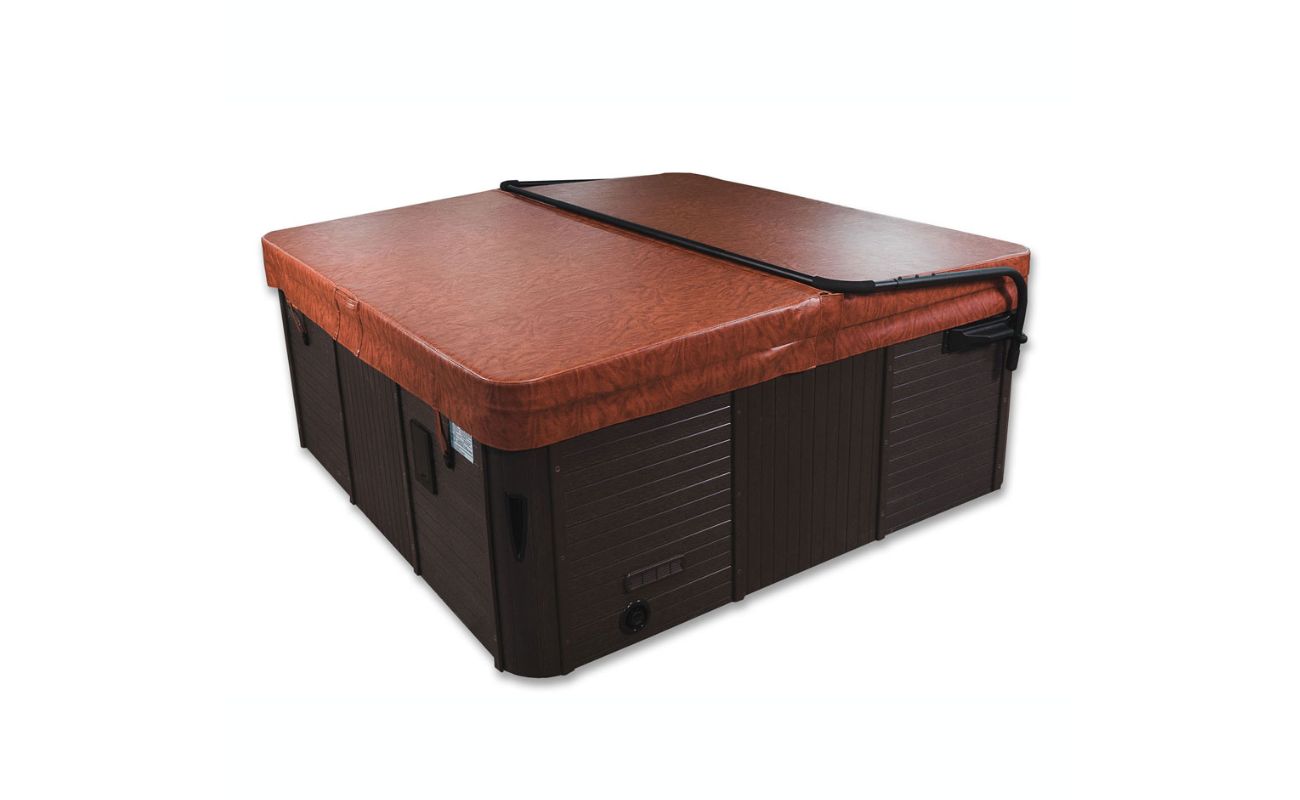
With the foam insulation cut to size, it’s time to move on to the exciting process of sewing the fabric to create the cover for your hot tub. Start by laying the outdoor fabric on a clean, flat surface with the underside facing up. Place the foam insulation on top of the fabric, ensuring that it is centered and aligned with the edges of the fabric.
Next, carefully fold the edges of the fabric over the foam, creating a neat and secure enclosure. Using a heavy-duty sewing machine and UV-resistant thread, sew along the edges of the fabric to join them together, effectively encapsulating the foam. It’s important to use a strong and durable thread to withstand exposure to sunlight and outdoor elements, ensuring the longevity of the cover.
When sewing the fabric, pay attention to the tension and stitch length to achieve a professional finish. Reinforce the corners and seams to enhance the cover’s strength and durability. Additionally, consider using a zigzag stitch or double stitching for added resilience, especially if your hot tub is located in an area prone to strong winds or harsh weather conditions.
As you progress through the sewing process, periodically check the alignment and tension of the fabric to maintain a consistent and snug fit around the foam insulation. Once the sewing is complete, trim any excess fabric and thread for a clean and polished appearance.
By sewing the fabric to encase the foam insulation, you are effectively creating a protective barrier that will safeguard your hot tub and maintain its temperature and cleanliness. The next step involves adding straps and handles to the cover, enhancing its functionality and ease of use. Let’s delve into the process of incorporating these essential features.
Adding Straps and Handles
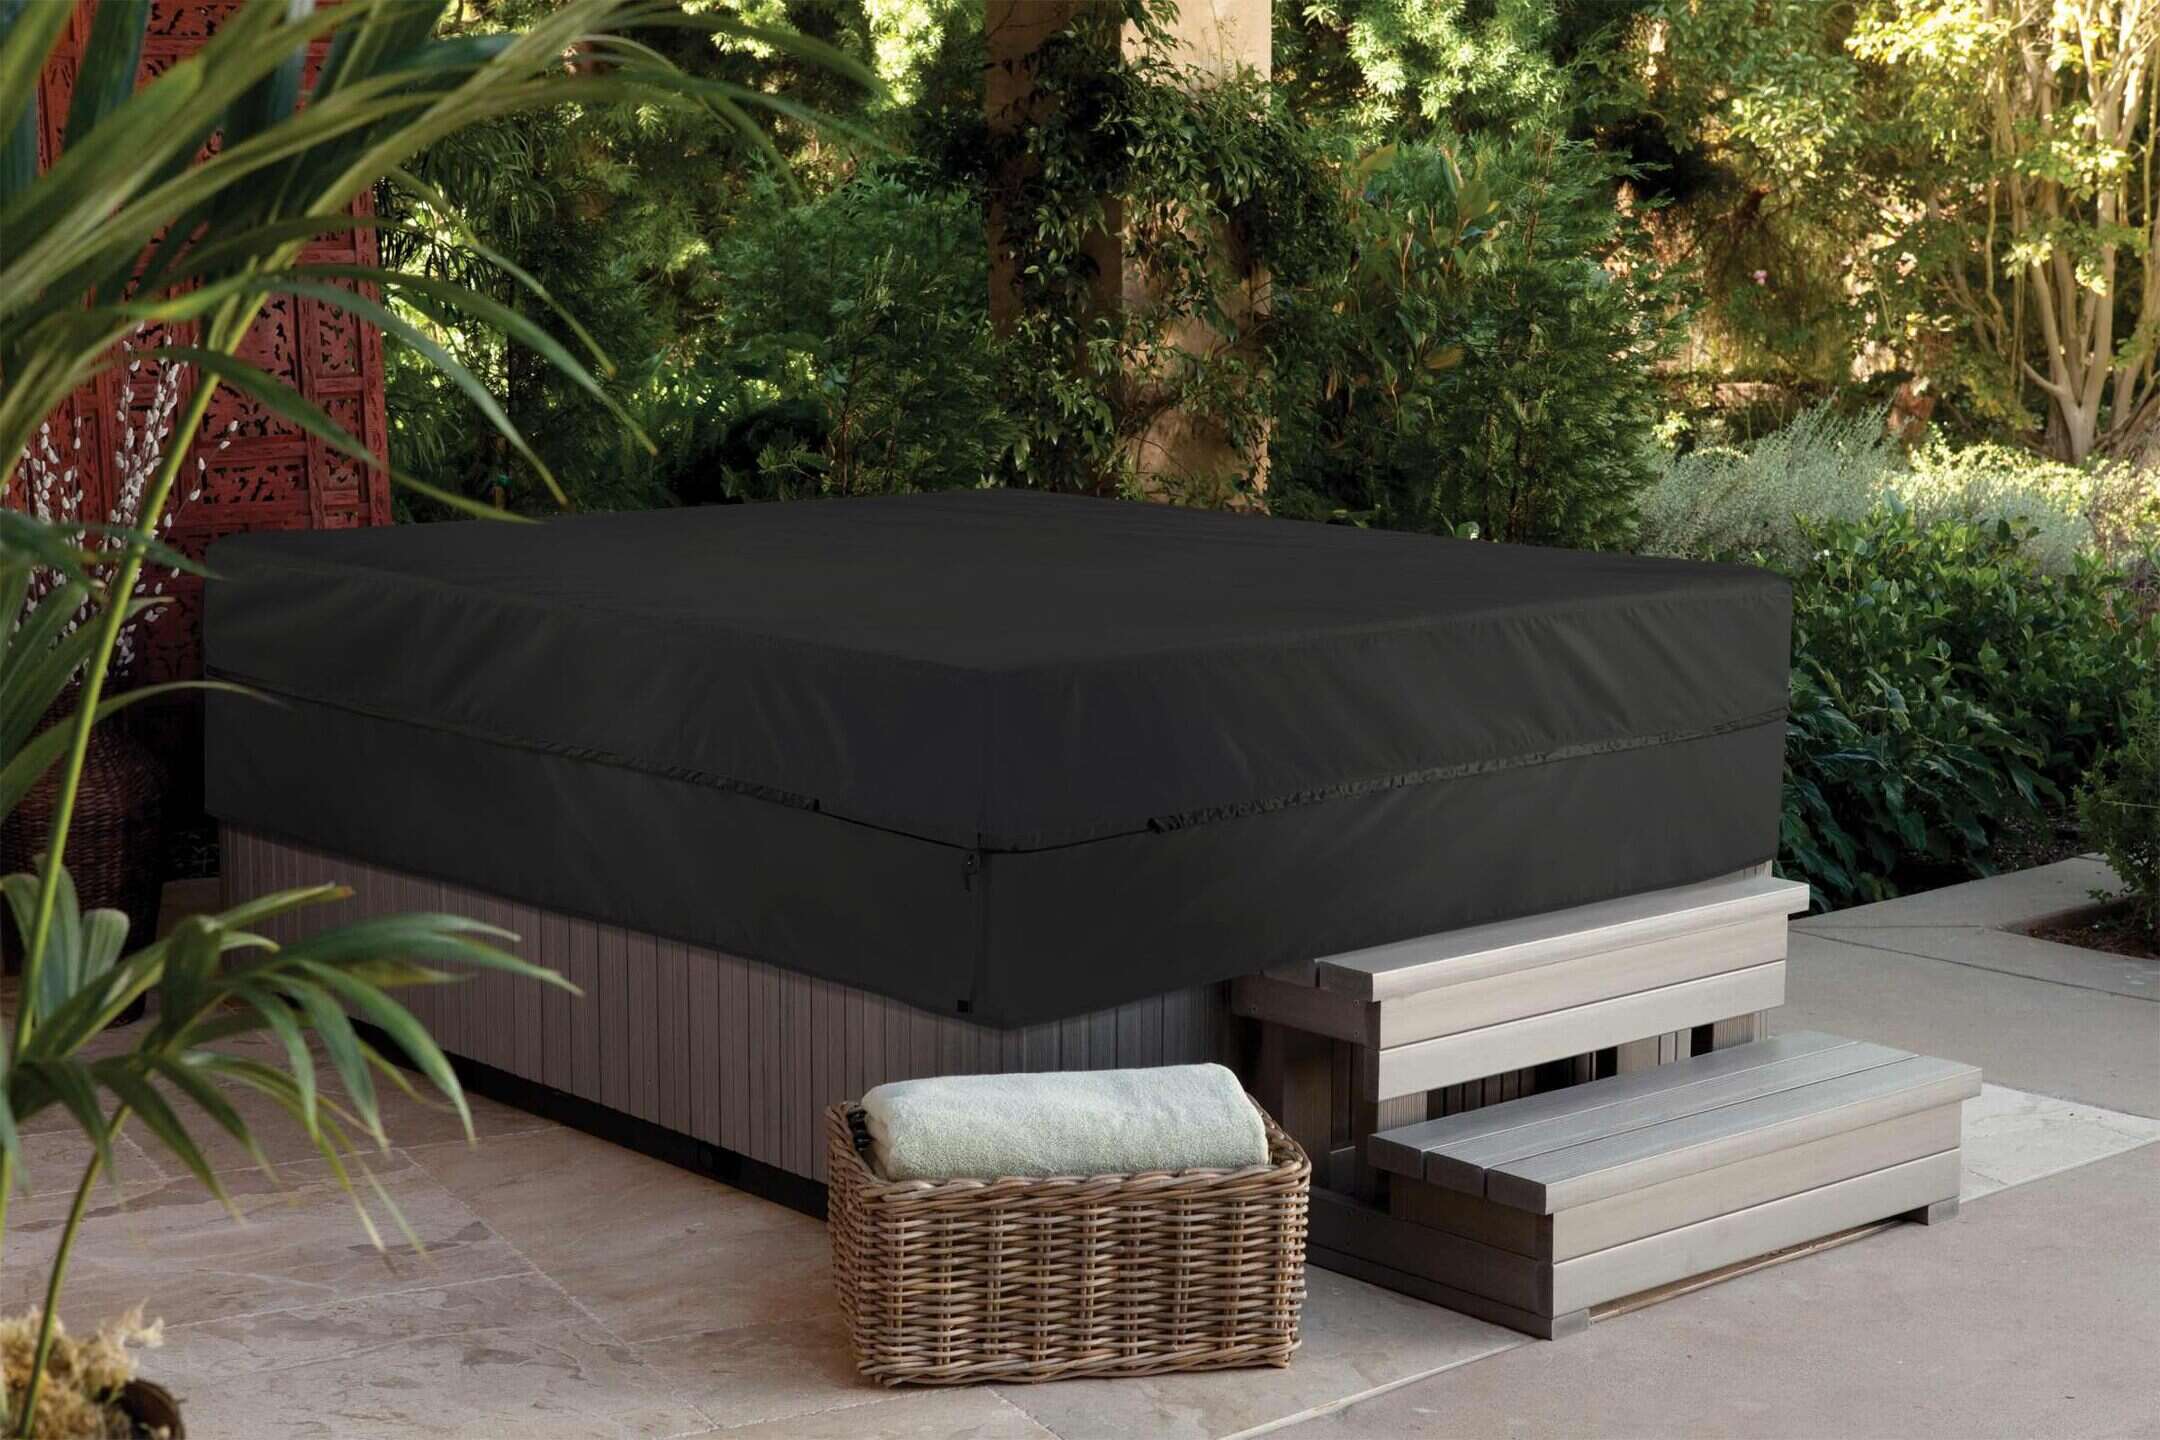
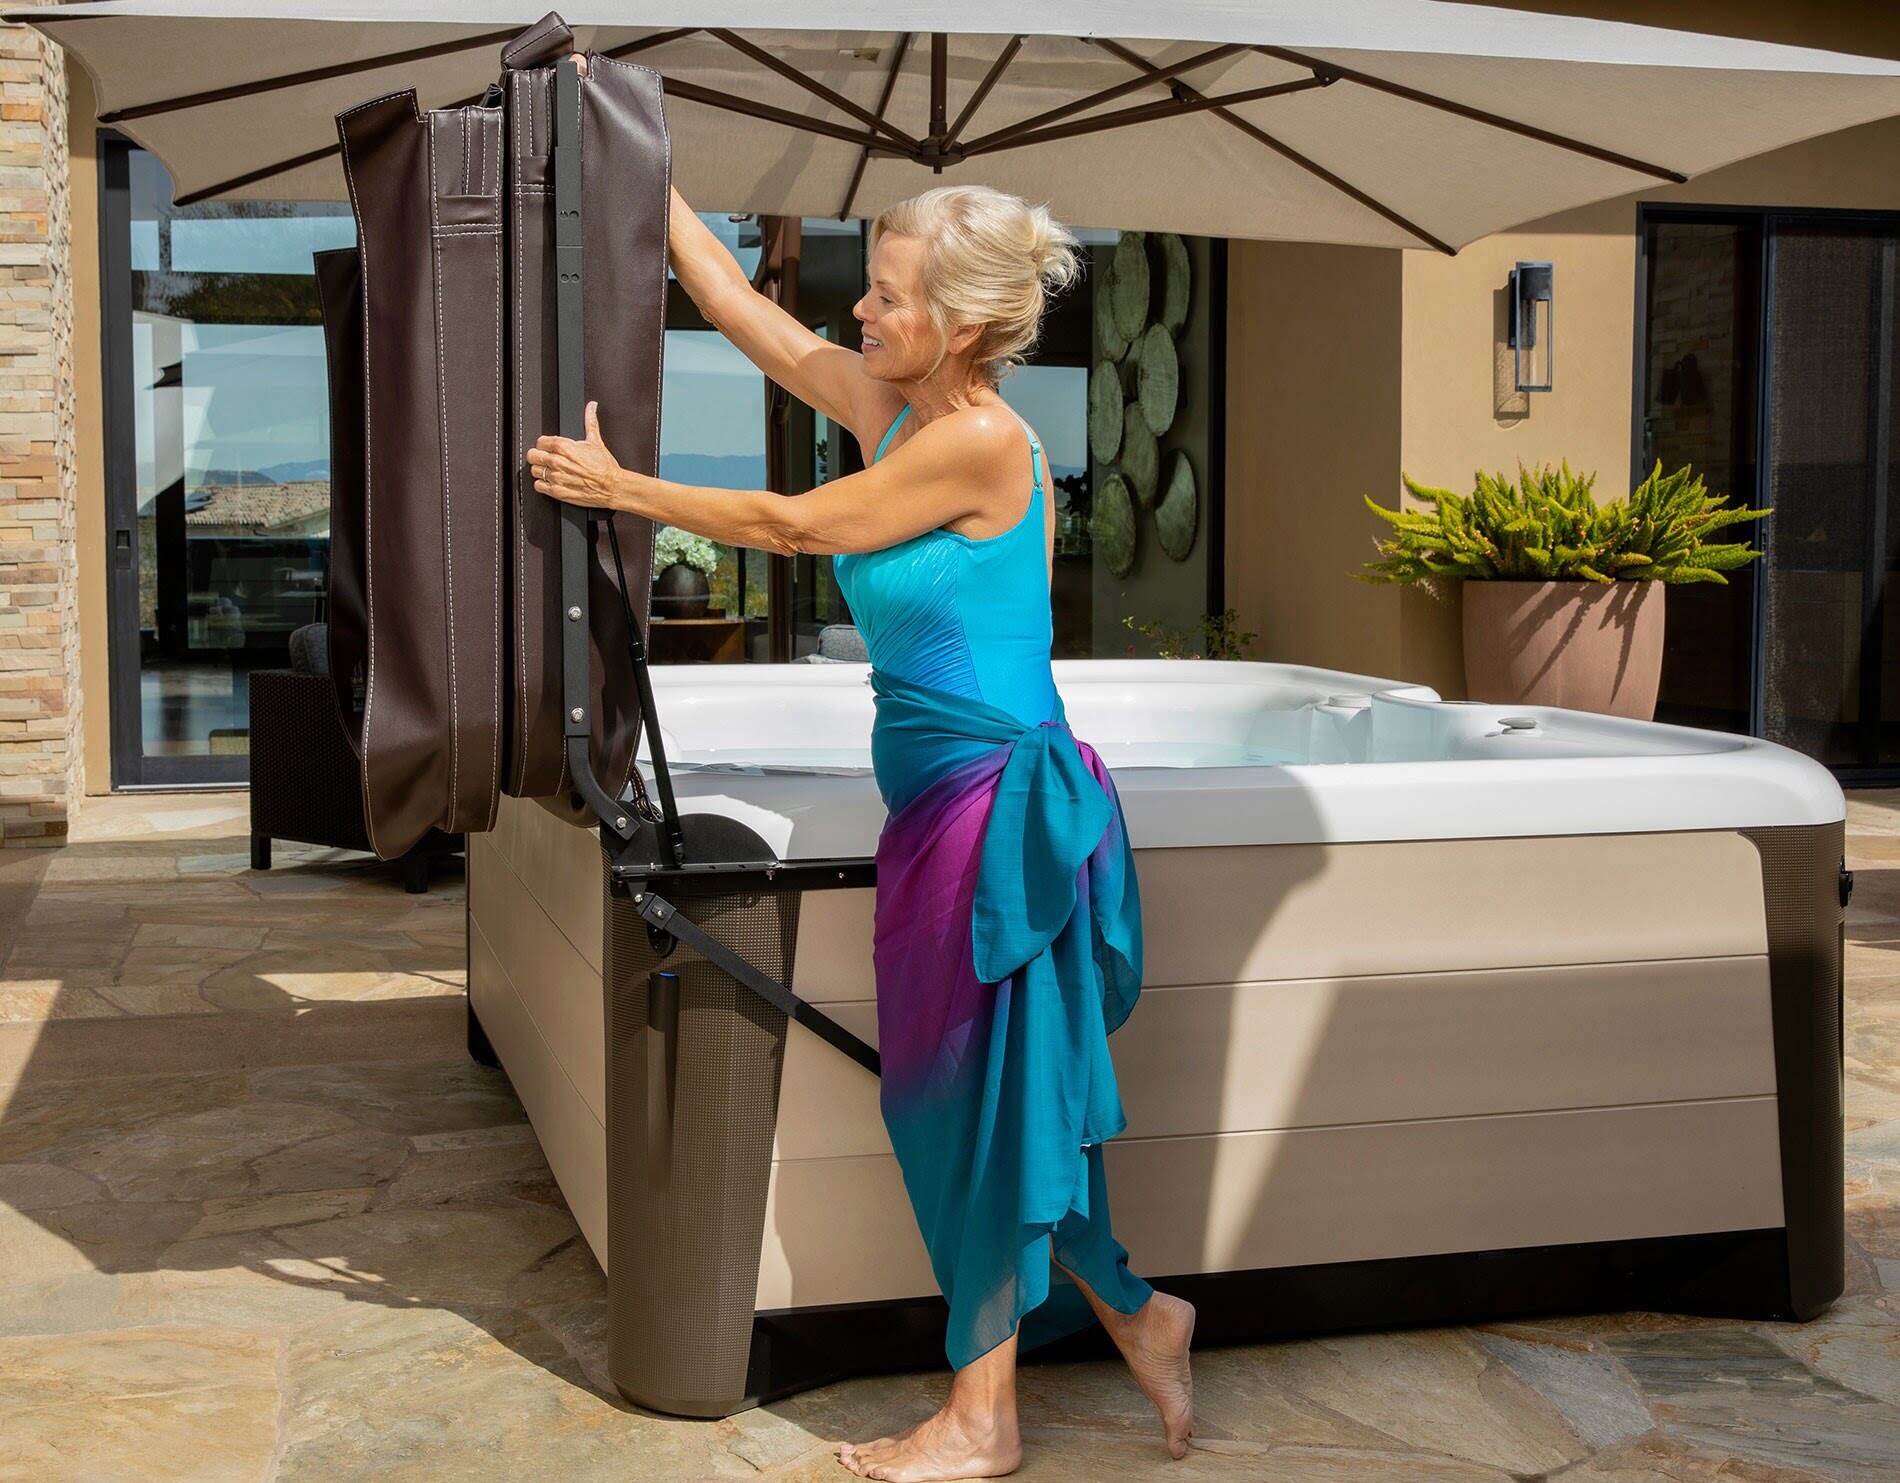
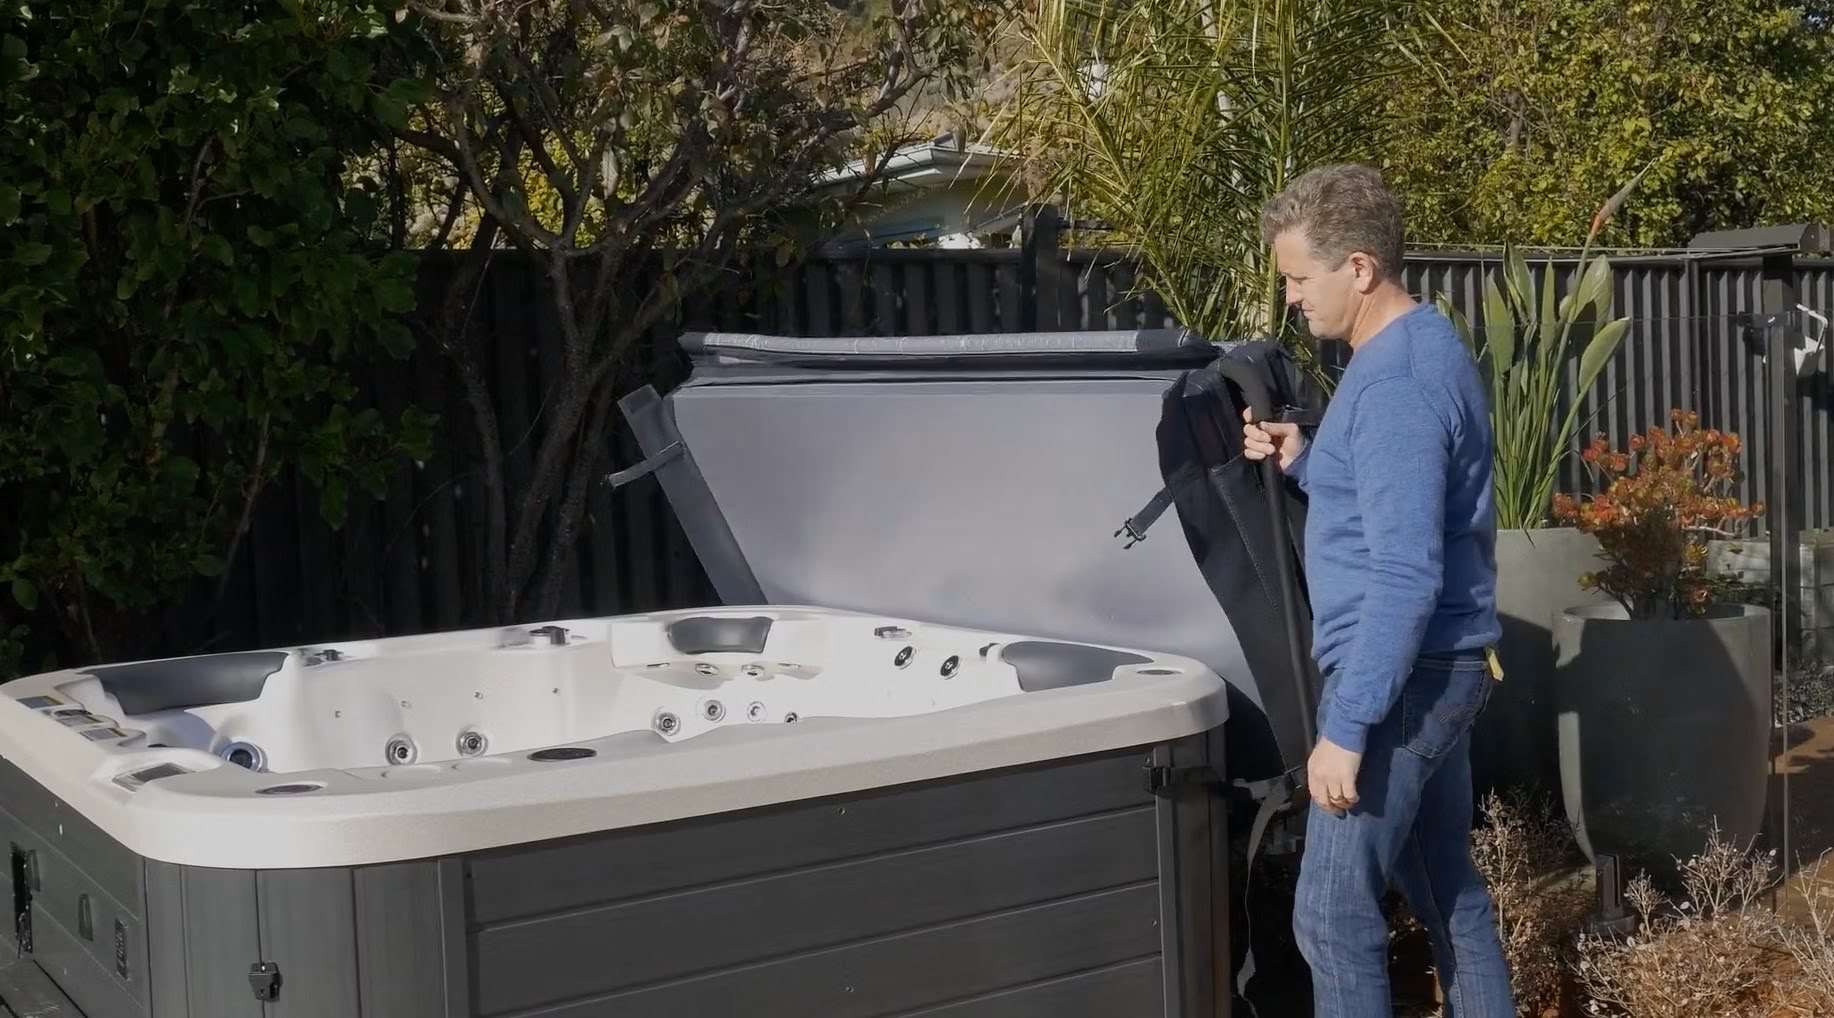
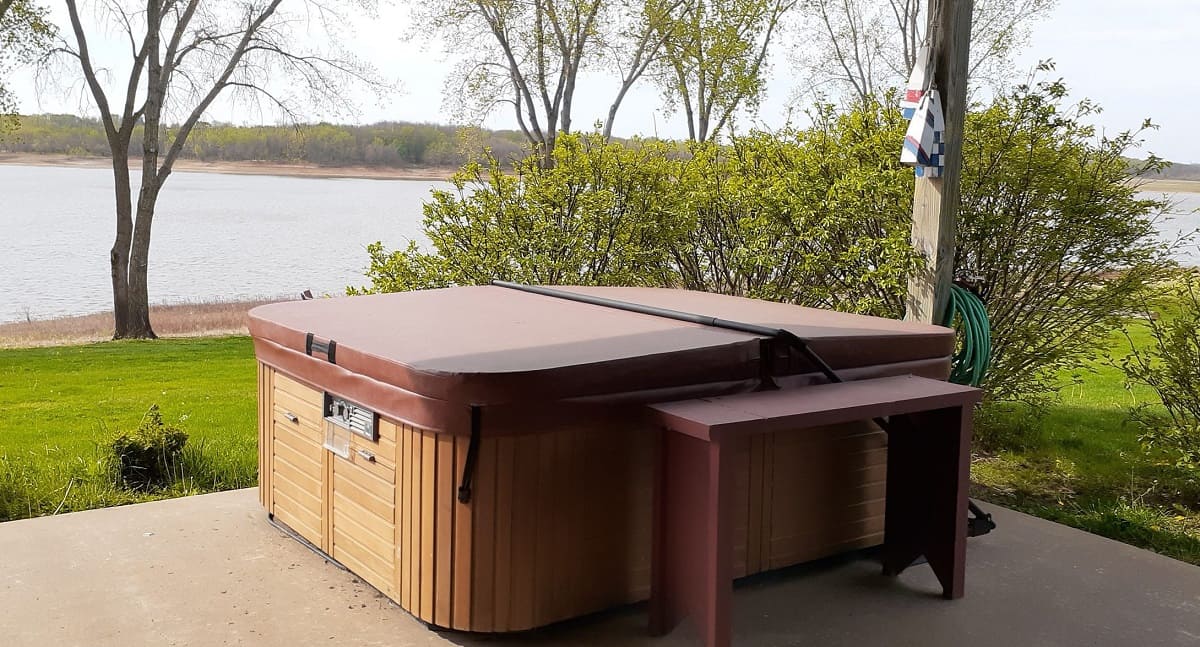
Straps and handles are essential components of a hot tub cover, facilitating easy handling and securing the cover in place. By incorporating these features, you can ensure that your custom cover not only fits perfectly but also offers convenience and practicality. Let’s explore the process of adding straps and handles to your hot tub cover.
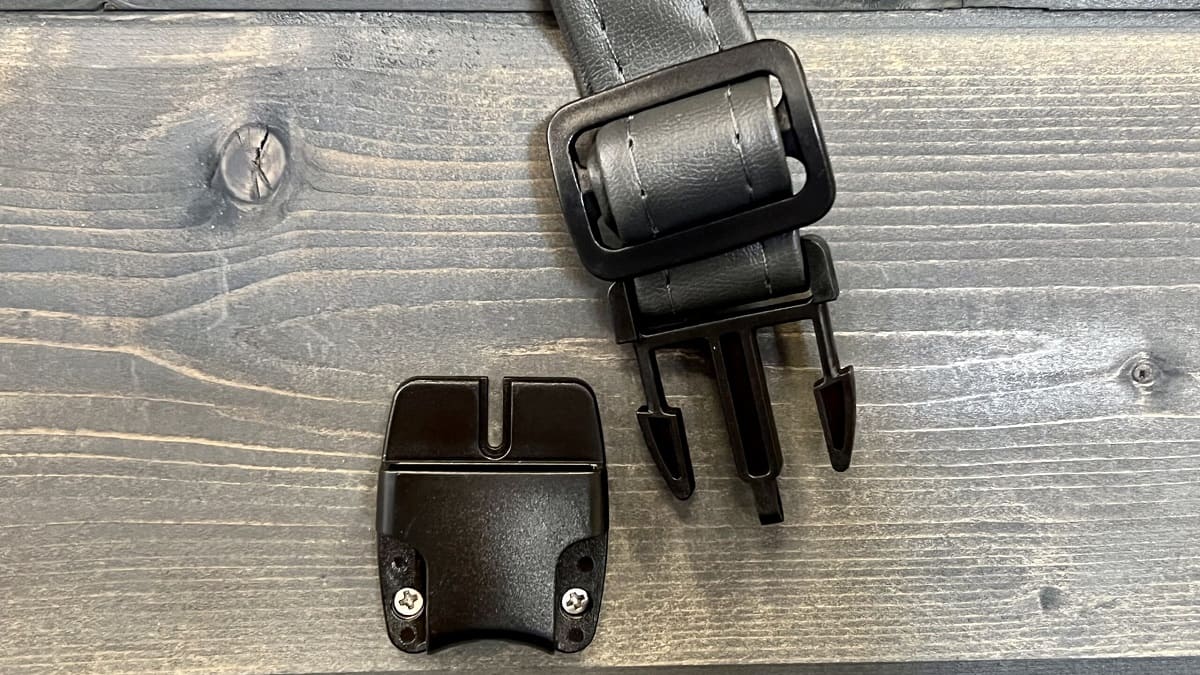
Straps: Begin by determining the placement of the straps on the cover. These straps will be used to secure the cover to the hot tub, preventing it from being displaced by wind or other external forces. Measure and mark the positions where the straps will be attached, ensuring that they are evenly distributed for balanced support.
Next, sew the strap anchors onto the underside of the cover, reinforcing them with multiple stitches to withstand tension and stress. Once the anchors are securely in place, attach the straps, ensuring that they are adjustable to accommodate variations in the hot tub’s dimensions. Using durable buckles or fasteners, secure the straps in a manner that allows for easy tightening and release when placing the cover on the hot tub or removing it for use.
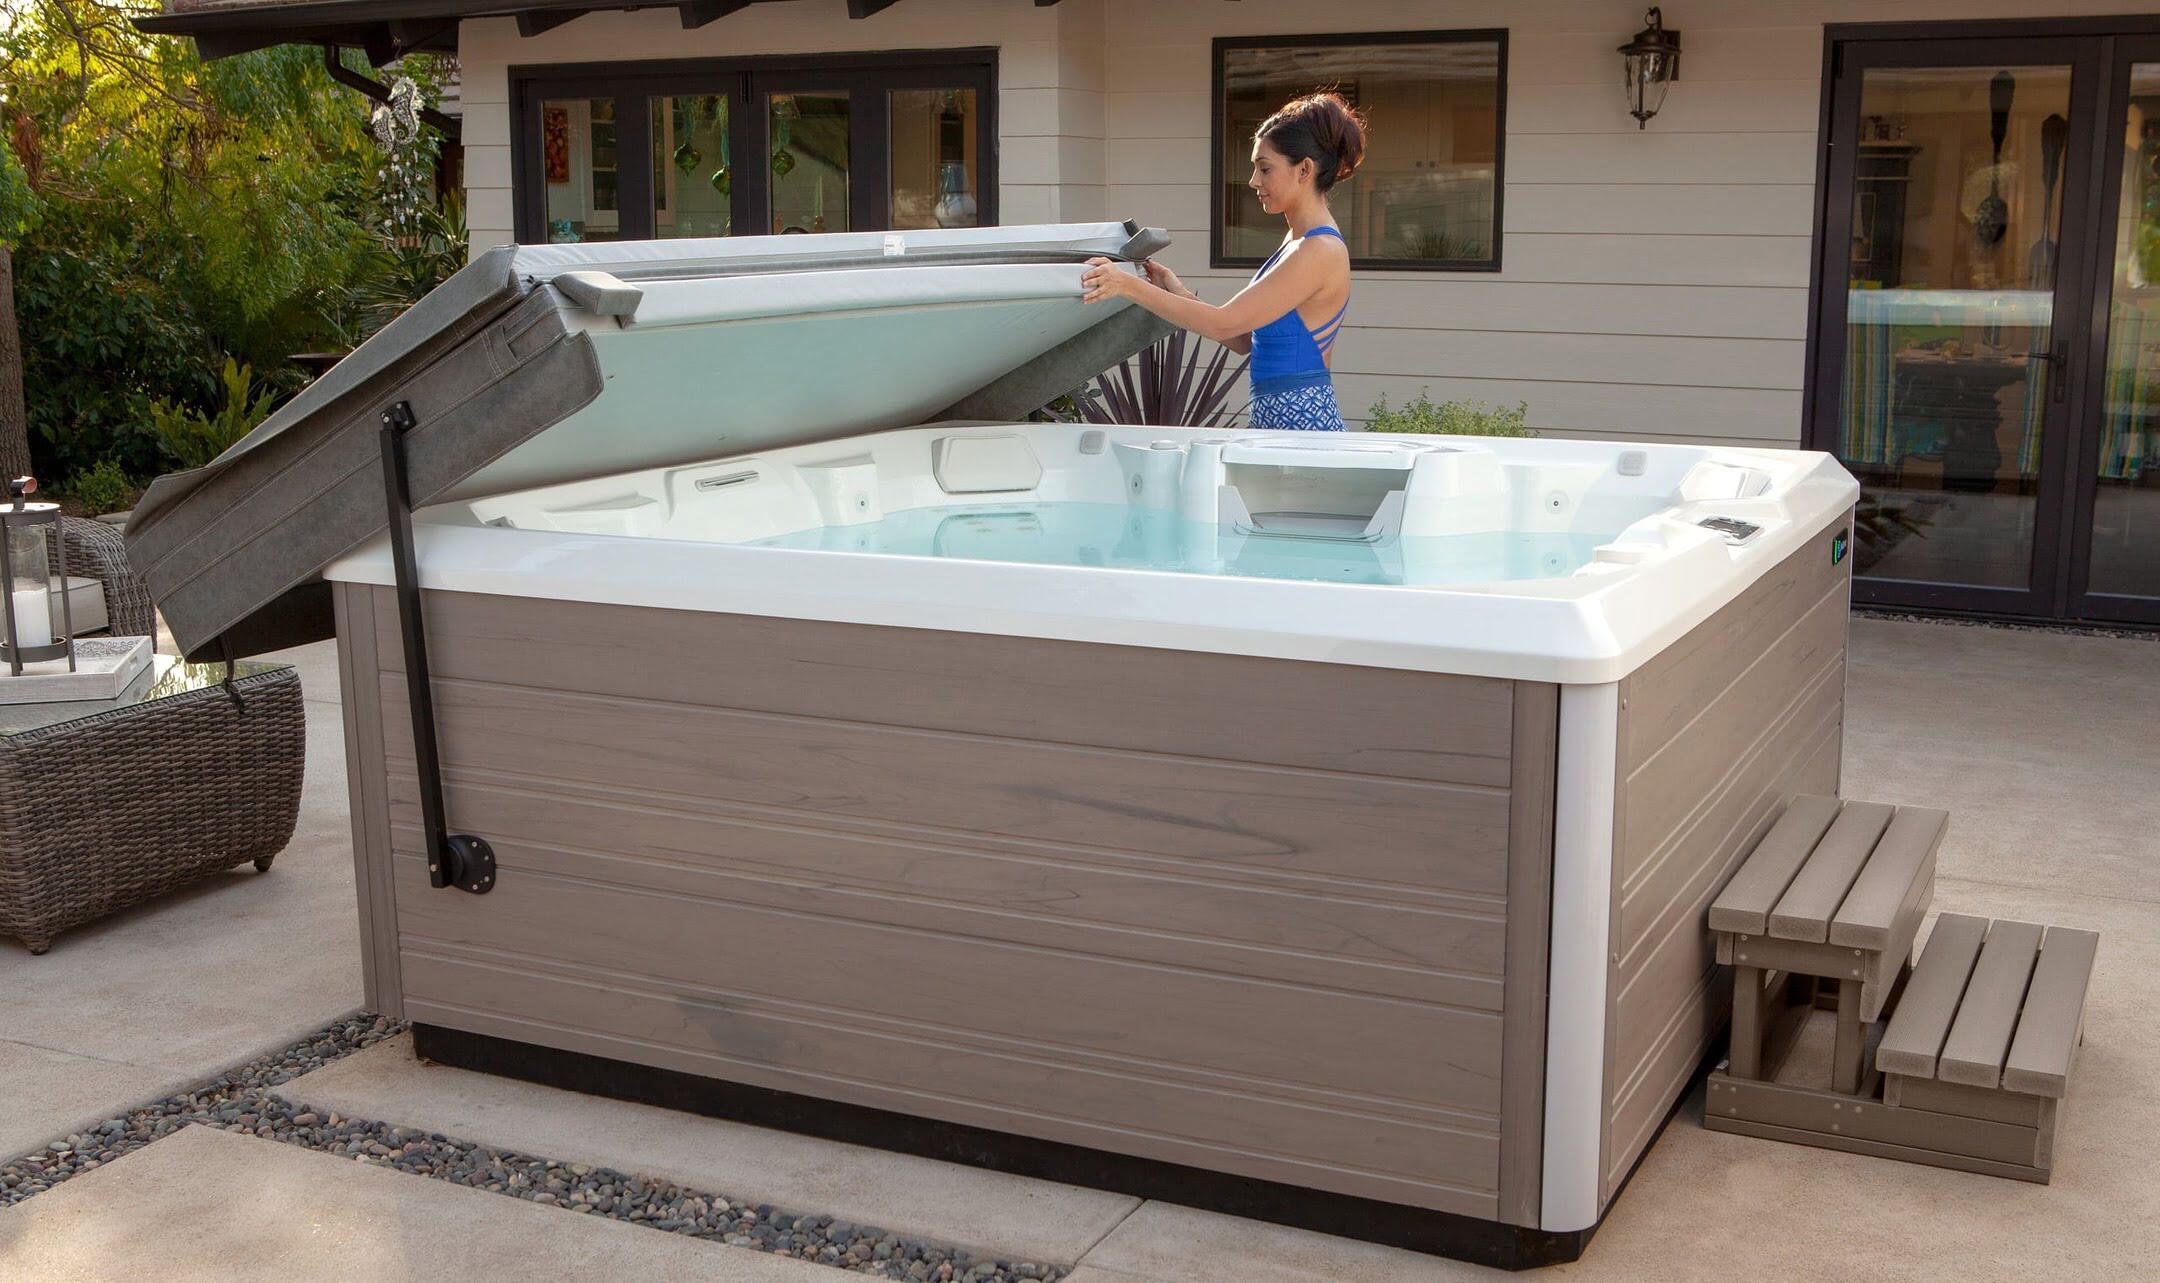
Handles: Handles are invaluable for lifting and maneuvering the cover, especially if it is large or heavy. Determine the optimal placement of the handles, considering factors such as balance and accessibility. Sew the handles securely onto the cover, reinforcing the attachment points to withstand the weight of the cover and provide a firm grip for handling.
When adding straps and handles, it’s important to use high-quality, weather-resistant materials that can endure exposure to the elements. Reinforce the stitching and attachment points to ensure the longevity and reliability of these essential features.
By incorporating sturdy straps and handles into your custom hot tub cover, you are enhancing its functionality and practicality, making it easier to manage and ensuring a secure fit over your hot tub. With these elements in place, your DIY hot tub cover is nearing completion, ready to provide protection and convenience for your spa. As we conclude this guide, you are now equipped with the knowledge and skills to create a custom hot tub cover tailored to your specific requirements.
Read more: How To Clean A Hot Tub Cover
Conclusion
Congratulations on completing the process of crafting your very own hot tub cover! By embarking on this DIY project, you have not only personalized your hot tub care routine but also gained valuable skills in custom fabrication. Your newly created cover will not only enhance the aesthetics of your outdoor space but also contribute to the efficient maintenance and protection of your hot tub.
As you reflect on the journey from gathering materials to sewing the fabric and adding straps and handles, take pride in the meticulous attention to detail and craftsmanship that went into creating a cover tailored to your hot tub’s dimensions and your specific preferences. The satisfaction of completing a practical and visually appealing project is truly rewarding.
With your custom hot tub cover in place, you can look forward to enjoying your spa while minimizing maintenance efforts. The cover will help retain heat, reduce energy consumption, and keep debris at bay, allowing you to fully appreciate the relaxation and rejuvenation that your hot tub offers.
Remember to periodically inspect and clean your hot tub cover to maintain its durability and functionality. By caring for your cover, you can prolong its lifespan and ensure continued protection for your hot tub throughout the seasons.
Whether you chose vibrant colors, added personal touches, or focused on durability and functionality, your hot tub cover is a reflection of your creativity and commitment to maintaining a welcoming and inviting outdoor oasis. Embrace the satisfaction of a job well done and the knowledge that your DIY hot tub cover will serve as a practical and stylish addition to your spa experience.
As you bask in the comfort and luxury of your hot tub, take pride in the fact that you played a pivotal role in creating a custom cover that complements your lifestyle and elevates your outdoor space. Your hot tub cover is a testament to your ingenuity and dedication to enhancing your home environment.
Thank you for joining us on this DIY hot tub cover-making journey. We hope this guide has inspired you to explore the world of custom fabrication and empowered you to infuse your personal touch into your hot tub care routine. Here’s to many delightful moments of relaxation and enjoyment in your beautifully covered hot tub!
Frequently Asked Questions about How To Make A Hot Tub Cover
Was this page helpful?
At Storables.com, we guarantee accurate and reliable information. Our content, validated by Expert Board Contributors, is crafted following stringent Editorial Policies. We're committed to providing you with well-researched, expert-backed insights for all your informational needs.
0 thoughts on “How To Make A Hot Tub Cover”