Home>Construction & Tools>Building Materials>How To Make Brick Look New
Building Materials
How To Make Brick Look New
Modified: October 19, 2024
Learn how to make brick look new with our expert tips and tricks. Discover the best building materials and techniques for revitalizing your brick surfaces.
(Many of the links in this article redirect to a specific reviewed product. Your purchase of these products through affiliate links helps to generate commission for Storables.com, at no extra cost. Learn more)
Introduction
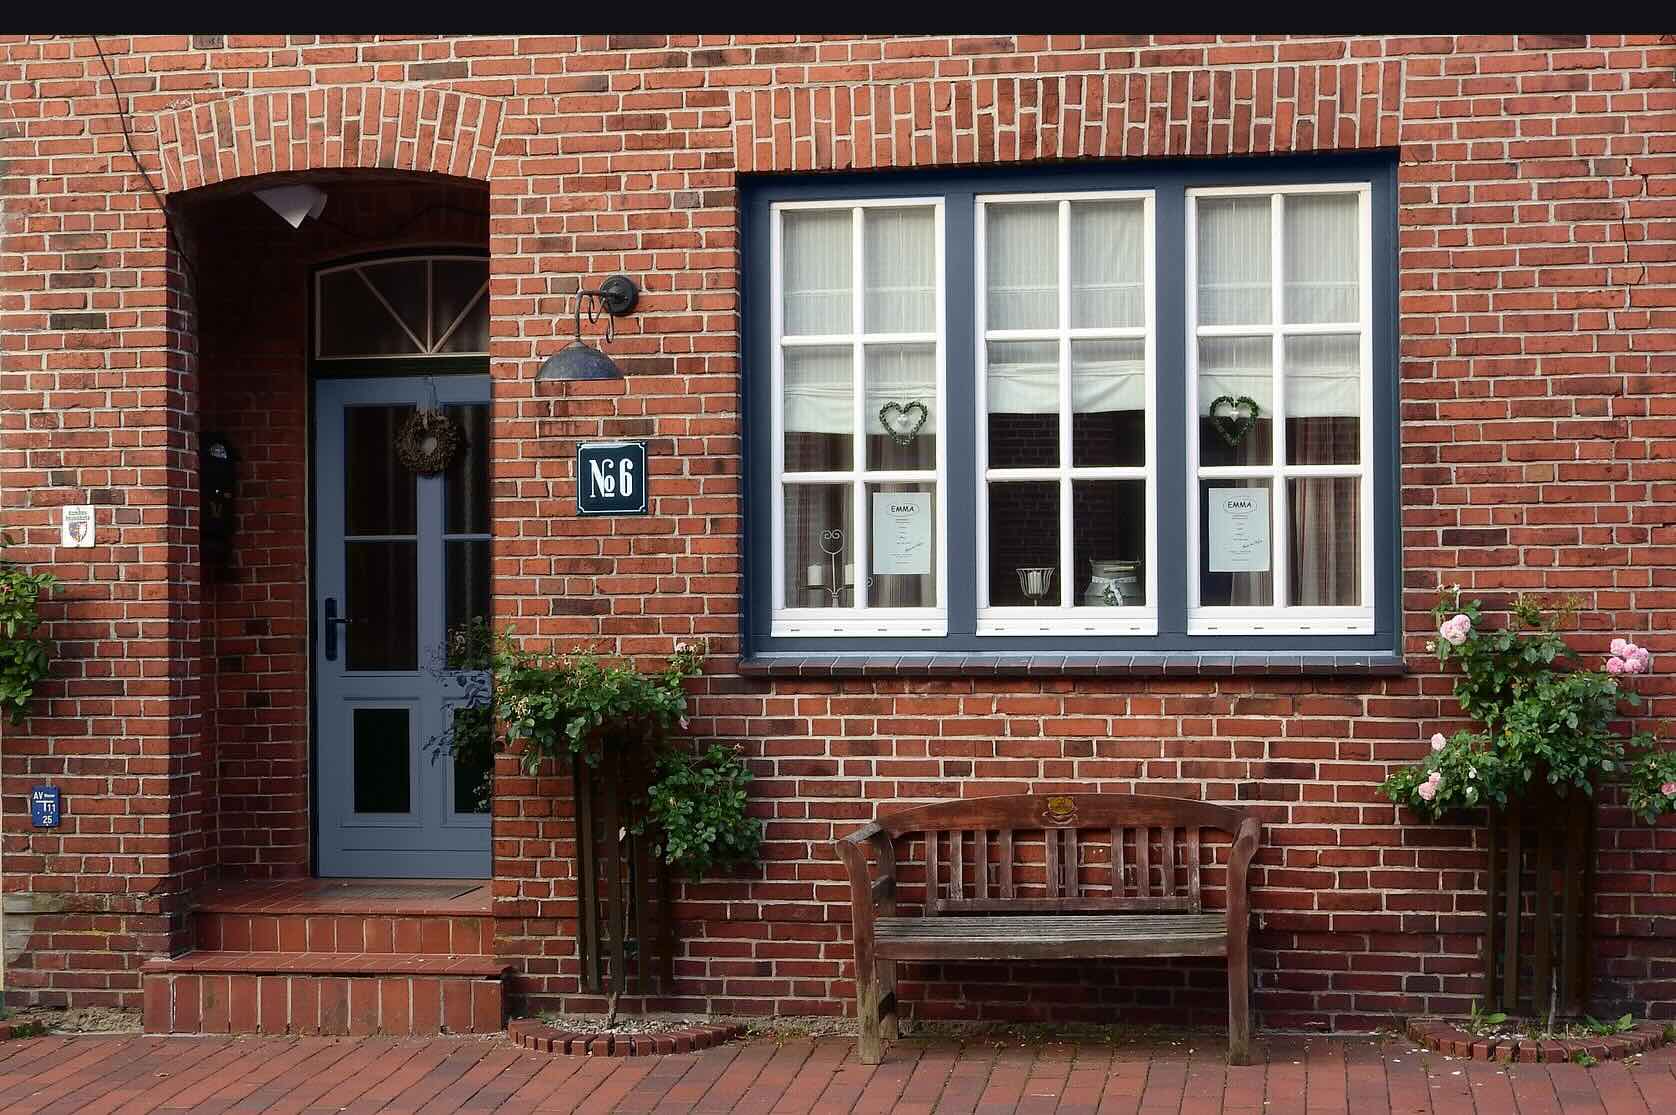
Welcome to the world of brick rejuvenation! Whether you have a weathered brick wall, patio, or fireplace, restoring the vibrancy of your bricks can breathe new life into your living space. Over time, exposure to the elements can cause brick surfaces to accumulate dirt, grime, and even suffer from damage. However, with the right techniques and a bit of elbow grease, you can revitalize your brickwork and bring back its original allure.
In this comprehensive guide, we will explore the step-by-step process of transforming tired-looking bricks into a revitalized focal point. From assessing the condition of the bricks to cleaning, repairing, and applying a fresh coat of paint or sealant, we will cover it all. By the end of this journey, you will be equipped with the knowledge and confidence to make your brick look as good as new.
So, roll up your sleeves, gather your supplies, and let’s embark on this transformative brick-reviving adventure together!
Key Takeaways:
- Revitalize weathered bricks by assessing, cleaning, repairing, and applying a fresh coat of paint or sealant. Transform your living space with timeless charm and durability.
- Regular upkeep and proactive care are key to preserving the beauty and resilience of rejuvenated bricks. Unleash the full potential of your living space with the art of brick rejuvenation.
Read more: How To Make Bathtub Look New
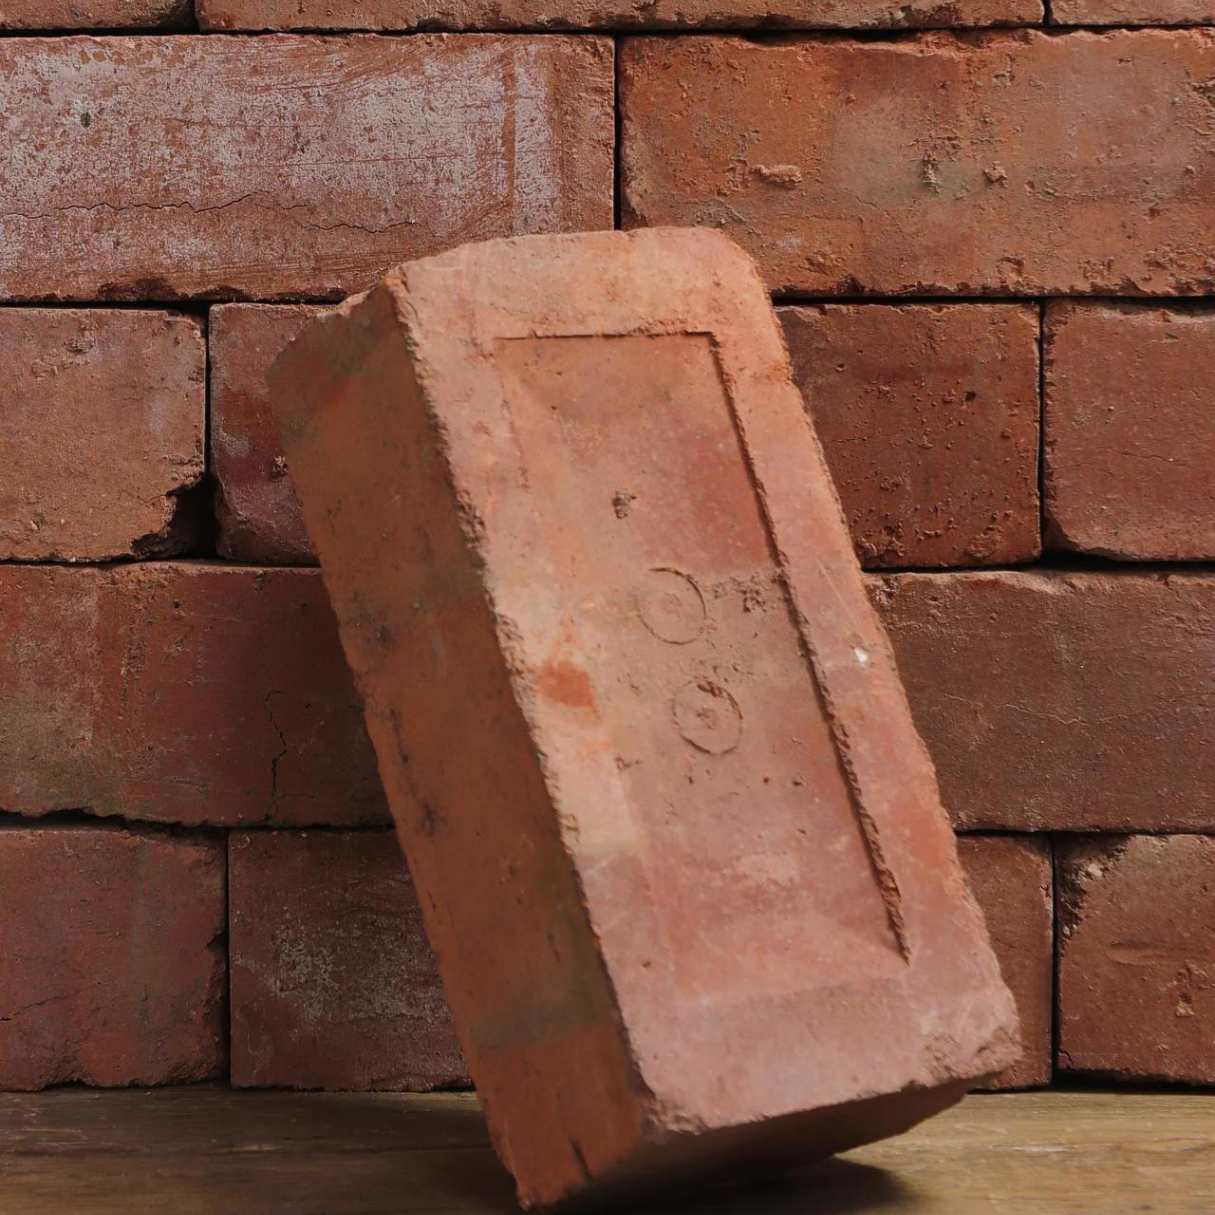
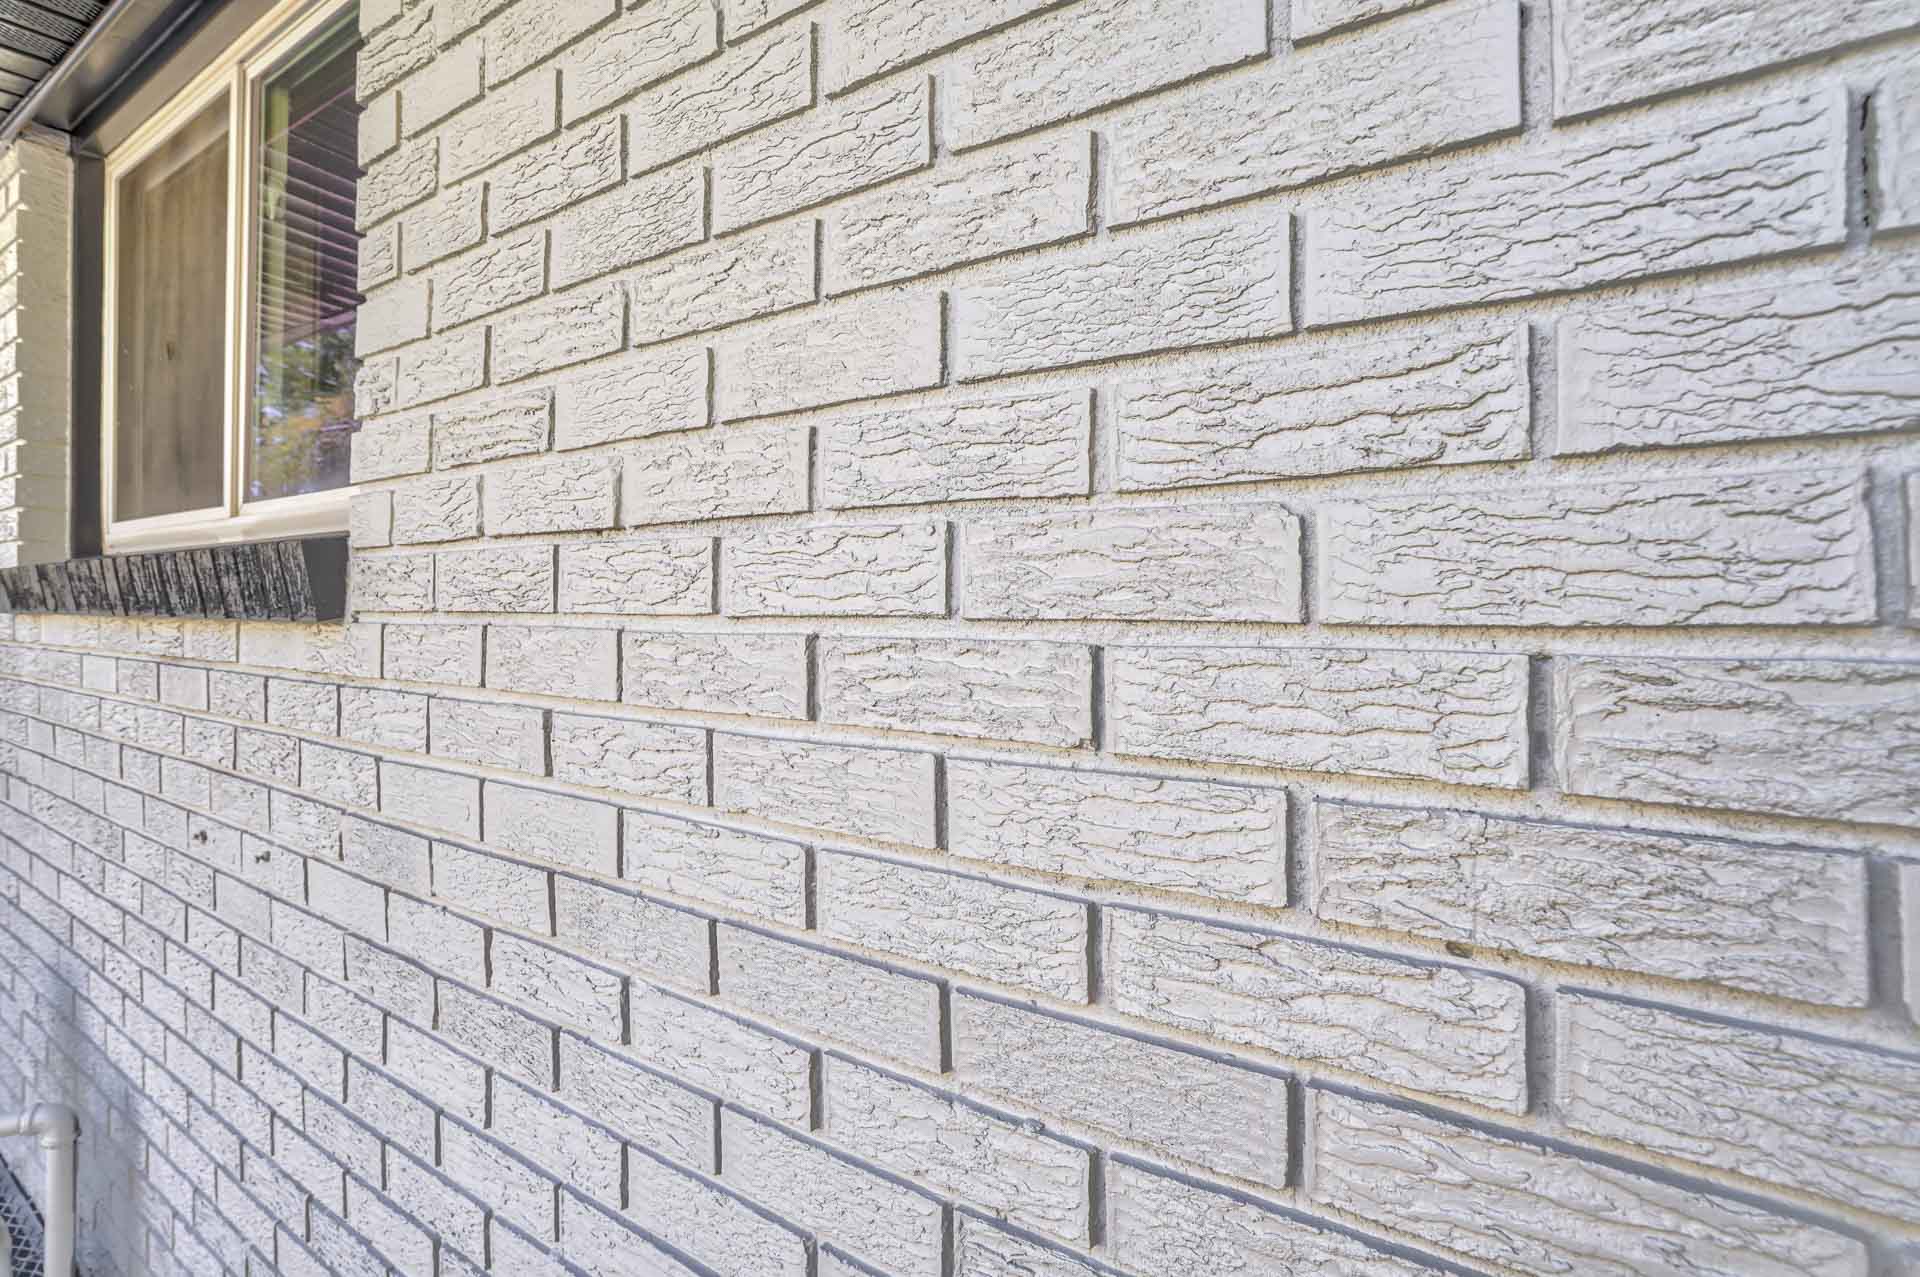
Assessing the Condition of the Brick
Before diving into the restoration process, it’s crucial to assess the current state of your bricks. This initial step will help you determine the extent of cleaning and repairs required to achieve the desired results. Here are a few key aspects to consider:
- Surface Dirt and Grime: Inspect the brick surface for accumulated dirt, grime, moss, or mildew. Note any areas with particularly stubborn stains or discoloration.
- Damage and Deterioration: Check for cracked, chipped, or spalled bricks. Additionally, assess the condition of mortar joints for any signs of erosion or crumbling.
- Efflorescence: Look for powdery white deposits on the surface, indicating the presence of efflorescence, a common issue caused by water-soluble salts.
- Prior Coatings: If the bricks have been previously painted or sealed, evaluate the condition of the existing coatings. Determine whether they need to be removed before proceeding with the restoration.
By thoroughly evaluating these factors, you’ll gain a clearer understanding of the work required to restore your bricks to their former glory. This assessment sets the stage for the subsequent cleaning and repair processes, ensuring that each step is tailored to address the specific needs of your brick surface.
Cleaning the Brick Surface
Once you’ve assessed the condition of the bricks, the next step in the rejuvenation process is thorough cleaning. Over time, brick surfaces can accumulate a layer of dirt, grime, and organic growth, diminishing their visual appeal. By employing the right cleaning techniques, you can effectively remove these unsightly elements and reveal the natural beauty of the bricks beneath.
Here’s a step-by-step guide to cleaning your brick surface:
- Gather Your Supplies: Equip yourself with a stiff-bristled brush, mild detergent or specially formulated brick cleaner, a bucket of water, and a garden hose with a spray nozzle.
- Prep the Area: Clear the surrounding space and protect any adjacent surfaces or landscaping from cleaning solutions and debris.
- Dry Brushing: Begin by dry brushing the brick surface to remove loose dirt, cobwebs, and debris. This initial step helps prevent the spread of dirt during the wet cleaning process.
- Mix the Cleaning Solution: Dilute the detergent or brick cleaner in the bucket of water according to the manufacturer’s instructions.
- Apply the Solution: Using the stiff-bristled brush, apply the cleaning solution to the bricks, working in manageable sections. Scrub the surface vigorously to dislodge stubborn stains and grime.
- Rinse Thoroughly: Once the bricks are scrubbed, thoroughly rinse the surface with clean water using the garden hose. Ensure that all traces of the cleaning solution are removed.
- Inspect and Repeat (if necessary): After the initial cleaning, inspect the bricks for any remaining stains or areas requiring further attention. If needed, repeat the cleaning process in targeted areas.
By following these steps, you can effectively restore the cleanliness and luster of your brick surface. Clean bricks not only enhance the aesthetic appeal of your space but also provide a pristine canvas for any necessary repairs and subsequent treatments.
To make brick look new, use a pressure washer with a low-pressure nozzle to remove dirt and grime. Then, apply a brick sealer to enhance the color and protect it from future damage.
Repairing Damaged Bricks
After thoroughly cleaning the brick surface, it’s time to address any damaged or deteriorated bricks and mortar joints. Over time, exposure to the elements and general wear and tear can lead to cracks, chips, or spalling in the bricks, as well as erosion in the mortar. Repairing these issues is essential to ensure the structural integrity and visual appeal of the brickwork.
Here’s a comprehensive guide to repairing damaged bricks:
- Assessing the Damage: Carefully inspect the bricks and mortar joints for any visible signs of damage, including cracks, chips, spalling, or deteriorated mortar. Note the extent of the damage and the specific areas requiring attention.
- Replacing Damaged Bricks: For severely damaged bricks, carefully remove them using a chisel and hammer. Clean out the surrounding mortar and replace the damaged bricks with new ones, ensuring a snug fit and uniform appearance with the existing bricks.
- Repairing Cracks and Chips: Utilize a high-quality masonry repair compound to fill in cracks and chips in the bricks. Smooth the compound with a trowel to match the surrounding surface, and allow it to cure according to the manufacturer’s instructions.
- Repointing Mortar Joints: If the mortar joints show signs of erosion or crumbling, repointing is necessary. Carefully remove the deteriorated mortar using a chisel and reapply fresh mortar to the joints, ensuring a uniform and structurally sound finish.
- Curing and Finishing: Allow the repaired areas to cure completely before subjecting them to further cleaning or treatments. Once cured, the repaired bricks and mortar joints should seamlessly blend with the existing surface.
By addressing damaged bricks and mortar joints, you not only enhance the visual appeal of the brickwork but also ensure its longevity and structural stability. With proper repairs, your rejuvenated bricks will stand the test of time, exuding timeless charm and durability.
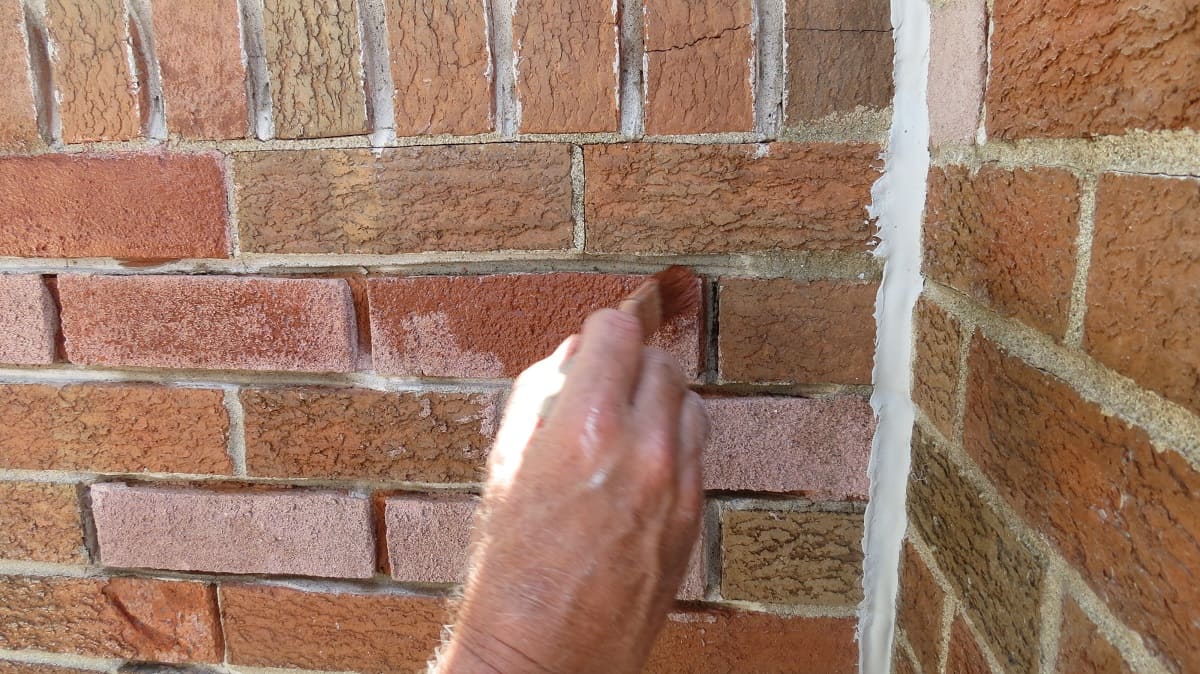
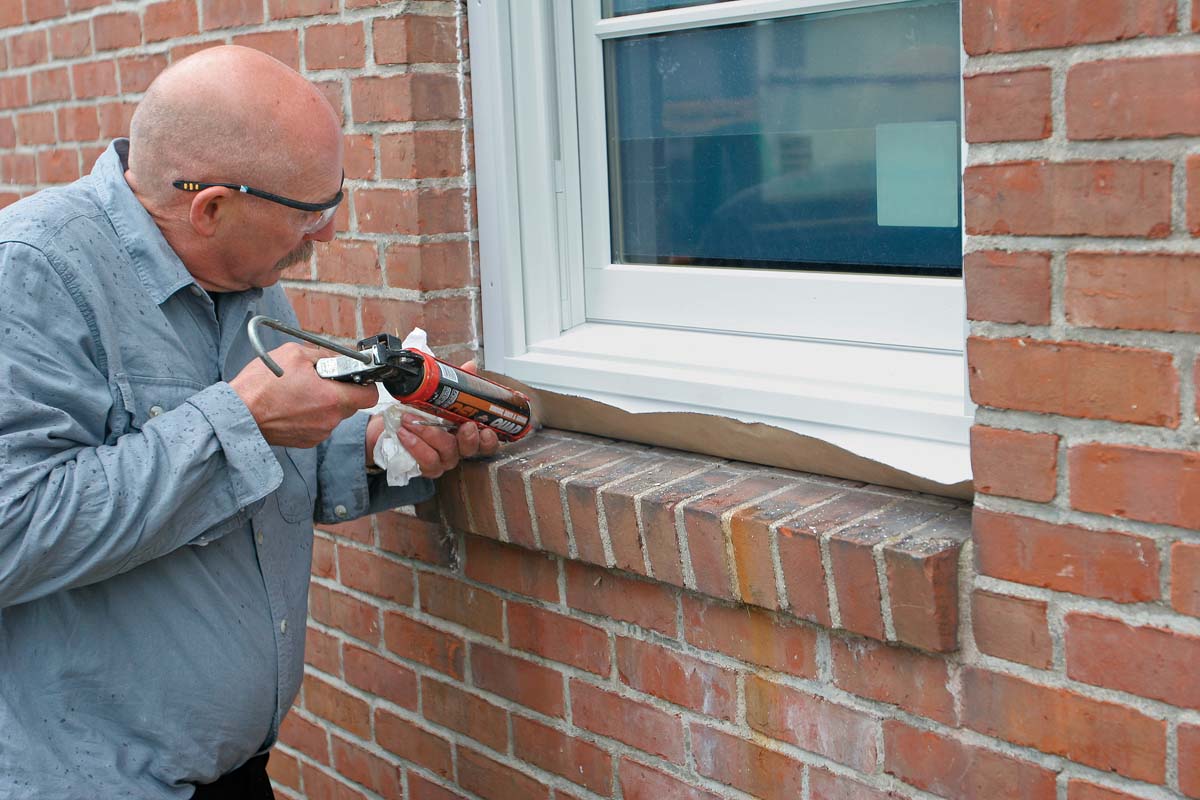
Applying a Fresh Coat of Paint or Sealant
Once the cleaning and repair processes are complete, the final step in rejuvenating your bricks involves applying a fresh coat of paint or sealant. This crucial stage not only enhances the aesthetic appeal of the bricks but also provides long-term protection against environmental elements, ensuring their longevity and resilience.
Here’s a detailed guide to applying a fresh coat of paint or sealant to your rejuvenated bricks:
- Choosing the Right Product: Select a high-quality masonry paint or sealant suitable for the specific requirements of your brick surface. Consider factors such as color, finish, breathability, and durability when making your selection.
- Surface Preparation: Ensure that the cleaned and repaired brick surface is completely dry before applying the paint or sealant. Remove any dust or debris using a soft-bristled brush or a gentle blast of compressed air.
- Priming (if painting): If you opt to paint the bricks, applying a suitable masonry primer is essential to promote adhesion and ensure uniform color coverage. Follow the manufacturer’s instructions for proper application and drying times.
- Applying the Paint or Sealant: Use a high-quality paintbrush or roller to apply the paint or sealant to the brick surface. Work in manageable sections, ensuring even coverage and paying attention to any intricate details or textured areas.
- Multiple Coats (if necessary): Depending on the product and desired finish, multiple coats may be required. Allow each coat to dry completely before applying the next, ensuring a smooth and consistent appearance.
- Finishing Touches: Once the final coat is applied and dried, inspect the surface for any touch-ups or uneven areas. Address any imperfections to achieve a flawless finish.
By applying a fresh coat of paint or sealant, you not only enhance the visual appeal of your bricks but also fortify them against the elements, extending their lifespan and maintaining their newfound radiance. Whether you opt for a classic brick hue or a custom color, the final treatment adds the perfect finishing touch to your brick rejuvenation project.
Read more: How To Make Brick Look Aged
Conclusion
Congratulations on embarking on the journey to revitalize your bricks and breathe new life into your living space! By following the comprehensive steps outlined in this guide, you’ve gained the knowledge and confidence to transform tired-looking bricks into a rejuvenated focal point that exudes timeless charm and durability.
Throughout this process, you’ve embraced the art of brick restoration, from assessing the condition of the bricks to cleaning, repairing, and applying a fresh coat of paint or sealant. Each step has been carefully tailored to address the specific needs of your brick surface, ensuring a thorough and effective rejuvenation.
As you stand back and admire the revitalized bricks, take a moment to appreciate the transformation that has taken place. The once weathered and worn surface now radiates with renewed vibrancy, enhancing the aesthetic appeal of your surroundings and adding a touch of timeless elegance.
Remember, the key to maintaining the beauty and resilience of your rejuvenated bricks lies in regular upkeep and proactive care. By incorporating a routine cleaning schedule and promptly addressing any signs of wear or damage, you can preserve the allure of your brickwork for years to come.
So, whether it’s a weathered brick wall, a tired patio, or a lackluster fireplace, the art of brick rejuvenation empowers you to unleash the full potential of your living space. With the right techniques and a touch of creativity, your bricks can continue to captivate and inspire, enriching the ambiance of your home for generations to come.
Now, as you revel in the timeless beauty of your revitalized bricks, take pride in the transformative journey you’ve embarked upon. Your dedication to preserving the allure of brickwork has not only rejuvenated your living space but has also kindled a deeper appreciation for the enduring charm of this timeless building material.
Frequently Asked Questions about How To Make Brick Look New
Was this page helpful?
At Storables.com, we guarantee accurate and reliable information. Our content, validated by Expert Board Contributors, is crafted following stringent Editorial Policies. We're committed to providing you with well-researched, expert-backed insights for all your informational needs.


0 thoughts on “How To Make Brick Look New”