Home>Home Appliances>Bathroom Appliances>How To Curl Hair With A Blow Dryer
Bathroom Appliances
How To Curl Hair With A Blow Dryer
Modified: August 16, 2024
Learn how to achieve beautiful curls using a blow dryer with our step-by-step guide. Discover the best techniques and tools for perfect results. Transform your bathroom appliances into styling essentials today!
(Many of the links in this article redirect to a specific reviewed product. Your purchase of these products through affiliate links helps to generate commission for Storables.com, at no extra cost. Learn more)
Introduction
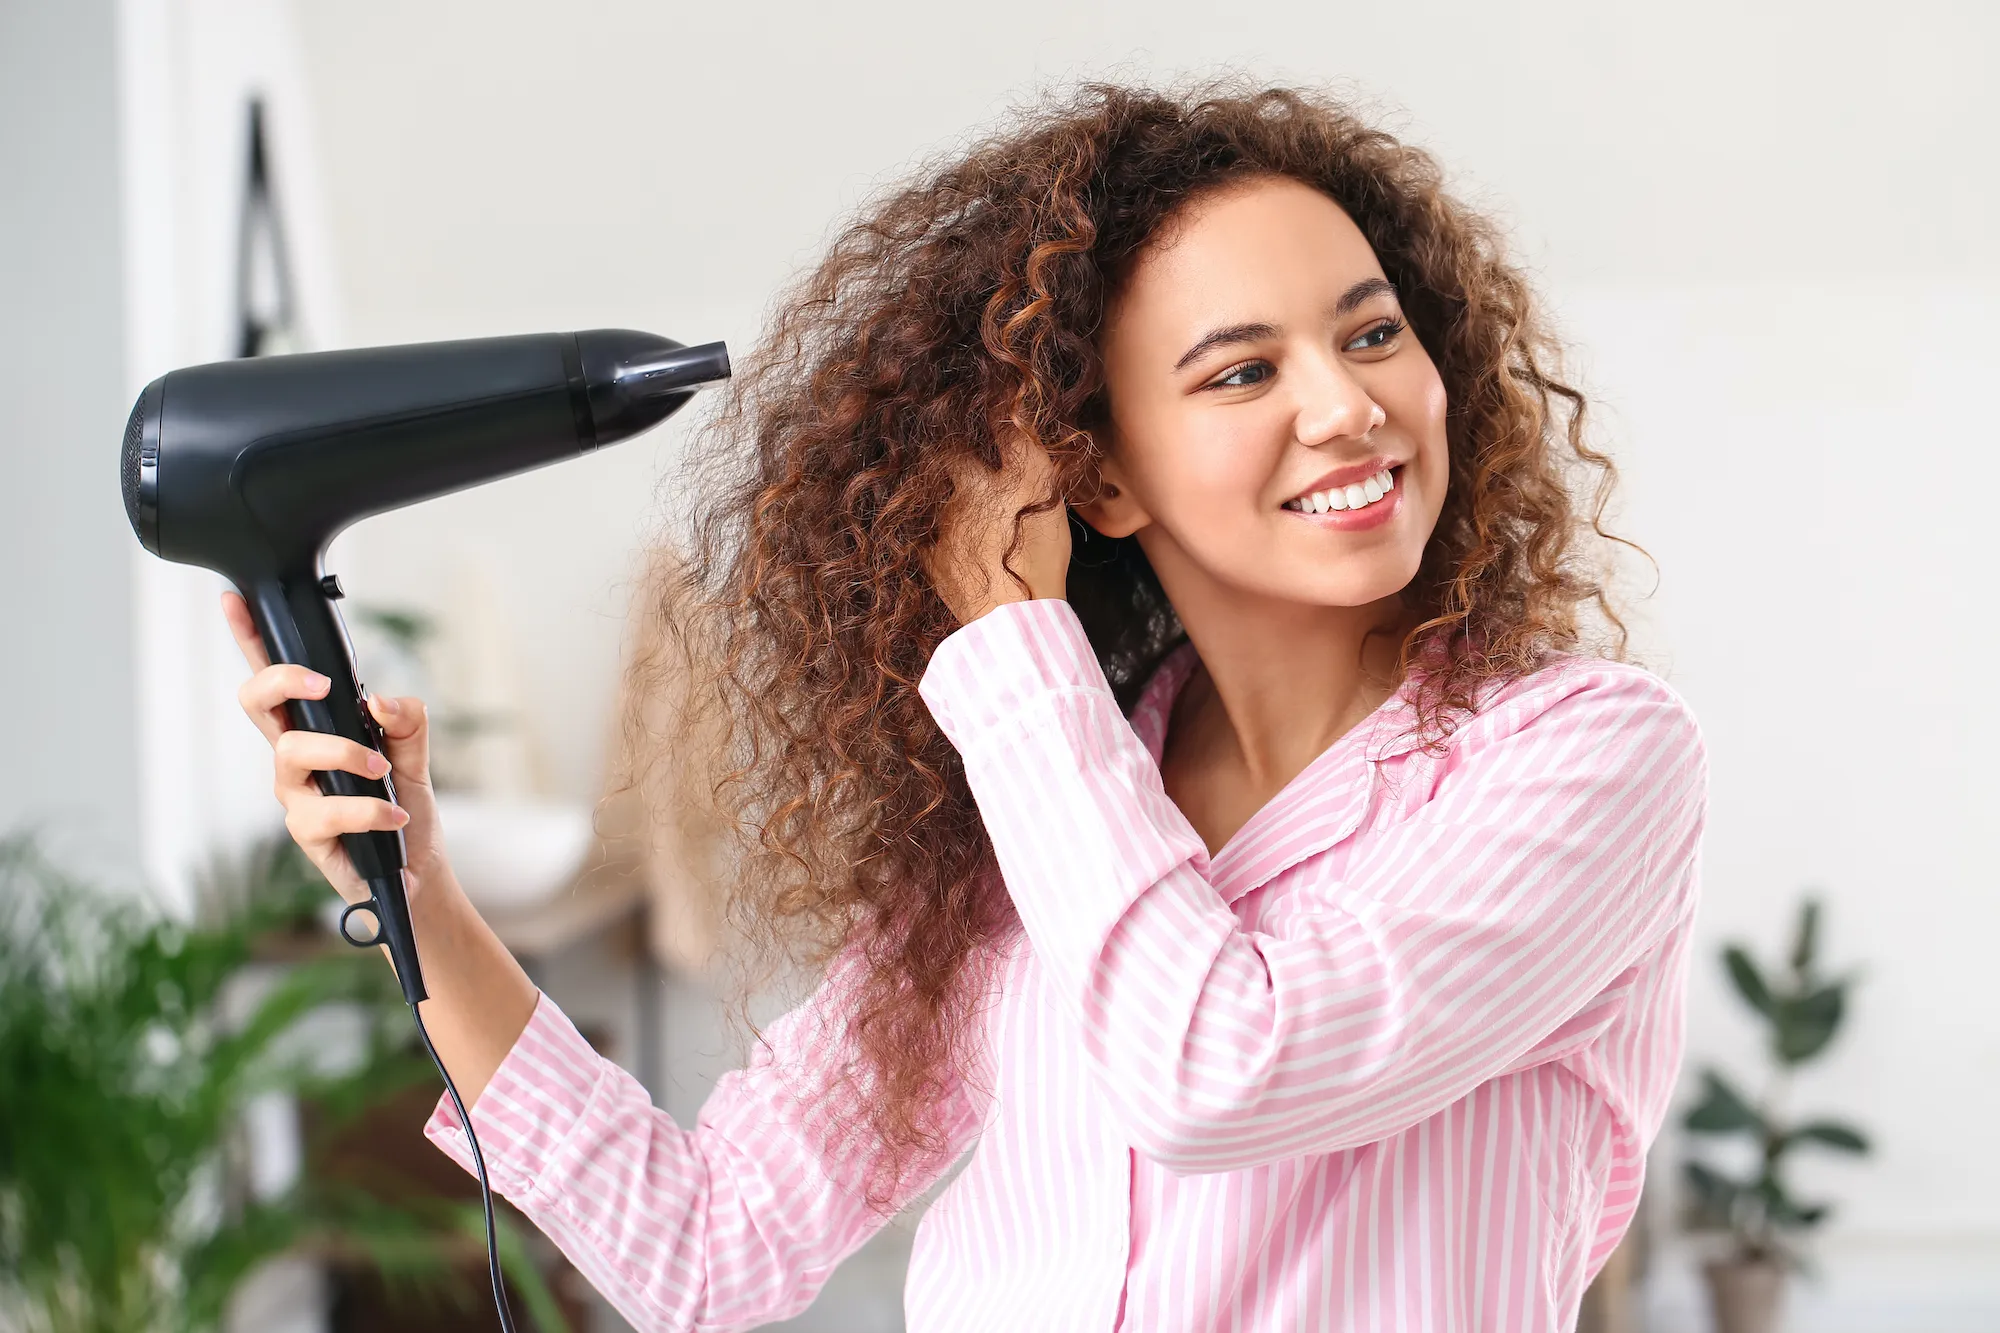
Welcome to the wonderful world of hairstyling! Curling your hair with a blow dryer is a fantastic way to achieve beautiful, bouncy curls without the need for a curling iron. Not only does this method save time, but it also minimizes heat damage, making it a healthier option for your locks. Whether you have straight, wavy, or curly hair, mastering the art of using a blow dryer to curl your hair can elevate your everyday look or add glamour to a special occasion.
By following this comprehensive guide, you’ll learn the essential steps and techniques to achieve stunning curls with a blow dryer. From preparing your hair to choosing the right blow dryer and applying heat protectant, we’ll cover every aspect to ensure your hair is healthy, protected, and styled to perfection. Additionally, we’ll delve into the importance of sectioning your hair and the actual process of curling it with a blow dryer. Finally, we’ll explore the finishing touches that will leave you with a gorgeous, long-lasting hairstyle.
So, grab your blow dryer, heat protectant, and styling tools, and let’s embark on this exciting journey to learn how to curl your hair with a blow dryer!
Key Takeaways:
- Achieve beautiful, bouncy curls with a blow dryer by preparing, sectioning, and styling your hair strategically. Embrace the versatility of this method to express your unique style and personality effortlessly.
- Master the art of curling your hair with a blow dryer for salon-worthy curls at home. From heat protection to finishing touches, create stunning, long-lasting curls with ease and confidence.
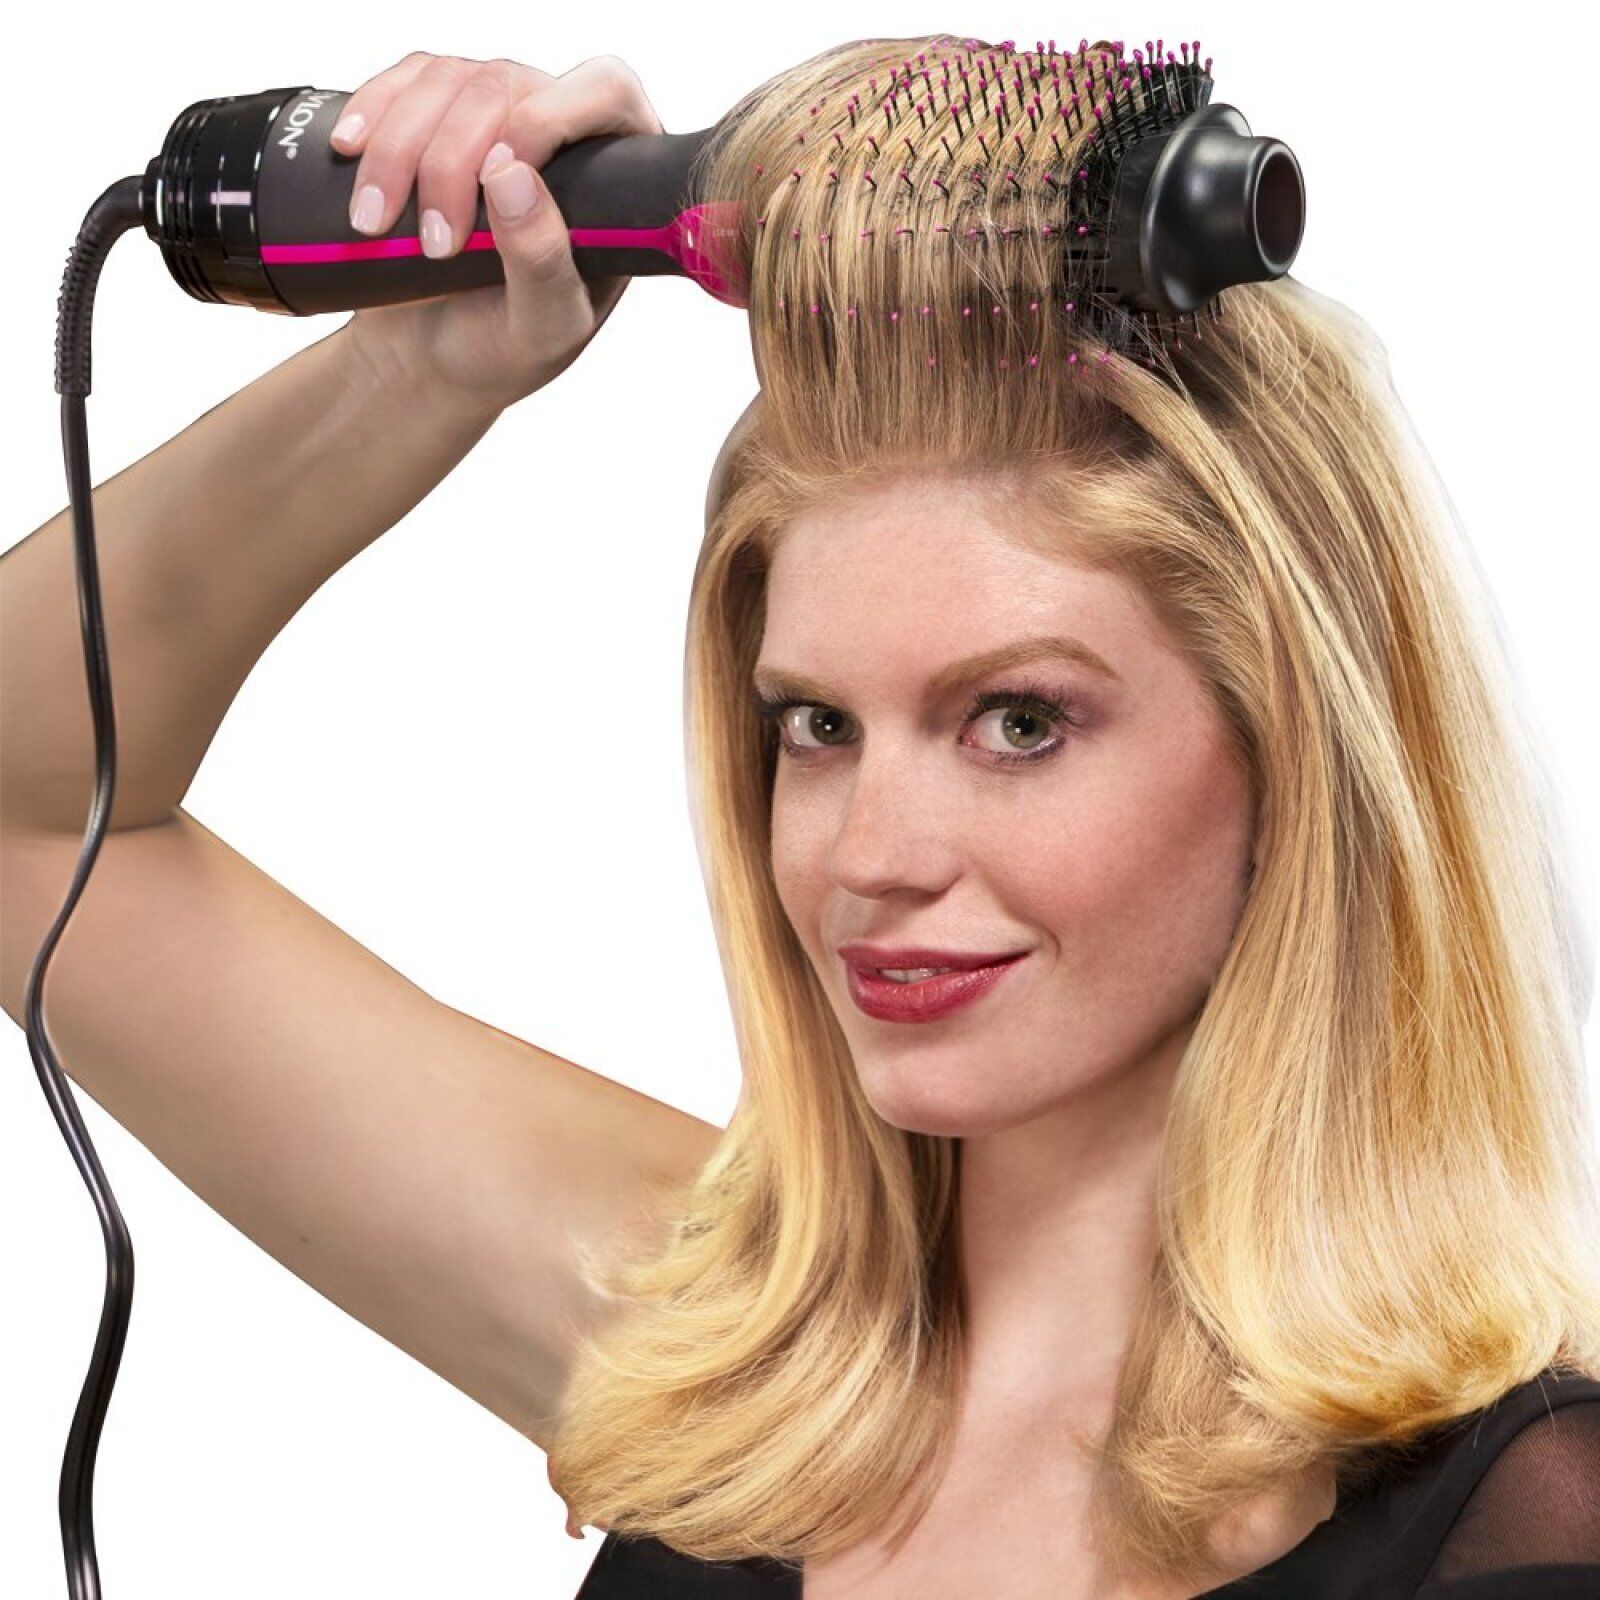
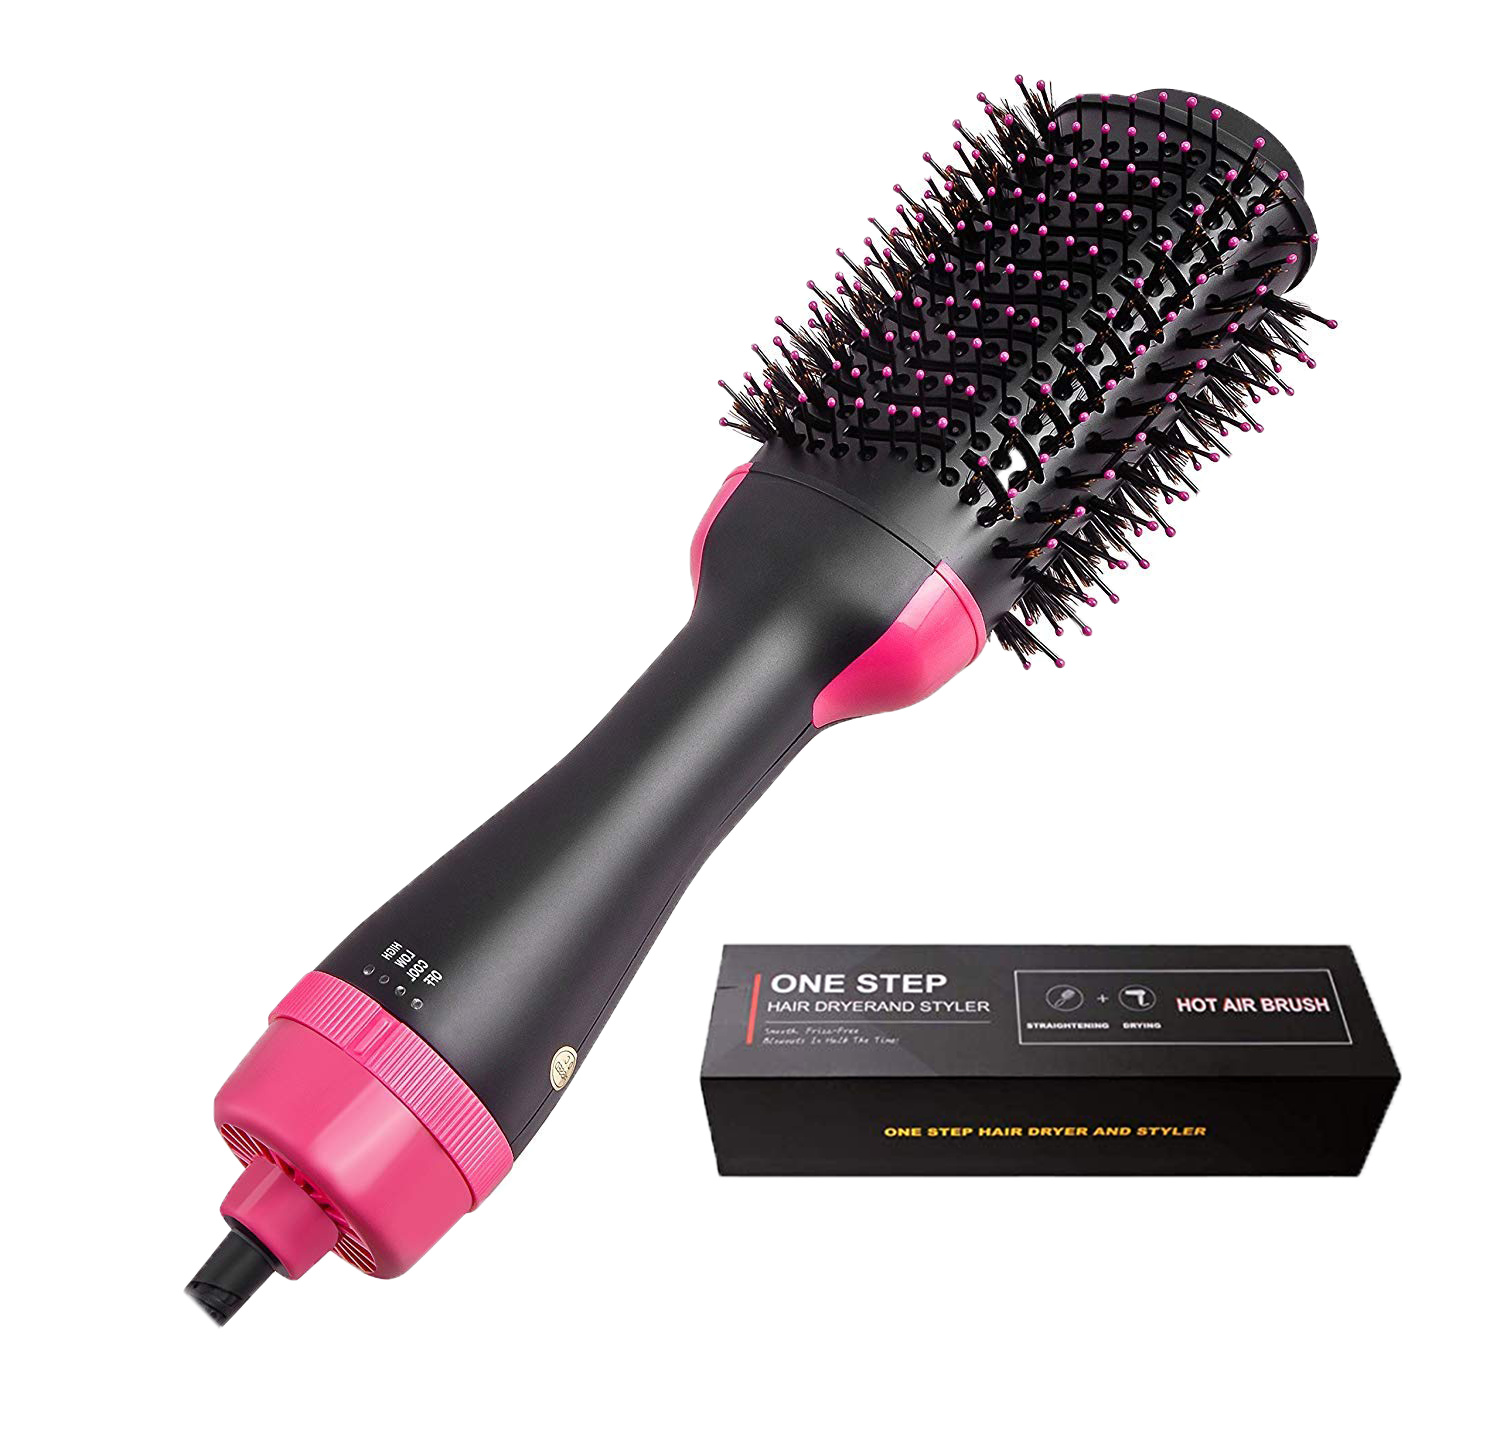
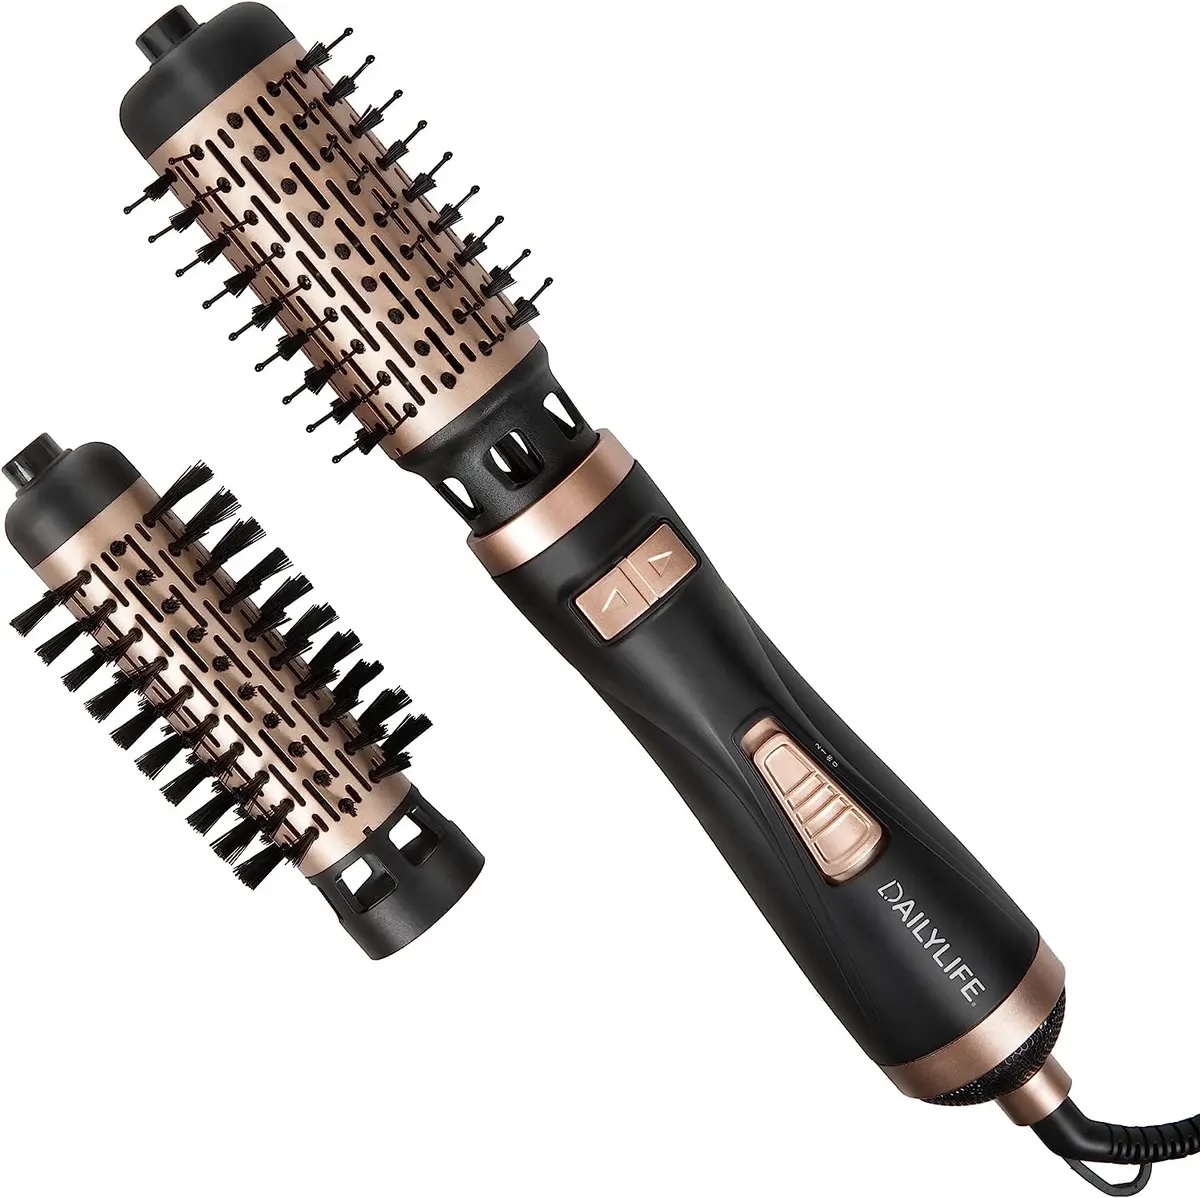
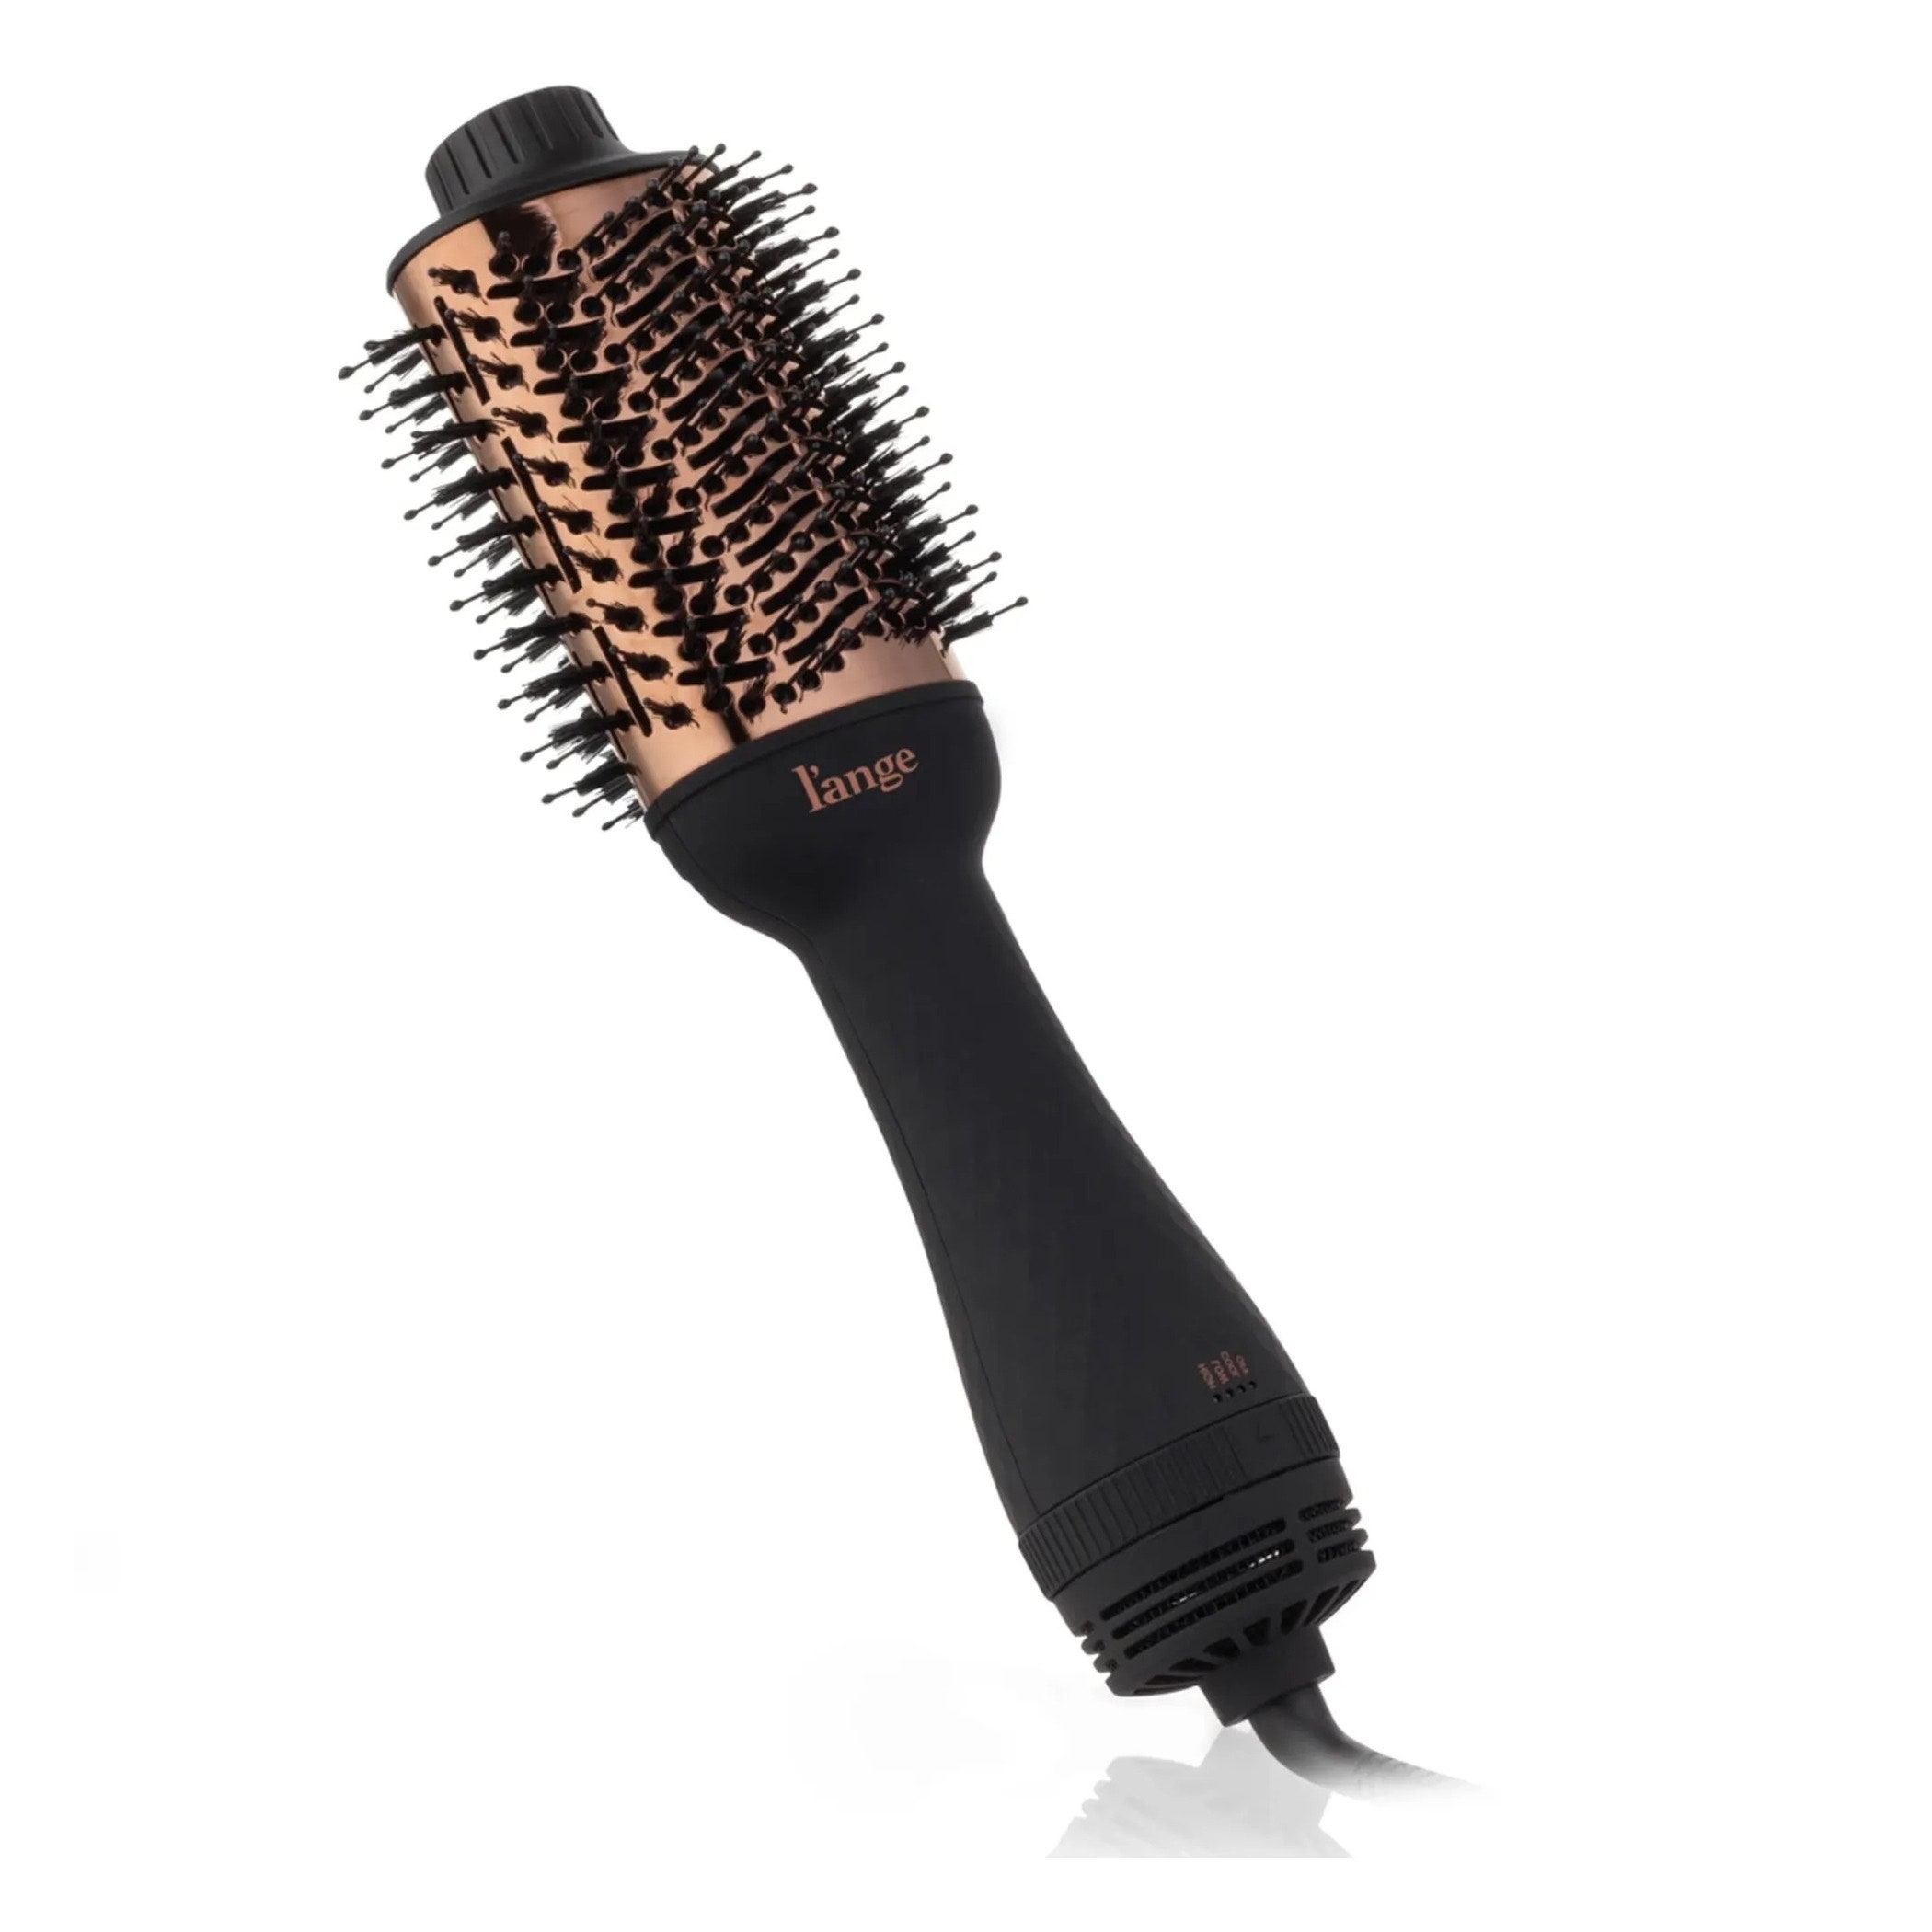
Read more: How To Curl Hair With A Blow Dryer Brush
Preparing Your Hair
Before diving into the curling process, it’s crucial to prepare your hair to ensure the best results. Start by washing your hair with a high-quality shampoo and conditioner that suits your hair type. If you have fine hair, opt for volumizing products, while those with dry or damaged hair may benefit from moisturizing formulas. Once your hair is clean and conditioned, gently towel-dry it to remove excess water.
Next, apply a heat protectant product to shield your hair from the potential damage caused by the blow dryer’s heat. Heat protectant sprays or serums create a barrier that reduces moisture loss and minimizes the impact of high temperatures on your strands. Be sure to distribute the product evenly throughout your hair, paying particular attention to the ends, which are more prone to damage.
After applying the heat protectant, detangle your hair using a wide-tooth comb or a detangling brush. Starting from the ends and working your way up to the roots, gently remove any knots or tangles. This step is essential for ensuring that the heat is evenly distributed during the drying and curling process, resulting in smooth, consistent curls.
Once your hair is detangled, consider applying a lightweight styling mousse or foam to add volume and texture. This step is especially beneficial for those with fine or straight hair, as it helps create the necessary grip for holding the curls. Avoid using heavy products that may weigh your hair down, as they can hinder the curling process.
By properly preparing your hair, you set the stage for successful and long-lasting curls. Taking the time to cleanse, protect, and prime your hair will not only optimize the curling process but also contribute to the overall health and appearance of your locks.
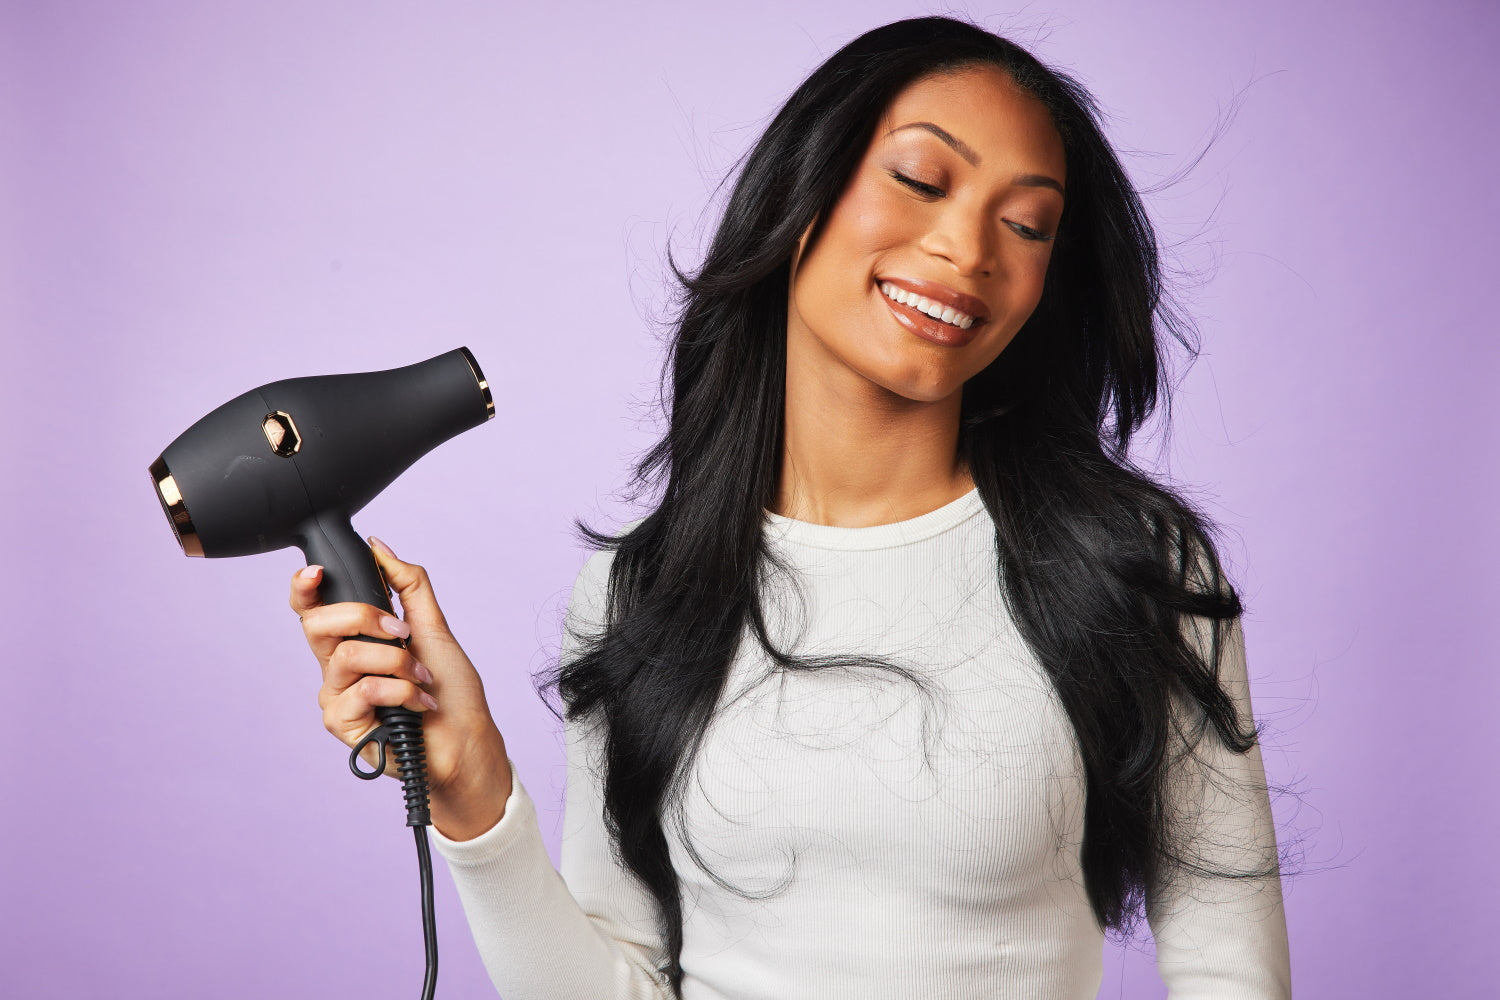
Choosing the Right Blow Dryer
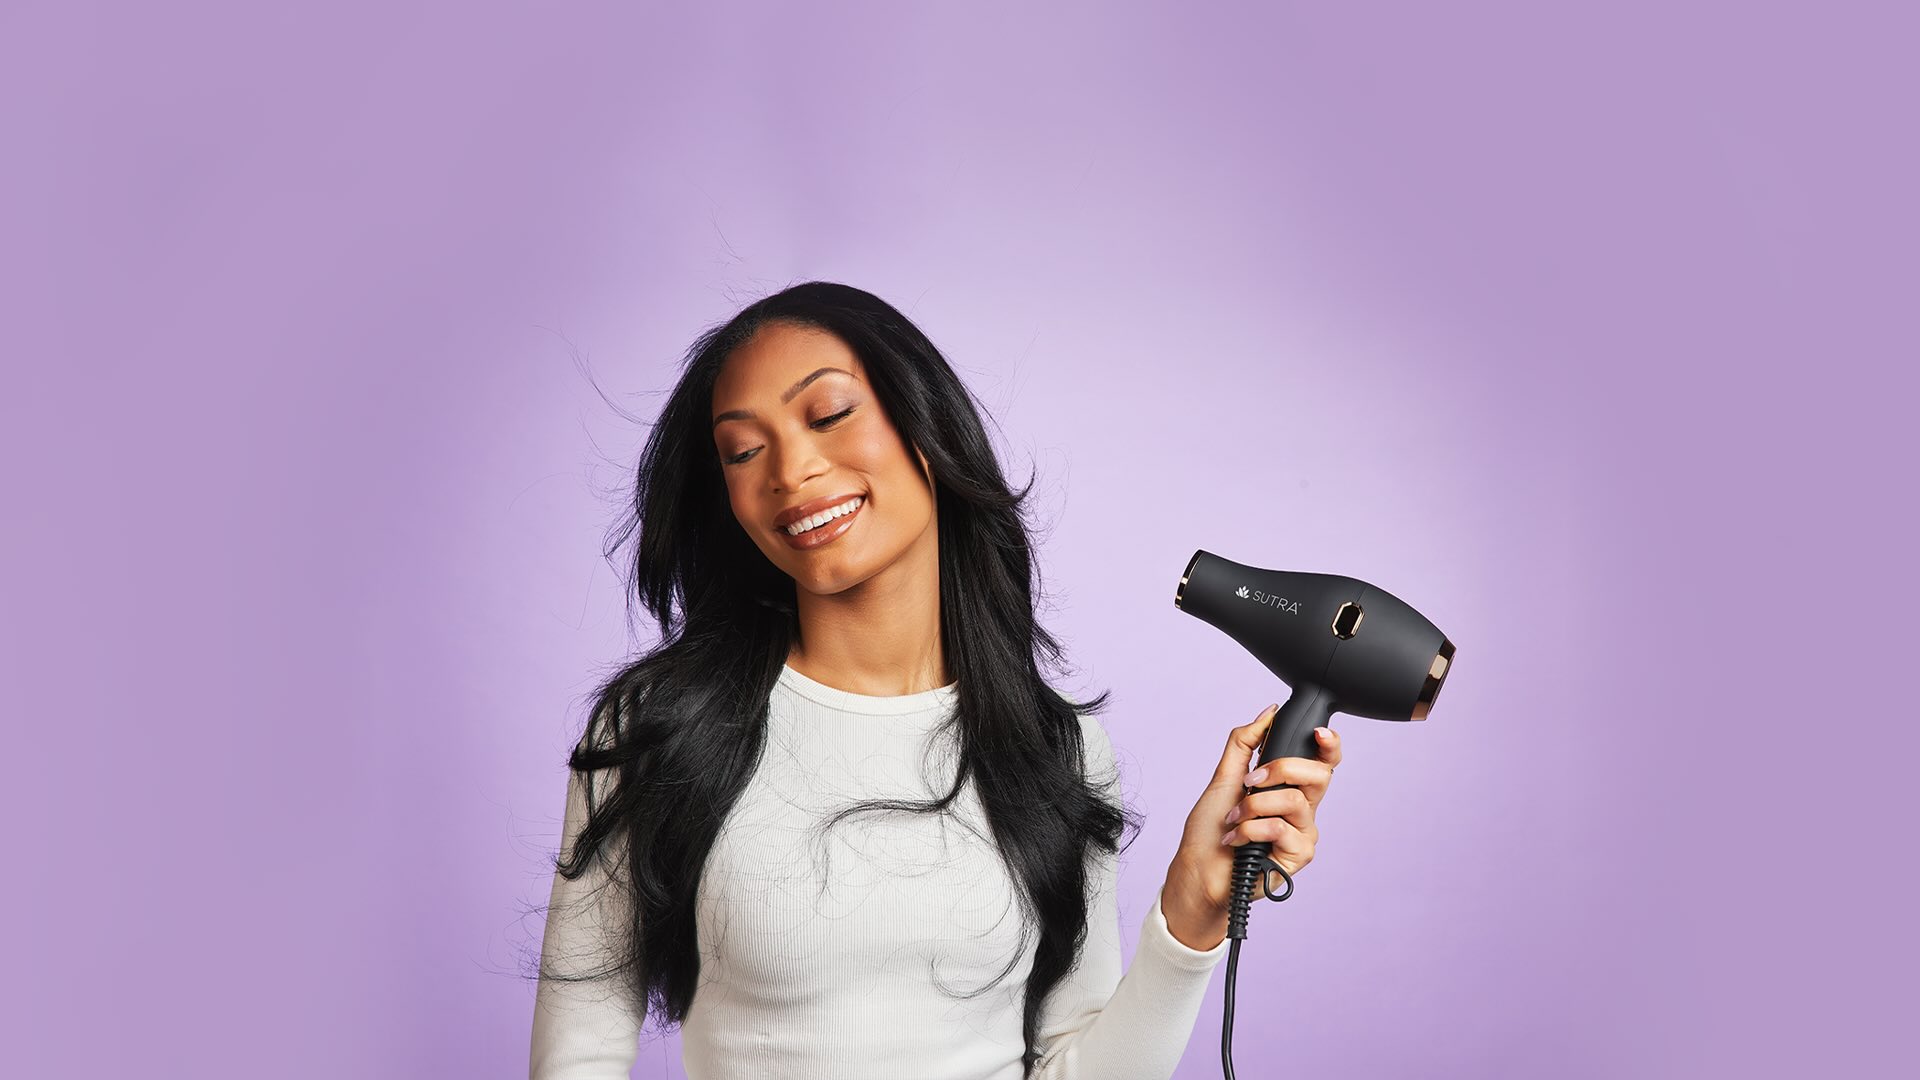
When it comes to achieving flawless curls with a blow dryer, selecting the right tool is paramount. The market offers a wide array of blow dryers with varying features, technologies, and price points. To ensure optimal results and minimize heat damage, consider the following factors when choosing a blow dryer for curling your hair.
- Heat Settings: Look for a blow dryer that offers adjustable heat settings, including a low or medium heat option. This versatility allows you to customize the heat level based on your hair type and the desired curling effect. For fine or damaged hair, lower heat settings are preferable to minimize the risk of heat-related damage.
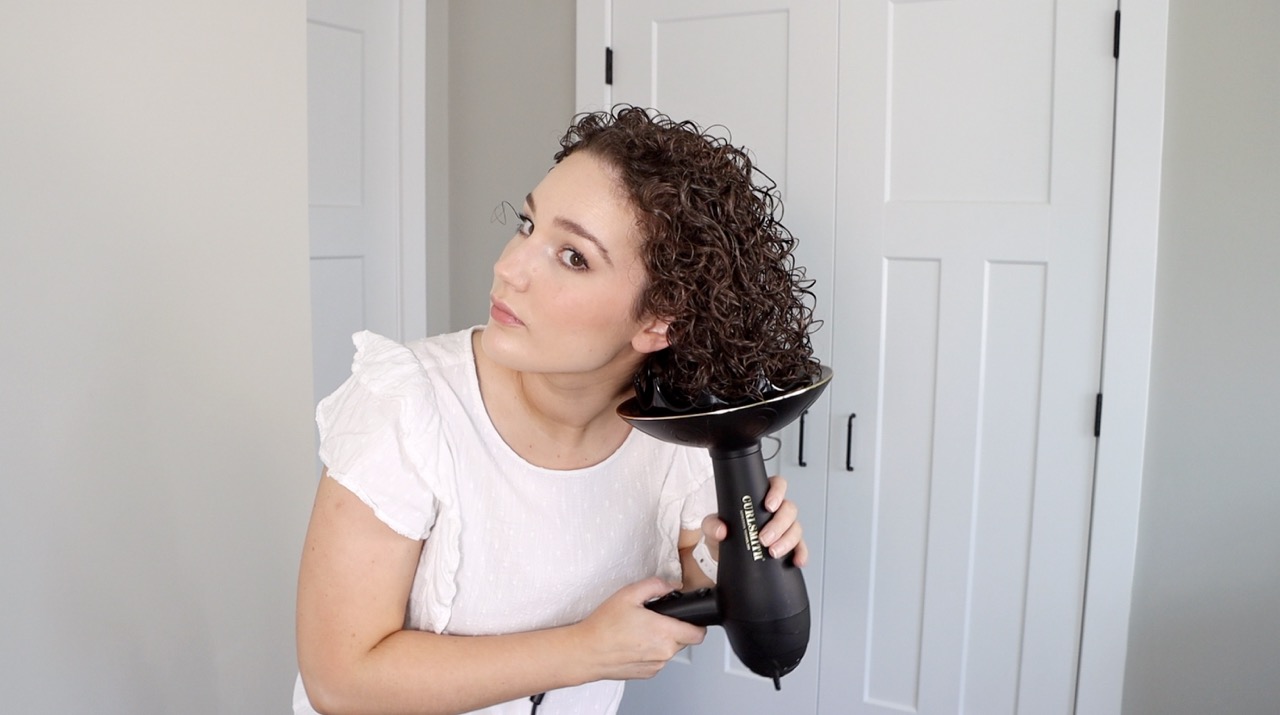
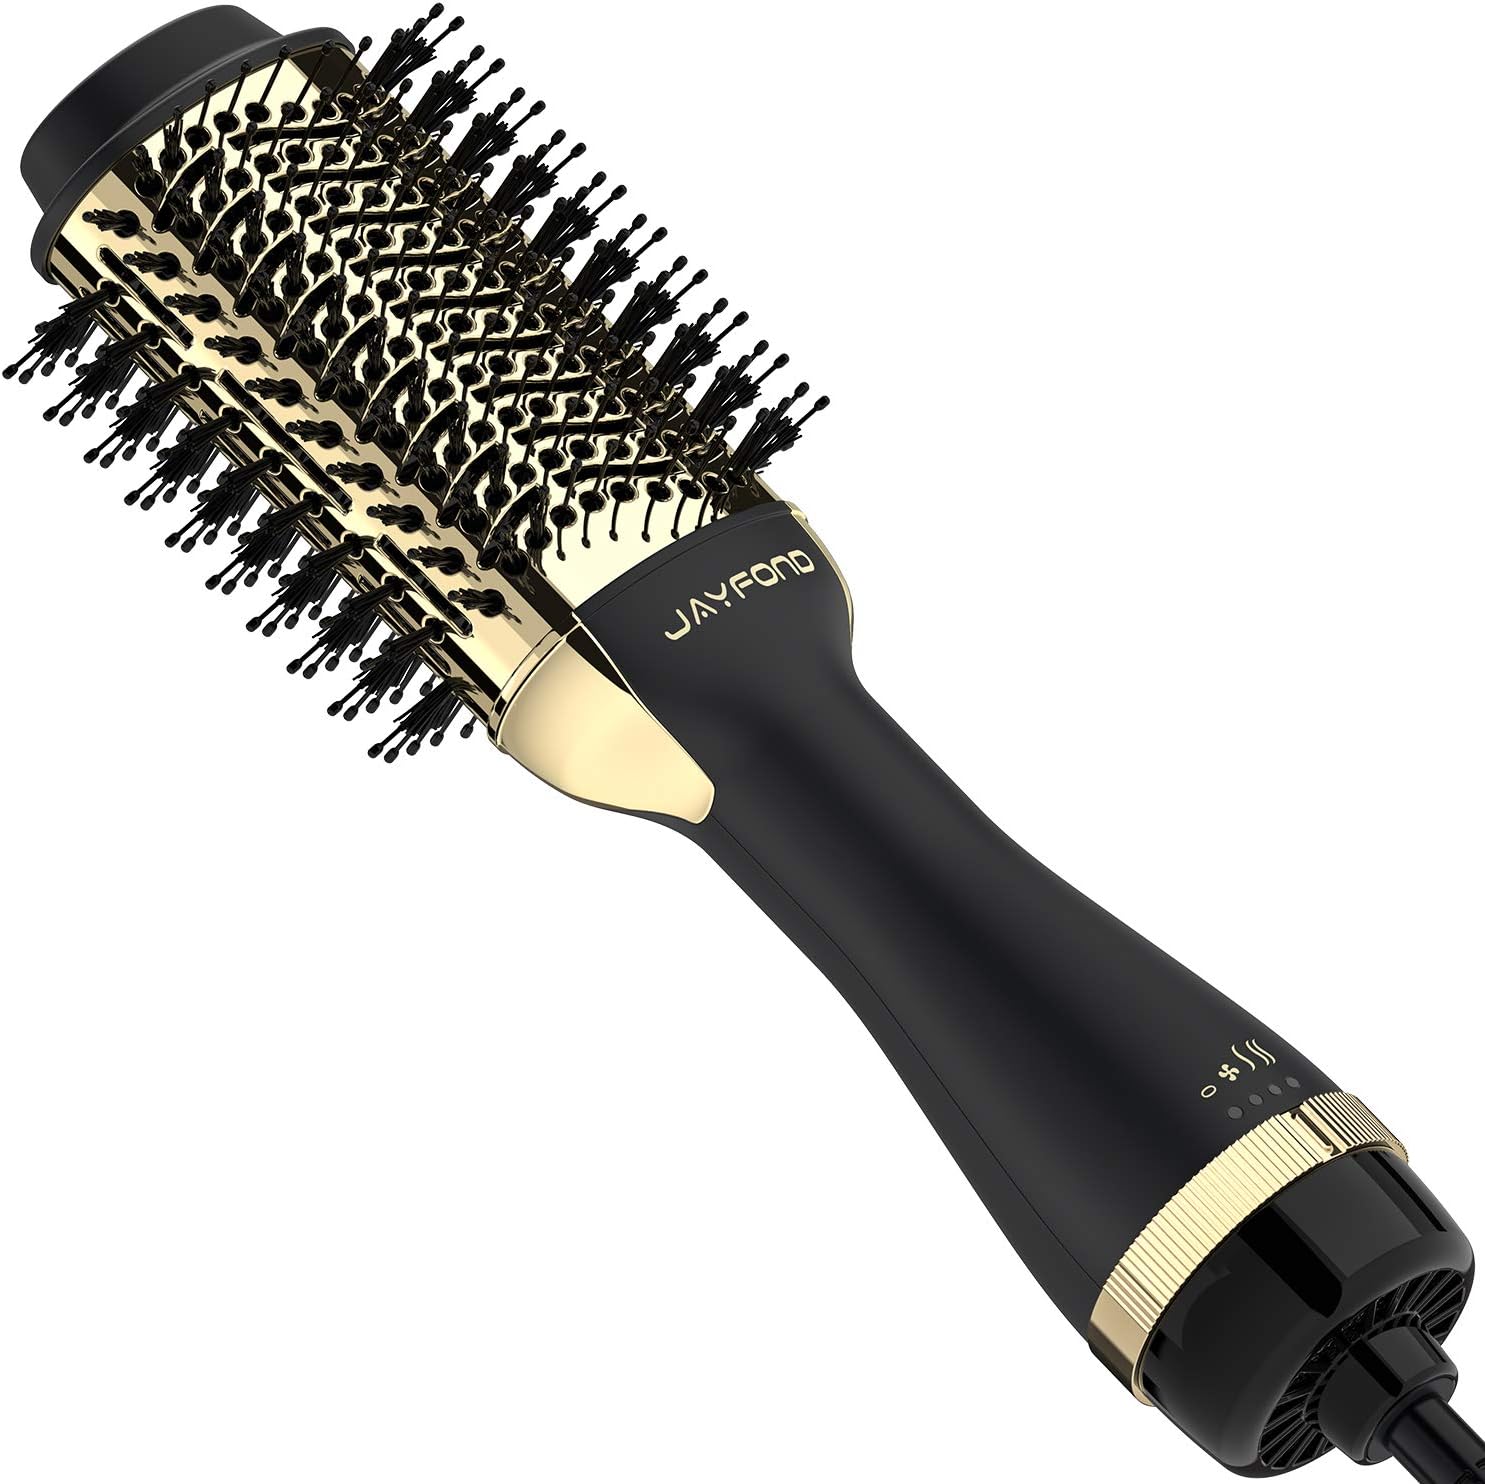
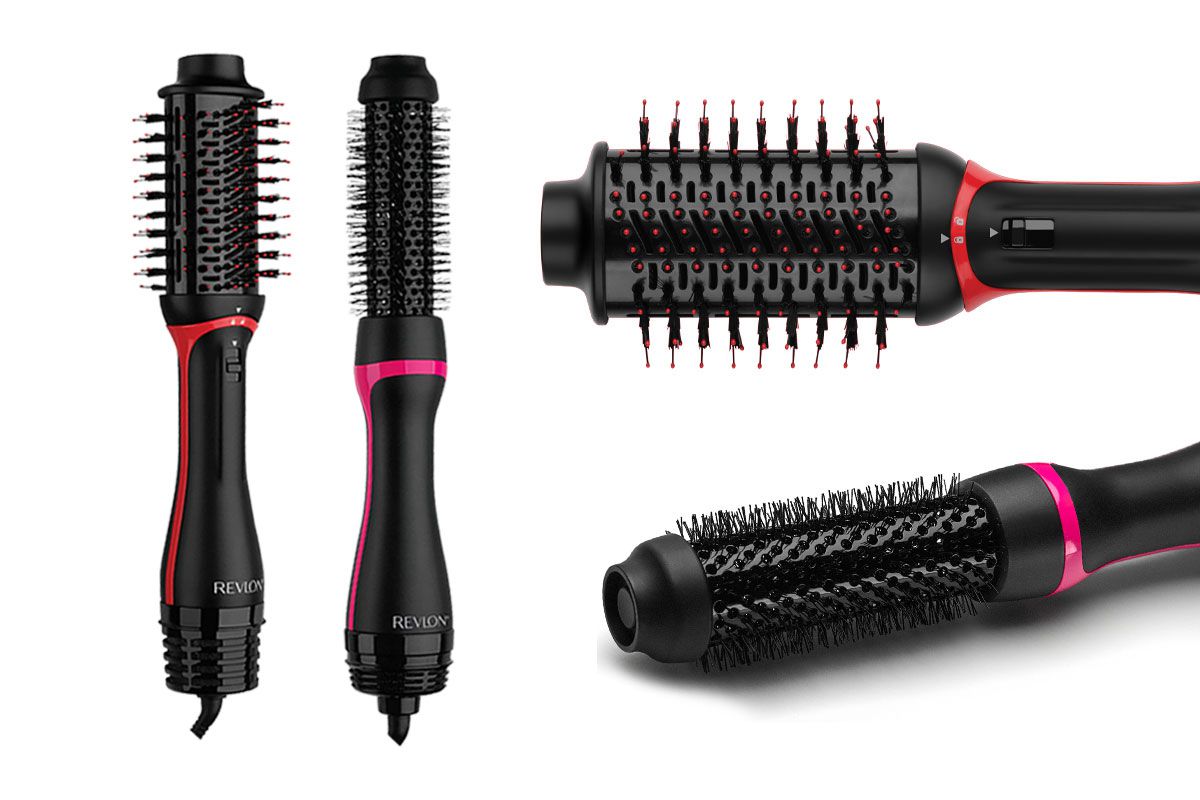
- Attachments: Opt for a blow dryer that comes with a concentrator nozzle or a diffuser attachment. While a concentrator nozzle directs the airflow for targeted drying and styling, a diffuser attachment is ideal for creating soft, natural curls and enhancing the hair’s natural texture. These attachments play a crucial role in achieving specific curling techniques.
- Technology: Consider blow dryers equipped with advanced technologies such as ionic or ceramic features. Ionic dryers emit negative ions to reduce frizz and static, resulting in smoother, shinier hair. Ceramic technology ensures even heat distribution, minimizing heat damage and hot spots. These technologies contribute to healthier, more polished curls.
- Weight and Ergonomics: Prioritize a blow dryer that is lightweight and ergonomically designed for comfortable handling. This is particularly important if you have long or thick hair, as the curling process may require extended drying time. A lightweight, well-balanced dryer reduces strain on your arms and wrists, enhancing the overall styling experience.
- Wattage: Look for a blow dryer with sufficient wattage to provide efficient drying and styling. Higher wattage dryers offer increased airflow and faster drying times, which can be advantageous when curling your hair, especially if you have thick or coarse hair.
By carefully considering these factors, you can select a blow dryer that meets your specific curling needs and enhances the overall styling process. Investing in a high-quality blow dryer tailored to your hair type and styling preferences can significantly impact the outcome of your curls, resulting in a professional-looking, salon-worthy finish.
Using Heat Protectant
Before subjecting your hair to the heat of a blow dryer, it’s essential to apply a heat protectant product to minimize the potential damage caused by high temperatures. Heat protectants come in various forms, including sprays, serums, and creams, and are specifically formulated to create a barrier between your hair and the heat styling tools.
When using a heat protectant, it’s crucial to apply the product evenly throughout your hair, ensuring that each strand is adequately coated. Start by spraying or dispensing a small amount of the heat protectant into your palm, then gently work it through your hair, focusing on the mid-lengths and ends. These areas are more susceptible to heat damage, as they have been exposed to environmental stressors and mechanical wear.
For optimal coverage, consider dividing your hair into sections and applying the heat protectant methodically. This approach ensures that every strand receives the protective benefits of the product, resulting in more uniform heat distribution during the blow-drying and curling process.
It’s important to note that using a heat protectant is not limited to blow drying; it should also be applied before using other heat styling tools such as flat irons or curling irons. By incorporating this protective step into your styling routine, you can help safeguard your hair from the detrimental effects of heat, such as dryness, brittleness, and split ends.
Furthermore, heat protectants not only shield your hair from heat damage but also often provide additional benefits, such as smoothing frizz, enhancing shine, and improving manageability. Some formulations contain nourishing ingredients that contribute to the overall health and appearance of your hair, making them valuable multitasking products in your hair care arsenal.
By incorporating a heat protectant into your styling routine, you demonstrate a commitment to preserving the health and integrity of your hair while achieving the desired curling results. This proactive approach to heat protection sets the stage for beautiful, long-lasting curls without compromising the well-being of your hair.
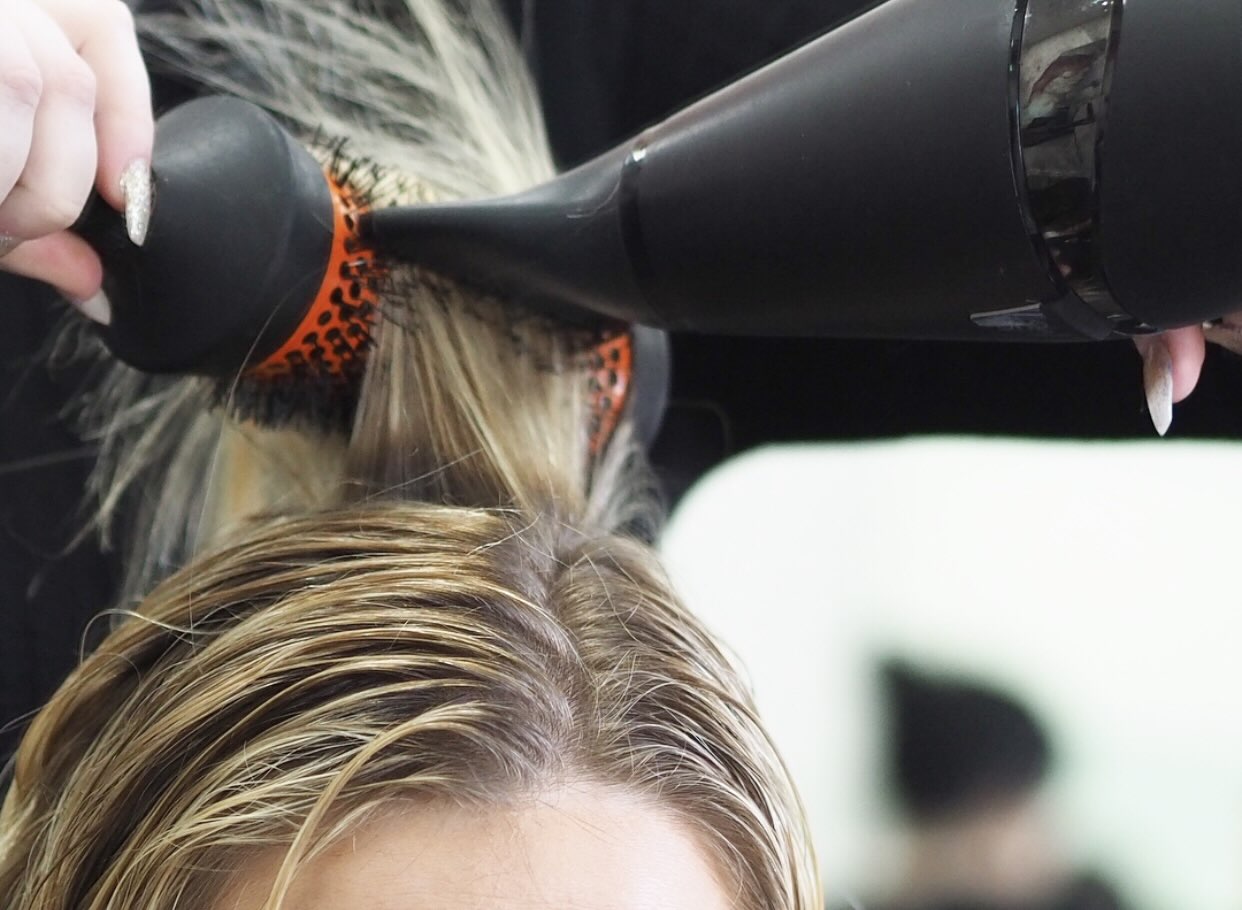
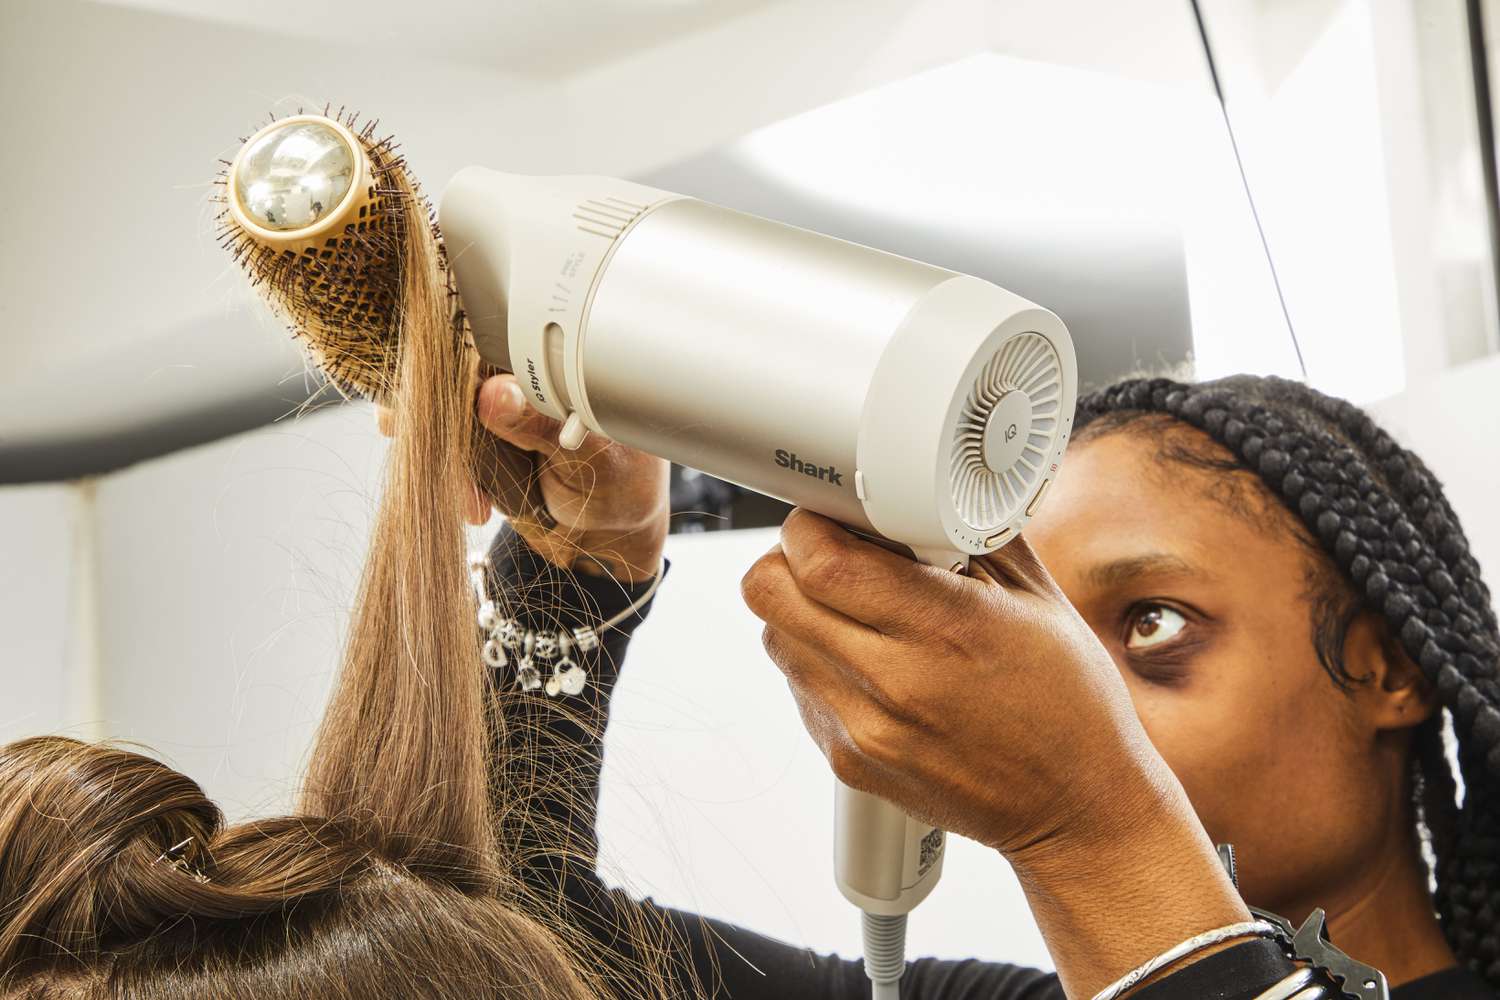
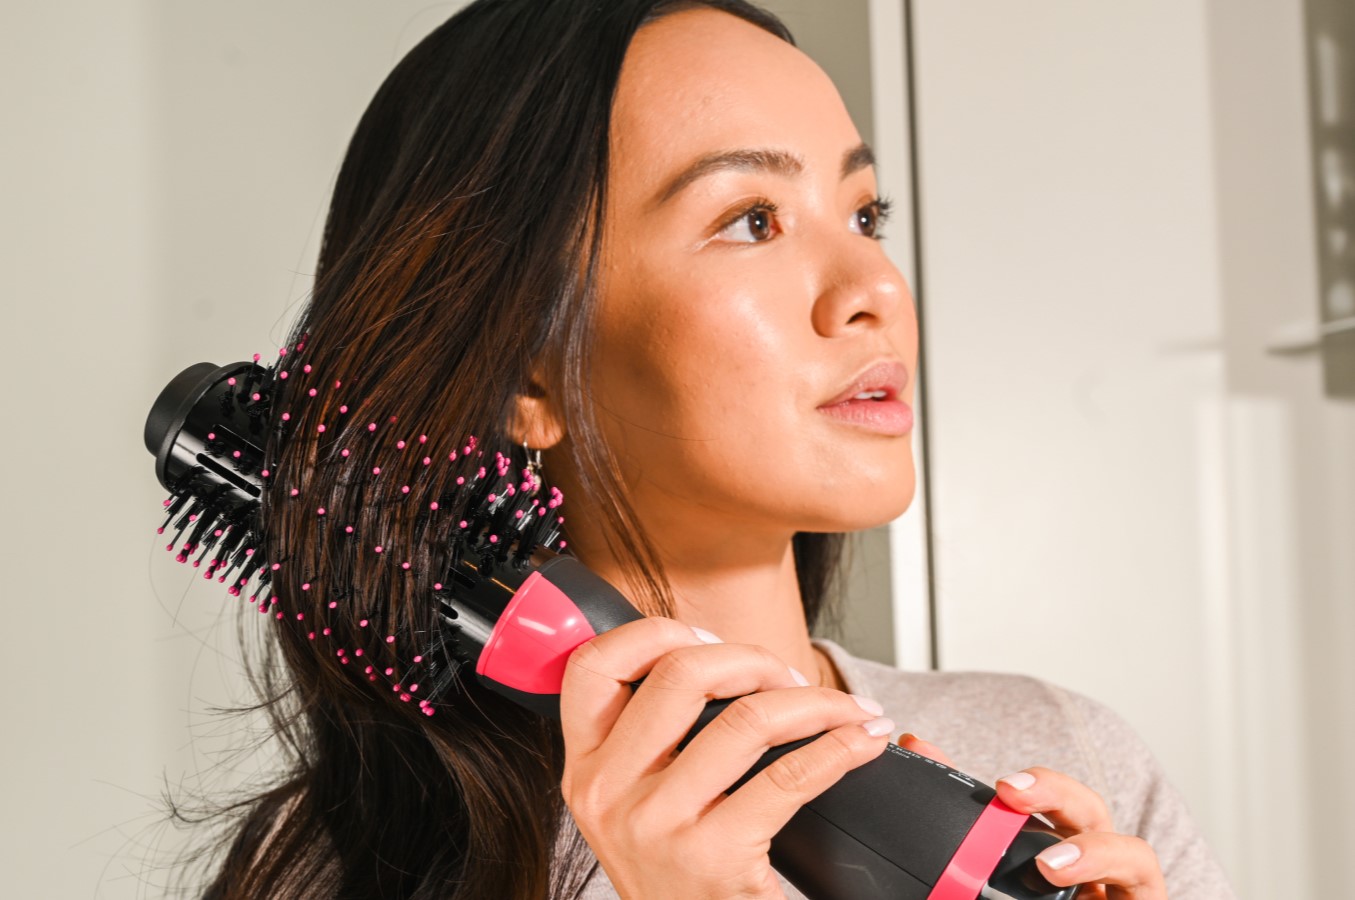
Use a round brush and a concentrator nozzle on your blow dryer. Start at the roots and twist the brush as you pull it down the hair shaft. Finish with a blast of cool air to set the curl.
Sectioning Your Hair
Properly sectioning your hair before curling with a blow dryer is a crucial step that sets the foundation for achieving well-defined and long-lasting curls. This process not only facilitates efficient styling but also ensures that each section of hair receives the necessary attention and heat distribution. Here’s how to expertly section your hair for optimal curling results:
Divide and Conquer: Start by dividing your hair into manageable sections using hair clips or hair ties. The number of sections will depend on the thickness and length of your hair. For finer hair, you may require fewer sections, while thicker or longer hair may benefit from additional divisions. The goal is to work with smaller, more manageable portions of hair to ensure thorough drying and curling.
Horizontal Sections: Begin by parting your hair horizontally, separating the top section from the bottom. Use a hair clip to secure the top portion, leaving the bottom section free for styling. This division allows you to focus on the lower layers of your hair before moving on to the top sections, ensuring that each layer is adequately styled and curled.
Vertical Sections: Within the bottom section, further divide your hair vertically into smaller sections. The width of these subsections will depend on the size of curls you desire. For tighter curls, opt for narrower sections, while larger sections will result in looser waves. Secure the remaining hair to keep it out of the way while you work on each subsection.
Consistent Sizing: Aim to create uniformly sized sections throughout your hair to achieve a balanced and harmonious curl pattern. This approach contributes to a polished and professional-looking hairstyle, as it ensures that each curl is consistent in size and shape.
By meticulously sectioning your hair, you create a structured and organized approach to the curling process, setting the stage for beautiful, well-defined curls. This methodical approach allows you to focus on each section of hair individually, ensuring that no strand is left untouched and that the curls are uniform and cohesive throughout your entire head of hair.
Curling Your Hair
With your hair prepared, the right blow dryer selected, and the sections in place, it’s time to delve into the exhilarating process of curling your hair with a blow dryer. This technique offers a versatile approach to achieving a range of curl styles, from loose waves to defined ringlets. Follow these steps to master the art of curling your hair with a blow dryer:
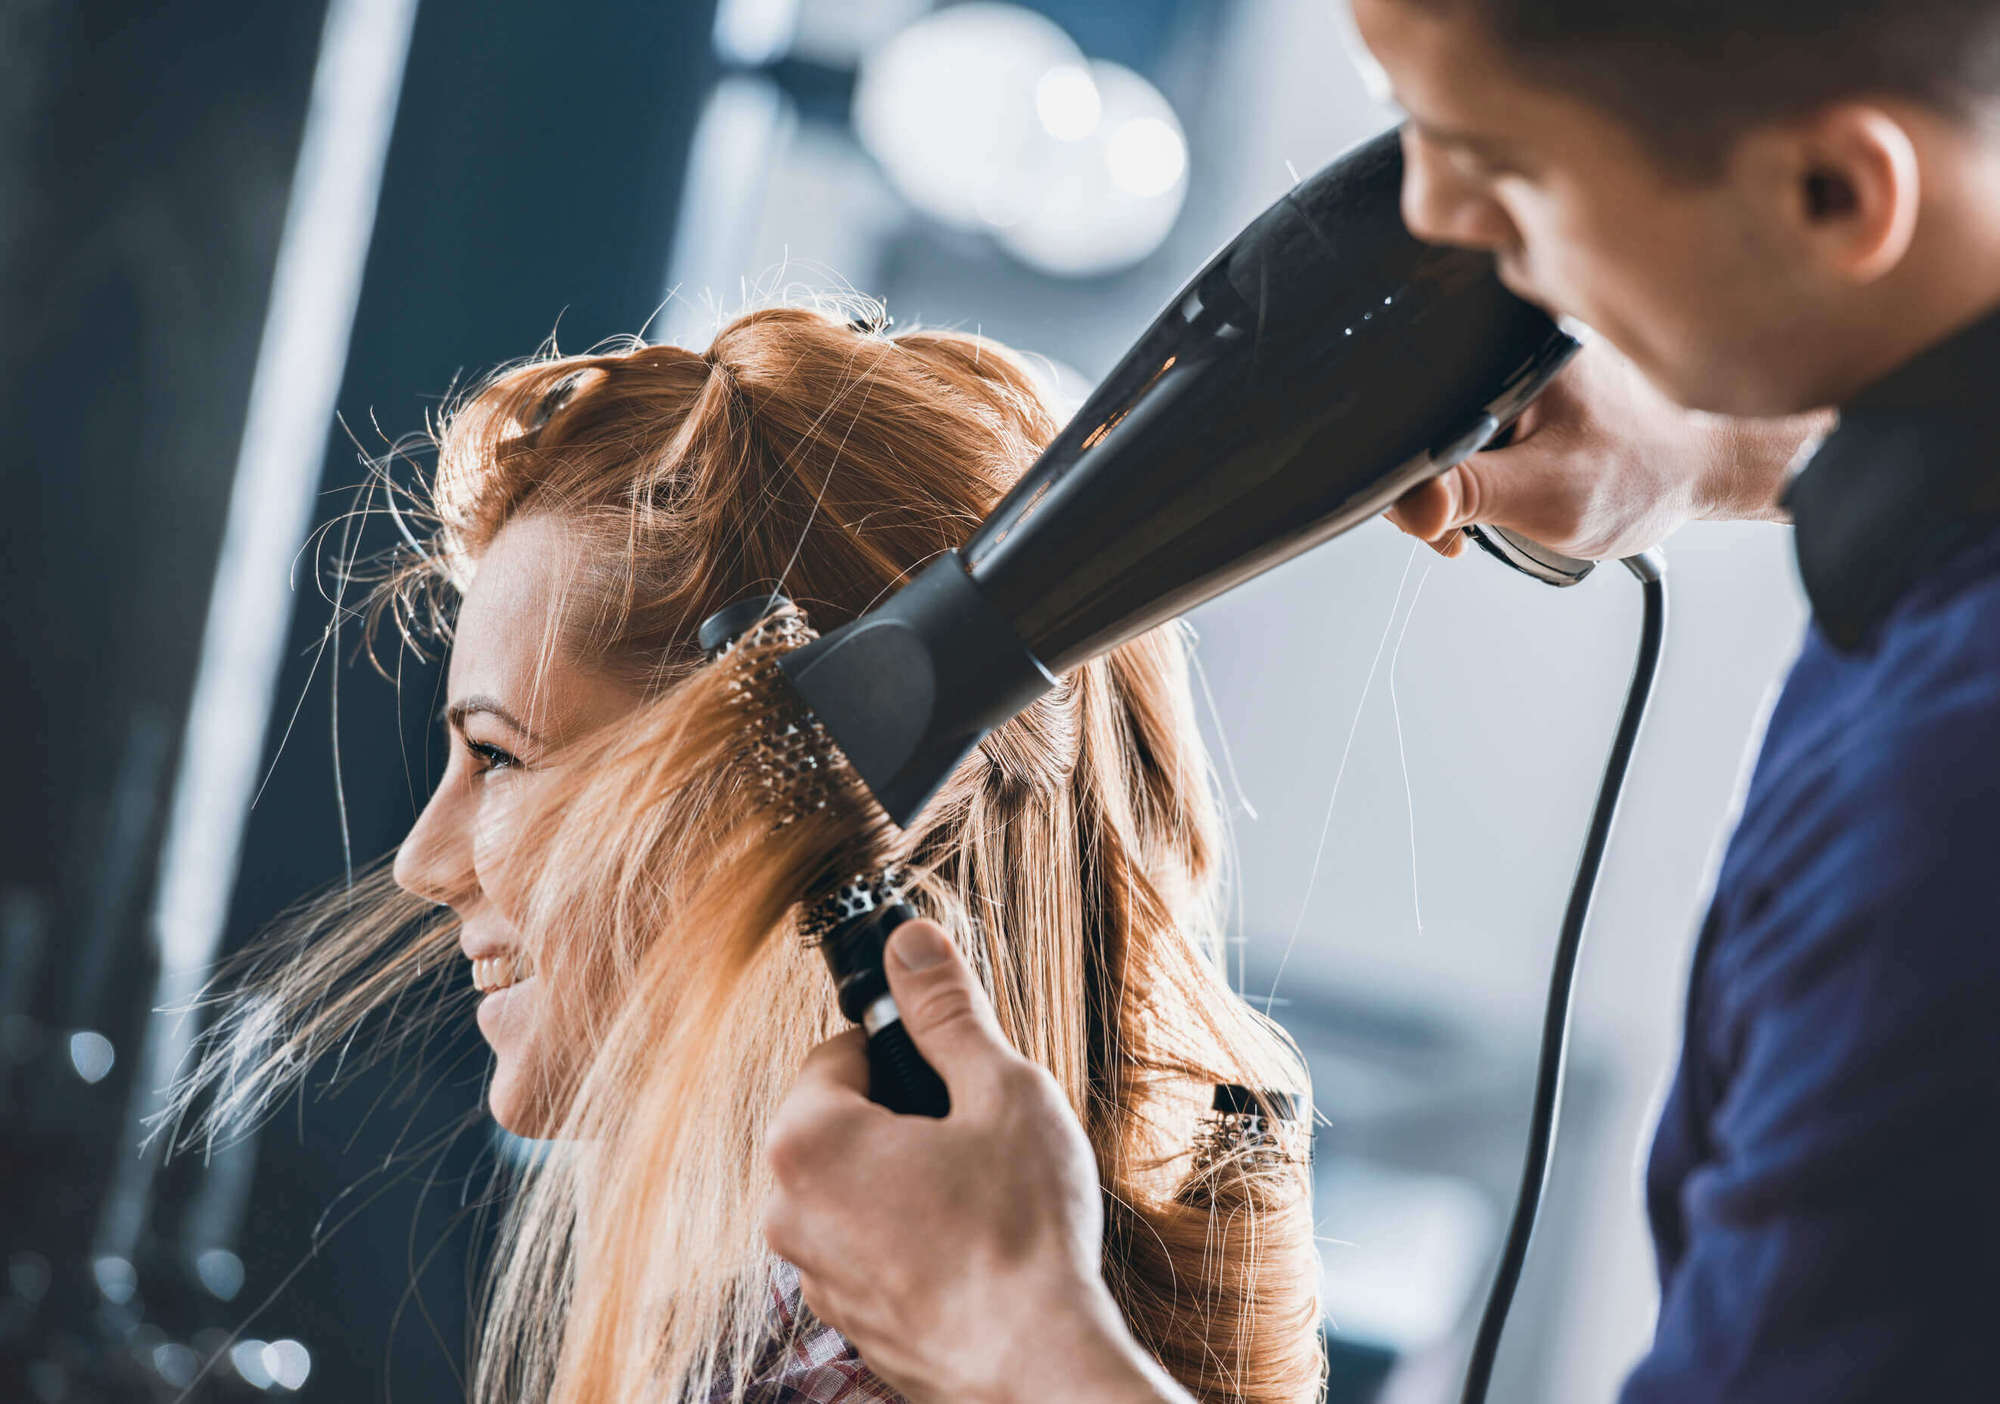
Begin with the Bottom Sections: Unclip the bottom section of your hair and select a small subsection to start the curling process. Hold the blow dryer with a concentrator nozzle attached in one hand and a round brush in the other. Place the round brush underneath the subsection at the roots and aim the blow dryer’s airflow downward along the hair shaft, following the movement of the brush. As you reach the ends, roll the brush inward to create a curl and apply heat for a few seconds to set the shape. Repeat this process for each subsection within the bottom layer of hair until all sections are curled.
Move to the Top Sections: Once the bottom sections are curled, unclip the top portion of your hair and repeat the curling process. As with the bottom sections, work methodically through each subsection, using the round brush and blow dryer to create consistent curls. For added volume, consider curling the hair away from your face, alternating the direction of the curls for a natural and dynamic look.
Adjusting the Curl Size: To achieve varied curl sizes and textures, experiment with different brush sizes and techniques. A smaller round brush will produce tighter curls, while a larger brush will result in more relaxed waves. Additionally, altering the angle at which you hold the round brush and blow dryer can influence the direction and shape of the curls, allowing for customization and creativity in your styling.
Cooling and Setting: After curling each subsection, release the round brush and allow the curl to cool for a few seconds before gently removing the brush. This cooling period helps set the curl’s shape, ensuring that it holds its form for an extended period. For added longevity, consider briefly hitting the newly formed curls with a blast of cool air from the blow dryer to further set the style.
By carefully maneuvering the blow dryer and round brush, you can create a myriad of stunning curls that complement your unique style and personality. Embrace the versatility of this technique to experiment with different curl sizes and patterns, and enjoy the freedom to customize your look for any occasion.
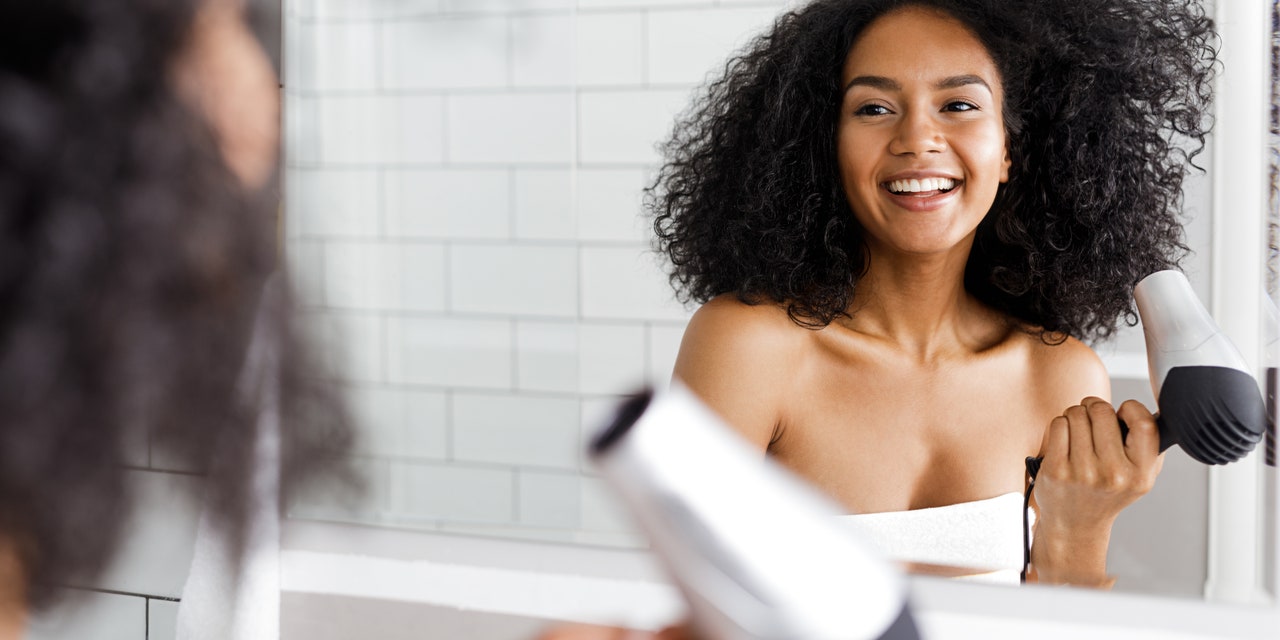
Finishing Touches
As you near the completion of the curling process, it’s time to add the finishing touches that will elevate your hairstyle and ensure its longevity. These final steps contribute to the overall polish and refinement of your curls, leaving you with a stunning and long-lasting look. Consider incorporating the following finishing touches into your styling routine:
Applying a Light-Hold Hairspray: Once all the curls are in place, lightly mist your hair with a light-hold hairspray to help set the style and combat frizz. Hold the hairspray bottle approximately 8-10 inches away from your head and spritz the hair in a gentle, sweeping motion. Opt for a hairspray that offers flexible hold to maintain the natural movement and bounce of your curls without leaving a stiff or crunchy texture.
Fluffing and Separating the Curls: Use your fingers to gently fluff and separate the curls, adding volume and dimension to your hairstyle. Lightly tousle the curls to break up any uniformity and create a soft, tousled effect. This step imparts a natural, lived-in look to your curls, enhancing their texture and overall appeal.
Adding Shine Serum or Oil: For an extra touch of luster and smoothness, consider applying a small amount of shine serum or hair oil to the ends of your curls. This step imparts a healthy sheen and helps tame any flyaways, resulting in a glossy and polished finish. Use a minimal amount of product to avoid weighing down the curls or making them appear greasy.
Final Fluff and Adjustments: Take a moment to assess the overall look of your curls and make any necessary adjustments. Gently fluff the roots for added volume and ensure that the curls are balanced and symmetrical. Use a mirror to check the back of your head and make any final tweaks to perfect the appearance of your curls from all angles.
By incorporating these finishing touches, you put the proverbial cherry on top of your beautifully curled hairstyle. These small yet impactful steps contribute to the overall cohesiveness and allure of your curls, ensuring that they remain stunning and well-maintained throughout the day or evening.
Conclusion
Congratulations on mastering the art of curling your hair with a blow dryer! By following the comprehensive steps outlined in this guide, you’ve gained the knowledge and expertise to achieve beautiful, salon-worthy curls in the comfort of your own home. Embracing this versatile and efficient styling technique empowers you to experiment with a variety of curl sizes and textures, allowing you to express your unique style and personality through your hair.
Remember, the key to successful curling with a blow dryer lies in thorough preparation, thoughtful sectioning, and strategic styling. By starting with clean, protected, and well-sectioned hair, you’ve set the stage for achieving stunning and long-lasting curls. The careful selection of the right blow dryer and the application of heat protectant further contribute to the health and resilience of your hair, ensuring that the styling process is both effective and gentle on your locks.
As you progress through the curling process, don’t hesitate to experiment with different brush sizes, curling techniques, and finishing touches. Embrace the versatility of this method to create a range of looks, from casual, beachy waves to sophisticated, defined curls. Through practice and exploration, you’ll uncover the endless possibilities that come with styling your hair using a blow dryer, allowing you to tailor your curls to suit any occasion or mood.
With the addition of the final finishing touches, your curls are infused with an irresistible allure, exuding shine, bounce, and dimension. These small yet impactful steps add the perfect touch of refinement and ensure that your curls remain stunning and well-maintained throughout the day or evening.
By incorporating the techniques and tips outlined in this guide into your styling routine, you’ve embarked on a journey of self-expression and creativity, using your hair as a canvas for personal style. Whether you’re aiming for a casual, everyday look or preparing for a special event, the ability to curl your hair with a blow dryer offers a versatile and efficient styling solution that enhances your natural beauty and confidence.
So, embrace the art of blow-dry curling, experiment with different styles, and enjoy the freedom and creativity that come with crafting stunning curls. With your newfound expertise, you’re equipped to elevate your hairstyling routine and showcase your signature curls with confidence and flair.
Frequently Asked Questions about How To Curl Hair With A Blow Dryer
Was this page helpful?
At Storables.com, we guarantee accurate and reliable information. Our content, validated by Expert Board Contributors, is crafted following stringent Editorial Policies. We're committed to providing you with well-researched, expert-backed insights for all your informational needs.
0 thoughts on “How To Curl Hair With A Blow Dryer”