Home>Home Appliances>Bathroom Appliances>How To Curl Hair With Round Brush And Blow Dryer
Bathroom Appliances
How To Curl Hair With Round Brush And Blow Dryer
Modified: August 20, 2024
Learn how to achieve salon-worthy curls using a round brush and blow dryer at home. Discover expert tips and techniques for perfecting your hairstyle with bathroom appliances.
(Many of the links in this article redirect to a specific reviewed product. Your purchase of these products through affiliate links helps to generate commission for Storables.com, at no extra cost. Learn more)
Introduction
Welcome to the world of hairstyling! If you've ever admired those beautifully voluminous, bouncy curls that seem to effortlessly cascade down from a radiant crown of hair, you're in for a treat. In this comprehensive guide, we'll delve into the art of curling hair with a round brush and a blow dryer, unlocking the secrets to achieving that coveted salon-worthy look in the comfort of your own home.
Curling hair with a round brush and blow dryer offers a versatile and time-efficient method to add volume, bounce, and subtle waves to your locks. Whether you're aiming for a glamorous red-carpet look, a casual yet chic everyday style, or something in between, mastering this technique can elevate your hairstyling prowess to a whole new level.
Throughout this guide, we'll explore the essential steps and techniques required to achieve stunning curls with a round brush and blow dryer. From preparing your hair for styling to selecting the right round brush and mastering the art of blow drying, we'll cover every aspect in detail. Additionally, we'll delve into the intricacies of the curling technique itself and provide valuable insights into adding those finishing touches that make all the difference.
So, if you're ready to embark on a journey of hair transformation, buckle up and get ready to unleash your inner hairstylist. With the knowledge and techniques you'll gain from this guide, you'll soon be creating gorgeous, voluminous curls that turn heads and leave a lasting impression. Let's dive in and discover the secrets of achieving stunning curls with a round brush and blow dryer!
Key Takeaways:
- Achieve stunning curls at home by preparing, selecting the right tools, and mastering the curling technique with a round brush and blow dryer. Elevate your hairstyling prowess and unleash your inner hairstylist!
- Transform your hair into a canvas of captivating curls with strategic preparation, tool selection, and precise techniques. Embrace confidence and grace as you create stunning, voluminous curls that captivate hearts and turn heads.
Read more: How To Curl Hair With A Blow Dryer Brush
Preparing Your Hair
Before diving into the curling process, it’s crucial to prepare your hair to ensure optimal results. Proper preparation sets the stage for a flawless styling experience and helps maintain the health and integrity of your locks. Here are the essential steps to prepare your hair for the curling process:
- Wash and Condition: Start by washing your hair with a high-quality shampoo and conditioner suitable for your hair type. This step helps remove any product buildup, excess oils, and impurities, leaving your hair clean and primed for styling.
- Towel Dry Gently: After washing, gently towel-dry your hair to remove excess water. Avoid vigorous rubbing, as this can cause friction and potential damage to the hair cuticles.
- Apply Heat Protectant: Prior to using any heat styling tools, it’s essential to apply a heat protectant product to shield your hair from potential heat damage. Choose a heat protectant spray or serum designed to create a protective barrier against the intense heat from blow dryers and styling tools.
- Detangle with Care: Use a wide-tooth comb or a gentle detangling brush to remove any knots or tangles from your hair. Starting from the ends and gradually working your way up can help prevent unnecessary breakage and minimize hair damage.
- Section Your Hair: For easier and more effective styling, consider sectioning your hair into manageable portions. Using hair clips or ties, divide your hair into sections based on your preferred styling technique and the natural flow of your hair.
By following these preparatory steps, you’ll create an ideal foundation for the curling process, ensuring that your hair is clean, protected, and free from tangles. With your hair primed and ready, you’re now prepared to move on to the next crucial step: selecting the right round brush for the curling process.
Choosing the Right Round Brush
When it comes to achieving stunning curls with a round brush and blow dryer, selecting the right round brush is paramount. The size, material, and bristle type of the round brush can significantly impact the outcome of your styling efforts. Here’s a comprehensive guide to help you choose the ideal round brush for your curling endeavors:
- Consider the Size: Round brushes come in various diameters, ranging from small to large. For tighter curls and shorter hair, opt for a smaller-sized round brush. Conversely, if you desire loose, voluminous curls or have longer hair, a larger-sized round brush would be more suitable.
- Evaluate the Bristle Type: Round brushes feature different bristle types, such as natural boar bristles, nylon bristles, or a combination of both. Boar bristle brushes are excellent for creating smooth, polished curls, while nylon bristles provide added tension and grip, making them ideal for thicker or coarser hair textures.
- Assess the Barrel Material: Round brush barrels are commonly made of ceramic, tourmaline, or metal. Ceramic and tourmaline barrels distribute heat evenly and emit negative ions, reducing frizz and enhancing shine. Metal barrels, on the other hand, are ideal for creating maximum volume and long-lasting curls.
- Factor in Your Hair Type: Consider your hair’s natural texture and thickness when selecting a round brush. Fine or delicate hair may benefit from a gentler, heat-distributing brush, while thicker or coarser hair may require a brush with added tension and heat retention.
- Choose a Comfortable Handle: Ergonomics matter! Look for a round brush with a comfortable, non-slip handle that allows for easy maneuvering and control during the styling process. A comfortable handle reduces hand fatigue and ensures a smoother styling experience.
By carefully considering these factors and selecting a round brush tailored to your hair type and styling preferences, you’ll set the stage for successful and seamless curling. With the perfect round brush in hand, you’re now ready to delve into the next crucial step: utilizing the blow dryer to bring your curls to life.
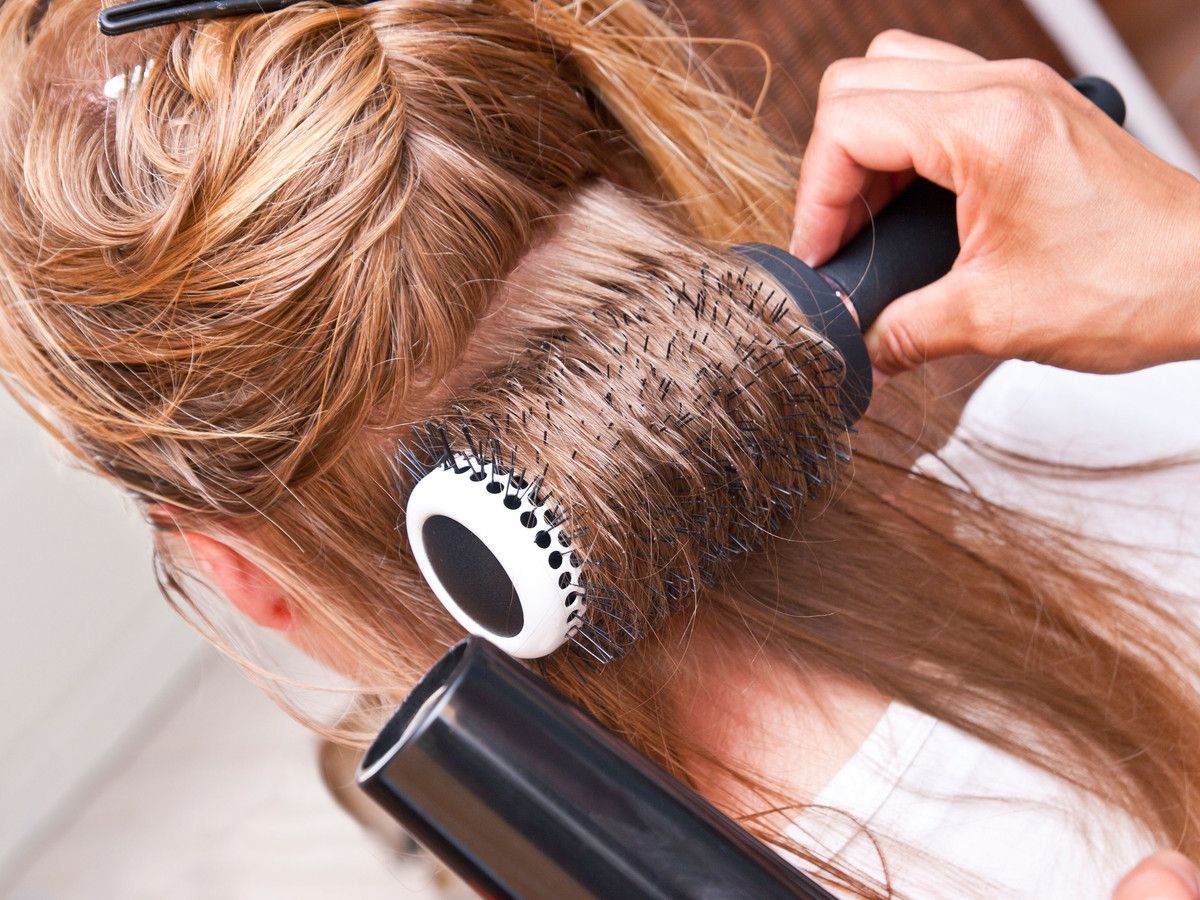
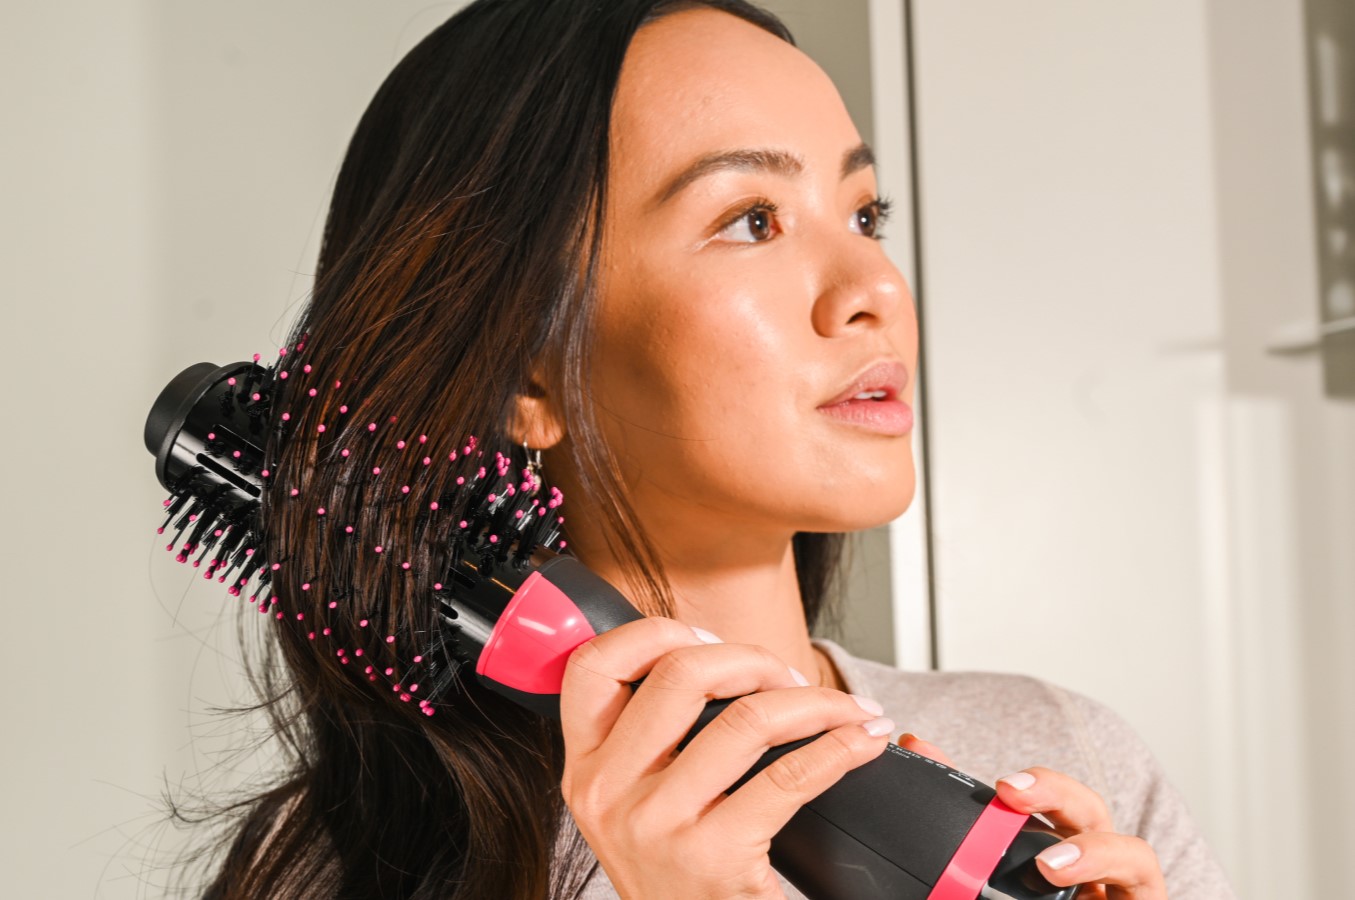
Using the Blow Dryer
Mastering the art of using a blow dryer is essential for achieving beautifully styled curls with a round brush. The blow dryer serves as a versatile tool, providing the heat and airflow necessary to shape and set your hair into stunning curls. Here’s a detailed guide on maximizing the potential of your blow dryer for the curling process:
- Adjust the Heat Setting: Start by selecting the appropriate heat setting on your blow dryer based on your hair type and the desired curling outcome. Lower heat settings are ideal for fine or delicate hair, while higher heat settings can effectively style thicker or coarser hair.
- Utilize the Cool Shot: Many blow dryers are equipped with a cool shot button that releases a burst of cool air to set the curls in place. Incorporating the cool shot feature during the styling process can enhance the longevity and resilience of your curls, ensuring they maintain their shape throughout the day.
- Control the Airflow: Experiment with the speed and intensity of the airflow to find the optimal balance for your styling needs. Lower airflow settings provide precision and control, while higher settings can expedite the drying process and create added volume.
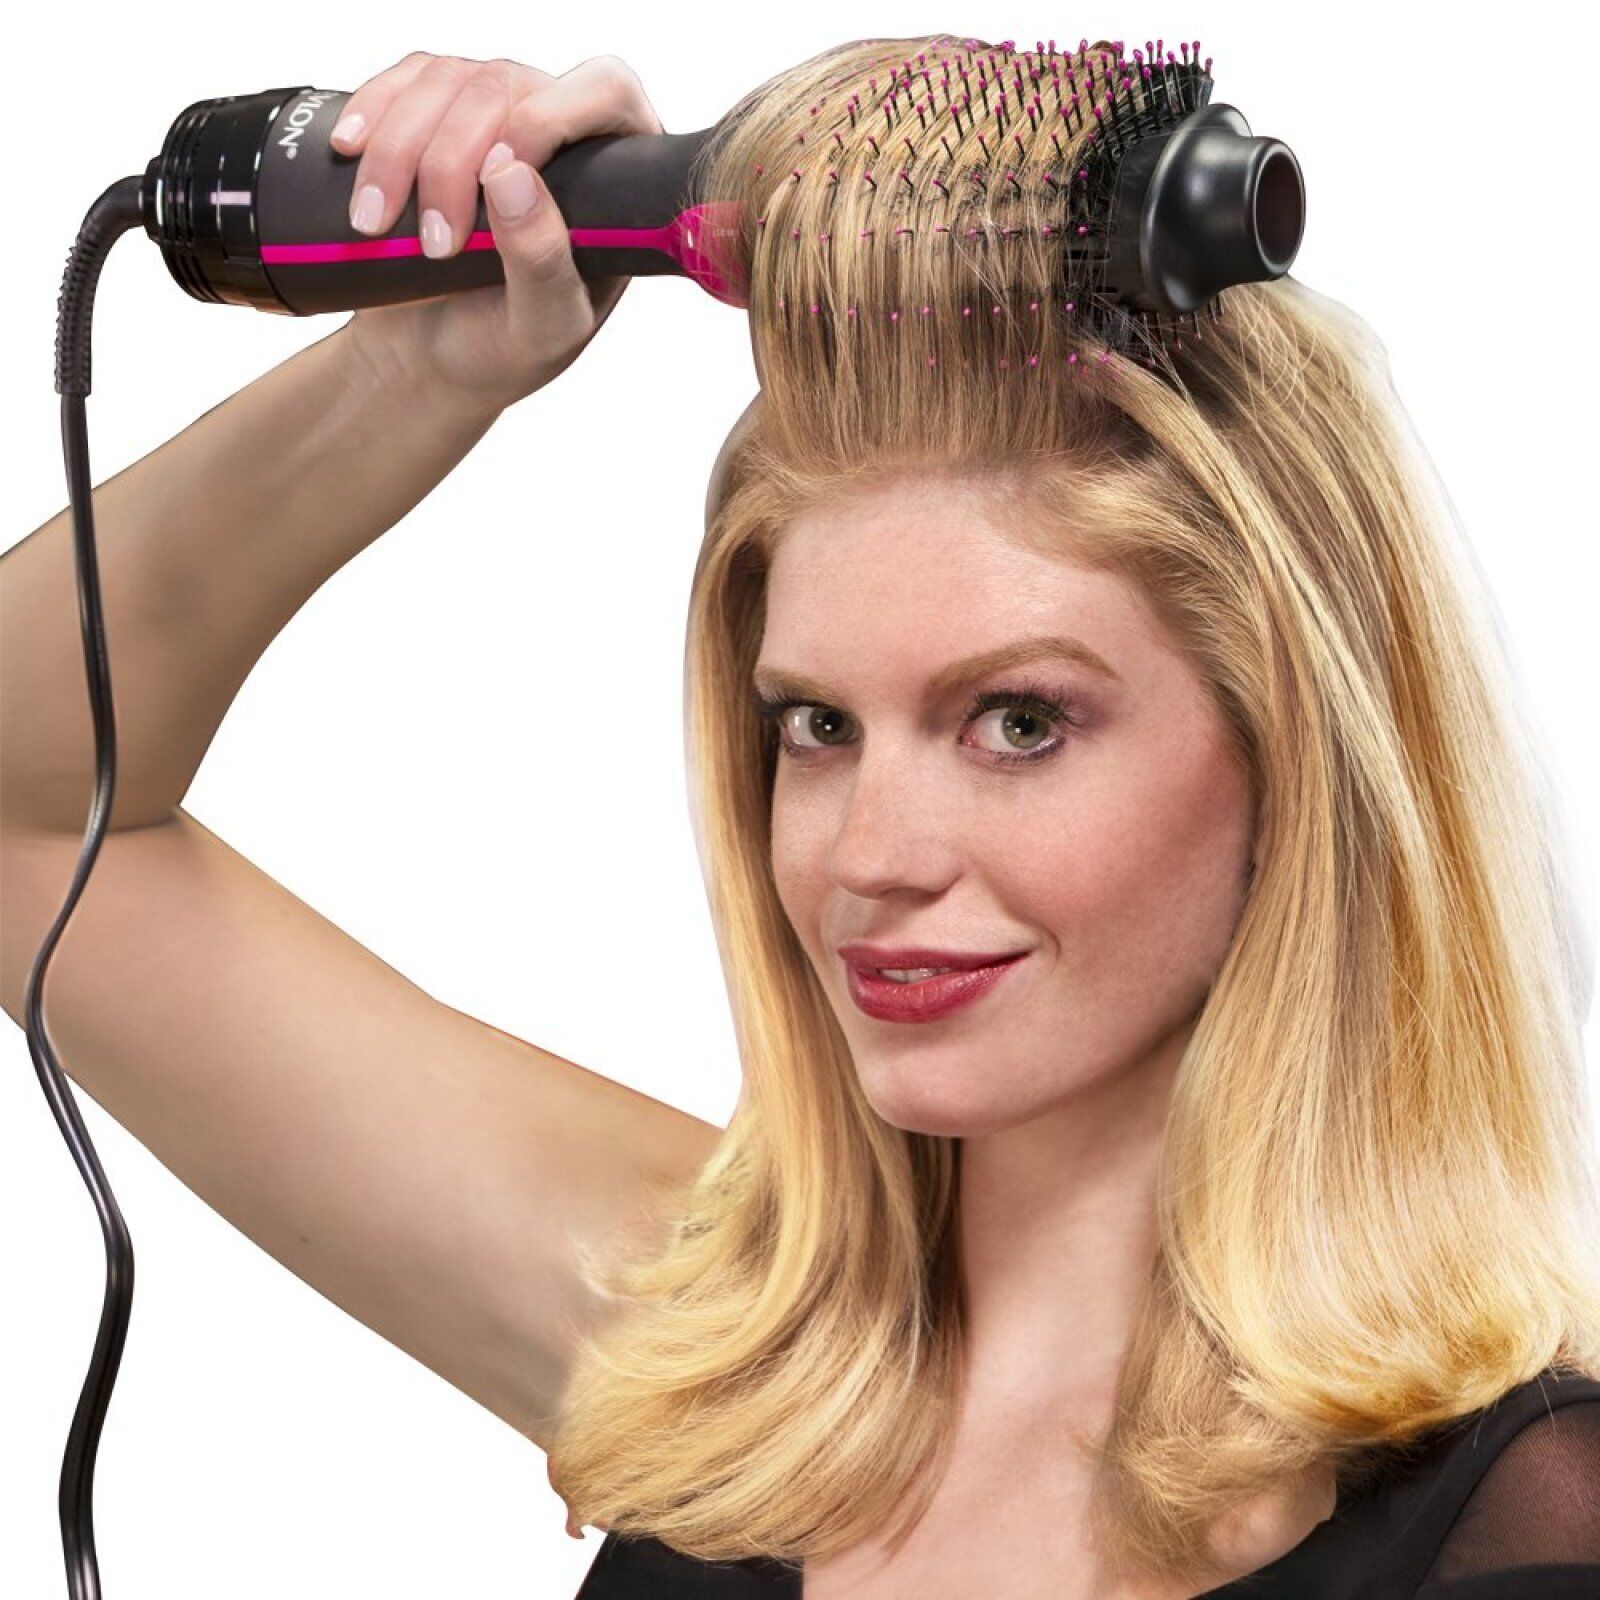
- Maintain Distance and Movement: Hold the blow dryer at a moderate distance from your hair to prevent excessive heat exposure. Additionally, continuously move the blow dryer and round brush in tandem to distribute the heat evenly and avoid concentrating heat on specific sections for too long.
- Focus on the Roots: Direct the airflow towards the roots of your hair while using the round brush to lift and curl the strands. This technique creates voluminous, long-lasting curls that emanate from the roots, adding depth and dimension to your hairstyle.
By harnessing the capabilities of your blow dryer and mastering the nuances of heat and airflow control, you’ll elevate your curling technique to new heights. With your hair primed and the blow dryer at the ready, it’s time to delve into the intricacies of the curling process itself, where the magic truly happens.
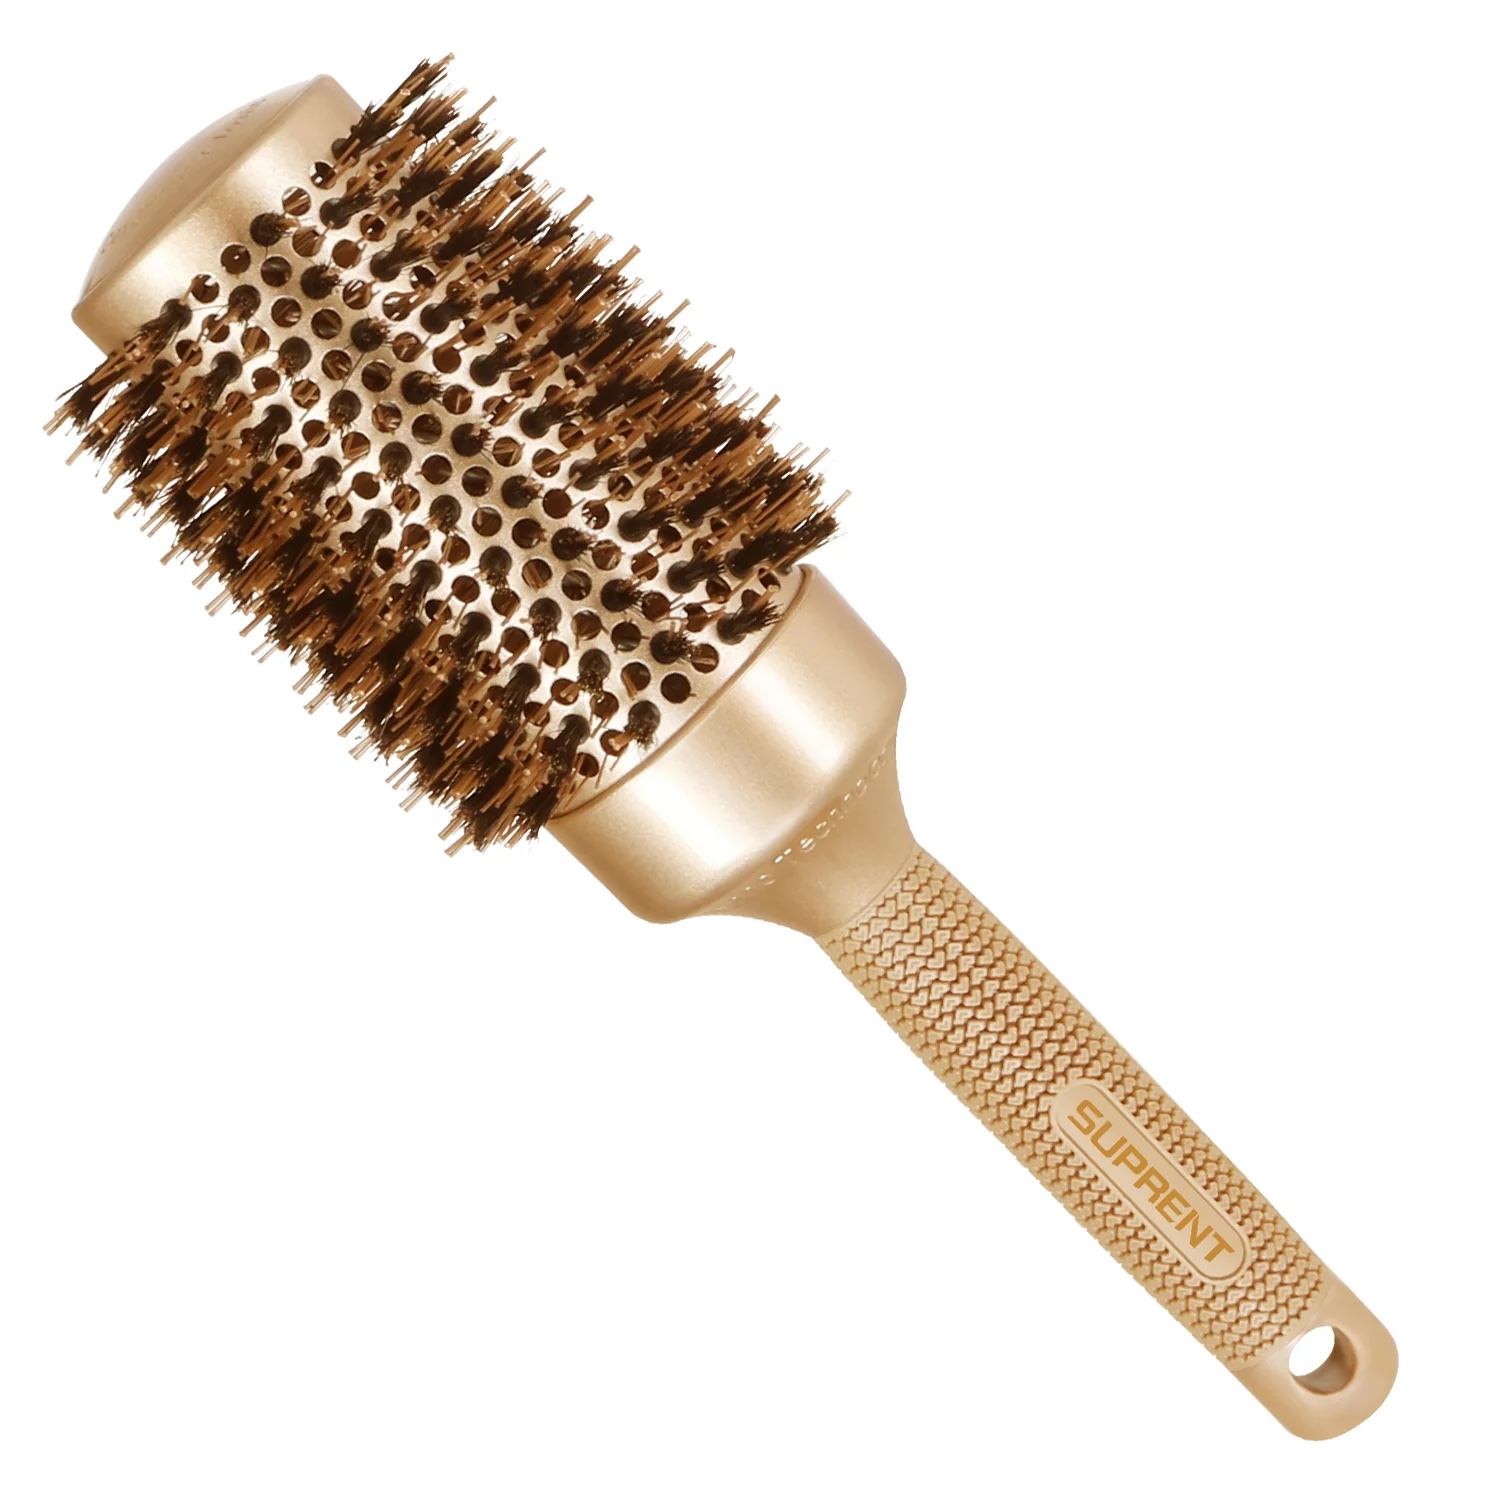
Use a round brush with a ceramic or metal core for better heat distribution. Start at the roots and twist the brush as you blow dry for smooth curls.
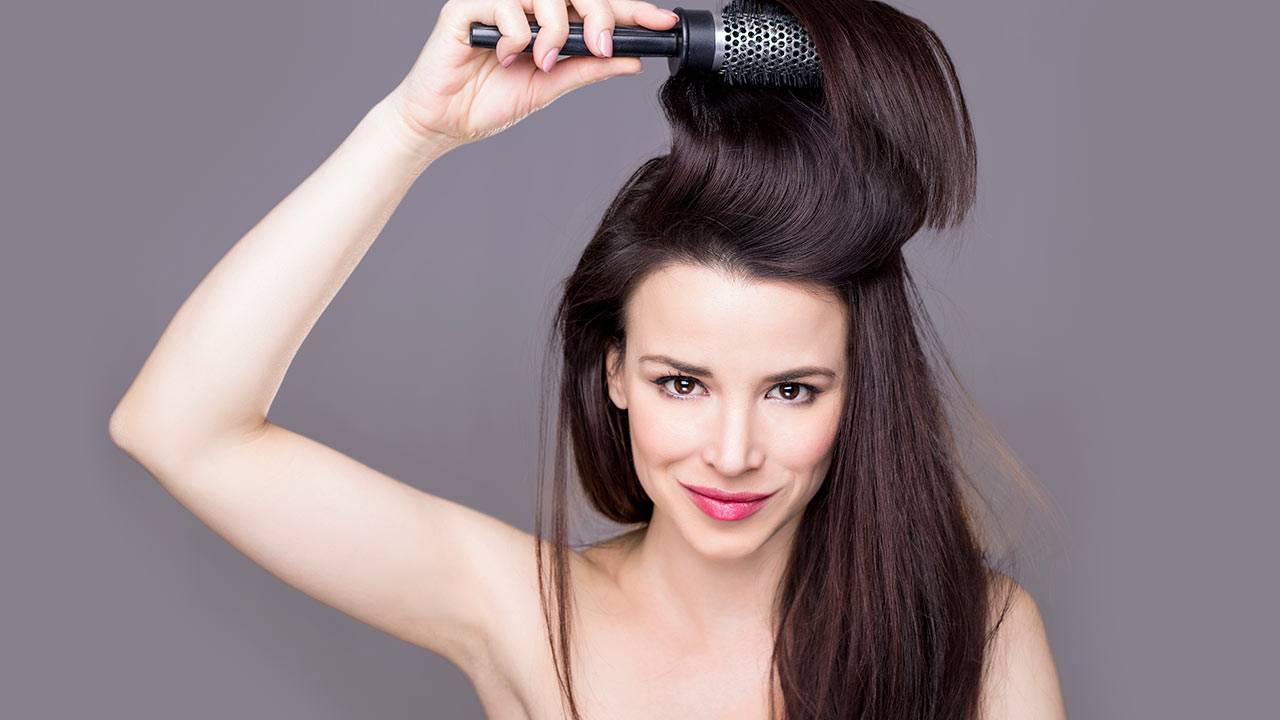
Technique for Curling
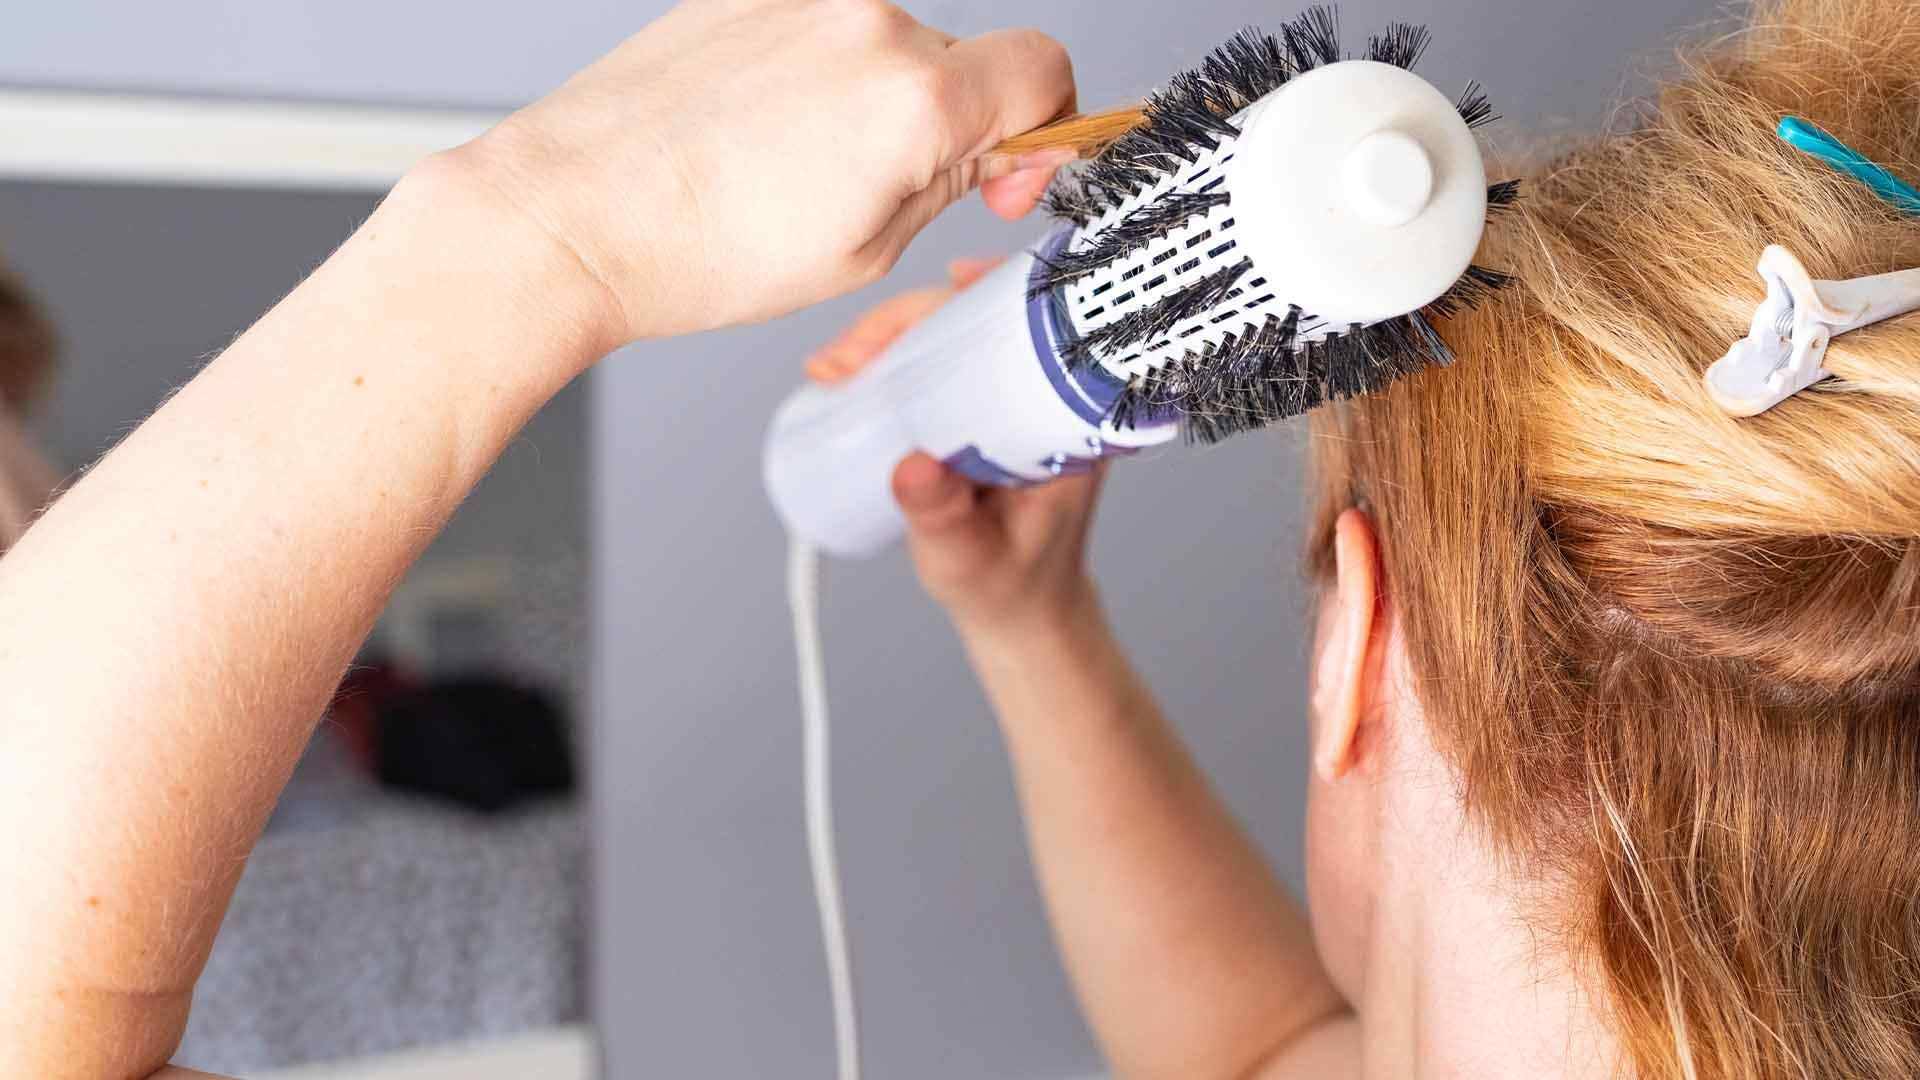
Now that your hair is prepared, the round brush is selected, and the blow dryer is poised for action, it’s time to delve into the art of curling with finesse and precision. The technique for curling your hair with a round brush and blow dryer involves a series of strategic movements and maneuvers designed to coax your locks into luscious, voluminous curls. Here’s a step-by-step guide to mastering the curling technique:
- Section Your Hair: Begin by sectioning your hair, starting from the bottom layers and gradually working your way up. This approach ensures that each section receives adequate attention and allows for more controlled styling.
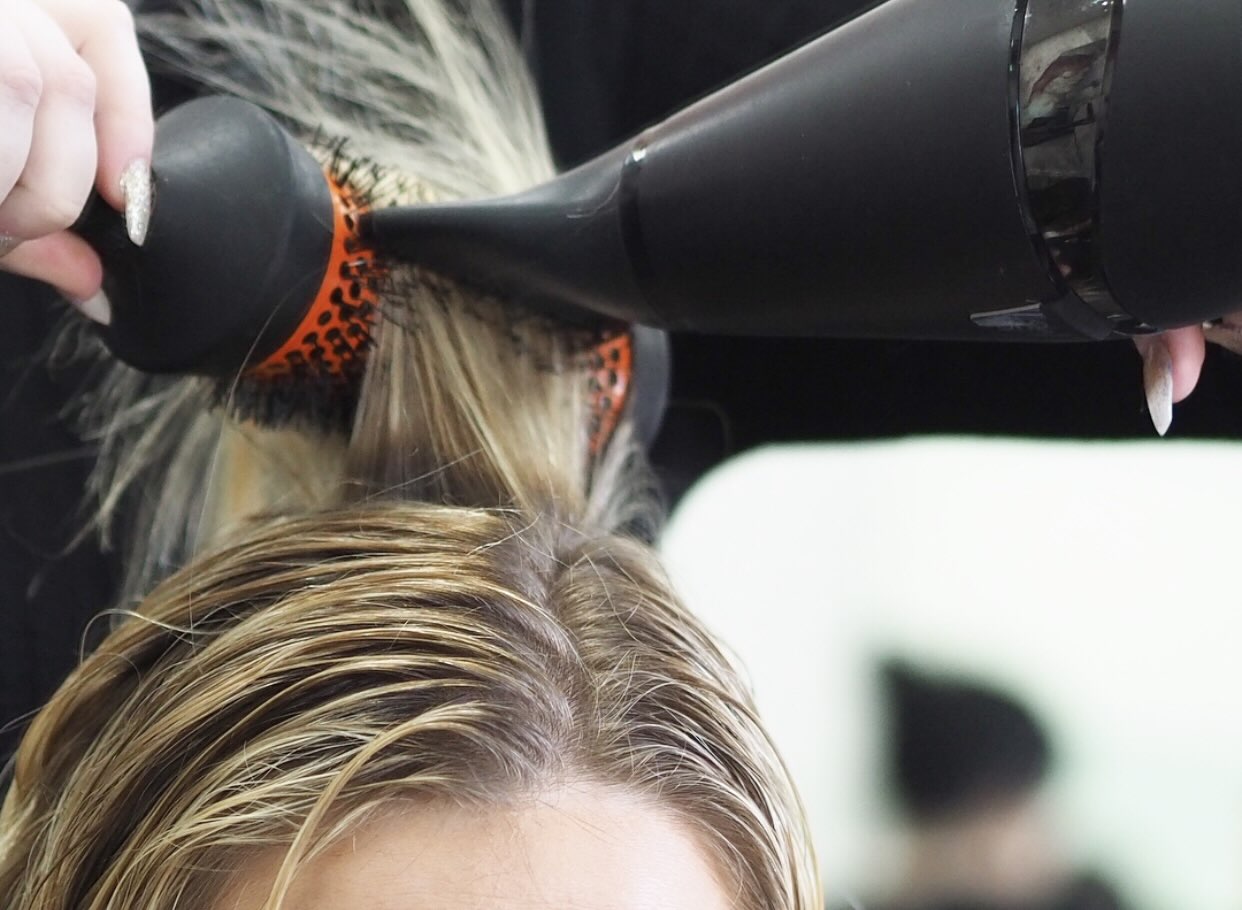
- Wrap and Roll: Take a section of hair and place the round brush underneath it, close to the roots. Gently roll the brush towards the ends while simultaneously directing the airflow from the blow dryer onto the wrapped hair. This motion encourages the hair to coil around the brush, creating a defined curl.
- Apply Heat and Tension: As you roll the brush, ensure that the airflow from the blow dryer follows the brush’s movement, evenly distributing heat and setting the curl in place. Maintain gentle tension on the hair to encourage smooth, uniform curls without causing excessive pulling or tugging.
- Cool Shot Finale: Once the section is dry, activate the cool shot feature on your blow dryer to set the curl. Gently release the hair from the round brush and allow the curl to cool and solidify, enhancing its longevity and bounce.
- Repeat and Refine: Continue the wrapping, rolling, and drying process with each section of hair, adjusting the size of the sections and the direction of the curls to achieve your desired hairstyle. Pay attention to the natural flow of your hair and adapt the technique to accentuate its unique characteristics.
By implementing this technique with patience and precision, you’ll transform your hair into a stunning display of voluminous curls, exuding elegance and allure. With the curling process complete, it’s time to add those final flourishes that elevate your hairstyle to its full potential.
Read more: How To Curl Hair With A Blow Dryer
Finishing Touches
As you near the completion of the curling process, it’s essential to add those final touches that enhance the overall look and ensure that your curls exude sophistication and vitality. These finishing touches serve as the proverbial cherry on top, elevating your hairstyle to a new level of elegance. Here are the crucial steps for perfecting your curls and adding those captivating finishing touches:
- Apply a Lightweight Hair Serum: Once the curls are set and cooled, apply a small amount of lightweight hair serum to your palms and gently run your fingers through the curls. This step adds a lustrous sheen and helps tame any frizz or flyaways, imparting a polished finish to your hairstyle.
- Finger-Style for Volume: Lightly separate and fluff the curls with your fingers to enhance volume and dimension. Gently tousling the curls adds a natural, effortless allure to your hairstyle, creating a soft and airy appearance.
- Strategic Hair Spritz: For added hold and longevity, consider lightly misting your curls with a flexible-hold hairspray. Opt for a hairspray that provides a touchable, brushable hold without weighing down the curls, allowing them to maintain their bounce and shape throughout the day.
- Final Visual Assessment: Take a moment to visually assess your curls from different angles and make any necessary adjustments. Tweak the positioning of individual curls, refine the overall shape, and ensure that your hairstyle aligns with your vision of elegance and allure.
- Confidence and Grace: Embrace your stunning curls with confidence and grace, knowing that your meticulous efforts have resulted in a captivating and alluring hairstyle. Wear your curls with pride, exuding confidence and elegance with every step.
With these finishing touches, your curls are now poised to make a lasting impression, exuding a harmonious blend of sophistication, vitality, and allure. As you revel in the beauty of your styled curls, it’s time to reflect on the journey you’ve undertaken and the newfound mastery you’ve attained in the art of curling with a round brush and blow dryer.
Conclusion
Congratulations on embarking on a transformative journey into the art of curling hair with a round brush and blow dryer. Through meticulous preparation, strategic selection of tools, and the application of precise techniques, you’ve unlocked the secrets to creating stunning, voluminous curls that radiate elegance and allure. As you reflect on the knowledge and skills you’ve acquired, it’s important to recognize the impact of your newfound expertise in elevating your hairstyling capabilities.
By mastering the curling process, you’ve gained the ability to sculpt your hair into a canvas of captivating curls, tailored to your unique style and preferences. The preparatory steps have primed your hair for styling, ensuring a smooth and seamless curling experience. Selecting the ideal round brush tailored to your hair type and styling goals has empowered you to wield a versatile tool that shapes and defines your curls with finesse.
Utilizing the blow dryer as a catalyst for transformation, you’ve harnessed the power of heat and airflow to breathe life into your curls, infusing them with volume, bounce, and resilience. The meticulous technique for curling, characterized by strategic movements and gentle precision, has allowed you to coax your locks into a symphony of luscious, beautifully defined curls.
As you added the finishing touches, you’ve witnessed your curls evolve into a masterpiece of elegance and allure, exuding confidence and grace with every movement. The journey from preparation to completion has not only resulted in stunning curls but has also enriched your understanding of the art of hairstyling, fostering a newfound sense of creativity and self-expression.
With your newfound expertise, you’re now equipped to embark on a myriad of hairstyling adventures, each one a testament to your mastery of the art of curling with a round brush and blow dryer. Whether it’s a glamorous red-carpet event, a casual gathering with friends, or a moment of self-indulgence, your ability to create captivating curls will undoubtedly leave a lasting impression.
As you embrace the artistry of hairstyling, remember that your journey is a testament to your dedication and passion for self-expression. With each curl meticulously crafted, you’ve woven a tale of elegance and allure, a testament to the transformative power of hairstyling. Now, go forth with confidence and grace, knowing that you possess the knowledge and skill to create stunning, voluminous curls that captivate hearts and turn heads with every graceful sway.
Frequently Asked Questions about How To Curl Hair With Round Brush And Blow Dryer
Was this page helpful?
At Storables.com, we guarantee accurate and reliable information. Our content, validated by Expert Board Contributors, is crafted following stringent Editorial Policies. We're committed to providing you with well-researched, expert-backed insights for all your informational needs.
0 thoughts on “How To Curl Hair With Round Brush And Blow Dryer”