Home>Home Maintenance>How To Drain A Toshiba Portable Air Conditioner

Home Maintenance
How To Drain A Toshiba Portable Air Conditioner
Modified: March 7, 2024
Learn how to efficiently drain your Toshiba portable air conditioner at home with our easy-to-follow step-by-step guide. Ensure optimal performance and maintenance of your AC unit.
(Many of the links in this article redirect to a specific reviewed product. Your purchase of these products through affiliate links helps to generate commission for Storables.com, at no extra cost. Learn more)
Introduction
Welcome to this comprehensive guide on how to drain a Toshiba portable air conditioner. Proper maintenance of your air conditioner is essential to ensure its optimal performance and prolong its lifespan. One crucial component of that maintenance is draining the accumulated water from the unit.
Due to the cooling process, air conditioners naturally produce condensation, which collects as water within the unit. If not drained properly, this excess water can lead to mold and mildew growth, and even cause damage to the internal components of your air conditioner. By regularly draining the water, you can prevent these issues and ensure the efficiency of your Toshiba portable air conditioner.
In this step-by-step guide, I will walk you through the process of draining your Toshiba portable air conditioner. But before we dive into the steps, let’s first gather the necessary materials.
Key Takeaways:
- Regularly draining your Toshiba portable air conditioner is crucial to prevent mold growth and damage. Follow the step-by-step guide to ensure optimal performance and longevity.
- Gather materials, turn off the unit, locate the drain plug, drain the water, clean the plug, and verify proper drainage to keep your air conditioner running efficiently.
Step 1: Gather necessary materials
Before you begin draining your Toshiba portable air conditioner, make sure you have the following materials on hand:
- A towel or rag
- A drain pan or bucket
- A small brush or cleaning tool
Having these materials ready will make the process of draining and cleaning the unit much more convenient and effective.
Once you have gathered all the necessary materials, you are ready to move on to the next step.
Step 2: Turn off the air conditioner
Before you start the draining process, it is important to turn off your Toshiba portable air conditioner. This is a crucial step to ensure your safety and prevent any potential damage to the unit.
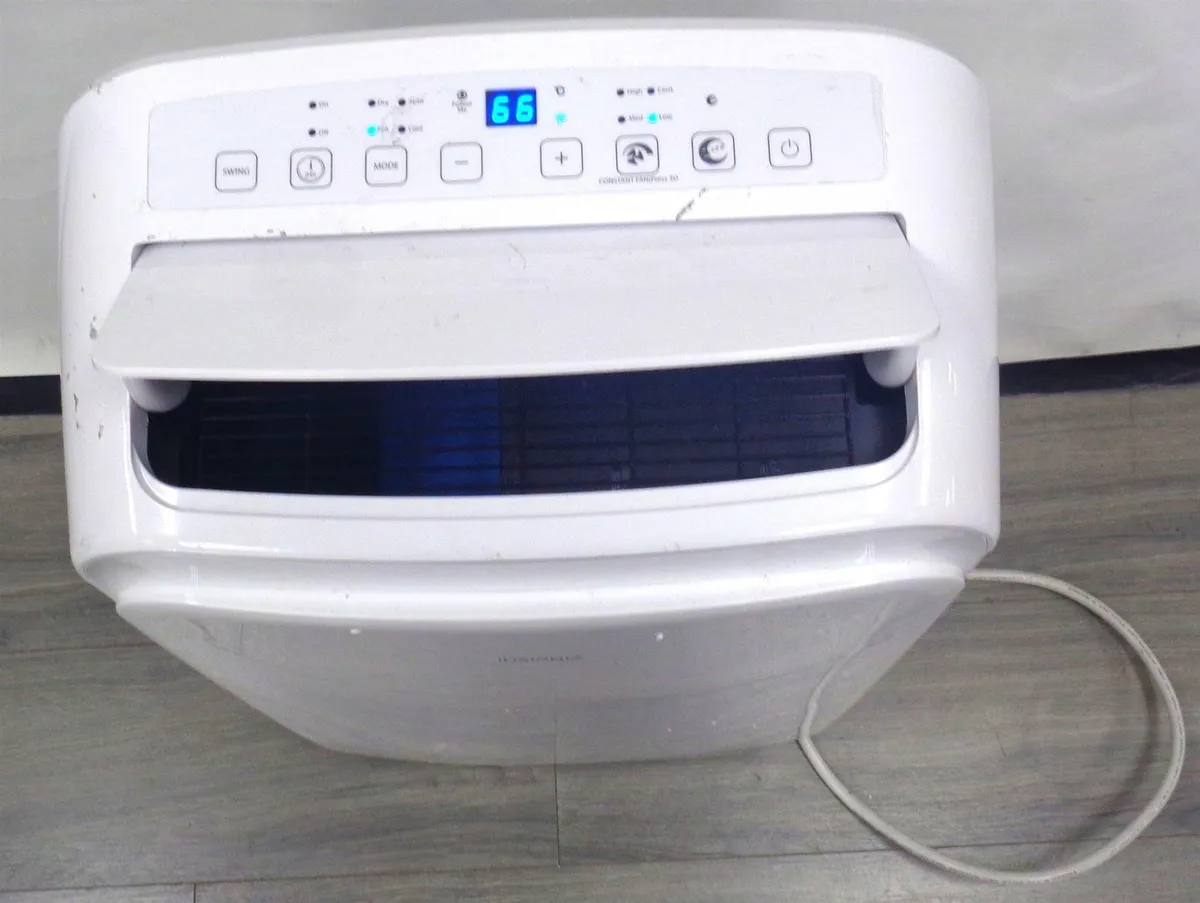
To turn off the air conditioner, locate the power button on the control panel. Press the button or switch to the “Off” position. This will shut down the unit and prevent it from cycling on while you are working on draining the water.
Once the air conditioner is turned off, you can proceed to the next step.
Step 3: Locate the drain plug or hose
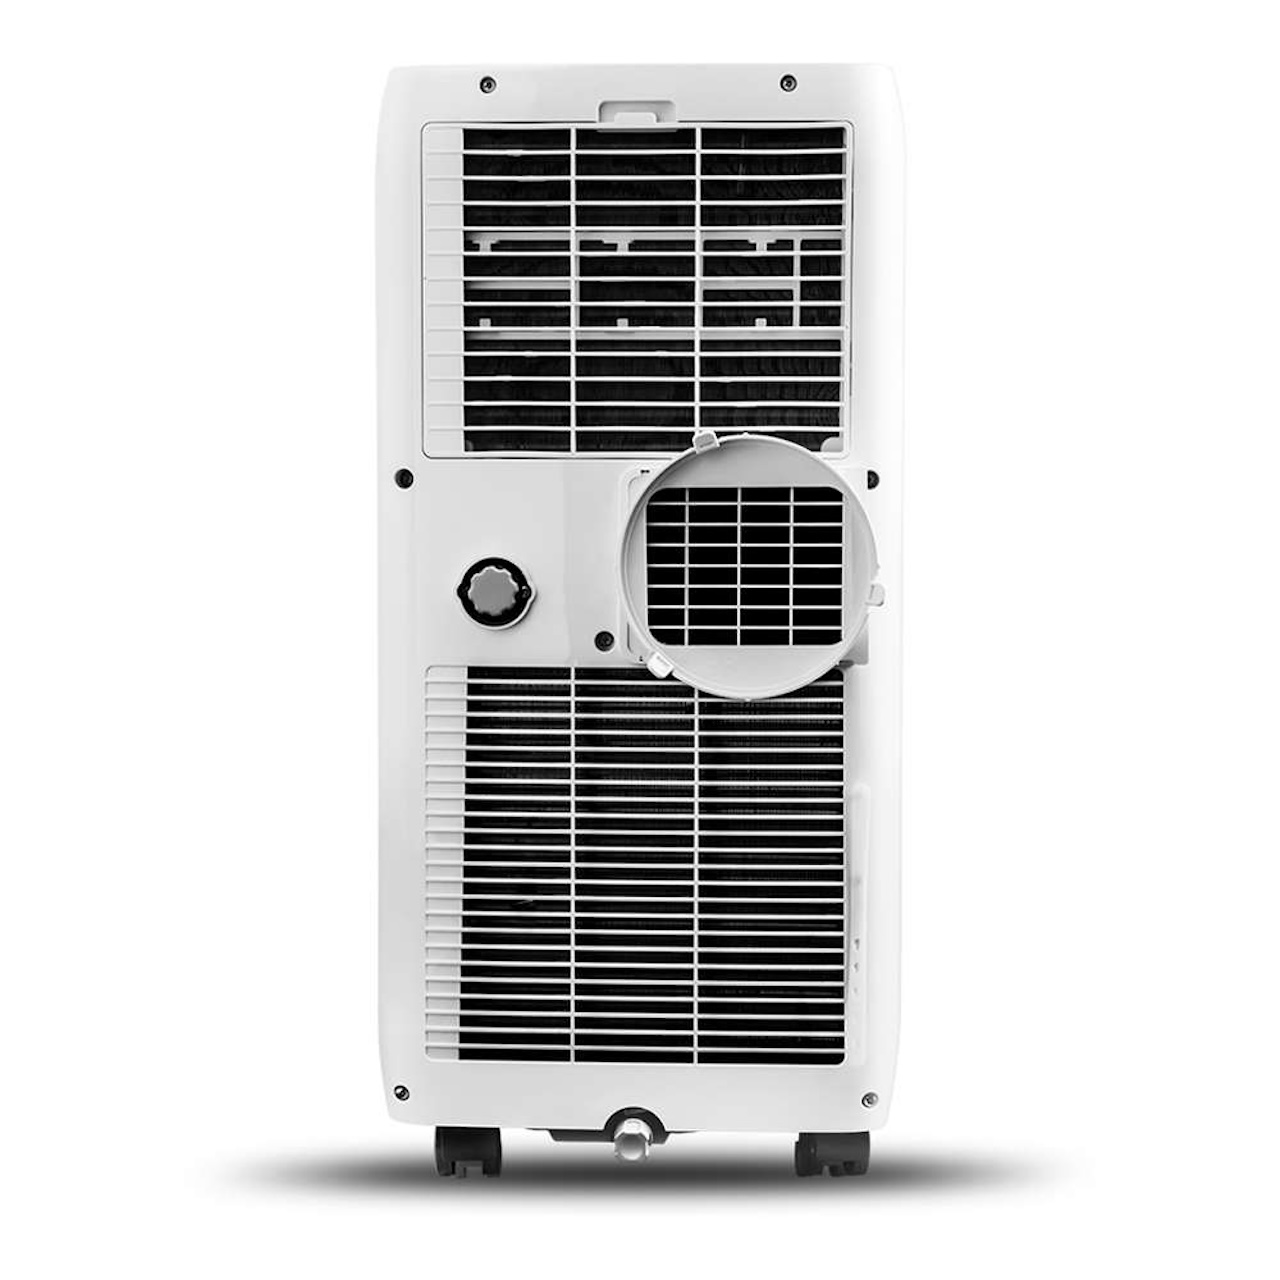
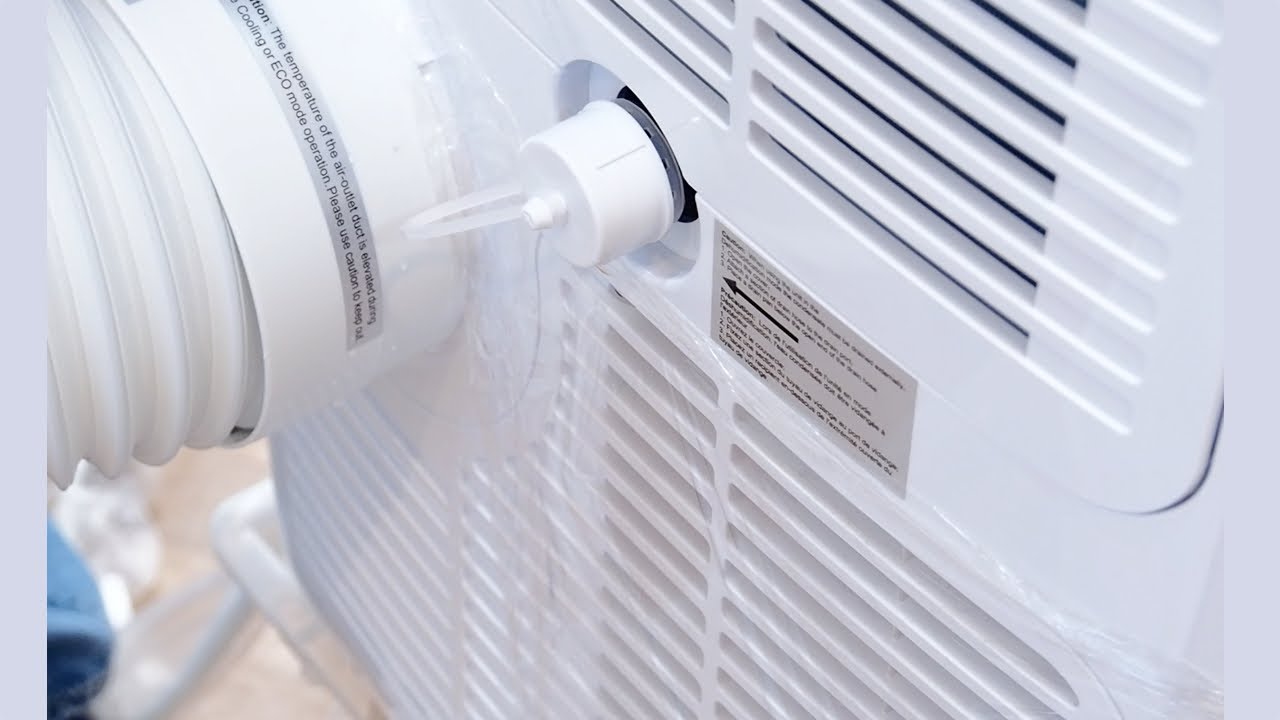
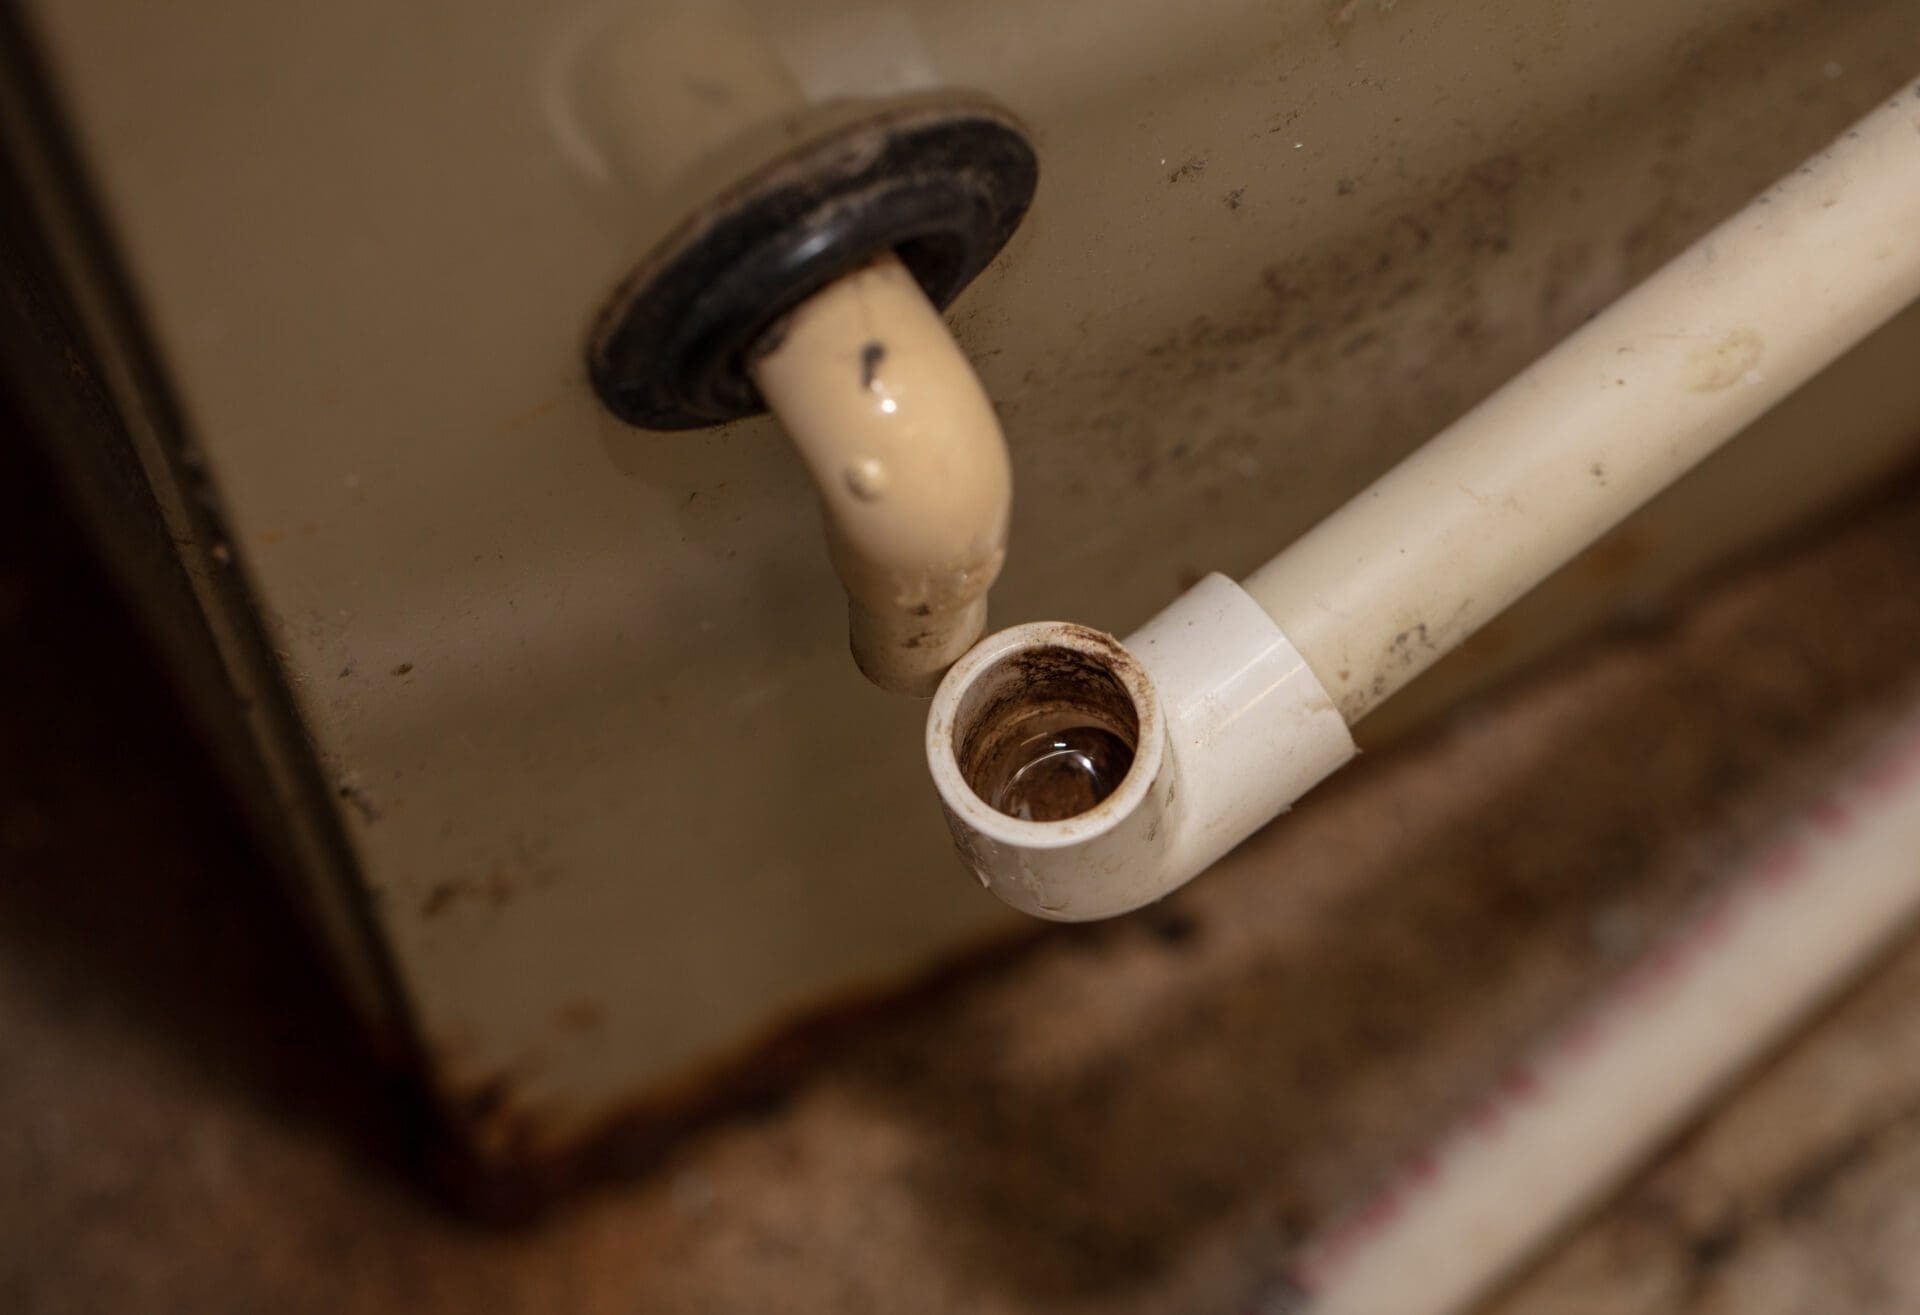
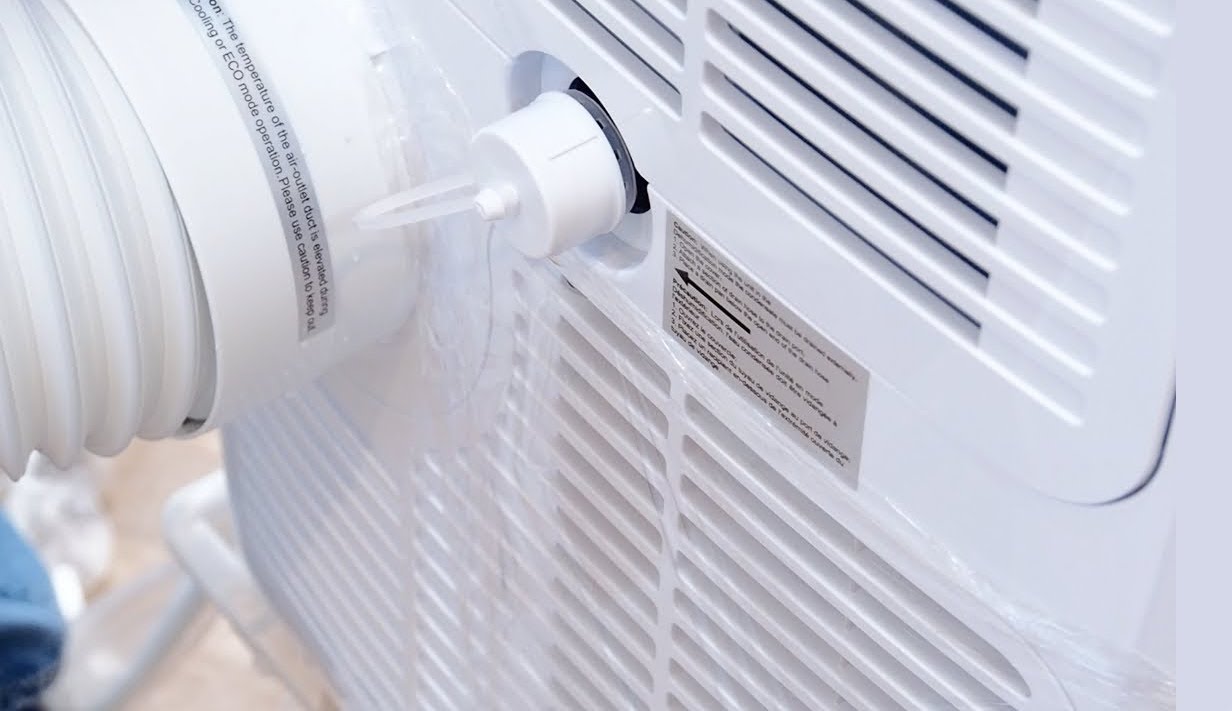
Next, you need to locate the drain plug or hose on your Toshiba portable air conditioner. The exact location may vary depending on the model of your unit, but it is typically found at the bottom or back of the unit.
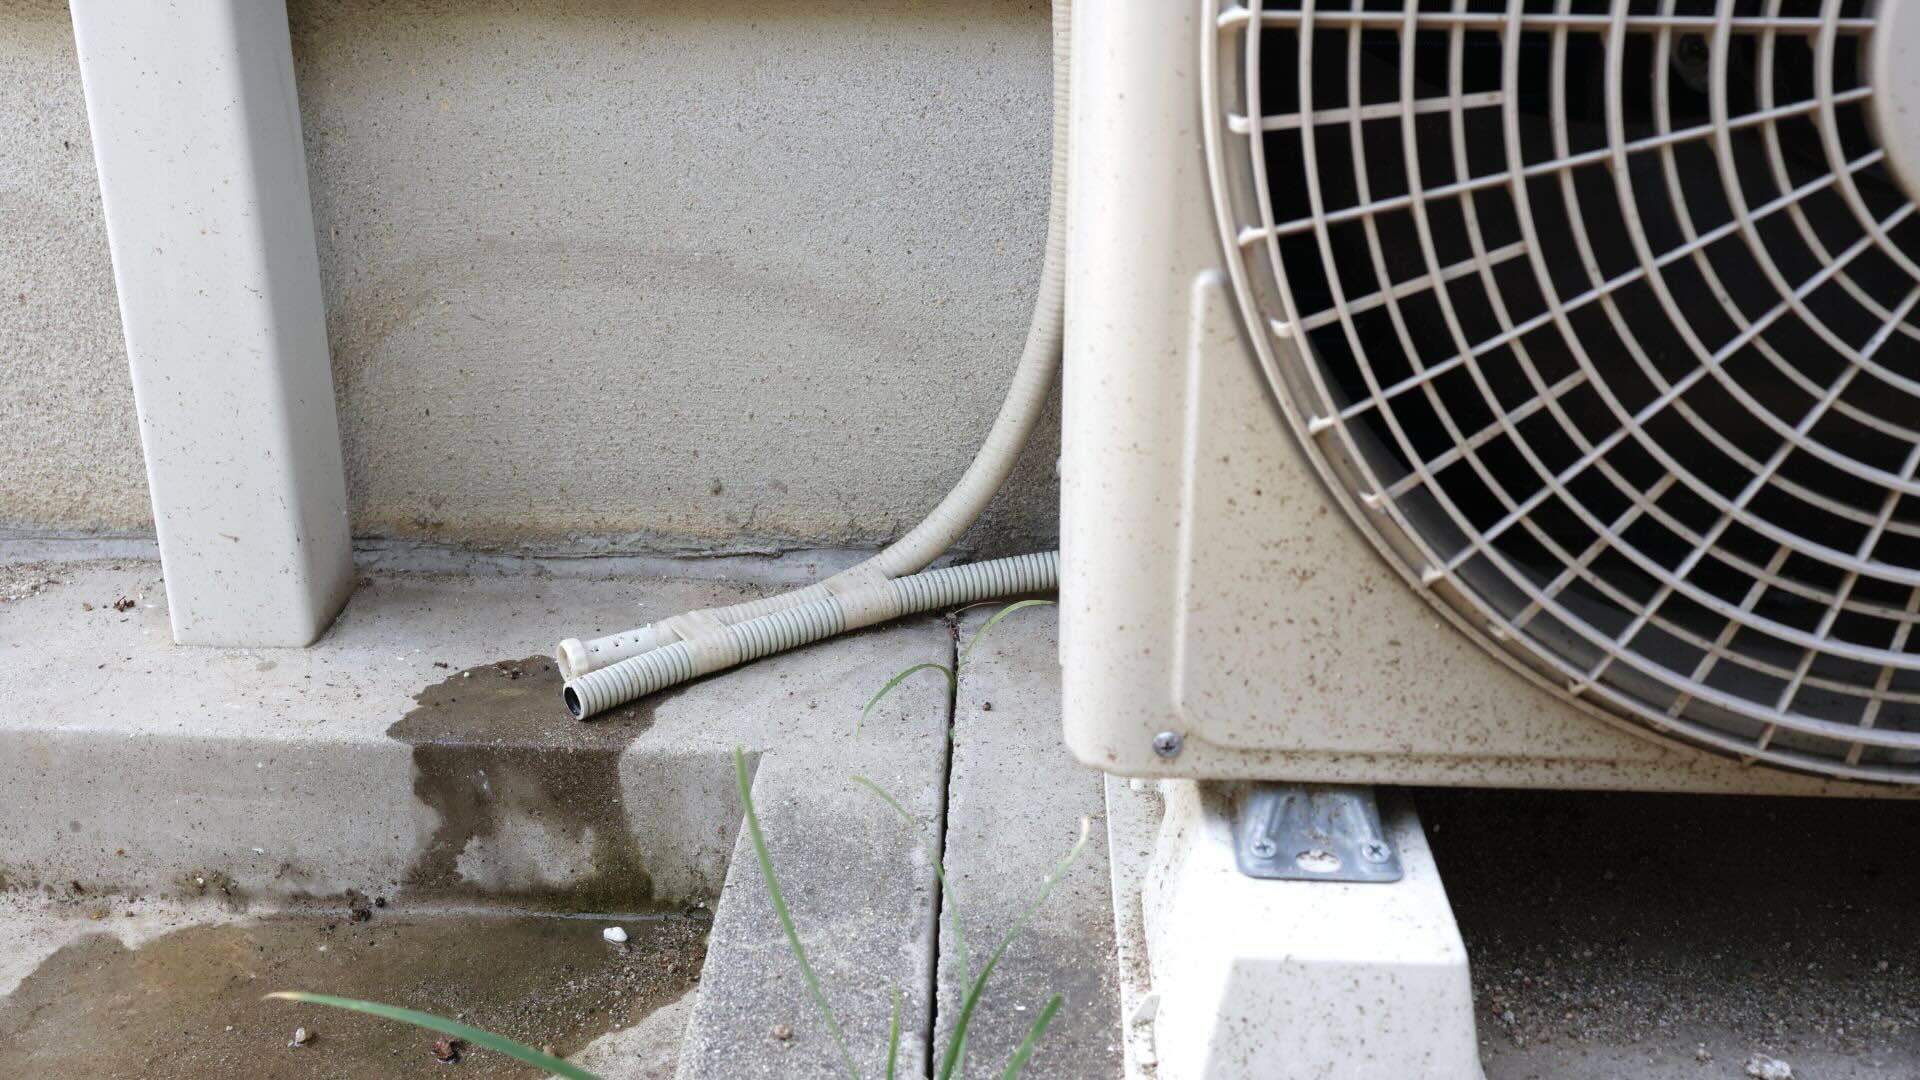
If your air conditioner has a drain plug, it will be a small stopper-like component that can be twisted or pulled out to release the water. On the other hand, if it has a drain hose, you will see a small hose attached to the unit that is designed to channel the water away.
Take a close look at your air conditioner and identify the drain plug or hose. If you are unsure, refer to the user manual that came with your unit. The manual will provide detailed instructions on locating the drain outlet.
Once you have located the drain plug or hose, you can proceed to the next step.
Step 4: Position a drain pan or bucket
To avoid any water spillage or damage to your surroundings, it is important to position a drain pan or bucket in the appropriate location before you start draining the water from your Toshiba portable air conditioner.
Place the drain pan or bucket directly beneath the drain plug or hose. This will ensure that any water released during the draining process is collected and contained.
Make sure the drain pan or bucket is large enough to accommodate the amount of water that may be present in your unit. This will help prevent any overflow or mess.
Once you have positioned the drain pan or bucket in the correct spot, you are ready to move on to the next step.
Read more: How To Drain A Portable Air Conditioner
Step 5: Remove the drain plug or connect the hose
With the drain pan or bucket in place, it’s time to remove the drain plug or connect the drain hose to start the water draining process from your Toshiba portable air conditioner.
If your unit has a drain plug, carefully twist or pull it out to remove it from the drain outlet. Be cautious and hold the drain pan or bucket in place as the water starts to flow. Allow the water to drain completely into the pan or bucket.
On the other hand, if your air conditioner has a drain hose, you will need to connect it to the drain outlet. Gently attach one end of the hose to the drain outlet on the air conditioner, making sure it is secure and properly fitted.
Ensure that the other end of the hose is positioned over the drain pan or bucket to collect the water. This will prevent any water from spilling onto the floor.
Once you have removed the drain plug or connected the hose, you can move on to the next step.
To drain a Toshiba portable air conditioner, locate the drain plug at the bottom of the unit. Place a shallow pan underneath and carefully remove the plug to let the water drain out. Be sure to do this regularly to prevent water buildup.
Step 6: Drain the water
Now that you have removed the drain plug or connected the drain hose, it’s time to begin draining the water from your Toshiba portable air conditioner.
If you have removed the drain plug, the water will start to flow out of the drain outlet and into the drain pan or bucket. Allow the water to completely drain from the unit until you no longer see any water flowing.
If you connected the drain hose, ensure that the other end of the hose is positioned securely over the drain pan or bucket. The water will flow through the hose and into the container, so make sure it is properly positioned to collect all the water.
Depending on the amount of condensation that has accumulated, the draining process may take a few minutes. It is important to be patient and allow the water to drain completely.
Please note that if you notice any abnormalities or excessive water leakage during the draining process, it is advisable to stop and consult the user manual or contact Toshiba customer support for assistance.
Once the water has drained fully from the air conditioner, you can move on to the next step.
Step 7: Clean the drain plug or hose
After draining the water from your Toshiba portable air conditioner, it is important to clean the drain plug or hose to ensure proper functioning in the future.
If you removed the drain plug, take a moment to inspect it for any dirt, debris, or buildup. Use a small brush or cleaning tool to gently scrub away any residue that may have accumulated. Make sure to thoroughly clean the drain plug to prevent any clogging or blockage.
Similarly, if you connected a drain hose, check it for any blockages or obstructions. Remove any accumulated dirt or debris by running water through the hose or using a small brush to clear the pathway.
Cleaning the drain plug or hose regularly will help maintain the efficiency of your air conditioner and prevent any future drainage issues.
Once you have cleaned the drain plug or hose, you are ready to move on to the next step.
Step 8: Replace the drain plug or disconnect the hose
After cleaning the drain plug or hose, it is time to either replace the drain plug or disconnect the drain hose from your Toshiba portable air conditioner.
If you removed a drain plug earlier, ensure that it is clean and free from any debris. Carefully reinsert the drain plug into the drain outlet and make sure it is securely in place. Give it a gentle twist or push to ensure a proper seal.
On the other hand, if you connected a drain hose, gently disconnect it from the drain outlet. Ensure that the drain hose is fully detached and no longer connected to the air conditioner.
Double-check that the drain plug is sealed correctly or that the drain hose is completely disconnected. This step is crucial to prevent any water leakage or damage to the air conditioner once it is turned on.
With the drain plug replaced or the drain hose disconnected, you can proceed to the next step.
Read more: How To Drain An LG Portable Air Conditioner
Step 9: Turn on the air conditioner
After completing the necessary steps to drain and clean your Toshiba portable air conditioner, it’s time to turn it back on.
Locate the power button on the control panel and switch it to the “On” position. This will initiate the power supply and activate the air conditioning functions.
It may take a few moments for the unit to start up and begin cooling the room. Listen for the sound of the air conditioner running and feel for cool air coming from the vents.
Once you have confirmed that the air conditioner is operational, you can move on to the final step.
Before you do so, it’s worth mentioning that it’s a good idea to consult the user manual of your Toshiba portable air conditioner to ensure you are following the correct procedure for turning it on and adjusting the settings. The manual will provide you with specific instructions tailored to your particular model.
Step 10: Verify proper drainage
After turning on your Toshiba portable air conditioner, it is important to verify that the drainage system is functioning correctly. This step will ensure that any excess water generated during the cooling process is effectively drained away.
Observe the drain pan or bucket that you positioned in Step 4. Check for any signs of water accumulation or leakage around the drain plug or hose connection.
If you notice any water accumulation or leakage, it could be an indication of a drainage issue. In such cases, it is advisable to disconnect the unit from the power supply and consult the user manual or contact Toshiba customer support for further assistance.
However, if the drain pan or bucket remains empty or contains only a minimal amount of water, it indicates that the drainage system is functioning properly.
It’s a good practice to regularly check the drain pan or bucket over the next few days to ensure that water is being effectively drained from the unit.
By verifying proper drainage, you can be confident that your Toshiba portable air conditioner is operating efficiently and effectively removing excess moisture from your space.
Congratulations! You have successfully completed the steps to drain your Toshiba portable air conditioner and ensure its optimal performance.
Conclusion
Regularly draining your Toshiba portable air conditioner is an essential maintenance task to ensure its optimal performance and longevity. By following the steps outlined in this comprehensive guide, you can effectively and safely drain the accumulated water from your unit.
Remember to gather the necessary materials, turn off the air conditioner, locate the drain plug or hose, position a drain pan or bucket, remove the drain plug or connect the hose, drain the water, clean the drain plug or hose, replace the drain plug or disconnect the hose, and finally, turn on the air conditioner and verify proper drainage.
By performing these steps periodically, you can prevent water buildup, mold growth, and potential damage to your air conditioner. This will not only prolong its lifespan but also ensure that it operates efficiently and keeps your space cool and comfortable.
If you encounter any difficulties or concerns during the draining process, it is always recommended to consult the user manual provided with your Toshiba portable air conditioner or reach out to Toshiba customer support.
Remember, proper maintenance is the key to extending the life of your air conditioner and enhancing its performance, so make sure to include draining as a regular part of your home maintenance routine.
Thank you for taking the time to follow this guide. Enjoy the cool and refreshing air provided by your Toshiba portable air conditioner!
Frequently Asked Questions about How To Drain A Toshiba Portable Air Conditioner
Was this page helpful?
At Storables.com, we guarantee accurate and reliable information. Our content, validated by Expert Board Contributors, is crafted following stringent Editorial Policies. We're committed to providing you with well-researched, expert-backed insights for all your informational needs.
