Home>Home Maintenance>How To Install A Hisense Portable Air Conditioner
Home Maintenance
How To Install A Hisense Portable Air Conditioner
Modified: August 23, 2024
Learn how to easily install a Hisense portable air conditioner in your home. Keep your space cool and comfortable with this step-by-step guide.
(Many of the links in this article redirect to a specific reviewed product. Your purchase of these products through affiliate links helps to generate commission for Storables.com, at no extra cost. Learn more)
Introduction
Welcome to the world of home maintenance! Whether you’re a seasoned DIY enthusiast or a beginner looking to embark on your first project, knowing how to install a Hisense portable air conditioner is a valuable skill that will help you keep your home cool and comfortable during those sweltering summer months.
A Hisense portable air conditioner offers the perfect solution for cooling a specific area of your home without the need for complex installation or expensive renovations. With its user-friendly features and efficient cooling capabilities, this versatile appliance can be easily moved and set up wherever you need it most.
In this comprehensive guide, we will take you through the step-by-step process of installing a Hisense portable air conditioner, ensuring that you have all the information and instructions you need to get started. From unboxing and readiness to proper location selection and maintenance, we will cover it all.
But before we dive into the installation process, let’s take a moment to highlight the benefits of a Hisense portable air conditioner.
- Flexibility: Unlike fixed air conditioning units, a portable air conditioner gives you the freedom to cool different rooms as needed. You can easily move it from the living room during the day to the bedroom at night, keeping you comfortable wherever you go.
- Easy Installation: With minimal installation requirements, a Hisense portable air conditioner is a DIY-friendly option. You don’t need to hire professionals or make any permanent modifications to your home, making it a convenient choice for renters or those who prefer a temporary cooling solution.
- Cost-effective: Portable air conditioners offer an affordable alternative to central air conditioning systems. They consume less energy and only cool the specific area you need, resulting in lower utility bills compared to cooling the entire house.
- Versatility: Hisense portable air conditioners are equipped with various modes and features, including cooling, dehumidification, fan-only, and sleep mode. This versatility allows you to customize your comfort level based on your preference and the current weather conditions.
Now that you understand the advantages of a Hisense portable air conditioner, let’s dive into the installation process. Grab your tools and let’s get started!
Key Takeaways:
- Installing a Hisense portable air conditioner is a DIY-friendly and cost-effective way to keep your home cool. Follow the step-by-step guide to set up and maintain your unit for optimal performance and comfort.
- Selecting the right location, attaching the window slider kit, and connecting the exhaust hose are crucial steps in installing a Hisense portable air conditioner. Proper maintenance and cleaning ensure long-lasting efficiency.
Step 1: Unboxing and Readying the Air Conditioner
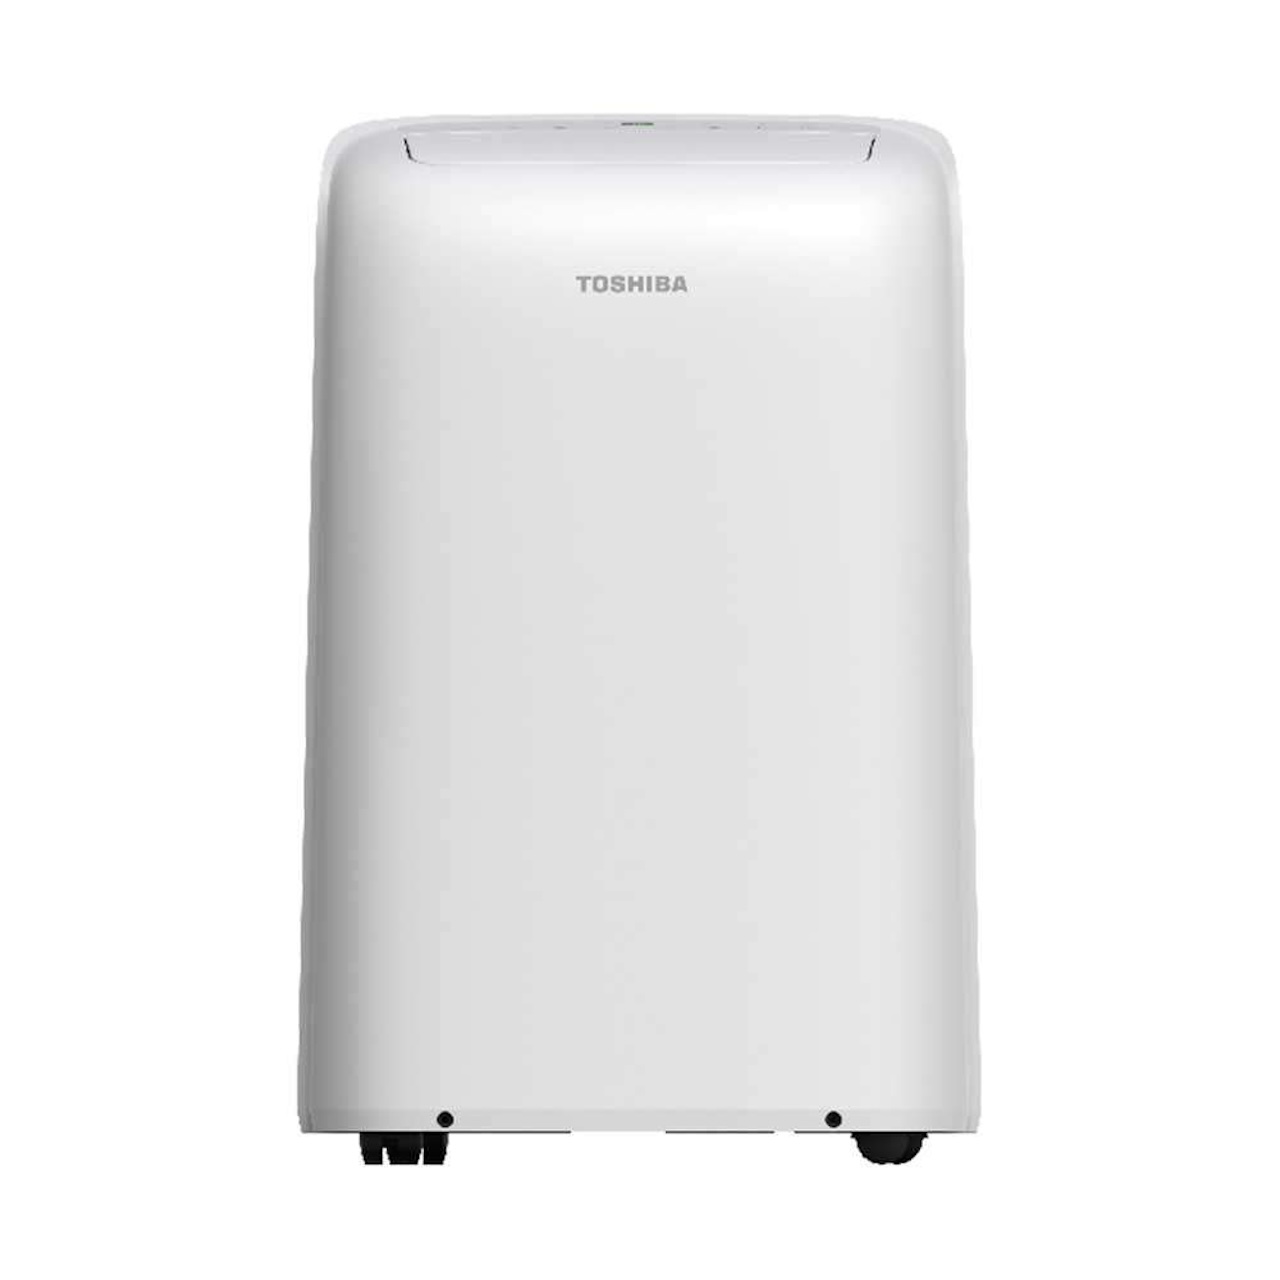
Congratulations on your new Hisense portable air conditioner! Before you begin the installation process, it’s important to unbox and ready the unit for setup. Follow these steps to ensure a smooth start:
- Unbox the Air Conditioner: Carefully unpack the air conditioner from its packaging, making sure to remove any tape or protective coverings. Keep track of all the included components, such as the window slider kit, exhaust hose, remote control, and user manual.
- Inspect for Damage: Thoroughly inspect the air conditioner for any signs of damage during shipping. Look for dents, broken parts, or loose connections. If you notice any issues, contact the retailer or Hisense customer service for further assistance.
- Clean the Air Filters: Open the front panel of the air conditioner and locate the air filters. Remove them and gently clean with warm, soapy water. Rinse thoroughly and allow the filters to dry completely before reinserting them. This step ensures optimal performance and improves air quality.
- Check the Power Cord: Ensure that the power cord is in good condition and free of any cuts or fraying. It’s essential to have a safe and reliable power source for your air conditioner.
- Read the User Manual: Take the time to read the user manual provided by Hisense. Familiarize yourself with the safety precautions, operating instructions, and maintenance guidelines. This information will help you make the most out of your portable air conditioner and avoid any potential issues.
By carefully unboxing and readying your Hisense portable air conditioner, you are setting the foundation for a successful installation. Now, let’s move on to selecting the proper location for your air conditioner.
Step 2: Selecting the Proper Location
Choosing the right location for your Hisense portable air conditioner is crucial for optimal cooling performance. Follow these guidelines to ensure you select a suitable spot:
- Consider Room Size: Assess the size of the room you want to cool. Portable air conditioners have a recommended square footage capacity, so it’s essential to choose a unit that can effectively cool the space.
- Identify Power Source: Ensure that there is a nearby electrical outlet to power the air conditioner. It’s important to have easy access to a grounded socket with sufficient voltage capacity.
- Avoid Heat Sources: Keep the air conditioner away from heat-emitting sources such as direct sunlight, ovens, lamps, or electronic devices. These sources can interfere with the efficiency of the air conditioner and hinder its performance.
- Clearance Space: Provide adequate clearance space around the air conditioner, allowing for proper airflow and ventilation. Keep at least 20 inches of clearance on all sides of the unit to ensure unrestricted air circulation.
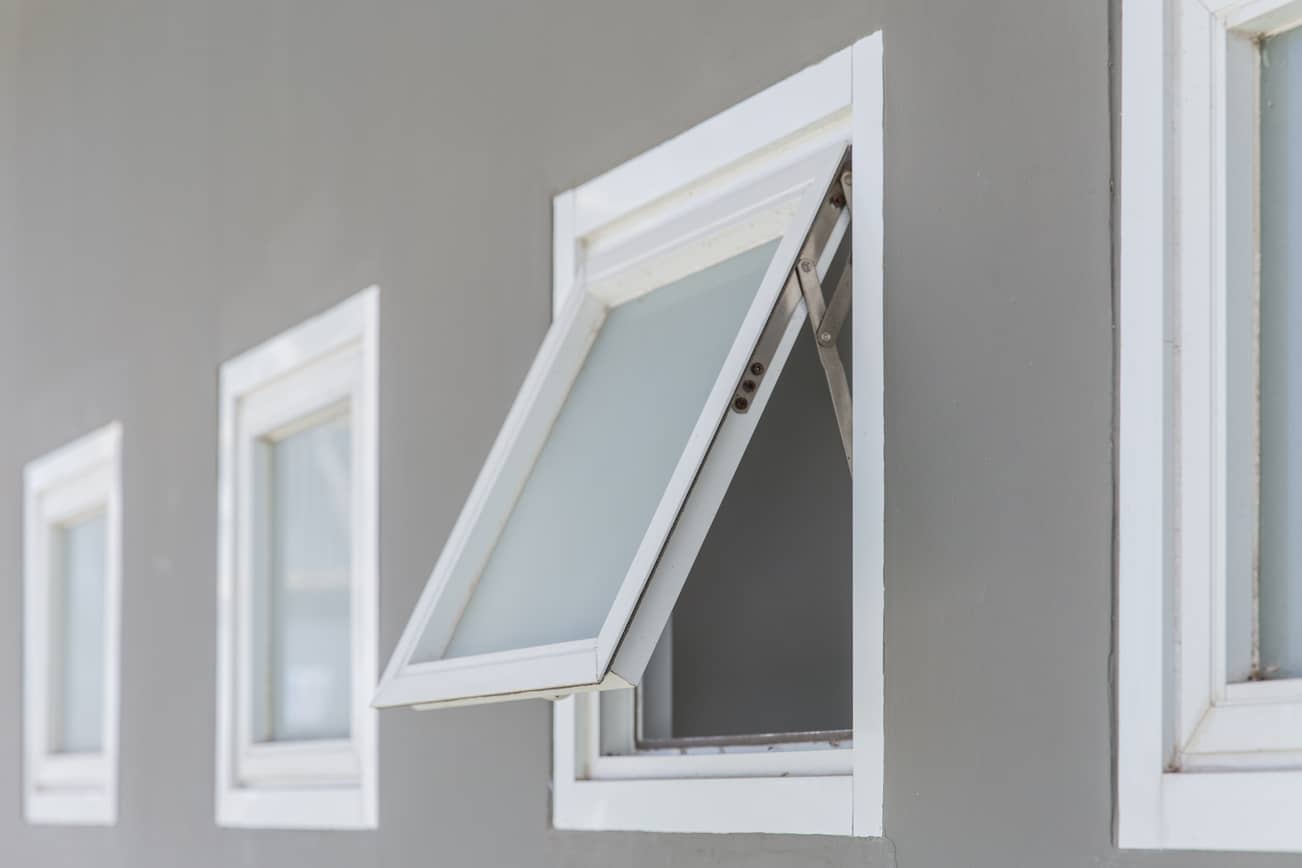
- Window Accessibility: Consider the proximity of a suitable window or opening in the room. Portable air conditioners require an exhaust hose to vent hot air outside, and it’s important to place the unit near a window for easy installation.
- Level Surface: Ensure that the floor or surface where you plan to place the air conditioner is level and stable. This will prevent the unit from vibrating or tipping over during operation.
- Noise Considerations: Take into account the noise level of the air conditioner. While portable units generally produce less noise than traditional window units, it’s still important to consider if the noise will be disruptive in your chosen location.
By following these guidelines, you can select an ideal location for your Hisense portable air conditioner, optimizing its cooling efficiency and ensuring a comfortable environment in your desired space. Now, let’s move on to attaching the window slider kit for proper installation.
Step 3: Attaching the Window Slider Kit
Attaching the window slider kit is a crucial step in the installation process of your Hisense portable air conditioner. This kit allows you to exhaust hot air from the unit and keep your room cool. Follow these steps to properly install the window slider kit:
- Measure and Cut: Begin by measuring the width of your window or opening. Use a measuring tape to determine the exact dimensions of the window or opening where you will install the slider kit. Note the measurement for later reference.
- Adjust the Slider Kit: Most Hisense portable air conditioners come with an adjustable slider kit that can fit various window sizes. Adjust the length of the slider kit to match the measurement you took in the previous step. Follow the manufacturer’s instructions for adjusting the kit accordingly.
- Secure the Slider Kit: Once you have adjusted the kit to the correct length, position it in the window or opening. Make sure the slider kit fits securely and tightly in place. Use the provided brackets or screws to secure the kit if necessary.
- Seal Air Gaps: To minimize any air leaks, use weatherstripping or foam insulation to seal any gaps between the slider kit and the window or opening. This will help prevent hot air from entering the room and maintain the cooling efficiency of the air conditioner.
- Test the Window Closure: Open and close the window to ensure it moves smoothly without any obstructions. Make sure the window can be fully closed and secured while the slider kit is in place. This will help maintain a good seal and prevent hot air from entering the room.
By properly attaching the window slider kit, you are ensuring that the hot air from the Hisense portable air conditioner is effectively exhausted outside, keeping your room cool and comfortable. With this step complete, we are ready to move on to connecting the exhaust hose.
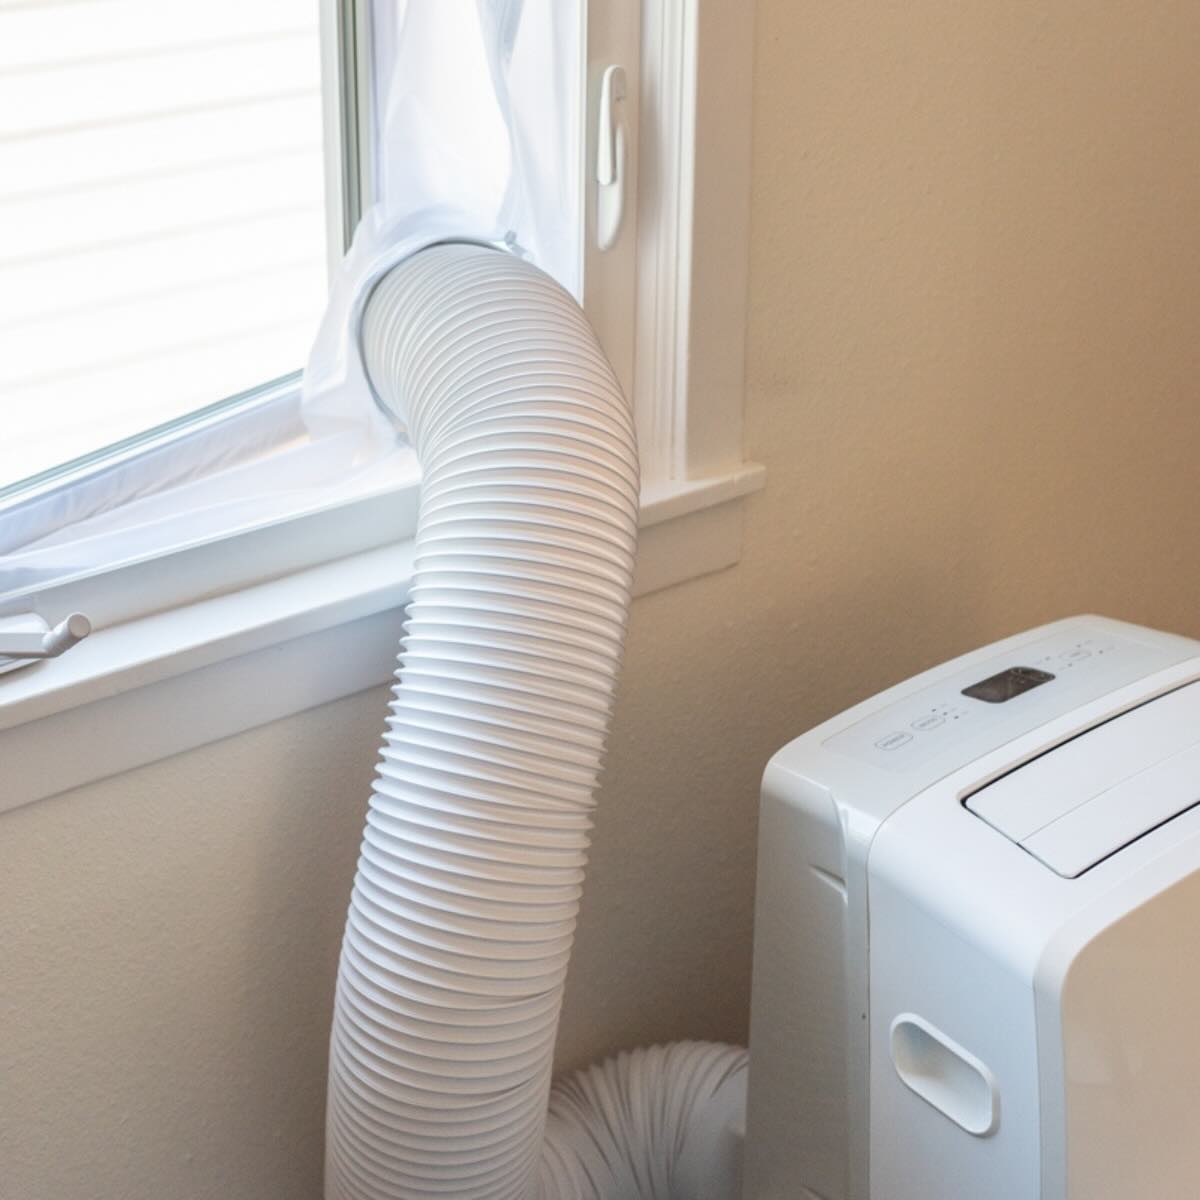
Step 4: Connecting the Exhaust Hose
Connecting the exhaust hose is an essential step in installing your Hisense portable air conditioner. The hose allows hot air from the unit to be vented outside, ensuring efficient cooling. Follow these steps to properly connect the exhaust hose:
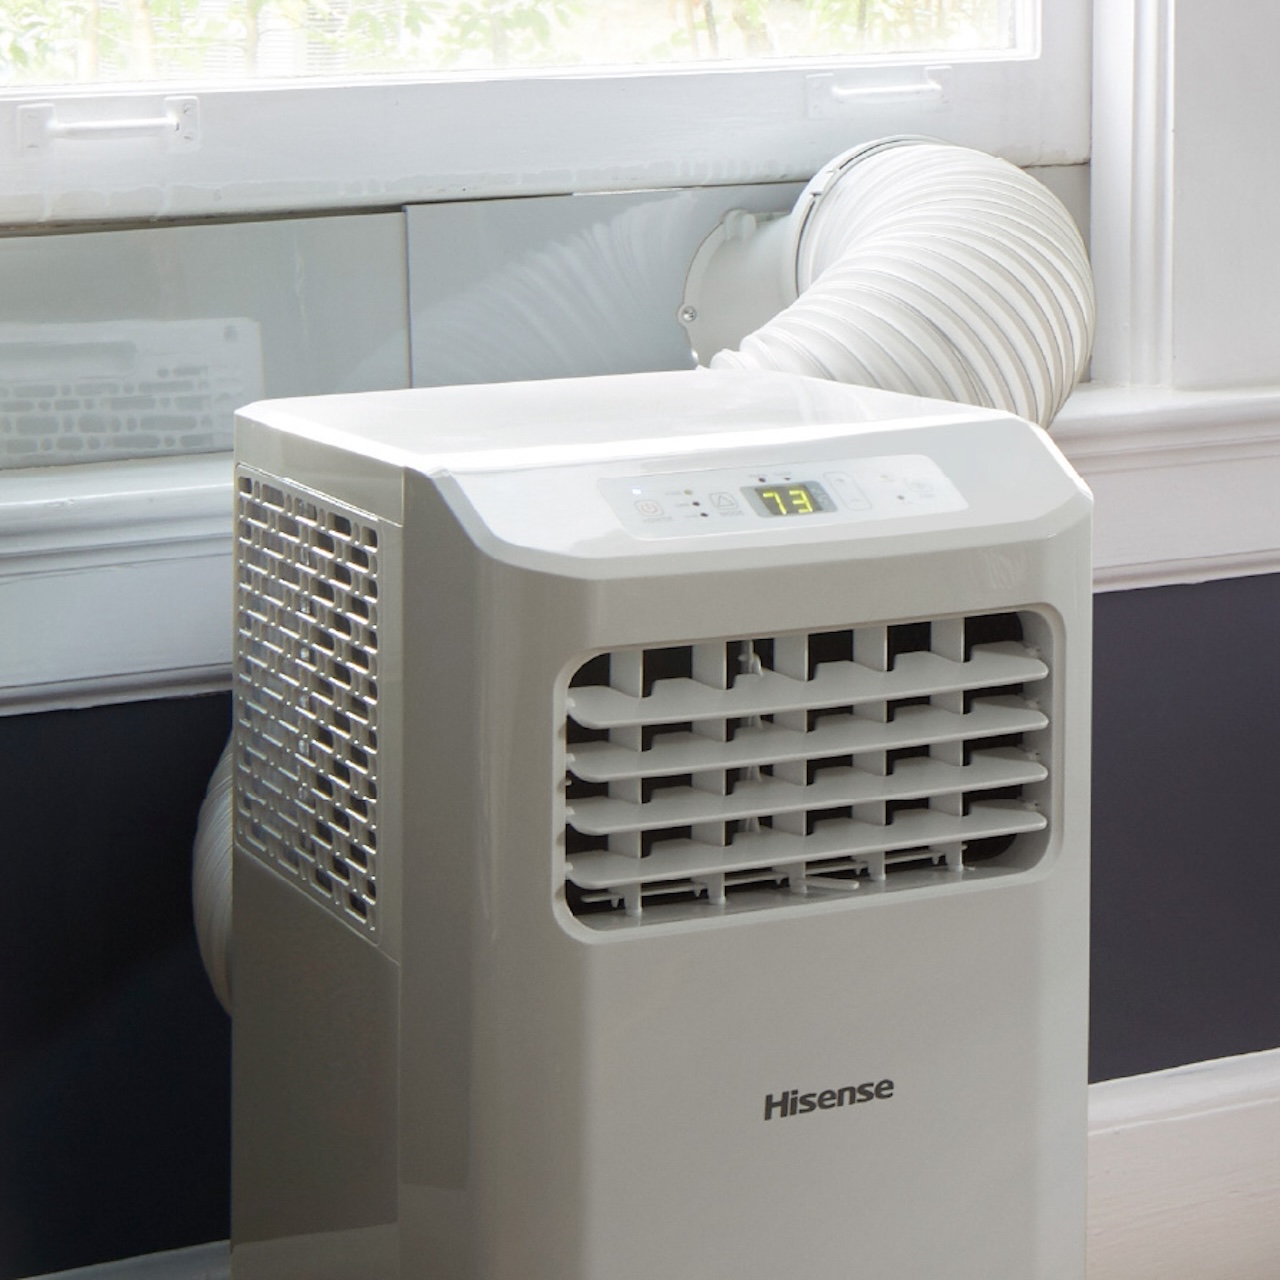
- Locate the Exhaust Port: Identify the exhaust port on the back of your portable air conditioner. This is where you will connect the exhaust hose.
- Attach the Exhaust Hose: Take one end of the exhaust hose and securely connect it to the exhaust port on the air conditioner. Twist the hose clockwise until it is firmly in place. Make sure there are no gaps or loose connections.
- Extend the Exhaust Hose: Extend the other end of the exhaust hose to reach the window or opening where you installed the window slider kit. Ensure that the hose is fully extended without any kinks or bends that may restrict airflow.
- Secure the Exhaust Hose: Use tape or the provided hose kit accessories to secure the exhaust hose to the window slider kit. This will prevent any air leaks and ensure that hot air is properly directed outside.
- Seal Gaps: Inspect the connection points between the exhaust hose and the air conditioner as well as the window slider kit. Seal any gaps or air leaks with duct tape or weatherstripping to ensure efficient cooling and prevent any outdoor air from entering the room.
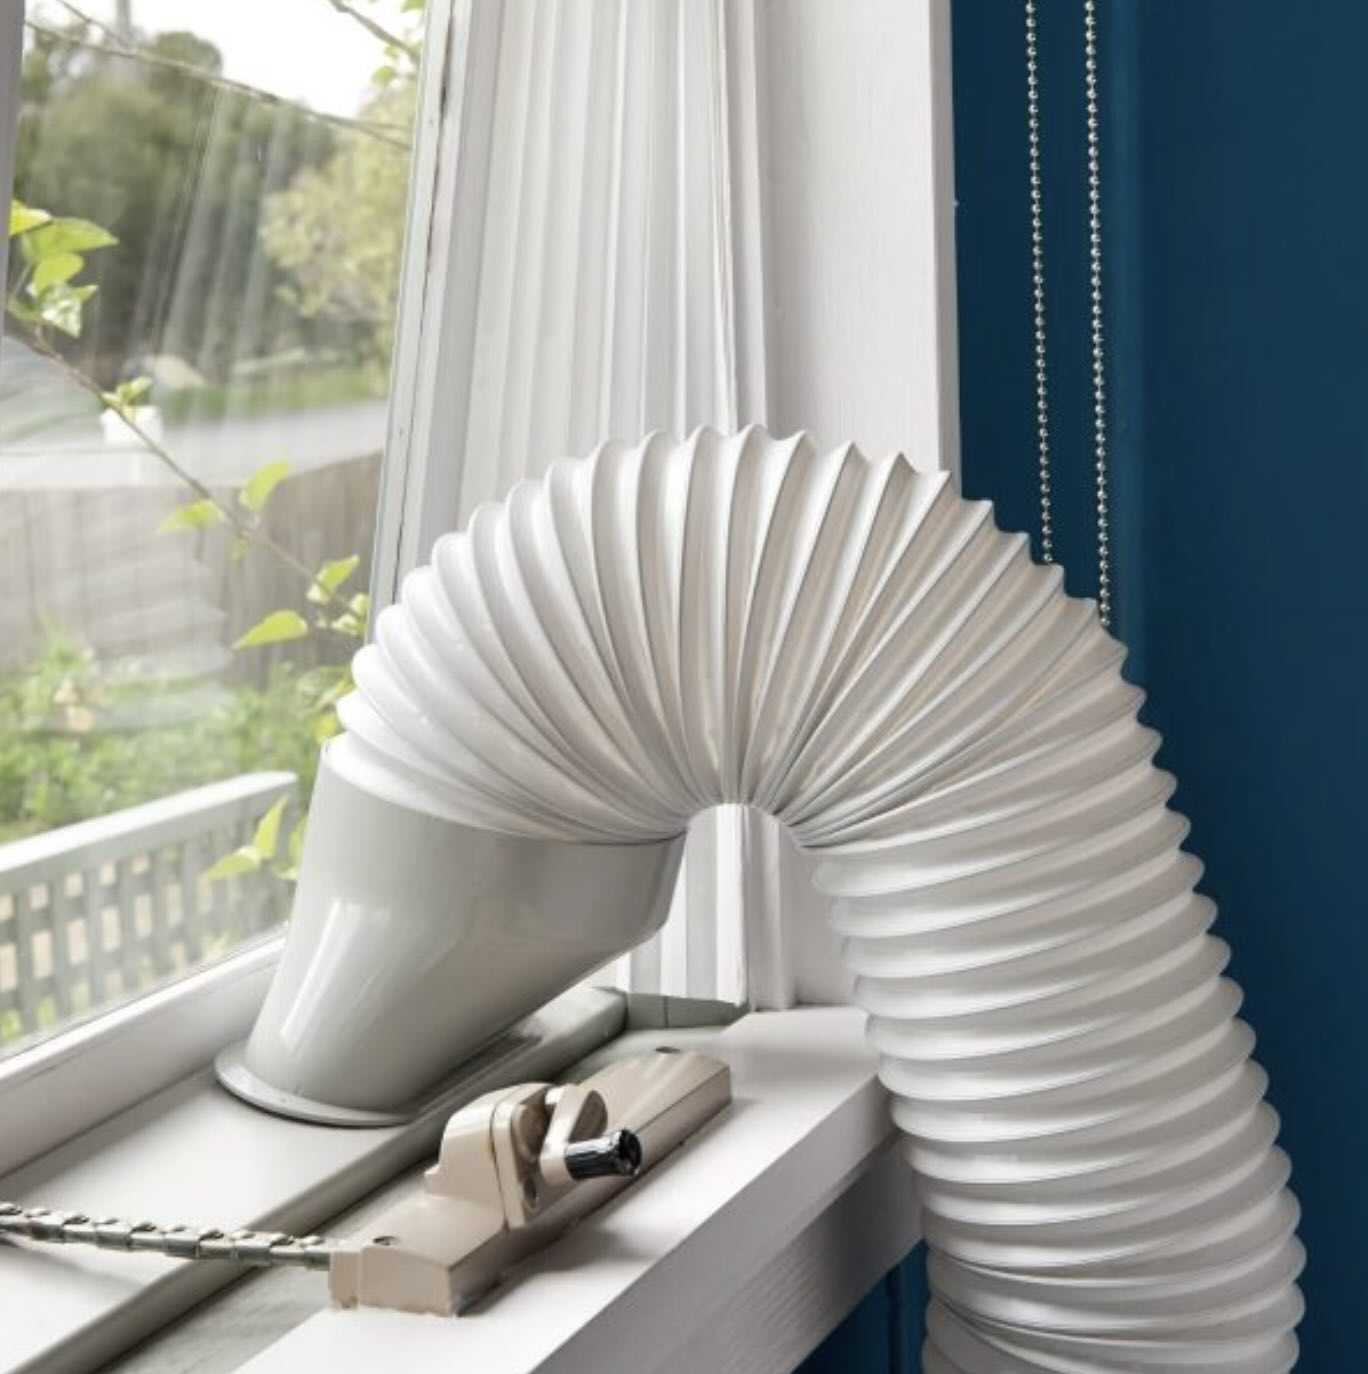
By correctly connecting the exhaust hose, you are allowing the Hisense portable air conditioner to effectively vent hot air outside, maintaining a cool and comfortable indoor environment. With the exhaust hose properly connected, we can now move on to powering on the air conditioner.
When installing a Hisense portable air conditioner, make sure to properly vent the exhaust hose out of a window to allow hot air to escape. This will ensure efficient cooling.
Step 5: Powering On the Air Conditioner
Now that you have properly installed the Hisense portable air conditioner and connected the exhaust hose, it’s time to power on the unit and start enjoying the cool breeze. Follow these steps to safely and efficiently power on your air conditioner:
- Double-Check the Power Source: Ensure that the power cord is securely plugged into a grounded electrical outlet. Make sure the outlet can handle the power requirements of the air conditioner.
- Set the Mode and Fan Speed: Before turning on the air conditioner, select the desired cooling mode and fan speed using the control panel or the remote control. Different modes may include Cool, Fan, or Dehumidify. Adjust the fan speed based on your comfort needs.
- Set the Temperature: Set the desired temperature to maintain a comfortable indoor environment. Use the up and down arrows on the control panel or remote control to adjust the temperature to your preference.
- Turn on the Air Conditioner: Once you have set the desired mode, fan speed, and temperature, press the power button to turn on the air conditioner. You should hear the unit start up, and the display panel should indicate that the air conditioner is running.
- Monitor the Cooling: Give the air conditioner some time to cool the room. Monitor the temperature and listen for any unusual noises. If you notice any issues or the unit fails to cool effectively, refer to the troubleshooting section in the user manual or contact Hisense customer service for assistance.
By following these steps, you can safely and effectively power on your Hisense portable air conditioner and enjoy the refreshing cool air it provides. Now that the air conditioner is running, we can move on to setting the temperature and mode to further customize your comfort.
Step 6: Setting the Temperature and Mode
Setting the temperature and mode on your Hisense portable air conditioner allows you to customize your comfort and maximize energy efficiency. Follow these steps to adjust the temperature and mode settings:
- Select the Operating Mode: Determine the mode that best suits your needs. Most air conditioners offer cooling, fan-only, and dehumidification modes. Choose the appropriate mode based on the current weather conditions and your desired comfort level.
- Adjust the Temperature: Use the temperature controls on the control panel or remote control to set your desired temperature. It is recommended to set the temperature between 72-78 degrees Fahrenheit (22-26 degrees Celsius) for optimal comfort and energy efficiency.
- Explore Additional Features: Take advantage of any additional features your Hisense portable air conditioner offers. This may include sleep mode, turbo mode, or timer settings. Refer to the user manual for instructions on accessing and utilizing these features.
- Monitor and Fine-Tune: After setting the temperature and mode, monitor the room’s temperature, comfort level, and energy consumption. Adjust the settings as needed to maintain a comfortable environment while minimizing energy usage.
- Experiment with Fan Speed: The fan speed can impact the air circulation and noise level of the air conditioner. Experiment with different fan speed settings to find the balance between cooling effectiveness and noise levels that best suits your preferences.
By properly setting the temperature and mode on your Hisense portable air conditioner, you can create a personalized and energy-efficient cooling experience for your home. Now that you”ve adjusted the settings, it’s important to maintain and clean the air conditioner to ensure optimal performance.
Step 7: Maintaining and Cleaning the Air Conditioner
Maintaining and cleaning your Hisense portable air conditioner is essential to keep it running efficiently and prolong its lifespan. Follow these steps to properly maintain and clean your air conditioner:
- Turn off the Air Conditioner: Before performing any maintenance or cleaning tasks, ensure that the air conditioner is turned off and unplugged from the power source. This will prevent any accidents or electrical hazards.
- Clean the Air Filters: The air filters in your portable air conditioner are responsible for trapping dust, dirt, and other airborne particles. Regularly clean the filters to maintain optimal performance. Remove the filters, rinse them with warm water, and let them dry completely before reinstalling.
- Clean the Exterior: Wipe the exterior surfaces of the air conditioner with a soft, damp cloth to remove any dust or debris. Avoid using harsh chemicals or abrasive materials that could damage the unit’s finish.
- Check the Exhaust Hose: Inspect the exhaust hose for any signs of damage or blockage. If you notice any cracks, holes, or obstructions, replace the hose to ensure proper airflow. Clear any debris from the hose to prevent airflow restrictions.
- Inspect and Clean the Condensate Drain: Check the condensate drain for any clogs or blockages. Use a small brush or pipe cleaner to remove any debris that may be obstructing the drain. This will prevent the accumulation of excess moisture and potential water damage.
- Store the Air Conditioner Properly: If you plan to store your portable air conditioner when not in use, make sure to clean it thoroughly before storing it in a cool, dry place. Follow the manufacturer’s instructions for proper storage to avoid any damage during the off-season.
By regularly maintaining and cleaning your Hisense portable air conditioner, you can ensure its optimal performance and longevity. Taking these steps will help keep the air conditioner running efficiently and provide you with cool and refreshing air for years to come.
Congratulations! You have successfully learned how to install, set up, and maintain your Hisense portable air conditioner. Enjoy the cool comfort it brings to your home, and stay cool all summer long!
Conclusion
Installing a Hisense portable air conditioner is a practical and convenient solution for keeping your home cool and comfortable during hot summer days. By following the step-by-step instructions provided in this guide, you can easily set up and enjoy the benefits of a portable air conditioner.
We started by unboxing and readying the air conditioner, ensuring that it was in optimal condition and cleaning the air filters. We then moved on to selecting the proper location, considering factors such as room size, power source accessibility, and clearance space.
Next, we covered attaching the window slider kit, which allows for easy installation and proper ventilation. Connecting the exhaust hose was the next crucial step, ensuring efficient air circulation and venting of hot air outside.
After powering on the air conditioner, we explored how to set the temperature and mode to customize your comfort. Don’t forget to experiment with fan speed settings to find the right balance between cooling effectiveness and noise level.
To maintain the efficiency of your Hisense portable air conditioner, regular maintenance and cleaning are essential. We emphasized the importance of cleaning the air filters, exterior surfaces, and inspecting and cleaning the condensate drain and exhaust hose.
By following these steps and properly maintaining your air conditioner, you can ensure optimal performance, energy efficiency, and a longer lifespan for your Hisense portable air conditioner.
Enjoy the cool comfort and convenience that your Hisense portable air conditioner brings to your home. Stay cool and beat the heat this summer!
Frequently Asked Questions about How To Install A Hisense Portable Air Conditioner
Was this page helpful?
At Storables.com, we guarantee accurate and reliable information. Our content, validated by Expert Board Contributors, is crafted following stringent Editorial Policies. We're committed to providing you with well-researched, expert-backed insights for all your informational needs.