Home>Home Maintenance>What Repairs Are Needed To Pass A 50% Inspection On Home Repairs
Home Maintenance
What Repairs Are Needed To Pass A 50% Inspection On Home Repairs
Modified: August 26, 2024
Learn about the essential home maintenance repairs required to pass a 50% inspection. Find out what repairs you need to prioritize for a successful inspection.
(Many of the links in this article redirect to a specific reviewed product. Your purchase of these products through affiliate links helps to generate commission for Storables.com, at no extra cost. Learn more)
Introduction
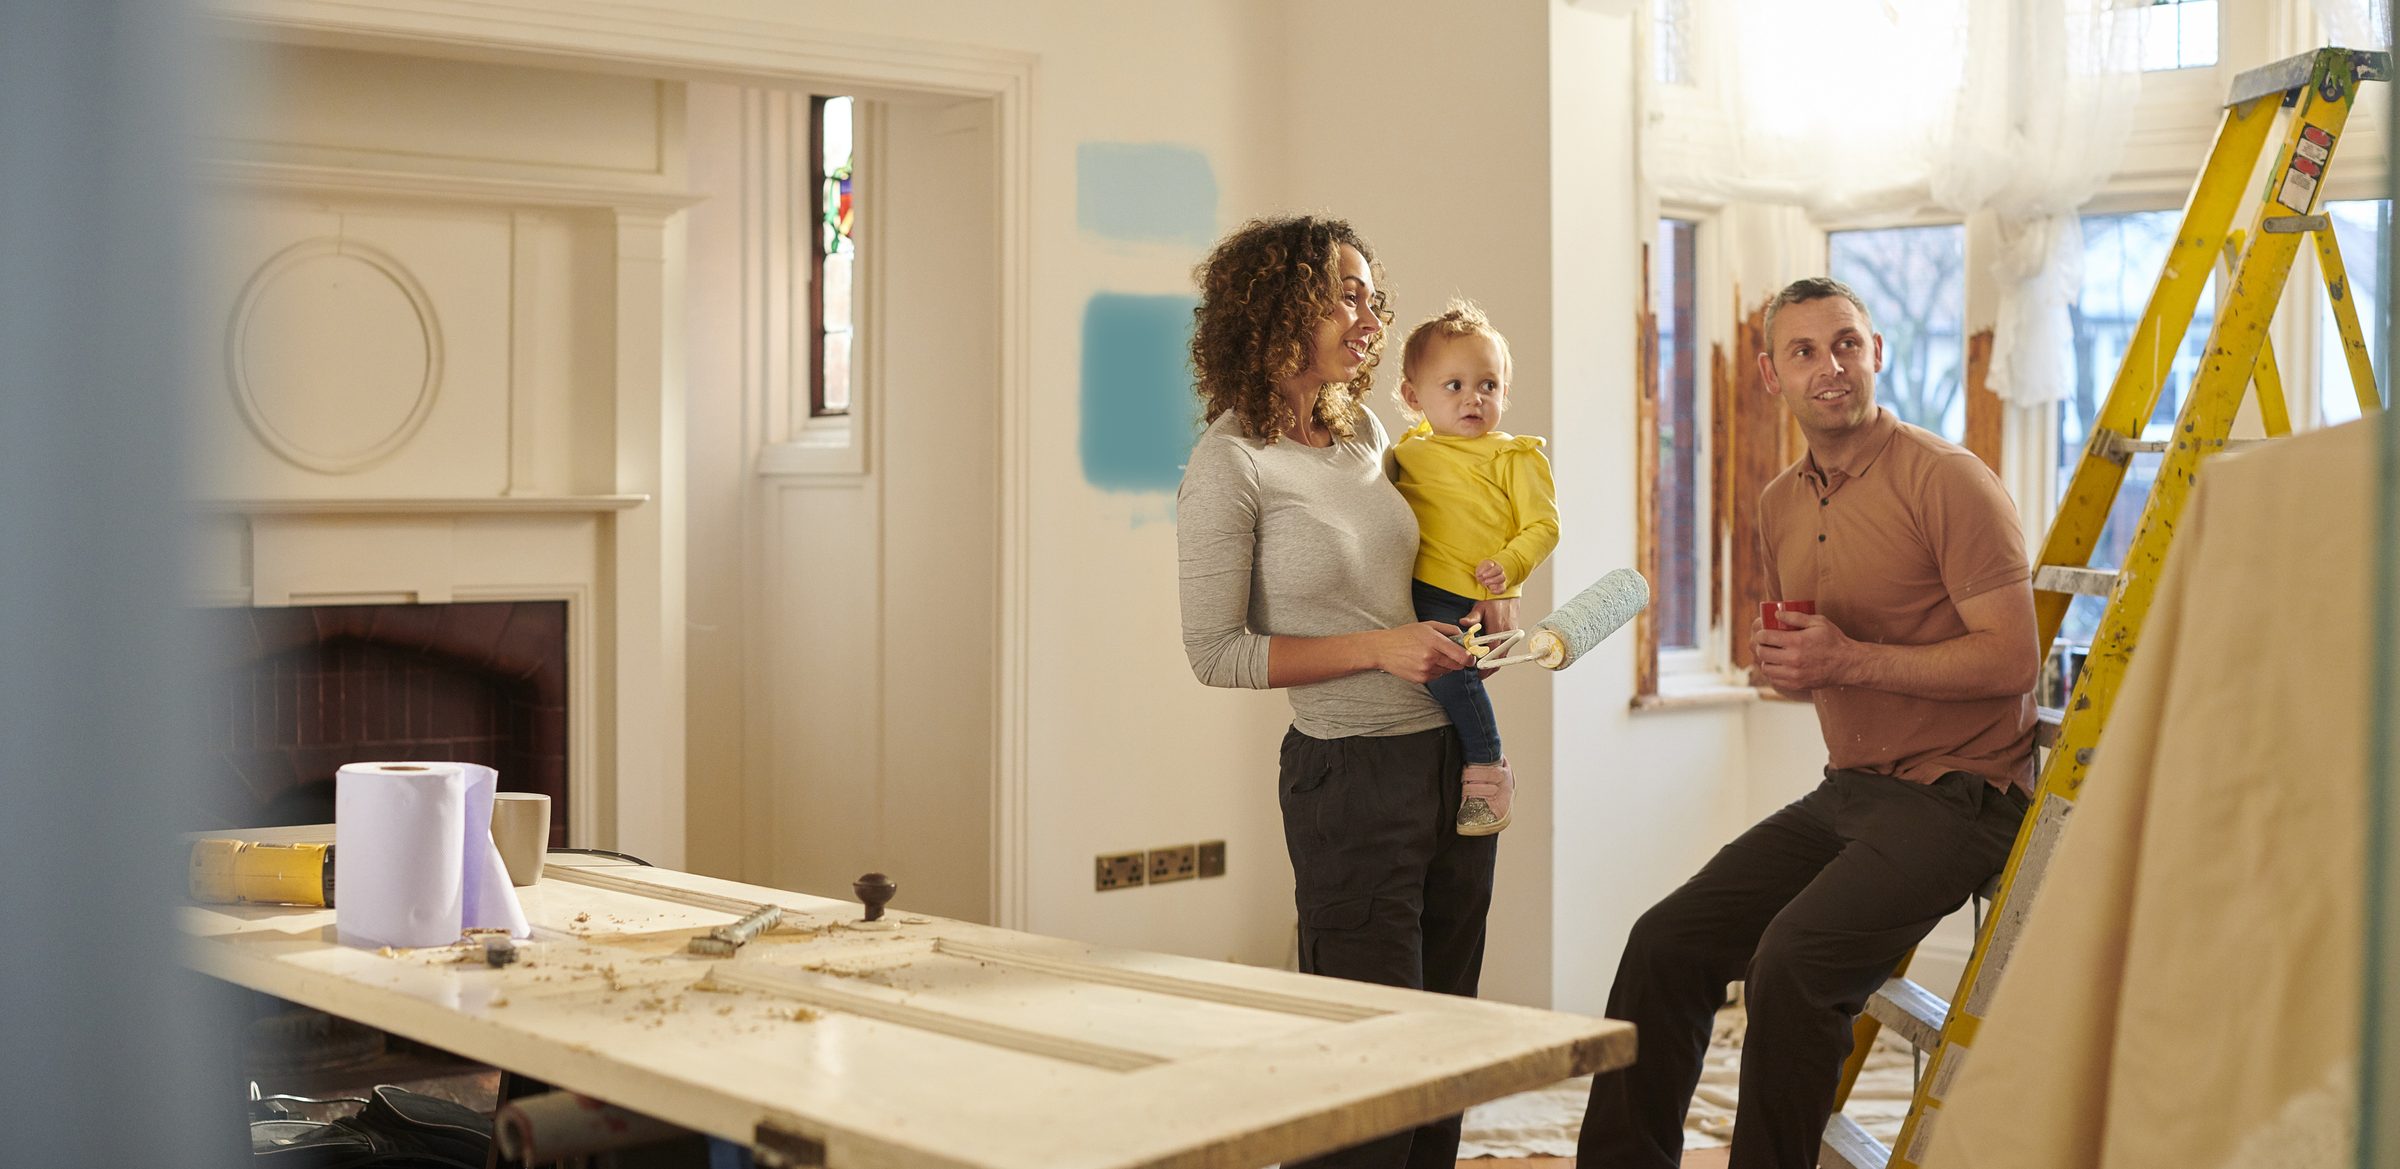
Welcome to the world of home maintenance! Whether you are a seasoned homeowner or just starting out on the journey of owning a home, one thing is clear: regular upkeep and repairs are essential to keep your house in top shape. Not only does this ensure the comfort and safety of your family, but it also helps maintain the value of your investment.
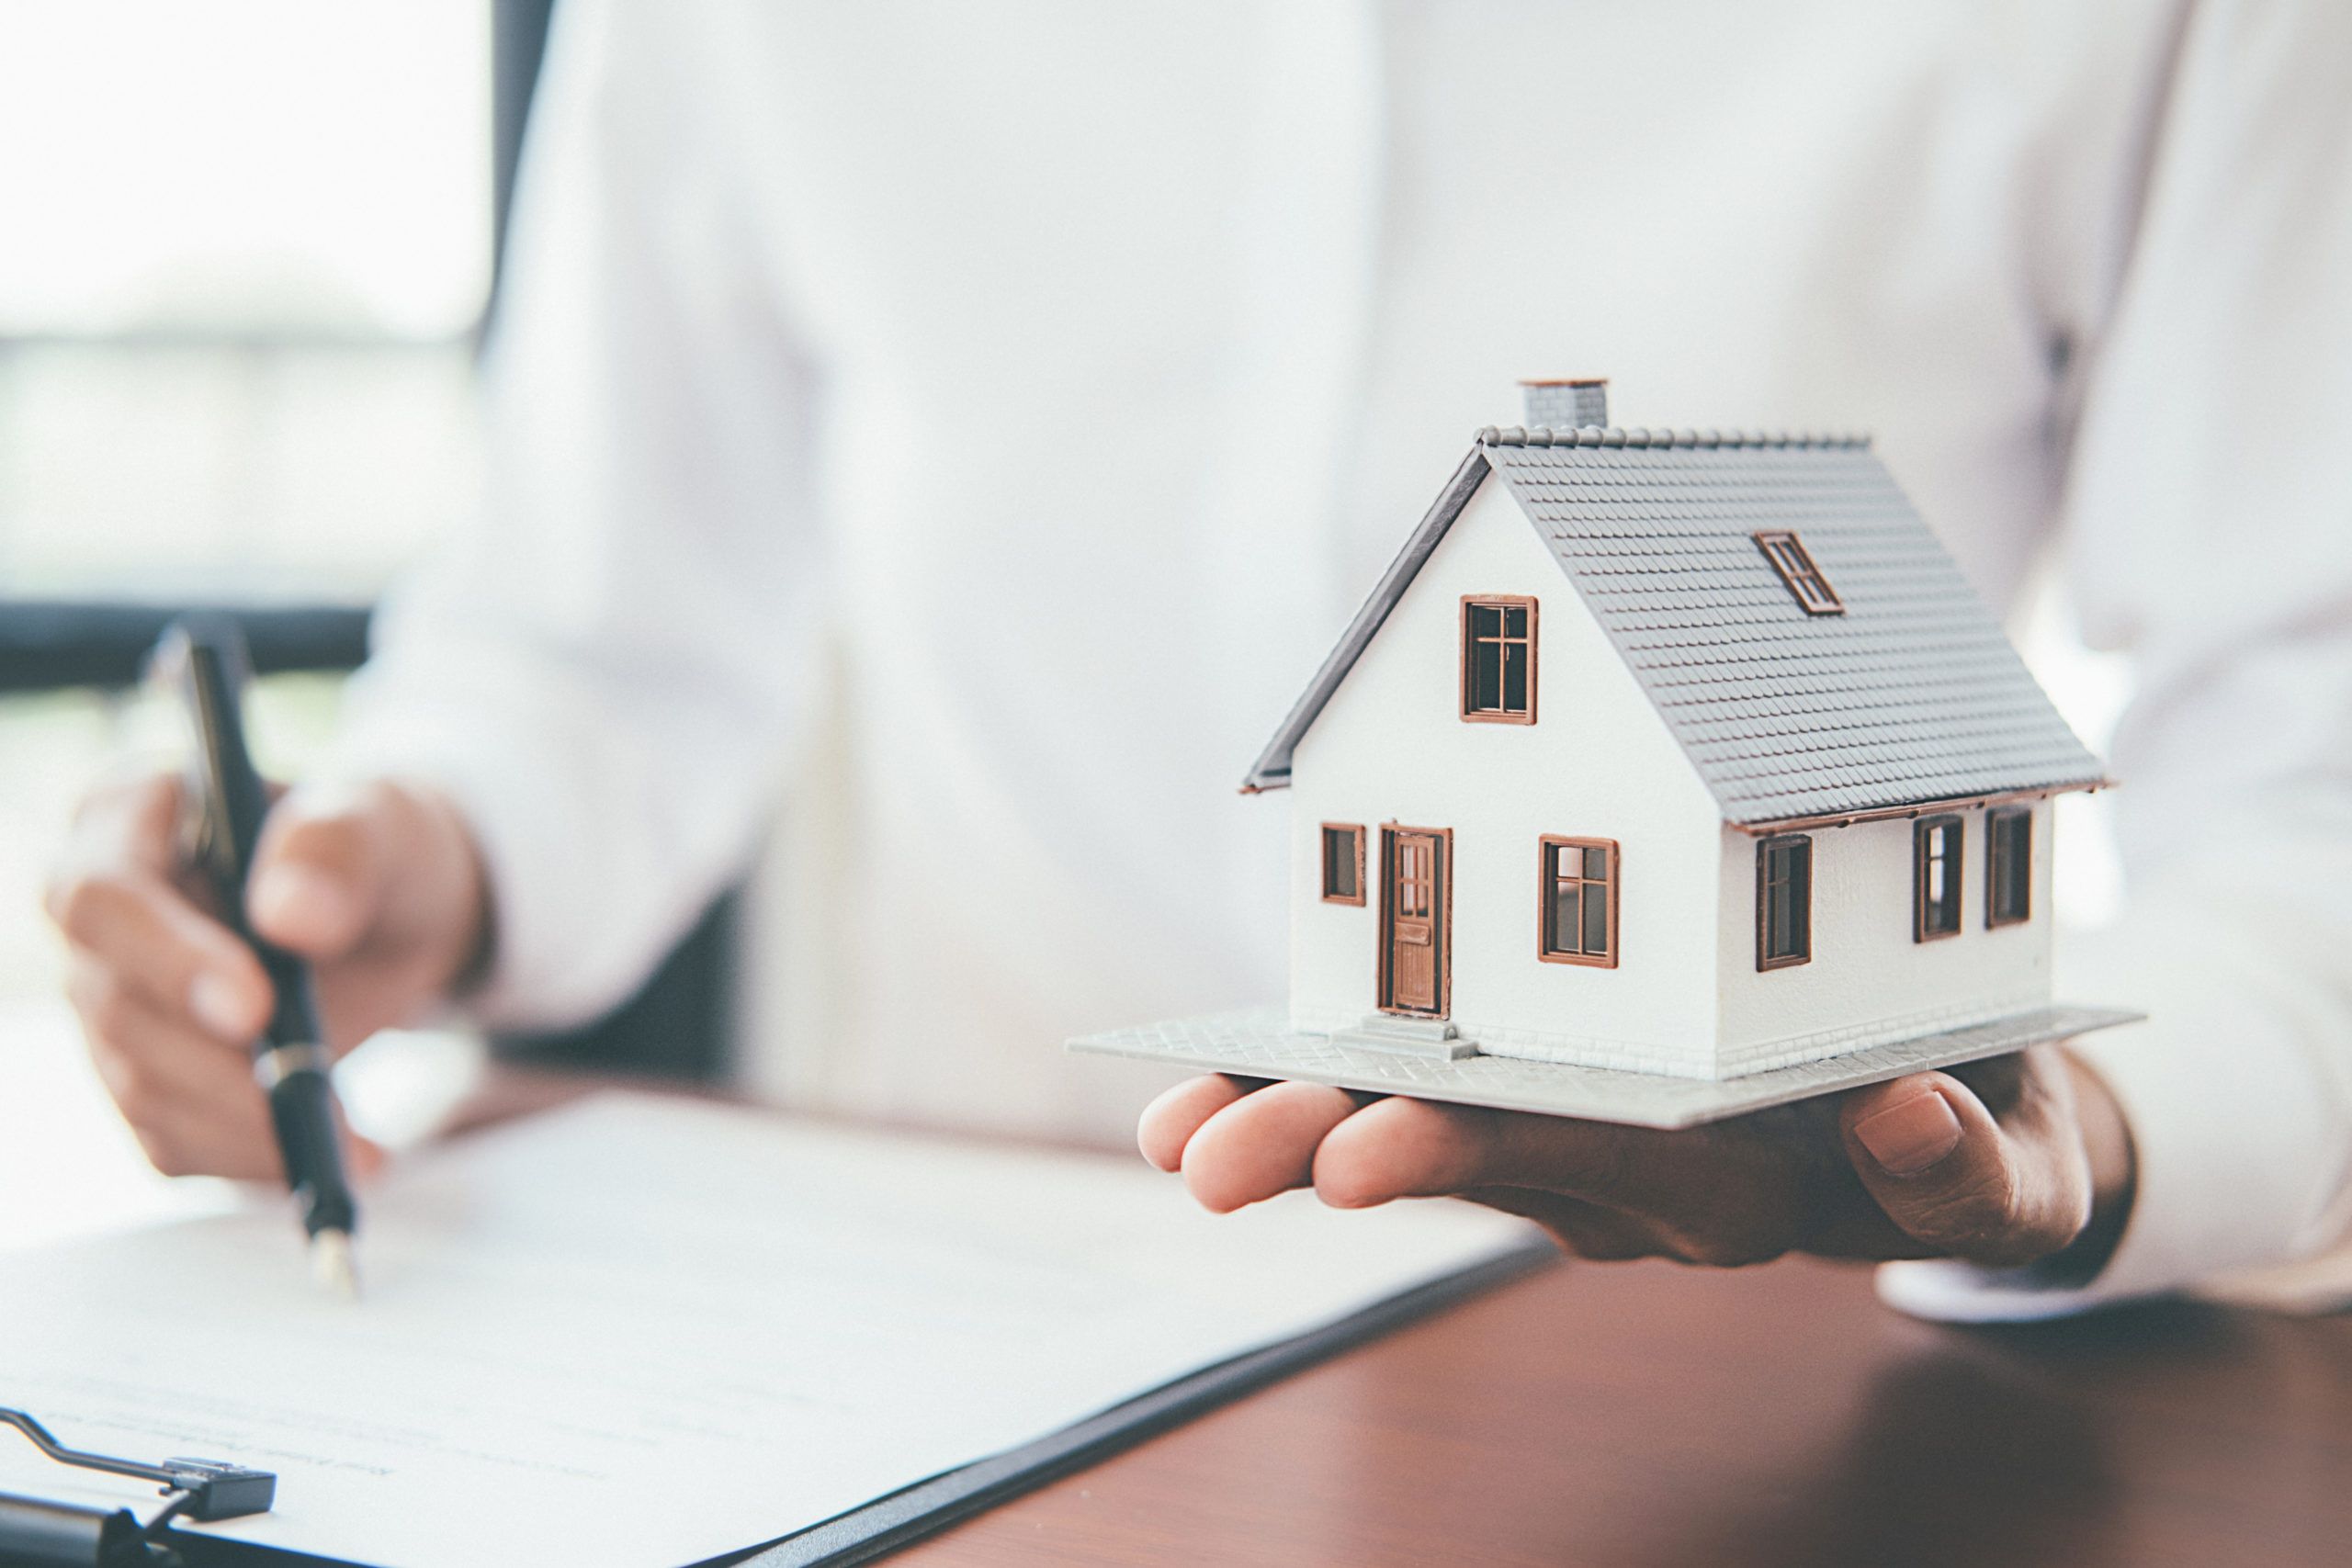
One important aspect of home maintenance is passing the 50% inspection. This inspection is often required when selling or refinancing a home, and it determines whether the property meets certain repair standards. To pass the 50% inspection, you need to address any existing issues and make necessary repairs to bring your home up to code.
In this article, we will explore the common home repair issues that often arise during the 50% inspection and provide you with essential repairs to ensure your home passes with flying colors. Let’s dive in!
Key Takeaways:
- Addressing common home repair issues like structural damage, electrical problems, and plumbing issues is crucial for passing the 50% inspection and ensuring a safe and functional home.
- Prioritizing essential repairs, such as fixing structural damage, upgrading electrical systems, and ensuring fire safety, increases the chances of passing the 50% inspection and maintaining a valuable home.
Read more: What Is A Pass/Fail Home Inspection
Understanding the 50% Inspection
The 50% inspection, also known as the half-home inspection, is a comprehensive assessment of your property’s condition to determine if it meets specific repair standards. This inspection is typically required by lenders, insurance companies, or local authorities when selling, refinancing, or insuring a home.
During the 50% inspection, a professional inspector will thoroughly examine various aspects of your home, including its structure, electrical systems, plumbing, HVAC, roofing, siding, flooring, ceiling, insulation, ventilation, and more. The goal is to identify any existing issues or potential hazards that could compromise the safety or functionality of the property.
Once the inspection is complete, the inspector will provide you with a detailed report highlighting the areas that need repairs or improvements. It is essential to address these issues promptly to ensure your home meets the necessary standards and regulations.
It’s important to note that while the name implies a 50% inspection, it doesn’t necessarily mean that only half of your home will be assessed. The inspection evaluates the overall condition of the property, focusing on the most critical areas that may pose risks or require repairs.
Now that you have a better understanding of what the 50% inspection entails, let’s explore some common home repair issues that often come up during this process.
Common Home Repair Issues
When it comes to the 50% inspection, there are several common home repair issues that are often identified. These issues can vary depending on the age, location, and general condition of your home. Here are some of the most common repair issues that may need to be addressed:
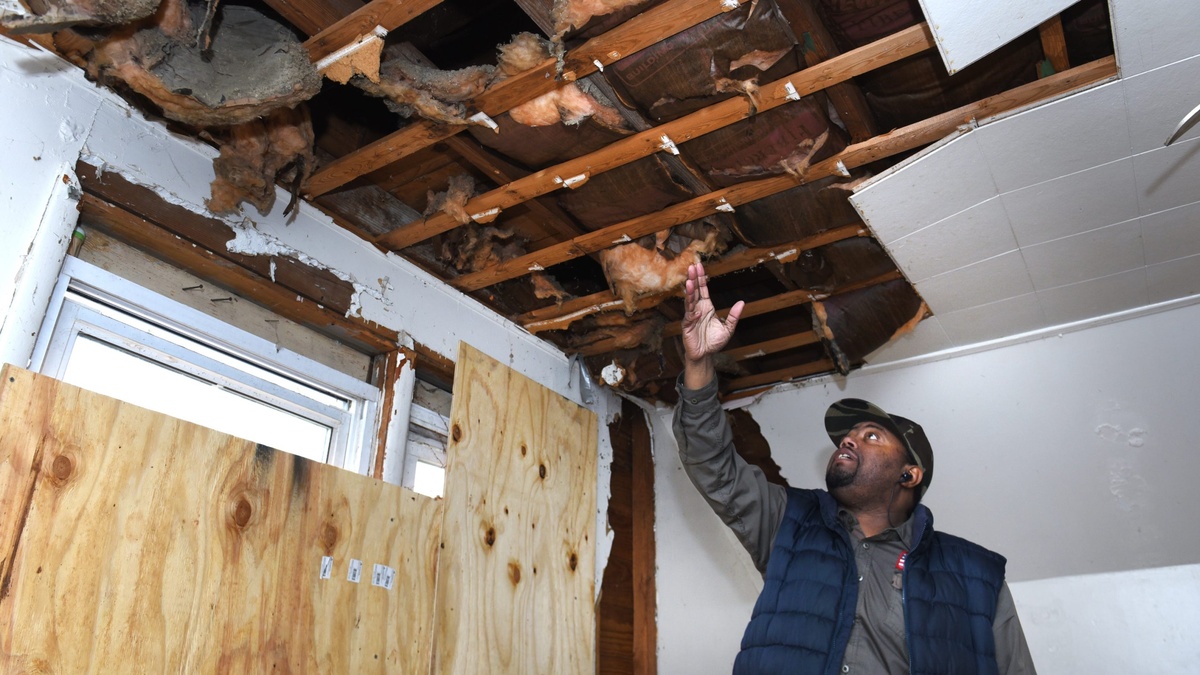
- Structural Damage: Cracked foundations, sagging walls, or damaged load-bearing structures can greatly affect the stability and safety of your home.
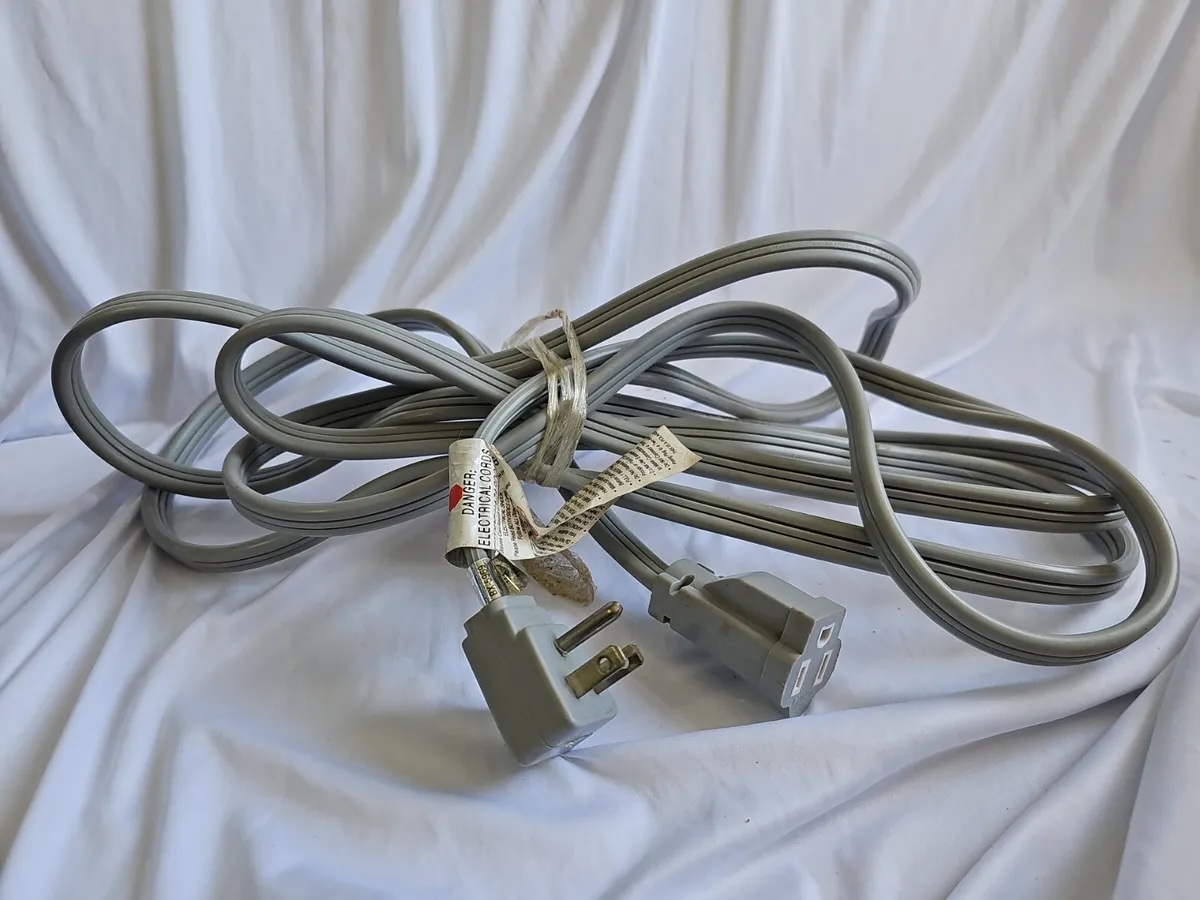
- Electrical Problems: Faulty wiring, outdated electrical panels, or inadequate grounding systems present serious fire hazards and can lead to electrical failures.
- Plumbing Issues: Leaky pipes, malfunctioning fixtures, or inadequate drainage can cause water damage, mold growth, and affect the overall functionality of your plumbing system.
- HVAC System Repairs: Inefficient or malfunctioning heating, ventilation, and air conditioning systems can result in poor indoor air quality, uncomfortable living conditions, and increased energy bills.
- Roofing and Siding Problems: Damaged or missing shingles, leaks, rot, or cracks in siding can lead to water intrusion, mold growth, and compromise the integrity of your home’s exterior.
- Flooring and Ceiling Issues: Sagging, uneven floors, water stains, or cracks in ceilings may indicate structural problems, water damage, or issues with the underlying support systems.
- Insulation and Ventilation Upgrades: Inadequate insulation or ventilation can result in energy loss, excessive heating or cooling bills, and poor indoor air quality.
- Mold and Pest Infestations: Presence of mold, mildew, or pest infestations can be harmful to health and indicate underlying moisture issues or structural vulnerabilities.
- Fire Safety Measures: Inadequate smoke detectors, faulty wiring, or non-compliant fire suppression systems can endanger lives and property in the event of a fire.
These are just a few examples of the repair issues that may need to be addressed during the 50% inspection. It is crucial to identify and prioritize these repairs to ensure the overall safety, functionality, and value of your home.
Now that we have discussed some common repair issues, let’s move on to the essential repairs needed to pass the 50% inspection.
Essential Repairs for Passing the 50% Inspection
When it comes to passing the 50% inspection, there are certain essential repairs that you should prioritize. These repairs address the most critical issues that could pose risks to the safety and functionality of your home. Here are some key repairs to consider:
- Structural Repairs: Any signs of structural damage, such as cracks in the foundation or walls, should be repaired by a professional contractor. They can assess the extent of the damage and recommend appropriate solutions to ensure the stability of your home.
- Electrical Upgrades: If your electrical system is outdated or poses safety concerns, it may be necessary to upgrade or replace components such as wiring, panels, or outlets. Hiring a licensed electrician will ensure these upgrades are done correctly.
- Plumbing Fixes: Fixing any leaks, repairing or replacing damaged pipes, and ensuring proper drainage are essential for preventing water damage and maintaining a functional plumbing system.
- HVAC System Maintenance: Regular maintenance of your heating and cooling systems, including cleaning or replacing filters, checking for leaks or malfunctions, and ensuring proper airflow, will improve efficiency and prolong the lifespan of your HVAC equipment.
- Roof and Siding Repairs: Address any roofing issues such as leaks, missing shingles, or damaged flashing. Repair or replace damaged siding to prevent water intrusion and maintain the integrity of your home’s exterior.
- Flooring and Ceiling Fixes: Repair or replace damaged flooring, address sagging floors, and fix any cracks or water stains on the ceilings. These repairs can improve the overall safety and aesthetic appeal of your home.
- Insulation and Ventilation Enhancements: Upgrade insulation in walls, floors, and attics to improve energy efficiency and comfort. Ensure proper ventilation in bathrooms, kitchens, and crawl spaces to prevent moisture buildup and mold growth.
- Mold and Pest Remediation: Address any mold or mildew issues by identifying and resolving the underlying moisture problem. Hire a professional pest control service to eliminate any pest infestations and prevent future occurrences.
- Fire Safety Measures: Install or upgrade smoke detectors in every bedroom, hallway, and living space. Ensure the presence of fire extinguishers and carbon monoxide detectors in appropriate locations. Consider installing a sprinkler system for added fire protection.
Remember, these are just the essential repairs that you may need to make based on the results of your 50% inspection. It is important to consult with professionals in each respective field to ensure proper repairs are made.
By addressing these essential repairs, you can increase the chances of passing the 50% inspection and demonstrate that your home meets the necessary repair standards. Now let’s dive into each specific repair category in more detail, starting with structural repairs.
Repairing Structural Damage
Structural damage in a home can manifest in various ways, such as cracks in the foundation, walls, or floors, sagging or uneven floors, or bowing walls. It is crucial to address these issues promptly, as they can compromise the stability and safety of your home. Here are some essential steps to repair structural damage:
- Hire a Structural Engineer: When dealing with structural damage, it’s essential to consult with a professional structural engineer. They will assess the extent of the damage and provide recommendations for repairs.
- Foundation Repair: If there are cracks or signs of settlement in the foundation, a foundation repair specialist may need to install piers, underpinning, or perform other techniques to stabilize the foundation.
- Wall and Floor Repairs: Depending on the severity of the damage, repairs may involve reinforcing walls or floors, replacing damaged support beams, or installing additional support structures.
- Waterproofing: If the structural damage is due to water infiltration, it’s crucial to address the underlying water issue. Waterproofing measures such as installing a French drain, improving grading, or applying waterproof coatings can help prevent future damage.
- Monitor and Maintain: After the repairs are complete, it’s important to monitor the affected areas for any signs of recurring damage. Regular maintenance, including checking for leaks or moisture, can help prevent future structural issues.
Remember, repairing structural damage is a complex and specialized task. It’s essential to hire experienced professionals to ensure the repairs are done correctly and safely.
Now let’s move on to the next category: fixing electrical problems.
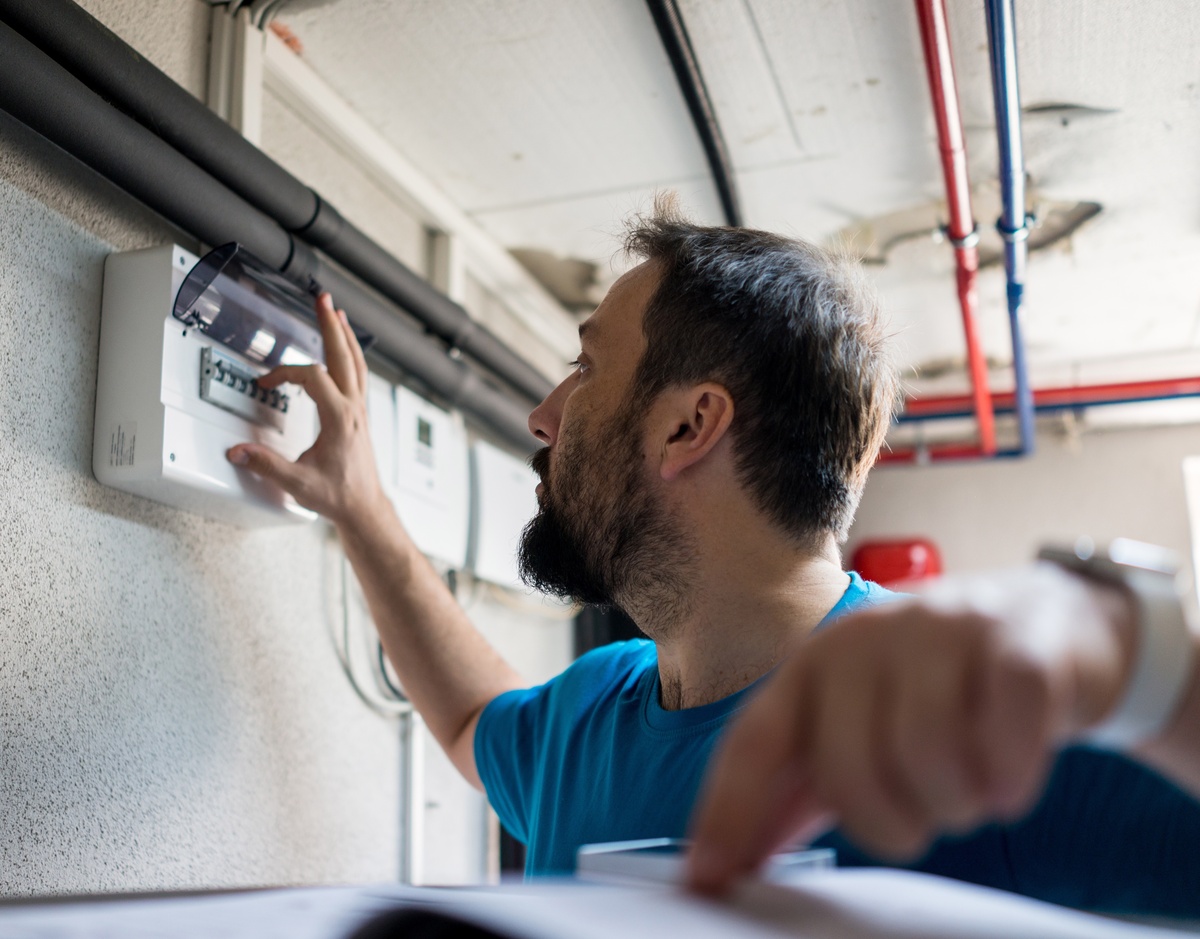
Fixing Electrical Problems
Electrical problems can range from minor issues like flickering lights to more serious hazards such as faulty wiring or outdated electrical panels. It is crucial to address these problems promptly to ensure the safety of your home and prevent potential fire hazards. Here are some essential steps to fix electrical problems:
- Hire a Licensed Electrician: When dealing with electrical problems, it’s crucial to hire a licensed electrician who has the expertise to handle the repairs safely and efficiently.
- Inspection and Evaluation: The electrician will assess the electrical system in your home, identifying any faulty wiring, outdated components, or potential hazards.
- Upgrade Electrical Panels: If your electrical panel is outdated or insufficient to handle the electrical demands of your home, it may need to be upgraded to a newer and larger panel to ensure safety and avoid overloading circuits.
- Replace Faulty Wiring: If the electrician identifies any faulty or damaged wiring, it will need to be replaced to prevent potential fires or electrical failures. This includes both visible wiring and hidden wiring within walls or ceilings.
- Install Ground Fault Circuit Interrupters (GFCIs): GFCIs are crucial in areas with moisture, such as bathrooms, kitchens, and outdoor outlets. They provide protection against electrical shocks, and it may be necessary to install or update existing GFCIs in these areas.
- Ensure Proper Grounding: Proper grounding of electrical systems is essential for safety. The electrician will ensure that all outlets and systems are properly grounded to prevent electrical hazards.
- Update Lighting Fixtures: If you have outdated or unsafe lighting fixtures, it may be necessary to replace them with newer, safer alternatives. This includes fixtures that have exposed wiring or damaged components.
Remember, electrical work can be hazardous, and it’s important to rely on professionals to handle these repairs. Hiring a licensed electrician will ensure that the electrical problems in your home are addressed correctly and safely.
Next, let’s explore the crucial steps to address plumbing issues.
Addressing Plumbing Issues
Plumbing issues can cause significant damage to your home if left unresolved. From leaky pipes to inadequate drainage, addressing these problems is essential for maintaining a functional plumbing system and preventing water damage. Here are some crucial steps to address plumbing issues:
- Hire a Licensed Plumber: When dealing with plumbing issues, it’s important to hire a licensed plumber who can diagnose and fix the problems correctly.
- Inspect for Leaks: Leaks can cause water damage and increase your water bills. The plumber will check for any visible leakage in pipes, faucets, toilets, or water-using appliances.
- Repair or Replace Pipes: If there are damaged or leaky pipes, the plumber will repair or replace them to prevent further water damage and restore proper water flow.
- Fix Faucets and Toilets: Dripping faucets or running toilets waste water and can indicate faulty mechanisms that need repair or replacement.
- Clear Clogged Drains: The plumber will clear any clogs in sinks, showers, or toilets using appropriate tools or techniques.
- Improve Drainage: Inadequate drainage can lead to water pooling and potential damage. The plumber may recommend installing additional drains or improving the existing drainage system.
- Check Water Pressure: High or low water pressure can indicate underlying plumbing issues. The plumber will assess the water pressure and adjust it if necessary.
- Inspect and Maintain Water Heaters: The plumber will inspect and maintain your water heater to ensure it is functioning properly and efficiently.
By addressing plumbing issues promptly, you can prevent costly water damage, improve the functionality of your plumbing system, and conserve water. It’s important to hire a professional plumber to accurately diagnose and fix these issues.
Next, let’s discuss the crucial steps to deal with HVAC system repairs.
Before a 50% inspection on home repairs, focus on fixing major issues like structural damage, electrical problems, plumbing leaks, and roof damage. These are crucial for passing the inspection.
Dealing with HVAC System Repairs
Your HVAC (Heating, Ventilation, and Air Conditioning) system plays a crucial role in ensuring comfort and air quality in your home. Keeping your HVAC system in good working condition is essential for energy efficiency and indoor comfort. Here are the steps to address HVAC system repairs:
- Hire an HVAC Technician: When dealing with HVAC system repairs, it’s important to hire a qualified HVAC technician who can assess and address the issues correctly.
- Perform Regular Maintenance: Regular maintenance of your HVAC system, including cleaning or replacing filters, lubricating moving parts, checking electrical connections, and inspecting refrigerant levels, will help prevent breakdowns and optimize performance.
- Repair or Replace Faulty Components: If your HVAC system has malfunctioning components, such as a faulty thermostat, a malfunctioning blower motor, or a refrigerant leak, the technician will repair or replace these components to ensure proper operation.
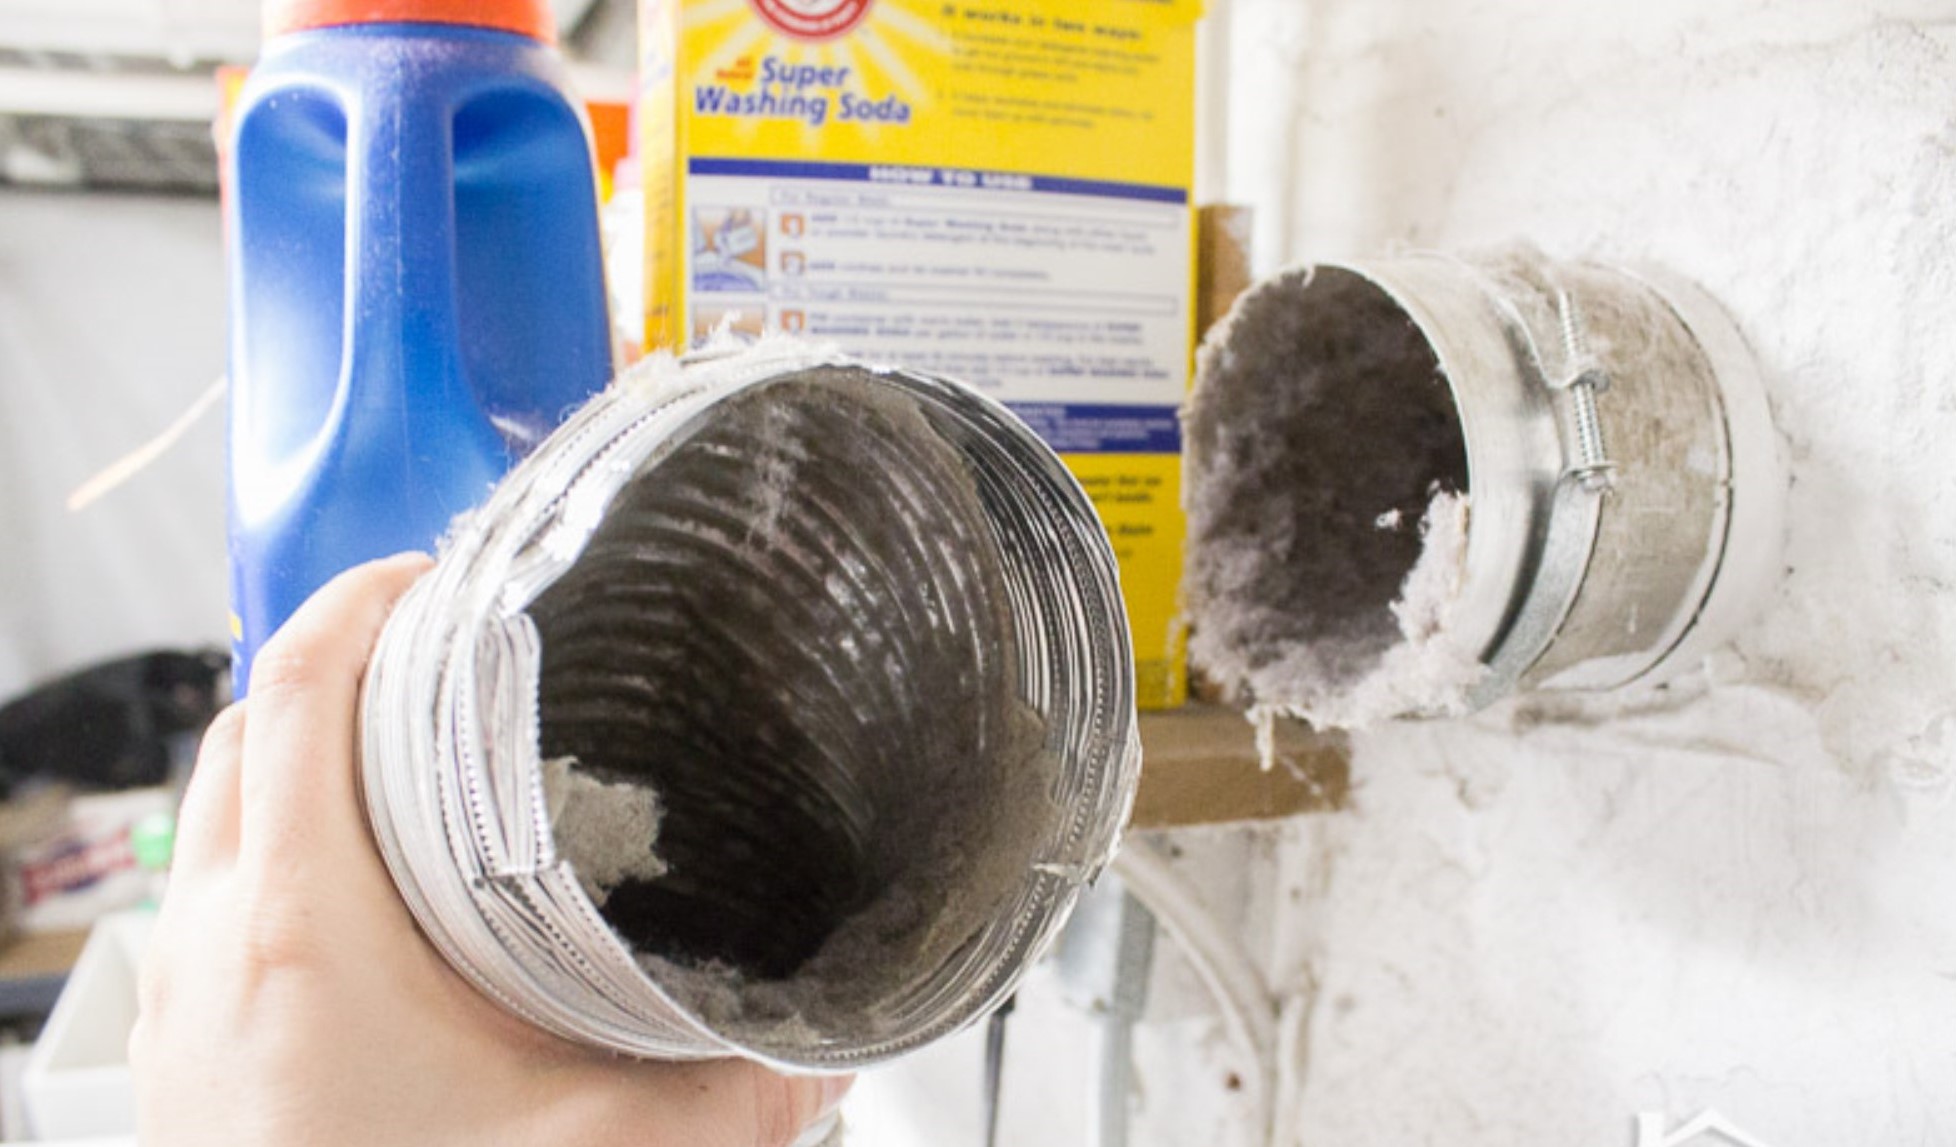
- Address Airflow Issues: Poor airflow can result from clogged ducts, damaged or leaky ductwork, or issues with the blower motor. The technician will identify and resolve any airflow issues to ensure consistent and efficient heating and cooling.
- Improve Energy Efficiency: The HVAC technician may recommend upgrades or changes to improve the energy efficiency of your system, such as installing a programmable thermostat or sealing ductwork to prevent air leaks.
- Consider System Upgrades: If your HVAC system is outdated or inefficient, it may be worth considering a system upgrade. A new, energy-efficient system can provide better performance, lower energy costs, and improved comfort.
- Ensure Proper Ventilation: Proper ventilation is crucial for maintaining indoor air quality. The technician will assess the ventilation system, including bathroom and kitchen exhaust fans, and make any necessary repairs or improvements.
Regular maintenance and prompt repairs of your HVAC system will not only keep your home comfortable but also extend the lifespan of your equipment. Hiring a professional HVAC technician will ensure that the necessary repairs are done correctly and efficiently.
Next, let’s discuss the crucial steps to repair roofing and siding issues.
Repairing Roofing and Siding
Your home’s roof and siding are its first line of defense against the elements. Damaged or deteriorated roofing and siding can lead to water intrusion, mold growth, and compromise the structural integrity of your home. Here are the steps to repair roofing and siding issues:
- Hire a Roofing Contractor: When dealing with roofing issues, it’s crucial to hire a professional roofing contractor who specializes in roof repairs.
- Inspect the Roof: The contractor will thoroughly inspect the roof for any signs of damage, such as missing or damaged shingles, cracked flashing, or sagging areas.
- Replace Damaged Shingles: Any missing or damaged shingles should be replaced to prevent water infiltration and protect the underlying structure.
- Repair Roof Leaks: If there are active leaks in the roof, the contractor will identify the source of the leak and repair it promptly to prevent further damage.
- Address Flashing Issues: Flashing around chimneys, vents, and skylights should be inspected and repaired if damaged or deteriorated.
- Fix Siding Problems: If your home’s siding is damaged or showing signs of deterioration, the contractor will repair or replace the affected sections. This includes addressing cracks, rot, or loose siding panels.
- Seal and Weatherproof: Proper sealing and weatherproofing of the roof and siding are essential to prevent water intrusion and maintain the integrity of your home’s exterior.
- Consider Siding Upgrades: If your siding is old or outdated, you may want to consider upgrading to more durable and energy-efficient materials, such as vinyl or fiber cement siding.
Repairing your roof and siding is crucial for maintaining the structural integrity and aesthetic appeal of your home. By hiring a professional roofing contractor and addressing any issues promptly, you can prevent further damage and extend the lifespan of your roofing and siding materials.
Next, let’s discuss the steps to correct flooring and ceiling problems.
Correcting Flooring and Ceiling Problems
Flooring and ceiling problems can affect the aesthetic appeal and functionality of your home. Whether it’s sagging floors or water-stained ceilings, addressing these issues is essential for maintaining a safe and comfortable living space. Here are the steps to correct flooring and ceiling problems:
- Assess the Damage: Determine the extent of the flooring and ceiling problems. Look for signs of sagging, cracking, water stains, or damage.
- Hire a Professional Contractor: For significant flooring or ceiling issues, it’s important to hire a professional contractor who specializes in these repairs.
- Repair or Replace Damaged Flooring: Depending on the severity of the damage, the contractor may recommend repairing or replacing the affected flooring materials. This may involve patching, refinishing, or installing new flooring.
- Address Subfloor Issues: If the flooring problem is due to underlying subfloor damage, the contractor will assess and repair or replace the subfloor as necessary.
- Fix Sagging Floors: If your floors are sagging or uneven, additional support may be needed. The contractor may reinforce the underlying structure or install additional support beams or joists.
- Repair Cracked or Water-Stained Ceilings: For cracked or water-stained ceilings, the contractor will repair the damaged areas by patching, retexturing, or replacing sections of the ceiling.
- Address the Underlying Issue: It’s important to identify and address the underlying cause of the flooring or ceiling problem. This may include fixing plumbing leaks, addressing structural issues, or improving ventilation.
- Consider Aesthetic Enhancements: Once the necessary repairs are done, you may want to consider aesthetic enhancements such as repainting ceilings or refinishing floors to improve the overall look of your home.
Correcting flooring and ceiling problems requires the expertise of a professional contractor. By addressing these issues promptly, you can restore the beauty and functionality of your home’s interior.
Next, let’s discuss the steps to upgrade insulation and ventilation in your home.
Upgrading Insulation and Ventilation
Proper insulation and ventilation are key factors in maintaining energy efficiency, comfort, and indoor air quality in your home. Inadequate insulation or ventilation can lead to energy loss, temperature imbalances, poor air circulation, and even mold growth. Here are the steps to upgrade insulation and ventilation:
- Assess Insulation Levels: Determine the current insulation levels in your home. This can be done by checking the attic, walls, and floors to see if there is sufficient insulation.
- Hire an Insulation Contractor: For insulation upgrades, it’s recommended to hire a professional insulation contractor who can evaluate your home’s needs and install the appropriate insulation materials.
- Add Insulation: If your home lacks adequate insulation, the contractor will recommend adding insulation to the desired R-value to improve the energy efficiency of your home. This may involve installing insulation batts, blown-in insulation, or spray foam insulation.
- Improve Air Sealing: In addition to insulation, air sealing is crucial to prevent drafts and maintain temperature control. The contractor will identify and seal any air leaks around windows, doors, electrical outlets, and other areas where air can escape or enter your home.
- Assess Ventilation Needs: Poor ventilation can lead to moisture buildup, mold growth, and stale indoor air. The contractor will assess your home’s ventilation needs and suggest improvements.
- Install Mechanical Ventilation: If necessary, the contractor may recommend installing mechanical ventilation systems, such as exhaust fans, to ensure proper air circulation and humidity control in areas like bathrooms, kitchens, and laundry rooms.
- Consider Whole-House Ventilation: Whole-house ventilation systems, such as balanced ventilation or heat recovery ventilation systems, can provide fresh air and improve indoor air quality throughout your entire home.
- Maintain Vents and Ductwork: Regularly clean and maintain ventilation vents and ductwork to ensure proper airflow and prevent blockages that can hinder ventilation.
Upgrading insulation and ventilation will not only improve your home’s energy efficiency but also enhance comfort and indoor air quality. Consulting with a professional insulation contractor is essential in determining the most effective insulation materials and ventilation solutions for your specific needs.
Next, let’s discuss the steps to remediate mold and pest issues in your home.
Remediating Mold and Pest Issues
Mold and pest infestations can cause significant damage to your home and pose risks to your health. It’s crucial to address these issues promptly to prevent further damage and maintain a safe living environment. Here are the steps to remediate mold and pest issues:
- Identify the Problem: Determine the extent and source of the mold or pest issue. Look for visible signs of mold growth, such as black spots or a musty odor. For pests, identify the type of pest and the areas where they are most active.
- Hire Professionals: Mold remediation and pest control often require the expertise of professionals trained in handling these issues safely and effectively.
- Mold Remediation: For mold remediation, the professionals will assess the extent of the mold growth, contain the affected area, remove the mold-infested materials, and perform thorough cleaning and sanitization to prevent regrowth.
- Pest Control: For pest control, the professionals will identify the pest species, assess the level of infestation, and implement appropriate measures to eliminate the pests. This may involve the use of traps, baits, or chemical treatments, depending on the type and severity of the infestation.
- Address Underlying Issues: It’s important to address the underlying issues that contributed to the mold or pest problem. This may include fixing plumbing leaks, improving ventilation, sealing entry points for pests, or reducing moisture levels.
- Preventive Measures: To prevent future mold or pest issues, implement preventive measures such as regular cleaning, proper ventilation, maintaining proper humidity levels, and sealing entry points for pests.
- Maintain Regular Inspections: Regularly inspect your home for signs of mold growth or pest activity. Early detection and prompt action can help prevent widespread infestations or mold problems.
Remediating mold and pest issues requires the expertise of professionals who can safely and effectively handle these problems. By addressing these issues promptly and implementing preventive measures, you can ensure a healthier and safer living environment for you and your family.
Next, let’s discuss the steps to ensure fire safety in your home.
Ensuring Fire Safety
Fire safety is of utmost importance to protect your home and loved ones from the devastating effects of a fire. Taking proactive measures and implementing fire safety practices can significantly reduce the risk of fire-related accidents. Here are the steps to ensure fire safety in your home:
- Install Smoke Detectors: Place smoke detectors on every floor of your home and in each bedroom. Test them regularly to ensure they are functioning properly and replace batteries as needed.
- Install Carbon Monoxide Detectors: Carbon monoxide (CO) is a silent killer. Install CO detectors near sleeping areas and on every level of your home to detect any CO leaks.
- Have Fire Extinguishers: Keep fire extinguishers in easily accessible areas of your home, such as the kitchen, garage, and near fireplaces. Make sure you know how to use them correctly.
- Create an Escape Plan: Develop and practice a fire escape plan with all members of your household. Identify two exits from every room and establish a meeting point outside the house.
- Ensure Proper Wiring: Check for any electrical hazards, such as damaged cords, overloaded outlets, or flickering lights. Repair or replace faulty wiring and avoid overloading electrical circuits.
- Keep Flammable Items Away: Store flammable materials, such as gasoline, paints, and cleaning products, in a well-ventilated area away from heat sources. Dispose of them properly when no longer needed.
- Use Candles and Space Heaters with Caution: Never leave candles or space heaters unattended, and keep them away from flammable materials. Make sure to extinguish candles before going to bed.
- Regularly Inspect Heating Systems: Have your heating system, including furnaces, chimneys, and vents, inspected and cleaned annually to prevent the buildup of flammable materials or blockages.
- Install Fire-Safe Materials: Consider using fire-resistant materials for your home’s construction and furnishings, such as fire-rated doors, fire-resistant roofing materials, and flame-retardant upholstery.
- Maintain Outdoor Fire Safety: Keep a safe distance between flammable vegetation and your home. Clear roofs and gutters of debris regularly, and ensure proper storage and disposal of firewood.
By implementing these fire safety measures, you can greatly reduce the risk of fire and protect your home and family. Regular maintenance and adherence to preventive practices are key to ensuring ongoing fire safety in your home.
As we conclude, it’s important to remember that the safety and maintenance of your home should be a priority. By addressing the common home repair issues outlined in this article and taking the necessary steps to ensure fire safety, you can create a comfortable and secure living environment.
Remember to consult with professionals in each respective field to ensure that repairs are done correctly and according to local codes and regulations. Stay proactive, and enjoy the peace of mind that comes with a well-maintained home.
Read more: 50/50 Soil Mix Is Made With What
Final Thoughts
Maintaining and repairing your home is an ongoing responsibility that ensures it remains a safe, comfortable, and valuable asset. The 50% inspection plays a crucial role in assessing the condition of your home and identifying any necessary repairs to meet the required standards.
Understanding the common home repair issues that often arise during the 50% inspection is essential. Structural damage, electrical problems, plumbing issues, HVAC system repairs, roofing and siding problems, flooring and ceiling issues, insulation and ventilation upgrades, mold and pest infestations, and fire safety measures are among the key areas to address.
By prioritizing essential repairs, such as fixing structural damage, upgrading electrical systems, addressing plumbing issues, maintaining HVAC systems, repairing roofing and siding, correcting flooring and ceiling problems, upgrading insulation and ventilation, remediating mold and pests, and ensuring fire safety, you can increase the chances of passing the 50% inspection and maintain a safe and functional home.
Remember to hire licensed professionals with expertise in each area to ensure that repairs are done correctly and safely. Regular maintenance, inspections, and a proactive approach to home repairs will help prevent costly issues down the line and ensure the longevity of your home.
Take pride in your home and invest the time and effort needed to keep it in excellent condition. By doing so, you not only create a comfortable living space for yourself and your family but also protect your investment and maintain its value over time.
Now armed with knowledge about essential repairs for the 50% inspection, it’s time to assess your home and create a plan of action. Remember, a well-maintained home brings peace of mind, comfort, and security. Start tackling those repairs and enjoy the benefits of a safe and beautiful home!
Frequently Asked Questions about What Repairs Are Needed To Pass A 50% Inspection On Home Repairs
Was this page helpful?
At Storables.com, we guarantee accurate and reliable information. Our content, validated by Expert Board Contributors, is crafted following stringent Editorial Policies. We're committed to providing you with well-researched, expert-backed insights for all your informational needs.


0 thoughts on “What Repairs Are Needed To Pass A 50% Inspection On Home Repairs”