Articles
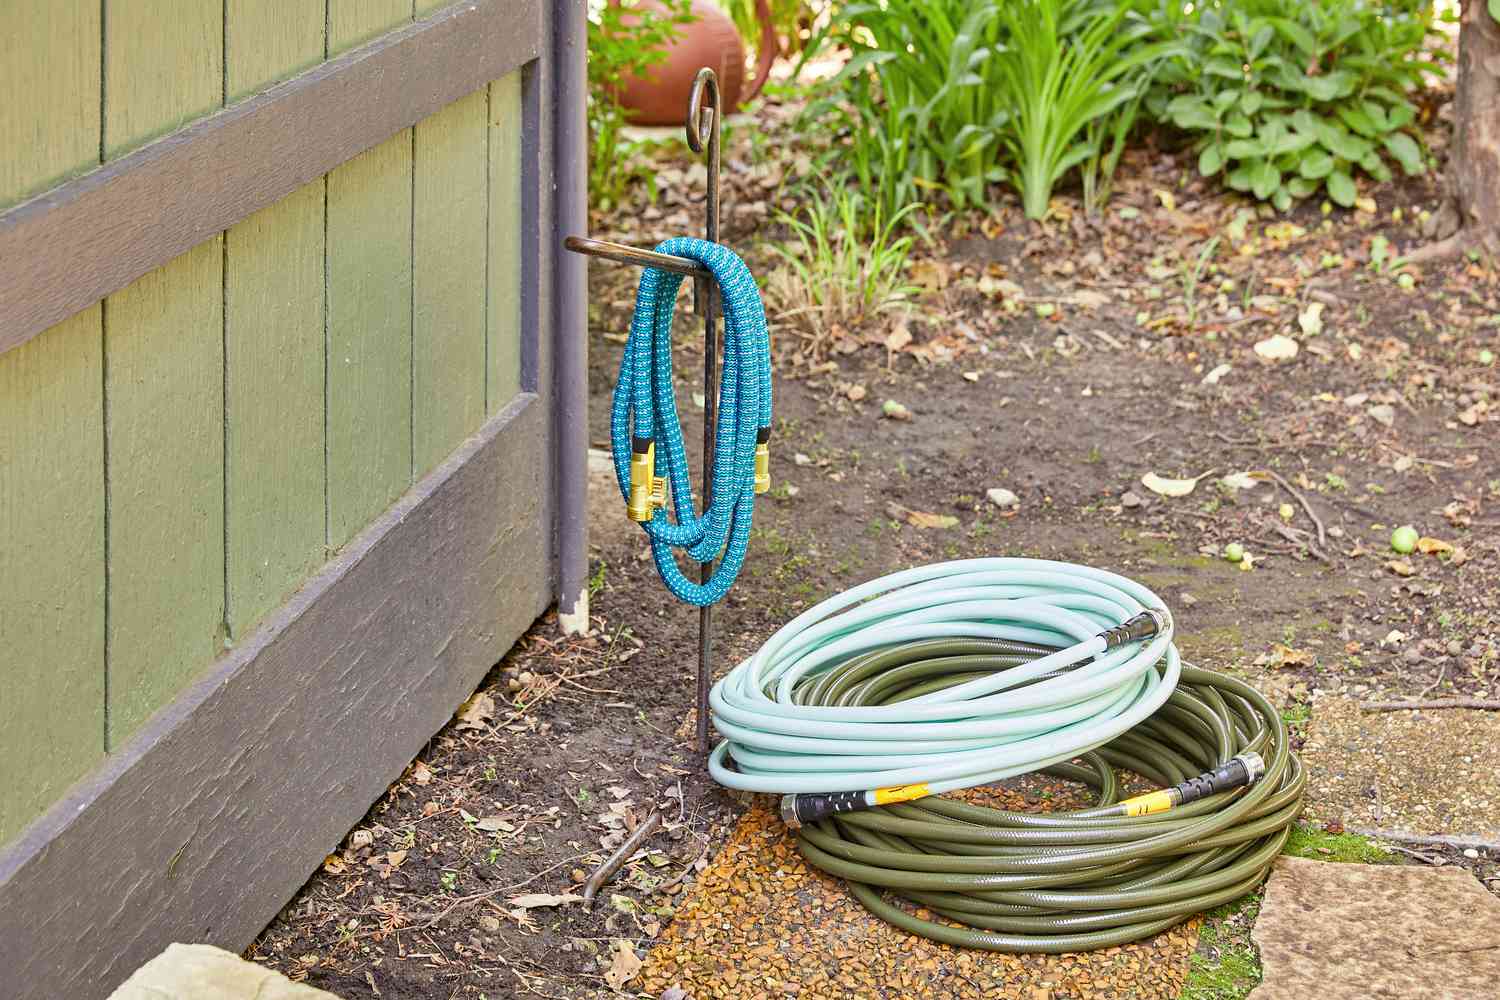
How To Fix A Leaky Hose Faucet
Modified: October 20, 2024
Learn how to fix a leaky hose faucet with these helpful articles. Get step-by-step instructions and expert tips to stop the drip and save water.
(Many of the links in this article redirect to a specific reviewed product. Your purchase of these products through affiliate links helps to generate commission for Storables.com, at no extra cost. Learn more)
Introduction
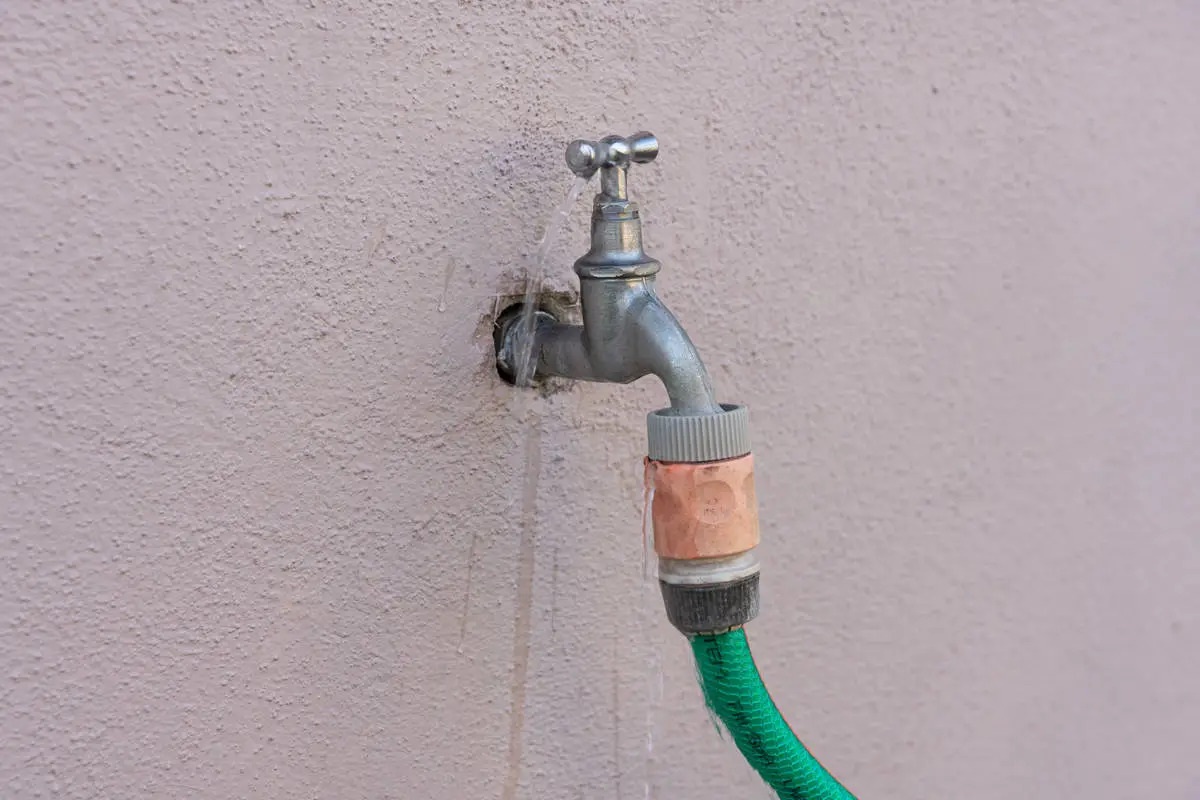
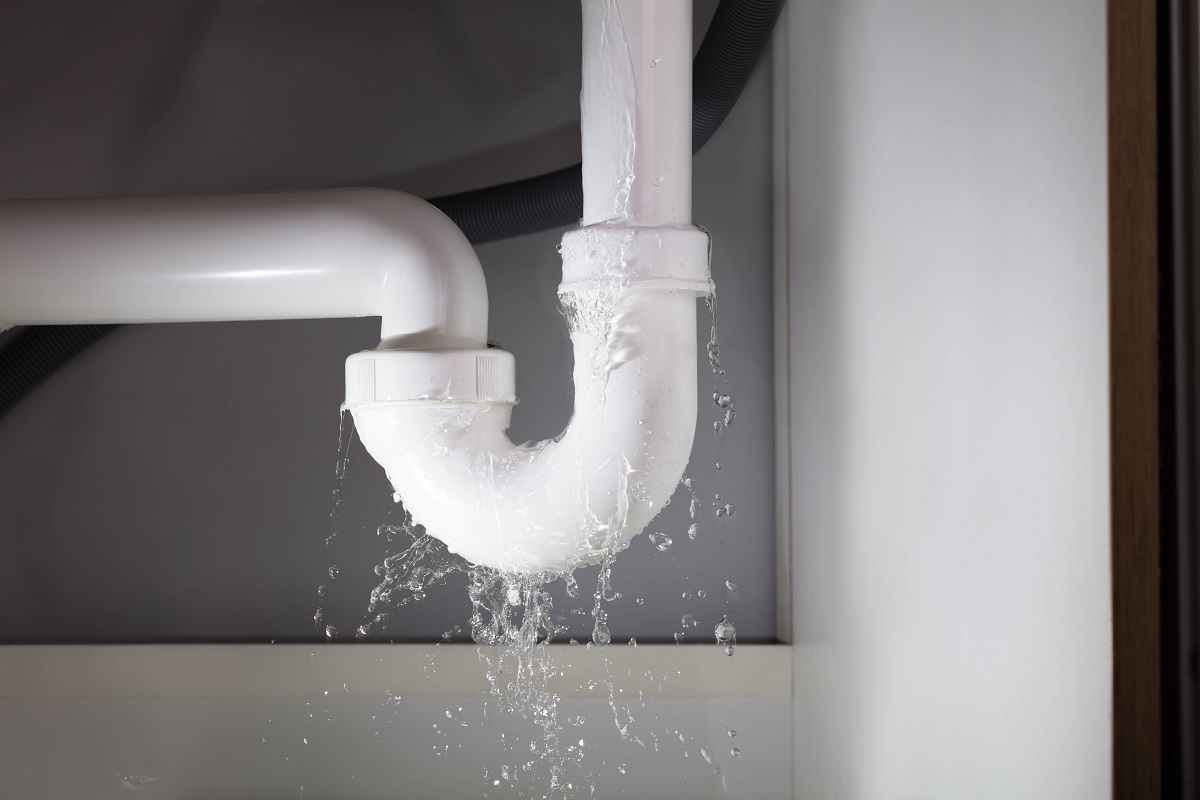
A leaky hose faucet not only wastes water but can also lead to higher water bills and potential damage to your property. Whether it’s a small drip or a steady stream of water, addressing the issue as soon as possible is crucial. The good news is that fixing a leaky hose faucet is a relatively simple task that can be done with a few basic tools and a little bit of know-how.
In this article, we will guide you through the step-by-step process of fixing a leaky hose faucet. From gathering the necessary tools to reassembling the faucet, we will provide you with clear instructions to help you tackle this common plumbing issue.
By following these steps, you’ll be able to save water, prevent potential water damage, and avoid the need for costly repairs. So let’s get started and learn how to fix a leaky hose faucet!
Key Takeaways:
- Fixing a leaky hose faucet is a simple DIY task that saves water, prevents property damage, and lowers water bills. With basic tools and step-by-step guidance, anyone can tackle this common plumbing issue.
- By following the outlined steps, you can confidently repair a leaky hose faucet, restore proper function, and contribute to water conservation efforts. Remember to gather tools, turn off the water supply, replace components, and check for leaks to ensure a successful repair.
Read more: How To Fix A Leaky Moen Faucet
Step 1: Gather the necessary tools
Before you begin fixing your leaky hose faucet, it’s important to gather all the necessary tools and materials. Having everything on hand will make the process much smoother and efficient. Here are the tools you will need:
- Adjustable wrench
- Screwdriver (Phillips or flathead, depending on your faucet)
- Replacement washers or O-rings
- Plumber’s tape
- Rag or towel
An adjustable wrench is essential for loosening and tightening the faucet components. A screwdriver will be needed to remove any screws or fasteners that hold the faucet together. Replacement washers or O-rings will be necessary to replace the worn-out ones causing the leak. Plumber’s tape, also known as Teflon tape, will help create a watertight seal when reassembling the faucet. Lastly, a rag or towel will come in handy for cleaning up any water or debris.
Once you have gathered all the necessary tools, ensure that you have enough light and space to work comfortably. Now that you’re prepared, let’s move on to the next step: turning off the water supply.
Step 2: Turn off the water supply
Before you can start working on the leaky hose faucet, it’s important to turn off the water supply to prevent any water flow and potential mess. Here’s how you can do it:
- Locate the water shut-off valve: The shut-off valve is usually located near the hose faucet. It may be inside your house, in the basement, or in an outdoor water supply box.
- Turn off the valve: Once you’ve located the shut-off valve, turn it clockwise to close it. This will stop the flow of water to the faucet. If you have trouble turning the valve, you can use a pair of pliers or a wrench to assist you.
- Check for water flow: To ensure that the water supply is indeed turned off, turn on the faucet and see if any water continues to flow. If no water comes out, then you have successfully turned off the water supply.
It’s important to remember that different houses may have their water shut-off valves in different locations. If you’re unsure where to find yours, consult your home’s plumbing system diagram or contact a professional plumber for assistance.
Once the water supply is turned off, you can proceed with confidence to the next step: removing the faucet handle.
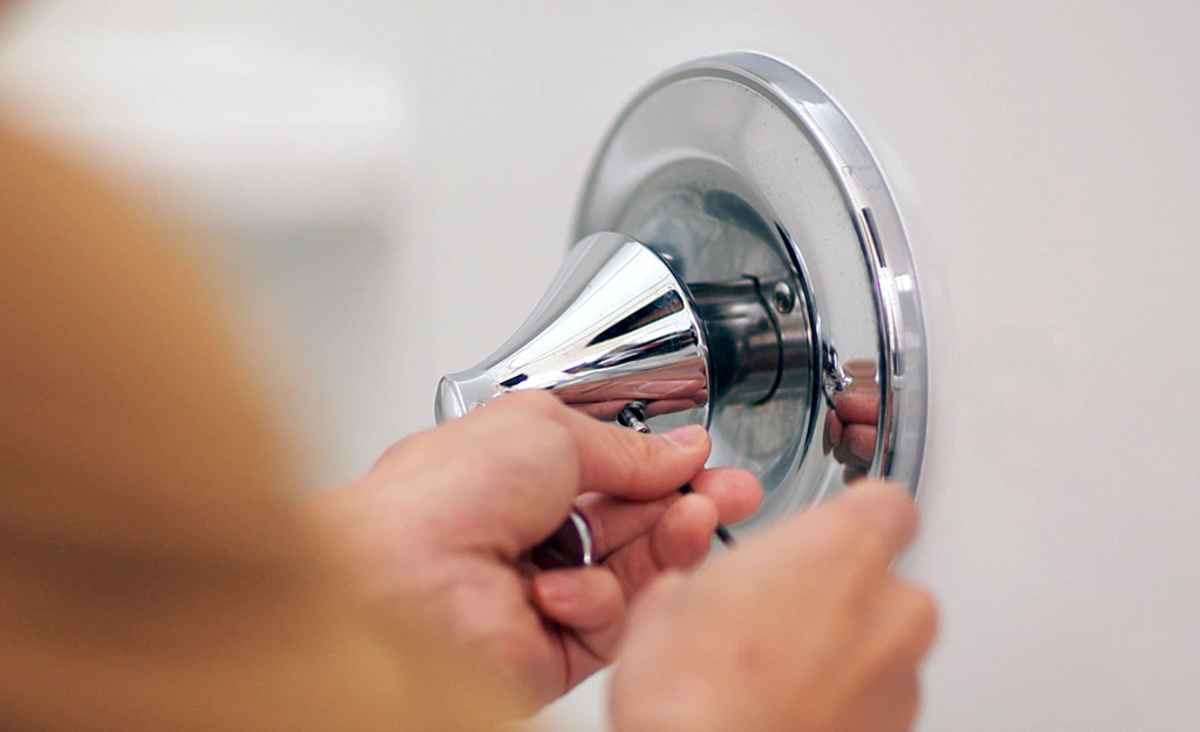
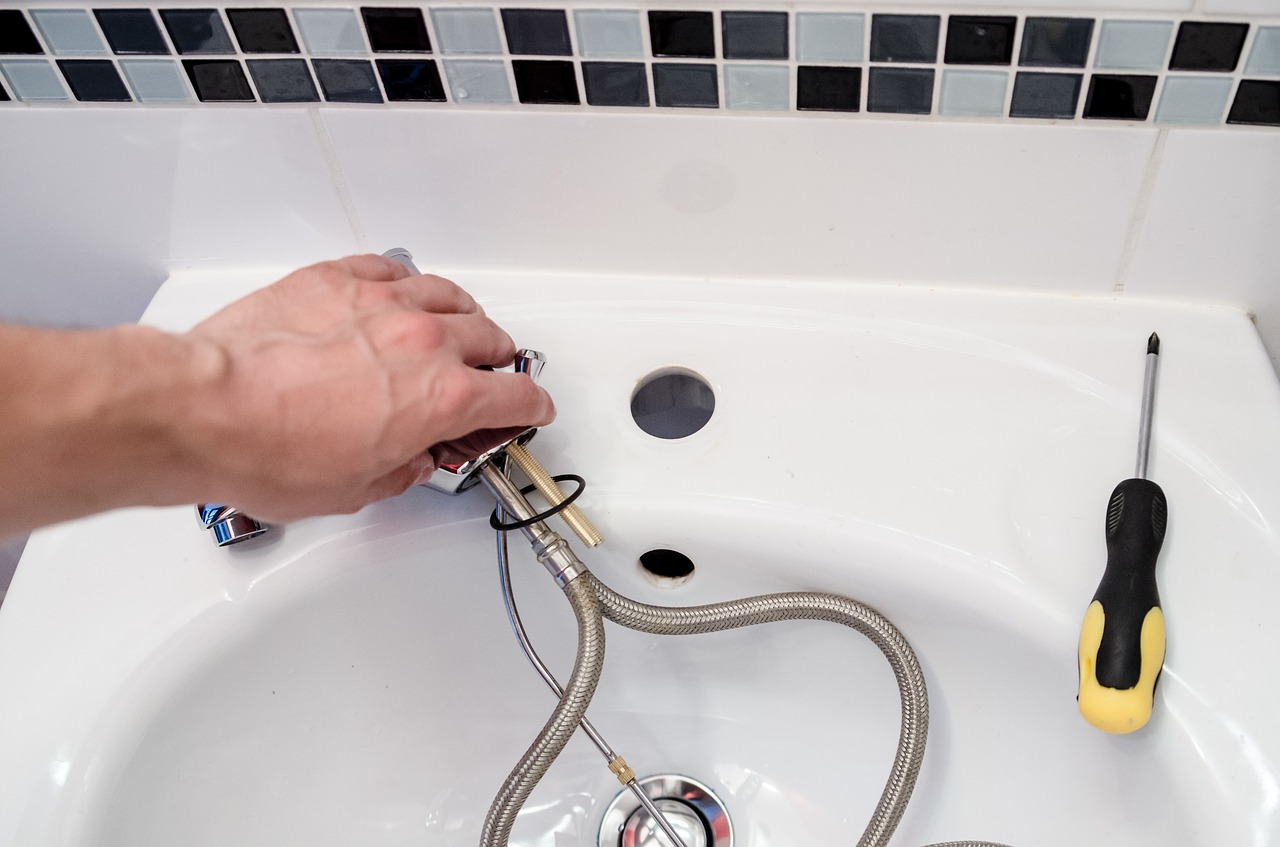
Step 3: Remove the handle
Now that the water supply is turned off, it’s time to remove the handle of the leaky hose faucet. Here’s how you can do it:
- Locate the screw: Look for a small screw on the side or under the handle. This screw holds the handle in place.
- Use the appropriate screwdriver: Depending on the type of screw, use either a Phillips or flathead screwdriver to unscrew it. Turn the screw counterclockwise to loosen and remove it.
- Remove the handle: With the screw removed, gently pull the handle away from the faucet. It may require a bit of wiggle and gentle force to loosen it.
Once the handle is removed, you’ll have a clear view of the inner components of the faucet. Take a moment to inspect them for any visible signs of damage or wear. It’s common for the washer or O-ring to be the culprit behind a leaky faucet, so pay attention to those areas.
Removing the handle may vary slightly depending on the brand and model of your faucet. If you encounter any difficulties or are unsure about how to proceed, consult the manufacturer’s manual or seek the assistance of a professional plumber.
Now that you have successfully removed the handle, it’s time to move on to the next step: replacing the washer or O-ring.
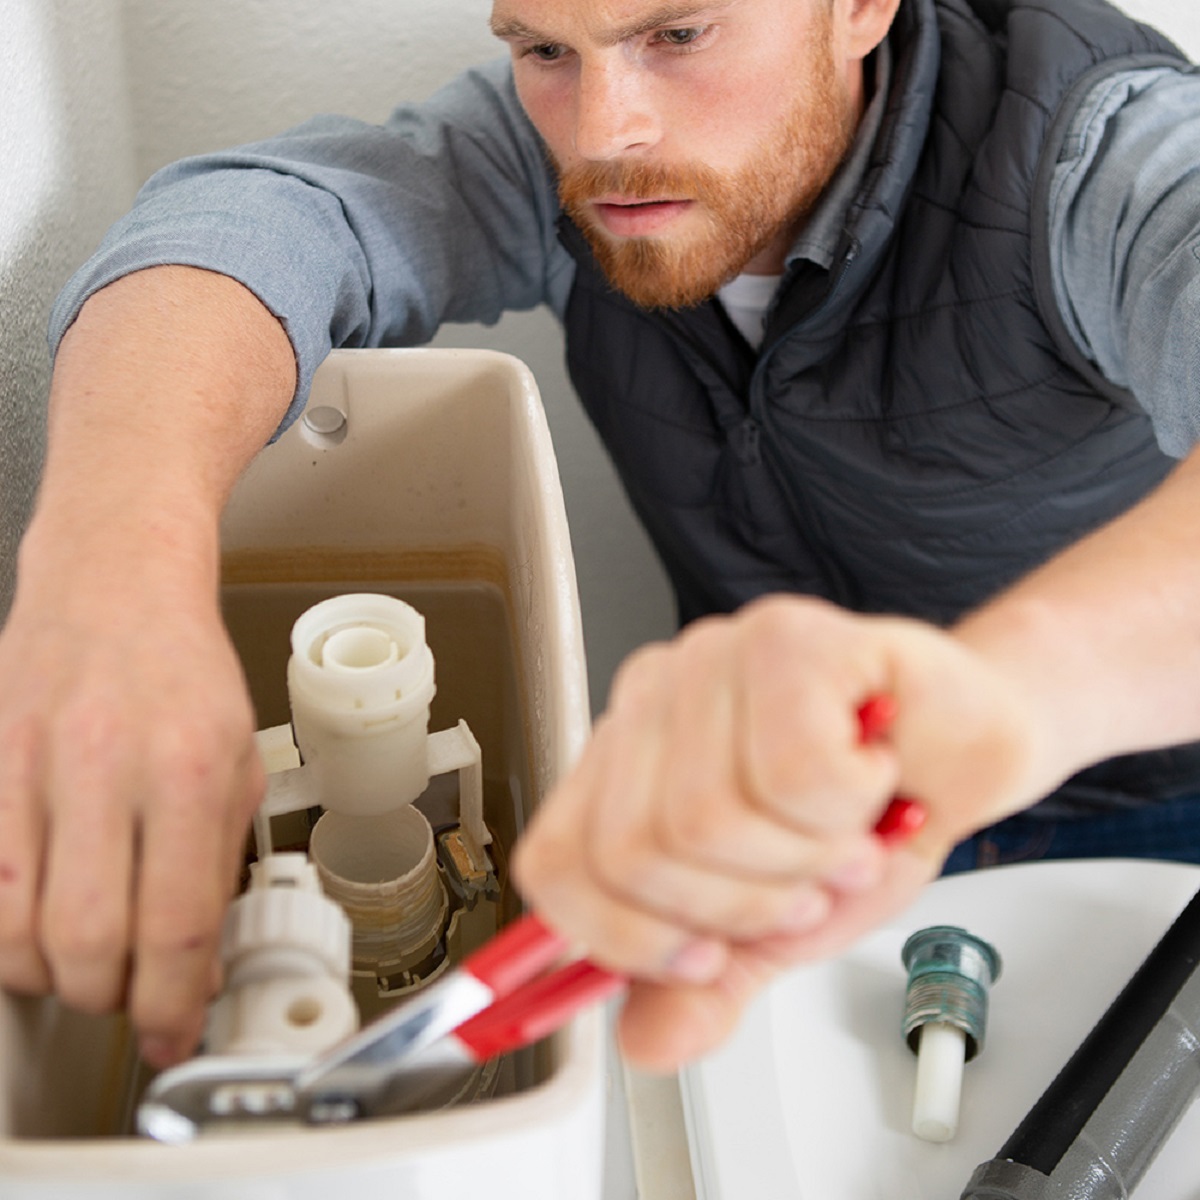
Step 4: Replace the washer or O-ring
With the handle removed, it’s time to address the cause of the leak. In most cases, a worn-out washer or O-ring is to blame. Follow these steps to replace them:
- Identify the washer or O-ring: Take a close look at the components inside the faucet. The washer is usually located at the end of the valve stem, while the O-ring is a small rubber ring around the valve body.
- Remove the old washer or O-ring: Use pliers or a small screwdriver to gently pry out the old washer or O-ring. Take note of its size and shape, as you’ll need to find a replacement that matches these specifications.
- Find the appropriate replacement: Visit your local hardware store or home improvement center to find a new washer or O-ring that matches the size and shape of the old one. It’s always a good idea to bring the old part with you to ensure a proper fit.
- Install the new washer or O-ring: Carefully slide the new washer or place the new O-ring onto the valve stem or around the valve body. Ensure it is securely in place.
Replacing the washer or O-ring is crucial for resolving the leakage issue. These components create a tight seal when the faucet is closed, preventing water from escaping. By installing new ones, you restore the proper function of the faucet and eliminate leaks.
If you have an older faucet or one that requires specific parts, it may be challenging to find an exact match. In such cases, consider consulting a plumbing professional for assistance or replacing the entire faucet if it’s beyond repair.
Now that the new washer or O-ring is in place, you’re ready to move on to the next step: reassembling the faucet.
Make sure to turn off the water supply to the faucet before attempting to fix a leak. This will prevent any further water damage and make the repair process easier.
Read more: How To Fix A Leaky Faucet
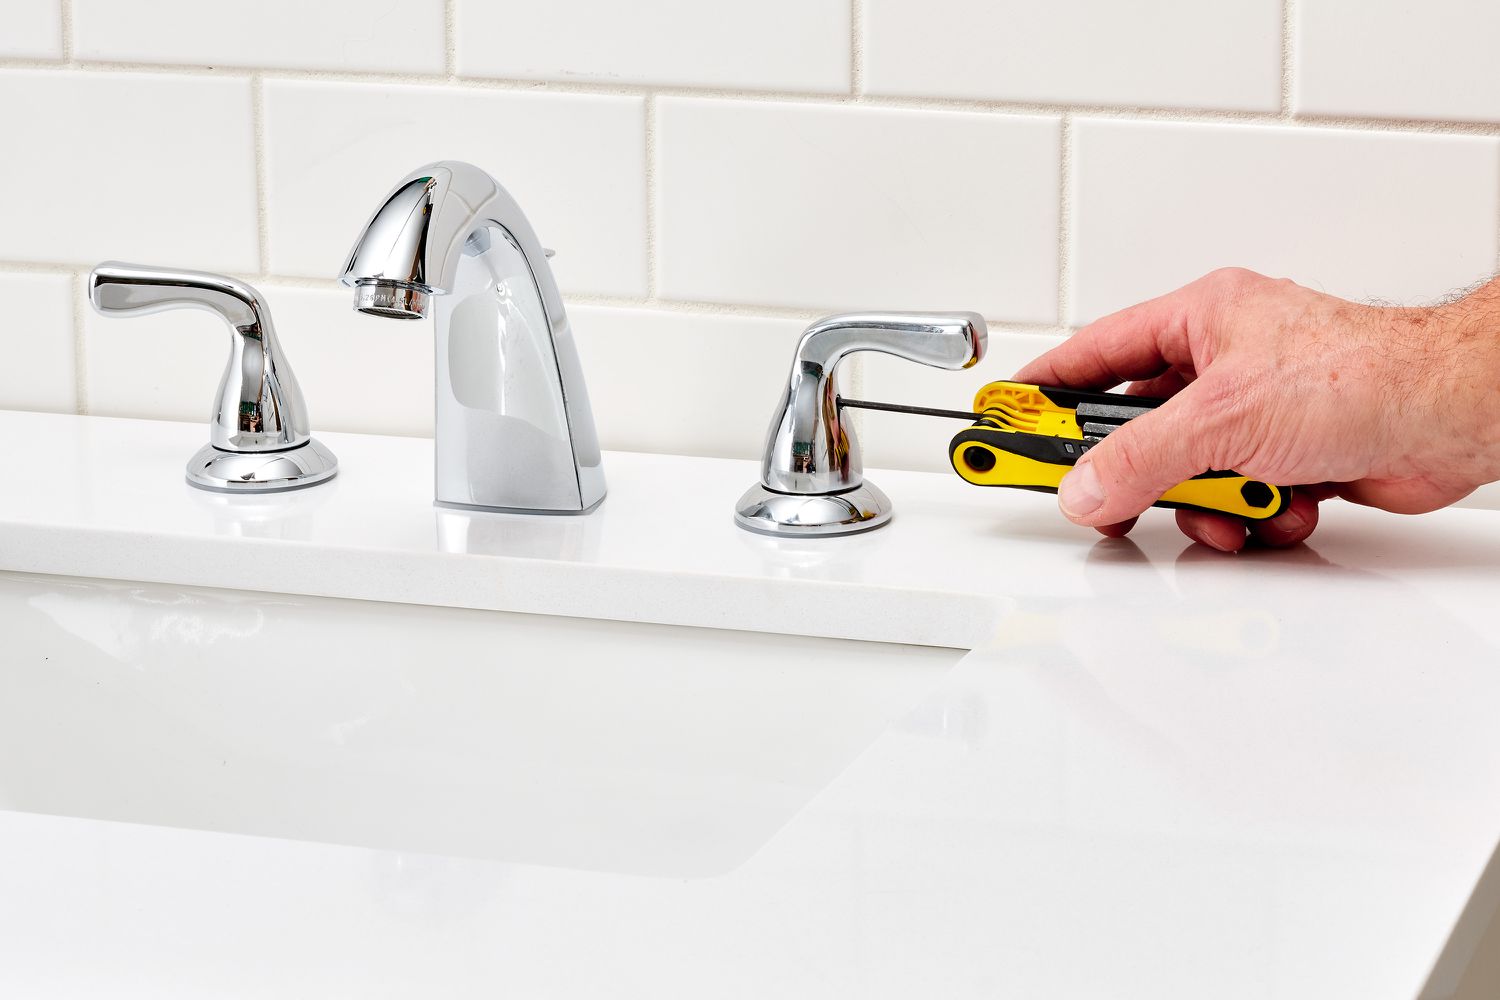
Step 5: Reassemble the faucet
Now that the new washer or O-ring is installed, it’s time to reassemble the faucet. Follow these steps to put everything back together:
- Place the handle back onto the faucet: Align the handle with the valve stem and gently push it back into position. Make sure it fits snugly.
- Secure the handle with the screw: Insert the screw back into its original location and tighten it using the appropriate screwdriver. Turn the screw clockwise to secure it in place.
- Check the handle: Give the handle a few turns to ensure it is functioning correctly. It should rotate smoothly without any resistance or wobbling.
- Apply plumber’s tape (optional): If there were any additional connections or threads that required disassembly, it’s a good practice to apply plumber’s tape to create a watertight seal. Wrap a few layers of plumber’s tape around the threads before reattaching the components.
Reassembling the faucet allows you to restore its proper function and ensure a leak-free operation. Double-check that everything is securely in place before proceeding to the next step.
If you encounter any difficulties during the reassembly process or find that the handle doesn’t operate smoothly, you may need to double-check the alignment of the components or consult a professional plumber for assistance.
With the faucet successfully reassembled, it’s time to move on to the next step: turning on the water supply.
Step 6: Turn on the water supply
With the faucet reassembled, it’s time to turn on the water supply and test your repair. Follow these steps to restore the water flow:
- Locate the water shut-off valve: This is the same valve you turned off in the second step. Find the valve and ensure it’s fully closed.
- Turn on the valve: With the valve fully closed, slowly turn it counterclockwise to reopen the water supply. Gradually increase the flow to avoid any sudden pressure surges.
- Test the faucet: Once the water supply is turned on, go back to the faucet and test it by turning the handle. You should no longer see any leaks or drips. The water flow should be steady and controlled.
If all goes well, congratulations! You have successfully fixed your leaky hose faucet. Enjoy the peace of mind knowing that you have resolved the issue and prevented any further water waste or damage.
However, if you notice any continued leaks or other issues, turn off the water supply again and double-check the previous steps. Make sure that all components are securely in place and that the washer or O-ring has been properly installed.
If you have followed all the steps carefully and are still experiencing issues, it may be time to seek professional assistance. A licensed plumber can diagnose the problem and provide the necessary repairs or replacements.
Now that your faucet is leak-free and functioning properly, let’s move on to the final step: checking for any remaining leaks.
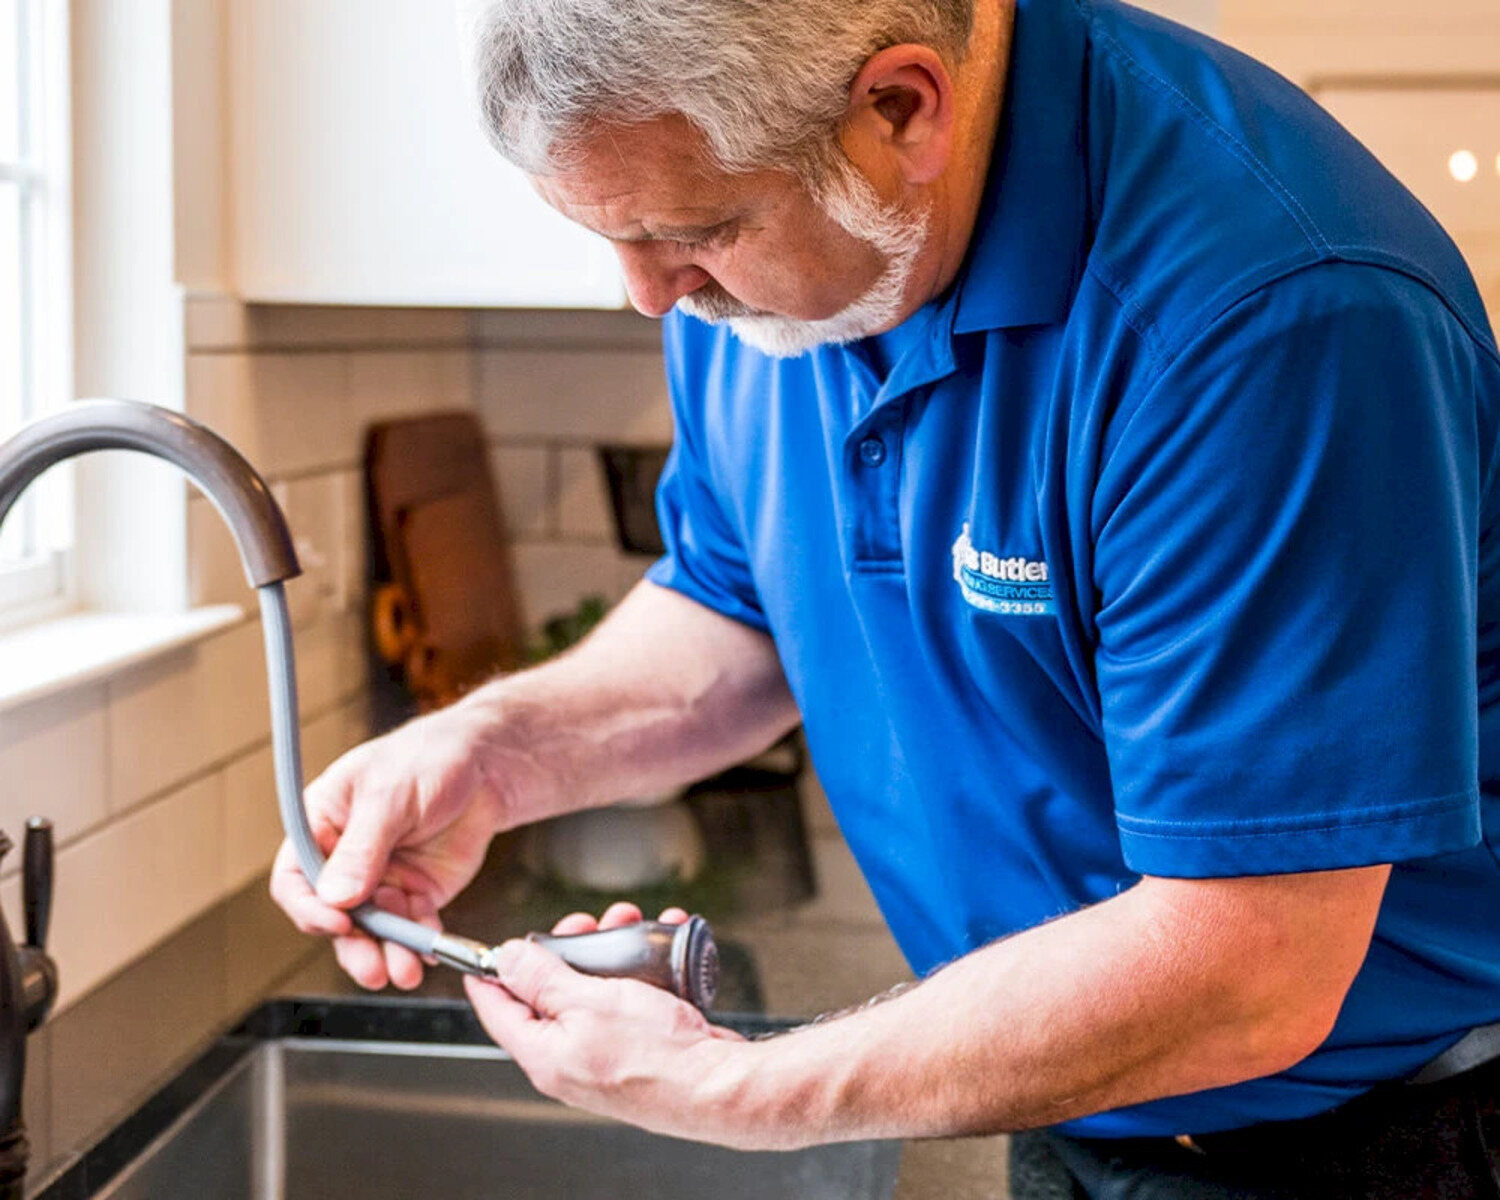
Step 7: Check for leaks
After fixing the leaky hose faucet and turning on the water supply, it’s essential to check for any remaining leaks. This final step ensures that your repair was successful and that no further adjustments are needed. Follow these steps to check for leaks:
- Observe the faucet closely: Pay close attention to the area around the base of the faucet, as well as any connection points. Look for any signs of water dripping, pooling, or spraying.
- Run the faucet at different pressures: Turn the faucet on and off at various pressure levels. Gradually increase the water flow and then decrease it. Observe the faucet and surrounding area for any leaks during these different settings.
- Inspect the connections: Check all the connections you reassembled during the repair process. These may include the handle, any additional components, and the hose connection. Ensure that they are tightened securely and that no water is escaping from these areas.
If you don’t notice any leaks or dripping water during these checks, then your repair was successful! You can rest assured knowing that your leaky hose faucet has been properly fixed, and you’ve prevented any further water wastage and potential damage.
However, if you do observe any leaks or drips, take note of their location and severity. It may be a sign of a loose connection or a further issue with the faucet. Double-check all the steps you followed to ensure that everything was done correctly. If needed, consult a professional plumber to diagnose and address any lingering issues.
By thoroughly checking for leaks after the repair, you can ensure that your faucet is working efficiently and effectively without any wasteful water leakage.
Congratulations on successfully fixing your leaky hose faucet! You’ve not only saved water and prevented potential damage but also acquired valuable plumbing skills. Remember to address any future leaks promptly to avoid unnecessary water wastage and higher water bills.
With the completion of this final step, you have completed the process of fixing a leaky hose faucet. Thank you for following along, and we hope this guide has been helpful to you. Happy plumbing!
Conclusion
Fixing a leaky hose faucet is a task that many homeowners can tackle on their own with a little guidance and the right tools. Not only does addressing a leak prevent unnecessary water wastage, but it also helps save money on water bills and protects your property from potential damage. By following the step-by-step process outlined in this article, you can successfully fix a leaky hose faucet and enjoy the benefits of a properly functioning plumbing fixture.
Throughout the repair process, we covered essential steps such as gathering the necessary tools, turning off the water supply, removing the handle, replacing the washer or O-ring, reassembling the faucet, turning on the water supply, and checking for any remaining leaks. Each step contributes to a comprehensive repair that addresses the root cause of the leak and ensures a watertight seal.
Remember to gather all the required tools before starting the repair process to make it more efficient. Take your time and exercise caution when turning off the water supply, as a sudden surge of water can cause damage. When removing the handle, be mindful of any screws or fasteners that hold it in place. Additionally, carefully inspect and replace the worn-out washer or O-ring to restore the faucet’s proper function.
Once you have finished the repair and reassembled the faucet, make sure to turn on the water supply gradually and test the faucet for any remaining leaks. Thoroughly check the faucet, its base, and any connection points to ensure a successful repair. If you do notice any leaks, double-check the steps you followed and tighten any loose connections.
Fixing a leaky hose faucet not only saves water but also contributes to environmental conservation efforts. It is a simple yet impactful way to make a positive change and reduce water wastage in your home. With the knowledge gained from this article, you can confidently address similar plumbing issues in the future and potentially save on the cost of professional repairs.
Remember, if you ever feel unsure or encounter more complex plumbing problems, don’t hesitate to seek the help of a professional plumber. They have the expertise and tools to handle any plumbing issue that may arise.
We hope this comprehensive guide has provided you with the knowledge and confidence to fix a leaky hose faucet. By taking the necessary steps outlined in this article, you can enjoy a leak-free faucet and a more sustainable home. Happy repairing!
Frequently Asked Questions about How To Fix A Leaky Hose Faucet
Was this page helpful?
At Storables.com, we guarantee accurate and reliable information. Our content, validated by Expert Board Contributors, is crafted following stringent Editorial Policies. We're committed to providing you with well-researched, expert-backed insights for all your informational needs.


0 thoughts on “How To Fix A Leaky Hose Faucet”