Home>Home Security and Surveillance>How To Clear Chassis Intrusion Detection
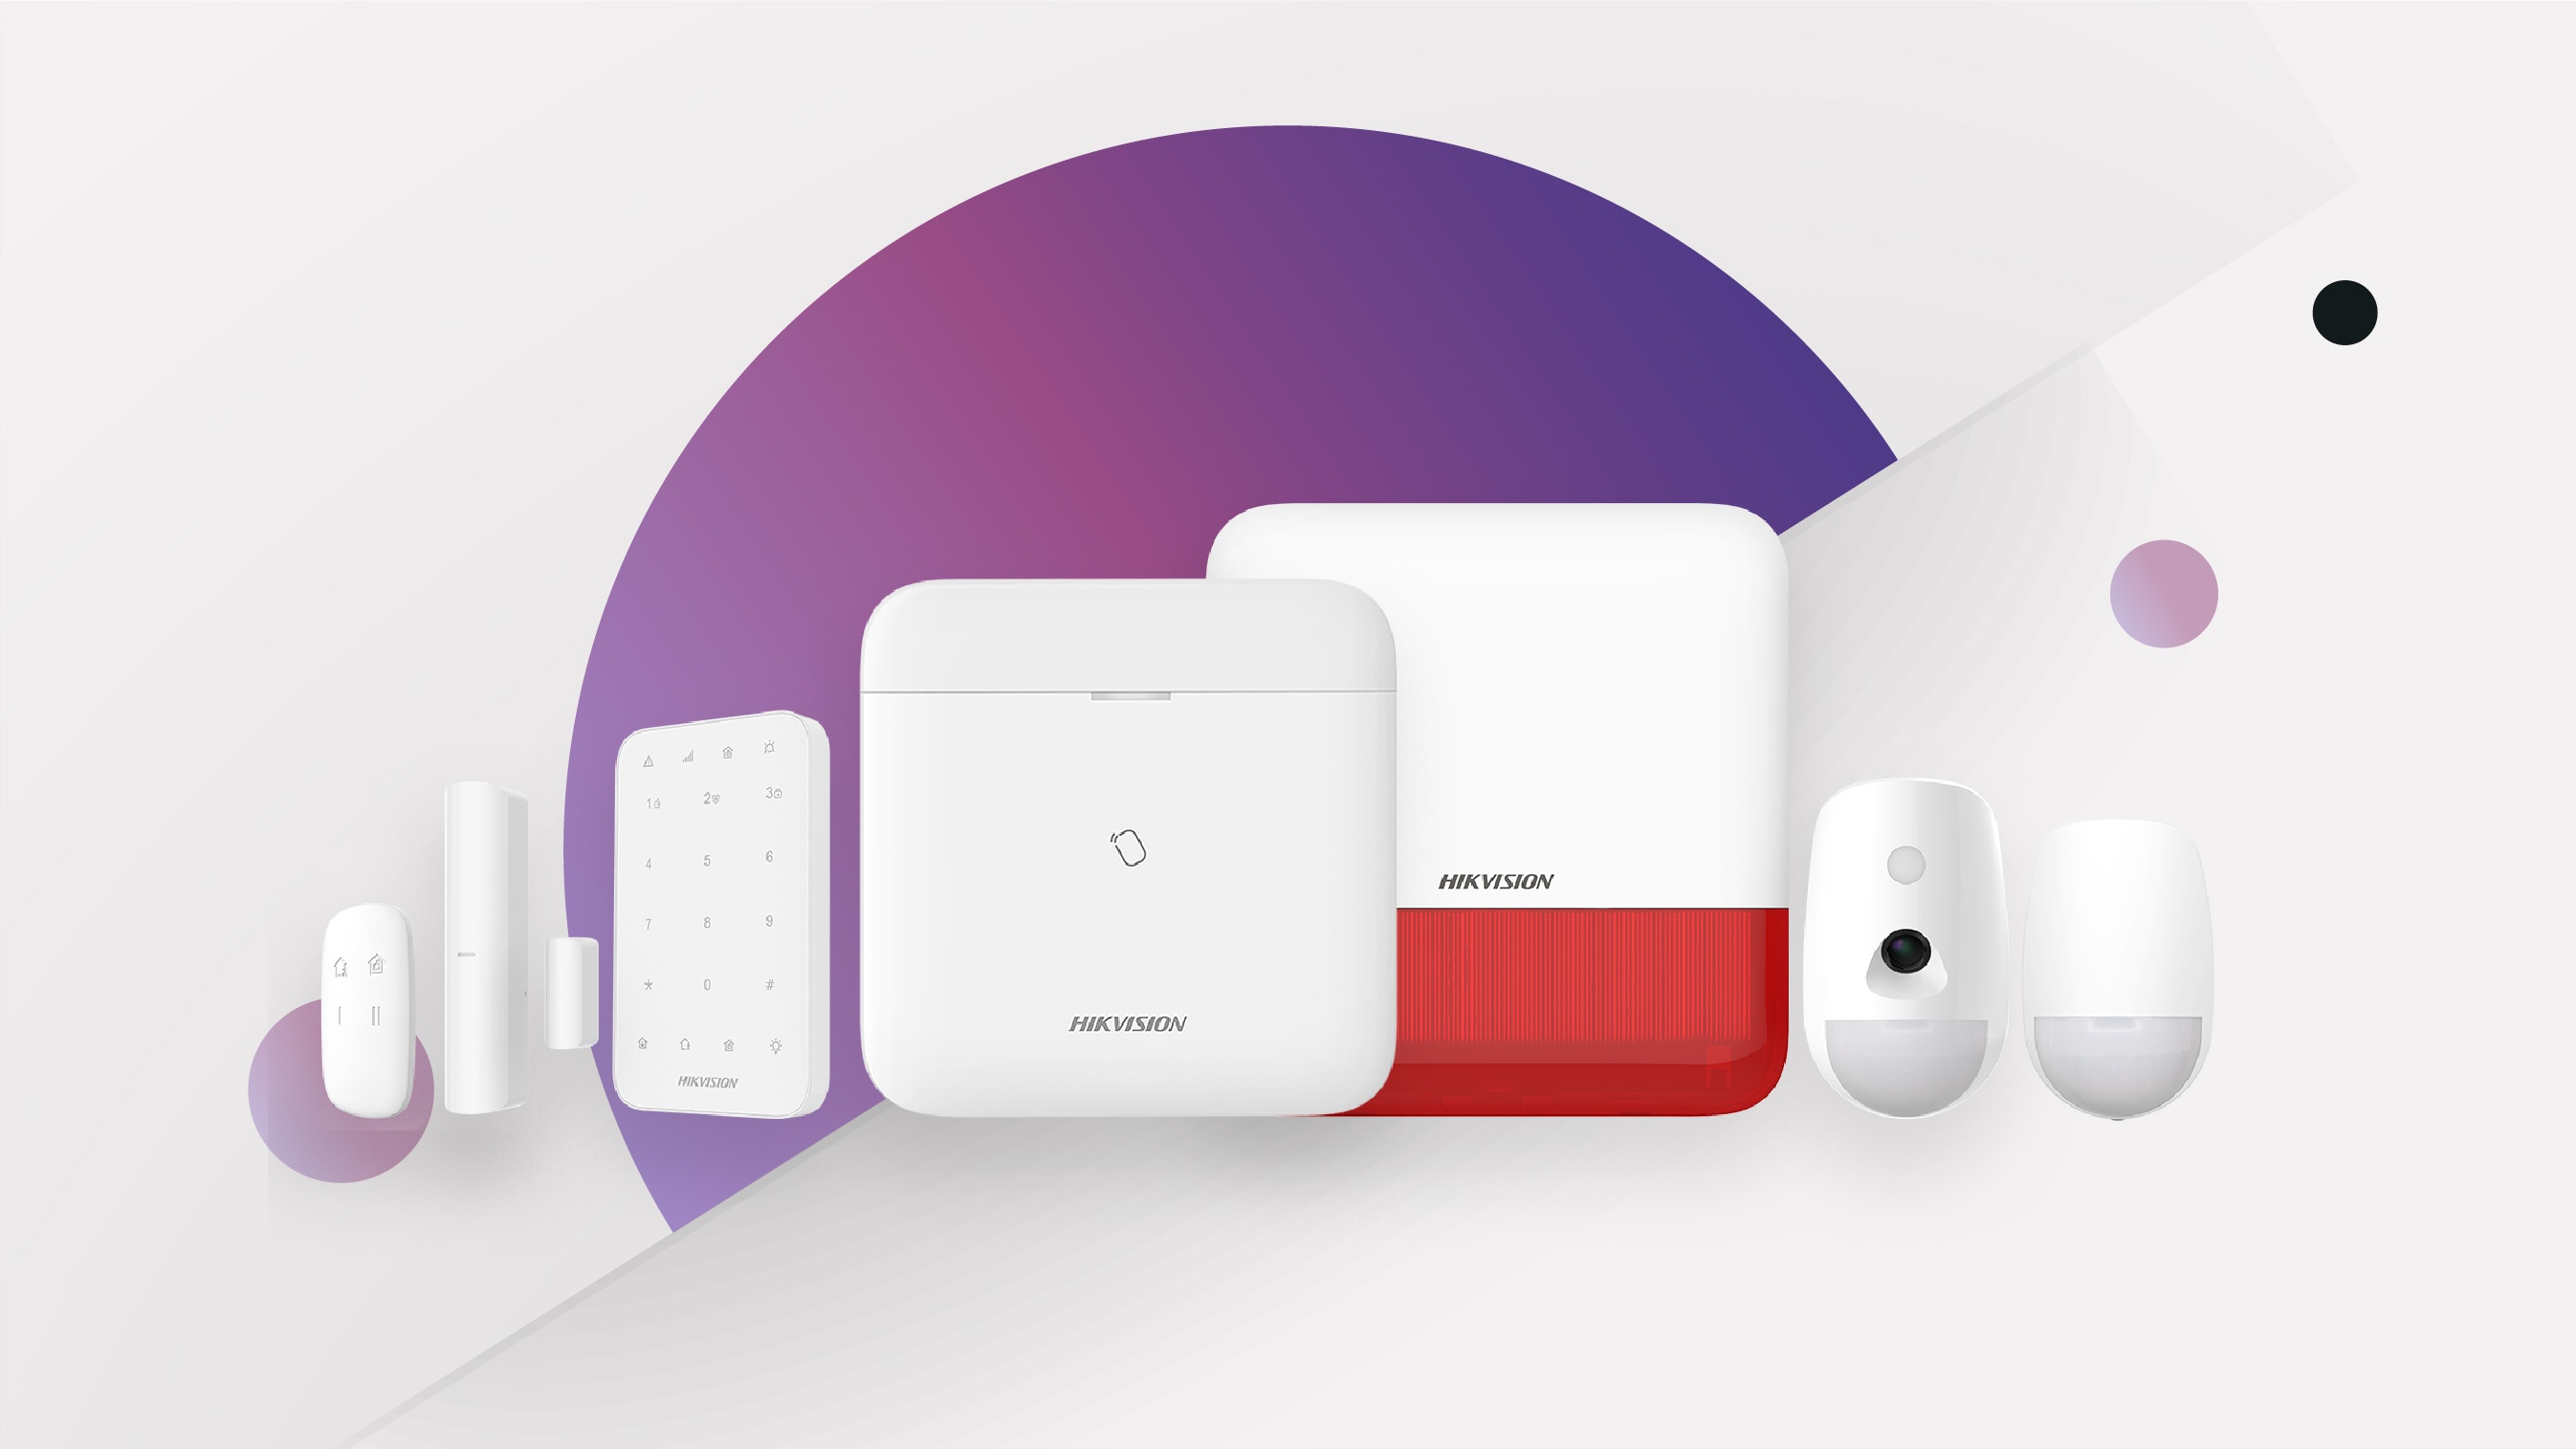
Home Security and Surveillance
How To Clear Chassis Intrusion Detection
Modified: March 6, 2024
Learn how to clear chassis intrusion detection alarms and secure your home with our home security and surveillance solutions.
(Many of the links in this article redirect to a specific reviewed product. Your purchase of these products through affiliate links helps to generate commission for Storables.com, at no extra cost. Learn more)
Introduction
Welcome to the world of home security and surveillance! In today’s fast-paced and ever-changing society, ensuring the safety and protection of our homes and loved ones has become a top priority. With advancements in technology, there are numerous solutions available to help us achieve that peace of mind we desire.
One such solution is chassis intrusion detection, a feature that has gained popularity in home security systems. Chassis intrusion detection acts as an extra layer of security by alerting us to any unauthorized access or tampering with the system’s hardware.
In this article, we will delve deeper into the concept of chassis intrusion detection and walk you through the process of clearing chassis intrusion detection. So, whether you’re a newbie to home security or an experienced DIY enthusiast, this guide is here to assist you.
But before we jump into the technical aspects, let’s take a moment to understand what chassis intrusion detection actually is and why it is crucial for your home security system.
Key Takeaways:
- Clearing chassis intrusion detection is essential for maintaining and upgrading your home security system, ensuring that you can work with the internal components without triggering false alarms or interruptions.
- Before clearing chassis intrusion detection, take precautionary measures such as powering off the system, backing up data, grounding yourself, and using proper tools to minimize risks and ensure a safe process.
Read more: What Is Chassis Intrusion Detection
What is Chassis Intrusion Detection?
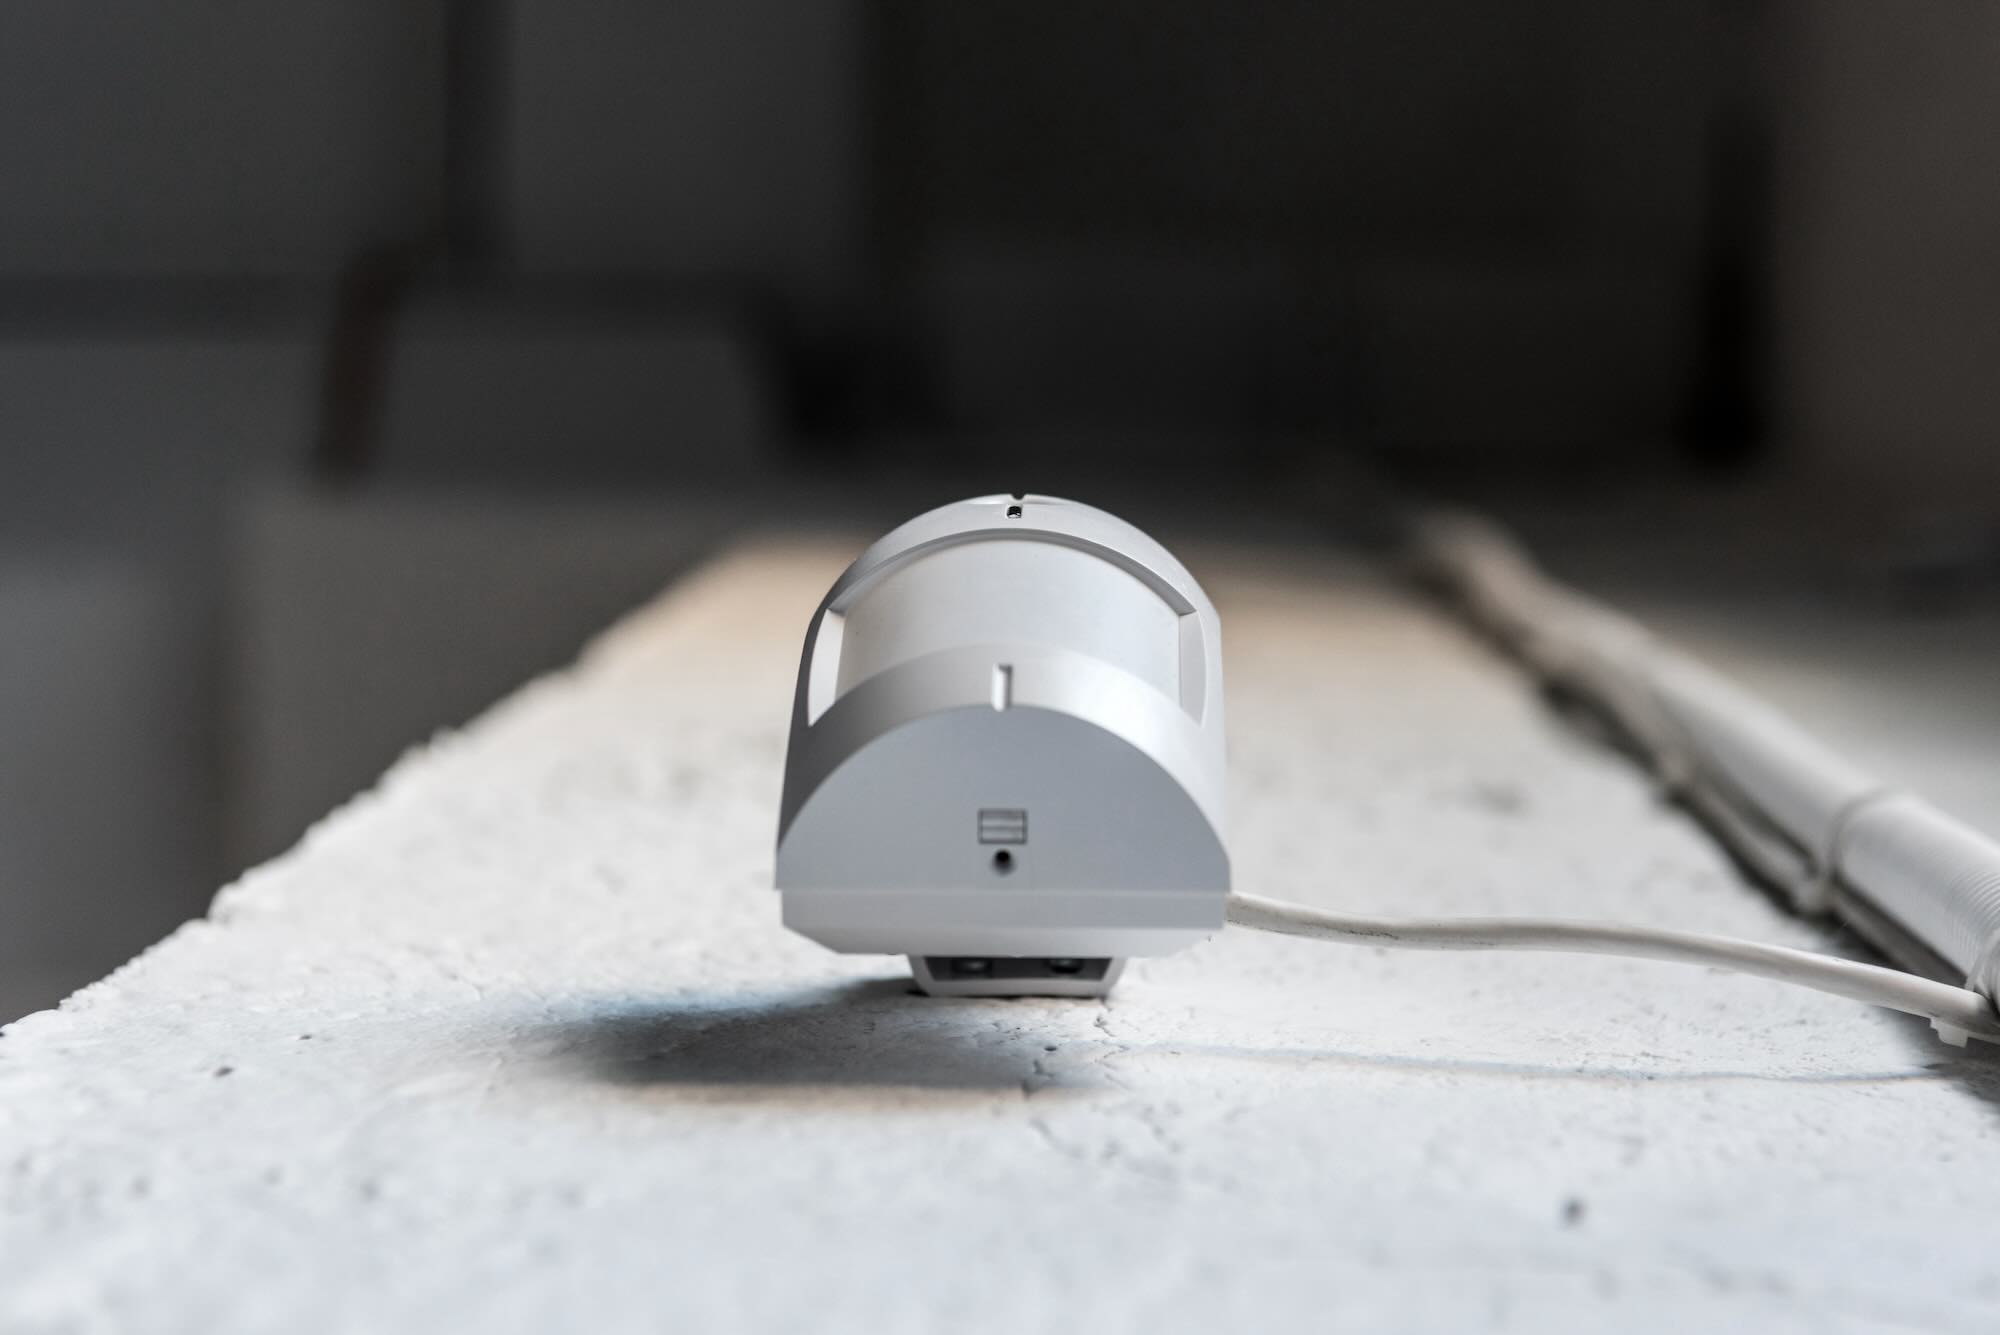
Chassis intrusion detection is a security feature that is commonly integrated into home security systems, particularly those that have a central monitoring unit or a computer-based monitoring system. It is designed to detect any unauthorized access or physical tampering with the system’s chassis or housing.
When a chassis intrusion detection mechanism is activated, it constantly monitors the state of the chassis and alerts the user or system administrator if any tampering is detected. This can include actions such as opening the chassis, removing or modifying internal components, or attempting to bypass or tamper with the security features of the system.
Chassis intrusion detection typically relies on a combination of hardware and software components. The hardware component consists of sensors or switches that are strategically placed within the chassis to detect any movement or changes in the chassis state. These sensors are connected to the system’s motherboard or security controller.
The software component of chassis intrusion detection is responsible for interpreting the signals from the sensors and generating notifications or alarms when unauthorized access or tampering is detected. These notifications can be in the form of visual alerts, audible alarms, or even automated notifications sent to the user’s smartphone or email.
By implementing chassis intrusion detection in your home security system, you add an additional layer of protection against physical attacks. It serves as a deterrent to potential thieves or intruders who may attempt to disable or manipulate your security system.
Chassis intrusion detection is especially useful in scenarios where the security system is located in an easily accessible area, such as a home office or a centralized control room. It ensures that any tampering or unauthorized entry into the system is promptly identified and addressed.
Now that we have a good understanding of chassis intrusion detection and its role in home security, let’s explore why it is important to clear chassis intrusion detection and the precautions you should take before doing so.
Why Clear Chassis Intrusion Detection?
Clearing chassis intrusion detection is an essential step when maintaining or troubleshooting your home security system. Although chassis intrusion detection provides an extra layer of security, there are situations where it is necessary to clear the detection in order to perform system maintenance or upgrades.
Here are a few reasons why clearing chassis intrusion detection is necessary:
System Maintenance and Upgrades
When performing routine maintenance or upgrading components of your home security system, it may be necessary to open the chassis and make changes to the hardware. However, chassis intrusion detection is designed to detect any changes made to the system, including legitimate modifications. In such cases, clearing the intrusion detection ensures that you can make the necessary changes without triggering false alarms or interruptions to the system’s operation.
Troubleshooting Hardware Issues
If you are experiencing hardware-related issues with your home security system, one of the troubleshooting steps may involve accessing and inspecting the internal components of the chassis. By clearing chassis intrusion detection, you can eliminate any potential false alerts or errors that may arise when working with the hardware.
System Reconfiguration
In some cases, you may need to reconfigure or reposition your home security system. This could involve relocating the system, adding or removing components, or integrating it with other devices or networks. Clearing chassis intrusion detection allows you to reset the system’s status and ensure that it functions as intended after any reconfigurations.
System Testing
Before deploying or activating your home security system, it is important to perform thorough testing to ensure that all components are functioning correctly. Clearing chassis intrusion detection before testing allows you to start with a clean slate and accurately assess the system’s performance without any false alarms.
While clearing chassis intrusion detection is necessary in certain circumstances, it is important to take precautionary measures to ensure the overall integrity and security of your home security system. In the next section, we will discuss the necessary precautions before proceeding with the clearing process.
Precautionary Measures
Before proceeding with clearing chassis intrusion detection, it is crucial to take certain precautionary measures to protect your home security system and ensure a safe and successful process. These measures will help minimize any potential risks or damages that may occur during the clearing process.
Power Off the System
Before opening the chassis or performing any maintenance tasks, always make sure to power off the system completely. This will eliminate the risk of electrical shock or accidental damage to the internal components. Additionally, disconnect any power supply or remove the battery backup if applicable.
Read more: What Is Wireless Intrusion Detection
Backup System Settings and Data
Prior to clearing the chassis intrusion detection, it is wise to backup your system settings and any important data stored within the system. This will ensure that you have a copy of all configurations and data in case any unexpected issues arise during the clearing process.
Ground Yourself
When working with delicate hardware components, it is important to discharge any static electricity present in your body. To do this, ground yourself by touching a grounded object or wearing an anti-static wrist strap. This will prevent any electrostatic discharge that may damage the sensitive components of your home security system.
Read the User Manual or Documentation
Before attempting to clear chassis intrusion detection, it is essential to familiarize yourself with the specific instructions and recommendations provided by the manufacturer. Read the user manual or any relevant documentation to understand the proper procedures and precautions specific to your home security system model.
Use Proper Tools and Techniques
Ensure that you have the necessary tools and equipment for the clearing process. Use appropriate screwdrivers or tools provided by the manufacturer to open the chassis. Avoid using excessive force or improper techniques that may cause damage to the system.
Follow Safety Guidelines
Always adhere to safety guidelines throughout the process. Avoid working in a rushed or distracted manner, and maintain a clean, well-lit workspace. If you are unsure about any step or procedure, seek professional assistance to ensure the safety and integrity of your home security system.
By following these precautionary measures, you can mitigate potential risks and protect both yourself and your home security system during the clearing process. Now that we have covered the necessary precautions, let’s proceed with the step-by-step guide to clearing chassis intrusion detection.
Step 1: Power off the System
The first step in clearing chassis intrusion detection is to ensure that the system is completely powered off. This step is crucial for your safety and to prevent any potential damage to the internal components of the home security system.
Here’s how you can power off the system:
- Locate the power button or switch on your home security system’s control panel or central monitoring unit. It is usually marked with a power symbol.
- Press and hold the power button or toggle the power switch to the “off” position.
- Wait for a few seconds to ensure that the system is completely powered down. You can also unplug the power cord or disconnect the battery backup if applicable.
By properly powering off the system, you minimize the risk of electrical shock and protect the sensitive electronic components from accidental damage. Ensure that the system remains in the powered-off state throughout the entire clearing process.
Once the system is powered off, you can proceed to the next step, which involves opening the chassis of your home security system.
Step 2: Open the Chassis
Now that you have powered off the system, it’s time to open the chassis of your home security system. Opening the chassis will provide access to the internal components, allowing you to clear the chassis intrusion detection.
Follow these steps to open the chassis:
- Locate the screws or latches that secure the chassis cover in place. These are typically found on the back or side of the chassis.
- Use the appropriate screwdriver or tool to remove the screws or release the latches. Set aside the screws in a safe place to avoid misplacing them.
- Gently remove the chassis cover by sliding it or lifting it off. Be careful not to apply excessive force or damage any cables or components connected to the chassis.
Once the chassis cover is removed, you will have a clear view of the internal components, including the motherboard and any expansion cards or storage devices. Take a moment to familiarize yourself with the layout and location of these components.
It’s important to handle the chassis components with care to prevent any accidental damage. Avoid touching any sensitive electrical components and, if necessary, ground yourself by touching a grounded object or wearing an anti-static wrist strap.
Now that you have successfully opened the chassis, it’s time to locate the chassis intrusion jumper, which is instrumental in clearing the chassis intrusion detection. This will be covered in the next step.
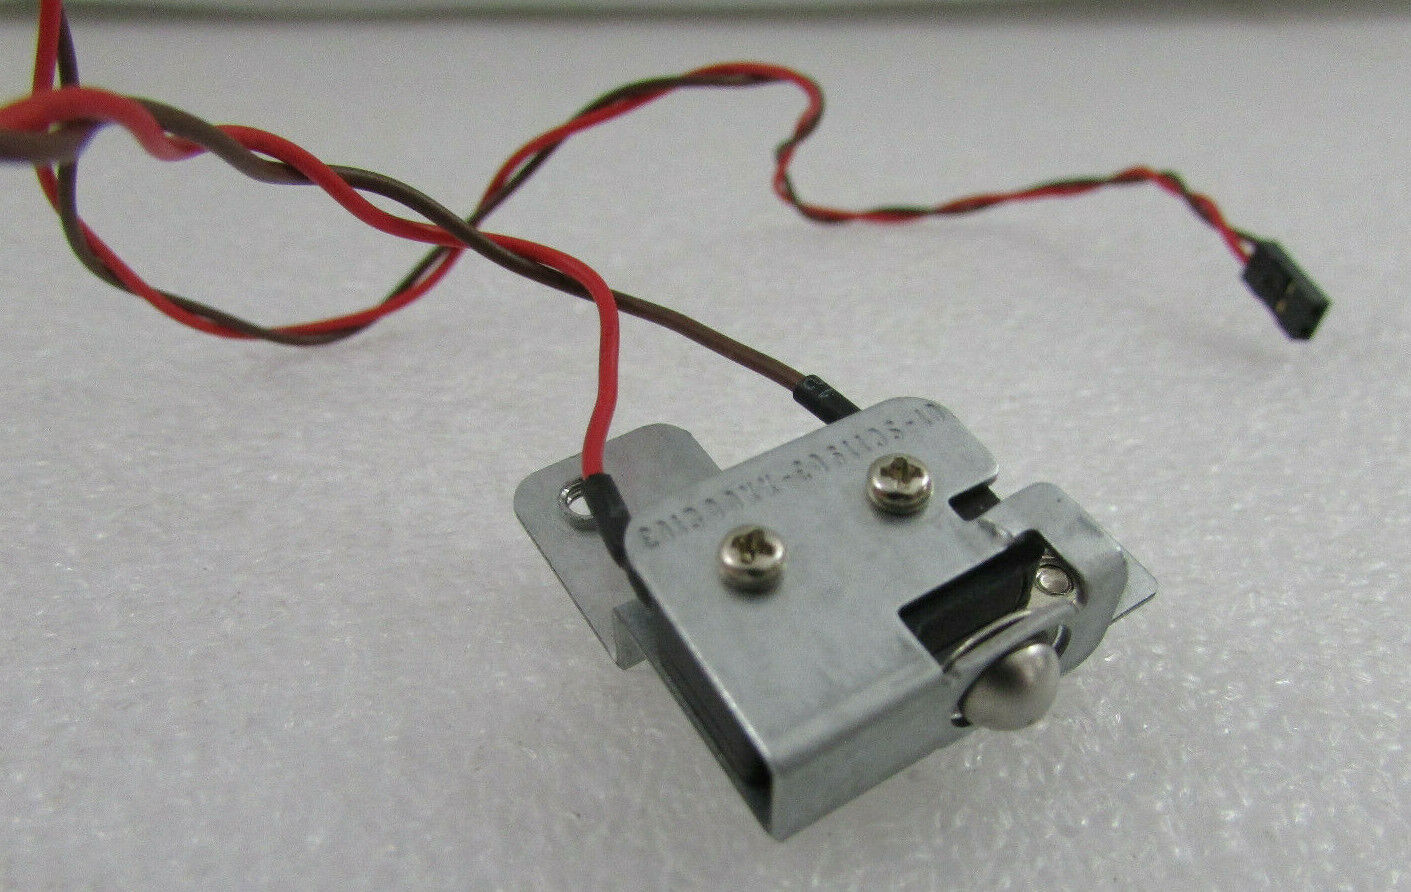
Step 3: Locate the Chassis Intrusion Jumper
After opening the chassis of your home security system, the next step is to locate the chassis intrusion jumper, also known as the intrusion detection header. This jumper is a small plastic component on the motherboard that is responsible for controlling the chassis intrusion detection mechanism.
Follow these steps to locate the chassis intrusion jumper:
- Take a close look at the motherboard, paying attention to the labeled components and connectors.
- Refer to the motherboard’s user manual or documentation to identify the location of the chassis intrusion jumper. The manual will typically provide a diagram or description to help you locate it.
- Look for a header labeled “Chassis Intrusion,” “Intruder Detection,” or something similar. It is usually located near the edge of the motherboard.
- Identify the two pins or connectors associated with the chassis intrusion jumper. They are often labeled as “JP1” or “S1”.
Once you have located the chassis intrusion jumper, it’s time to clear the chassis intrusion detection in the next step. Clearing the detection involves removing the jumper temporarily, which we will discuss further in the following step.
Take your time to carefully identify the chassis intrusion jumper, ensuring that you do not accidentally disconnect or damage any other components or connectors on the motherboard. If you are unsure about the location of the jumper, consult the motherboard’s user manual or seek assistance from the manufacturer’s support team.
In the next step, we will guide you through the process of clearing the chassis intrusion detection by removing the jumper temporarily.
Read more: How To Implement Svelte Intrusion Detection
Step 4: Clear the Chassis Intrusion Detection
Now that you have located the chassis intrusion jumper, it’s time to clear the chassis intrusion detection. Clearing the detection involves temporarily removing the chassis intrusion jumper from its current position on the motherboard. By doing so, you will reset the intrusion detection mechanism.
Follow these steps to clear the chassis intrusion detection:
- Ensure that you are grounded by touching a grounded object or wearing an anti-static wrist strap to prevent any electrostatic discharge.
- Using a pair of tweezers or small pliers, carefully grasp the chassis intrusion jumper at the base of the plastic connector.
- Gently lift the jumper upwards to disconnect it from the motherboard. Take care not to apply excessive force or bend any pins or connectors.
- Set the chassis intrusion jumper aside in a safe place. You may want to keep it in a labeled container to prevent misplacement.
- Leave the jumper disconnected for a few seconds to ensure that the chassis intrusion detection is cleared.
- After a few seconds, reattach the chassis intrusion jumper to its original position on the motherboard. Ensure that it is securely connected, seated properly, and aligned with the pins or connectors.
By disconnecting and reconnecting the chassis intrusion jumper, you have successfully cleared the chassis intrusion detection. This process resets the detection mechanism and prepares it for future use.
It is important to note that the exact method for clearing the detection may vary depending on your home security system’s motherboard and manufacturer. Always refer to the user manual or documentation provided by the manufacturer for precise instructions specific to your system.
In the next step, we will guide you through the process of closing the chassis to ensure the security and proper functioning of your home security system.
Step 5: Close the Chassis
After clearing the chassis intrusion detection, it’s time to securely close the chassis of your home security system. Closing the chassis ensures the protection of the internal components and maintains the overall integrity of the system.
Follow these steps to close the chassis:
- Ensure that all cables, connectors, and components are properly positioned inside the chassis.
- Align the chassis cover with the chassis base, ensuring that all screw holes and latches line up.
- Gently slide or press the chassis cover into place. Be careful not to apply excessive force that may damage any cables or components.
- If the chassis cover is secured by screws, use the appropriate screwdriver to reattach the screws. Tighten them firmly, but avoid over-tightening.
- If the chassis cover is secured by latches, follow the manufacturer’s instructions to secure the cover in place.
Once the chassis cover is securely closed, make sure it fits snugly and there are no gaps or loose parts. This will ensure the proper functioning and safety of your home security system.
Take a moment to double-check that all cables and connectors are properly connected and secured within the chassis. Loose or disconnected cables can affect the system’s performance or trigger false alarms.
Now that the chassis is closed, we can proceed to the next step, which involves powering on your home security system.
Step 6: Power on the System
Now that you have successfully closed the chassis of your home security system, it’s time to power on the system and ensure that everything is functioning as expected. Powering on the system will allow you to verify that the chassis intrusion detection has been cleared and that the system is operating normally.
Follow these steps to power on the system:
- Ensure that all power connections, including the power cord or battery backup, are securely connected to the system.
- If you had disconnected the power cord or battery backup earlier, plug it back into the appropriate power source or reconnect the battery.
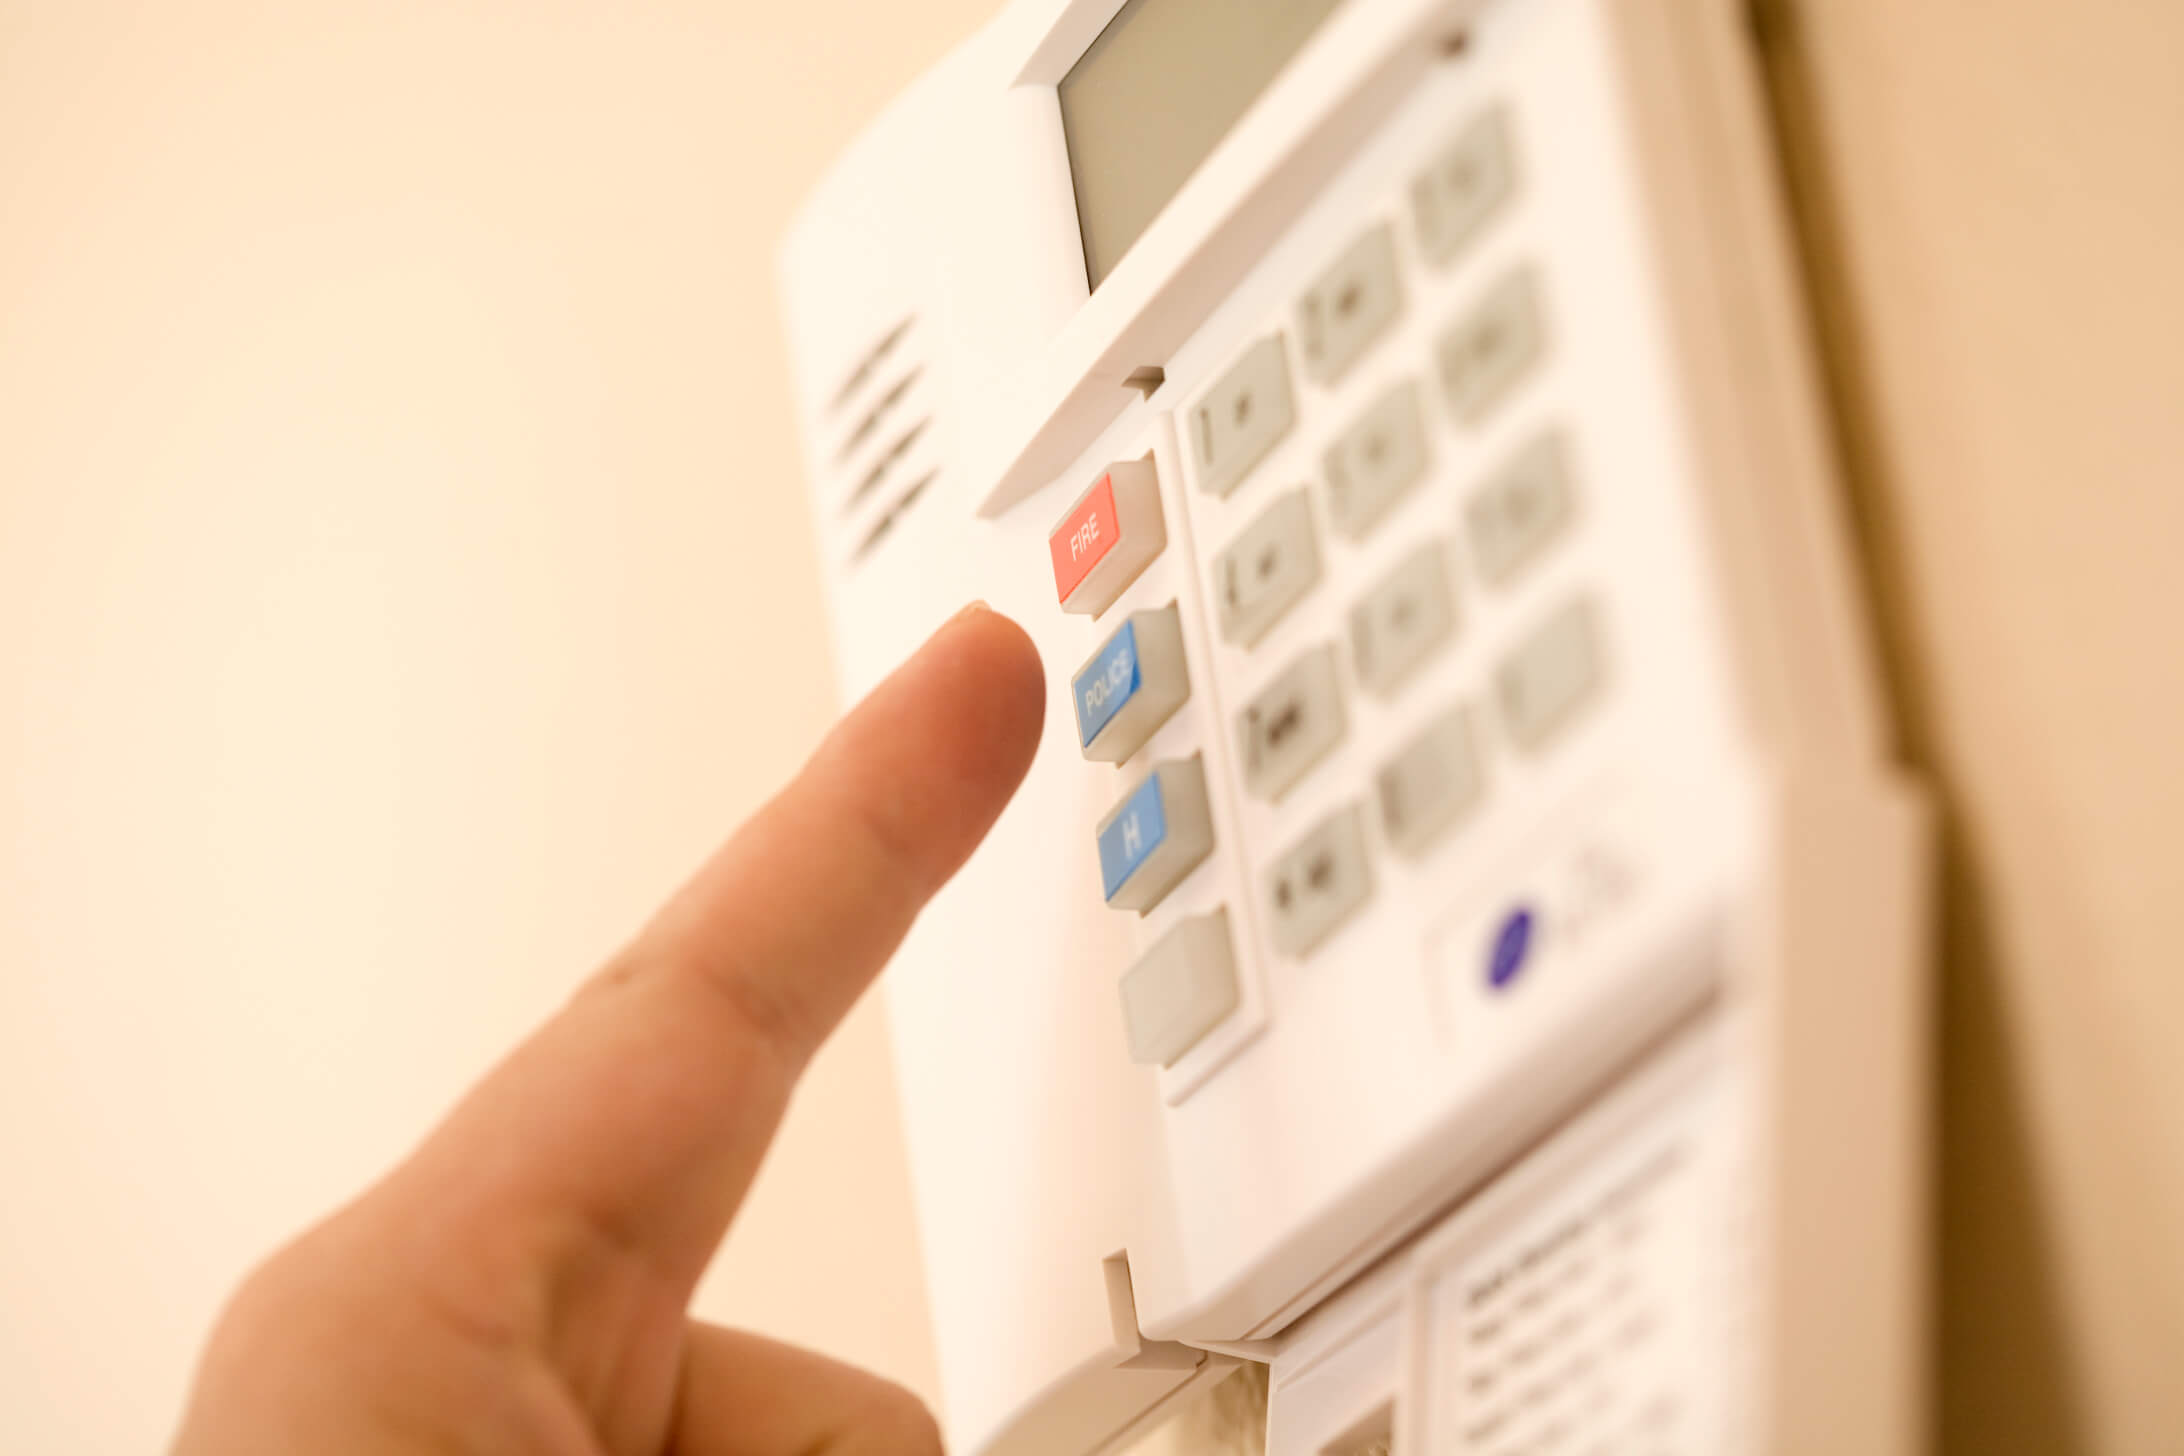
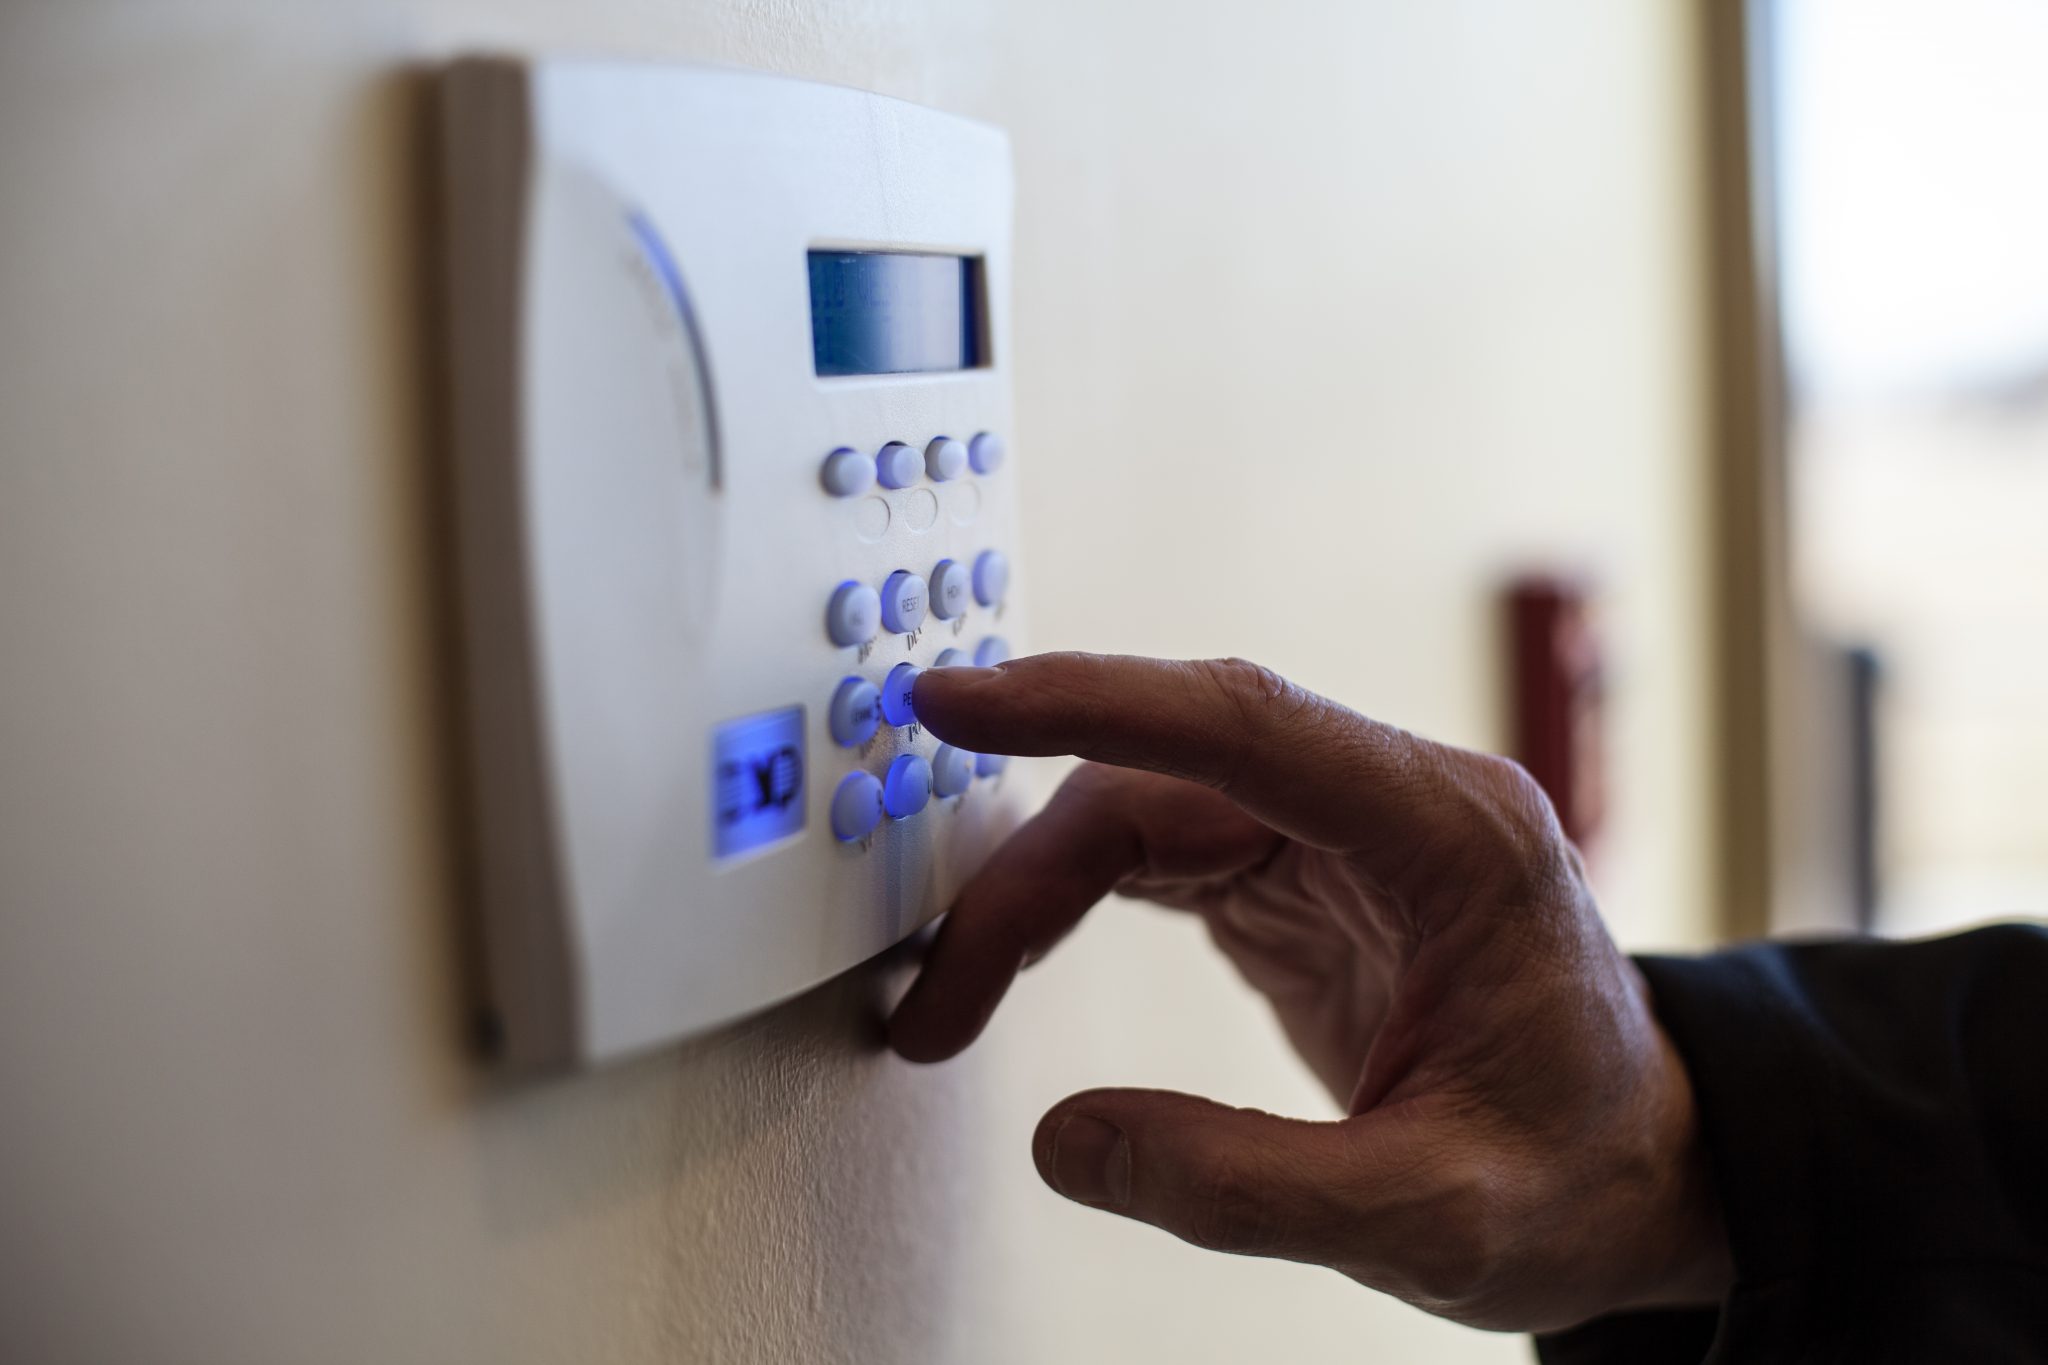
- Locate the power button or switch on your home security system’s control panel or central monitoring unit.
- Press the power button or toggle the power switch to the “on” position.
- Observe the system as it powers on. You should see lights or indicators illuminating on the control panel or central monitoring unit.
- Allow the system a few moments to complete the startup process. During this time, the system may perform self-checks or initialization routines.
Once the system is powered on, check for any error messages or notifications related to the chassis intrusion detection. If all is well, the system should operate normally, and the chassis intrusion detection feature should be active once again.
If you encounter any issues or receive error messages related to the chassis intrusion detection, consult the system’s user manual or contact the manufacturer’s support team for further assistance.
Congratulations! You have successfully cleared the chassis intrusion detection on your home security system and powered it back on. Enjoy the added peace of mind knowing that your system is protected and functioning optimally.
Before we conclude, let’s recap the key steps we covered in this guide:
- Power off the system
- Open the chassis
- Locate the chassis intrusion jumper
- Clear the chassis intrusion detection
- Close the chassis
- Power on the system
By following these steps and taking the necessary precautions, you can successfully maintain, troubleshoot, or upgrade your home security system while ensuring its safety and reliability.
Thank you for choosing this guide to assist you in clearing the chassis intrusion detection on your home security system. We hope you found this information helpful and that it contributes to the overall security and protection of your home. Stay safe!
Conclusion
In today’s world, where home security is of paramount importance, it is crucial to understand and address any potential vulnerabilities in your security system. Chassis intrusion detection is a valuable feature that acts as an extra layer of protection, alerting you to any unauthorized access or tampering with the system’s hardware.
In this comprehensive guide, we have explored the concept of chassis intrusion detection and provided step-by-step instructions on how to clear it. By following these steps and taking the necessary precautions, you can ensure the smooth operation and continued security of your home security system.
We discussed the importance of clearing chassis intrusion detection in various scenarios, such as system maintenance and upgrades, troubleshooting hardware issues, system reconfiguration, and system testing. Clearing the detection allows you to work with the system’s internal components without triggering false alarms or interrupting the system’s functionality.
We also emphasized the importance of precautionary measures before proceeding with the clearing process. These measures include powering off the system, backing up system settings and data, grounding yourself, reading the user manual, using proper tools and techniques, and following safety guidelines. By following these precautions, you can minimize risks and ensure a safe and successful process.
To clear the chassis intrusion detection, we covered six key steps:
1. Power off the system
2. Open the chassis
3. Locate the chassis intrusion jumper
4. Clear the chassis intrusion detection
5. Close the chassis
6. Power on the system
By meticulously following these steps, you can successfully clear the chassis intrusion detection on your home security system and enjoy the peace of mind that comes with knowing your system is secure and functioning optimally.
Remember, it is essential to refer to your system’s user manual or documentation for specific instructions tailored to your system’s model. If you encounter any difficulties or have questions, don’t hesitate to contact the manufacturer’s support team for assistance.
Thank you for choosing our guide to help you understand and clear chassis intrusion detection. We hope this information has been valuable in enhancing the security and protection of your home. Stay vigilant and enjoy the peace of mind that comes with a well-secured home security system!
Frequently Asked Questions about How To Clear Chassis Intrusion Detection
Was this page helpful?
At Storables.com, we guarantee accurate and reliable information. Our content, validated by Expert Board Contributors, is crafted following stringent Editorial Policies. We're committed to providing you with well-researched, expert-backed insights for all your informational needs.