Home>Home Security and Surveillance>How To Disable Intrusion Detection On Dell R710
Home Security and Surveillance
How To Disable Intrusion Detection On Dell R710
Modified: March 6, 2024
Learn how to disable intrusion detection on Dell R710 for enhanced home security and surveillance. Protect your property with these simple steps.
(Many of the links in this article redirect to a specific reviewed product. Your purchase of these products through affiliate links helps to generate commission for Storables.com, at no extra cost. Learn more)
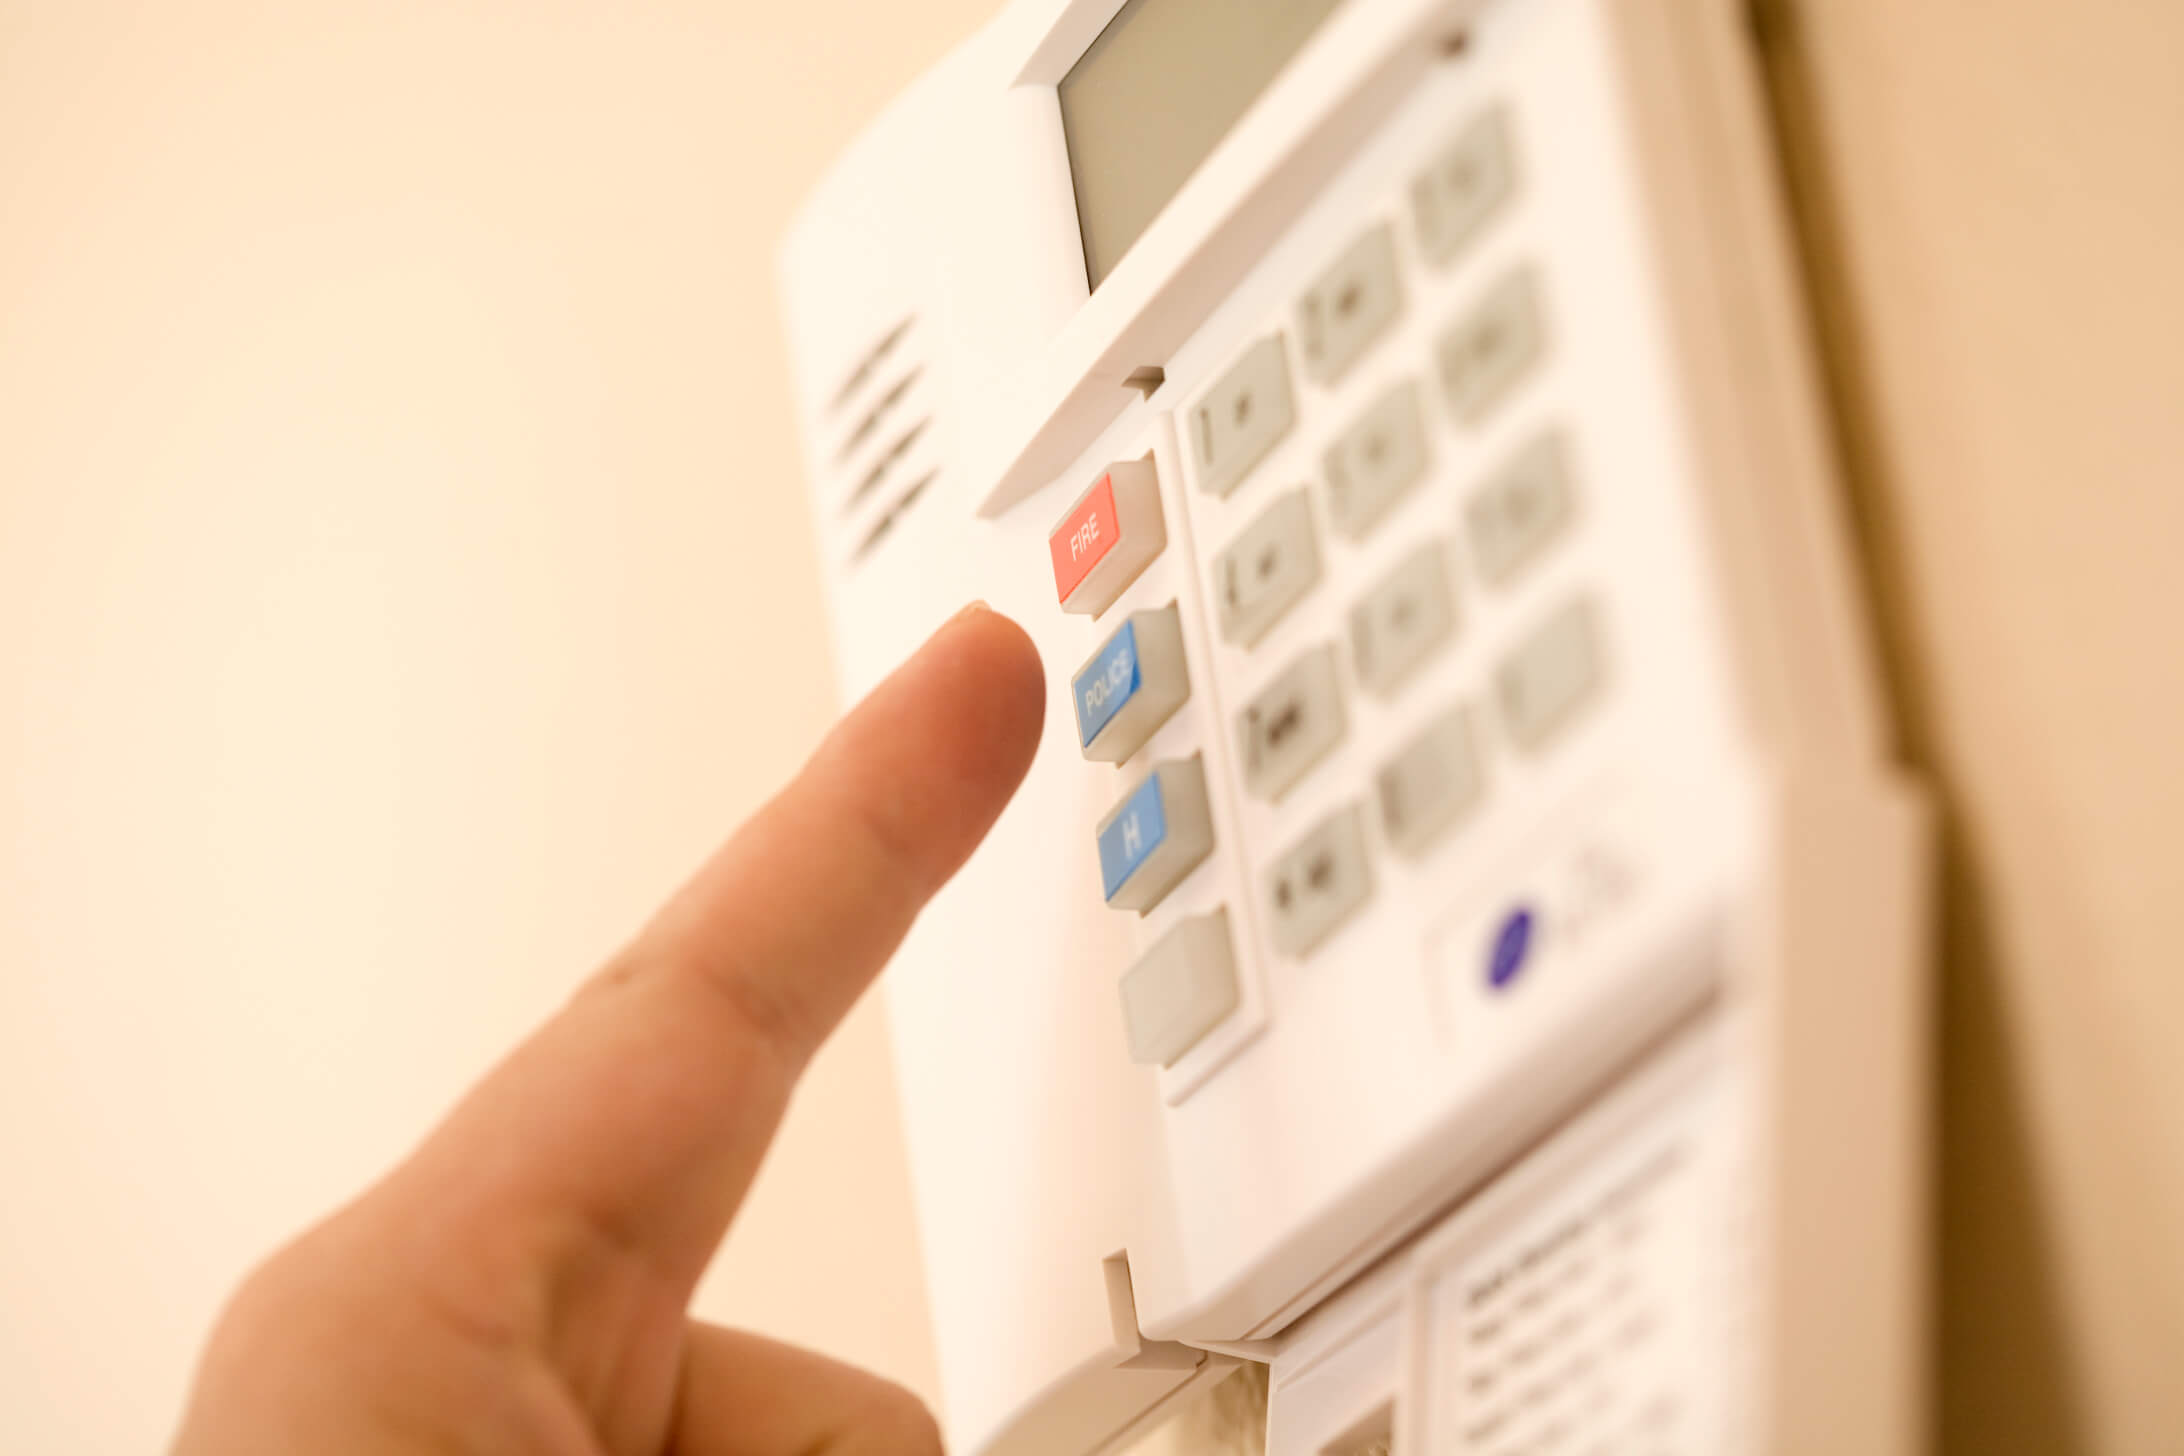
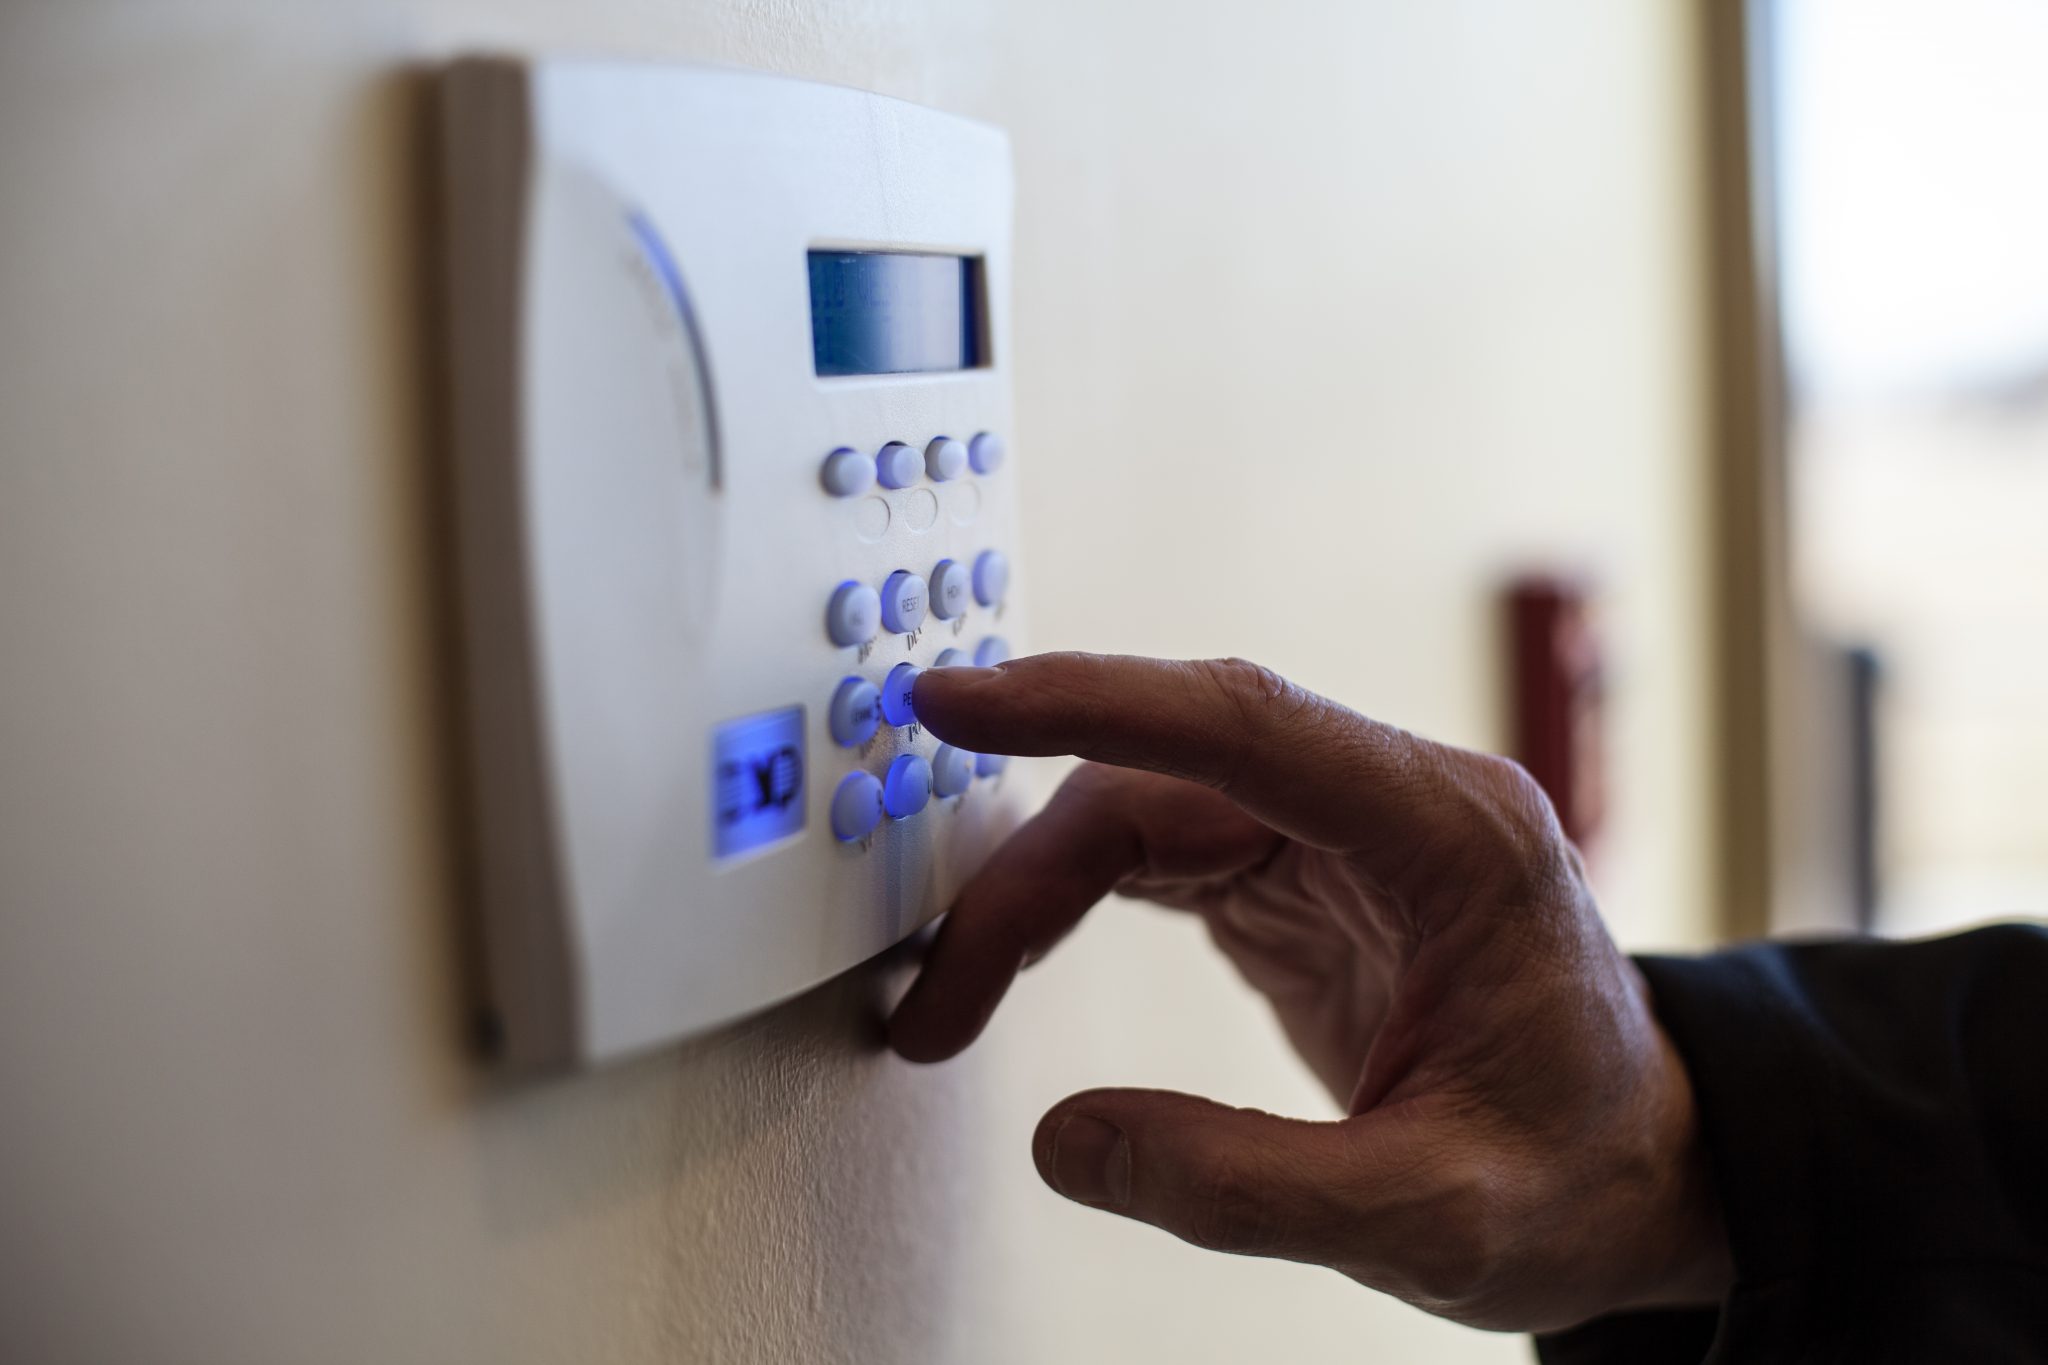
Introduction to Intrusion Detection on Dell R710
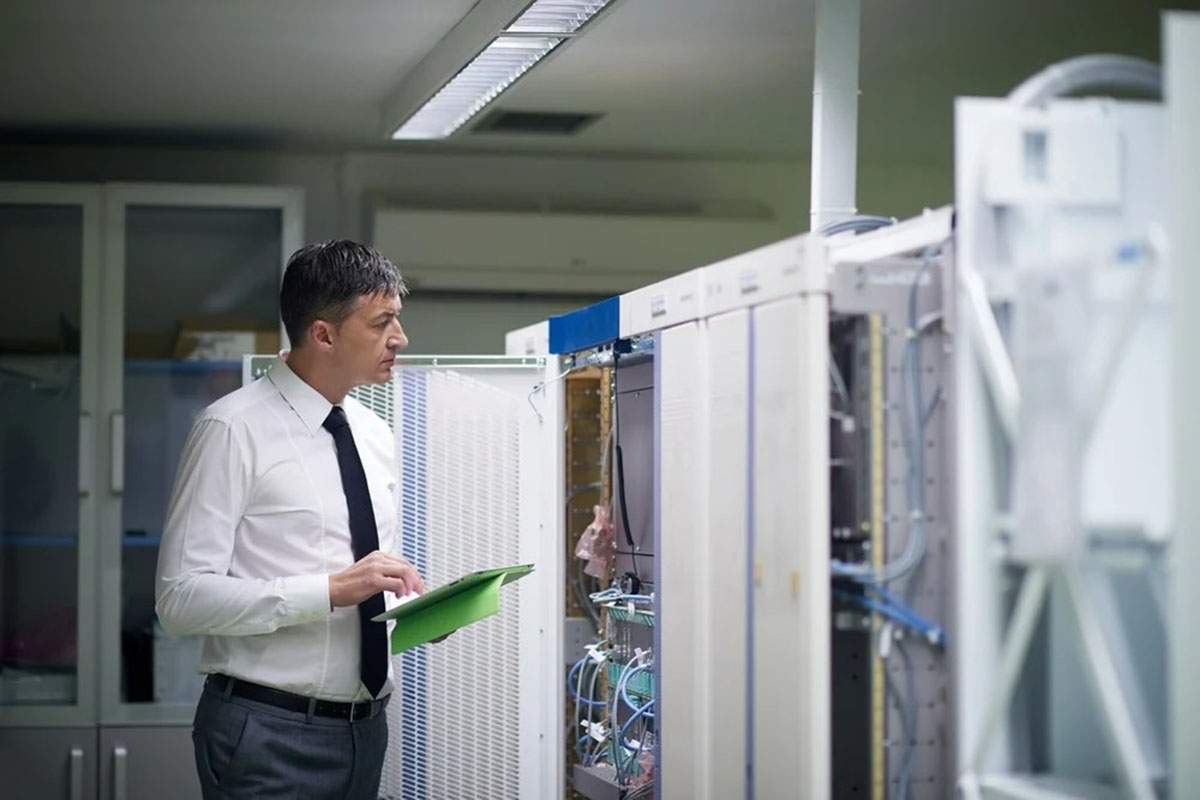
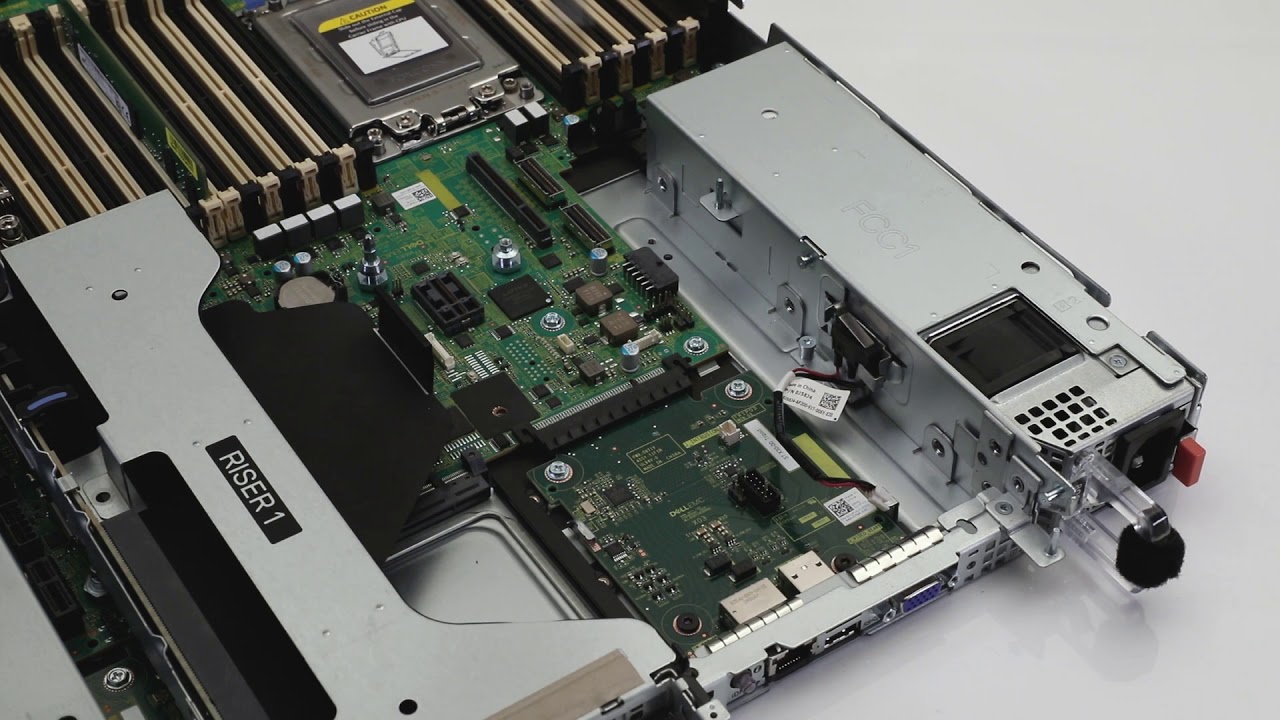
As technology progresses and businesses rely more heavily on data centers and server infrastructure, the need for robust security measures becomes increasingly important. One such security feature found on the Dell R710 server is intrusion detection.
Intrusion detection is a feature that helps safeguard your server against unauthorized physical access. It is designed to detect when the server’s casing has been opened or tampered with, alerting you to potential breaches or unauthorized access attempts. By monitoring changes in the server’s physical state, intrusion detection adds an additional layer of protection to your server environment.
The Dell R710 server, known for its reliability and performance, offers an integrated intrusion detection feature that can be enabled or disabled based on your specific needs. Disabling this feature may be necessary in some instances, such as when performing routine maintenance or if you have alternative security measures in place.
In this article, we will guide you through the steps to disable the intrusion detection feature on the Dell R710 server, ensuring that you can perform necessary tasks without triggering false alarms or unnecessary disruptions.
Before diving into the steps, it is essential to note that while disabling intrusion detection may be necessary in certain scenarios, it is generally recommended to keep this feature enabled to maintain the highest level of server security.
Read on to learn how to disable intrusion detection on the Dell R710 server and the precautions you should take when doing so.
Key Takeaways:
- Disabling intrusion detection on Dell R710 is crucial for maintenance, false alarms, and legacy systems, but alternative security measures should be in place.
- Disabling intrusion detection involves accessing BIOS settings, navigating to the intrusion detection option, and saving changes with caution.
Reasons for Disabling Intrusion Detection
While intrusion detection is a valuable security feature, there are a few specific scenarios in which disabling it on the Dell R710 server may be necessary:
- Maintenance and Upgrades: When performing routine maintenance tasks or hardware upgrades on your Dell R710 server, you may need to access the internals of the server. Disabling intrusion detection temporarily can prevent unnecessary alarms and disruptions during these procedures.
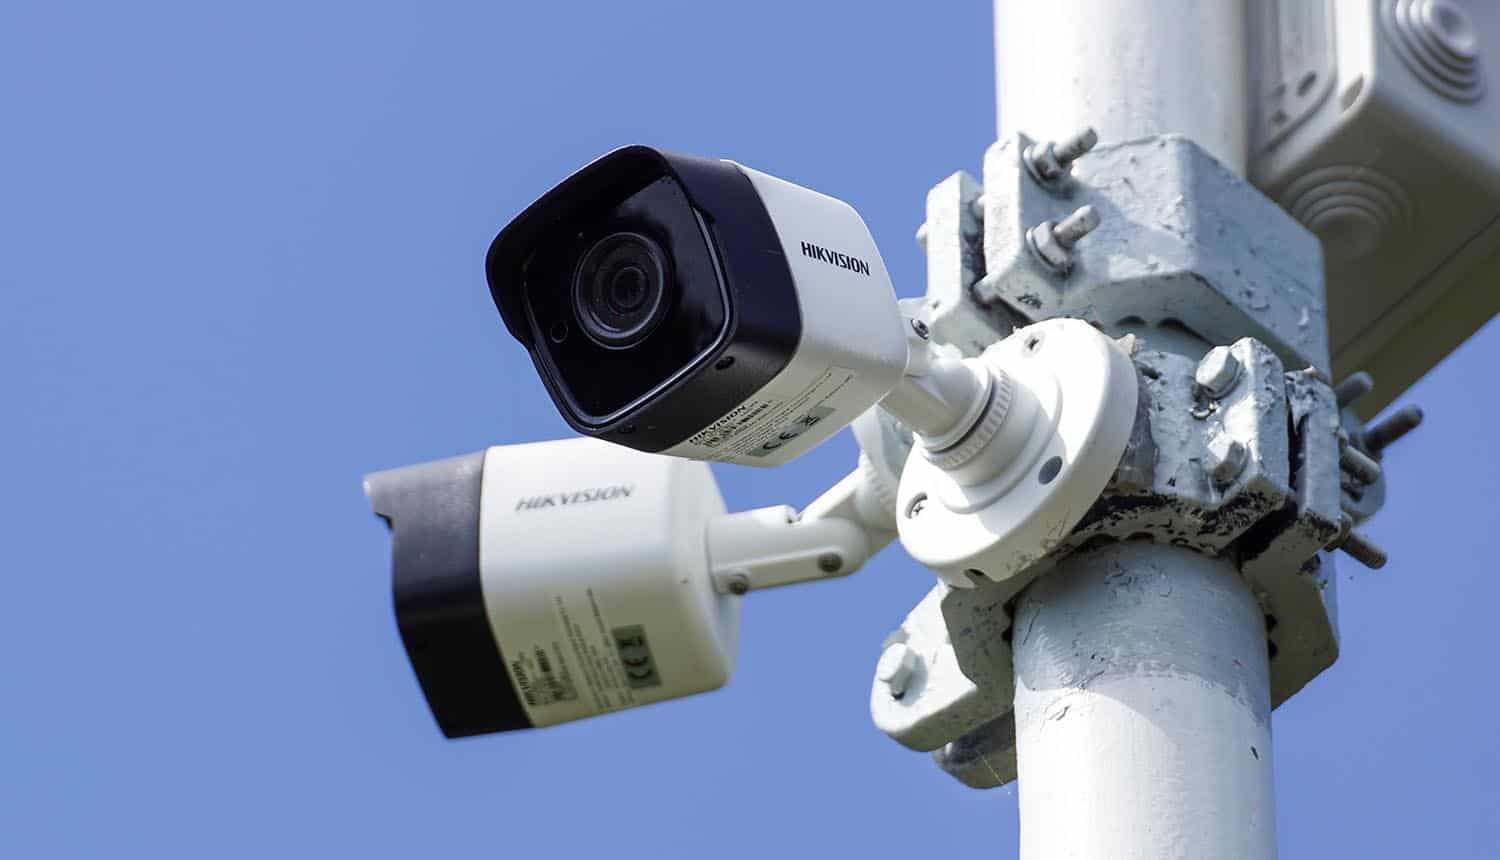
- Alternative Security Measures: If you have implemented other robust security measures in your server environment, such as video surveillance or access control systems, you may decide to disable intrusion detection. While disabling this feature should be done with caution, it can be appropriate if you have sufficient security measures already in place.
- False Alarms: In some cases, the intrusion detection sensors might trigger false alarms, causing unnecessary interruptions or false alerts. If you consistently experience false alarms, it may be necessary to disable intrusion detection temporarily until you can address the underlying issue.
- Legacy or Non-Critical Systems: If you have older or non-critical systems in your server environment, you may choose to disable intrusion detection on those specific servers. This is especially relevant if you are repurposing older hardware or using it for non-sensitive tasks where physical security is not a top priority.
While these are valid reasons for disabling intrusion detection, it is crucial to evaluate your specific requirements and the associated risks before making this decision. Remember, disabling intrusion detection should only be done when necessary, and you should always strive to maintain the highest level of server security possible.
Steps to Disable Intrusion Detection on Dell R710
Disabling the intrusion detection feature on the Dell R710 server involves navigating the server’s BIOS settings. Follow these step-by-step instructions to disable intrusion detection:
- Step 1: Accessing the Server’s BIOS Settings: Start by restarting or powering on your Dell R710 server. During the boot process, keep an eye out for a prompt to enter the BIOS settings. This prompt is typically displayed on the screen and may vary depending on your server configuration. Press the indicated key (such as F2 or Del) to enter the BIOS settings.
- Step 2: Navigating to the Intrusion Detection Option: Once you are inside the BIOS settings, use the arrow keys on your keyboard to navigate through the options. Look for a category related to system security or hardware monitoring. This may be labeled differently depending on your BIOS version. Within this category, you should find the option for intrusion detection.
- Step 3: Disabling the Intrusion Detection Feature: Select the intrusion detection option and change the setting from “Enabled” to “Disabled.” This action will turn off the intrusion detection feature on your Dell R710 server. Refer to the on-screen instructions or the server’s documentation if you are unsure about the specific steps for your BIOS version.
- Step 4: Saving and Exiting the BIOS Settings: After disabling the intrusion detection feature, save your changes by selecting the appropriate option from the BIOS interface. This is typically done by pressing a key combination such as Ctrl + X or F10. Choose the option to save and exit the BIOS settings. The server will reboot with the intrusion detection feature disabled.
Keep in mind that altering the BIOS settings requires caution and precision to avoid unintended changes that can impact the server’s functionality or security. If you are unsure about any step or setting, it is advisable to consult the Dell R710 server’s documentation or seek assistance from a qualified professional.
Next, we will discuss some additional considerations and troubleshooting tips related to disabling intrusion detection on the Dell R710 server.
Step 1: Accessing the Server’s BIOS Settings
Accessing the BIOS settings on your Dell R710 server is the first step to disabling the intrusion detection feature. Follow these instructions to access the server’s BIOS settings:
- Restart or Power On the Server: Start by either restarting the server or powering it on if it is currently turned off. Wait for the server to complete the boot process, and be prepared to take action when you see the initial boot screen.
- Look for the BIOS Setup Prompt: As the server starts up, keep an eye out for a prompt indicating which key should be pressed to enter the BIOS setup. Depending on your specific server model and BIOS version, this prompt may vary. Common keys used to access the BIOS setup include F2, Del, and Esc. It is usually displayed briefly on the screen, so you may need to be vigilant to catch it.
- Press the Designated Key: Once you have identified the key to enter the BIOS setup, press it promptly. It’s important to press the key at the appropriate time; otherwise, the server may proceed with the regular boot sequence.
- Navigate through the BIOS Interface: After pressing the designated key, the server will enter the BIOS setup interface. It may have a graphical or text-based interface, depending on the server model. Use the arrow keys on your keyboard to navigate through the different sections and options.
- Locate the Intrusion Detection Option: Within the BIOS interface, look for a section related to system security or hardware monitoring. The labels may vary depending on your BIOS version. Scan through the options until you find the setting for intrusion detection.
Accessing the BIOS settings on a Dell R710 server requires attention to detail and quick action during the boot process. If you miss the prompt or encounter any issues, don’t worry. Simply restart the server and try again until you successfully access the BIOS settings.
Once you have accessed the BIOS settings, you are ready to proceed to the next step: navigating to the intrusion detection option. This will allow you to disable the intrusion detection feature on your Dell R710 server. Stay tuned for the next step in the process!
Step 2: Navigating to the Intrusion Detection Option
In the process of disabling the intrusion detection feature on your Dell R710 server, the next step involves navigating to the intrusion detection option within the BIOS settings. Follow these instructions to locate the intrusion detection option:
- Inside the BIOS Interface: Once you have accessed the server’s BIOS settings, you will be presented with a menu or interface where you can navigate and modify various system settings. Use the arrow keys on your keyboard to move through the options.
- Locating the System Security or Hardware Monitoring Section: Look for a section within the BIOS interface labeled as “System Security,” “Security,” or “Hardware Monitoring.” The exact label may vary depending on the BIOS version installed on your Dell R710 server. This section is where you will find the configuration options related to security features.
- Browsing Through the Options: Once you have identified the system security or hardware monitoring section, use the arrow keys to navigate to that section. Depending on the BIOS version, it might expand into a list of sub-options or submenu. Look for an option that is related to intrusion detection, physical security, chassis intrusion, or a similar label.
- Selecting the Intrusion Detection Option: Once you have located the appropriate option, press Enter or use the arrow keys to select it. This will allow you to access the intrusion detection settings for your Dell R710 server.
Keep in mind that the navigation process within the BIOS settings may differ slightly based on the specific BIOS version installed on your server. If you are having trouble locating the intrusion detection option, consult the server’s documentation or contact Dell support for further assistance.
Now that you have successfully navigated to the intrusion detection option, you are ready to proceed to the next step: disabling the intrusion detection feature. Stay tuned for the instructions in the following section!
To disable intrusion detection on a Dell R710, access the BIOS settings during startup, navigate to the Server Security section, and disable the Intrusion Detection option. Save the changes and exit the BIOS to apply the settings.
Read more: What Is Wireless Intrusion Detection
Step 3: Disabling the Intrusion Detection Feature
Now that you have located the intrusion detection option within the BIOS settings of your Dell R710 server, the next step is to disable the intrusion detection feature. Follow these instructions to disable the intrusion detection:
- Select the Intrusion Detection Option: Using the arrow keys, navigate to the intrusion detection option within the BIOS interface. Once you have highlighted the option, press Enter to access the intrusion detection settings.
- Change the Intrusion Detection Setting: In the intrusion detection settings, you will see the current status of the feature, usually displayed as “Enabled” or “On.” Use the arrow keys to select the status and change it to “Disabled” or “Off.” This action will turn off the intrusion detection feature on your Dell R710 server.
- Save the Changes: After disabling the intrusion detection feature, you will need to save the changes you made in the BIOS settings. Look for a “Save” or “Save and Exit” option within the BIOS interface. Use the arrow keys to navigate to the save option, then press Enter to confirm and save the changes.
- Exit the BIOS Settings: Once you have saved the changes, locate the “Exit” or “Exit and Reboot” option within the BIOS interface. Use the arrow keys to select it, then press Enter to exit the BIOS settings. Your Dell R710 server will reboot with the intrusion detection feature disabled.
It is important to note that disabling the intrusion detection feature should be done with caution and only when necessary. While there may be valid reasons for disabling it, such as performing maintenance or troubleshooting, it is generally recommended to keep this feature enabled to enhance the physical security of your server.
If you encounter any difficulties or have concerns about disabling intrusion detection, refer to the Dell R710 server’s documentation or seek assistance from Dell support for further guidance.
Congratulations! You have successfully disabled the intrusion detection feature on your Dell R710 server. In the next step, we will discuss how to save and exit the BIOS settings to finalize the process.
Step 4: Saving and Exiting the BIOS Settings
After disabling the intrusion detection feature on your Dell R710 server, the final step is to save the changes you made in the BIOS settings and exit the interface. Follow these instructions to save and exit the BIOS settings:
- Review the Changes: Before proceeding, take a moment to review the changes you made in the BIOS settings. Ensure that the intrusion detection feature is set to “Disabled” or “Off” as desired.
- Save the Changes: Once you have confirmed the changes, locate the option to save the modifications. Depending on your BIOS version, this option might be labeled as “Save Changes,” “Save Settings,” or something similar. Use the arrow keys to highlight the save option, then press Enter to proceed.
- Confirm the Save Action: In some cases, the BIOS settings interface may prompt you to confirm the save action. You might be asked to select “Yes” or “OK” to save the changes. Follow the on-screen instructions and press the corresponding key to confirm the save action.
- Exit the BIOS Settings: Once the changes have been successfully saved, locate the option to exit the BIOS settings. This option is typically labeled as “Exit,” “Exit and Save Changes,” or similar wording. Highlight the option using the arrow keys and press Enter to exit the BIOS settings.
- Reboot the Server: After exiting the BIOS settings, your Dell R710 server will automatically reboot to apply the changes. It is important to allow the server to complete the reboot process without interruption.
Once the server has finished rebooting, the intrusion detection feature on your Dell R710 server will be disabled. It is important to remember that disabling this feature should be done for legitimate reasons and with caution. Ensure that you have alternative security measures in place to protect your server’s physical security.
If you encounter any issues or have concerns about saving and exiting the BIOS settings, consult the Dell R710 server’s documentation or reach out to Dell support for further assistance.
Congratulations! You have successfully completed the process of disabling intrusion detection on your Dell R710 server. Ensure that you monitor the server’s physical security and take necessary steps to maintain the overall security of your server environment.
Next, we will discuss some additional considerations and troubleshooting tips related to disabling intrusion detection on the Dell R710 server.
Additional Considerations and Troubleshooting
When disabling the intrusion detection feature on your Dell R710 server, there are a few additional considerations and troubleshooting tips to keep in mind:
- Security Precautions: While it may be necessary to disable intrusion detection temporarily for certain tasks, it is highly recommended to have alternative security measures in place. Ensure that you have other physical security measures, such as video surveillance or access control systems, to maintain the overall security of your server environment.
- Regularly Monitor the Server: With intrusion detection disabled, it becomes even more crucial to regularly monitor the physical state of your Dell R710 server. Conduct routine visual inspections to check for any signs of tampering or unauthorized access.
- Re-enable Intrusion Detection: After performing maintenance or addressing any issues that required you to disable intrusion detection, it is important to re-enable the feature. Follow the same steps outlined earlier to access the BIOS settings and enable intrusion detection.
- Refer to Documentation: If you encounter any difficulties or have specific questions regarding the BIOS settings or intrusion detection on your Dell R710 server, refer to the server’s documentation. The documentation provides in-depth information on BIOS features and settings.
- Consult Dell Support: If you are experiencing persistent issues or require further assistance, do not hesitate to reach out to Dell support. They can provide guidance and troubleshooting specific to your Dell R710 server model and BIOS version.
It is important to emphasize that disabling intrusion detection should be done with caution and for legitimate reasons. Evaluate the risks, consider alternative security measures, and weigh the benefits before disabling this feature. It is always recommended to keep intrusion detection enabled to bolster the physical security of your server.
By following the steps outlined in this guide and keeping these considerations in mind, you can effectively disable intrusion detection on your Dell R710 server when necessary while maintaining a secure server environment.
Remember, server security is a critical aspect of maintaining a reliable and protected infrastructure. Stay vigilant, implement necessary precautions, and regularly review security measures to ensure the utmost protection for your Dell R710 server and valuable data.
Good luck with managing your server’s security, and may it continue to serve your needs effectively!
Disclaimer: The steps and instructions provided in this article are intended as a general guide. It is crucial to refer to the specific documentation and guidelines provided by Dell for your server model and BIOS version. Always exercise caution and evaluate the potential impact on your server’s security before making any changes.
Conclusion
Disabling the intrusion detection feature on your Dell R710 server is a task that should be approached with caution and careful consideration. While there may be valid reasons for temporarily disabling this security feature, it is important to maintain the overall physical security of your server environment by implementing alternative security measures.
In this article, we have walked you through the step-by-step process of disabling intrusion detection on the Dell R710 server. We started by introducing the concept of intrusion detection and its importance in safeguarding your server against unauthorized physical access.
We then discussed the various reasons why you might need to disable intrusion detection, such as during maintenance procedures or if you have alternative security measures in place. It is important to evaluate these reasons and ensure that disabling intrusion detection aligns with your specific requirements and risk assessment.
We then provided a comprehensive guide, broken down into four steps, to help you disable intrusion detection on your Dell R710 server. These steps involved accessing the server’s BIOS settings, navigating to the intrusion detection option, disabling the feature, and saving and exiting the BIOS settings.
Additionally, we highlighted some additional considerations and troubleshooting tips to keep in mind, such as maintaining other security precautions, regularly monitoring the server, and consulting the server’s documentation or Dell support if needed.
Ultimately, disabling intrusion detection on your Dell R710 server should be done with caution and for specific reasons. It is important to weigh the risks and benefits and ensure that you have alternative security measures in place to maintain the overall security of your server environment.
Thank you for following this guide on how to disable intrusion detection on the Dell R710 server. By following the steps outlined and considering the additional recommendations, you can effectively manage the physical security of your server while addressing your specific needs.
Remember to stay informed, keep your server environment secure, and regularly assess and update your security measures to protect your valuable data and maintain the reliability of your Dell R710 server.
Frequently Asked Questions about How To Disable Intrusion Detection On Dell R710
Was this page helpful?
At Storables.com, we guarantee accurate and reliable information. Our content, validated by Expert Board Contributors, is crafted following stringent Editorial Policies. We're committed to providing you with well-researched, expert-backed insights for all your informational needs.