Home>Home Security and Surveillance>How To Make Homemade Pepper Spray
Home Security and Surveillance
How To Make Homemade Pepper Spray
Modified: August 17, 2024
Learn how to make homemade pepper spray for enhanced home security and surveillance. Protect yourself and your loved ones with this effective and affordable DIY solution.
(Many of the links in this article redirect to a specific reviewed product. Your purchase of these products through affiliate links helps to generate commission for Storables.com, at no extra cost. Learn more)
Introduction
Home security is a top priority for many homeowners. With the increasing number of break-ins and burglaries, it’s crucial to take proactive measures to protect your property and loved ones. One effective way to enhance your home security is by installing a surveillance system. While security cameras are a popular choice, they can be expensive and require professional installation.
Fortunately, there is a more affordable and DIY option – homemade surveillance systems. In this article, we will explore the benefits of creating your own home security and surveillance system, as well as provide step-by-step instructions on how to set it up.
Before we dive into the details, it’s important to understand the advantages of a homemade surveillance system. Firstly, it allows you to customize the system to fit your specific needs and preferences. Whether you want to monitor the exterior of your property, or keep an eye on certain areas indoors, you have full control over the design and functionality of your system.
Secondly, creating your own surveillance system can be cost-effective. While professional systems can cost hundreds or even thousands of dollars, a DIY setup can be done with affordable equipment and tools. This makes it accessible to homeowners on a tight budget, without compromising on the security of their property.
Additionally, a homemade surveillance system gives you the flexibility to expand or modify it as needed. As technology evolves and your security needs change, you can easily upgrade or add new components to your system without relying on a professional installer.
Now that we understand the benefits, let’s take a look at the step-by-step process of creating your own homemade surveillance system. We’ll cover the materials and tools you’ll need, as well as safety considerations to keep in mind. With a little bit of planning and effort, you can have a reliable and affordable surveillance system to protect your home and loved ones.
Key Takeaways:
- Creating homemade pepper spray is a cost-effective way to enhance personal safety. However, it’s crucial to test the spray in a safe environment and comply with legal regulations.
- Prioritize safety when handling and storing homemade pepper spray. Always wear protective gear, avoid contact with skin or eyes, and store it securely out of reach of children.
Read more: How To Make Pepper Spray For Dogs
Materials and Ingredients
Before we begin, let’s make sure we have all the necessary materials and ingredients for creating your homemade surveillance system. Here’s a list of what you’ll need:
- Surveillance Cameras: Depending on your needs, you can choose wired or wireless cameras. Make sure they have night vision capabilities and the ability to connect to your chosen recording device.
- Recording Device: This can be a digital video recorder (DVR), a network video recorder (NVR), or even a computer with suitable software.
- Hard Drive: If you’re using a DVR or NVR, you’ll need a hard drive to store the recorded video footage. Make sure to get one with sufficient storage capacity to meet your needs.
- Power Supply: Ensure you have the necessary power supply for your cameras and recording device. This can include power adapters, power banks, or even a solar power system if you prefer a greener option.
- Internet Connection: If you want remote access to your surveillance system, ensure you have a stable internet connection for live streaming and accessing recorded footage.
- Mounting Hardware: Depending on where you want to install your cameras, you may need mounting brackets, screws, anchors, and other hardware for secure installation.
- Cables and Connectors: If you’re using wired cameras, make sure you have the necessary cables and connectors to connect the cameras to the recording device.
- Monitor or Mobile Device: You’ll need a screen or mobile device to view the live footage and recorded videos from your surveillance system.
- Software and Apps: If you’re using a computer or mobile device for your surveillance system, ensure you have compatible software or apps for viewing and managing your cameras.
Having all the materials and ingredients ready before you begin will make the setup process smoother and more efficient. It’s also important to choose high-quality products that suit your specific needs and budget. Now that we have everything we need, let’s move on to the next step – safety considerations.
Safety Considerations
When setting up a homemade surveillance system, it’s essential to prioritize safety to prevent any accidents or damage. Here are some important safety considerations to keep in mind:
- Electrical Safety: Ensure that all electrical connections and installations are done following proper safety guidelines. If you’re uncomfortable working with electrical components, it’s best to seek assistance from a professional.
- Privacy Laws: Familiarize yourself with the local laws and regulations regarding video surveillance. Make sure your system complies with privacy laws, such as properly positioning cameras and obtaining consent if necessary.
- Weatherproofing: If you’re installing outdoor cameras, make sure they are weatherproof and can withstand various environmental conditions such as rain, snow, and high temperatures.
- Height and Placement: Position your cameras at an optimal height and angle for capturing clear footage without obstructing any view. Avoid pointing cameras towards public areas or neighboring properties to respect privacy.
- Secure Access: If you’re setting up remote access to your surveillance system, ensure that you use strong passwords and encryption to prevent unauthorized access to your cameras or recorded footage.
- Data Protection: Regularly backup your recorded footage to prevent data loss in case of hardware failures or accidents. Consider using cloud storage or external hard drives for additional protection.
- Regular Maintenance: Perform routine maintenance checks to ensure your cameras and recording devices are working properly. Clean the lenses, check cables for damage, and update firmware as needed.
- Warning Signs: Install visible signs indicating that your property is under surveillance. This can act as a deterrent to potential intruders and help comply with legal requirements.
- Periodic Audits: Review your surveillance system periodically to identify any blind spots or areas that may require additional coverage. Adjust camera angles or install additional cameras as needed.
By being mindful of these safety considerations, you can minimize risks and ensure the efficient and secure operation of your homemade surveillance system. Now that we have covered the safety aspects, let’s move on to the step-by-step process of setting up your homemade surveillance system.
Step 1: Choosing the Pepper
When making homemade pepper spray, the first step is to choose the right type of pepper. It’s important to select a pepper that has high capsaicin content, as this is the active ingredient that causes the spray’s effectiveness. Here are a few popular pepper varieties to consider:
- Cayenne Pepper: Cayenne pepper is a widely used choice for homemade pepper spray. It is readily available, affordable, and has a high concentration of capsaicin.
- Ghost Pepper: Ghost peppers are extremely hot and have a high capsaicin content, making them a potent option for homemade pepper spray. However, be cautious when handling ghost peppers as they can cause skin irritation.
- Habanero Pepper: Habanero peppers are known for their intense heat and spicy flavor. They contain a significant amount of capsaicin, making them an effective choice for pepper spray.
- Jalapeno Pepper: Jalapeno peppers are milder compared to the previous options but still contain a decent amount of capsaicin. They can be a good choice for those who prefer a less potent pepper spray.
When choosing the pepper, consider your tolerance to heat and the level of intensity you want for your pepper spray. Keep in mind that the higher the capsaicin content, the more effective the spray will be in deterring potential threats.
It’s recommended to source fresh peppers from a reputable grocery store or farmers market. Look for peppers that are firm and free from signs of spoilage. You can also consider growing your own peppers if you have the space and time to maintain a pepper garden.
Remember to wear gloves when handling peppers, especially the hotter varieties, to protect your skin from the potent oils. Avoid touching your face or eyes after handling the peppers, as this can cause irritation or burning sensations.
Now that you’ve chosen the right pepper, let’s move on to the next step: gathering the other ingredients needed for making homemade pepper spray.
Step 2: Gathering Other Ingredients
Once you have chosen the appropriate pepper for your homemade pepper spray, it’s time to gather the other ingredients needed for the recipe. These ingredients will help enhance the effectiveness and longevity of your pepper spray. Here’s what you will need:
- Water: Water is a crucial ingredient as it serves as the base of the pepper spray solution. Make sure to use clean, filtered water to avoid any impurities that could affect the spray’s performance.
- Isopropyl Alcohol or Vinegar: Adding a small amount of isopropyl alcohol or vinegar to the solution can help improve the shelf life of your homemade pepper spray.
- Liquid Soap or Dishwashing Detergent: A few drops of liquid soap or dishwashing detergent will help the pepper oil disperse evenly in the water. This allows for better coverage when the spray is used.
- Spray Bottle: You will need a spray bottle with a nozzle that can produce a fine mist. Look for a bottle that is resistant to the oils in the pepper and has a secure cap to prevent leakage.
- Funnel: A small funnel will make it easier to transfer the pepper spray solution into the spray bottle without any spills or wastage.
It’s important to note that the exact measurements of these ingredients will depend on the recipe you are following. However, a common ratio is mixing one part pepper extract (from Step 3) with five parts water. You can adjust the ratio to make the spray more or less potent, depending on your personal preference.
While these are the basic ingredients, you can experiment with additional components such as essential oils or hot sauce to customize the spray to your liking. Just be aware that adding other ingredients may alter the potency and effectiveness of the spray.
Before moving on to the next step, double-check that you have all the necessary ingredients and equipment ready. This will ensure a smooth and efficient process when creating your homemade pepper spray.
Read more: How To Store Pepper Spray
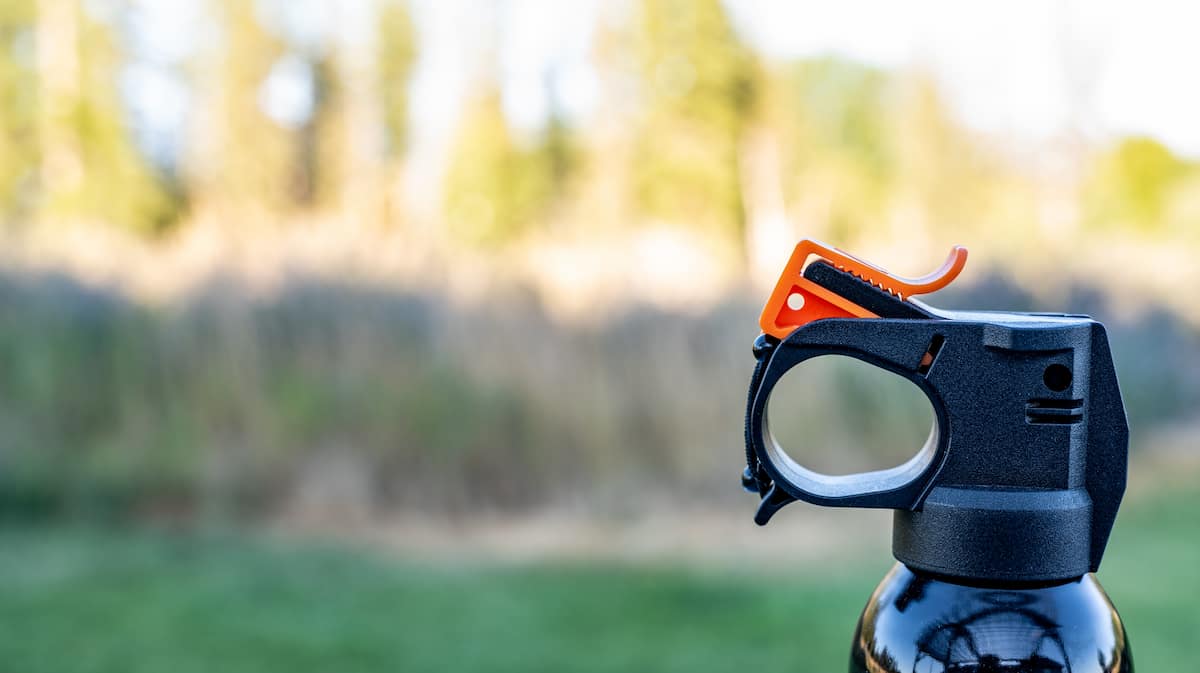
Step 3: Preparing the Container
In this step, we will focus on preparing the container for your homemade pepper spray solution. It’s important to choose a suitable container that can effectively hold and dispense the spray. Here’s what you need to do:
- Select a Spray Bottle: Choose a spray bottle that is specifically designed to handle liquids with a strong capsaicin content. Look for a bottle made of durable materials that are resistant to corrosion and leakage.
- Clean and Sterilize: Before using the spray bottle, ensure it is thoroughly cleaned and sterilized to avoid any contamination. Wash it with warm soapy water and rinse it well. You can also sanitize it with a solution of equal parts water and vinegar.
- Remove Labels and Residue: If there are any labels or sticky residue on the spray bottle, remove them completely. Use rubbing alcohol or adhesive remover to dissolve any stubborn residue.
- Allow It to Dry: After cleaning, allow the spray bottle to air dry completely. Make sure there is no moisture trapped inside the bottle before using it to prepare your pepper spray solution.
- Check Nozzle Functionality: Test the spray bottle’s nozzle to ensure it is working properly. Pump the nozzle a few times to check for any blockages or irregular spray patterns. Adjust or replace the nozzle if necessary.
By properly preparing the container, you can ensure that your homemade pepper spray is stored safely and can be easily accessed whenever needed. A well-prepared container will also help prevent any leakage or malfunction during application.
Now that the container is ready, let’s move on to the next step and prepare the pepper mixture for your homemade pepper spray solution.
When making homemade pepper spray, be sure to wear gloves and eye protection to avoid getting the pepper solution on your skin or in your eyes.
Step 4: Preparing the Pepper Mixture
In this step, we will focus on preparing the pepper mixture that will be the active ingredient in your homemade pepper spray. Follow these steps to create an effective pepper mixture:
- Preparation: Put on gloves and take proper precautions to protect your skin and eyes from the potent oils of the peppers. Make sure you are working in a well-ventilated area to avoid inhaling the pepper particles.
- Remove Seeds and Stems: Start by removing the stems and seeds from the peppers. These parts contain less capsaicin and can affect the overall potency of the pepper spray.
- Chop or Grind the Peppers: Chop the peppers into small pieces or use a grinder to create a fine pepper powder. The smaller the pieces, the easier it will be to extract the capsaicin during the mixing process.
- Optional: Add Essential Oils (if desired): If you want to add some extra potency or a pleasant scent to your pepper spray mixture, you can consider adding a few drops of essential oils such as peppermint or lavender.
It’s important to note that the amount of peppers you use will depend on your desired potency and the size of your spray bottle. A common guideline is to fill one-third of the spray bottle with the chopped or ground peppers. You can adjust the quantity based on your preference for a milder or stronger pepper spray.
Remember to handle the peppers with caution and avoid direct contact with your skin or eyes. Once the peppers are prepared, proceed to the next step to mix the ingredients and create the final pepper spray solution.
Step 5: Mixing the Ingredients
In this step, we will combine the prepared pepper mixture with the other ingredients to create the final pepper spray solution. Follow these steps to ensure a well-mixed and effective pepper spray:
- Add Water: Start by filling your spray bottle with the desired amount of water. Leave some space at the top to accommodate the remaining ingredients.
- Add Pepper Mixture: Carefully add the chopped or ground pepper mixture to the spray bottle. Use a funnel to avoid any spills or wastage.
- Add Isopropyl Alcohol or Vinegar: Add a small amount of isopropyl alcohol or vinegar to the spray bottle. This will help increase the shelf life of your homemade pepper spray.
- Add Liquid Soap or Dishwashing Detergent: Add a few drops of liquid soap or dishwashing detergent to the mixture. This will help the pepper oil mix more evenly with the water, ensuring better coverage when sprayed.
- Secure the Cap: Once all the ingredients are added, securely tighten the cap of the spray bottle. Shake the bottle gently to mix the ingredients thoroughly.
- Let It Sit: Allow the mixture to sit for about 24 hours to allow the flavors and potency of the pepper to infuse into the solution. This will enhance the effectiveness of your homemade pepper spray.
During the mixing process, be cautious not to spill or splash the pepper mixture as it can cause irritation. Make sure to work in a well-ventilated area and avoid inhaling the fumes that may be released during the mixing process.
Once the ingredients are well-mixed and have had time to infuse, your homemade pepper spray is ready for use. In the next step, we will discuss how to transfer the mixture into the prepared spray bottle for easy application.
Step 6: Transferring the Mixture to the Container
Now that you have prepared the pepper spray mixture, it’s time to transfer it into your prepared spray bottle. Follow these steps to ensure a smooth and efficient transfer:
- Shake the Mixture: Give the pepper spray mixture a final gentle shake to ensure that all the ingredients are well-mixed.
- Open the Spray Bottle: Unscrew the cap of the spray bottle and set it aside in a clean and easily accessible place.
- Using the Funnel: Insert the funnel into the opening of the spray bottle. This will help you pour the pepper spray mixture without any spills or wastage.
- Pouring the Mixture: Slowly and carefully pour the pepper spray mixture into the spray bottle through the funnel. Take your time to ensure the mixture goes directly into the bottle without any splashing.
- Removing the Funnel: Once all the pepper spray mixture is in the bottle, carefully remove the funnel, being careful not to spill any remaining mixture.
- Secure the Cap: Screw the cap of the spray bottle tightly to prevent any leakage. Make sure it is properly sealed to ensure the longevity and effectiveness of the pepper spray.
After transferring the mixture, it’s important to clean up any spills or drips to avoid any accidental contact with the pepper spray. Wipe down the outside of the spray bottle with a clean cloth or paper towel.
Now that your homemade pepper spray is safely transferred into the container, it’s important to move on to the next step and conduct a test to ensure its effectiveness.
Read more: How To Make Cayenne Pepper Spray For Rats
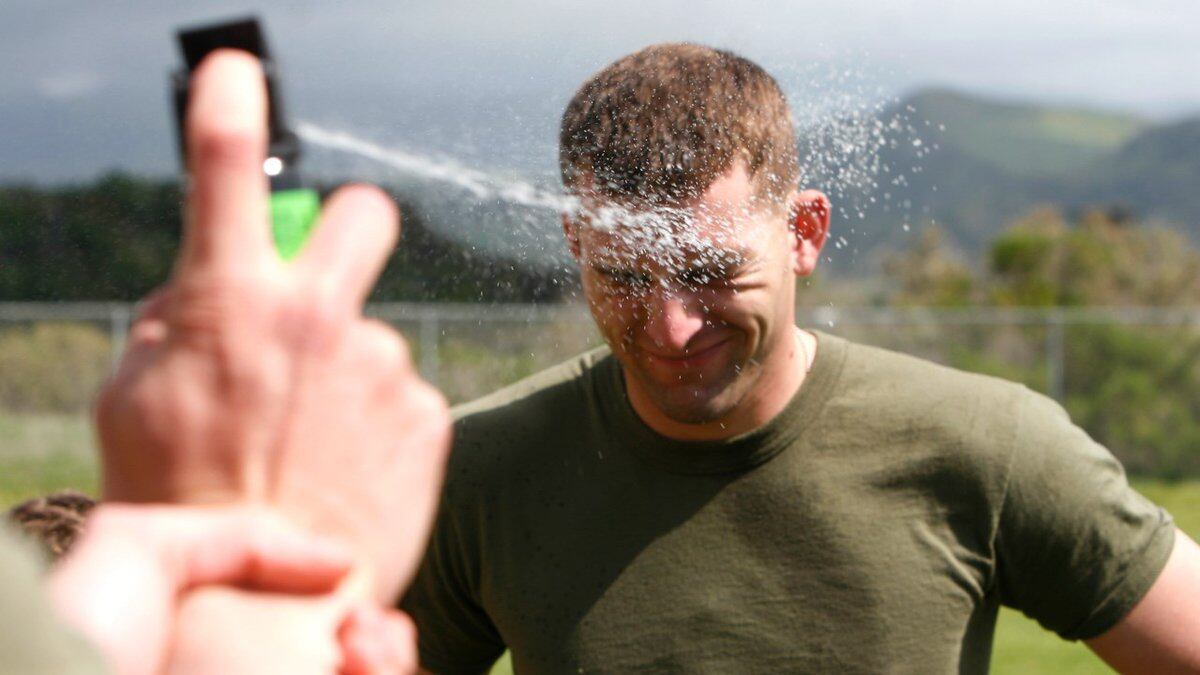
Step 7: Testing the Pepper Spray
Before relying on your homemade pepper spray for self-defense or protection, it’s crucial to test its effectiveness. This step will help you become familiar with how the spray works and ensure that it functions as intended. Follow these steps to properly test your pepper spray:
- Find an Open Area: Move to a well-ventilated and open area, preferably outdoors, where there is no risk of accidentally spraying anyone or anything.
- Ensure Safety Precautions: Put on gloves to protect your hands and eyes from any contact with the pepper spray. Keep a safe distance from others and be mindful of your surroundings.
- Aim Properly: Hold the spray bottle firmly and point it away from yourself and others. Ensure that the nozzle is directed towards the desired target area.
- Press the Spray Nozzle: Firmly press the spray nozzle, releasing a short burst of the pepper spray. Observe the spray pattern and assess the distance and coverage of the spray.
- Observe Effects: Pay attention to the effects of the pepper spray. A properly functioning spray should create a mist or stream that provides a strong burning sensation and causes temporary discomfort.
- Assess Range and Accuracy: Evaluate the range and accuracy of the spray. Confirm that it reaches the desired distance and effectively covers the targeted area.
- Trial with Caution: Perform a few more test sprays, taking note of any adjustments needed in your technique or the spray bottle’s aim to ensure maximum effectiveness.
It’s important to remember that a homemade pepper spray may not have the same potency as commercial pepper sprays. However, this test will give you an idea of its effectiveness and allow you to become comfortable with how it works.
After testing the pepper spray, it’s essential to clean up any residue on the spray bottle and dispose of any contaminated materials properly. Store the pepper spray in a safe and secure location, away from children and unauthorized individuals.
With the successful testing of your pepper spray, proceed to the next step to learn about proper storage and handling techniques.
Step 8: Storing and Handling the Homemade Pepper Spray
Proper storage and handling of your homemade pepper spray are essential to ensure its longevity and effectiveness. Follow these guidelines to safely store and handle your pepper spray:
- Store in a Cool and Dry Place: Find a cool and dry location to store your pepper spray. Avoid areas with extreme temperatures, as this can affect the potency and functionality of the spray.
- Avoid Exposure to Sunlight: Keep the spray bottle away from direct sunlight, as exposure to UV rays can degrade the ingredients and reduce the effectiveness of the pepper spray over time.
- Secure the Cap: Always make sure the cap of the spray bottle is tightly secure to prevent any leakage. A loose or improperly sealed cap can lead to unnecessary waste and potential accidents.
- Label and Date the Bottle: Clearly label the spray bottle with its contents and the date it was prepared. This will help you track the expiration date and ensure you rotate your supply if necessary.
- Keep Out of Reach of Children: Store the pepper spray in a location that is out of reach of children and secure it with additional childproof measures if needed. It’s important to ensure that unauthorized individuals cannot access the spray.
- Handle with Care: Always handle the pepper spray with caution and avoid unnecessary contact with the eyes, mouth, or skin. Accidental discharge or contact can cause discomfort, irritation, or injury.
- Inform Others: If you live with others, inform them about the presence and location of the homemade pepper spray. This will help everyone understand its purpose and prevent any accidental misuse or confusion.
- Regularly Check and Replace: Conduct regular checks on your pepper spray to ensure it is still in good condition. Replace it if you notice any signs of leakage, rust, or expiration. It’s important to have a reliable and functional pepper spray when you need it.
By following these guidelines, you are taking the necessary precautions to store and handle your homemade pepper spray safely and responsibly. Remember, pepper spray should be used responsibly and only for self-defense purposes in accordance with applicable laws and regulations.
With the completion of Step 8, you now have a comprehensive understanding of how to store and handle your homemade pepper spray. Remember to review and follow the specific laws and regulations in your jurisdiction pertaining to the possession and use of pepper spray.
Congratulations! You have successfully completed all the steps to create, test, and store your homemade pepper spray. Stay vigilant and stay safe!
Conclusion
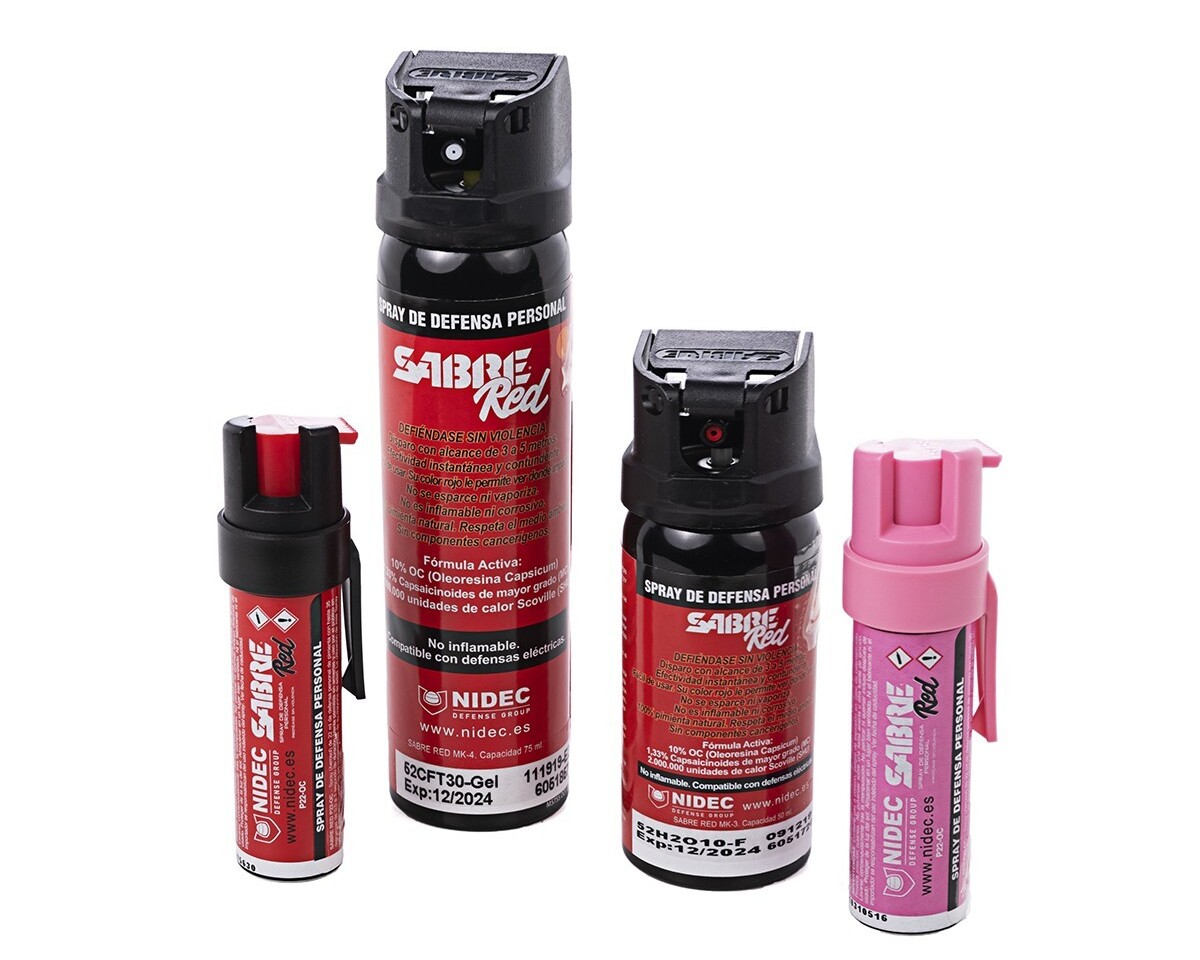
Creating your own homemade pepper spray can be a cost-effective and empowering way to enhance your personal safety and protection. By following the step-by-step process outlined in this article, you have learned how to choose the right pepper, gather the necessary ingredients, prepare the container, mix the ingredients, test the spray, and properly store and handle your homemade pepper spray.
Homemade pepper spray offers flexibility, customization, and affordability compared to commercially available options. However, it’s important to remember that homemade pepper spray may have varying potency and effectiveness. It’s crucial to test your pepper spray in a safe and controlled environment, ensuring it meets your desired requirements.
Additionally, it’s essential to understand and comply with the legal regulations regarding the possession and use of pepper spray in your jurisdiction. Familiarize yourself with local laws to ensure you use your homemade pepper spray responsibly and within the bounds of the law.
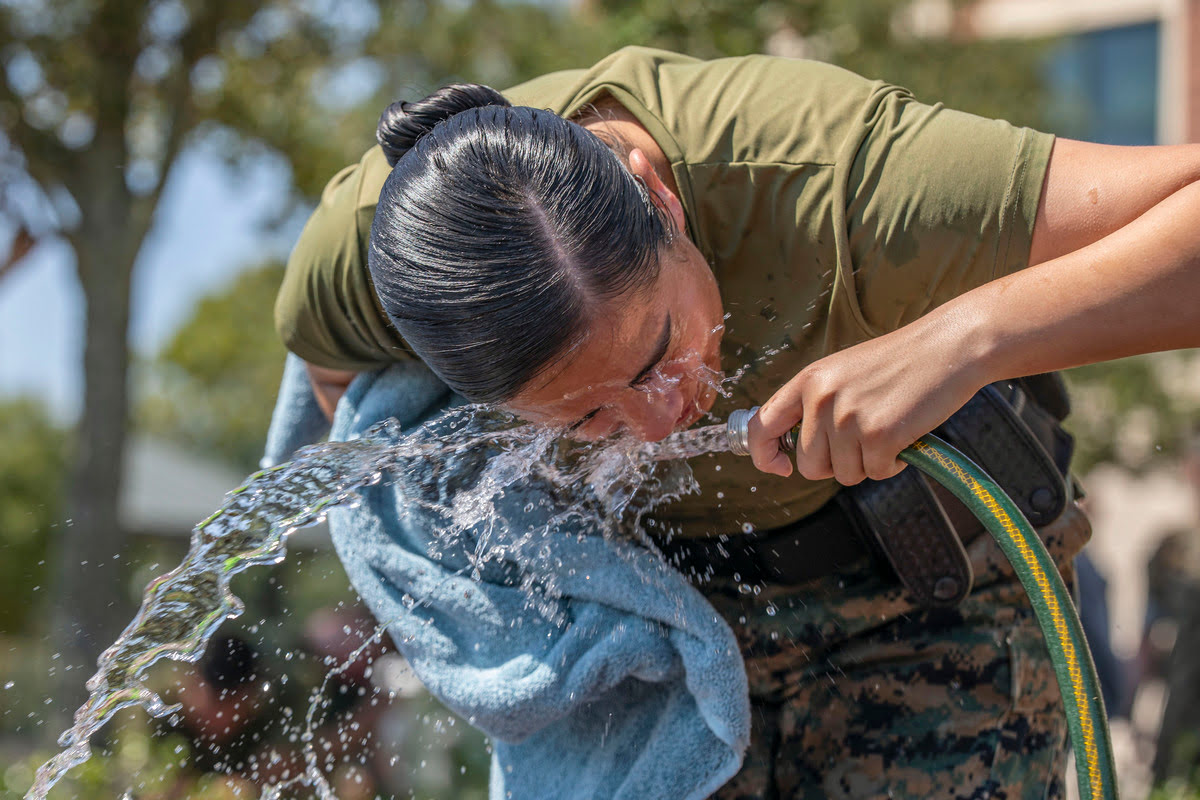
Always prioritize safety when handling and using pepper spray. Wear proper protective gear, avoid spray contact with your own eyes or skin, and take precautions to prevent accidental discharge or misuse. Keep the spray stored securely and out of reach of children or unauthorized individuals.
Remember, pepper spray is a self-defense tool and should only be used in an appropriate and legal manner. Enhance your overall home security by combining your homemade pepper spray with other measures such as proper lighting, strong locks, and a security system.
We hope this comprehensive guide has empowered you with the knowledge and skills to create and use a homemade pepper spray effectively. Stay vigilant, stay safe, and prioritize the security of yourself and your loved ones.
Frequently Asked Questions about How To Make Homemade Pepper Spray
Was this page helpful?
At Storables.com, we guarantee accurate and reliable information. Our content, validated by Expert Board Contributors, is crafted following stringent Editorial Policies. We're committed to providing you with well-researched, expert-backed insights for all your informational needs.