Home>Home Security and Surveillance>How To Turn Off Brinks Home Security System
Home Security and Surveillance
How To Turn Off Brinks Home Security System
Modified: May 6, 2024
Learn how to easily turn off your Brinks home security system with our step-by-step guide. Ensure the safety of your home with our expert tips on home security and surveillance.
(Many of the links in this article redirect to a specific reviewed product. Your purchase of these products through affiliate links helps to generate commission for Storables.com, at no extra cost. Learn more)
Introduction
Welcome to our guide on how to turn off a Brinks home security system. Whether you are moving into a new home, experiencing false alarms, or simply want to deactivate your security system temporarily, knowing how to properly turn off your Brinks system is essential. In this article, we will walk you through the steps necessary to disarm your Brinks home security system and provide some troubleshooting tips along the way.
Brinks is a well-known security company that offers various home security products and services, including alarm systems, surveillance cameras, and more. With their reliable and comprehensive security solutions, they help protect homes from intrusions and provide homeowners with peace of mind.
However, there may be situations where it is necessary to turn off your Brinks home security system. This could include instances where you are moving out of your home and no longer require the system’s protection, or when the system is causing false alarms and needs to be temporarily disarmed. By following the steps outlined in this guide, you can easily disable your Brinks home security system and customize it to meet your specific needs.
Before proceeding, it is important to note that turning off your Brinks home security system should only be done when necessary. It is highly recommended to consult the user manual provided by Brinks or contact their customer support for any specific instructions or guidance relating to your particular model. Additionally, keep in mind that disabling your security system will leave your home temporarily unprotected, so make sure to reactivate it as soon as you no longer need it to be turned off.
Now, let us dive into the step-by-step process of turning off a Brinks home security system and explore various methods to suit different scenarios.
Key Takeaways:
- To turn off a Brinks home security system, locate the control panel, enter the security code, and press the “Disarm” button. Always confirm system deactivation to ensure your home’s security.
- If you encounter issues, check the battery status, inspect sensors, and contact Brinks customer support for troubleshooting. Prioritize home security and reactivate the system when needed.
Read more: What Is Brinks Home Security
Step 1: Understanding the Brinks Home Security System
Before you can effectively turn off your Brinks home security system, it’s essential to familiarize yourself with how the system works and the components involved.
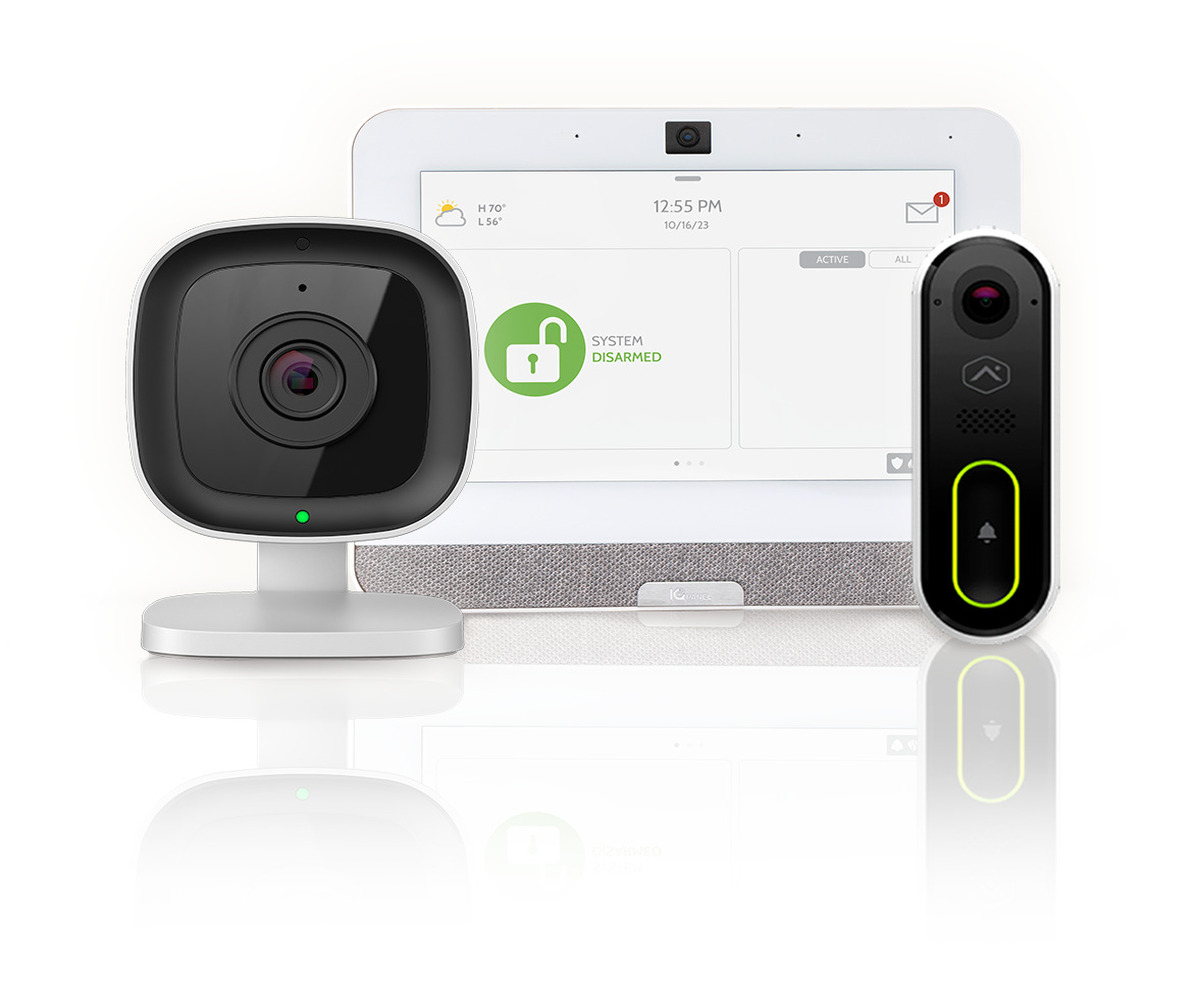
Brinks home security systems typically consist of a central control panel, various sensors (such as door/window sensors, motion detectors, and glass break sensors), a siren or alarm, and possibly additional devices like cameras or smart home automation features. The control panel serves as the brain of the system, while the sensors detect any unauthorized entry or activity.
Each component of the Brinks security system communicates wirelessly or through a wired connection to the control panel. It’s crucial to know the specific details of your system, including the location of the control panel and the types of sensors installed in your home.
To gain a better understanding of your Brinks home security system:
- Refer to the user manual or contact Brinks customer support to obtain detailed information about your specific model. This will ensure that you have accurate and up-to-date instructions for turning off the system.
- Take note of the location of the control panel. It is typically placed in a central area of your home, such as a hallway or utility room, for easy access.
- Identify the different sensors and devices installed throughout your home. This may include door/window sensors, motion detectors, carbon monoxide detectors, and smoke alarms.
- Verify whether your Brinks system is monitored professionally or self-monitored. Professional monitoring involves a third-party security company that monitors your home and notifies the authorities in case of an alarm, while self-monitoring allows you to receive alerts directly on your smartphone or other connected devices.
Understanding the components and functionality of your Brinks home security system is crucial before attempting to turn it off. By doing so, you can ensure that you are making informed decisions and taking the necessary steps to disarm the system properly.
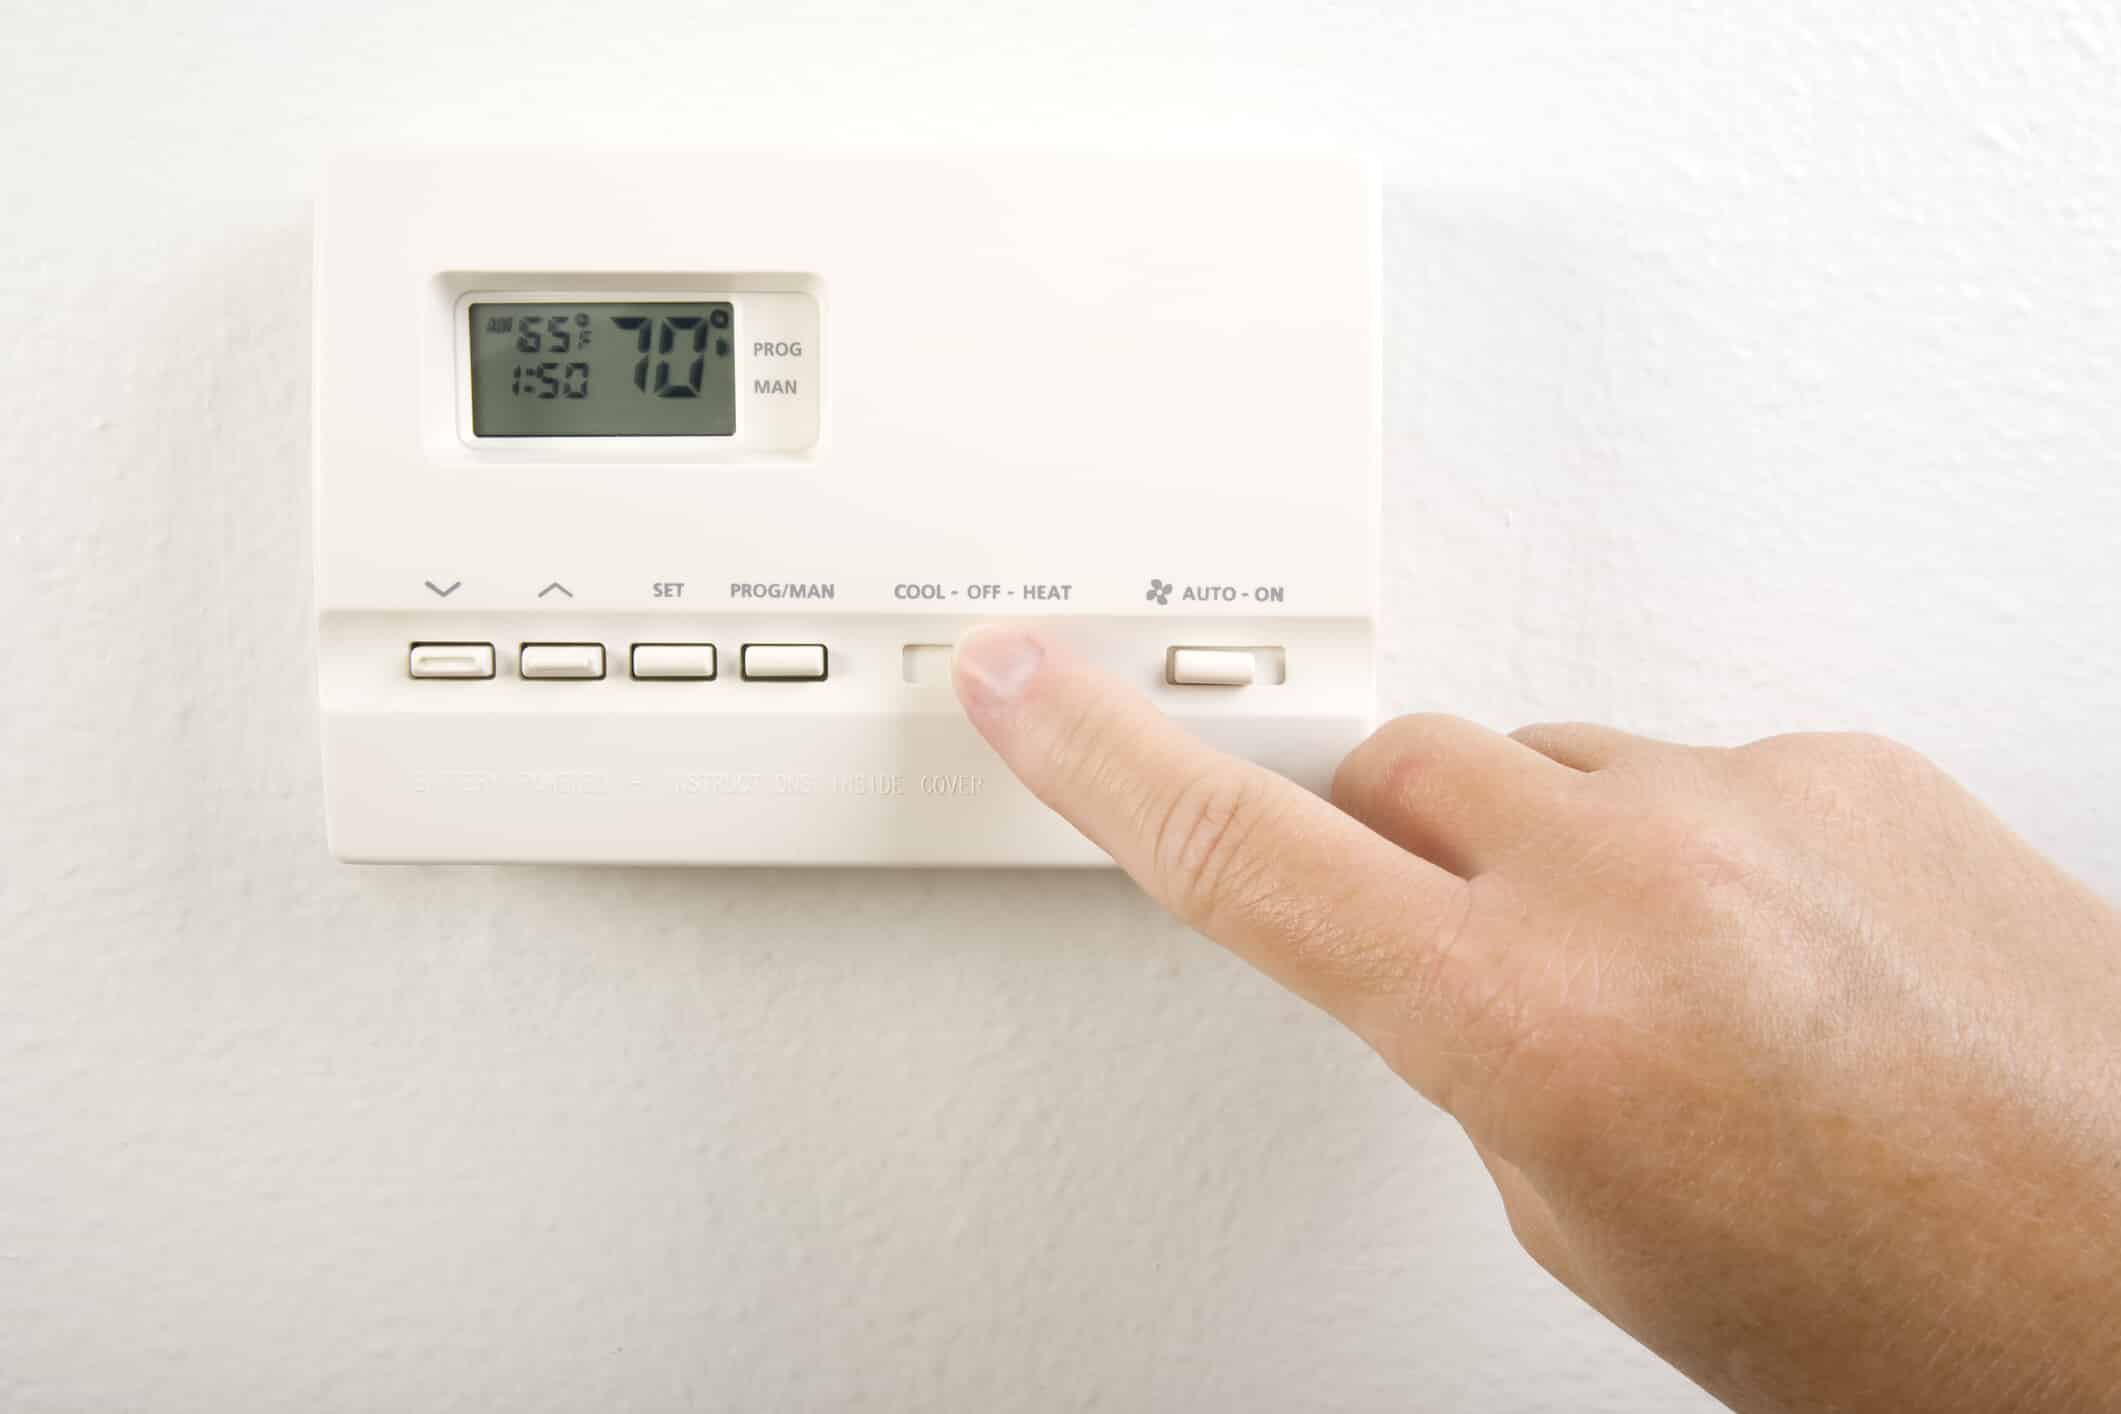
Step 2: Locating the Control Panel
Locating the control panel is an essential step in turning off your Brinks home security system. The control panel serves as the central hub for your security system, where you can arm or disarm the system, monitor sensors, and receive alerts.
To find the control panel:
- Start by checking common areas of your home where the control panel is typically installed. Look for a small, rectangular box mounted on the wall.
- If you are unsure of its exact location, refer to the user manual provided by Brinks or contact their customer support for guidance. The manual or their support team can provide you with specific instructions tailored to your model.
- Check utility rooms, closets, or areas near the main entrance of your home as these are commonly chosen locations for control panels.
- Be on the lookout for any branded signage or labels indicating the presence of the control panel. Brinks often includes their logo or branding on their control panels, making it easier to identify.
- If you still cannot locate the control panel, try searching for any visible wires or cables running along the walls. These may lead you to the control panel, as it requires a power source and may be connected to other devices in your home security system.
Once you have found the control panel, make a mental note of its location or mark it for future reference. This will be important in case you need to access it quickly to arm or disarm the system in the future.
It’s important to note that different Brinks home security systems may have slight variations in control panel design and placement. Following the manufacturer’s guidelines, such as referring to the user manual or contacting customer support, is always recommended to locate the control panel accurately.
Now that you have located the control panel, you are ready to proceed to the next step of disarming your Brinks home security system.
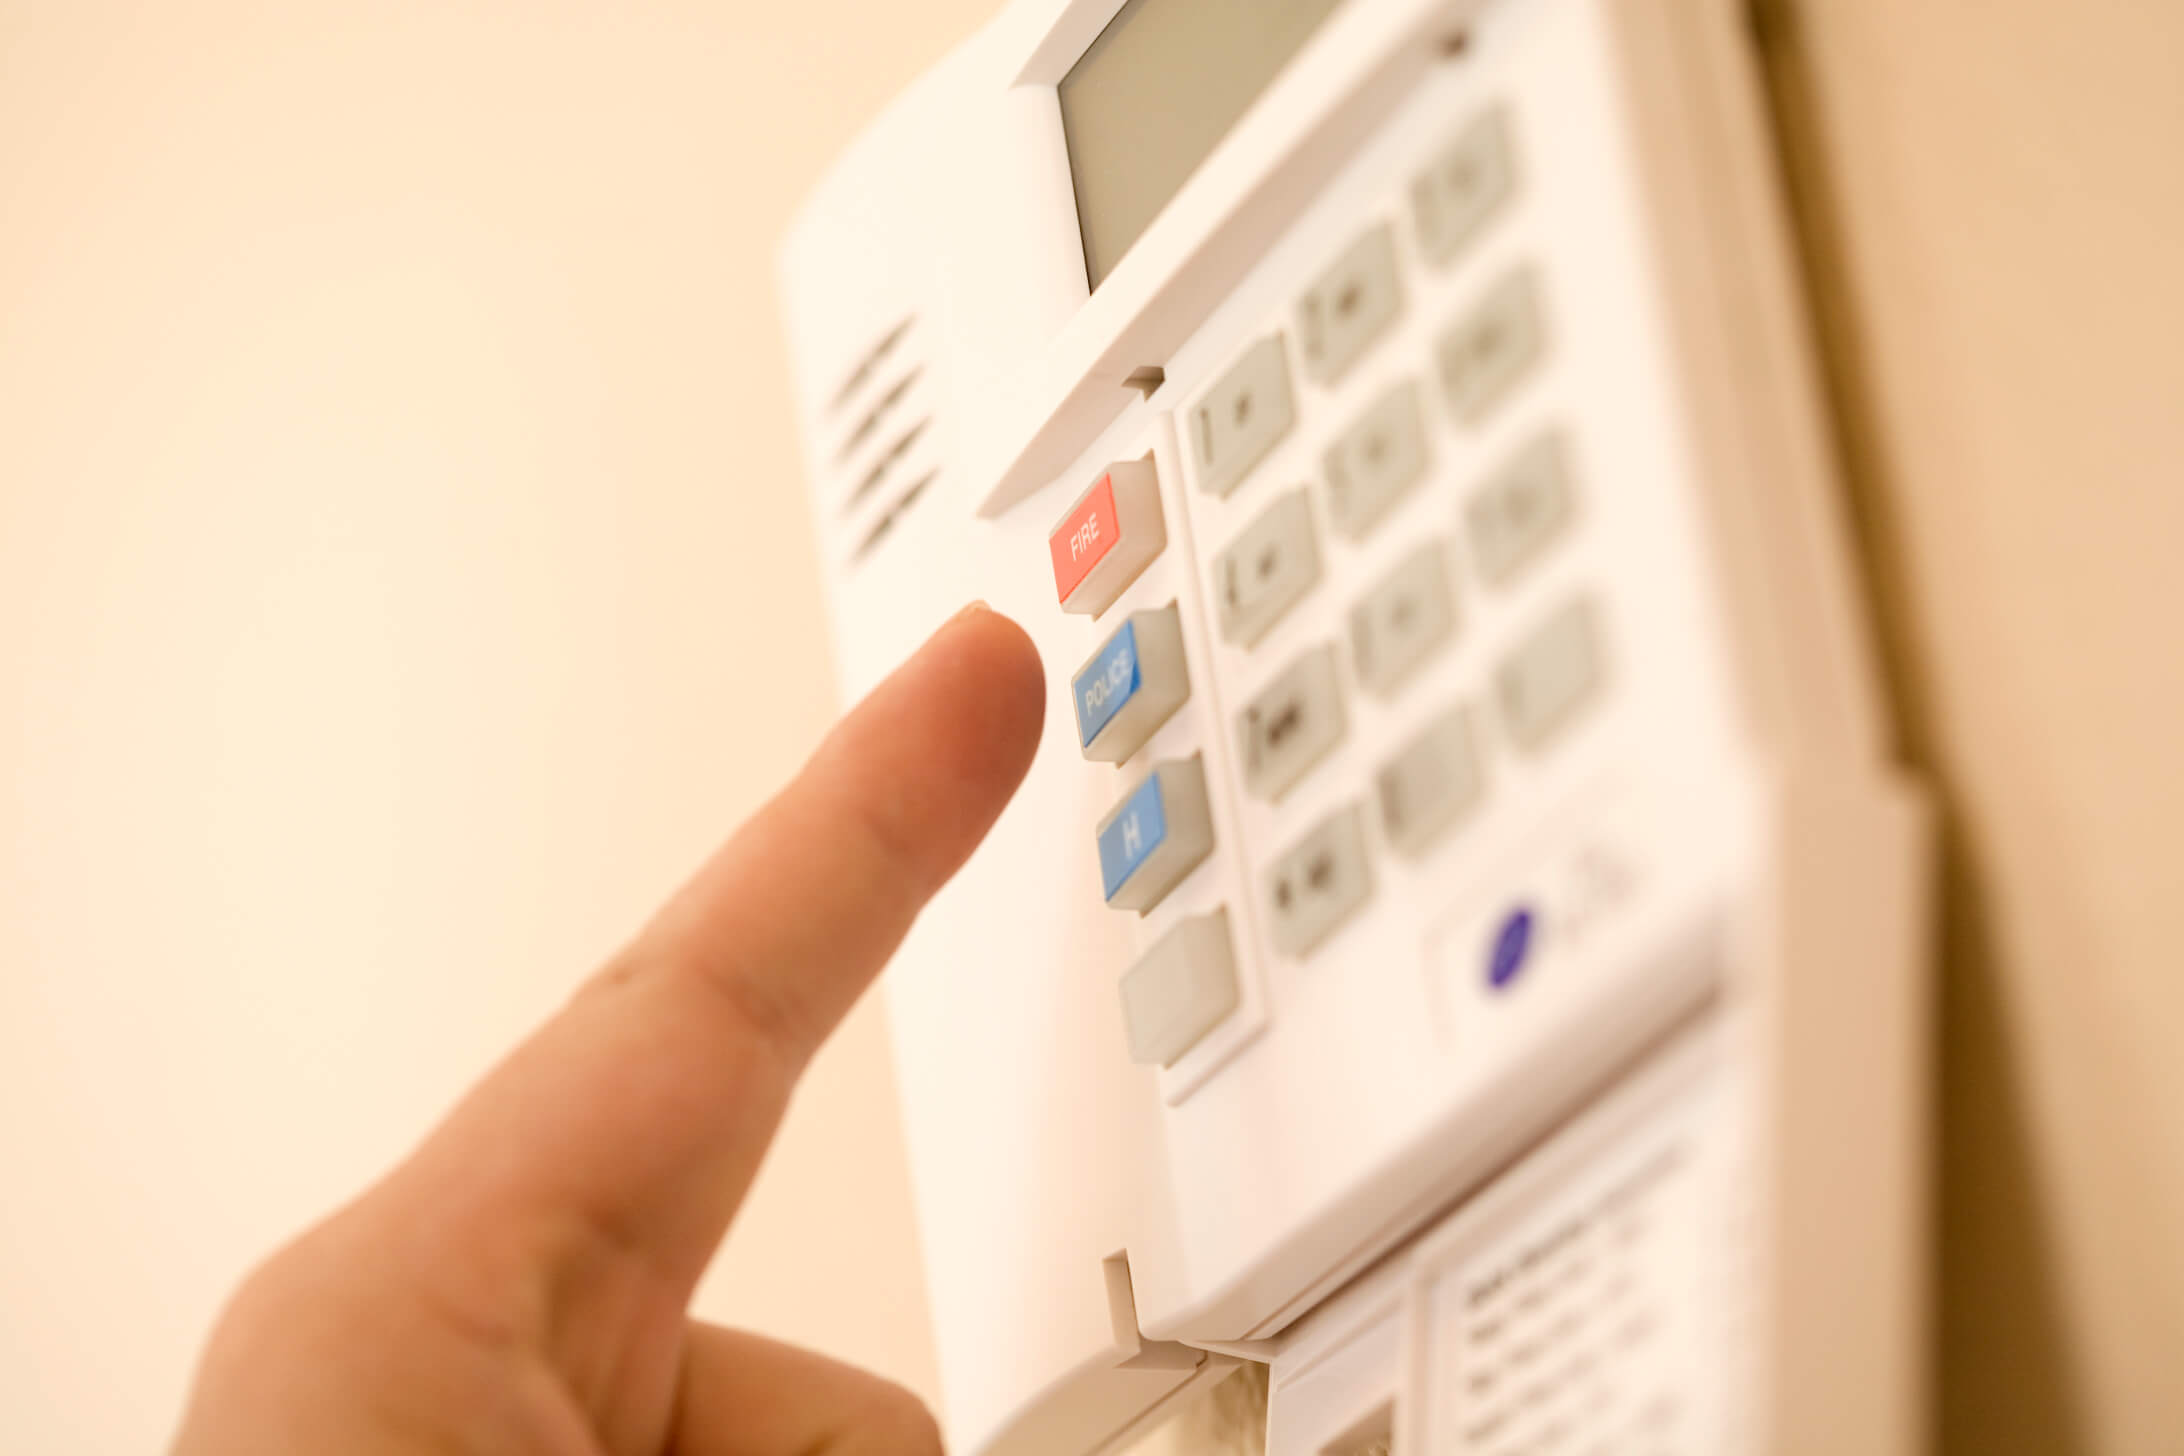
Step 3: Disarming the System
Disarming your Brinks home security system is the process of turning off the armed mode, ensuring that the system no longer detects or triggers any alarms. This step is crucial when you want to temporarily disable the system or when you need to enter your home without triggering any alarms.
To disarm your Brinks home security system:
- Locate the control panel, as discussed in the previous step. This is where you will interact with the system to disarm it.
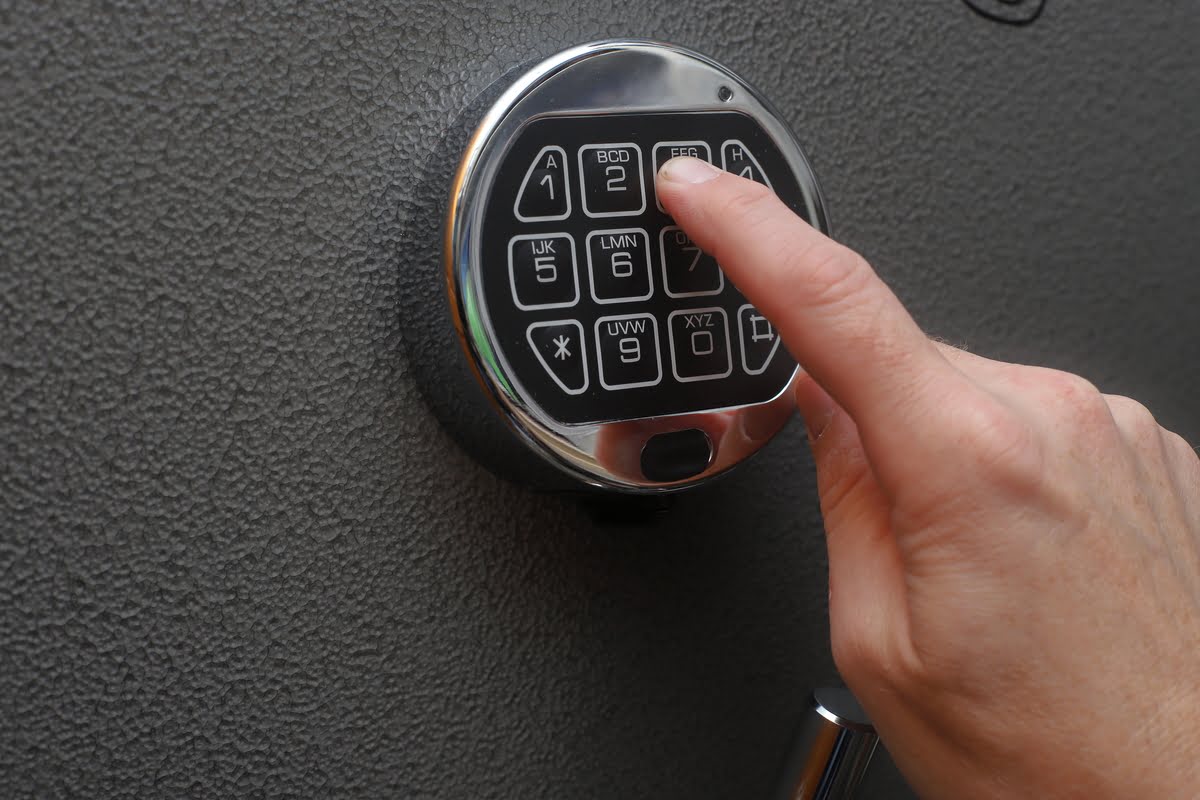
- Enter your security code. Brinks home security systems typically require a unique security code to disarm the system. This code is chosen by the homeowner during installation or set up. If you have multiple users, each user may have a unique code to disarm the system. Enter the code carefully to ensure it is accurate.
- Look for an “Arm” or “Disarm” button on the control panel display. Press the “Disarm” button to deactivate the system. Some control panels may have a dedicated disarm button, while others may require you to enter specific commands or navigate through a menu to disarm the system.
- Once disarmed, the control panel may provide a visual or audible confirmation to indicate that the system is no longer armed. This can vary depending on the model and settings of your Brinks home security system.
If you encounter any difficulties or the system does not disarm as expected, refer to the user manual or contact Brinks customer support for assistance. They can guide you through any troubleshooting steps or provide further instructions specific to your system.
It’s important to note that disarming your Brinks home security system should only be done when necessary. Leaving your system disarmed for an extended period can leave your home vulnerable to intrusions.
Now that your Brinks home security system is disarmed, we can explore the next step of turning off individual sensors or devices if needed.
Step 4: Turning Off Individual Sensors or Devices
In some cases, you may want to turn off or disable specific sensors or devices within your Brinks home security system without completely disarming the entire system. This could be useful if you only want certain areas of your home to remain active while temporarily disabling others, or if you need to troubleshoot a specific sensor that is causing false alarms.
To turn off individual sensors or devices in your Brinks home security system:
- Refer to the user manual or contact Brinks customer support for guidance on how to disable specific sensors or devices. They will provide you with specific steps based on your model and system configuration.
- Access the control panel and navigate to the settings or configurations menu. The process may vary depending on the control panel’s design. Consult the user manual or contact Brinks customer support for assistance.
- Locate the section or menu option that allows you to manage or disable individual sensors or devices. Depending on your system, you may be able to toggle the status of each sensor or device or adjust their sensitivity levels.
- Select the desired sensor or device that you want to turn off or disable. Follow the instructions provided by the control panel’s display or menu to deactivate the selected sensor or device.
- Confirm that the sensor or device is now turned off. Some control panels may provide visual or audible feedback to indicate the status of each sensor or device.
It’s important to note that not all Brinks home security systems allow for individual sensor or device management. Some older or simpler models may only support system-wide arming and disarming. If that’s the case, you may need to consult Brinks customer support to explore if any alternative options are available.
Remember that while disabling individual sensors or devices can be useful in certain situations, it’s important to carefully consider the impact on your overall home security. Only disable sensors or devices when absolutely necessary and reactivate them as soon as the need for disabling them no longer exists.
Now that you understand how to turn off individual sensors or devices, let’s move on to Step 5: Disconnecting the Power Source.
To turn off a Brinks home security system, locate the control panel and enter the security code. If you don’t have the code, contact Brinks customer service for assistance.
Read more: How To Turn Off Wireless Security
Step 5: Disconnecting the Power Source
If you need to completely turn off your Brinks home security system, including all sensors, devices, and the control panel, you may consider disconnecting the power source. This step ensures that the system is completely deactivated, especially if you are moving out of your home or no longer require the security system’s protection.
To disconnect the power source of your Brinks home security system:
- Refer to the user manual or contact Brinks customer support for specific instructions on how to disconnect the power source. Different models may have different power sources and disconnection procedures, so it’s important to obtain accurate guidance.
- Locate the power source of your Brinks home security system. This could be a plugged-in power adapter connected to the control panel or a direct connection from your home’s electrical system.
- If the power source is connected to an electrical outlet, unplug the power adapter from the outlet. Ensure that you have a clear view of the power source and all related cables.
- If the power source is connected directly to your home’s electrical system, such as being wired into a circuit breaker, switch off the circuit breaker that controls the security system. This will cut off the power supply to the Brinks system.
- Ensure that the power source is completely disconnected and that there are no active electrical connections. This step is crucial to ensure the system is fully turned off.
Disconnecting the power source effectively disables your Brinks home security system. However, keep in mind that doing so will render the system inactive, leaving your home temporarily unprotected.
If you plan on reactivating the Brinks system in the future or transferring it to another location, make sure to carefully store and label all components and cables. This will ensure that you can easily reconnect and set up the system when needed.
Now that you have learned how to disconnect the power source, we can move on to Step 6: Confirming System Deactivation.
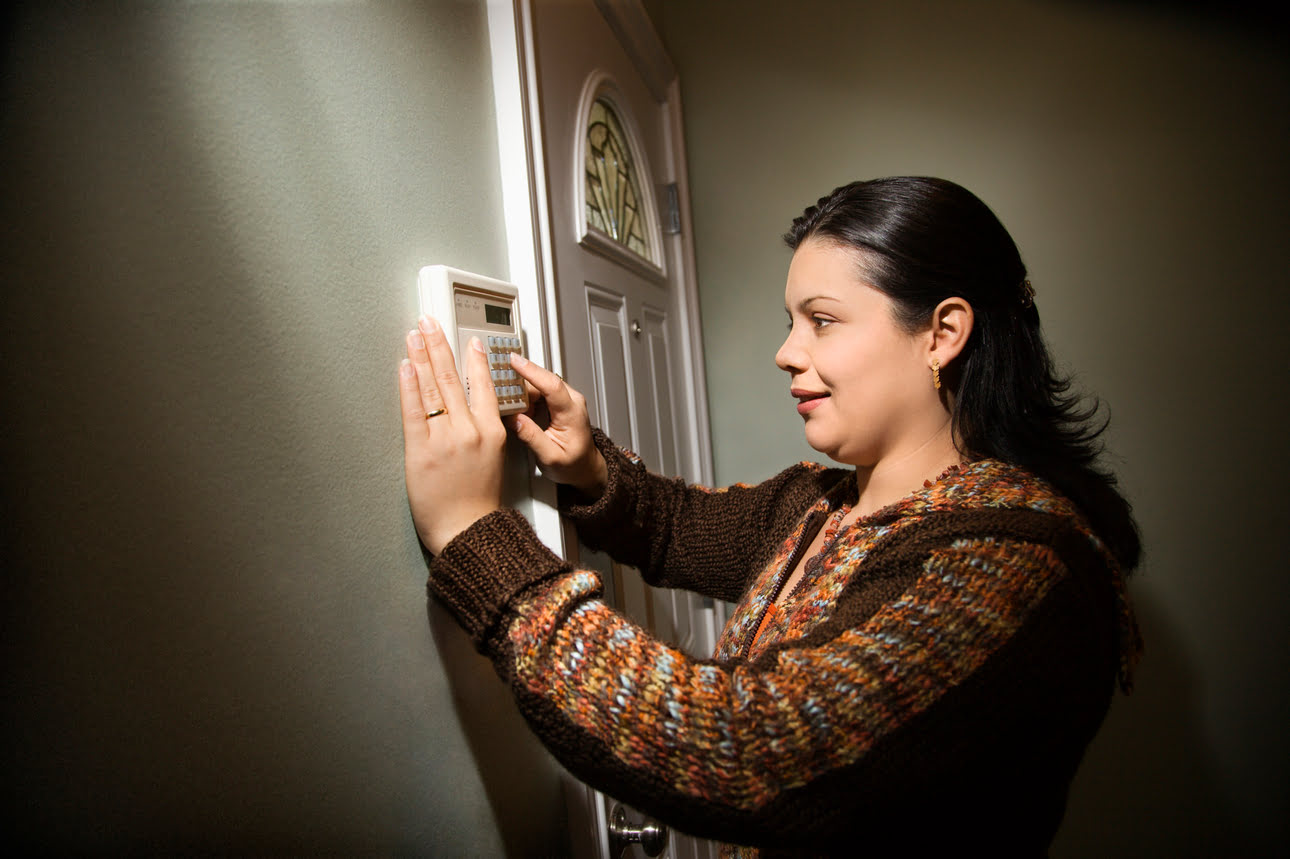
Step 6: Confirming System Deactivation
Once you have taken the necessary steps to turn off your Brinks home security system, it’s important to confirm that the system has been successfully deactivated. This confirmation provides peace of mind and ensures that the system is no longer active, especially if you had encountered any issues during the disarming process.
To confirm the deactivation of your Brinks home security system:
- Check the control panel’s display. It should indicate that the system is disarmed or deactivated. Depending on your system, there may be a specific message or symbol that confirms the current status.
- Test the sensors and devices. Open a door or walk in front of a motion detector to see if it triggers an alarm or activates any alerts. If the system is successfully deactivated, there should be no response from the sensors or devices.
- If available, use the Brinks mobile app or online portal to check the status of your system. These tools allow you to monitor and control your security system remotely. Confirm that the system is shown as inactive on the app or portal.
- Wait for a specific duration. Some Brinks home security systems have a “grace period” after disarming, during which the system will automatically rearm itself. If the system remains deactivated after the grace period, it is a confirmation that the system is successfully turned off.
- Double-check with Brinks customer support. If you have any doubts or concerns about the deactivation process, reach out to Brinks support for assistance. They can verify that your system is properly deactivated and provide any necessary guidance or troubleshooting steps.
Confirming the deactivation of your Brinks home security system ensures that no false alarms will occur and that your home is not under constant surveillance while the system is turned off. It allows you to have confidence in the system’s status and provides reassurance that your home’s security is accounted for.
If, at any point, you decide to reactivate your Brinks home security system, ensure that you follow the appropriate steps outlined in the user manual or provided by Brinks customer support. Reactivating the system will ensure that your home remains protected.
Now that you have confirmed the deactivation of your Brinks home security system, we can move on to Step 7: Troubleshooting Tips.
Step 7: Troubleshooting Tips
While turning off your Brinks home security system should be a straightforward process, you may encounter certain issues or complications along the way. In this step, we will provide some troubleshooting tips to help you overcome common challenges and ensure a smooth deactivation of your system.
Here are some troubleshooting tips for turning off your Brinks home security system:
- Ensure you are entering the correct security code. Inaccurate or forgotten security codes can prevent you from disarming the system. Double-check the code you are entering, and if necessary, refer to the user manual or contact Brinks customer support for assistance in resetting the code.
- Check the control panel’s battery status. If your Brinks system uses a backup battery, low battery levels can hinder the deactivation process. Replace the battery if needed, following the instructions in the user manual.
- Inspect the sensors for any physical issues. Loose connections, obstructions, or damage to the sensors can cause malfunctions or prevent proper disarming. Ensure all sensors are securely installed and free of any interfering objects.
- Take note of any error messages or indicators on the control panel. These messages can provide insights into specific issues affecting the system’s deactivation. Refer to the user manual or contact Brinks customer support for guidance on resolving these errors.
- Try a power cycle. If the control panel or any devices are unresponsive, disconnect the power source temporarily, wait for a few minutes, and then reconnect it. This can help reset the system and resolve any temporary glitches.
- Consider performing a system reset as a last resort. Resetting the system should only be attempted if all other troubleshooting steps have failed. This process will restore the system to its factory default settings, erasing any customizations or settings you may have configured. Refer to the user manual or contact Brinks customer support for guidance on performing a system reset.
Remember, if you encounter persistent issues or are unsure about any troubleshooting steps, contacting Brinks customer support is always recommended. They have the expertise to diagnose and resolve specific issues related to your Brinks home security system.
By following these troubleshooting tips, you can overcome common challenges and successfully turn off your Brinks home security system.
Now that you are equipped with troubleshooting knowledge, let’s wrap up this guide on turning off a Brinks home security system.
Conclusion
In conclusion, knowing how to turn off your Brinks home security system is essential for situations such as moving out of your home, troubleshooting false alarms, or temporarily disabling the system. By following the steps outlined in this guide, you can confidently disarm your Brinks system and customize it to meet your specific needs.
Throughout this guide, we have covered the following steps:
- Understanding the Brinks Home Security System: Familiarize yourself with the system’s components and functionality.
- Locating the Control Panel: Find the central control panel, which serves as the hub of your security system.
- Disarming the System: Enter your security code and deactivate the system through the control panel.
- Turning Off Individual Sensors or Devices: Manage specific sensors or devices to customize the system’s functionality.
- Disconnecting the Power Source: Completely deactivate the system by disconnecting its power source.
- Confirming System Deactivation: Ensure that the system is successfully turned off through various indicators and testing methods.
- Troubleshooting Tips: Overcome common challenges by following troubleshooting steps or seeking assistance from Brinks customer support.
Remember to always consult the user manual or contact Brinks customer support for specific instructions related to your model and system configuration. Disabling your Brinks home security system should only be done when necessary, and you should reactivate it as soon as the need to turn it off no longer exists.
By taking the time to understand your Brinks system and following the proper steps, you can confidently manage your home security and enjoy greater control over your system’s functionality. Your peace of mind and the safety of your home are of utmost importance, and having the knowledge to turn off your Brinks home security system empowers you to address various situations effectively.
Thank you for reading this comprehensive guide on turning off a Brinks home security system. We hope you found it informative and helpful. Remember to prioritize the security of your home and make informed decisions when it comes to your Brinks system.
Now that you’ve mastered shutting off your Brinks home security system, you might wonder why bother having one in the first place? Don’t miss out on our insightful article about the vital role home security systems play in protecting your property and loved ones. You’ll discover compelling reasons to keep your system active and tips for optimizing protection.
Frequently Asked Questions about How To Turn Off Brinks Home Security System
Was this page helpful?
At Storables.com, we guarantee accurate and reliable information. Our content, validated by Expert Board Contributors, is crafted following stringent Editorial Policies. We're committed to providing you with well-researched, expert-backed insights for all your informational needs.