Home>Ideas and Tips>Creating A Functional Craft Corner With Pegboard Organization
Ideas and Tips
Creating A Functional Craft Corner With Pegboard Organization
Modified: October 20, 2024
Transform your craft space with pegboard organization. Learn how to create a functional, clutter-free craft corner with our step-by-step guide and tips.
(Many of the links in this article redirect to a specific reviewed product. Your purchase of these products through affiliate links helps to generate commission for Storables.com, at no extra cost. Learn more)
Crafting is a beloved hobby that brings joy and creativity to many people. However, as the collection of supplies grows, so does the clutter in the craft room. One effective way to manage this clutter and create a functional workspace is by using a pegboard. A pegboard is a versatile tool that can be customized to fit any craft room, making it an essential component for any crafter. In this article, we will explore the benefits of using a pegboard, provide step-by-step instructions on how to set one up, and offer tips on how to maximize its organizational potential.
Benefits of Using a Pegboard
Versatility: Pegboards are incredibly versatile. They can be used in various spaces, from small home offices to large garages, and even in closets. Their adaptability makes them an ideal solution for organizing different types of supplies.
Customization: One of the best features of a pegboard is its customizability. You can add hooks, bins, shelves, and other accessories to create a system that perfectly suits your needs. This means you can easily rearrange the layout as your needs change.
Space Efficiency: Pegboards take advantage of vertical space, which is particularly useful in small rooms where floor space is limited. By hanging supplies on the wall, you can keep your floor clear and maintain a clutter-free environment.
Easy Access: With a pegboard, all your supplies are within easy reach. This makes it easier to work on projects without having to search through drawers or shelves.
Aesthetic Appeal: Pegboards can be designed to match any room's decor. You can paint them, add vinyl decals, or use them as is to create a visually appealing workspace.
Materials Needed
To create a functional craft corner with a pegboard, you will need the following materials:
- Pegboard: This is the main component of your organization system. You can choose from various sizes and types, including wood, metal, or plastic pegboards.
- Pegboard Hooks: These come in different shapes and sizes and are used to hang various items such as tools, bins, and other supplies.
- Anchors and Screws: These are necessary for hanging the pegboard on the wall securely.
- Spacers: These help in keeping the pegboard level and ensure that it hangs straight.
- Washers: These are used to protect the wall from scratches and provide additional support.
- Optional Accessories: These include shelves, bins, jars, clipboards, and other organizational tools that can be attached to the pegboard.
Step-by-Step Instructions
Step 1: Choose Your Pegboard
The first step in creating your craft corner is to choose the right pegboard. Consider the size of your space and the number of supplies you need to organize. A 4×8 foot pegboard is a good starting point for most craft rooms, but you can always start with a smaller size and expand as needed.
Step 2: Prepare Your Wall
Before hanging your pegboard, ensure that your wall is clean and dry. If necessary, use a level to mark the spot where you want to hang it. Use a pencil to mark the holes where you will drill into the wall.
Step 3: Drill Holes in the Wall
Drill holes in the wall at each marked spot. Insert anchors into these holes to provide additional support and prevent the screws from pulling out over time.
Step 4: Hang Your Pegboard
Have someone hold up the pegboard while you slide spacers behind it to keep it level. Place washers on the front of each hole as you drill screws through them into the anchors.
Step 5: Add Hooks and Accessories
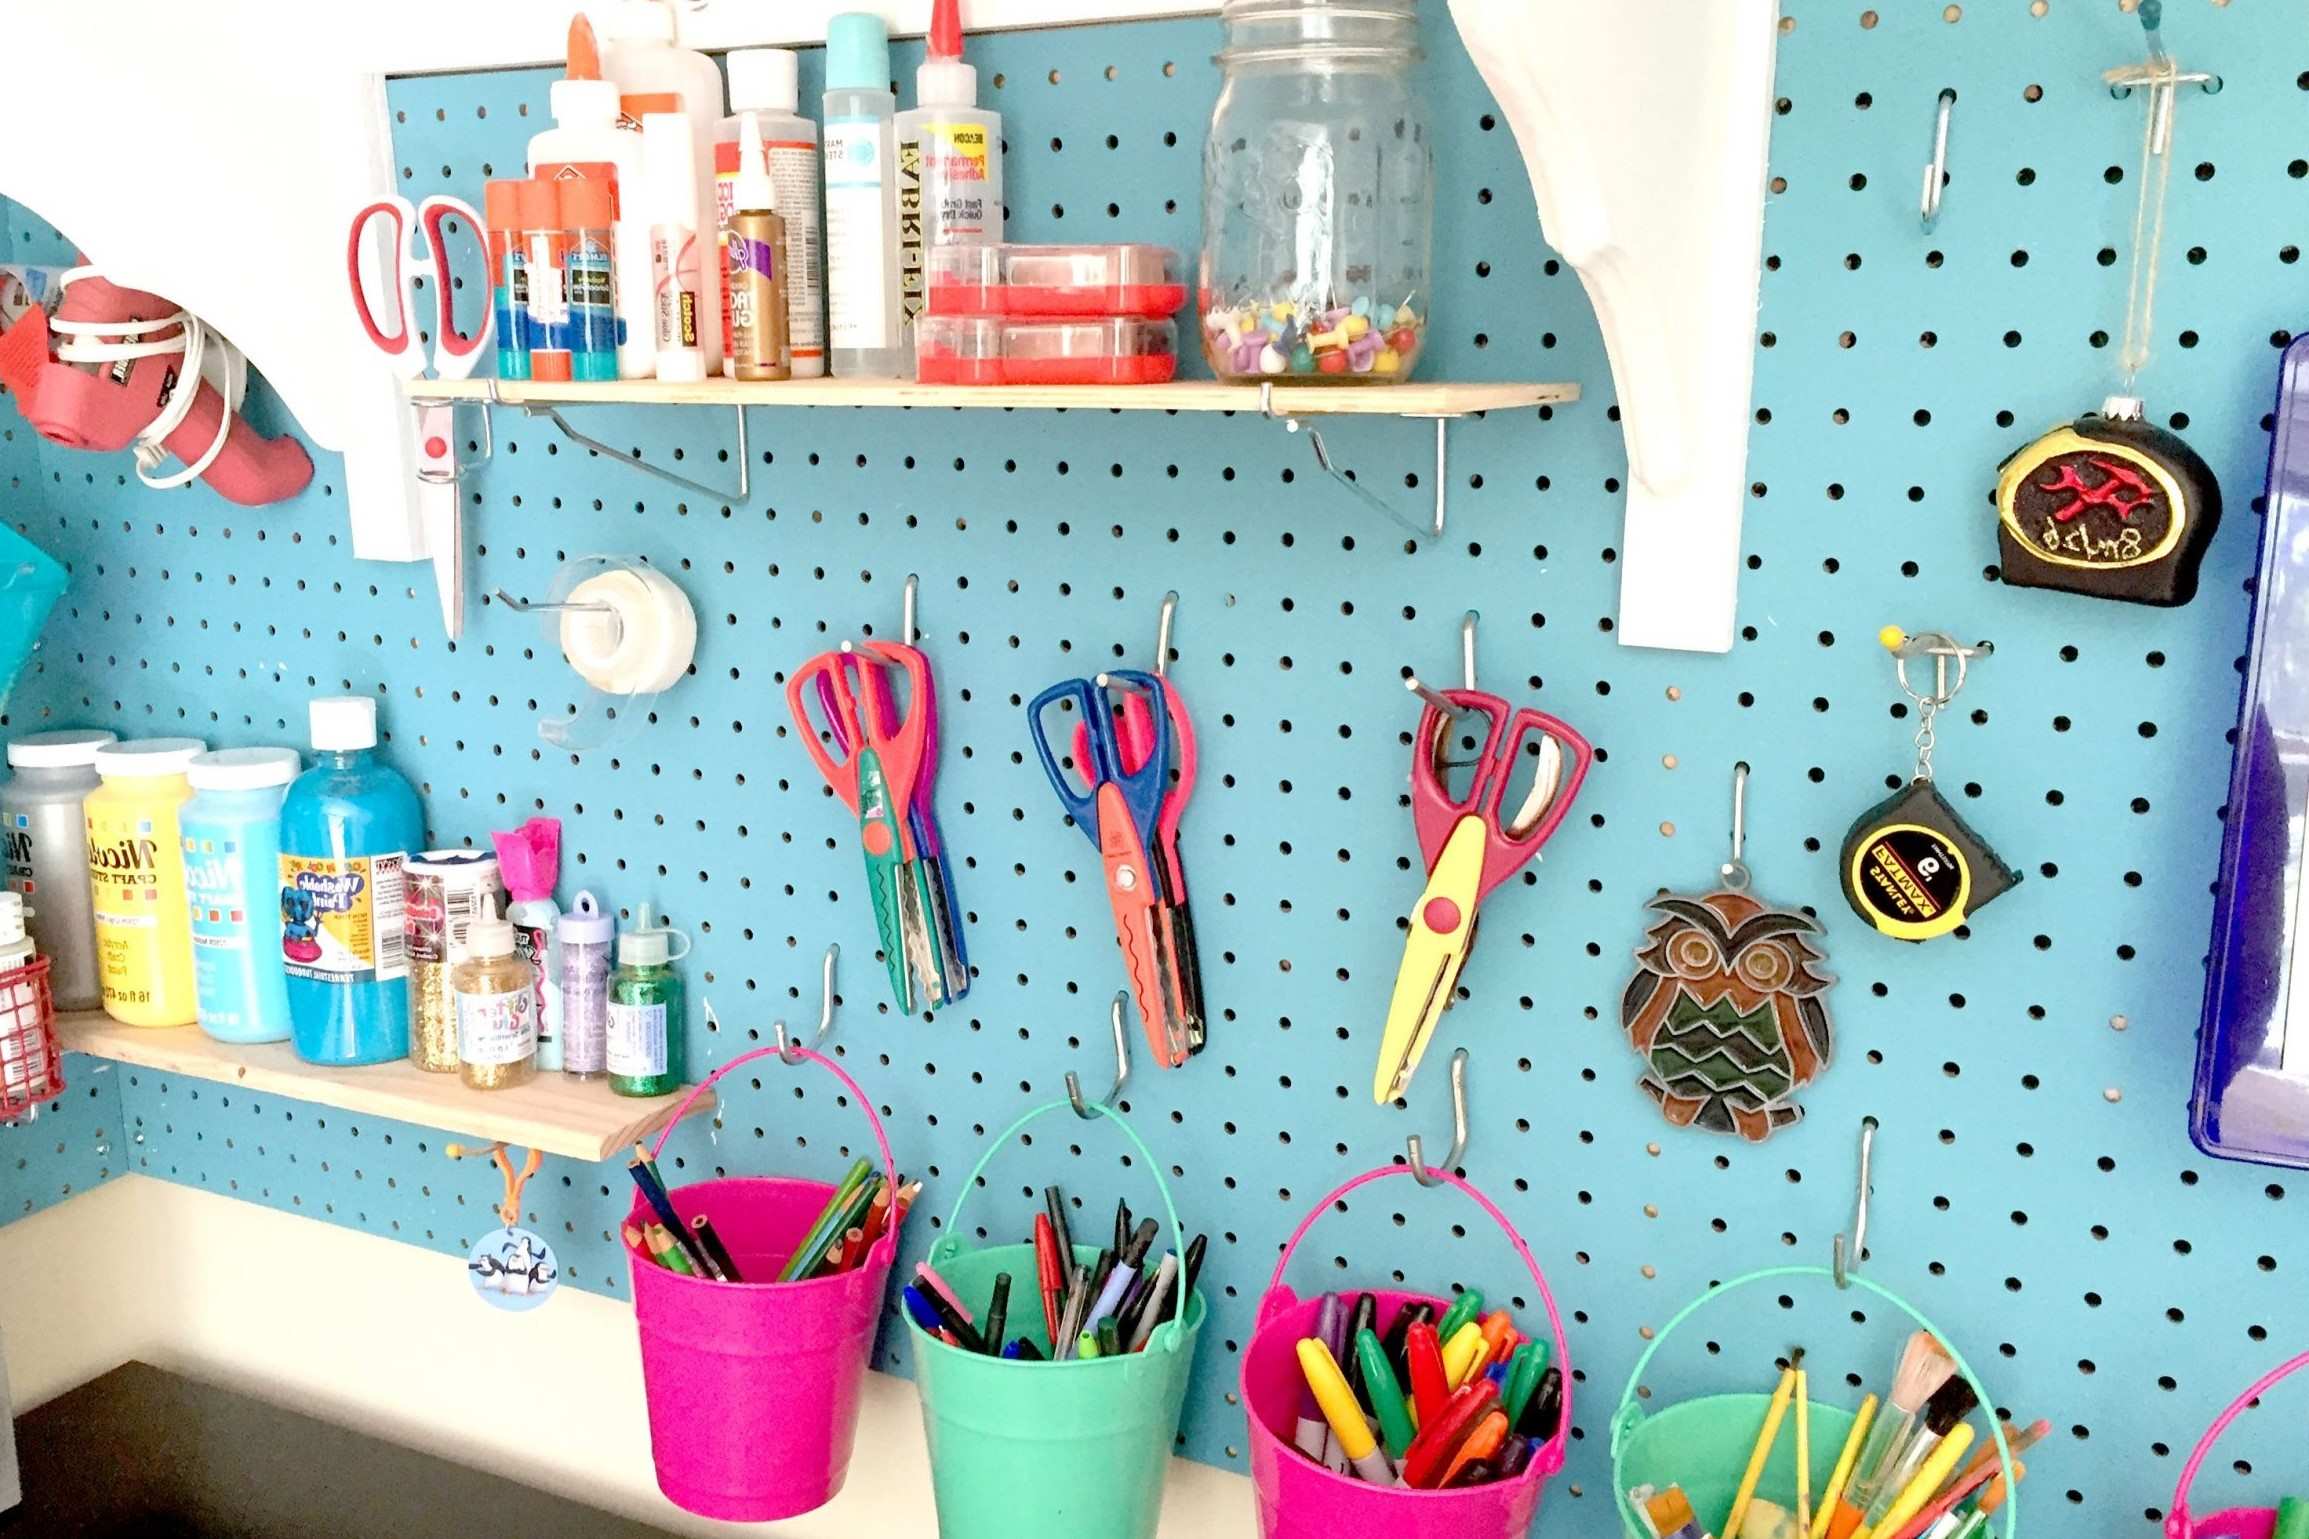
Once your pegboard is securely hung, start adding hooks and accessories. You can use a variety pack of hooks to accommodate different types of supplies. For example, you might use small hooks for pens and pencils, larger hooks for tools like scissors and tape measures, and bins or jars for storing small items like beads or buttons.
Step 6: Customize Your Pegboard
Customization is key when it comes to maximizing the organizational potential of your pegboard. Here are some tips:
- Use Shelves: Add shelves to store larger items like paint jars or fabric rolls. You can attach these shelves using pegboard hardware or even repurpose old spice racks.
- Utilize Bins: Use hanging bins or baskets to store supplies like yarn, thread, or ribbons. These bins can be hung from the pegboard using hooks or clips.
- Add Jars: Mason jars are versatile containers that can be used to store small items like buttons, beads, or push-pins. You can tie string around them and hang them from the pegboard.
- Incorporate Clipboards: Clipboards are great for holding papers or notes. You can attach them to the pegboard using clips or hooks.
- Personalize with Vinyl Decals: Add a personal touch by applying vinyl decals or paint to your pegboard. This can help match your pegboard with your room's decor.
Tips for Maximizing Your Pegboard's Potential
-
Zone Organization: Divide your pegboard into zones based on the type of supplies you use most frequently. For example, you might have a painting zone with acrylic paints and brushes, a coloring zone with markers and colored pencils, and a sewing zone with threads and needles.
-
Label Your Supplies: Use labels to identify what is stored in each bin or jar. This helps keep your supplies organized and makes it easier to find what you need quickly.
-
Keep Frequently Used Supplies Accessible: Place frequently used supplies in easy-to-reach locations so that you don’t have to search through cluttered areas every time you need something.
-
Rearrange Regularly: Since nothing is permanent on a pegboard, you can rearrange your supplies regularly based on your needs. This keeps your workspace fresh and functional.
-
Consider Vertical Space: Make the most of vertical space by using hanging bins or baskets that can be hung from the pegboard. This keeps your floor clear and maintains a clutter-free environment.
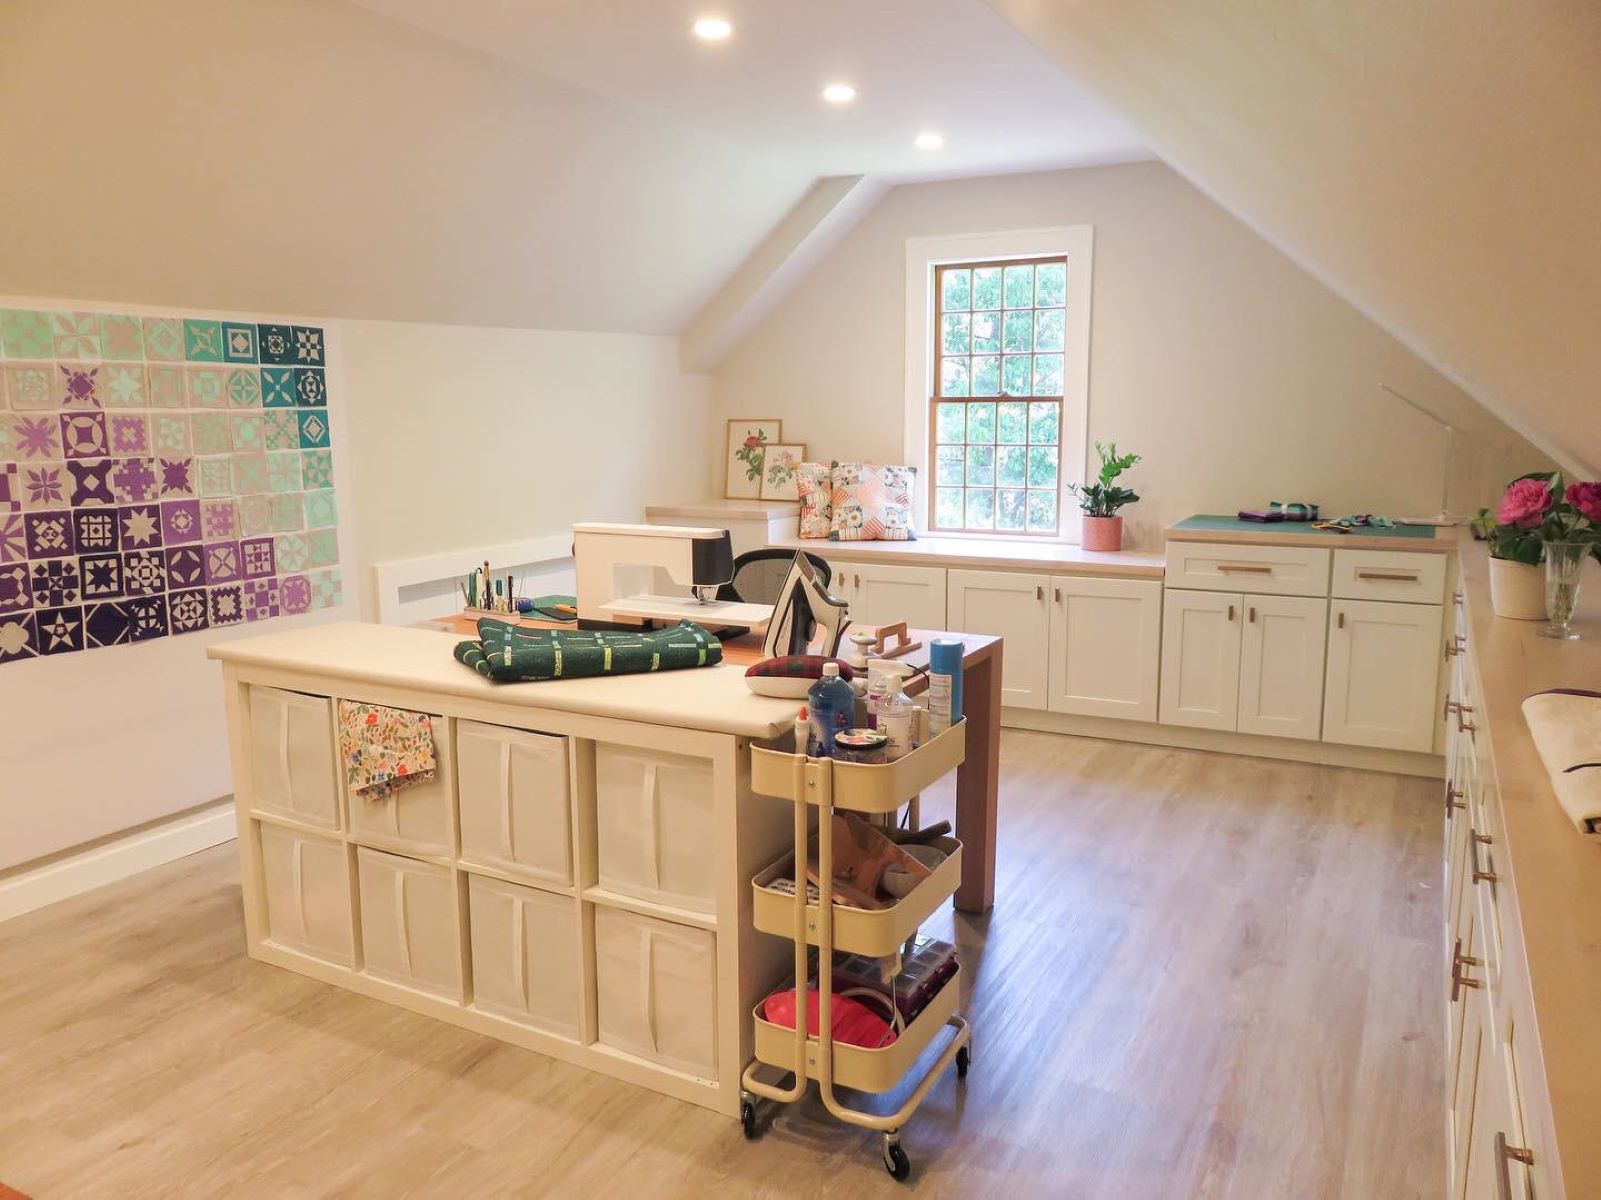
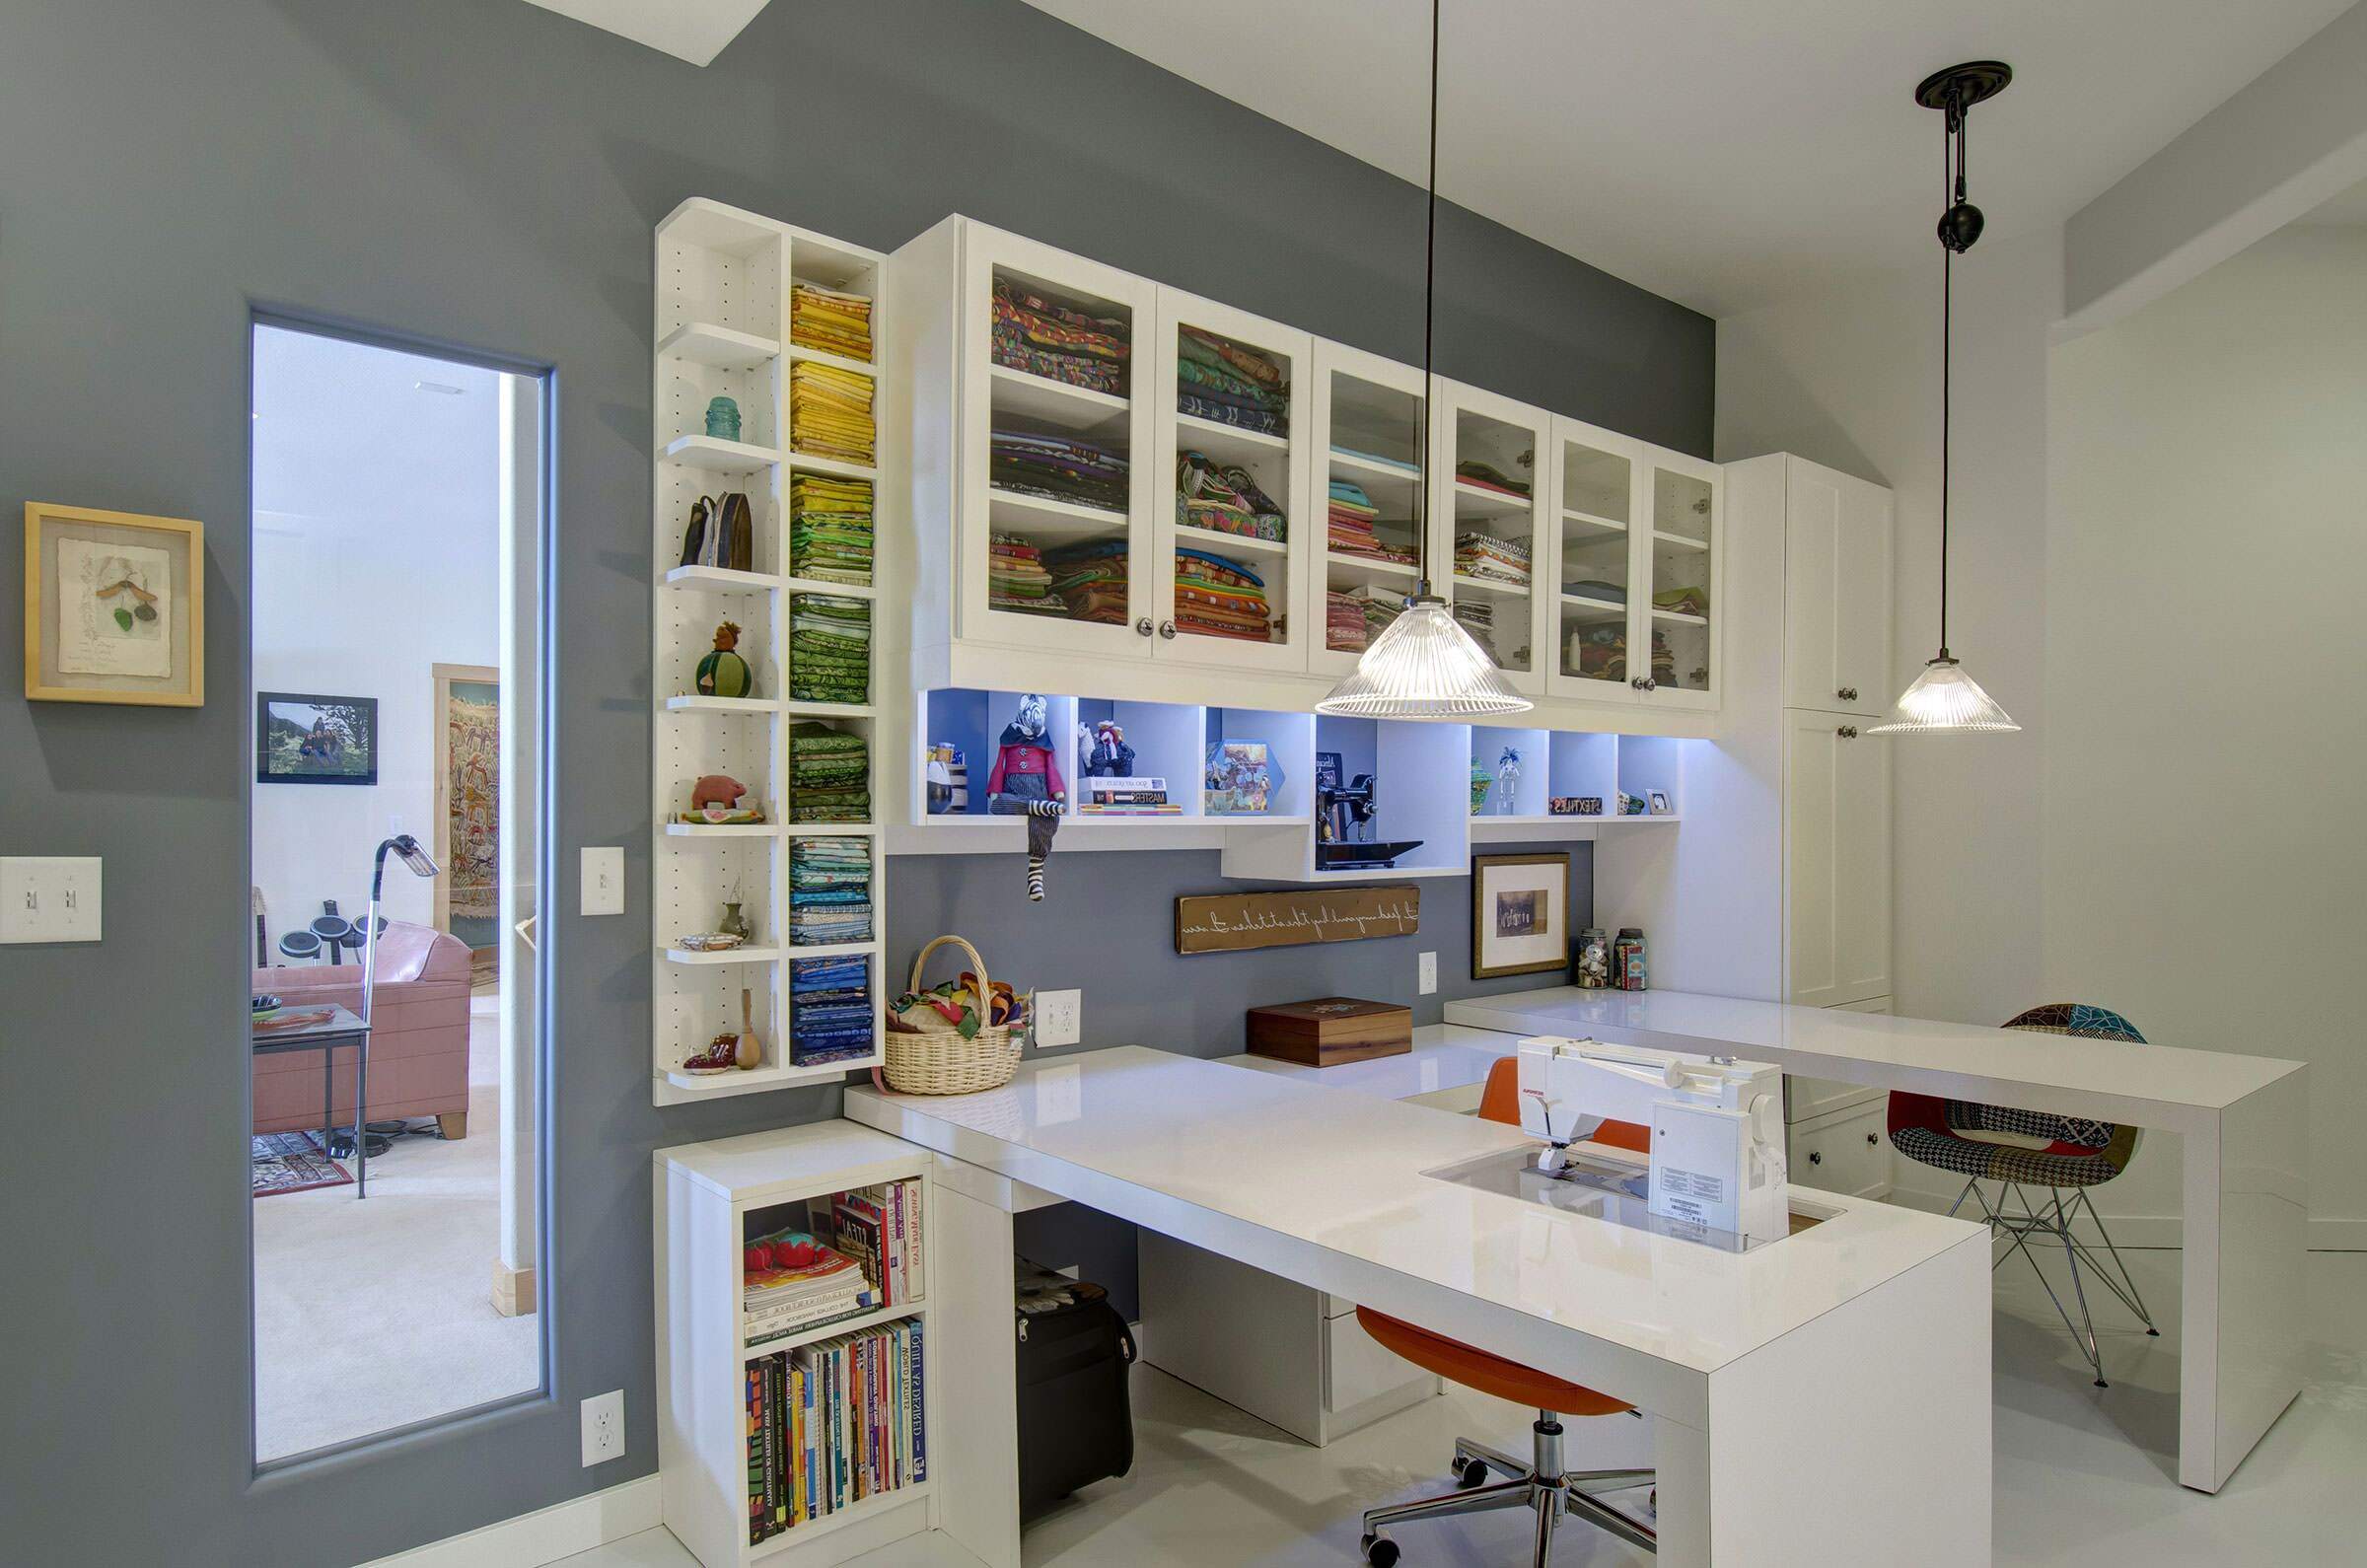
Real-Life Examples
Example 1: Heidi’s Craft Room Pegboard
Heidi created an extra-large pegboard for her craft room that measures 6 feet by 4 feet and is framed with crown molding. She used a hanging bucket system, pegboard hardware, thread racks, wine crates for holding paint and glitter, and dowels for wrapping paper and vinyl. Heidi’s pegboard is highly functional and aesthetically pleasing, making it a great inspiration for anyone looking to create a similar setup.
Example 2: Pretty Providence’s Craft Room Pegboard
Pretty Providence shares a detailed tutorial on how to hang a pegboard in your craft room. The author used a 4×8 foot pegboard cut into two 4×4 foot pieces for her craft room and garage. She added assorted pegboard hooks, anchors, screws, flat washers, drill bits, spacers, paint (to give it a fresh look), spice racks from IKEA attached to pegboard hardware for storing craft paint and small supplies like washi tape and push-pins. The author also used binder clips from Target for hanging papers easily.
Example 3: The Country Chic Cottage’s Craft Room Pegboard
The Country Chic Cottage shares how they used modular wood pegboards from Consumer Crafts to organize their craft supplies. The author used three kits along with hanging containers to create an organized corner in their room. They added rulers, washi tape, Xyron adhesive, Mod Podge pins glitter tape among other supplies making it one of the best washi tape organizers they've ever used.
Conclusion
Creating a functional craft corner with pegboard organization is not only practical but also visually appealing. By following these steps and tips outlined above, you can transform your cluttered workspace into an efficient and beautiful area where creativity flows freely. Whether you're an avid crafter or just starting out with your first project, investing in a pegboard will undoubtedly make your crafting experience more enjoyable and productive.
Remember that customization is key; don't be afraid to experiment with different layouts until you find what works best for you. With time and practice, you'll master the art of organizing your supplies using a pegboard—making every crafting session enjoyable from start to finish
Was this page helpful?
At Storables.com, we guarantee accurate and reliable information. Our content, validated by Expert Board Contributors, is crafted following stringent Editorial Policies. We're committed to providing you with well-researched, expert-backed insights for all your informational needs.

0 thoughts on “Creating A Functional Craft Corner With Pegboard Organization”