Home>Ideas and Tips>DIY Guide To Installing A Bathroom Shower With Digital Temperature Control

Ideas and Tips
DIY Guide To Installing A Bathroom Shower With Digital Temperature Control
Modified: October 28, 2024
Learn how to install a bathroom shower with digital temperature control. Follow our step-by-step DIY guide for a modern, efficient shower upgrade.
(Many of the links in this article redirect to a specific reviewed product. Your purchase of these products through affiliate links helps to generate commission for Storables.com, at no extra cost. Learn more)
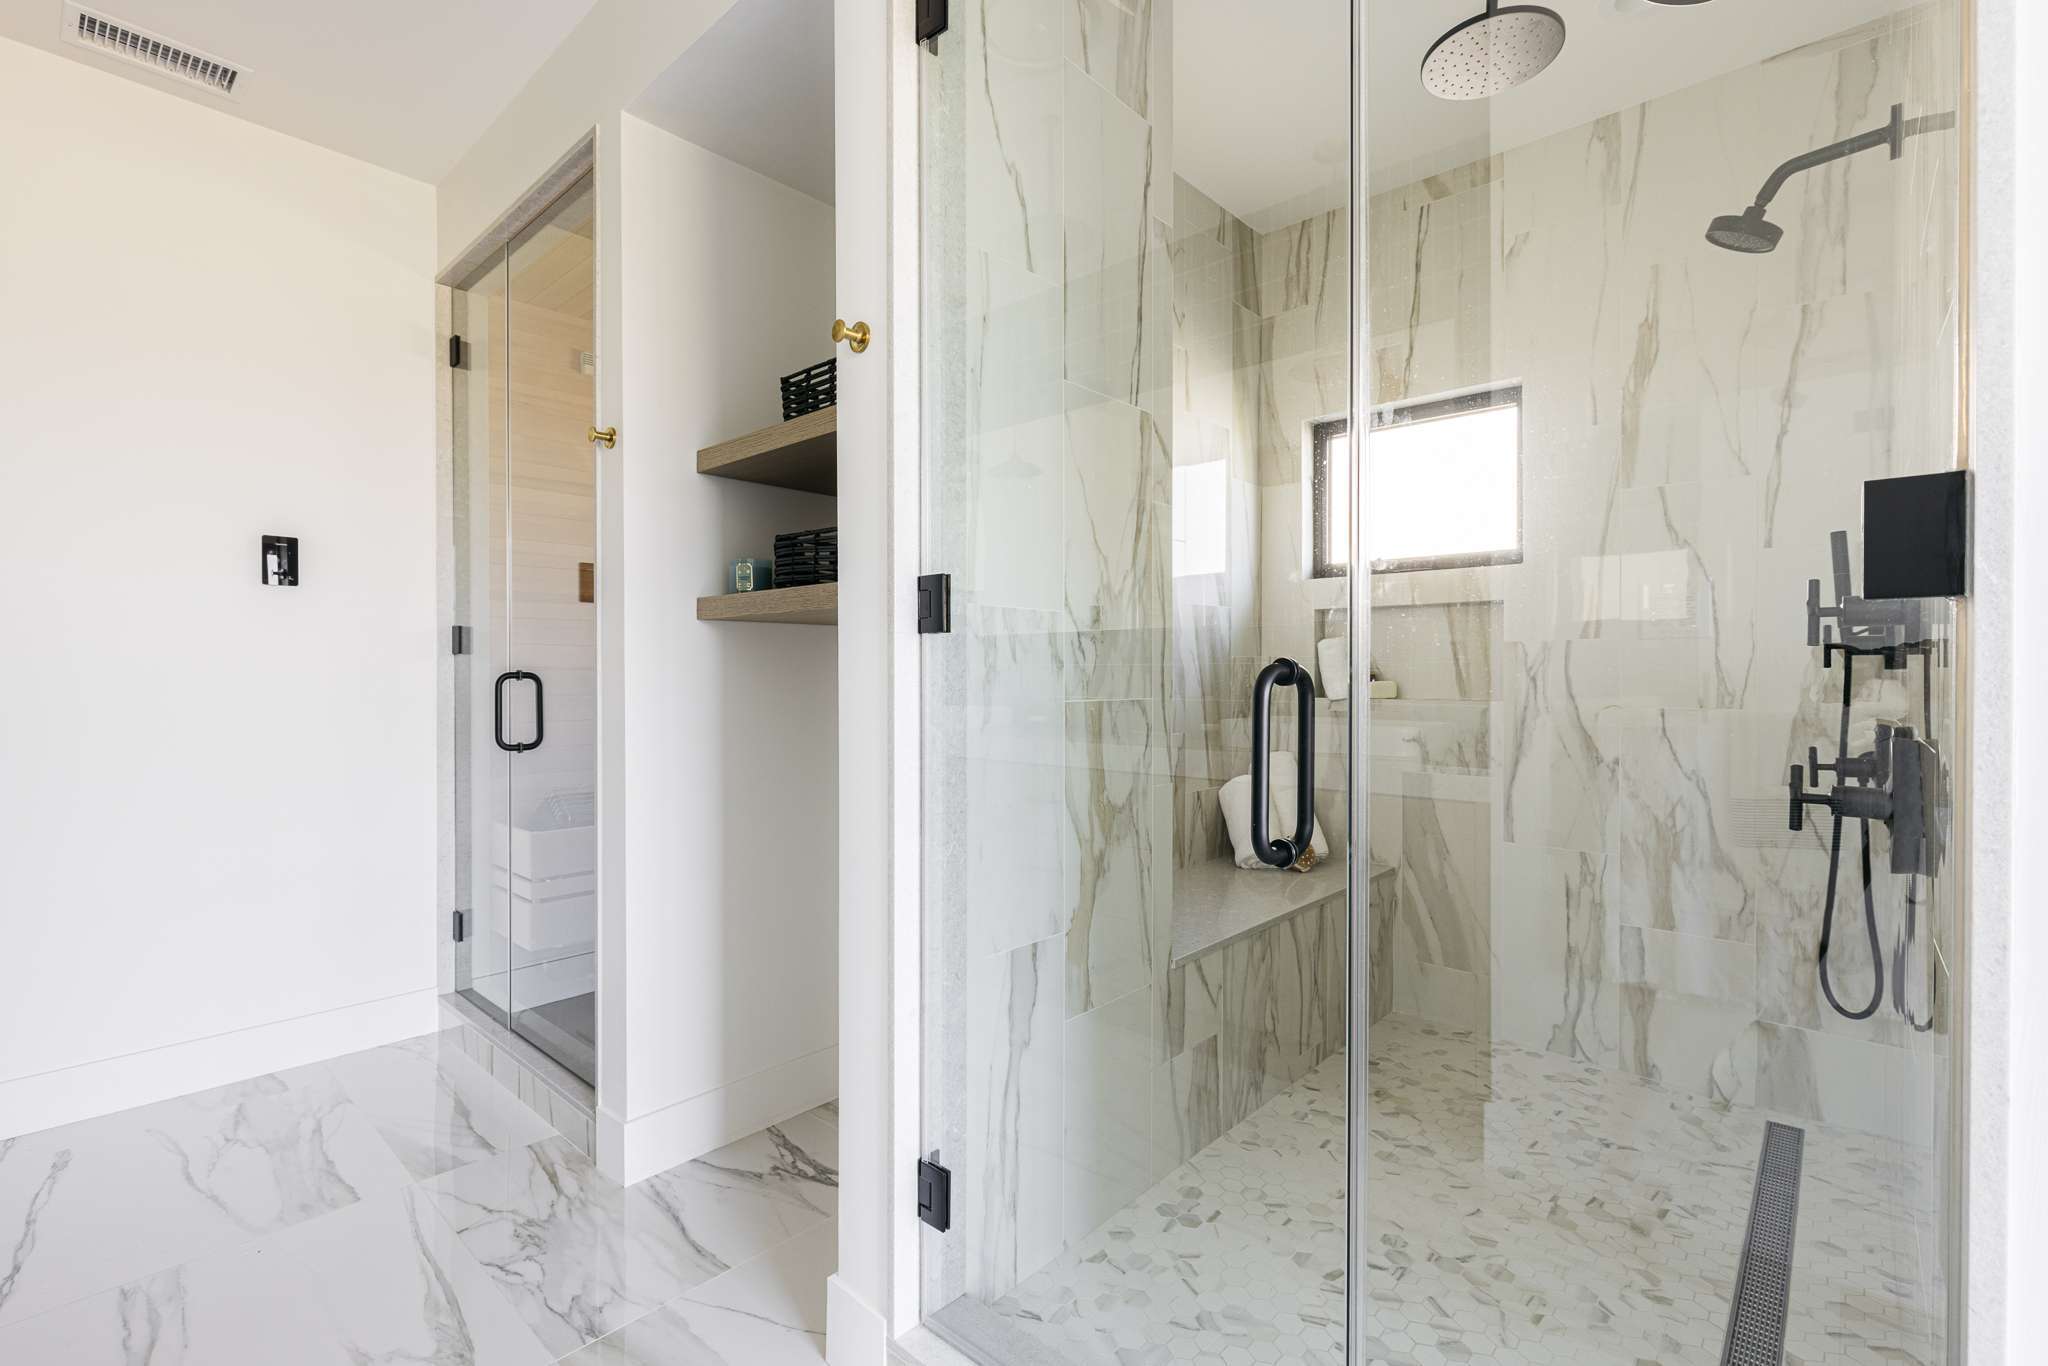
Installing a bathroom shower with digital temperature control can be a complex task, but with the right guidance, it can be a rewarding DIY project. This guide will walk you through the steps involved in installing a digital shower valve, from preparation to final installation, ensuring that you have precise control over your shower's temperature and flow.
Preparation
Before you begin, it's essential to prepare your bathroom for the installation. Here are some key steps to take:
-
Plan Your Installation:
- Determine the location of your digital shower valve. Typically, it is installed on the wall behind the showerhead, but it can also be mounted on the ceiling if your plumbing setup allows it.
- Decide on the type of digital shower valve you want. Some popular brands include Moen and Crosswater, each offering various features such as voice control, app connectivity, and customizable presets.
-
Gather Materials:
- Digital shower valve
- Showerhead
- Water supply lines
- Ball valves
- Electrical connections (if applicable)
- Mounting hardware (e.g., screws, brackets)
- Plumbing tape
- Teflon tape
- Adjustable wrench or basin wrench
- Channel-type pliers (for gripping small objects)
- Safety glasses and gloves
-
Shut Off the Water Supply:
- Locate the shut-off valves for your hot and cold water lines. Turn them clockwise to shut off the water supply to your shower.
-
Drain the Water Lines:
- Open the drain valve to drain any remaining water from the lines. This will prevent water from flowing back into the lines while you work on them.
Step 1: Remove Old Shower Valve (If Applicable)
If you are replacing an old shower valve, follow these steps:
-
Disconnect the Old Valve:
- Use adjustable wrenches or basin wrenches to loosen any fittings connected to the old valve.
- Once loose, carefully remove any remaining connections.
-
Remove Old Valve:
- If the old valve is mounted in a wall, you may need to remove drywall or tile to access it.
- Use a utility knife or drywall saw to cut through drywall or tile as needed.
-
Dispose of Old Valve:
- Properly dispose of the old valve according to local regulations.
Step 2: Mount New Digital Shower Valve
Mounting the new digital shower valve involves several steps:
-
Locate Mounting Position:
- Determine where you want to mount your digital shower valve based on your plumbing setup and personal preference.
-
Mark Mounting Position:
- Use a level and pencil to mark where you will mount your valve on the wall or ceiling.
-
Drill Pilot Holes:
- Use a drill bit slightly smaller than your mounting screws to create pilot holes for your screws.
-
Install Mounting Hardware:
- Insert screws into pilot holes and secure them firmly into place.
-
Mount Digital Shower Valve:
- Carefully lift and place your digital shower valve into position, ensuring it is level and secure.
Step 3: Connect Water Supply Lines
Connecting water supply lines is crucial for proper function:
-
Identify Hot and Cold Lines:
- Identify which lines are hot and cold based on color coding or manufacturer instructions.
-
Cut Supply Lines (If Necessary):
- Use a pipe cutter or hacksaw to cut supply lines as needed for installation.
-
Connect Ball Valves:
- Attach ball valves to each supply line using Teflon tape for secure connections.
-
Connect Ball Valves to Digital Shower Valve:
- Attach ball valves to the digital shower valve using Teflon tape again for secure connections.
-
Tighten Connections:
- Use adjustable wrenches or basin wrenches to tighten all connections securely but avoid over-tightening which could damage pipes.
Step 4: Install Digital Interface
The digital interface is what controls temperature and flow settings:
-
Choose Interface Type:
- Decide whether you want a traditional knob interface or something more modern like a touchscreen display.
-
Install Interface:
- Follow manufacturer instructions for installing the digital interface either directly into the shower wall or on an adjacent surface.
-
Program Presets (If Applicable):
- If your digital shower valve allows it, program multiple presets for different temperatures and flow rates.
Step 5: Test Installation
Testing your installation ensures everything works as expected:
-
Turn On Water Supply:
- Turn the shut-off valves counterclockwise to turn on the water supply.
-
Check for Leaks:
- Inspect all connections for signs of leaks using soapy water or a leak detection spray.
-
Test Temperature Control:
- Adjust temperature settings using your digital interface and check if it maintains consistent temperatures throughout.
-
Test Flow Control:
- Adjust flow settings using your digital interface and check if it regulates water flow effectively.
Additional Considerations
While installing a digital shower valve is generally straightforward, there are some additional considerations:
-
Electrical Connections (If Applicable):
- If your digital shower valve requires electrical connections, ensure they are made by a licensed electrician or follow local electrical codes strictly.
-
Balance Supply Requirements:
- Some digital shower valves require balanced supply lines where both hot and cold water have equal pressure to function properly.
-
Read Instructions Carefully:
- Always read manufacturer instructions carefully before starting any part of the installation process to avoid common pitfalls like unbalanced feeds leading to pressure issues.
Conclusion
Installing a bathroom shower with digital temperature control can be a rewarding DIY project if approached methodically and with proper preparation and execution. By following these steps and considering additional factors like electrical connections and balanced supply requirements, you can enjoy precise control over your shower's temperature and flow without needing professional assistance.
Remember to always refer to specific manufacturer instructions for any particular model you choose as they may have unique requirements or recommendations specific to their products. With patience and attention to detail, you can successfully upgrade your bathroom shower system into something modern and efficient using digital technology.
References:
- Reddit discussion on smart showers.
- DIY chatroom discussion on smart shower controls.
- YouTube video on installing digital showers.
- DoItYourself forum discussion on electronic digital shower faucet retrofit.
- YouTube video on digital shower valve installation expertise.
Was this page helpful?
At Storables.com, we guarantee accurate and reliable information. Our content, validated by Expert Board Contributors, is crafted following stringent Editorial Policies. We're committed to providing you with well-researched, expert-backed insights for all your informational needs.

0 thoughts on “DIY Guide To Installing A Bathroom Shower With Digital Temperature Control”