Home>Articles>How To Take A Pureline Pool Motor Apart And Put Back Together On Electrical Cord
Articles
How To Take A Pureline Pool Motor Apart And Put Back Together On Electrical Cord
Modified: August 26, 2024
Learn the step-by-step process of disassembling and reassembling a Pureline pool motor on an electrical cord with this informative articles.
(Many of the links in this article redirect to a specific reviewed product. Your purchase of these products through affiliate links helps to generate commission for Storables.com, at no extra cost. Learn more)
Introduction
Pool motors play a crucial role in the functioning of a swimming pool. They are responsible for powering the pump that circulates water through the filtration system, keeping it clean and clear. However, over time, these motors may experience wear and tear or develop faults that require repair or replacement. If you have a Pureline pool motor and need to take it apart to address an issue or perform maintenance, this article will guide you through the process.
Before we dive into the step-by-step instructions, it is essential to prioritize safety. Working with electrical components can be hazardous, so make sure to follow the necessary precautions to protect yourself and others around you. Additionally, gather the required tools and materials before starting the disassembly process. This will ensure a smooth and efficient workflow.
By understanding the process of taking a Pureline pool motor apart and putting it back together, you can save valuable time and money by performing the repairs yourself. So let’s equip ourselves with the necessary information and begin the journey to a fully functional pool motor!
Key Takeaways:
- Prioritize safety and gather the necessary tools and materials before disassembling your Pureline pool motor. Following the step-by-step guide and safety precautions will empower you to perform repairs and maintenance with confidence.
- By mastering the disassembly and reassembly process, you can save time and money on pool motor repairs. Remember to refer to the owner’s manual and seek professional help if needed for complex issues.
Read more: How To Put Glass Back Together
Safety Precautions
When working with electrical components, it is essential to prioritize safety to prevent accidents and ensure a smooth repair process. Here are some important safety precautions to keep in mind when taking apart a Pureline pool motor:
- Turn off the power: Before starting any work, disconnect the power supply to the pool motor. This can be done by locating the circuit breaker or switch that controls the motor and turning it off. This step will prevent any potential electrical shocks during the disassembly process.
- Lock out and tag the switch or breaker: Once the power is turned off, lock out and tag the switch or breaker to prevent others from accidentally turning it back on. This will serve as a clear indication that maintenance work is being carried out.
- Wear protective gear: It is crucial to wear appropriate protective gear, including safety glasses and gloves, when working with the motor. This will protect your eyes from debris and your hands from potential cuts or abrasions.
- Work in a well-ventilated area: Ensure that you are working in a well-ventilated area or wear a mask to avoid inhaling any dust or fumes that may be present during the disassembly process.
- Avoid wearing loose clothing or jewelry: Remove any loose clothing, jewelry, or accessories that may pose a risk of getting caught in the motor or tools. This will minimize the chances of accidents or entanglement.
- Follow manufacturer instructions: Carefully read and follow the manufacturer’s instructions for disassembling the Pureline pool motor. Each motor model may have specific guidelines that you should adhere to for safe disassembly.
- Handle electrical connections with caution: When disconnecting electrical connections, ensure that you are handling them with care. Avoid pulling or yanking on the wires, as this can cause damage and increase the risk of electrical hazards.
- Keep children and animals away: During the disassembly process, it is important to keep children and pets away from the work area to prevent accidents or injuries.
By following these safety precautions, you can minimize the risks associated with working on a pool motor and ensure a safe and successful repair or maintenance process.
Tools and Materials Needed
Before you begin disassembling your Pureline pool motor, it is essential to gather the necessary tools and materials to ensure a smooth and efficient process. Here is a list of the tools and materials you will need:
- Adjustable wrench: This tool will be used to loosen and tighten bolts and fittings.
- Screwdrivers: Both a Phillips and a flathead screwdriver will be needed to remove screws and other fasteners.
- Needle-nose pliers: These pliers are useful for gripping and manipulating small components throughout the disassembly process.
- Socket wrench: A socket wrench with the appropriate size socket will be needed to remove bolts and nuts.
- Wire cutters/strippers: These tools are used to cut and strip electrical wires as needed during the disassembly process.
- Multi-meter: A multi-meter is essential for testing electrical connections and verifying voltage readings.
- Plastic bags or containers: Use these to organize and store small parts and screws to prevent them from getting lost during the disassembly process.
- Clean cloth or towel: A clean cloth or towel will be useful for wiping down components and removing any debris.
- Electrician’s tape: This tape can be used to secure and insulate electrical connections as needed.
- Replacement parts: Depending on the specific issue with your pool motor, you may need to have replacement parts on hand. This can include impellers, diffusers, bearings, or other motor components.
- Owner’s manual or manufacturer’s instructions: It is always helpful to have the owner’s manual or specific manufacturer’s instructions for your Pureline pool motor on hand. These documents can provide valuable guidance and information during the disassembly and reassembly process.
Make sure to gather all the necessary tools and materials before you begin the disassembly to avoid interruptions and streamline the repair or maintenance process. With these items at your disposal, you will be well-prepared to tackle the task at hand.
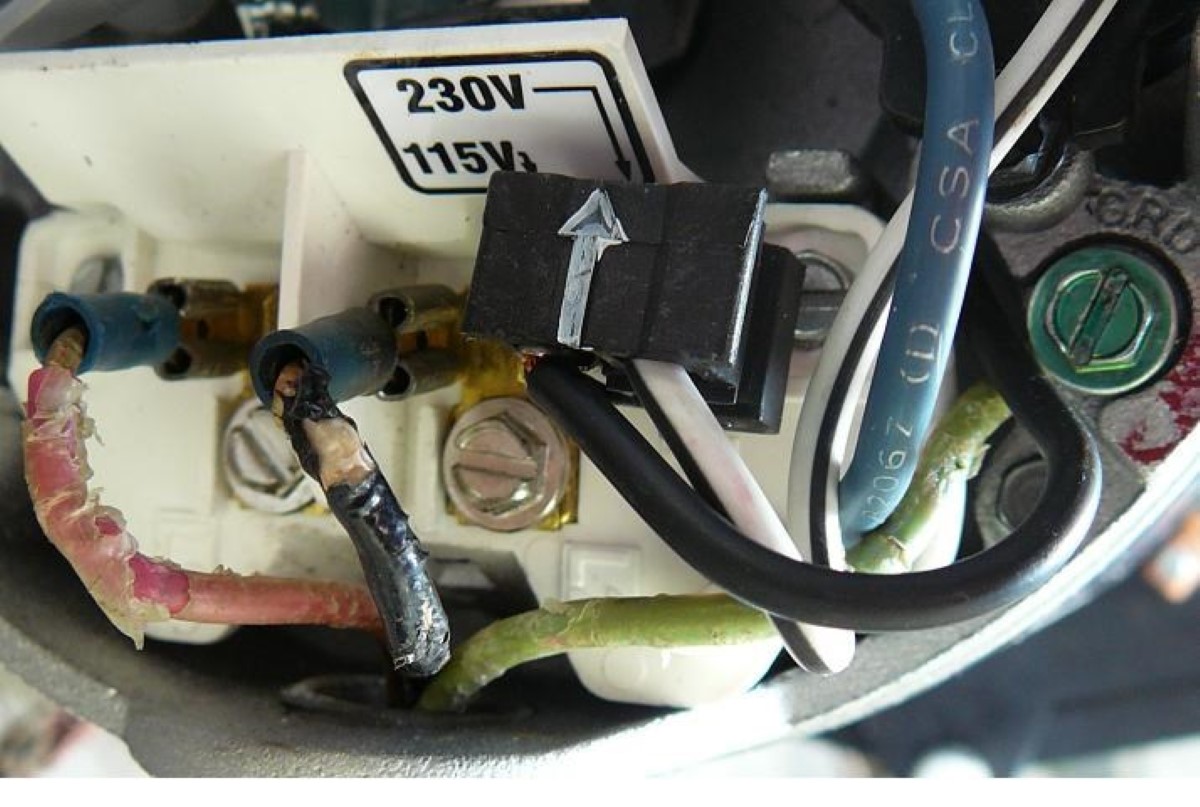
Step 1: Disconnecting the Electrical Cord
The first step in disassembling a Pureline pool motor is to disconnect the electrical cord to ensure your safety and prevent any electrical accidents. Follow these steps:
- Locate the power source for the pool motor. This is typically a circuit breaker or switch that controls the motor’s electrical supply.
- Turn off the power by flipping the circuit breaker switch to the “off” position or switching off the specific switch that controls the pool motor.
- Once the power is turned off, lock out and tag the switch or breaker to inform others that maintenance work is being carried out and to prevent anyone from inadvertently turning it back on.
- Inspect the electrical cord connected to the motor. It is usually connected to a junction box or terminal board on the motor itself.
- Use an adjustable wrench or screwdriver to loosen the screws or bolts that secure the electrical cord to the junction box or terminal board. Take note of the arrangement of the wires and make a mental or written note to ensure correct reconnection later.
- Gently pull the electrical cord out of the junction box or terminal board. Be careful not to pull on the wires themselves to avoid damaging them.
- Wrap the exposed ends of the wires with electrician’s tape to prevent any accidental contact while you continue with the disassembly process.
By following these steps, you can safely disconnect the electrical cord from your Pureline pool motor. This will ensure that no power is flowing to the motor and minimize the risk of electrical hazards as you proceed with the disassembly process.
Step 2: Removing the Motor Assembly from the Pool
Once you have disconnected the electrical cord, the next step in disassembling a Pureline pool motor is to remove the motor assembly from the pool. Follow these steps:
- Locate the motor housing, which is typically mounted near the pool pump or filtration system.
- Inspect the mounting brackets or bolts that secure the motor housing to the pool structure. Determine the type of fasteners used, as this will determine the tools needed for removal.
- Using the appropriate wrench or screwdriver, loosen and remove the fasteners that secure the motor housing to the pool structure. Place the fasteners in a safe place to avoid loss.
- Once the fasteners are removed, carefully lift the motor assembly and housing out of its mounting position. Work slowly and be cautious of any attached pipes or wires that may still be connected to the motor assembly.
- If there are any pipes or hoses connected to the motor assembly, use a wrench or pliers to loosen the fittings and carefully disconnect them. Be prepared for any residual water or pressure that may be present in the pipes.
- Once the motor assembly is completely free from any mounting brackets and disconnected from any pipes or hoses, place it on a clean and flat surface to proceed with the disassembly process.
By following these steps, you can successfully remove the motor assembly from the pool. This will allow you to work on the motor and its components more easily and safely during the disassembly and repair process. Take care to handle the motor assembly with care to avoid any damage or injuries.
Read more: How To Put An Extension Ladder Back Together
Step 3: Disassembling the Motor Housing
After removing the motor assembly from the pool, the next step in disassembling a Pureline pool motor is to disassemble the motor housing. Follow these steps:
- Inspect the motor housing to identify any screws or fasteners that hold it together. These may be located on the sides, bottom, or top of the housing.
- Using the appropriate screwdriver, carefully remove the screws or fasteners that secure the motor housing. Place the screws in a safe location to prevent loss.
- Once all the screws or fasteners are removed, gently separate the motor housing into two halves. Be cautious as you do this, as there may be internal components that are connected to both halves.
- Inspect the interior of the housing for any debris, dirt, or foreign objects that may have accumulated. Use a clean cloth or towel to wipe away any dirt or grime, ensuring that the interior is clean and clear.
- Take note of any gaskets or seals that are present in the motor housing. These may need to be replaced if they are worn or damaged.
- If there are any gaskets or seals, carefully remove them from the motor housing. Pay attention to their placement and orientation, as this will be important during reassembly.
- Inspect the interior components of the motor housing, such as the bearings, shaft, and cooling fan. Take note of any visible wear or damage that may need to be addressed during the repair process.
By following these steps, you can effectively disassemble the motor housing of your Pureline pool motor. This will provide you with access to the internal components of the motor and allow for further inspection and repair as needed. Take care to handle the housing and its components with gentleness to avoid any damage during the disassembly process.
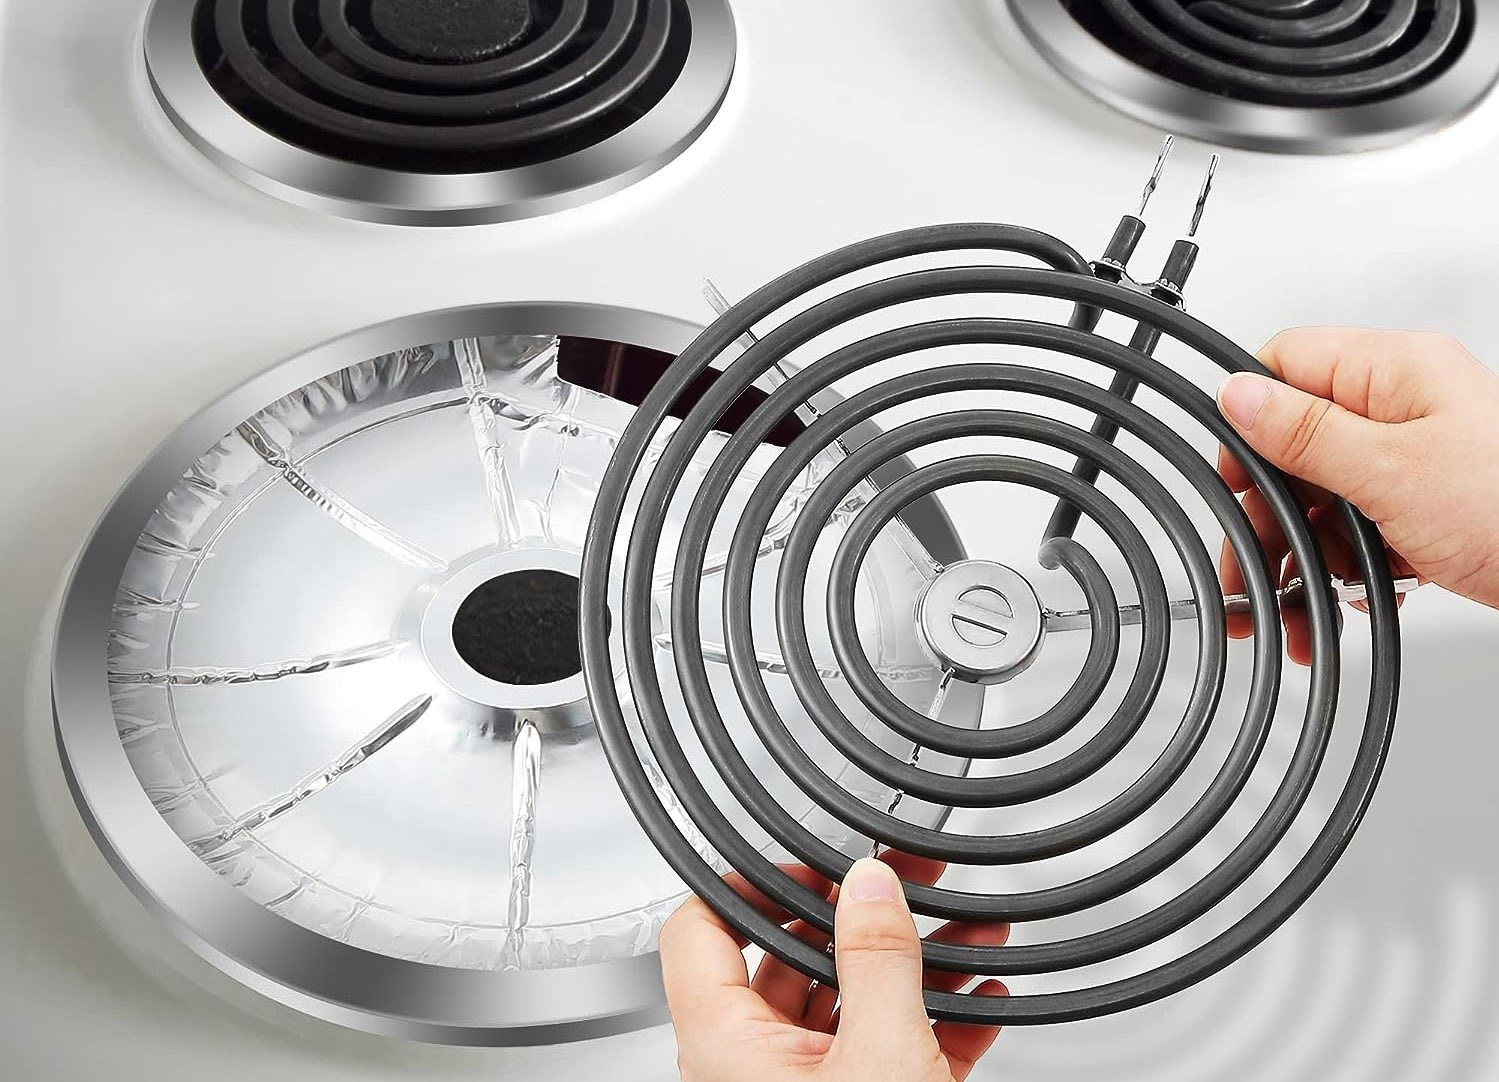
Step 4: Removing the Impeller and Diffuser
Once the motor housing is disassembled, the next step in disassembling a Pureline pool motor is to remove the impeller and diffuser. The impeller and diffuser are crucial components responsible for the circulation of water within the motor. Follow these steps:
- Locate the impeller, which is typically situated within the motor housing. It is connected to the shaft of the motor.
- Inspect the impeller for any screws or fasteners that may be securing it in place. Depending on the model, there may be a screw in the center of the impeller or a locking nut holding it onto the shaft.
- Using the appropriate screwdriver or wrench, remove the screw or locking nut that holds the impeller in place.
- Gently pull the impeller away from the motor shaft. It may require some wiggle or gentle force to release it. Take care not to damage the impeller or the shaft during this process. If necessary, you can use a puller tool specifically designed for removing impellers.
- Set the impeller aside in a safe place, ensuring it does not come into contact with any dirt, debris, or other contaminants.
- Once the impeller is removed, locate the diffuser, which is often located behind the impeller. The diffuser helps direct water flow within the motor housing.
- Inspect the diffuser for any screws or fasteners that may be securing it in place. These may be located around the perimeter of the diffuser or on the motor housing.
- Using the appropriate screwdriver or wrench, remove the screws or fasteners that hold the diffuser in place.
- Gently pull the diffuser away from the motor housing, being careful not to damage it or any other internal components.
- Set the diffuser aside in a safe location, away from any potential damage.
By following these steps, you can easily remove the impeller and diffuser from your Pureline pool motor. This allows for further inspection and potential replacement of these components if necessary. Take care to handle the impeller and diffuser with caution to avoid any damage during the disassembly process.
Step 5: Disconnecting the Electrical Connections
After removing the impeller and diffuser, the next step in disassembling a Pureline pool motor is to disconnect the electrical connections. These connections include wires that provide power to the motor and may also include other components such as capacitors. Follow these steps:
- Locate the electrical connections on the motor. These are typically located near the rear of the motor or on a terminal board within the motor housing.
- Inspect the electrical connections to identify any screws, bolts, or wire connectors that are securing them in place.
- Using the appropriate screwdriver or wrench, loosen and remove any screws or bolts that are securing the wires or connectors.
- For wire connectors, carefully disconnect them by firmly gripping each connector and pulling them apart.
- Once the electrical connections are disconnected, gently separate the wires, taking care not to cause any damage to them.
- If there are any capacitors connected to the motor, take note of their placement and orientation for reassembly. Disconnect any wires or connectors that are attached to the capacitors in a similar fashion to the main electrical connections.
- Set aside any screws, bolts, wire connectors, or capacitors in a safe location to prevent loss or damage.
- Wrap the exposed ends of the wires with electrician’s tape to prevent any accidental contact while you continue with the disassembly process.
By following these steps, you can safely disconnect the electrical connections from your Pureline pool motor. This allows for easier handling of the motor during the disassembly process and ensures that no power is flowing to the motor, minimizing the risk of electrical hazards. Handle the electrical connections and wires with care to avoid any damage or injuries.
Step 6: Removing the Motor from the Housing
Once the electrical connections are disconnected, the next step in disassembling a Pureline pool motor is to remove the motor from the housing. Follow these steps:
- Inspect the motor housing to identify any screws, bolts, or clamps that secure the motor in place.
- Using the appropriate screwdriver or wrench, remove any screws or bolts that are holding the motor to the housing.
- If there are clamps securing the motor, loosen them using the appropriate tool. Take note of their placement and orientation for reassembly.
- With the fasteners removed, gently lift the motor away from the housing. Be careful as you do this, as the motor may be heavy and need support.
- If the motor is stuck or difficult to remove, try gently wiggling it or using a rubber mallet to lightly tap the housing. This can help loosen any adhesive or clinging components.
- Once the motor is free from the housing, carefully set it aside on a clean and flat surface. Avoid placing it near any water or contaminants.
- Inspect the motor housing for any dirt, debris, or internal components that may need cleaning or further attention.
- If necessary, use a clean cloth or towel to wipe down the housing and remove any dirt or debris.
By following these steps, you can successfully remove the motor from the housing of your Pureline pool motor. This allows for easier access to the motor components and facilitates repair or maintenance as needed. Handle the motor with care, as it may be heavy or delicate, and set it aside in a safe location while you continue with the disassembly process.
When taking apart a Pureline pool motor, be sure to disconnect the electrical cord first. Take note of the wiring and connections before disassembly to ensure proper reassembly. Keep track of the parts and follow the manufacturer’s instructions for reassembly.
Read more: How To Put Electric Motor On Bicycle
Step 7: Inspecting and Cleaning the Motor Parts
Once the motor is removed from the housing, the next step in disassembling a Pureline pool motor is to inspect and clean the motor parts. This step is crucial for identifying any issues or damage and ensuring optimal performance. Follow these steps:
- Begin by inspecting the motor parts, such as the motor shaft, bearings, cooling fan, and any other visible components. Look for signs of wear, damage, or corrosion.
- Check the motor shaft for any signs of bending, cracks, or excessive wear. A bent or damaged shaft can affect the motor’s performance and efficiency.
- Inspect the motor bearings for any signs of wear, such as excessive noise, looseness, or rough movement. Worn bearings may need to be replaced to maintain smooth and reliable operation.
- Examine the cooling fan to ensure it is clean and free from debris. A dirty or clogged fan can hinder proper cooling and lead to overheating of the motor.
- If you notice any visible dirt or debris on the motor parts, use a clean cloth or compressed air to gently remove it. Take care not to apply excessive force that could damage delicate components.
- For more thorough cleaning, you can use a mild detergent solution or a motor cleaner specifically designed for electrical components. Follow the manufacturer’s instructions for application and ensure that the motor is completely dry before reassembly.
- Inspect any other internal components, such as capacitors or switches, for any visible damage or wear. Ensure that all electrical connections are secure and undamaged.
- If you identify any parts that require replacement, such as worn bearings or damaged switches, make a note of them for future reference and sourcing of replacement parts.
By following these steps, you can thoroughly inspect and clean the motor parts of your Pureline pool motor. This will help identify any issues that need to be addressed during the repair process and ensure that the motor functions optimally. Ensure to handle the motor with care and use caution when inspecting or cleaning delicate components.
Step 8: Reassembling the Motor Housing
After inspecting and cleaning the motor parts, the next step in disassembling a Pureline pool motor is to reassemble the motor housing. Follow these steps:
- Gather the motor housing components that were removed during the disassembly process, including any gaskets or seals.
- If any gaskets or seals were removed, place them in their proper positions within the motor housing. Pay attention to their orientation and ensure a snug fit.
- Reattach the motor assembly to the motor housing, aligning any screw holes or brackets.
- Using the appropriate screwdriver or wrench, fasten the screws or bolts to secure the motor housing. Ensure they are tightened securely but not overly tight, as this can cause damage to the housing.
- If there are clamps securing the motor housing, reattach them, ensuring they are properly aligned and tightened to hold the motor housing securely in place.
- Double-check the motor housing to ensure all components are properly aligned and secured.
- Inspect the motor housing for any remaining dirt or debris. Use a clean cloth or compressed air to remove any particles.
- If necessary, reapply any insulating materials or protective covers as recommended by the manufacturer.
- Ensure all electrical connections within the motor housing are properly connected and secure. Double-check that wires are not pinched or trapped between any components.
- Refer to the manufacturer’s instructions or the owner’s manual for any additional specifications or guidelines specific to reassembling the motor housing.
By following these steps, you can successfully reassemble the motor housing of your Pureline pool motor. This step ensures that all components are securely in place and sets the foundation for the subsequent steps of reassembling the motor. Take care to handle the motor housing and its components with care to avoid any damage during the reassembly process.
Step 9: Reconnecting the Electrical Connections
After reassembling the motor housing, the next step in disassembling a Pureline pool motor is to reconnect the electrical connections. This step ensures that the motor receives the necessary power supply and allows for proper functioning. Follow these steps:
- Inspect the electrical connections within the motor housing to ensure they are clean and undamaged.
- If the wires were wrapped with electrician’s tape during the disassembly process, remove the tape from the ends of the wires.
- Refer to your notes or the previously made observations to determine the correct alignment and connection of each wire.
- For each wire, strip about half an inch (1.27 cm) of insulation from the end using wire cutters or strippers.
- Insert the exposed end of each wire into its respective terminal or connector. Ensure a secure and snug fit.
- If there are screws or bolts securing the wires, use the appropriate screwdriver or wrench to fasten them securely. Take care not to overtighten and damage the wires.
- Inspect the connections to ensure that wires are not crossed or touching each other, which can cause electrical shorts or malfunctions.
- If there are any capacitors that were disconnected, reconnect the wires or connectors to their respective terminals, ensuring proper alignment.
- Refer to the manufacturer’s instructions or the motor’s wiring diagram to verify that all connections are correctly made.
- Double-check that all electrical connections are secure and properly insulated. Use electrician’s tape or wire connectors to insulate any exposed wires if necessary.
By following these steps, you can successfully reconnect the electrical connections within your Pureline pool motor. Ensuring proper connections reduces the risk of electrical issues and allows the motor to operate efficiently. Take care to handle the electrical connections and wires with caution, ensuring they are properly aligned and securely fastened.
Step 10: Installing the Impeller and Diffuser
After reconnecting the electrical connections, the next step in disassembling a Pureline pool motor is to install the impeller and diffuser. These components play a critical role in the circulation of water within the motor. Follow these steps:
- Retrieve the impeller that was removed earlier and inspect it for any debris or damage. Clean it if necessary using a soft cloth and water.
- Align the threaded shaft of the motor with the center hole of the impeller.
- If applicable, apply a small amount of lubricant or pool pump sealant to the motor shaft to enhance the installation process.
- Gently push the impeller onto the motor shaft, ensuring it is aligned properly. The impeller should slide onto the shaft with moderate pressure, but avoid using excessive force.
- If there was a screw or locking nut that initially secured the impeller, reattach and tighten it using the appropriate tool. Follow the manufacturer’s instructions for the specific torque specifications.
- Retrieve the diffuser that was removed earlier and inspect it for any debris or damage. Clean it if necessary using a soft cloth and water.
- Place the diffuser over the impeller, ensuring it is aligned correctly. The diffuser should fit snugly into the housing.
- Secure the diffuser to the motor housing using screws or fasteners. Ensure they are tightened securely but not overly tight, as this can result in damage to the housing or components.
- Double-check that the impeller and diffuser are properly seated and aligned within the motor housing. Ensure there is no interference or obstruction.
- Inspect the impeller and diffuser installation to verify that there is no excessive wobble or misalignment. A properly installed impeller and diffuser should rotate smoothly and evenly.
By following these steps, you can successfully install the impeller and diffuser back into your Pureline pool motor. These components are crucial for the efficient circulation of water within the motor. Take care to handle the impeller and diffuser with caution and ensure they are properly aligned and securely fastened.
Read more: How To Put A Blender Together
Step 11: Placing the Motor Back into the Housing
After installing the impeller and diffuser, the next step in disassembling a Pureline pool motor is to place the motor back into the housing. This step involves carefully positioning the motor to ensure a proper fit within the housing and secure attachment. Follow these steps:
- Retrieve the motor that was set aside earlier and inspect it for any debris or damage. Clean it if necessary using a soft cloth and water.
- Position the motor so that the shaft aligns with the opening in the motor housing.
- Gently lower the motor into the housing, taking care not to damage any wires or other internal components.
- Ensure that the motor is seated properly and aligned with any mounting brackets or holes in the housing. The motor should fit snugly within the housing.
- If there are mounting brackets, secure them using the appropriate screws or bolts. Tighten them securely but not overly tight to avoid damage to the motor or housing.
- If there are clamps securing the motor to the housing, reattach them, ensuring they are properly aligned and tightened to hold the motor securely in place.
- Double-check that the motor is properly positioned and secured within the housing. Verify that there is no interference or obstruction that could affect the motor’s performance.
- Inspect the motor housing and ensure that all connections and wires within the housing are properly secured and organized. Tuck any excess wires away to prevent interference or damage.
- Verify that the motor shaft extends through the impeller and diffuser assembly, ready to transfer motion to the impeller.
- Ensure that all electrical connections within the motor housing are properly reconnected and secure. Double-check that wires are not pinched or trapped between any components.
By following these steps, you can successfully place the motor back into the housing of your Pureline pool motor. Proper alignment and secure attachment are essential for the motor’s optimal performance. Take care to handle the motor and housing with caution, ensuring that all connections are properly secured and wires are organized to prevent any interference.
Step 12: Reattaching the Motor Assembly to the Pool
After placing the motor back into the housing, the next step in disassembling a Pureline pool motor is to reattach the motor assembly to the pool. This step involves securely mounting the motor assembly in its designated location, ensuring stability and proper connection to the pool’s plumbing system. Follow these steps:
- Inspect the mounting brackets or bolts on the motor assembly and the pool structure to ensure they are clean and undamaged.
- Position the motor assembly in its original location near the pool pump or filtration system.
- Align the mounting brackets or holes on the motor assembly with the corresponding brackets or bolts on the pool structure.
- Insert the mounting bolts or align the brackets with the existing holes, depending on the specific design of the motor assembly and pool structure.
- Using the appropriate wrench or screwdriver, fasten the mounting bolts or tighten the brackets securely. Ensure that the motor assembly is stable and properly secured to the pool structure.
- If there are any external pipes or hoses that were previously disconnected, reconnect them to the motor assembly and secure them with clamps or fittings.
- Ensure that all pipe connections are properly aligned and tightened to prevent any leaks or loss of water pressure.
- Inspect the motor assembly and surrounding area for any remaining debris or clutter. Clean the area if necessary to maintain a clean and functional pool environment.
- Double-check that all connections to the motor assembly and pool structure are securely fastened and properly aligned.
- With the motor assembly reattached, verify that the motor’s orientation is correct, with the electrical connections and other components facing the intended direction.
By following these steps, you can successfully reattach the motor assembly of your Pureline pool motor to the pool’s structure. Ensuring stability and proper connection is crucial for the motor’s smooth operation and overall functionality. Take care to handle the motor assembly and plumbing connections with caution to avoid any damage during the reattachment process.
Step 13: Connecting the Electrical Cord
The final step in disassembling a Pureline pool motor is to connect the electrical cord, providing power to the motor. This step involves ensuring a secure and proper connection to enable the motor’s functionality. Follow these steps:
- Locate the electrical cord that was previously disconnected.
- Inspect the cord for any damage or frayed areas. If any damage is found, it is crucial to replace the cord with a new one to ensure safety.
- Ensure that the cord is untangled and free from any obstructions.
- Identify the junction box or terminal board on the motor where the electrical cord needs to be connected.
- Prepare the electrical cord by stripping approximately half an inch (1.27 cm) of insulation from the end using wire cutters or strippers.
- Insert the exposed wire ends into the appropriate terminal slots or wire connectors on the motor. Match the respective wire colors (typically black, white, and green) to their corresponding terminals.
- Apply gentle pressure to ensure the wire ends are securely inserted into the terminals or connectors.
- If there are screws or bolts securing the wires, use the appropriate tool to fasten them securely. Take care not to overtighten and damage the wires.
- Verify that the electrical connections are properly secured, with no loose or exposed wires.
- Inspect the cord for any signs of strain or tension. Make sure there is sufficient slack to prevent any stress on the connections.
- If applicable, reattach any strain relief devices or clamps to secure the electrical cord in place.
- Double-check that all electrical connections are securely fastened and properly insulated. Use electrician’s tape or wire connectors to insulate any exposed wires if necessary.
- Turn on the power supply at the circuit breaker or switch, following proper safety protocols.
- Verify that the motor is receiving power and operational by running a test cycle.
By following these steps, you can successfully connect the electrical cord of your Pureline pool motor. It is important to ensure a secure and proper connection for the motor to function effectively and safely. Take care to handle the cord and make connections with caution to prevent any electrical hazards or damage to the motor.
Conclusion
Congratulations! You have successfully disassembled and reassembled a Pureline pool motor. By following the step-by-step guide and taking the necessary safety precautions, you have gained the knowledge and confidence to tackle pool motor repairs and maintenance on your own.
Throughout the process, you learned how to disconnect the electrical cord, remove the motor assembly from the pool, disassemble the motor housing, remove the impeller and diffuser, disconnect and reconnect the electrical connections, inspect and clean the motor parts, reassemble the motor housing, and place the motor back into the housing. Finally, you reattached the motor assembly to the pool and connected the electrical cord, completing the entire procedure.
Remember, safety should always come first when working with electrical components. Be sure to turn off the power supply, lock out and tag the switch or breaker, and wear appropriate protective gear. Following safety protocols will help prevent accidents and ensure a smooth and secure repair process.
By taking the DIY approach to pool motor repairs, you can save both time and money. However, it’s important to note that some repairs may require the expertise of a professional pool technician, particularly if you are unsure of the issue or lack experience in working with electrical components.
Now that you have the knowledge and understanding of the disassembly and reassembly process, you can confidently address common pool motor issues, perform routine maintenance, and keep your swimming pool running smoothly and efficiently. Remember to refer to your owner’s manual or manufacturer’s instructions for any specific considerations and guidelines pertaining to your particular Pureline pool motor model.
With regular care and maintenance, your pool motor will continue to provide you with years of seamless operation, allowing you to enjoy your swimming pool to the fullest. Congratulations once again on completing this disassembly and reassembly journey, and may your pool motor keep your pool crystal-clear and inviting for years to come!
Frequently Asked Questions about How To Take A Pureline Pool Motor Apart And Put Back Together On Electrical Cord
Was this page helpful?
At Storables.com, we guarantee accurate and reliable information. Our content, validated by Expert Board Contributors, is crafted following stringent Editorial Policies. We're committed to providing you with well-researched, expert-backed insights for all your informational needs.


0 thoughts on “How To Take A Pureline Pool Motor Apart And Put Back Together On Electrical Cord”