Articles
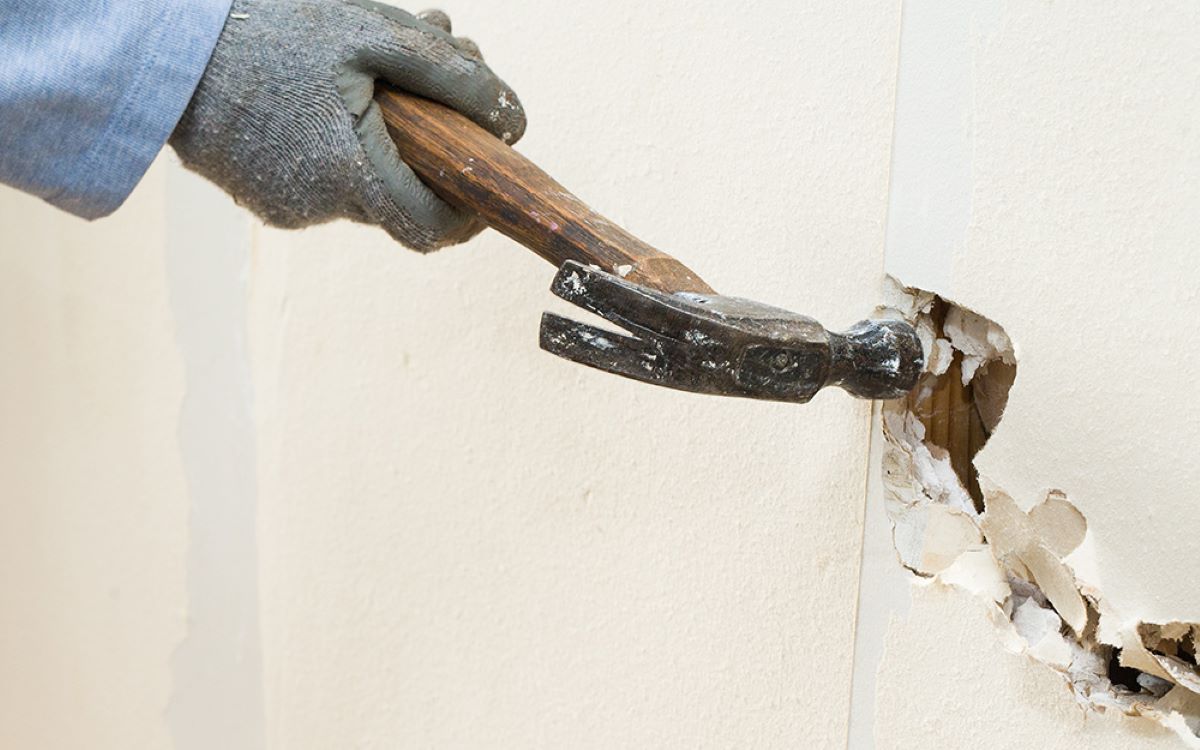
How To Remove Drywall
Modified: October 20, 2024
Learn efficient methods and tools for removing drywall in this informative articles. Find step-by-step instructions and expert tips to make the process easier and hassle-free.
(Many of the links in this article redirect to a specific reviewed product. Your purchase of these products through affiliate links helps to generate commission for Storables.com, at no extra cost. Learn more)
Introduction
Removing drywall is a common task that homeowners often encounter during renovation or repair projects. Whether you’re looking to remodel a space, fix water damage, or make room for an addition, knowing how to remove drywall is an essential skill to have. While it may seem daunting at first, with the right tools, materials, and techniques, you can easily tackle this DIY project.
Before diving into the process of removing drywall, it’s important to understand the basic structure of this common building material. Drywall, also known as gypsum board or sheetrock, is a panel made of calcium sulfate dihydrate (gypsum) sandwiched between two layers of paper. It provides a smooth and durable surface for walls and ceilings and is widely used in residential and commercial construction.
While removing drywall may involve some physical labor, it can be a rewarding process that allows you to transform your living space. However, it’s crucial to exercise caution and take necessary safety precautions to avoid injury. This article will guide you through the step-by-step process of removing drywall safely and efficiently.
Key Takeaways:
- Safety first! Prioritize protective gear, utility shutdown, and cautious handling to remove drywall safely. Proper preparation, scoring, and careful handling are essential for a successful DIY project.
- Efficiently remove drywall by following a systematic process. From preparation and scoring to cutting, removal, and cleanup, each step contributes to a smooth and professional outcome.
Safety Precautions
Before embarking on any DIY project, safety should always be your top priority. When it comes to removing drywall, there are several precautions you should take to protect yourself and others in the vicinity:
- Wear protective gear: Always wear safety goggles, work gloves, and a dust mask to protect your eyes, hands, and lungs from debris, dust, and potential hazards.
- Turn off the electricity: Before starting the removal process, ensure that the power supply to the area is turned off, especially if you’ll be working near electrical outlets or light switches.
- Check for asbestos: If your house was built before the 1980s, there is a possibility that the drywall may contain asbestos. Asbestos is a hazardous material and should only be handled by professionals. If you suspect the presence of asbestos, contact a licensed abatement contractor to assess and safely remove the drywall.
- Secure the area: Clear the workspace of any obstacles and ensure that the area is well-lit. Use caution tape or barriers to prevent access to the work area, especially if there are children or pets in the house.
- Use proper lifting techniques: Drywall sheets can be heavy, so it’s important to use proper lifting techniques to avoid strain or injury to your back. Bend your knees and lift with your legs, keeping your back straight.
- Take breaks: Removing drywall can be physically demanding. Remember to take frequent breaks to rest and hydrate to prevent exhaustion or dehydration.
- Dispose of debris safely: Properly dispose of all the debris and waste generated during the removal process. Bag it securely and follow your local regulations for disposal or recycling.
By following these safety precautions, you can minimize the risk of accidents and ensure a safe removal process. Always prioritize your well-being and seek professional assistance if you’re unsure about any aspect of removing drywall.
Tools and Materials Needed
Before you begin the process of removing drywall, it’s important to gather the necessary tools and materials to ensure a smooth and efficient workflow. Here is a list of the essential items you’ll need:
Tools:
- Utility knife or drywall saw: For scoring and cutting through the drywall.
- Hammer or drill: To remove screws or nails holding the drywall in place.
- Pry bar or crowbar: Useful for prying off baseboards and trim.
- Screwdriver: To remove screws from the drywall.
- Mallet or rubber mallet: Handy for tapping and breaking up sections of drywall.
- Drywall lift or T-Joint Tool: Optional but helpful for supporting and holding up drywall sheets during removal.
- Drywall rasp or sanding block: For smoothing rough edges or imperfections after removal.
- Drywall joint compound and a putty knife: For patching and repairing the wall after the drywall is removed.
- Measuring tape and pencil: To mark and measure the placement of cuts or openings in the drywall.
- Dust mask, safety goggles, and work gloves: To protect yourself from dust, debris, and potential hazards.
Materials:
- Drywall sheets: If you’re planning to replace the existing drywall, make sure you have the appropriate number and size of new drywall sheets.
- Drywall screws: If you’re reusing the existing drywall, you’ll need new screws to secure it back in place.
- Drywall joint tape: Used to reinforce joints between drywall sheets during installation or repair.
- Drywall joint compound: Used for filling gaps, seams, and nail/screw holes in the drywall.
- Plastic sheets or drop cloths: to protect the surrounding area from dust and debris.
- Trash bags or disposal containers: For properly disposing of the removed drywall, nails, screws, and other waste.
- Painter’s tape: To mark areas or create guidelines on the drywall for cutting or removal.
Having these tools and materials readily available before you start the project will save you time and make the overall process more efficient. It’s important to use high-quality tools and materials to ensure optimal results and minimize potential issues during the removal process.
Read more: How To Remove Z-brick From Drywall
Step 1: Preparation
Before you dive into removing the drywall, it’s crucial to properly prepare the area and protect surrounding surfaces to minimize damage and make cleanup easier. Here are the steps to follow for effective preparation:
- Clear the area: Remove all furniture, decorations, or any other items that might obstruct your workspace. This will provide you with ample room to work efficiently and prevent any potential damage to your belongings.
- Turn off utilities: Locate and switch off the utilities, such as electricity, water, or gas, that may be connected to the wall you’re working on. This step ensures your safety and avoids the risk of damaging any crucial systems.
- Protect the floors: Cover the floor with plastic sheets or drop cloths to catch any falling debris and prevent damage to the flooring. Securely tape them down to keep them in place throughout the process.
- Cover furniture and fixtures: If you are unable to remove large furniture or fixtures from the room, protect them by covering them with plastic sheets or old blankets. This will prevent dust and debris from settling on them during the removal process.
- Seal off vents and openings: Use plastic sheets or tape to seal off air vents, electrical outlets, and any other openings in the room. This will prevent dust from spreading throughout the house and minimize the cleanup required.
- Prepare a disposal area: Set up a designated area, such as a garbage bin or dumpster, near the work area to dispose of the removed drywall, nails, screws, and other waste. This will help keep the workspace organized and make cleanup easier.
- Put on protective gear: Before you begin, don’t forget to wear your safety goggles, work gloves, and dust mask to protect yourself from dust, debris, and potential hazards.
By properly preparing the area, you will create a safe and organized workspace that allows for efficient drywall removal. Taking the time to protect surrounding surfaces and belongings will not only save you time and effort during cleanup but also ensure a smoother overall process.
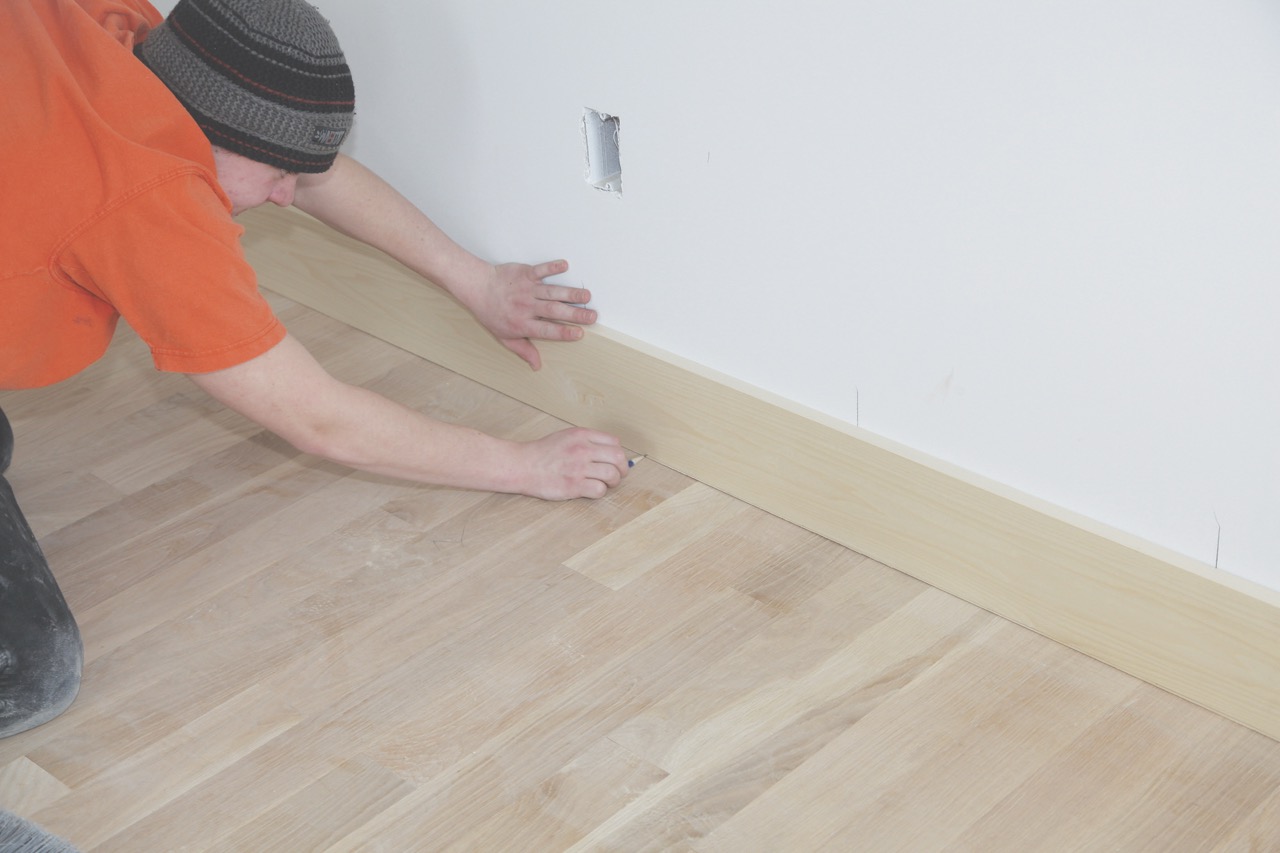
Step 2: Removing Baseboards and Trim
Before you can start removing the drywall, it’s important to remove the baseboards and trim that may be attached to the wall. This step will allow for a cleaner and more seamless removal process. Here’s how to remove baseboards and trim:
- Gather the necessary tools: You will need a pry bar or crowbar, a hammer, and a utility knife or mini saw to remove the baseboards and trim.
- Start at the corner: Begin at the corner of the wall where the baseboard or trim meets. Insert the pry bar between the baseboard/trim and the wall, then gently pry it away from the wall. Use the hammer to tap the pry bar if needed for additional leverage.
- Work your way along the wall: Continue moving along the wall, inserting the pry bar and gently prying the baseboard/trim away from the wall. Take your time to avoid damaging the baseboard or trim, particularly if you plan to reuse them.
- Remove any nails or screws: Once the baseboard/trim is loose, use a hammer or pliers to remove any nails or screws that may be holding them in place. Set the nails/screws aside for later disposal.
- Label and store the baseboards and trim: If you plan to reuse the baseboards and trim, label them before removing them to ensure easy reinstallation. Stack them in a safe place, laying them flat to prevent warping or damage.
- Inspect the wall: Once the baseboards and trim are removed, examine the wall surface for any visible damage, such as cracks or holes. Take note of any repairs that may be needed before installing new drywall.
Removing the baseboards and trim before tackling the drywall will make the process much smoother and help preserve these elements for reuse or reinstallation. By taking your time and using the proper tools, you can successfully remove baseboards and trim without causing unnecessary damage to them or the wall.
Step 3: Scoring the Drywall
Scoring the drywall is an important step in the removal process as it helps weaken the gypsum board and makes it easier to break apart. Here’s how to score the drywall:
- Gather the necessary tools: You will need a utility knife or a drywall saw to score the drywall.
- Identify the studs: Use a stud finder or tap along the wall to locate the studs behind the drywall. Mark their locations with a pencil or painter’s tape.
- Create a starting point: Start at a corner or an edge of the drywall. Place the utility knife or drywall saw against the surface and gently apply pressure to score the drywall along the edge.
- Score along the stud: Once you have created the starting point, continue scoring along the stud behind the drywall. Move in a straight line, applying enough pressure to create a visible groove but not deep enough to cut through the paper on the front side of the drywall.
- Repeat the process: Move along the wall, scoring the drywall at regular intervals, typically every 16 inches, where the studs are located. This will weaken the drywall and make it easier to remove in sections later on.
- Score around openings: If there are any openings, such as windows or doors, make sure to score around them as well. Take care to score along the edges of the opening and around any electrical outlets or switches.
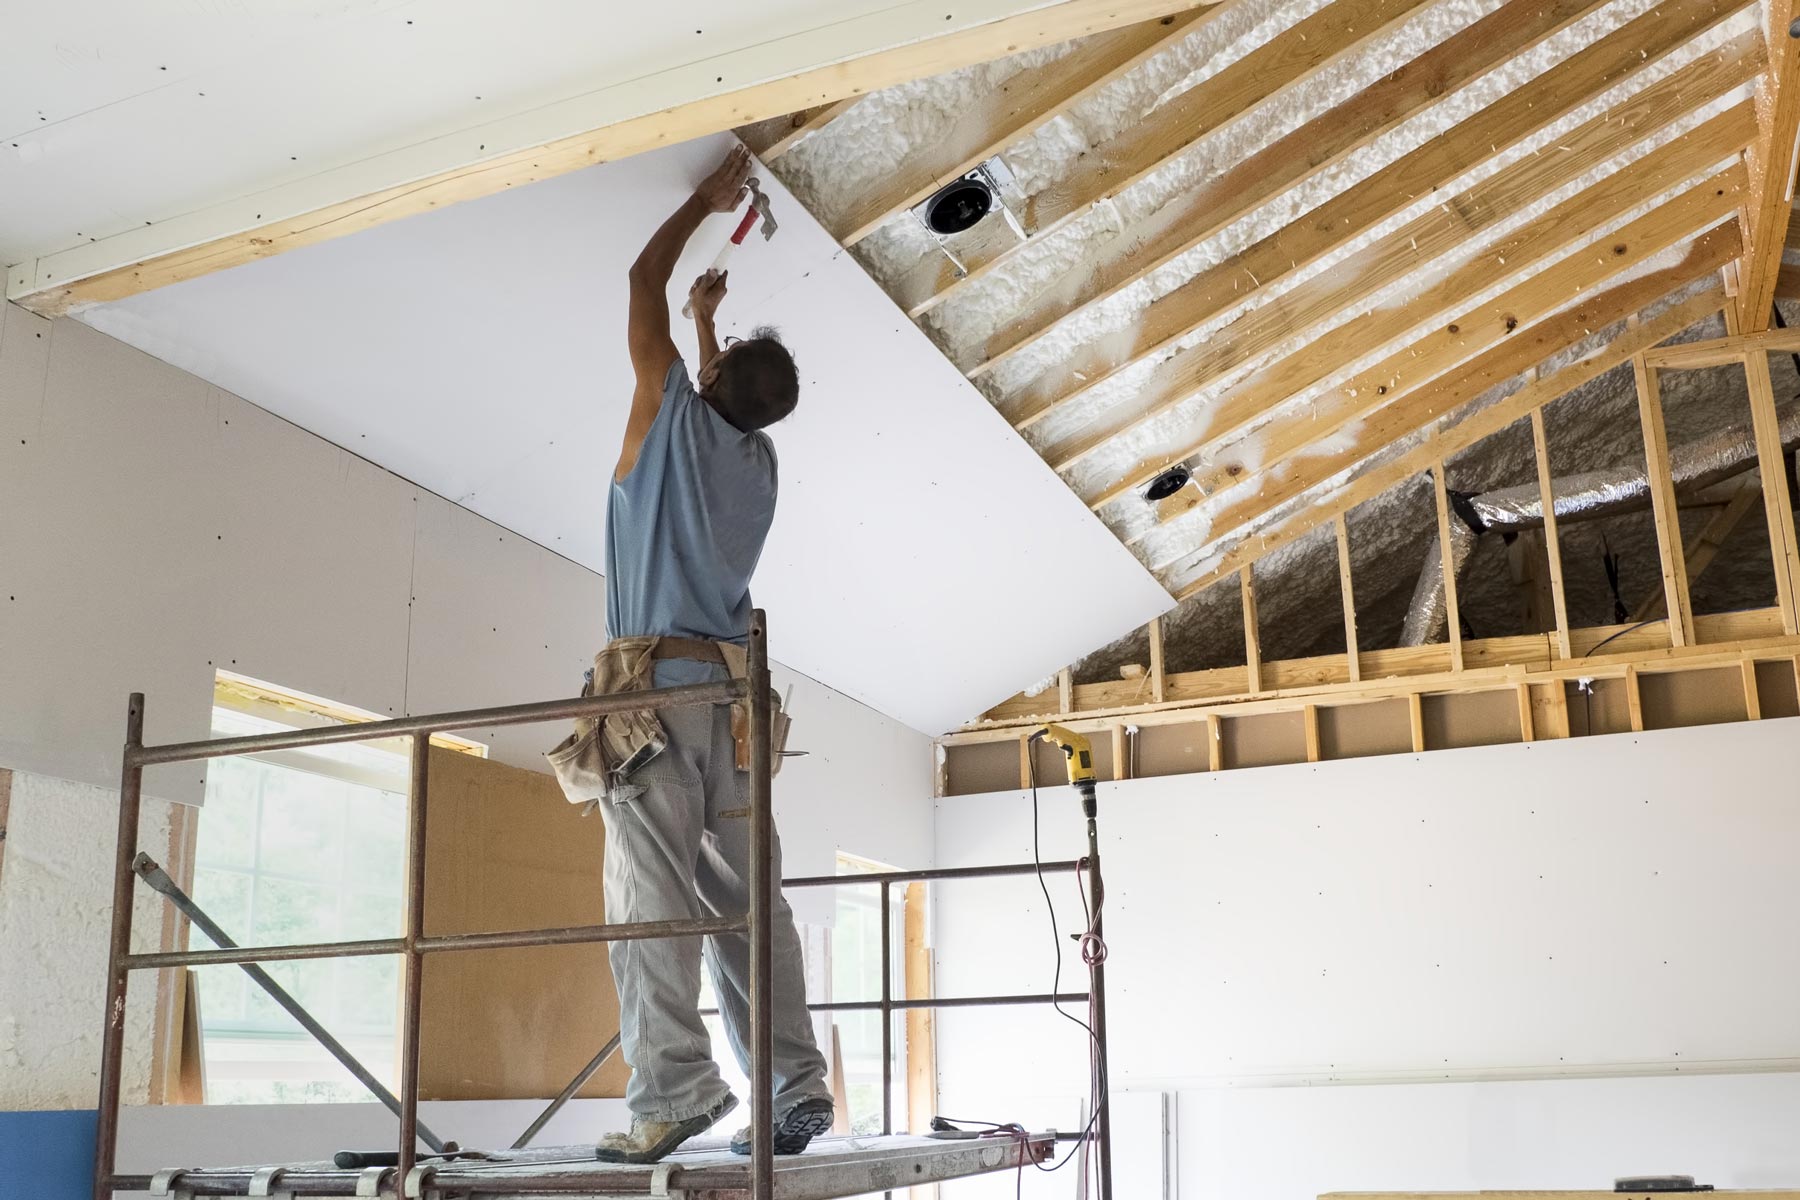
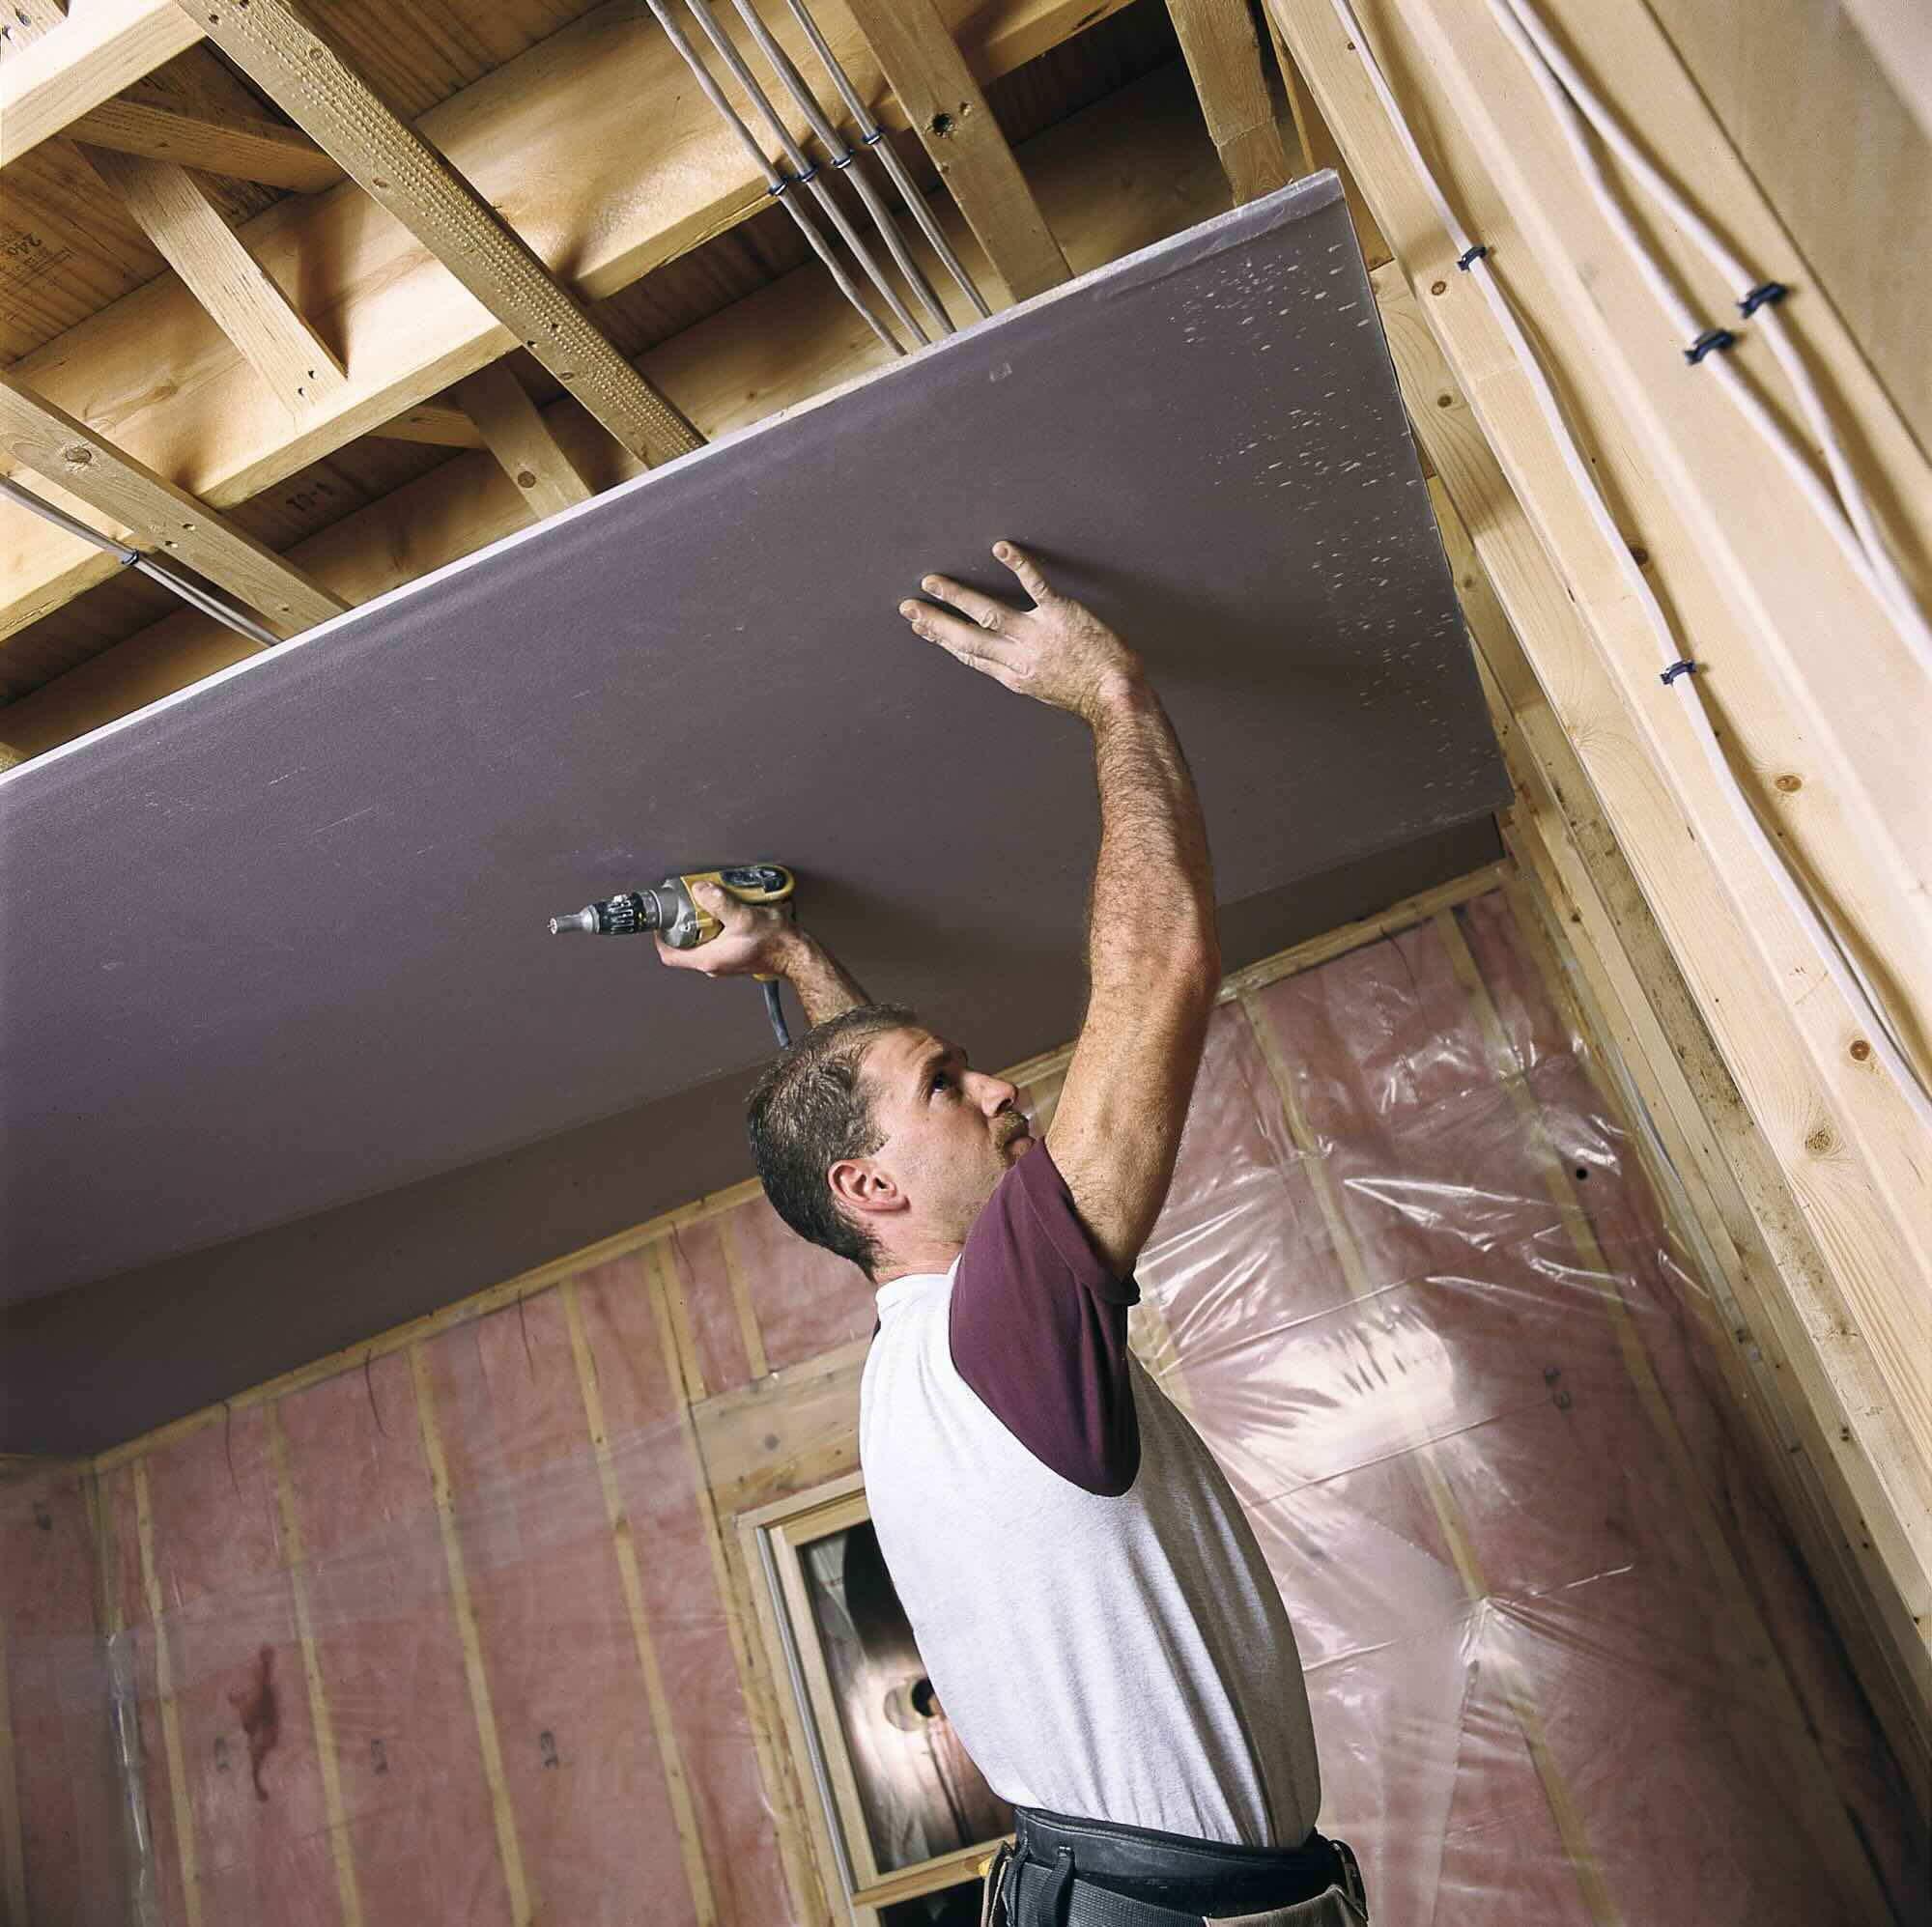
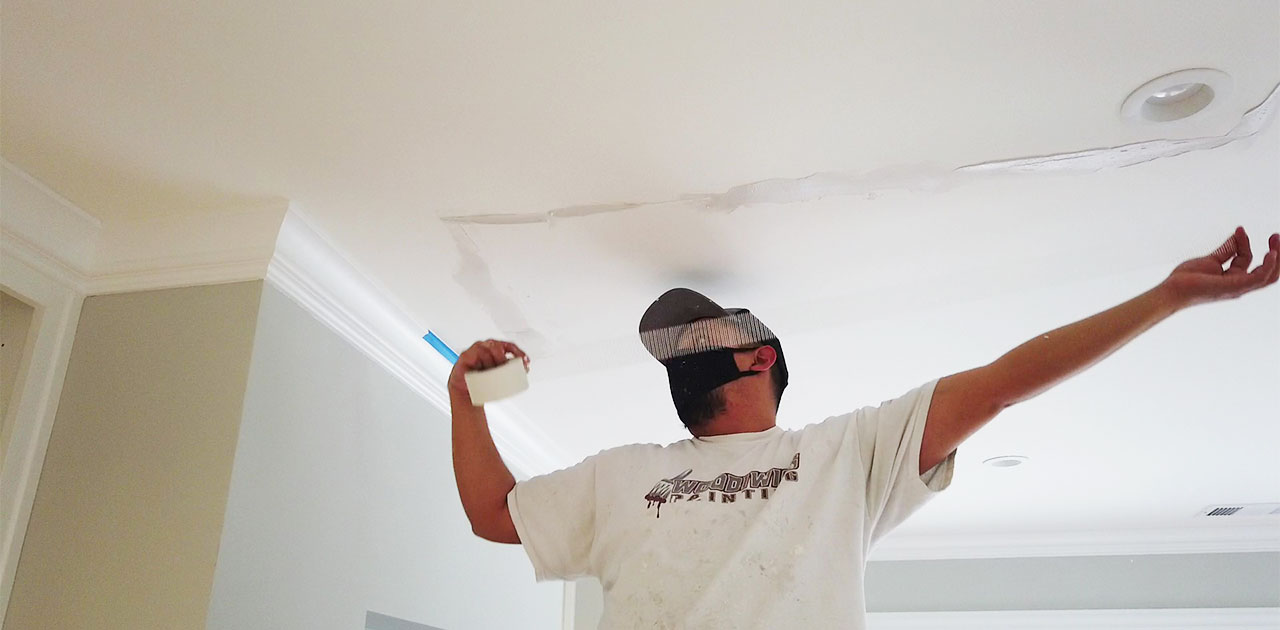
- Score the ceiling: If you’re removing drywall from the ceiling, follow the same process of scoring along the studs or joists. Take extra care to support the drywall to prevent it from falling or causing injury.
Scoring the drywall is a vital step in the removal process as it helps to weaken the drywall and ensures clean and precise cuts. Taking the time to score along the studs and around any openings will make the subsequent steps of removing the drywall much easier and more efficient.
Step 4: Removing Drywall Screws and Nails
Once you have scored the drywall, the next step is to remove any screws or nails that are holding it in place. Here’s how to effectively remove drywall screws and nails:
- Gather the necessary tools: You will need a screwdriver or a drill with a screwdriver bit for removing screws. For nails, a hammer or a pry bar will be required.
- Identify the screws and nails: Examine the drywall surface and locate the screws or nails that are visible. They are typically found along the edges of the drywall, where it attaches to the studs.
- Remove screws: If your drywall is secured with screws, use a screwdriver or a drill to remove them. Insert the tip of the screwdriver or the drill bit into the screw head and rotate counterclockwise to loosen and remove the screws one by one. Set the screws aside for later disposal.
- Remove nails: For nails, use a hammer or a pry bar to gently pry them out of the drywall. Position the pry bar or the hammer claw underneath the nail head and apply upward pressure to loosen and remove the nails. Be careful not to strike the drywall too forcefully, as it may cause damage.
- Check for hidden screws or nails: After removing the visible screws and nails, carefully inspect the drywall surface for any hidden fasteners. Run your hands along the surface or use a stud finder to locate any additional screws or nails that may not be easily visible.
- Remove hidden screws or nails: Use the same techniques as before to remove any hidden screws or nails. If necessary, gently pry off any additional baseboards or trim that may be covering them for better access.
Removing the screws and nails from the drywall ensures that it’s not secured to the studs or other structural elements. This step is crucial before moving on to the next phase of actually removing the drywall sheets.
Remember to take caution when handling tools and removing screws or nails to avoid any injuries or damage to the drywall or surrounding areas. Properly disposing of removed screws and nails keeps the workspace organized and reduces the risk of accidents during cleanup.
When removing drywall, be sure to turn off the power to any electrical outlets or switches in the area to avoid any accidents while working. Always wear protective gear such as gloves, goggles, and a mask to protect yourself from dust and debris.
Step 5: Cutting through Drywall
Once you have scored the drywall and removed the screws or nails, it’s time to cut through the drywall to facilitate its removal. Here’s how to effectively cut through the drywall:
- Gather the necessary tools: You will need a utility knife or a drywall saw to cut through the drywall.
- Plan your cuts: Determine the size and shape of the sections you want to remove. Consider factors such as the location of studs, electrical outlets, or any other features you may need to work around. Mark the areas with a pencil or painter’s tape as a guide for your cuts.
- Start with smaller cuts: Begin by making smaller cuts along the scored lines using a utility knife. Score deeper along your marked sections, applying more pressure to cut through the paper layer of the drywall.
- Use a drywall saw for larger cuts: If you’re cutting through larger sections of drywall, switch to a drywall saw. Start by inserting the saw blade into the scored line and carefully cut along the marked sections, using a gentle back-and-forth motion. Take care to avoid cutting into any electrical wires or plumbing behind the wall.
- Cut around openings: When cutting around windows, doors, or electrical outlets, position the saw or utility knife slightly inside the marked lines to create a precise opening that accommodates these features.
- Support the cut sections: As you cut through the drywall, use one hand to support the sections that are being cut to prevent them from falling or causing damage. Slowly work your way along the marked sections, ensuring a clean and controlled removal process.
Remember to take your time and work carefully while cutting through the drywall. Double-check your marked lines before making any cuts and be mindful of any electrical or plumbing systems that may be behind the wall. By following these steps, you can effectively cut through the drywall and prepare it for removal in the next step.
Step 6: Removing Drywall Sheets
After cutting through the drywall, it’s time to remove the individual sheets. Here’s how to effectively remove drywall sheets:
- Gather the necessary tools: You will need a pry bar or a crowbar and a mallet or a rubber mallet to remove the drywall sheets.
- Start from an edge: Begin at one corner or an edge of the scored and cut drywall section. Insert the pry bar or crowbar between the drywall and the studs, applying gentle pressure to pry the sheet away from the wall.
- Work along the edges: Once you have created a gap between the drywall and the studs, continue to move along the edges, prying the drywall away from the wall. Use a mallet or a rubber mallet to lightly tap the pry bar if needed, but be careful not to damage the surrounding area.
- Break the drywall into manageable sections: As you remove each drywall sheet, break them into smaller, more manageable pieces. This will make it easier to handle and dispose of the debris.
- Support large sections: If you encounter larger sections of drywall, have someone assist you by supporting the section while you continue to pry it away from the wall. This will prevent the drywall from falling and causing damage or injury.
- Remove any remaining screws or nails: While removing the drywall sheets, be mindful of any remaining screws or nails. If you come across any, remove them using a screwdriver or a pry bar before continuing with the removal process.
- Dispose of the removed drywall: Bag and dispose of the removed drywall pieces in designated trash bags or containers. Follow your local regulations for disposal or recycling.
Removing drywall sheets can be a physically demanding task, so take breaks as needed and be cautious of your surroundings. By following these steps, you can effectively remove the drywall sheets and prepare for the next steps in your renovation or repair project.
Step 7: Patching and Repairing the Wall
After removing the drywall sheets, you will need to patch and repair the wall to create a smooth surface for any future wall treatments or new drywall installation. Here’s how to effectively patch and repair the wall:
- Assess the damage: Examine the wall surface for any visible damage, such as cracks, holes, or uneven areas. Take note of any repairs that may be needed before moving forward.
- Prepare the wall surface: Use a utility knife or a sanding block to smooth out rough edges and remove any loose debris or old adhesive. Wipe down the wall surface with a damp cloth to remove any dust or residue.
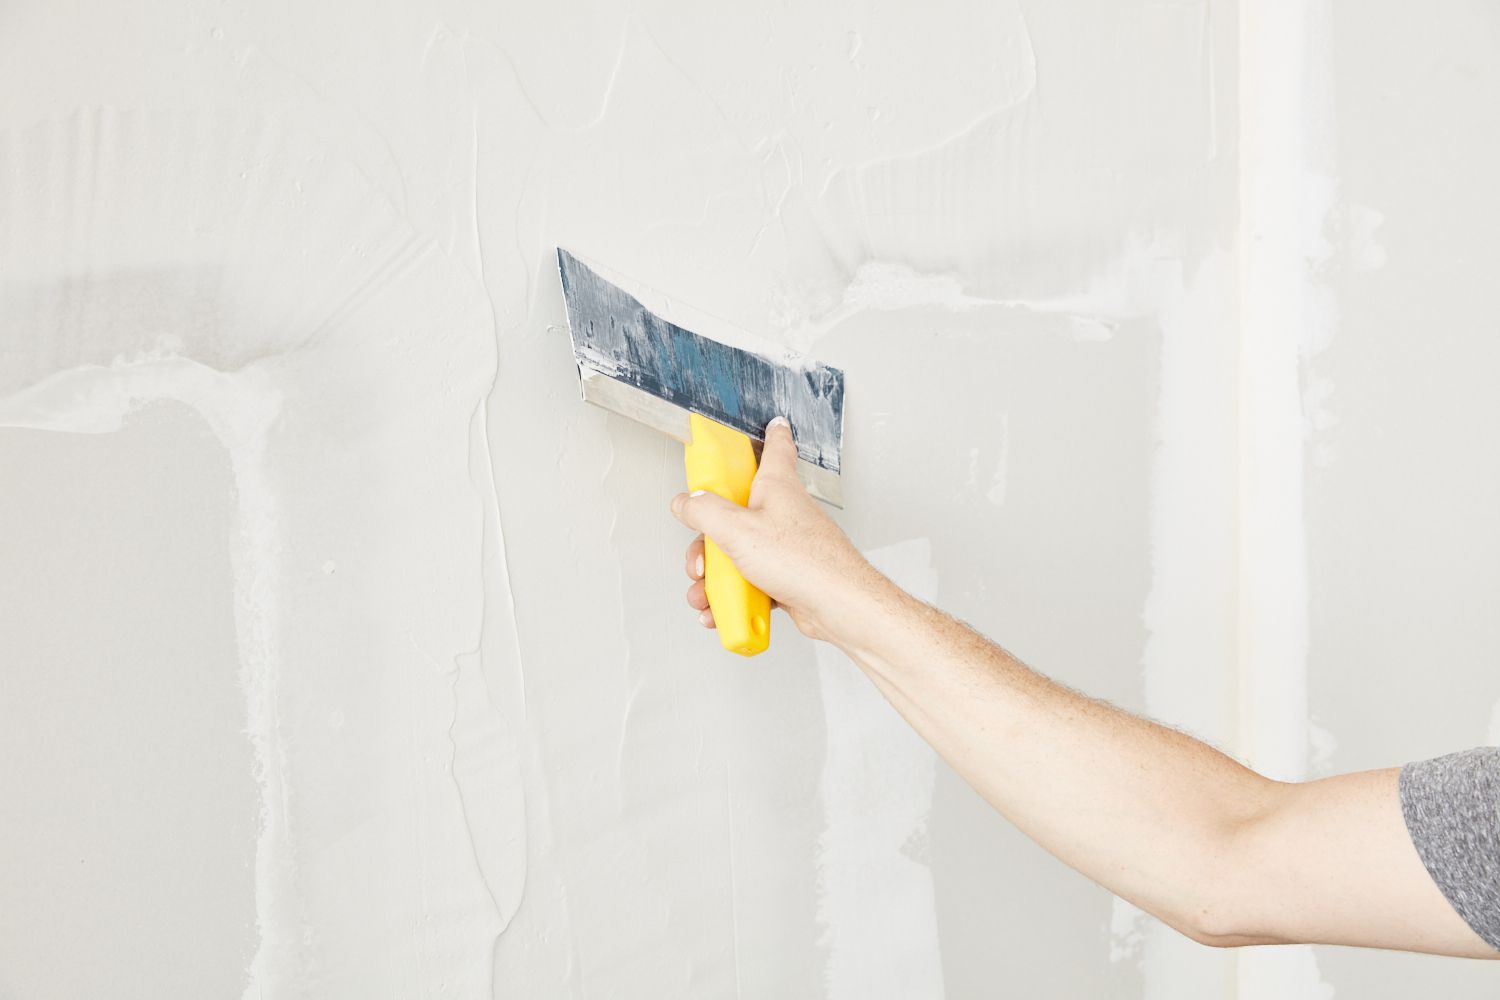
- Fill cracks and small holes: For small cracks or holes, use a putty knife to apply a thin layer of drywall joint compound or spackling paste. Smooth it out evenly, filling the imperfections, and allow it to dry according to the manufacturer’s instructions.
- Repair larger holes: If you have larger holes in the wall, you may need to use a piece of drywall patch or a replacement piece of drywall. Cut the patch or replacement piece to fit the hole, ensuring to match the thickness of the existing drywall. Secure it in place with drywall screws or nails, then use drywall joint compound and a putty knife to cover the seams and create a smooth surface. Allow it to dry and sand it down for a seamless finish.
- Apply multiple layers of joint compound: To achieve a smooth and seamless finish, apply multiple thin layers of drywall joint compound. Use a putty knife or a trowel to apply the compound in smooth, even strokes, feathering the edges to blend with the surrounding wall surface. Allow each layer to dry before applying the next, and sand down the surface between coats for a smooth finish.
- Sand and prime the repaired area: Once the joint compound is fully dry, use a sanding block or sandpaper to smooth the surface, blending it with the surrounding wall. Wipe away any dust and debris, then apply a coat of primer to the repaired area to ensure proper adhesion of paint or any other wall treatment.
- Finish with paint or wall treatment: After the primer has dried, you can proceed to paint the repaired area to match the rest of the wall. Alternatively, you can apply wallpaper, texture, or any other desired wall treatment to achieve the desired finish.
Properly patching and repairing the wall is crucial to creating a seamless and professional-looking result. Take your time and ensure that each layer of joint compound is fully dry before moving on to the next step. By following these steps, you can successfully patch and repair the wall to prepare it for the final touches of your project.
Step 8: Cleaning Up the Area
After completing the removal, patching, and repairing of the drywall, it’s time to clean up the area. Properly cleaning up ensures a safe and organized workspace. Here’s how to effectively clean up the area:
- Dispose of the debris: Collect the debris, including the removed drywall, nails, screws, and any other waste materials. Place them in sturdy trash bags or designated disposal containers.
- Seal and secure the trash bags: Once the debris is collected, securely tie and seal the trash bags to prevent any dust or debris from spilling out. Check your local regulations and dispose of the bags in the appropriate manner.
- Clean surfaces: Wipe down any surfaces that may have accumulated dust or debris during the removal process. Use a damp cloth or a vacuum cleaner to thoroughly clean the area, including walls, floors, and any furniture present in the vicinity. Ensure that the workspace is free from any residue or waste.
- Remove protective coverings: If you used plastic sheets or drop cloths to protect the floor or furniture, carefully remove them, making sure not to spread any remaining dust or debris. Dispose of them properly or clean and store them for future use.
- Inspect for any remaining traces: Inspect the area for any potential leftover debris, screws, or nails. Run your hands over surfaces and visually inspect the area to ensure it’s clean and free from any hazards.
- Restore utilities: If you had turned off any utilities, such as electricity or water, during the process, ensure that you restore them to their normal operating state once the cleanup is complete.
Taking the time to properly clean up the area is essential for maintaining a safe and orderly workspace. By following these steps, you can ensure that the area is free from potential hazards and ready for the next phase of your renovation or repair project.
Read more: How To Store Drywall
Conclusion
Removing drywall may seem like a daunting task, but with the right knowledge and approach, it can be accomplished efficiently and safely. By following the step-by-step process outlined in this guide, you’ll be well-equipped to remove drywall and prepare your space for the next stage of your project.
Throughout the process, it’s crucial to prioritize safety by wearing protective gear, turning off utilities as needed, and exercising caution when handling tools and materials. Additionally, be mindful of any potential hazards, such as asbestos or hidden electrical wires.
Remember to properly prepare the area by clearing furniture, protecting surfaces, and sealing off vents and openings. This will help minimize damage and make cleanup more manageable.
With the right tools and materials, you’ll be able to score, cut, and remove the drywall sheets effectively. Take care to support and handle the sheets properly to prevent any accidents or damage.
Once the drywall is removed, patching and repairing the wall is necessary to achieve a smooth and professional finish. Fill cracks, holes, and larger openings with joint compound and follow up with sanding and priming for optimal results.
Finally, completing the process with a thorough cleanup ensures a safe and tidy workspace. Dispose of debris properly and clean the area to remove any remaining dust or debris that may pose a hazard.
By following these steps and taking your time to perform each task diligently, you’ll successfully remove drywall and be well on your way to transforming your space. Whether you’re embarking on a renovation project or repairing damage, knowing how to remove drywall is an invaluable skill that will empower you to take control of your home improvement endeavors.
Frequently Asked Questions about How To Remove Drywall
Was this page helpful?
At Storables.com, we guarantee accurate and reliable information. Our content, validated by Expert Board Contributors, is crafted following stringent Editorial Policies. We're committed to providing you with well-researched, expert-backed insights for all your informational needs.


0 thoughts on “How To Remove Drywall”