Home>Ideas and Tips>DIY Guide To Installing A Bathroom Shower With Rainfall And Waterfall Heads

Ideas and Tips
DIY Guide To Installing A Bathroom Shower With Rainfall And Waterfall Heads
Modified: October 28, 2024
Learn how to install a luxurious rainfall or waterfall shower head in your bathroom with our step-by-step DIY guide. Enhance your shower experience today!
(Many of the links in this article redirect to a specific reviewed product. Your purchase of these products through affiliate links helps to generate commission for Storables.com, at no extra cost. Learn more)
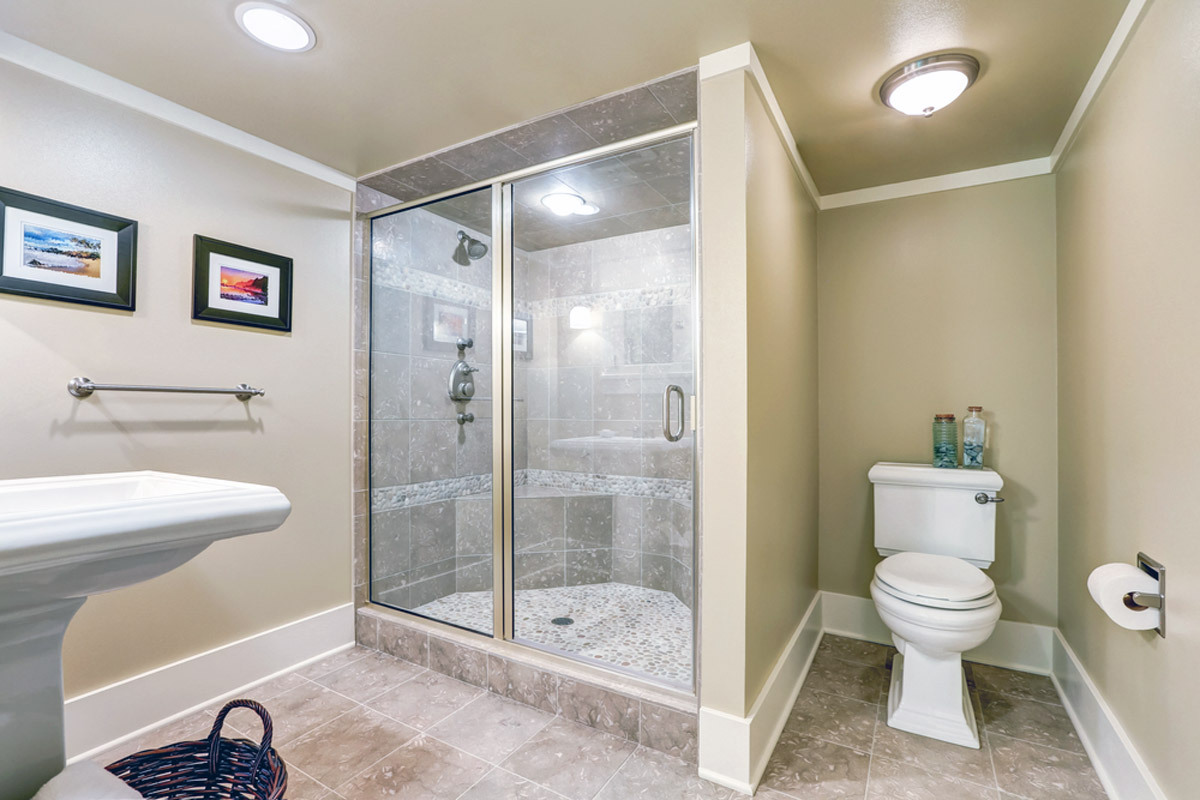
Installing a rainfall or waterfall shower head in your bathroom can be a fantastic way to enhance the luxury and comfort of your showering experience. These types of shower heads provide a more immersive and relaxing experience compared to traditional shower heads. In this DIY guide, we will walk you through the steps to install a rainfall or waterfall shower head, including both wall-mounted and ceiling-mounted installations.
Step 1: Prepare Your Tools and Materials
Before you begin, make sure you have all the necessary tools and materials. Here’s a list of what you’ll need:
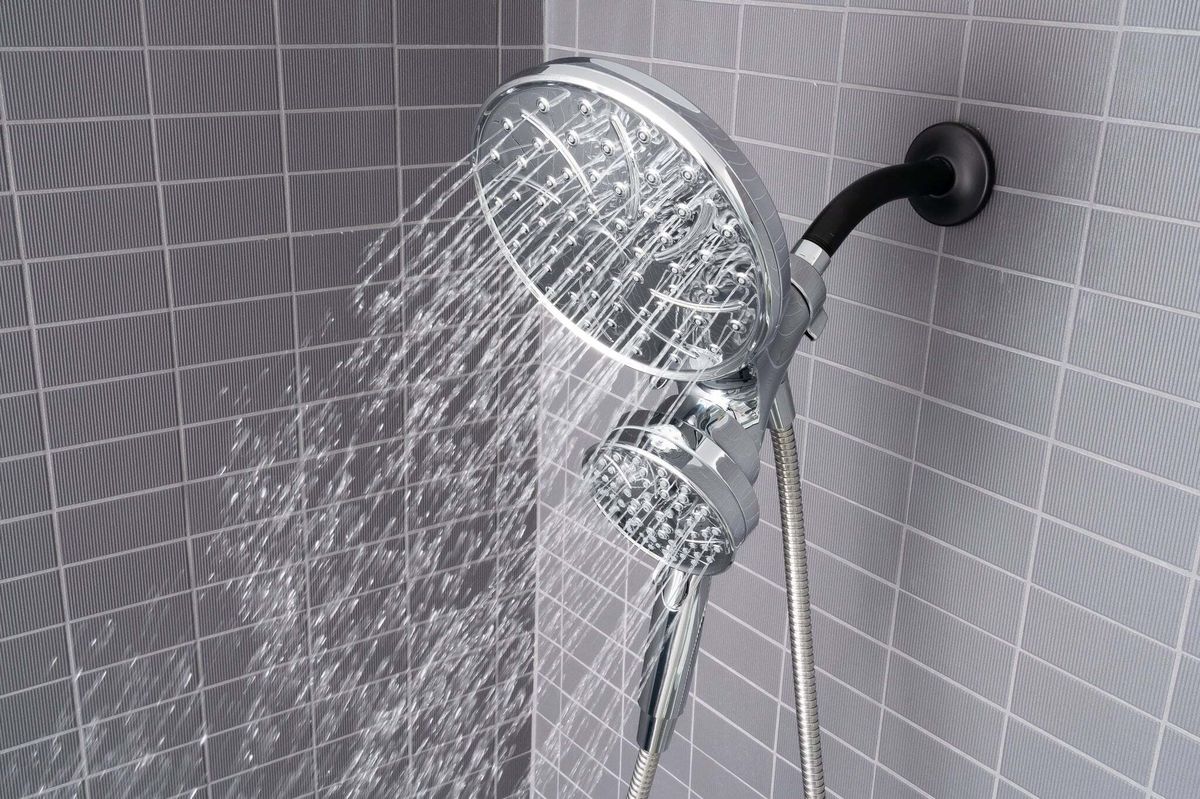
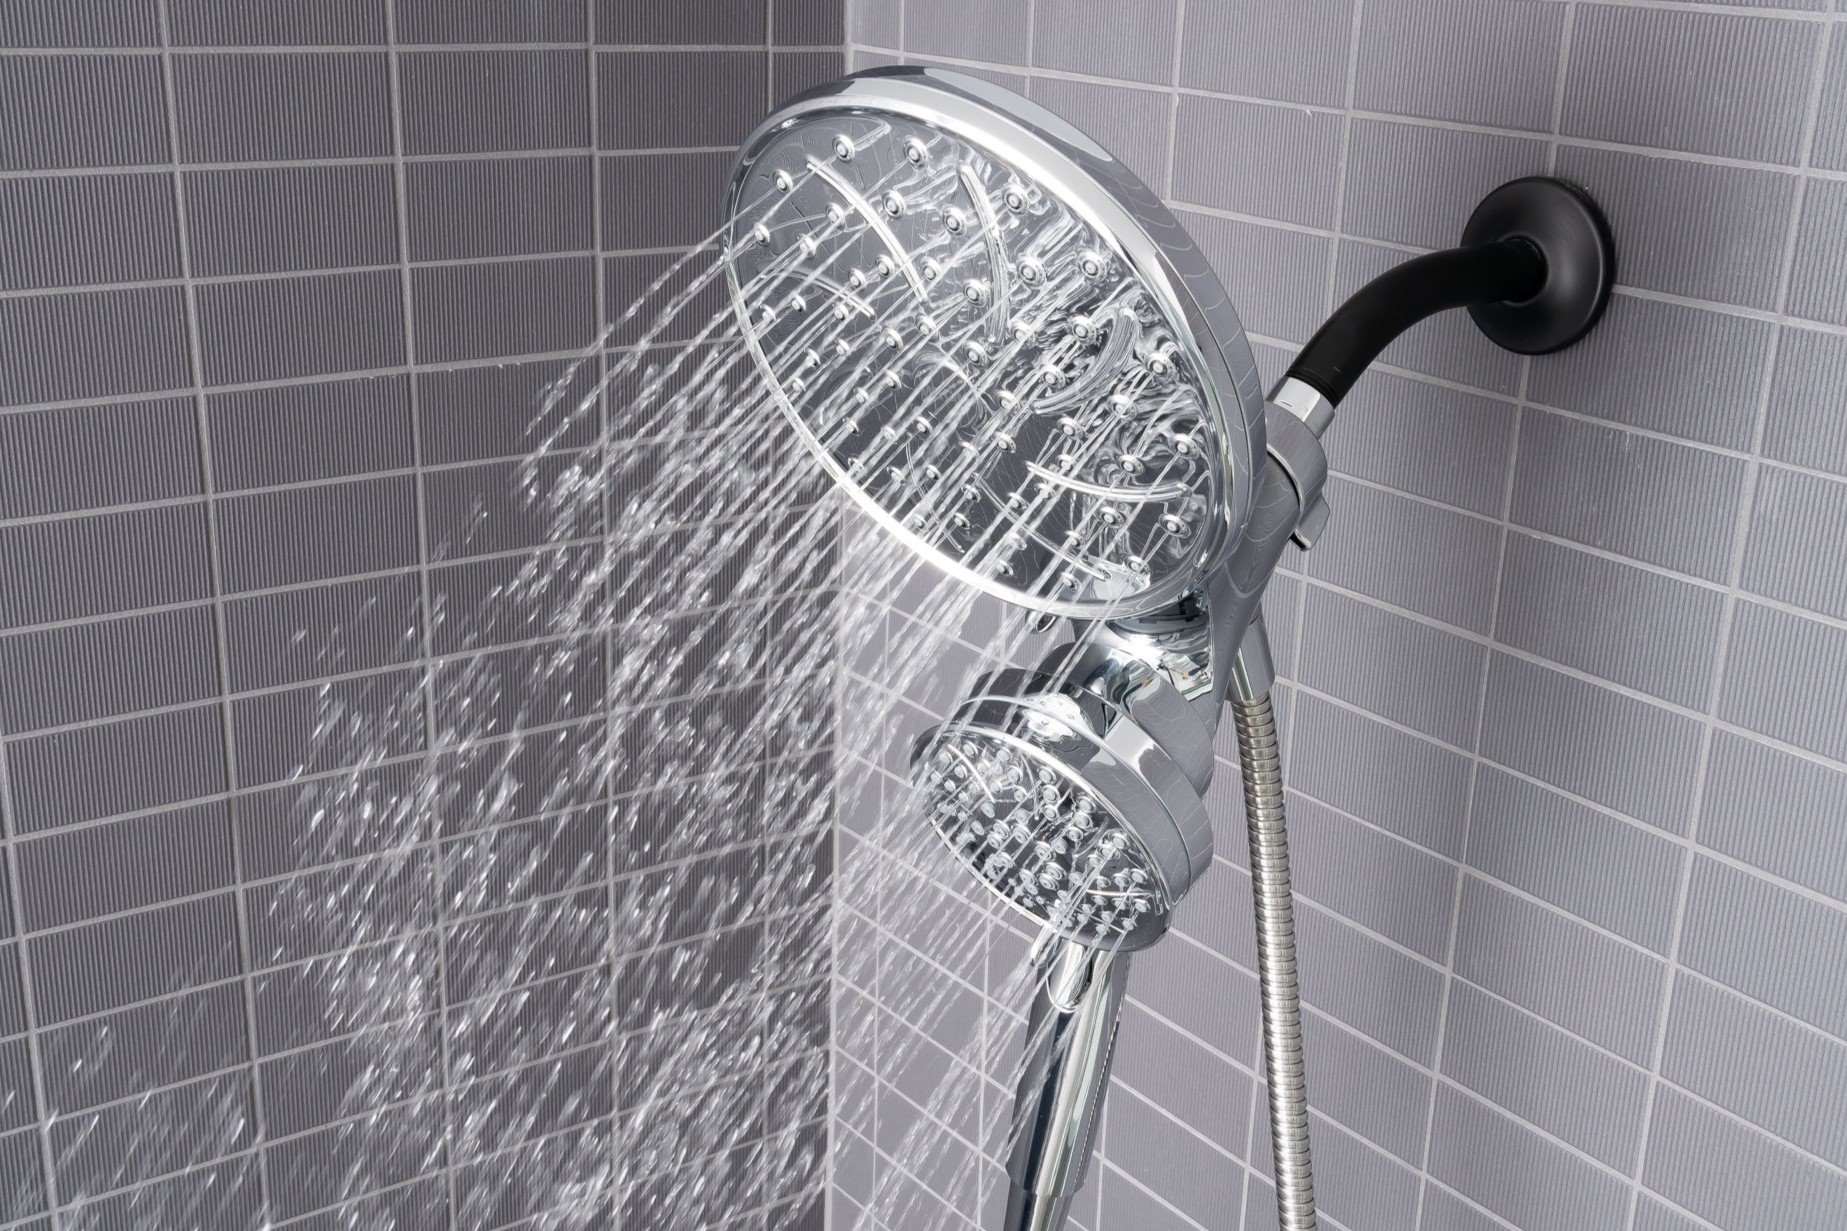
- Rainfall or Waterfall Shower Head: Choose a shower head that fits your style and budget. These come in various sizes and materials.
- Shower Arm Extension: This is necessary for wall-mounted installations to bring the shower head out from the wall.
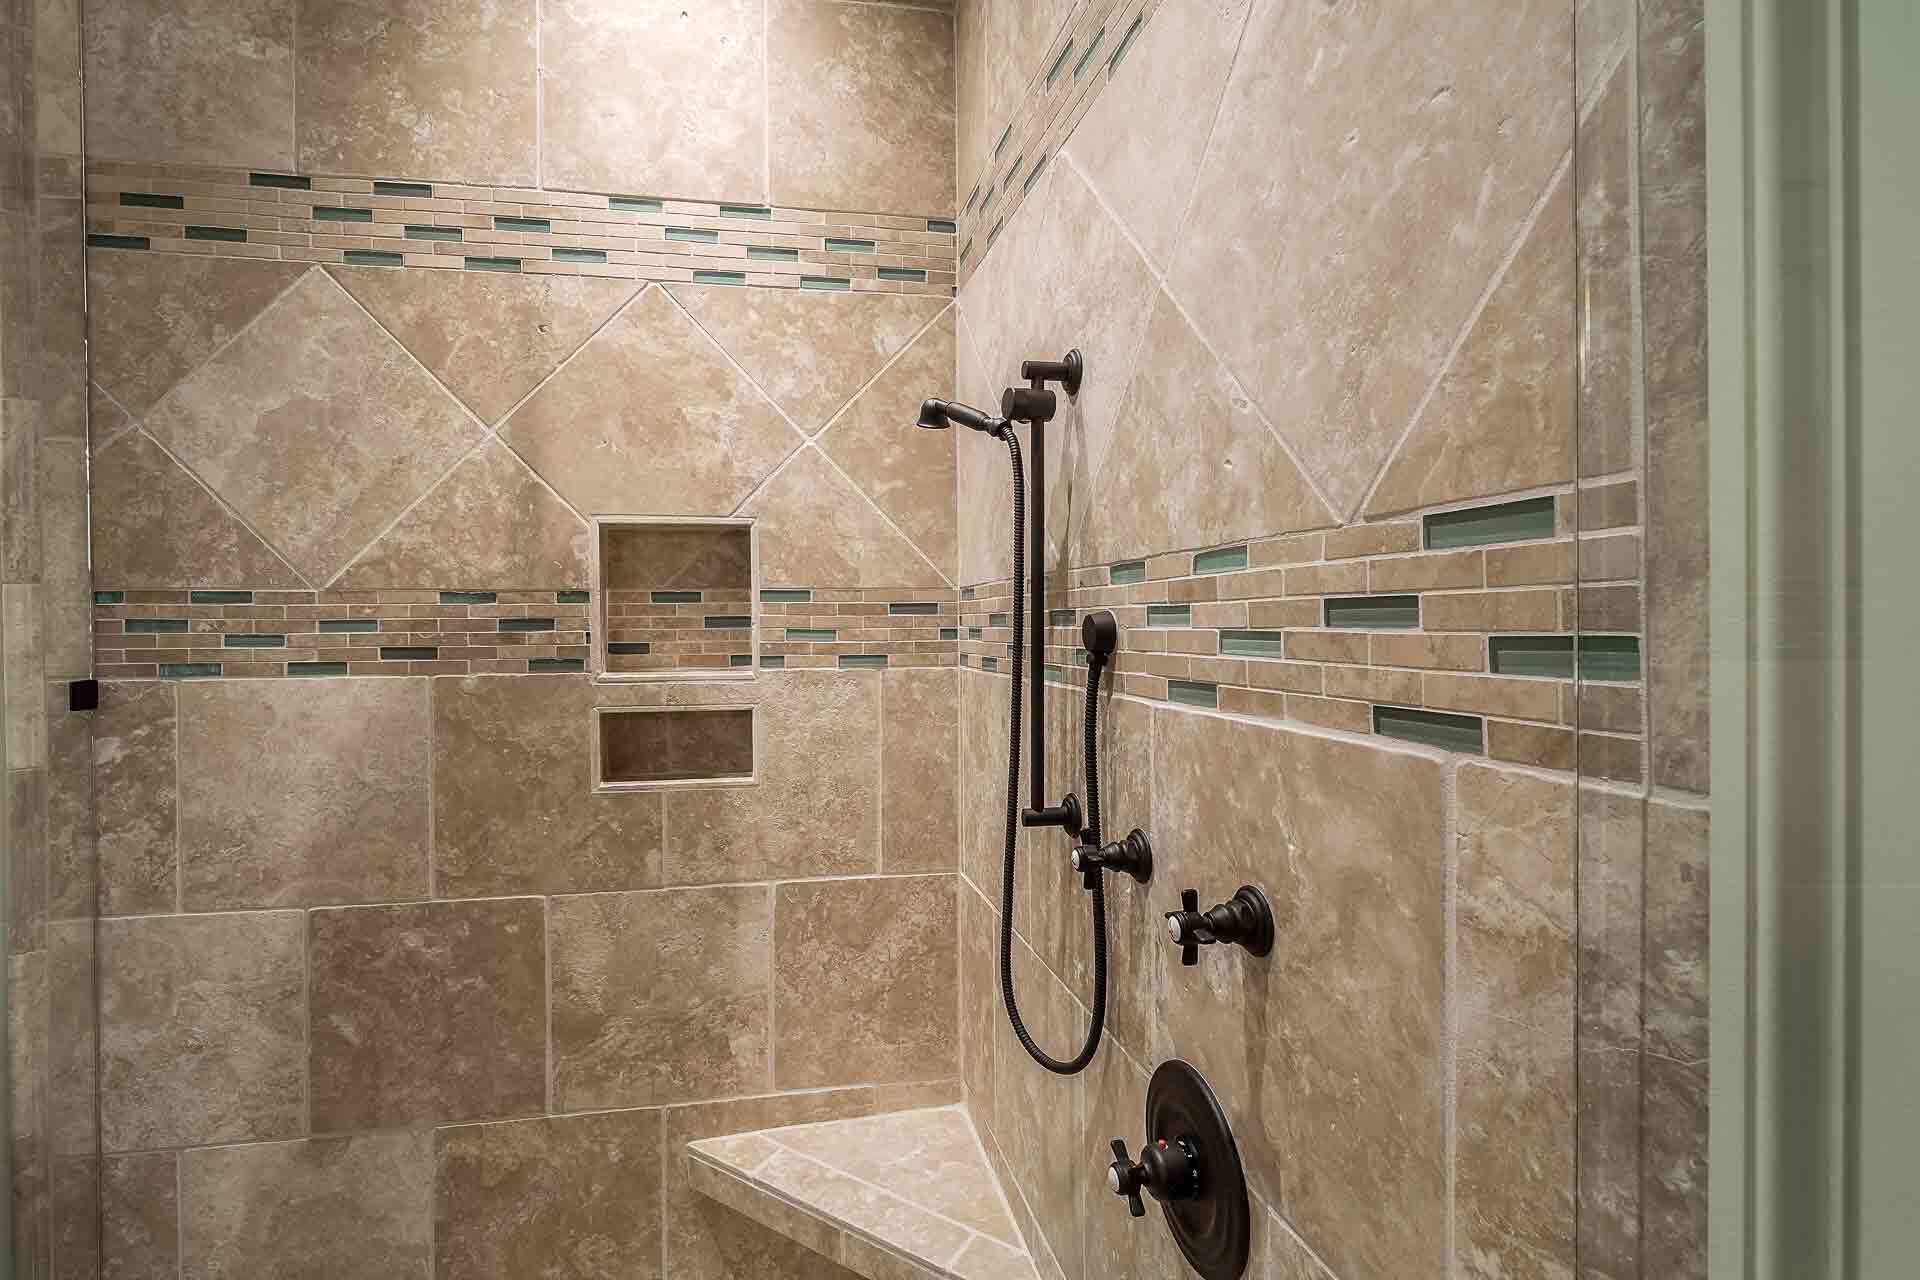
- Handheld Shower Head (Optional): If you want a handheld shower option, you’ll need this.
- Three-Way Diverter: This allows you to switch between the rainfall shower head and the handheld shower head.
- Plumbers Tape (Teflon Tape): Essential for creating a watertight seal.
- Locking Pliers: Useful for removing stubborn shower arms.
- Crescent Wrench or Adjustable Wrench: For loosening and tightening fittings.
- Rubber Gaskets or Washers: These ensure a secure connection between the shower head and arm.
- Drop Pipe and Elbow Fittings (for ceiling installation): These are necessary for directing water from the ceiling to the shower head.
Step 2: Shut Off the Water Supply
The first step in any plumbing project is to shut off the water supply. Locate the shut-off valves for your bathroom and turn them clockwise to shut off the water supply. Open the faucet to drain the water from the pipes.
Step 3: Remove the Old Shower Head
To install your new rainfall or waterfall shower head, you first need to remove the old one. Here’s how you can do it:
- Locate the Old Shower Head: Identify where the old shower head is attached to the shower arm.
- Loosen the Old Shower Head: Use a crescent wrench or adjustable wrench to loosen the old shower head by turning it counterclockwise.
- Remove the Old Shower Head: Once loose, you should be able to remove the old shower head completely.
- Remove the Shower Arm (if necessary): If you’re replacing both the shower head and arm, use locking pliers to grip the arm and twist it counterclockwise until it comes loose.
Step 4: Prepare the New Shower Head
Now that you have removed the old shower head, it’s time to prepare your new rainfall or waterfall shower head:
- Inspect the New Shower Head: Check that all tips are straight and not missing.
- Remove Protective Cap: Remove any protective caps from the connectors.
- Verify Mesh Filter or O-Ring: Ensure that any mesh filters or O-rings are installed if they came with your new shower head.
Step 5: Install the New Shower Head
Here’s how you can install your new rainfall or waterfall shower head:
- Attach Teflon Tape: Wrap Teflon tape around the threads of the shower arm where you will attach the new shower head.
- Attach the New Shower Head: Place the new shower head onto the shower arm and twist it clockwise until it is securely attached.
- Secure with Washers: Use rubber gaskets or washers to ensure a watertight seal between the shower head and arm.
Wall-Mounted Installation
For a wall-mounted installation:
- Attach Three-Way Diverter: Insert the three-way diverter into the hose and attach it securely with Teflon tape.
- Attach Handheld Shower Head (if using): Attach the handheld shower head to another end of the hose using Teflon tape.
- Secure with Adhesive Bracket: Use an adhesive shower head bracket to secure the shower head to your wall.
Ceiling-Mounted Installation
For a ceiling-mounted installation:
- Install Drop Pipe and Elbow Fittings: Direct water from the ceiling to the shower head using drop pipes and elbow fittings.
- Support with Cross Brace: Ensure that there is sufficient support for longer shower arms by installing a cross brace.
- Wrap Teflon Tape: Wrap Teflon tape around pipe fittings to prevent leaks.
- Attach Shower Head: Place the shower head onto its mounting bracket and twist it clockwise until it is securely attached.
Step 6: Test the Installation
After completing the installation, turn on the water supply and test your new rainfall or waterfall shower head:
- Check for Leaks: Inspect all connections for leaks.
- Adjust Water Pressure: Adjust water pressure as needed to ensure optimal flow.
Additional Tips
- Use High-Quality Materials: Ensure that all materials used are of high quality to prevent leaks and ensure durability.
- Follow Manufacturer Instructions: Always follow manufacturer instructions for specific installation requirements.
- Consider Hiring a Professional: If you are not confident with plumbing or drywall repair, consider hiring a professional for ceiling installations.
Conclusion
Installing a rainfall or waterfall shower head can significantly enhance your bathroom experience. By following these steps, you can achieve a luxurious and relaxing showering experience without the need for a full bathroom renovation. Remember to always follow safety guidelines and use high-quality materials to ensure a successful installation.
References
For more detailed information on specific products and tools, you can refer to the following resources:
- YouTube Tutorials: Videos like "How To Install A Rain Shower Head" by Jay Rule, "How to Change a Shower Head – EASY DIY Rain Style" by Robert, and "How To Install Rainfall Shower Easy Simple" by Statupbox provide step-by-step instructions.
- Plumbing Forums: Websites like Terry Love Plumbing Forum offer advice on valve choices and plumbing routes for more complex installations.
- Home Improvement Stores: Resources from Lowe's provide detailed guides on installing rain shower heads, including both wall-mounted and ceiling-mounted installations.
By following this guide, you can confidently install your own rainfall or waterfall shower head, transforming your bathroom into a luxurious oasis.
Was this page helpful?
At Storables.com, we guarantee accurate and reliable information. Our content, validated by Expert Board Contributors, is crafted following stringent Editorial Policies. We're committed to providing you with well-researched, expert-backed insights for all your informational needs.


0 thoughts on “DIY Guide To Installing A Bathroom Shower With Rainfall And Waterfall Heads”