Home>Ideas and Tips>DIY Guide To Installing A Kitchen Backsplash With Recycled Wine Bottle Glass

Ideas and Tips
DIY Guide To Installing A Kitchen Backsplash With Recycled Wine Bottle Glass
Modified: November 1, 2024
Transform your kitchen with an eco-friendly backsplash using recycled wine bottle glass. Follow our DIY guide for a stunning and sustainable upgrade.
(Many of the links in this article redirect to a specific reviewed product. Your purchase of these products through affiliate links helps to generate commission for Storables.com, at no extra cost. Learn more)
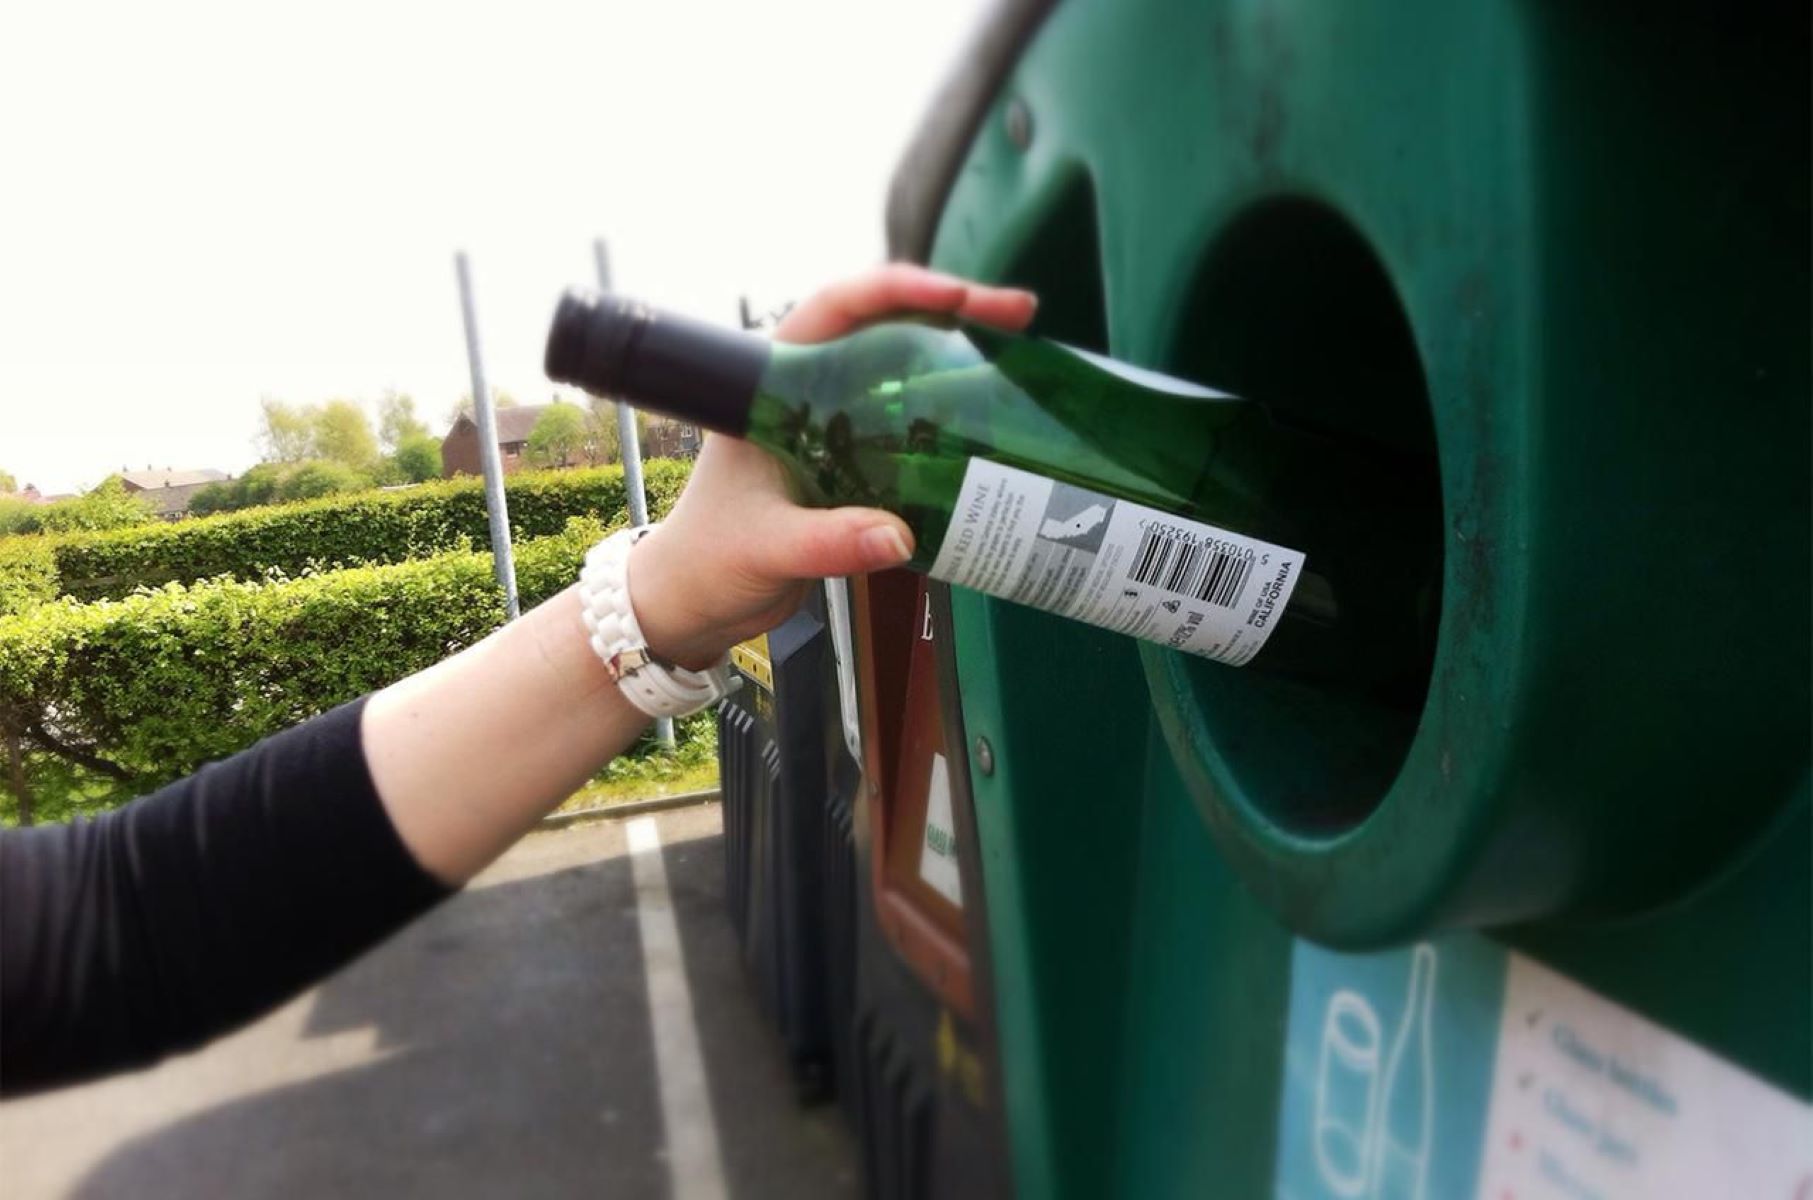
Installing a kitchen backsplash with recycled wine bottle glass is a unique and eco-friendly way to enhance the aesthetic of your kitchen. This project not only adds a touch of elegance but also contributes to sustainability by repurposing old materials. In this detailed guide, we will walk you through the steps to create a stunning glass mosaic backsplash using recycled wine bottles.
Tools and Materials Needed
Before you begin, it's essential to gather all the necessary tools and materials. Here’s a comprehensive list:
- Recycled Wine Bottles: Collect various sizes of wine bottles to create a mosaic pattern.
- Glass Paint: Use glass paint to tint the bottles if desired.
- Tile Adhesive: A specialized adhesive for glass tiles, such as Ker 909.
- Grout: Non-sanded grout is recommended for glass tiles to avoid scratching.
- Grout Float: A rubber grout float for applying and spreading grout evenly.
- Notched Trowel: A v-notch trowel for applying tile adhesive.
- Scissors: For cutting any excess glass or fabric backing.
- Painter’s Tape: To mark the installation area.
- Tape Measure: For measuring and marking the wall.
- Bucket and Sponge: For cleaning excess grout.
- Rubber Gloves: For protecting your hands during the grouting process.
- Washable Marker: For marking the cutting guidelines on the glass tiles.
- Wet Saw or Glass Cutter: For cutting the glass tiles if needed.
- Silicone Caulk: For sealing the edges where the backsplash meets the counters.
Preparing the Wall
Before you start installing your backsplash, ensure that the wall is ready for the tiles. Here’s how to prepare it:
- Clean the Wall: Thoroughly clean the wall to remove any dirt, grease, or old adhesive.
- Take Measurements: Measure the area where you want to install the backsplash and determine how many mosaic sheets you will need. Add 10% to account for waste.
- Repair Damages: Repair any damaged areas on the surface of the wall.
- Inspect Tiles: Inspect the recycled wine bottles for any imperfections before installing.
Step 1: Tinting and Preparing the Glass Bottles
If you want to tint your glass bottles, now is the time to do it. Here’s a simple method to tint clear glass bottles:
- Apply Glass Paint: Use glass paint to tint the bottles. Make sure to follow the manufacturer’s instructions for application and drying times.
- Break and Sort: Break the bottles into smaller pieces (tesserae) and sort them by size and color.
- Clean the Pieces: Clean each piece thoroughly to remove any debris or paint residue.
Step 2: Applying Tile Adhesive
Once your wall is prepared and your glass pieces are ready, it’s time to apply the tile adhesive:
- Open the Adhesive: Open the tile adhesive and mix it according to the manufacturer’s instructions if necessary.
- Apply Adhesive: Use a notched trowel to apply the adhesive to the wall. Spread it evenly, creating ridges of the proper depth and size.
- Spread Adhesive: Use the flat side of the trowel to spread the adhesive evenly, then use the v-notched side to create ridges.
- Work in Small Sections: Apply adhesive in small sections (about 1 square foot at a time) to ensure even coverage.
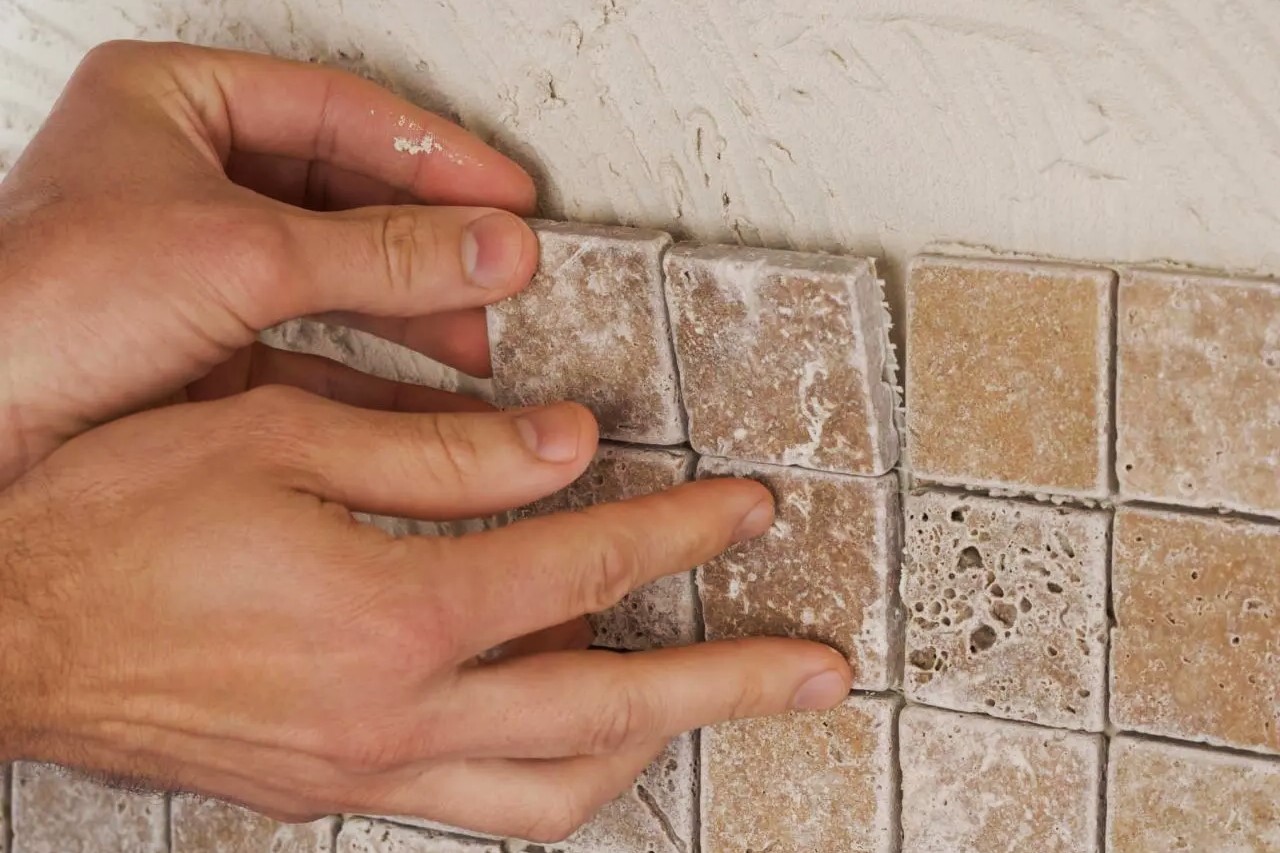
Step 3: Applying Mosaic Tile Sheets
Now it’s time to apply the mosaic tile sheets:
- Begin Installation: Start your installation at the most visible part of the wall and work outwards from there.
- Apply Tiles: Use a rubber grout float on the tiles to apply light and even pressure to ensure they grip with the adhesive.
- Check Alignment: Use a square and level to ensure straight and even installation.
- Mark Installation Area: Use painter’s tape to mark the installation area for easy reference.
Step 4: Applying Grout
After allowing the adhesive to set (usually 24 hours), it’s time to apply grout:
- Mix Grout: Mix non-sanded grout according to the manufacturer’s instructions.
- Apply Grout: Use a rubber grout float working diagonally across the tile to force grout into the joints until they are full.
- Remove Excess Grout: Use the grout float to take off any excess grout from the surface of the tiles.
- Allow Grout to Set: Allow the grout to set for 7-10 minutes before cleaning.
Step 5: Cleaning Excess Grout
Cleaning excess grout is crucial for achieving a smooth finish:
- Use Damp Sponge: Use a damp sponge to remove excess grout from the surface of the tiles.
- Repeat Process: Repeat this process using clean water each time until the tile surface is free of grout.
- Polish Tiles: Once clean, polish the tiles with a cheesecloth or lint-free cloth to remove any haze.
Step 6: Sealing Edges
Finally, seal any sharp corners or edges with fine-grit metal file if necessary, and apply white (or whatever color your grout is) silicone caulk where the backsplash meets the counters.
Tips and Tricks
- Work in Small Sections: Divide your backsplash into smaller sections to maintain even coverage and avoid mistakes.
- Use Proper Tools: Always use proper tools like a notched trowel for applying adhesive and a rubber grout float for spreading grout.
- Clean Regularly: Clean your tools regularly to avoid grout buildup.
- Be Patient: Grouting a backsplash is a messy job; be patient and take breaks if needed.
Conclusion
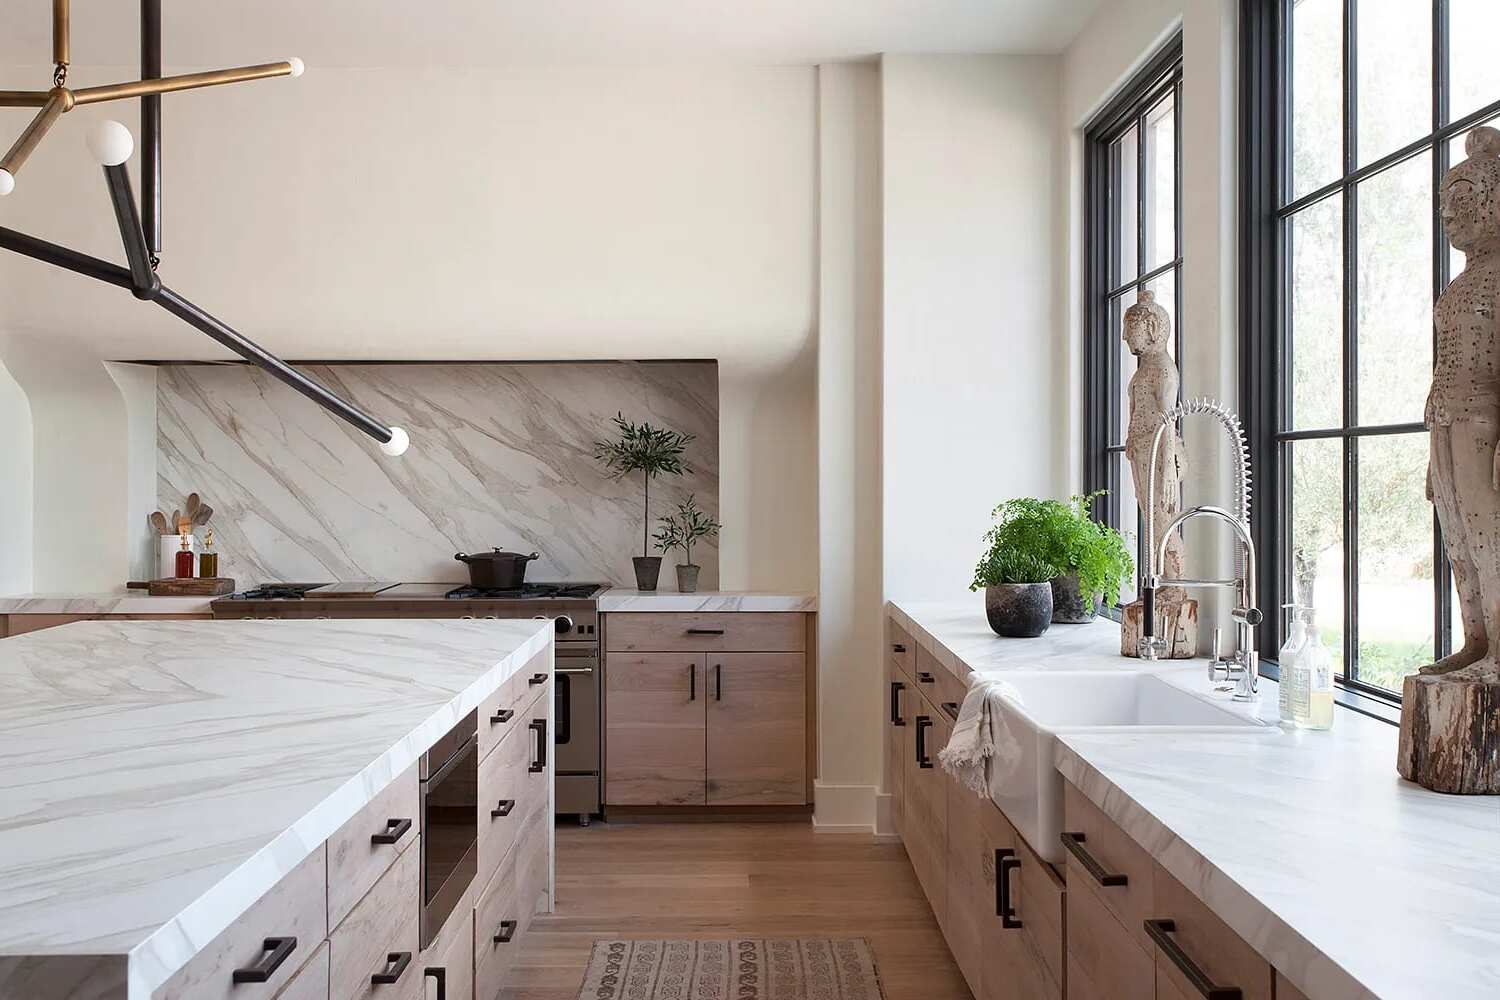
Creating a kitchen backsplash with recycled wine bottle glass is not only an eco-friendly project but also a unique way to add elegance to your kitchen. By following these steps carefully, you can achieve a stunning mosaic backsplash that reflects light beautifully and adds a touch of sustainability to your home. Remember to take your time, work in small sections, and clean regularly to ensure a smooth finish. Happy DIY-ing!
Additional Resources
For more detailed instructions and tips, consider downloading DIY Backsplash Kit Installation Guideline and Care from Mineraltiles.com or watching YouTube tutorials like "DIY Glass tile backsplash for beginners" or "How to install a glass tile backsplash REAL DIY TIPS." These resources provide additional insights and practical advice for tackling this project successfully.
By following this guide, you'll be well on your way to creating an exquisite kitchen backsplash using recycled wine bottle glass. Whether you're a seasoned DIY enthusiast or just starting out, this project offers a rewarding experience that combines creativity with sustainability. Happy crafting
Was this page helpful?
At Storables.com, we guarantee accurate and reliable information. Our content, validated by Expert Board Contributors, is crafted following stringent Editorial Policies. We're committed to providing you with well-researched, expert-backed insights for all your informational needs.


0 thoughts on “DIY Guide To Installing A Kitchen Backsplash With Recycled Wine Bottle Glass”