Articles
How To Hang Mailbox On Siding
Modified: December 7, 2023
Learn how to hang your mailbox on siding with these step-by-step articles. Find tips and tricks for a secure and stylish installation.
(Many of the links in this article redirect to a specific reviewed product. Your purchase of these products through affiliate links helps to generate commission for Storables.com, at no extra cost. Learn more)
Introduction
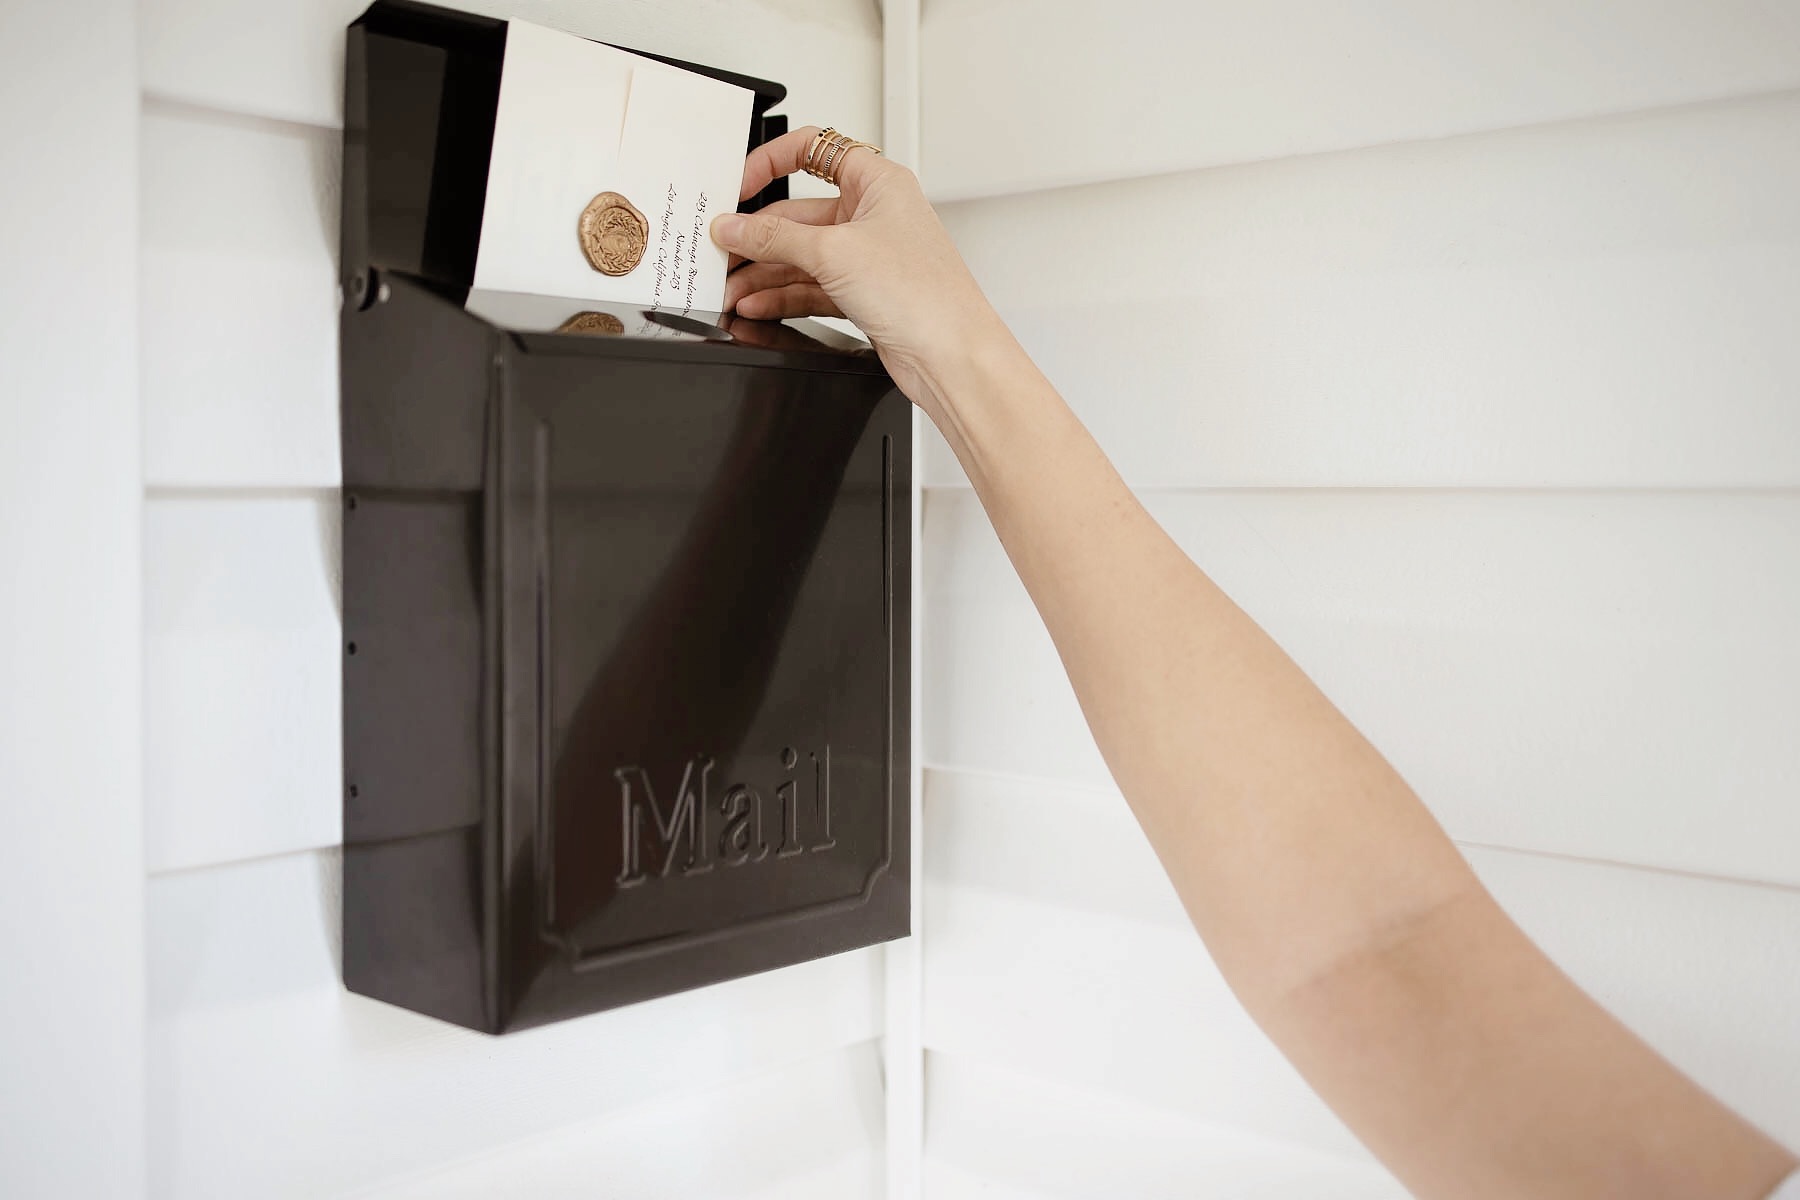
Installing a mailbox on the siding of your home is a convenient and practical solution for receiving your mail. Whether you live in a suburban neighborhood or a rural area, having a mailbox that is properly attached to your siding ensures that your mail is securely delivered. However, if you have never installed a mailbox on siding before, it may seem like a daunting task. But fear not! In this article, we will walk you through step by step on how to hang a mailbox on siding.
Hanging a mailbox on siding requires some basic tools and materials, as well as a little bit of know-how. By following the steps outlined in this article, you will be able to mount your mailbox onto your siding safely and securely. Plus, by doing it yourself, you can save on installation costs and have the satisfaction of completing a home improvement project on your own.
Before we dive into the steps, let’s take a moment to gather the necessary tools and materials. Having everything you need at hand will make the installation process smooth and efficient.
Key Takeaways:
- Hang a mailbox on siding with ease by gathering the right tools, choosing the ideal location, and ensuring a secure and stable installation. Enjoy the convenience of having your mail delivered right to your home!
- Ensure a sturdy and functional mailbox by following step-by-step instructions. Test the stability and functionality to enjoy hassle-free mail delivery and enhance your home’s curb appeal.
Step 1: Gather the necessary tools and materials
Before you begin installing a mailbox on siding, it is essential to gather all the tools and materials you’ll need for the job. By having everything on hand, you can avoid interruptions during the installation process and ensure a smoother experience. Here’s a list of the tools and materials you’ll need:
- A mailbox with a mounting bracket
- An electric drill or screwdriver
- Drill bits suitable for your siding material
- Screws or mounting hardware
- A level
- A pencil or marker
- A tape measure
- A step ladder or stool (if necessary)
Make sure that your mailbox has a mounting bracket included. This bracket will be used to attach the mailbox securely to the siding. Additionally, check the compatibility of the mailbox with your siding material. Different types of siding may require specific installation methods or special hardware.
An electric drill or screwdriver will be needed to make holes in the siding for attaching the bracket. Choose drill bits that are appropriate for your siding material, such as wood, vinyl, or metal.
The screws or mounting hardware should be suitable for outdoor use and should be long enough to secure the bracket firmly to the siding. It’s essential to select hardware that is durable and resistant to weather conditions to ensure the stability and longevity of your mailbox installation.
Having a level on hand will help ensure that your mailbox is installed plumb and level. This will not only enhance the appearance of the mailbox but also prevent any issues with functionality.
Lastly, a pencil or marker will be used to mark the position of the bracket on the siding, while a tape measure will help you measure and align the bracket accurately.
Once you have gathered all the necessary tools and materials, you’re ready to move on to the next step: choosing the ideal location for the mailbox.
Step 2: Choose the ideal location for the mailbox
Choosing the right location for your mailbox is crucial for practicality, accessibility, and curb appeal. Before you start drilling holes or attaching any hardware, take some time to consider the following factors:
- Regulations and guidelines: Check with your local postal service or homeowner’s association for any specific regulations or guidelines regarding mailbox placement. There may be rules regarding height, distance from the road, or alignment with neighboring mailboxes.
- Accessibility: Locate the mailbox in a position that is easily accessible for both mail carriers and yourself. Consider factors such as visibility, proximity to your front entrance, and the ease of retrieving mail.
- Siding material: Different siding materials have different requirements. For example, vinyl siding may require extra precautions to prevent damage during installation. Ensure that the location you choose is suitable for your siding material.
- Stability: Ensure that the chosen location is stable enough to support the weight of the mailbox and withstand external elements such as wind and rain. Avoid placing the mailbox in areas with potential obstructions or hazards.
- Aesthetic appeal: Take into account the visual impact of the mailbox placement on your home’s exterior. Consider the overall aesthetics and style of your home and aim for a location that enhances curb appeal.
Once you have considered these factors, take your time to assess different locations around your home. Keep in mind the practical aspects of mailbox delivery and collection as well as the visual harmony with your home’s exterior.
When you have chosen the ideal location, use a pencil or marker to mark the position of the mounting bracket on the siding. This will serve as a guide for the next steps in the installation process.
Now that you have selected the perfect spot for your mailbox, it’s time to move on to preparing the siding for installation in step 3.
Step 3: Prepare the siding for installation
Before you can attach the mounting bracket to the siding, it’s important to properly prepare the area to ensure a secure and long-lasting installation. Follow these steps to prepare the siding:
- Clean the area: Use a soft brush or cloth to remove any dirt, debris, or loose particles from the siding surface. Cleaning the area will promote better adhesion and prevent any obstructions during the installation process.
- Inspect the siding: Carefully examine the siding for any damage, cracks, or loose sections. If you come across any issues, it’s crucial to address them before proceeding with the installation. Repair or replace any damaged siding to ensure a stable foundation for the mailbox.
- Measure and mark: Take measurements to determine the specific position of the mounting bracket. Use a tape measure to establish the correct height and alignment. Double-check your measurements to ensure accuracy.
- Create pilot holes: To make the installation process easier, use an electric drill or screwdriver with a suitable drill bit to create pilot holes for the screws or mounting hardware. Pilot holes will help prevent the siding from cracking or splitting when attaching the bracket.
When creating pilot holes, make sure to align them with your marked position for the mounting bracket. The size of the pilot holes should match the size of the screws or mounting hardware that you will be using. Be cautious not to drill too deep or apply excessive pressure, as this could damage the siding or affect the stability of the installation.
Once you have prepared the siding, you’re ready to move on to the next step: attaching the mounting bracket to the siding.
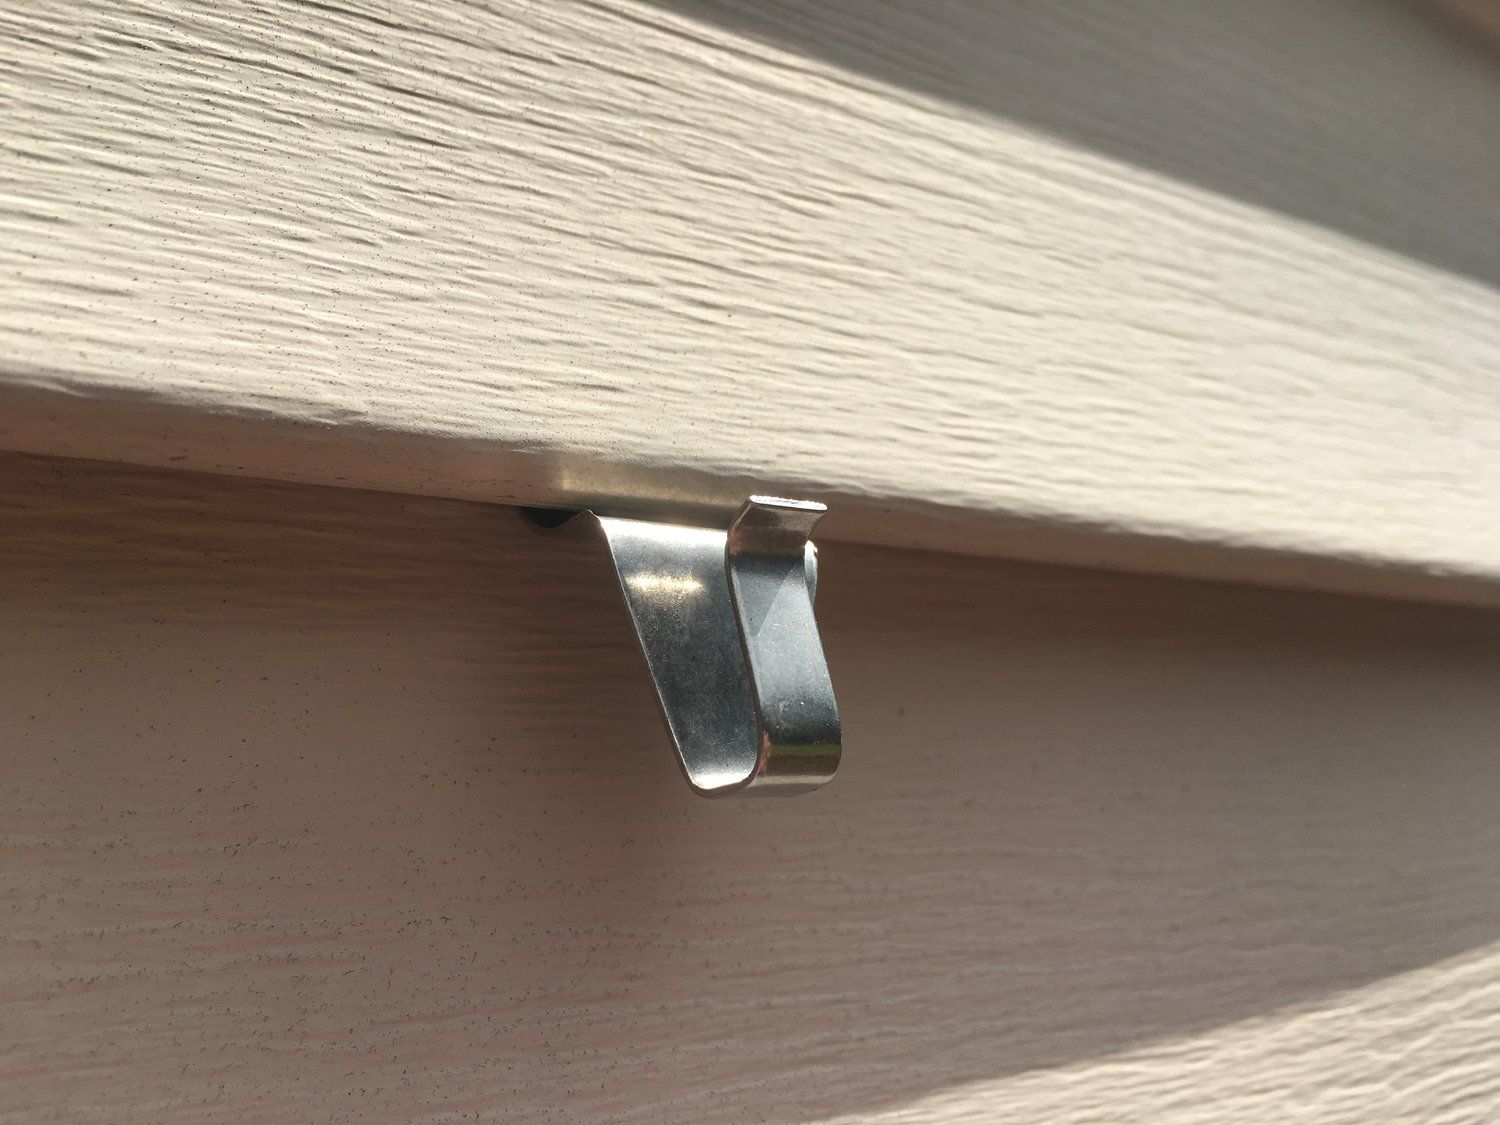
When hanging a mailbox on siding, use a mounting bracket designed for siding installation. Make sure to attach the bracket securely to the siding to prevent the mailbox from becoming loose or falling off.
Step 4: Attach the mounting bracket to the siding
With the siding prepared, it is now time to attach the mounting bracket securely. Follow these steps to ensure a stable and durable attachment:
- Align the bracket: Position the mounting bracket over the pilot holes, aligning it with the marked location on the siding. Use a level to ensure that the bracket is straight and level.
- Secure the bracket: With the bracket in position, insert the screws or mounting hardware into the pilot holes. Start by loosely fitting the screws and then gradually tighten them with an electric drill or screwdriver. Be careful not to overtighten, as it may damage the siding or affect the stability of the bracket. Verify that the bracket is securely attached and does not wobble.
- Double-check alignment: After securing the bracket, review its position to ensure it is still aligned properly. Use a level again to make any necessary adjustments. This step is crucial for the final installation of the mailbox.
Take your time during this step to ensure that the bracket is correctly positioned and firmly attached to the siding. A secure mounting bracket will provide a stable foundation for your mailbox, preventing any potential issues down the line.
Once you have securely attached the mounting bracket, you can proceed to the next step: installing the mailbox onto the bracket.
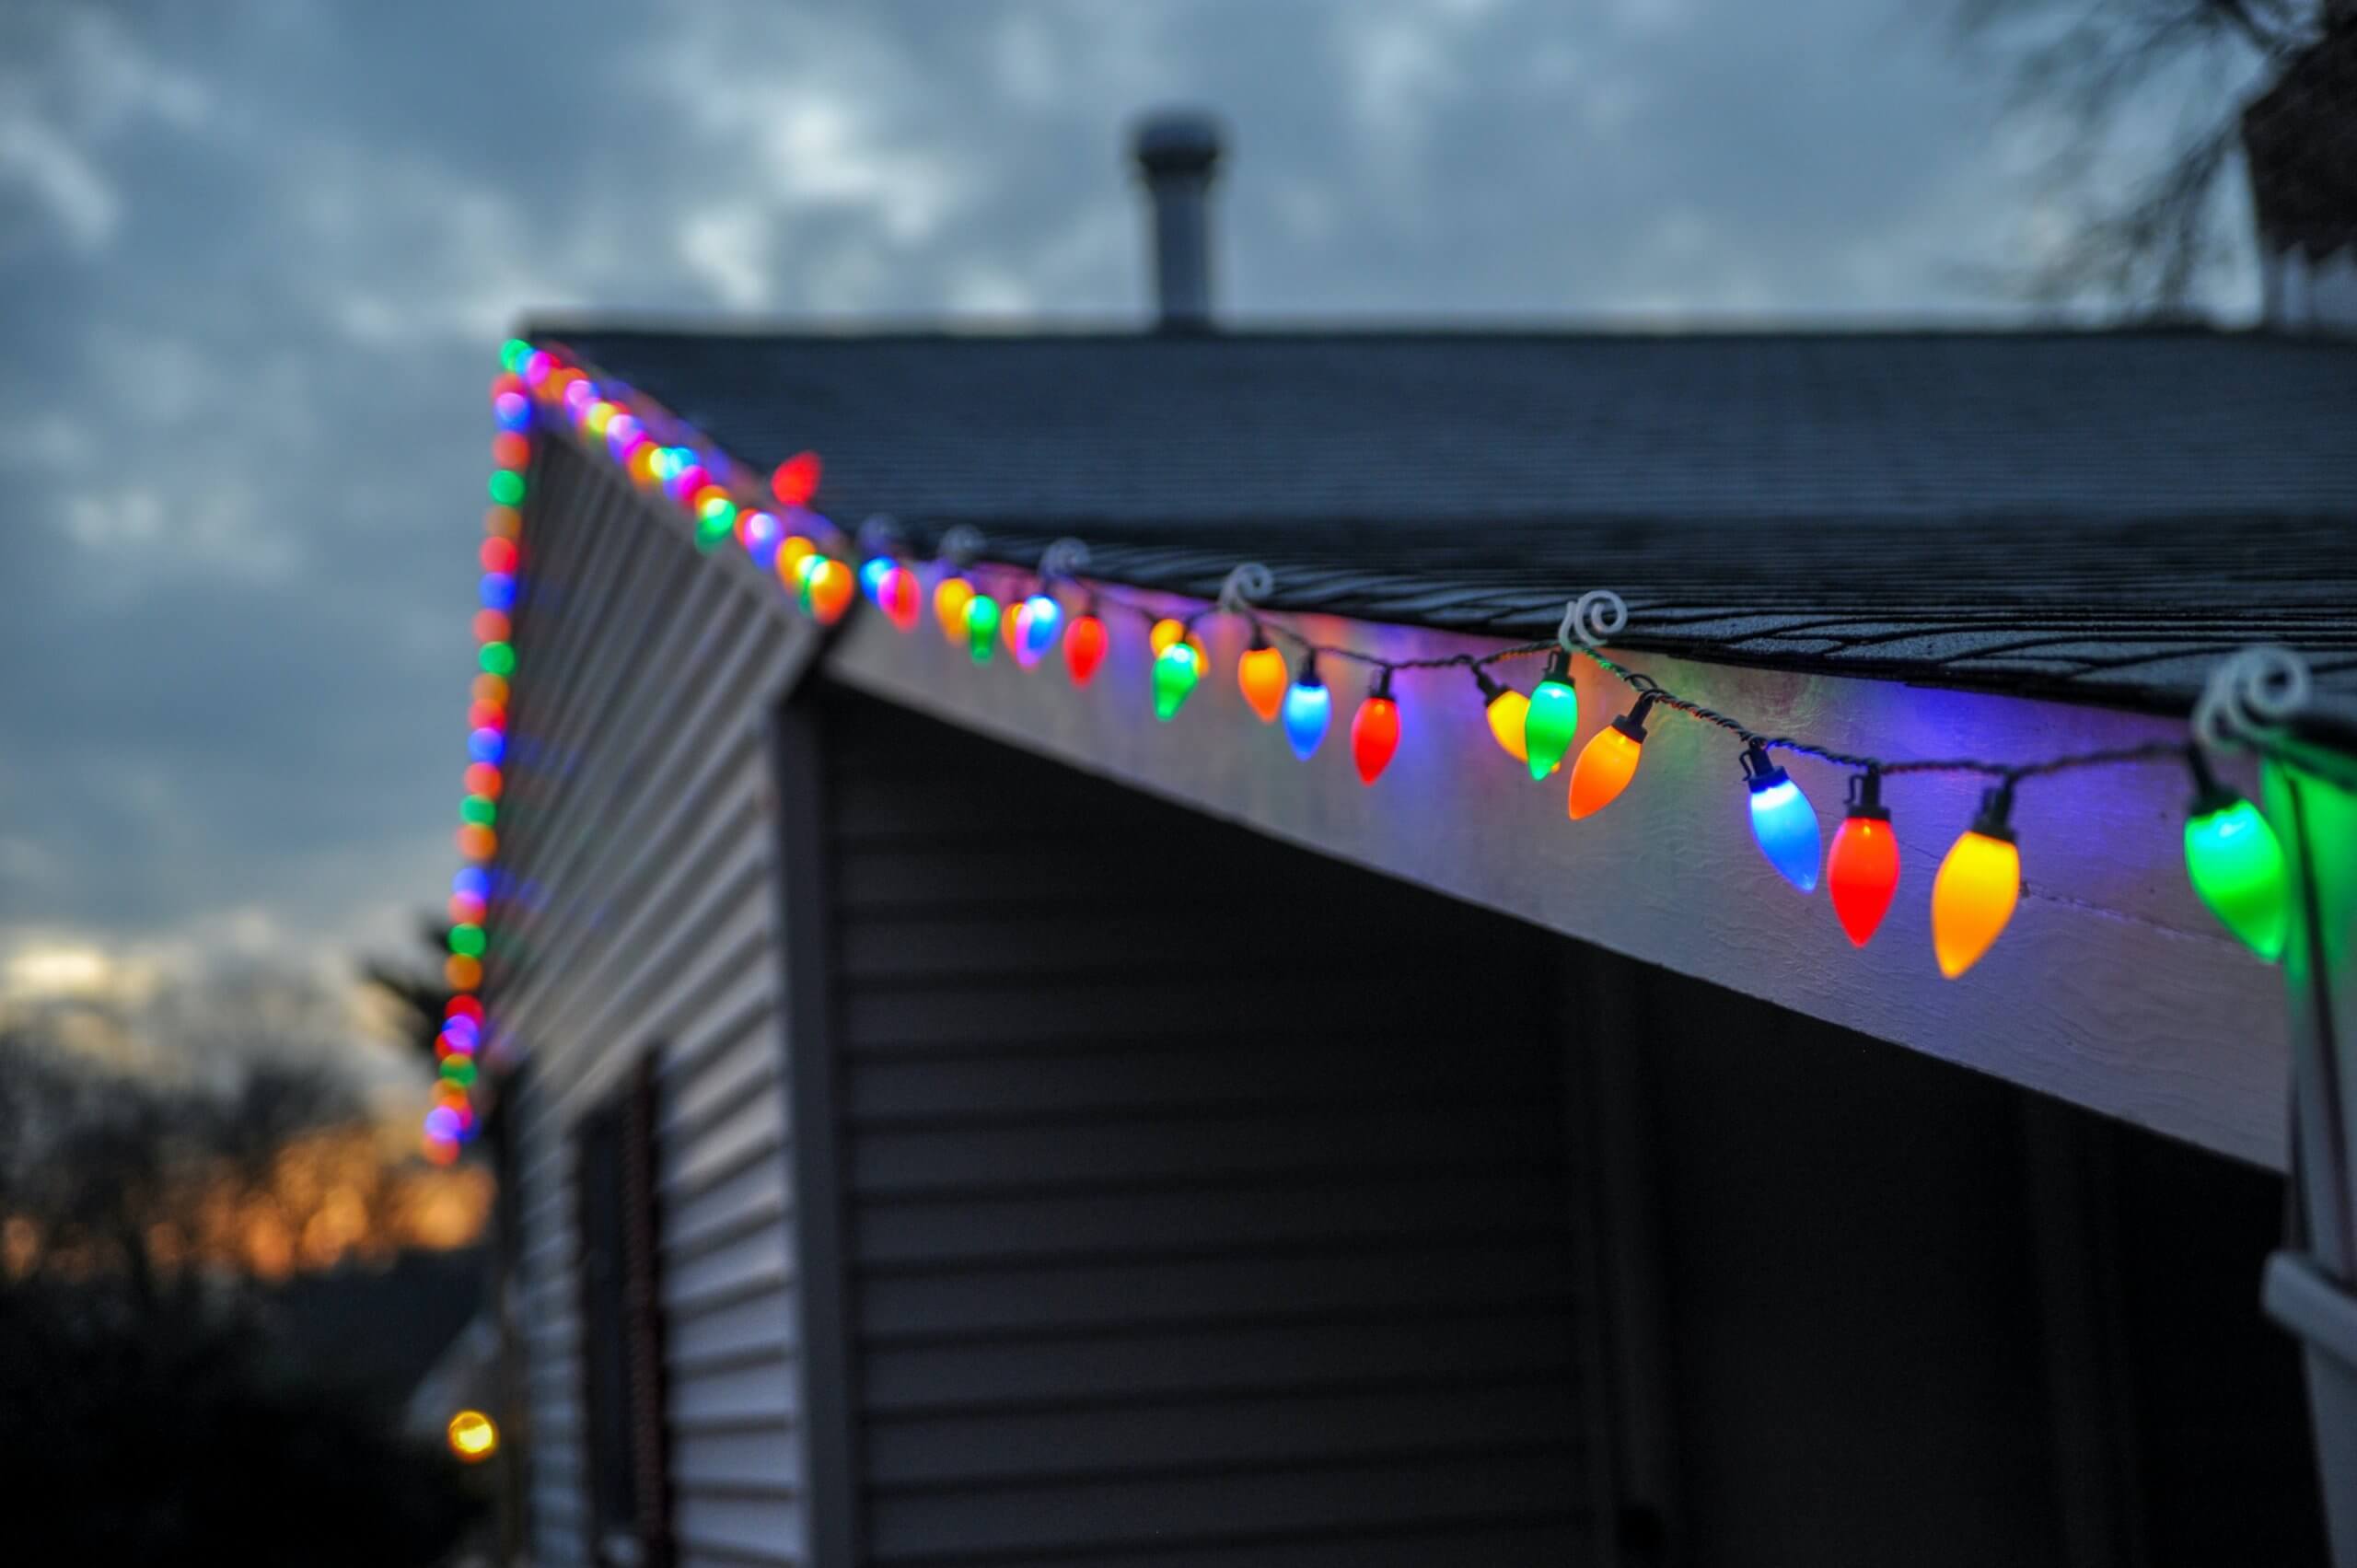
Read more: How To Hang Lights From Siding
Step 5: Install the mailbox onto the mounting bracket
Now that the mounting bracket is securely attached to the siding, it’s time to install the mailbox onto the bracket. Follow these steps to ensure a proper installation:
- Position the mailbox: Carefully place the mailbox onto the mounting bracket, ensuring that it aligns with the bracket’s opening or attachment points. Gently slide the mailbox into position, making sure it sits flush against the bracket.
- Secure the mailbox: Depending on the design of your mailbox, there may be specific mechanisms for securing it to the mounting bracket. It could involve tightening screws or using a locking mechanism. Refer to the manufacturer’s instructions for your specific mailbox to ensure the correct method of securing it.
- Test the stability: Once the mailbox is secured, give it a gentle shake to check its stability. Ensure that it doesn’t move or wobble excessively. If you notice any instability, double-check the attachment to the mounting bracket and make any necessary adjustments.
It is essential to ensure that the mailbox is securely installed to prevent it from shifting or falling off the bracket. Proper installation will ensure the durability and functionality of the mailbox, allowing for smooth mail delivery and collection.
With the mailbox successfully installed onto the mounting bracket, you can move on to the final step: testing the stability and functionality of the mailbox.
Step 6: Test the stability and functionality of the mailbox
Now that your mailbox is securely installed, it’s important to test its stability and functionality. Follow these steps to ensure everything is working as it should:
- Stability test: Give the mailbox a firm shake to check for any movement or instability. Ensure that it is securely attached to the mounting bracket and that it remains in place. If you notice any issues, such as wobbling or loose connections, revisit the previous steps to address the problem.
- Functionality test: Open and close the mailbox door to ensure smooth operation. Check for any resistance or sticking. Ensure that the door opens and closes securely and that it latches properly. Additionally, check the internal space of the mailbox to ensure it is sufficient for receiving mail without any obstructions.
- Mailbox flag (if applicable): If your mailbox has a flag to indicate outgoing mail, test its functionality by raising and lowering it. Ensure that the flag is easy to raise and remains in the desired position until manually lowered.
By testing the stability and functionality of your mailbox, you can identify any potential issues and address them promptly. This will help ensure that your mailbox functions smoothly and provides a reliable solution for receiving and sending mail.
Congratulations! You have successfully hung a mailbox on your siding. By following these steps and taking the necessary precautions, you can enjoy the convenience and practicality of having a securely installed mailbox.
Remember to periodically inspect your mailbox and its installation to ensure ongoing stability and functionality. Make any necessary repairs or adjustments as needed to maintain the integrity of the installation.
Now sit back, relax, and enjoy the ease of having your mail conveniently delivered right to your front door!
Conclusion
Installing a mailbox on siding might seem like a daunting task at first, but with the right tools and proper guidance, it can be a straightforward and rewarding DIY project. By following the steps outlined in this article, you can successfully hang a mailbox on your siding and enjoy the convenience of having your mail delivered right to your home.
Starting with gathering the necessary tools and materials, you can ensure that you have everything you need to complete the installation process smoothly. Choosing the ideal location for your mailbox is crucial for practicality and curb appeal, so take the time to consider factors such as accessibility, regulations, and visual harmony with your home’s exterior.
Preparing the siding is an essential step to ensure a secure and durable installation. Clean the area, inspect the siding for any damage, and create pilot holes for attaching the mounting bracket carefully. Speaking of the mounting bracket, securely attach it to the siding, ensuring it is level and aligned properly.
Once the bracket is in place, install the mailbox onto the bracket according to the manufacturer’s instructions. Secure the mailbox in the designated manner and test its stability and functionality. Make sure it doesn’t wobble, the door opens and closes smoothly, and the mailbox flag (if applicable) functions properly.
By following these steps and conducting regular inspections, you can ensure that your mailbox remains sturdy, functional, and aesthetically pleasing for years to come. Remember to comply with any local regulations or guidelines to ensure a hassle-free experience.
Now that you have learned how to hang a mailbox on siding, you can enjoy the convenience and practicality of having your mail delivered directly to your home. No more trips to the post office or missed deliveries – your mailbox is now ready to serve its purpose!
So grab your tools, gather your materials, and get ready to install a mailbox on your siding. You’ll not only enhance the functionality of your home but also add a welcoming touch to your curb appeal.
Frequently Asked Questions about How To Hang Mailbox On Siding
Was this page helpful?
At Storables.com, we guarantee accurate and reliable information. Our content, validated by Expert Board Contributors, is crafted following stringent Editorial Policies. We're committed to providing you with well-researched, expert-backed insights for all your informational needs.


0 thoughts on “How To Hang Mailbox On Siding”