Home>Ideas and Tips>DIY Guide To Installing Floating Shelves

Ideas and Tips
DIY Guide To Installing Floating Shelves
Published: September 17, 2024
Learn how to install floating shelves with our step-by-step DIY guide. Perfect for adding style and storage to any room.
(Many of the links in this article redirect to a specific reviewed product. Your purchase of these products through affiliate links helps to generate commission for Storables.com, at no extra cost. Learn more)
Installing floating shelves can be a fantastic way to add storage and style to any room in your home. These sleek and modern shelves have become incredibly popular due to their minimalist design and versatility. However, many people find the installation process daunting, especially when it comes to concealing support rods or cleats. In this comprehensive guide, we will walk you through the steps to install a floating shelf, focusing on the use of heavy-duty brackets and providing detailed instructions for both beginners and experienced DIY enthusiasts.
Understanding Floating Shelves
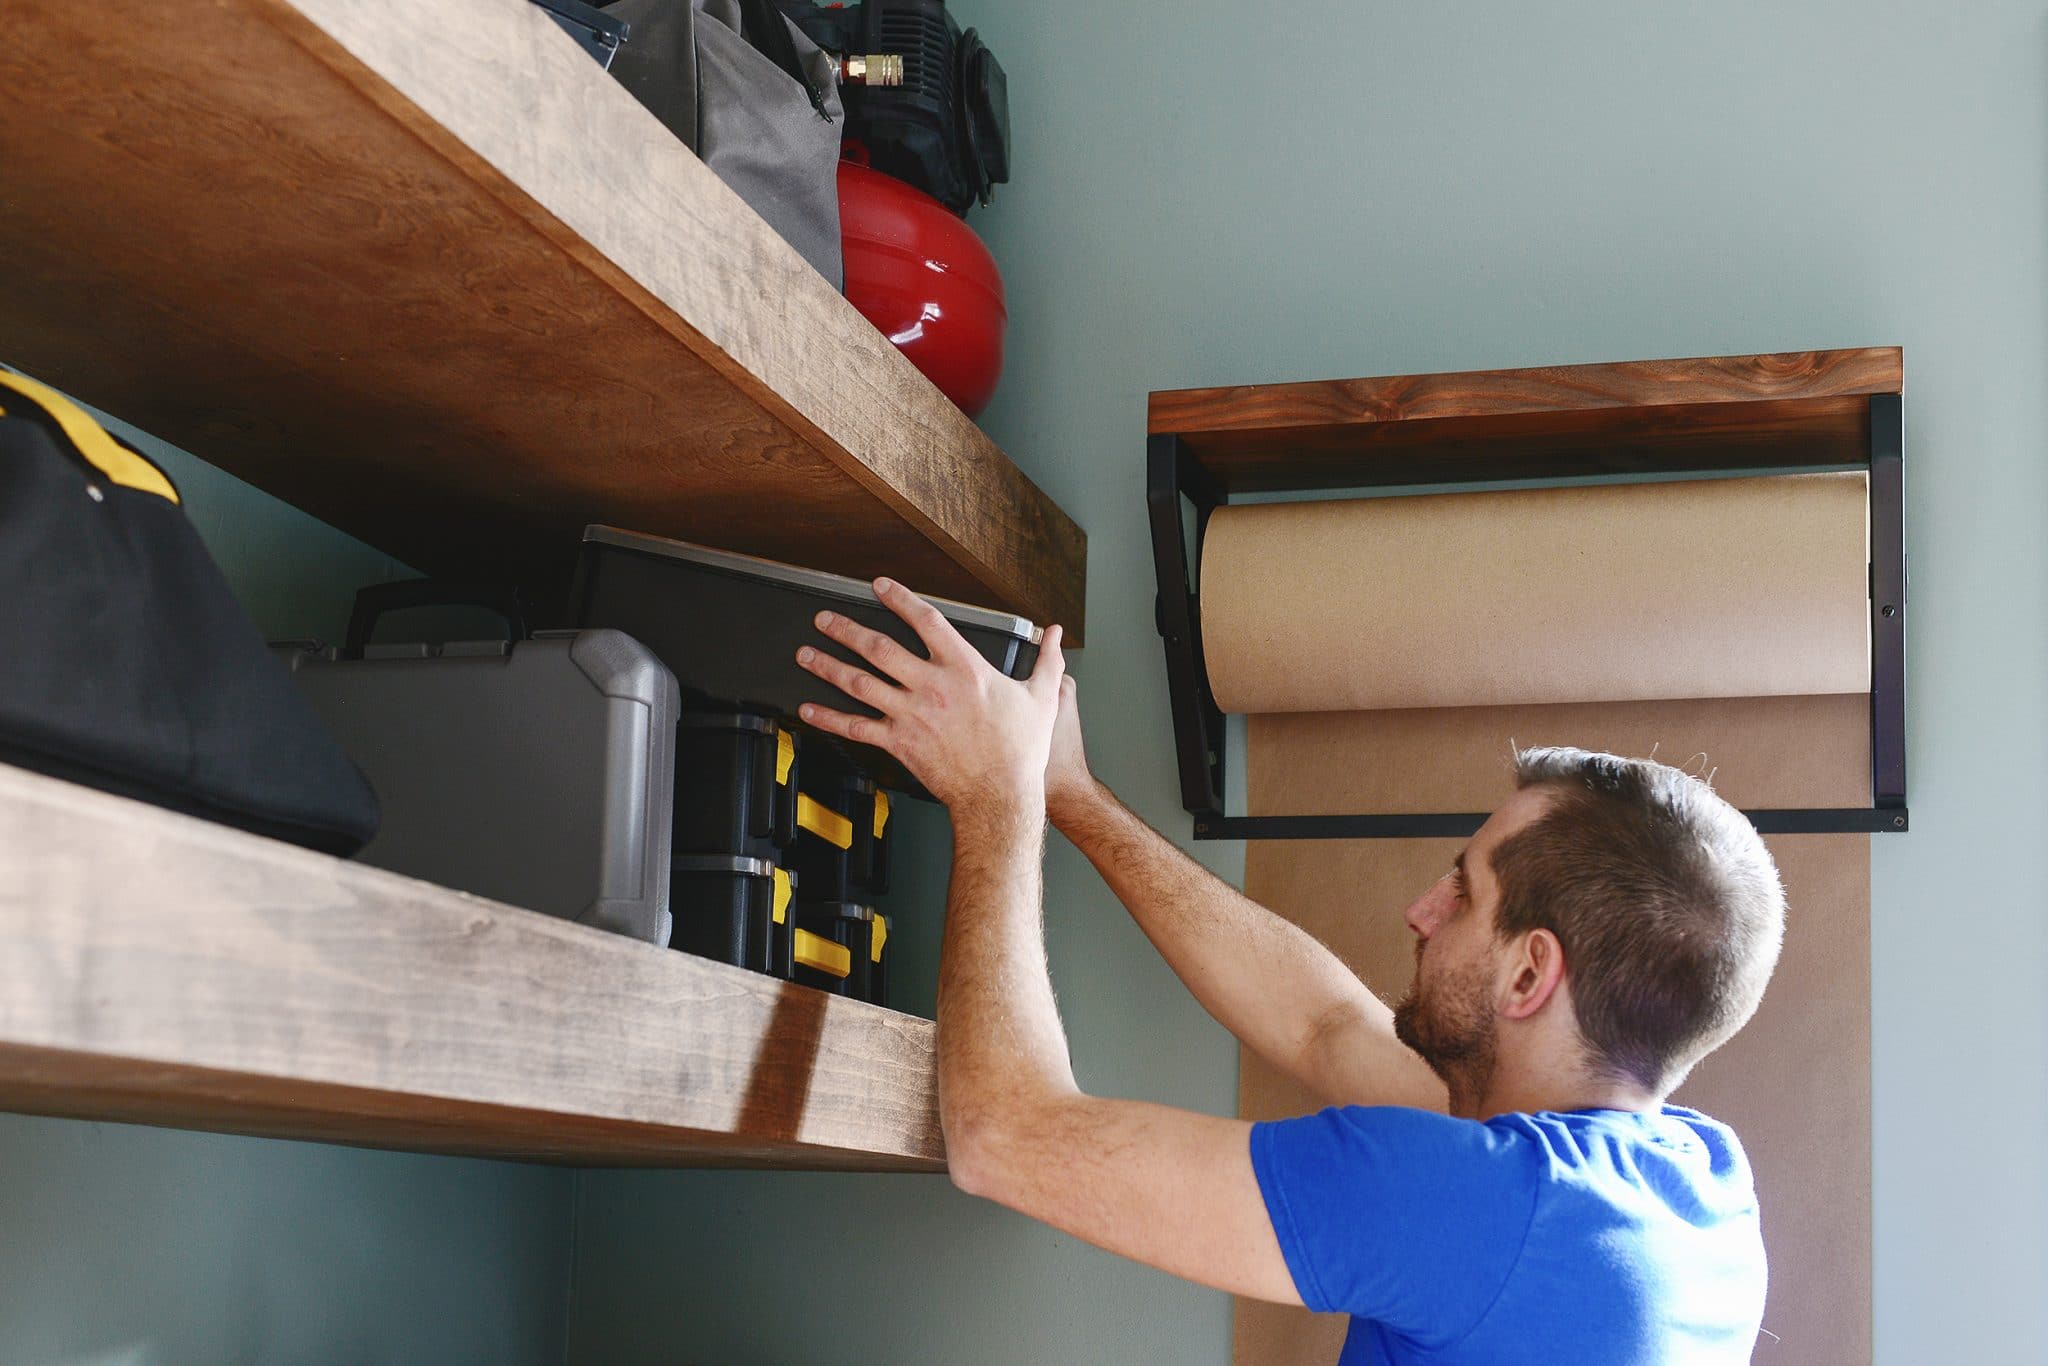
Before we dive into the installation process, it's essential to understand what floating shelves are and why they are so popular. Floating shelves are designed to appear as if they are floating on the wall without any visible support. This is achieved by using heavy-duty brackets that are concealed behind the shelf, giving the illusion that the shelf is suspended in mid-air.
Read more: Floating Storage Shelves: An Easy DIY Guide
Types of Floating Shelves
Floating shelves come in various types, including those made from solid materials like planks, glued-together strips, or even tree slices with natural edges. The thickness of floating shelves typically ranges from two inches, making them relatively substantial. This thickness not only adds to their aesthetic appeal but also provides stability and support for the items placed on them.
Choosing the Right Brackets
When it comes to supporting these shelves, there are different methods you can use. In a garage setting, strong floating shelves can be installed using short lengths of pipe drilled into studs at a slight angle. Inside a home, most floating shelves are supported by brackets with rods welded on. Brackets with separate components can be tricky to install due to alignment challenges. It is easier to use a single piece with precisely spaced rods welded to a horizontal support that has holes or slots for screwing into studs.
One such company that offers heavy-duty brackets of this type is Walnut Wood Works based in Bell Buckle, Tennessee. Their 24-, 32-, and 43-inch heavy-duty brackets come with rods that are ¾ inches in diameter and 6¼ inches long, providing a weight capacity of 75 pounds per supporting stud, or a total of 150 pounds for the shelf and its contents if it spans two studs.
Preparing for Installation
Before you start installing your floating shelves, it's crucial to prepare the area properly. Here are some steps you should take:
-
Decide on the Placement: Determine approximately where you want to place your floating shelves. Consider the height and alignment to ensure they are level and aesthetically pleasing.
-
Locate Wall Studs: Use a stud finder to locate the studs in the wall where you plan to install the shelves. At least two studs must be behind the shelf, but the center of the shelf can be slightly off from the midway point.
-
Mark the Wall: Use a level to mark where the screws will hit the center of the studs and fit through the holes or slots on the bracket. This ensures that your shelf is securely attached to the wall.
Installing the Brackets
To install the brackets, follow these steps:
-
Screw the Bracket to the Wall: Using 2½-inch-long No. 8 wood screws or cabinet screws, screw the bracket to the wall at the marks you made earlier. Make sure they are securely attached to at least two studs for maximum support.
-
Adjust Shelf Placement: Set the shelf on the rods and adjust its placement as needed. If you want the shelf to hide the bracket and fit tightly to the wall, use a router to cut a recess in the back edge of the shelf that matches the bracket shape. Alternatively, you can skip this step and plug the gap along the back edge by gluing on a strip of wood as thick as the bracket.
-
Drill Holes for Rods: To mark the holes for the rods, use a square to extend the mark you made for one rod onto the back edge of the shelf. Then measure over from that to locate the other hole or holes. Center them between the top and bottom edges. If your bracket came with instructions or a template, follow that.
-
Drill Perfectly Angled Holes: At each mark, drill into the back edge at a perfect right angle using a drill press or other drilling guide to keep your drill straight. Make sure these holes are ½ inch deeper than the rods are long so that they can accommodate them properly.
Read more: DIY Guide To Building Custom Shelving Units
Assembling Your Shelf
Once you have drilled your holes, you can assemble your shelf:
- Slip Shelf onto Rods: Simply slip your shelf onto the rods. To make the shelf more secure, drill into the bottom of the shelf directly under a rod and tighten a screw there to lock the rod into place. Alternatively, you can squirt construction adhesive onto the rods before positioning the shelf. However, be aware that this step might make it difficult to remove the shelves if you decide to redecorate.
DIY Floating Shelf Tutorial
If you prefer making your own floating shelves instead of using pre-made brackets, here’s a simple DIY tutorial:
Materials Needed
- Southern yellow pine (8 x 1.5 x 96 inches)
- ½-inch Oak Dowel (36 inches long)
- 6 – 3-inch wood screws (two per shelf)
- 3 – ¾- to 1-inch wood screws (one in each shelf)
- Safety materials (e.g., tape for setting drill depth)
Steps
-
Cut Lumber: Cut the lumber into three equal parts.
-
Cut Dowels: Cut the dowel into small pieces, marking every four inches. You should end up with nine pieces.
-
Drill Holes: Place tape on your drill bit to set its depth and drill out holes in each piece of lumber at two inches from each end and in the middle.
-
Rip Lumber: Use a circular saw or table saw to make rips along one side of each piece of lumber, ensuring they align with previously drilled holes.
-
Sand Dowels: Sand down a portion of each dowel except for where it will pass through the back bracket of your shelf. This ensures a tight fit.
-
Assemble Shelf: Use wood glue and brad nails to attach bottom plywood strips to each piece of lumber. Then attach top shelves using pocket hole screws.
-
Attach Brackets: If desired, attach dowels to back brackets using wood screws for added support.
-
Decorate Shelves: Add decorative items like baskets, towels, or other decor items to complete your floating shelves.
Read more: DIY Guide To Installing Wainscoting
Additional Tips
Measuring and Marking
When measuring and marking your wall for installation, it's crucial to use a level to ensure everything is perfectly aligned. This will prevent any unevenness or sagging of your shelves over time.
Drilling Holes
Drilling perfectly angled holes can be challenging but is essential for proper installation. Using a drill press or other drilling guide can help keep your drill straight and ensure accurate placement of holes.
Securing Shelves
To make your shelves more secure, consider drilling into the bottom of the shelf directly under a rod and tightening a screw there. Alternatively, you can use construction adhesive on the rods before positioning the shelf. However, be aware that this might make it difficult to remove the shelves if needed in the future.
Read more: DIY Guide To Installing A Stair Runner
Conclusion
Installing floating shelves can be a rewarding DIY project that adds both functionality and style to any room. By following these steps and tips, you can create beautiful floating shelves that appear as if they are floating on the wall without any visible support. Whether you choose to use pre-made brackets or make your own from scratch, the end result will be a stunning addition to your home decor.
If you have any home improvement questions or need further guidance on installing floating shelves, feel free to reach out to us at Storables. We are here to help you achieve your home improvement goals with ease and confidence.
References: The Washington Post: "How to Install Floating Shelves" Instructables: "Make Your Own Floating Shelves With This Simple Technique" Shanty-2-Chic: "Easy DIY Floating Shelves Tutorial and Plans" Yellow Brick Home: "DIY Floating Shelves for Easy Storage" This Old House: "How to Build Floating Shelves"
Was this page helpful?
At Storables.com, we guarantee accurate and reliable information. Our content, validated by Expert Board Contributors, is crafted following stringent Editorial Policies. We're committed to providing you with well-researched, expert-backed insights for all your informational needs.



0 thoughts on “DIY Guide To Installing Floating Shelves”