Home>Ideas and Tips>DIY Guide To Installing A Kitchen Tile Backsplash With Interactive Touch Sensors
Ideas and Tips
DIY Guide To Installing A Kitchen Tile Backsplash With Interactive Touch Sensors
Published: September 21, 2024
Enhance your kitchen with a stylish tile backsplash and modern touch sensors. Follow our DIY guide for a seamless and interactive installation.
(Many of the links in this article redirect to a specific reviewed product. Your purchase of these products through affiliate links helps to generate commission for Storables.com, at no extra cost. Learn more)
Installing a tile backsplash in your kitchen can be a fantastic way to enhance both the aesthetic and functional aspects of your cooking space. Not only does it add a touch of elegance, but it also provides a durable, easy-to-clean surface behind your cooktop or sink. In this comprehensive guide, we will walk you through the steps of installing a kitchen tile backsplash, including the option to integrate interactive touch sensors for a modern and technologically advanced look.
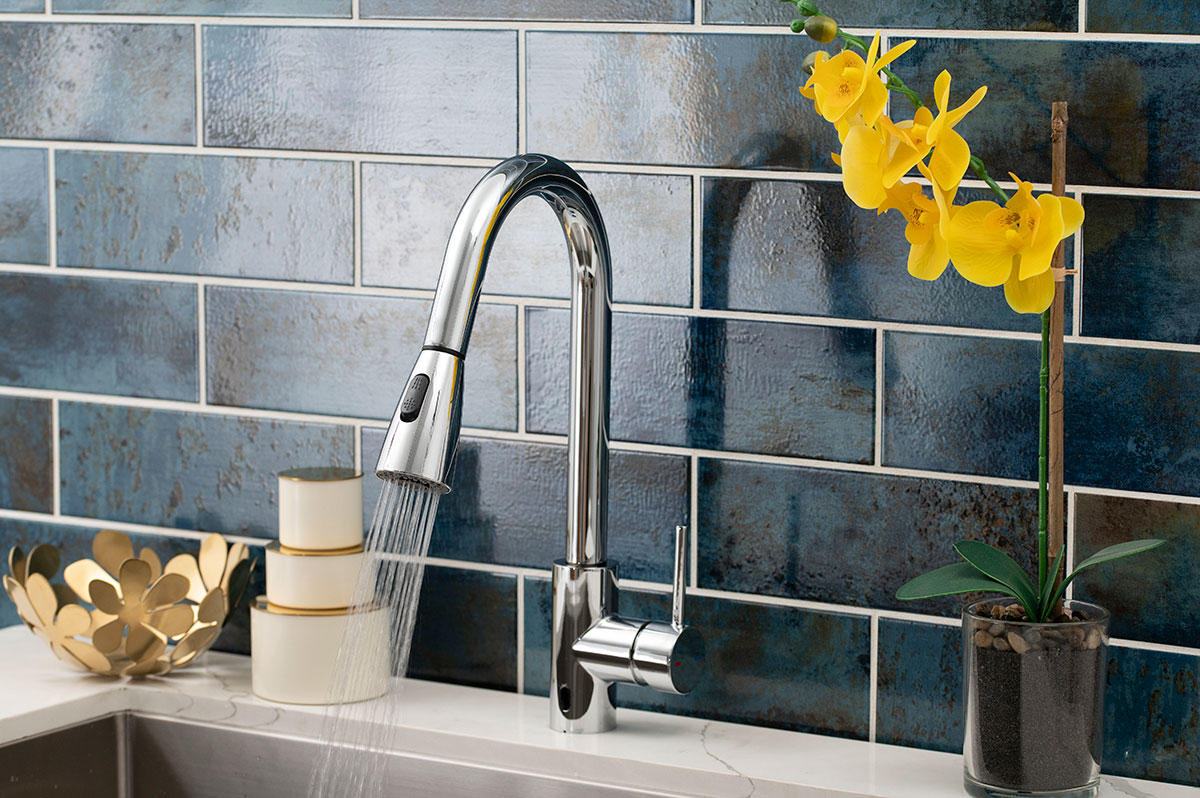
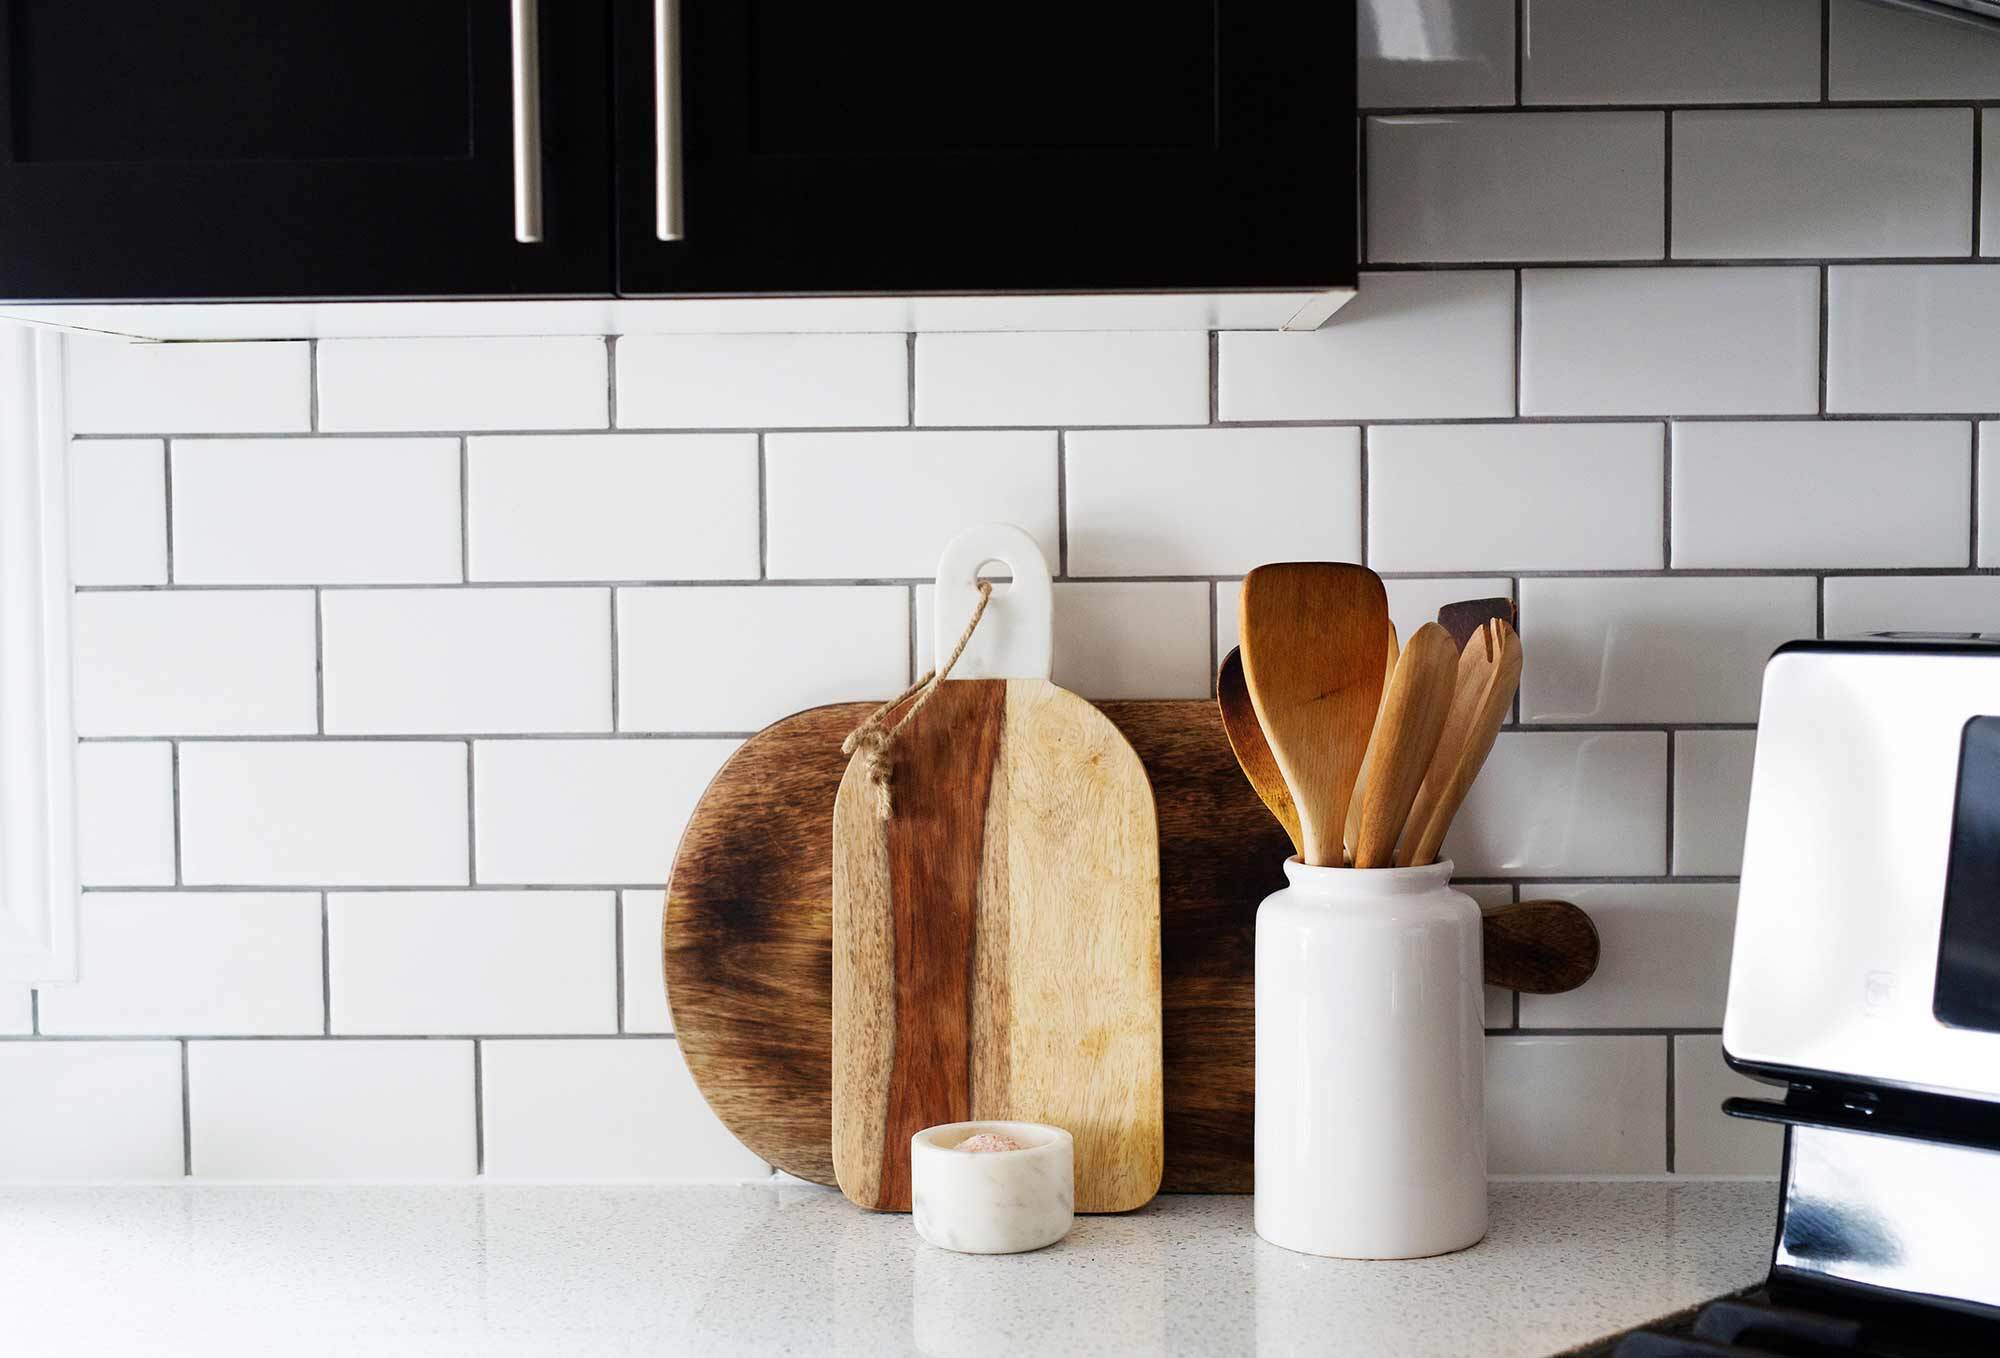
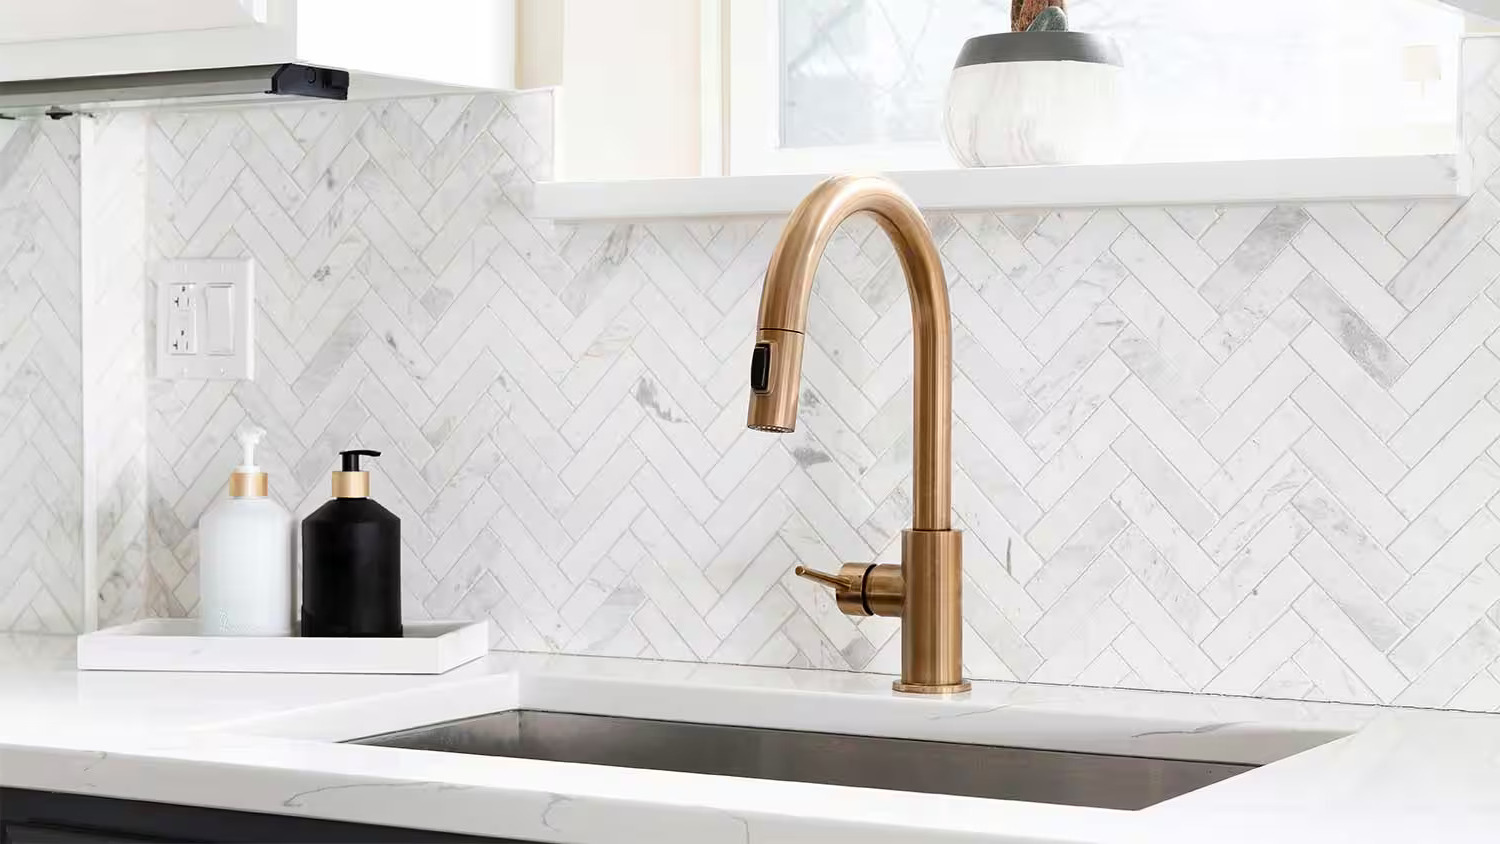
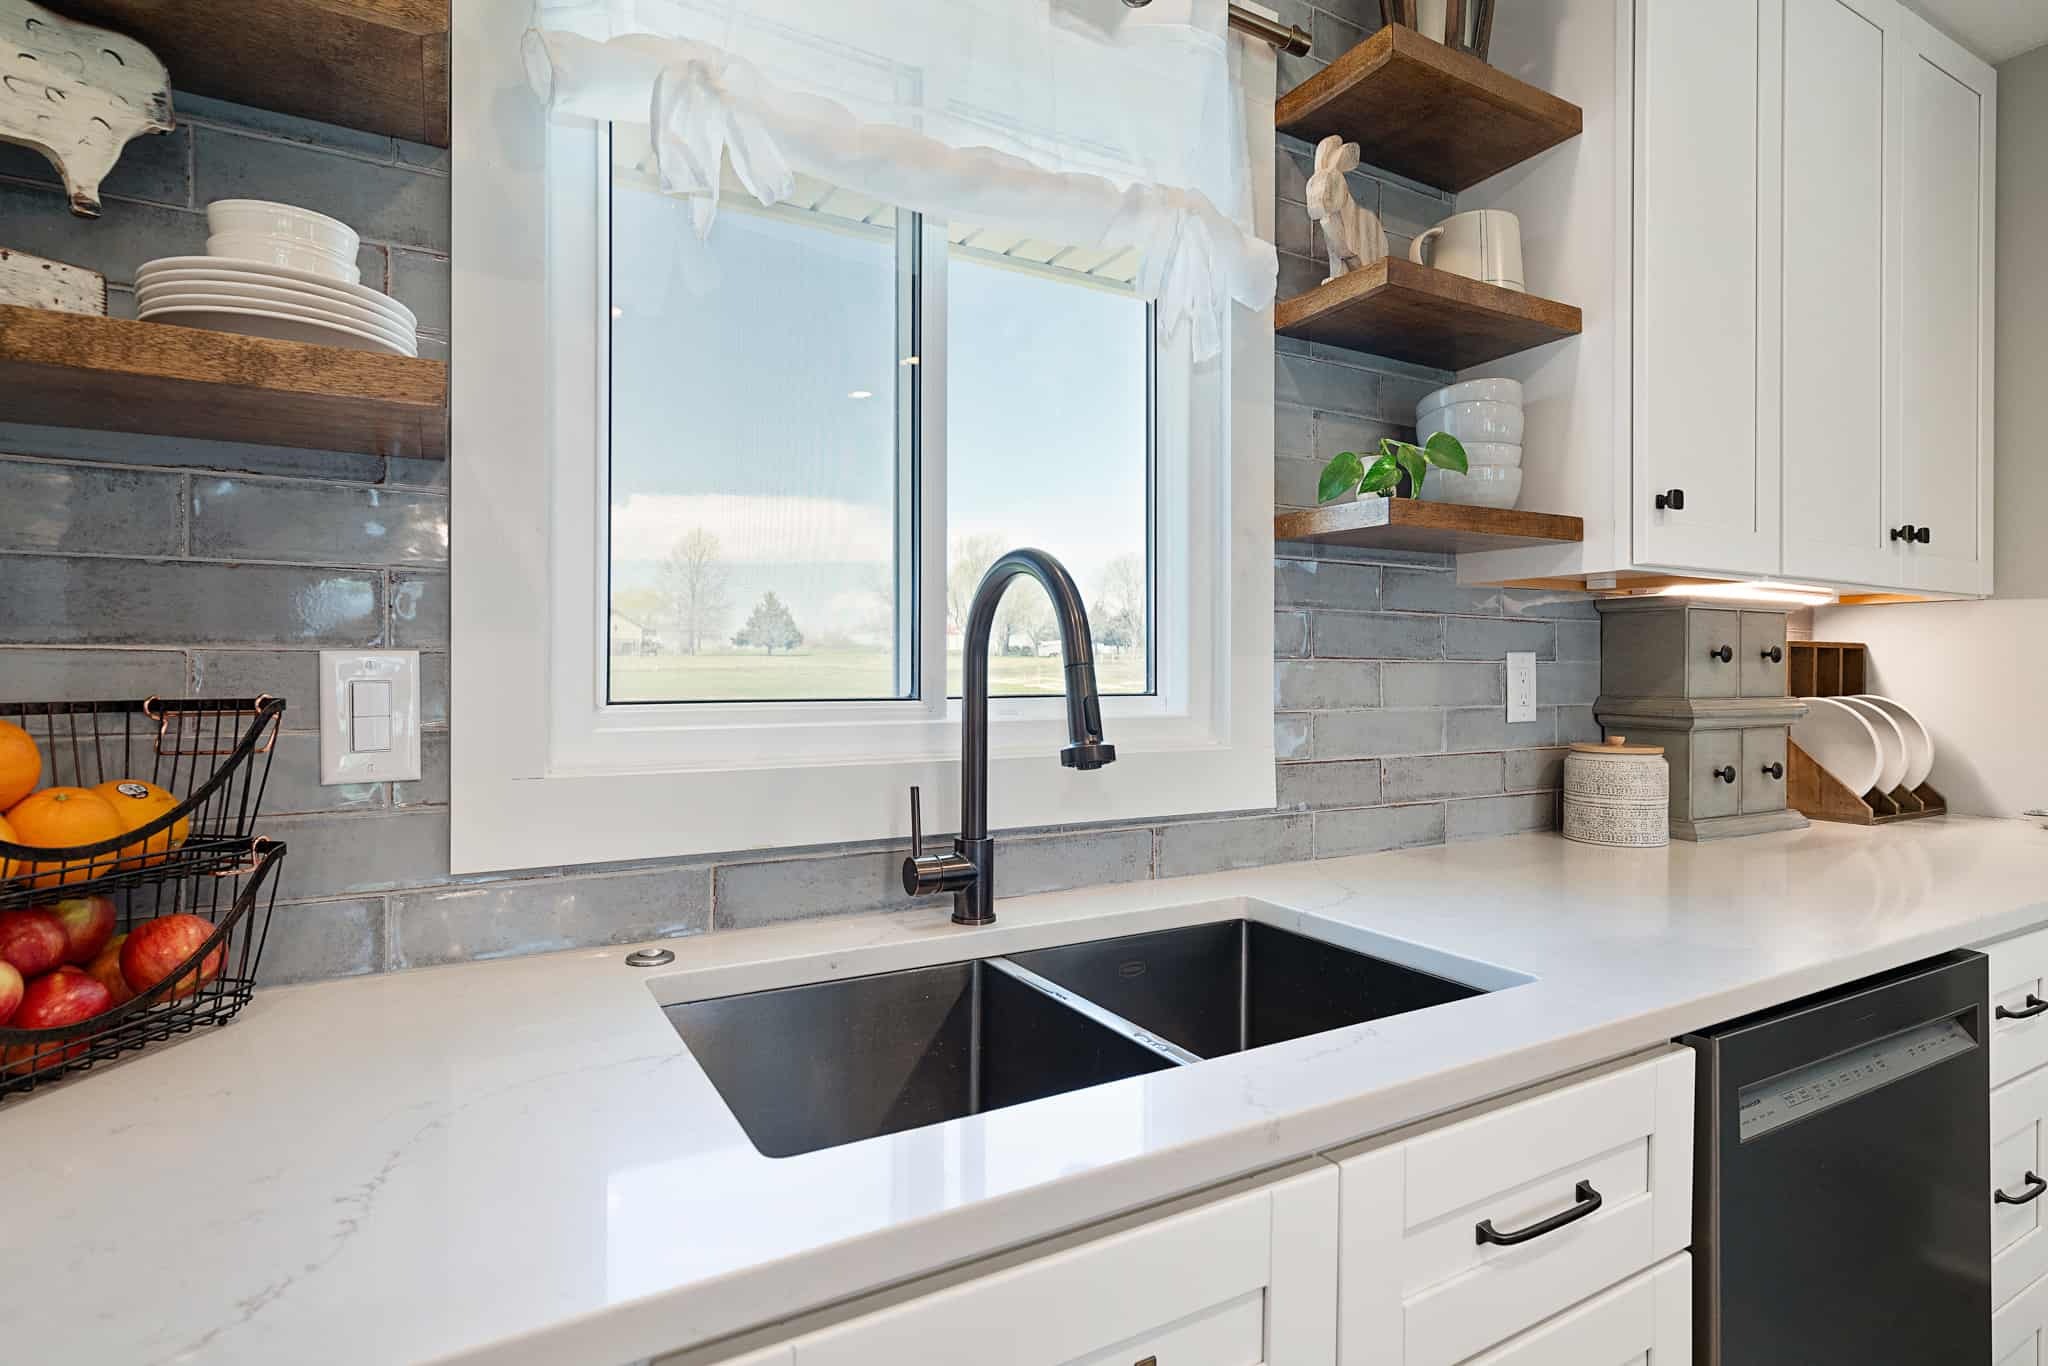
Choosing the Right Tile
Before you begin your project, selecting the right tile is crucial. Here are some factors to consider:
Color
The color of your tile should match or complement your kitchen’s color scheme, focusing on cabinets and countertops. This ensures that the backsplash blends seamlessly with the rest of your kitchen design.
Material
Ceramic and porcelain tiles are common choices due to their durability and ease of maintenance. These materials are resistant to heat, moisture, and stains, making them ideal for a kitchen backsplash.
Size
Larger tiles can make installation easier for beginners, while smaller tiles offer more design flexibility. For a DIY project, square tiles on a mesh backing are often the easiest to work with because they are simple to cut and align.
Style
Choose a tile that complements your kitchen’s design. Options range from classic subway tiles to modern mosaic patterns. For a contemporary look, you might consider using larger, rectangular tiles or even glass tiles for added visual interest.
Preparing for Tile Backsplash Installation
Before you start tiling, it’s essential to properly prepare your workspace and gather all necessary materials. Here’s what you need:
Tools and Materials
- Bucket: For mixing tile adhesive and grout.
- Chosen Tile: The specific tile you’ve selected for your backsplash.
- Cleaning Solution: To clean the wall thoroughly.
- Drop Cloth: To protect your countertop from dust and debris.
- Painter’s Tape: To mark boundaries and protect surfaces.
- Pre-mixed Grout: For filling gaps between tiles.
- Rubber Grout Float: For applying grout evenly.
- Scissors: For cutting tape or other materials.
- Sponge: For cleaning excess grout from tiles.
- Tape Measure: To measure the wall accurately.
- Tile Adhesive Mat: A two-sided adhesive mat can simplify the installation process.
- Utility Knife: For cutting tiles or other materials as needed.
Preparing the Wall
- Clean the Wall: Thoroughly clean the wall using an appropriate cleaning solution to remove any grease or debris. This ensures a smooth surface for tiling.
- Protect Countertops: Cover your countertop with a drop cloth, securing it with painter’s tape to protect the work area from dust and debris.
- Mark Boundaries: Use painter’s tape to mark the boundaries of your backsplash area on the wall. This helps you visualize where you’ll be working and prevents any accidental marks on adjacent surfaces.
Step-by-Step Guide to Installing a Tile Backsplash
Read more: DIY Guide To Installing A Kitchen Tile Backsplash With Photocatalytic Self-Cleaning Tiles
Step 1: Measure the Wall
Measure the wall to determine how many tiles you’ll need. It’s always a good idea to order about 10% extra tile just in case some tiles get damaged during installation or if you need additional pieces for cuts.
Step 2: Apply Tile Adhesive
Use a trowel to apply tile adhesive to a small starting section of the wall. This ensures that your first tile adheres properly and sets the foundation for subsequent tiles.
Step 3: Place Spacers
Place spacers along the countertop and between the tiles as you apply them to the wall. This helps maintain even spacing and prevents tiles from shifting during installation.
Step 4: Mark Tiles for Size Adjustments
Mark any tiles where you need to make size adjustments. Use a pencil or marker to mark these areas so you can cut them accurately later.
Step 5: Cut Tiles
Cut the tile with a wet saw or another cutting tool. If using a wet saw, ensure it’s set up correctly and safety precautions are taken.
Step 6: Install Tiles
Once the cut tile is the right size, place it on the wall. Repeat this process until all of the tiles are installed, wiping excess adhesive as you go.
Step 7: Use a Level and Speed Square
Use a speed square or level to mark where your tile will end on the wall. This ensures that your tiles are straight and evenly spaced.
Step 8: Apply Tile Trim
Apply tile adhesive to the tile trim and place it on the wall. This helps frame the backsplash, giving it a clean and polished look.
Step 9: Cut Corner Trim Pieces
Cut corner trim pieces at a 45-degree angle and repeat until all trim is installed.
Step 10: Allow Drying Time
Let the backsplash dry for 24 hours before proceeding with grouting.
Step 11: Remove Spacers
Remove spacers after 24 hours to reveal even spacing between tiles.
Step 12: Clean Leftover Adhesive
Lightly scrape and clean leftover tile adhesive from between tiles using a sponge or rag.
Step 13: Mix Grout
Mix grout according to instructions or use pre-mixed grout for convenience. Hold a rubber float at a 45-degree angle and apply grout diagonally into grout lines until they’re filled completely.
Step 14: Clean Excess Grout
Clean excess grout from tiles using a damp sponge as you go. This prevents grout from drying on the surface of your tiles.
Step 15: Allow Grout to Harden
Let the grout harden according to instructions before sealing if necessary.
Integrating Interactive Touch Sensors
For an advanced and modern look, you can integrate interactive touch sensors into your tile backsplash. This feature allows you to control various kitchen appliances or access information through a sleek interface embedded within your tiles.
Tools and Materials Needed for Touch Sensors Installation:
- Touch Sensor Modules: These modules can be embedded within your tiles or placed behind them.
- Programming Software: Necessary for configuring and programming touch sensor modules.
- Wiring and Connectors: For connecting modules to power sources or other devices.
- Adhesive Materials: To secure modules in place without compromising tile integrity.
Steps for Integrating Touch Sensors:
- Plan Your Layout: Determine where you want to place touch sensors within your tile layout. Ensure they align with your kitchen’s design and functionality needs.
- Install Modules: Embed or place touch sensor modules behind or within tiles, ensuring they are securely fastened using adhesive materials.
- Connect Wiring: Connect wiring from modules to power sources or other devices such as smart appliances or control panels.
- Program Modules: Use programming software to configure and program touch sensor modules according to your desired functions (e.g., controlling lighting, temperature, or accessing recipes).
- Test Functionality: Test each module’s functionality before sealing grout lines around them.
Tips and Considerations
Budgeting
Installing a tile backsplash with interactive touch sensors can be more expensive than traditional tile installations due to the additional cost of touch sensor modules and programming software.
Skill Level
While integrating touch sensors requires some technical expertise, it’s still accessible for DIY enthusiasts who are comfortable with basic electronics and programming tasks.
Maintenance
Regularly clean both tiles and touch sensors to maintain their functionality and appearance over time.
Conclusion
Installing a tile backsplash in your kitchen is an excellent way to enhance both aesthetics and functionality while providing an easy-to-clean surface behind your cooktop or sink. By following these steps and considering the integration of interactive touch sensors, you can create a modern, technologically advanced kitchen space that combines style with functionality seamlessly.
Whether you’re looking for a classic subway tile look or something more contemporary with embedded touch sensors, this guide provides a comprehensive walkthrough of the process from preparation through final installation stages. With patience and attention to detail, you can achieve professional-looking results even as a DIY beginner.
Remember always to follow safety guidelines when working with power tools or electronics, ensuring that your project not only turns out beautifully but also safely completes without any hazards or complications along the way
Was this page helpful?
At Storables.com, we guarantee accurate and reliable information. Our content, validated by Expert Board Contributors, is crafted following stringent Editorial Policies. We're committed to providing you with well-researched, expert-backed insights for all your informational needs.


0 thoughts on “DIY Guide To Installing A Kitchen Tile Backsplash With Interactive Touch Sensors”