Home>Ideas and Tips>DIY Guide To Installing A Kitchen Tile Backsplash With Mixed Materials

Ideas and Tips
DIY Guide To Installing A Kitchen Tile Backsplash With Mixed Materials
Published: August 29, 2024
Learn how to install a stunning kitchen tile backsplash with mixed materials. Follow our step-by-step DIY guide for a beautiful and durable finish.
(Many of the links in this article redirect to a specific reviewed product. Your purchase of these products through affiliate links helps to generate commission for Storables.com, at no extra cost. Learn more)
Introduction
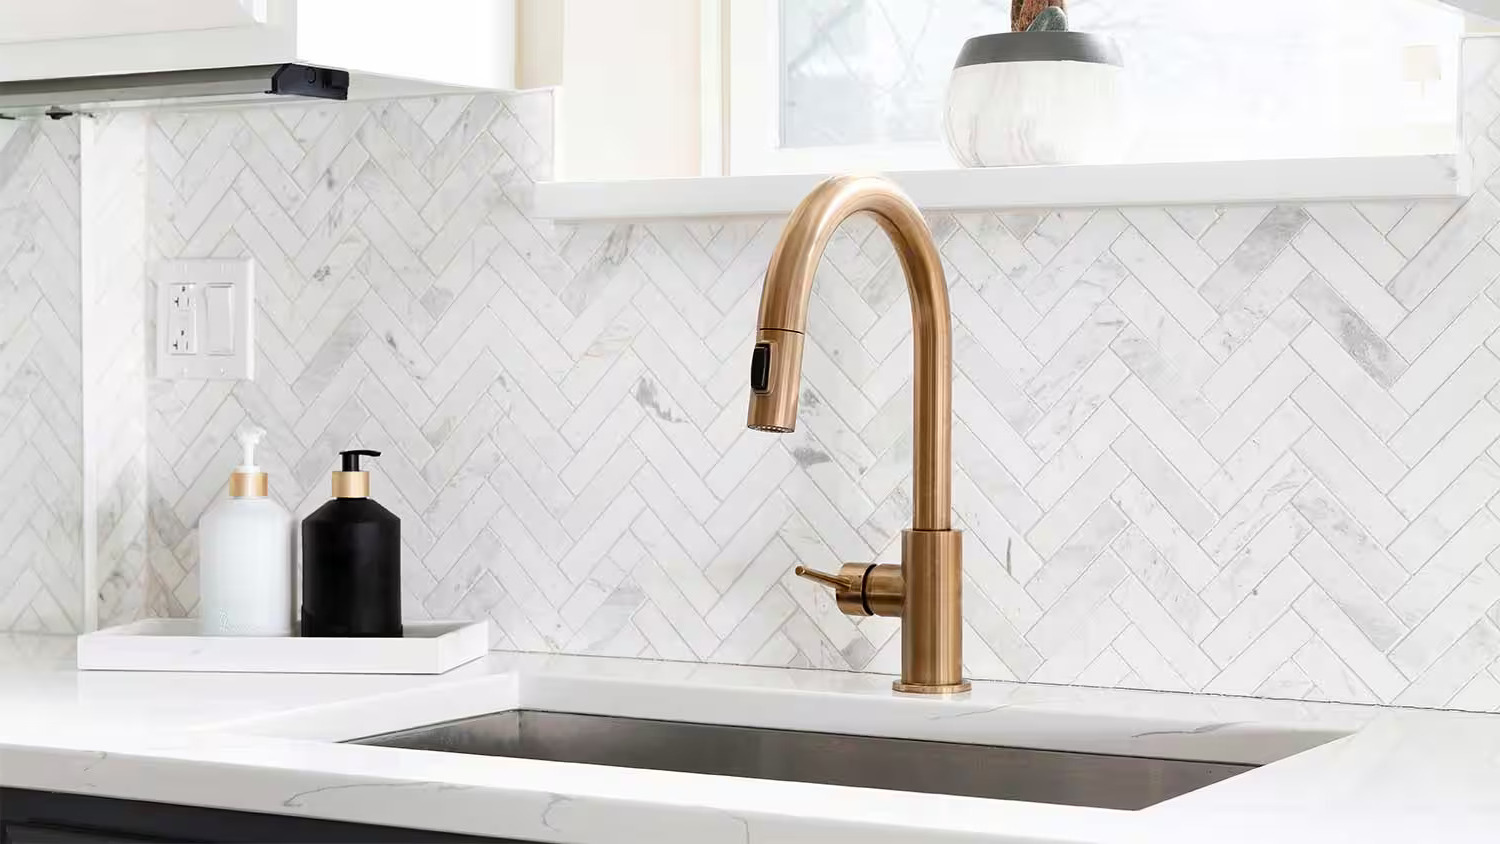
Installing a kitchen tile backsplash is a fantastic way to enhance the aesthetic appeal and functionality of your kitchen. It not only adds a touch of elegance but also protects your walls from splatters and spills. In this comprehensive guide, we will walk you through the steps involved in installing a kitchen tile backsplash using mixed materials, making it perfect for both beginners and seasoned DIY enthusiasts.
Why Replace a Backsplash?
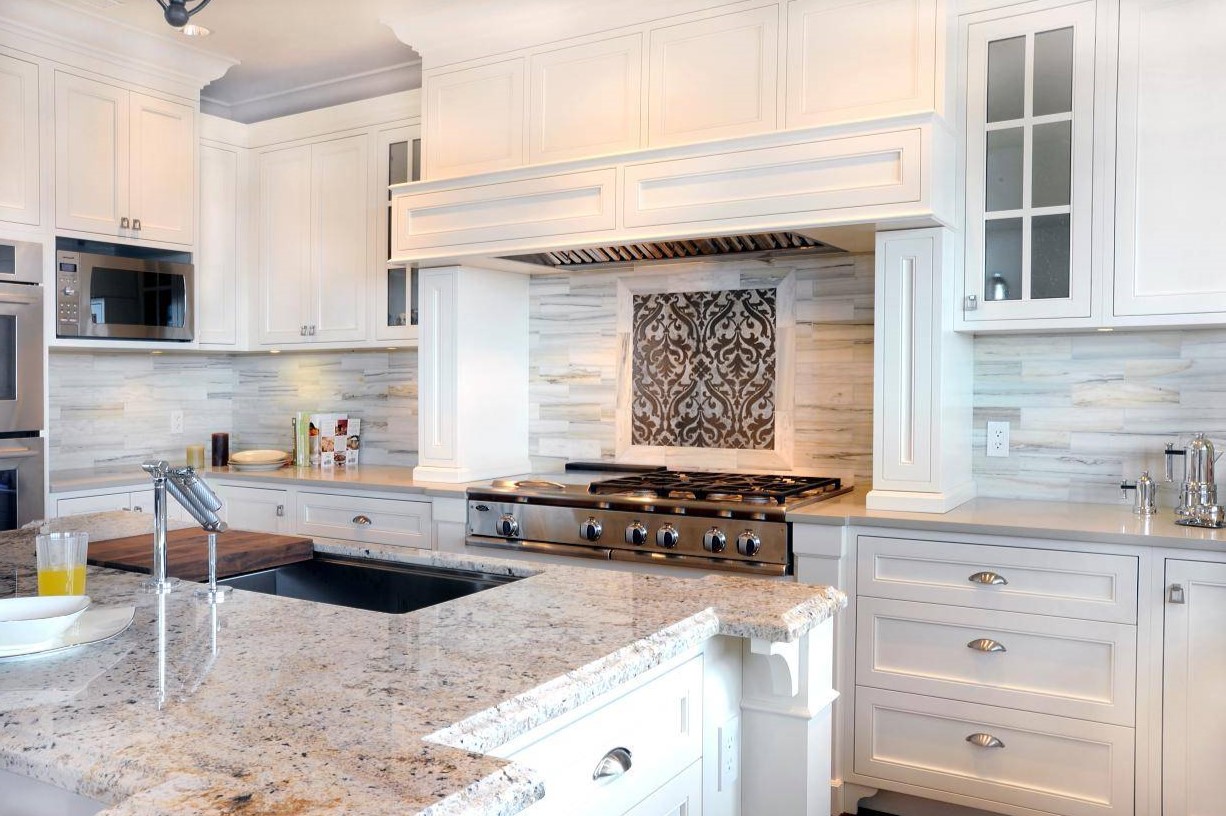
Replacing your kitchen backsplash can breathe new life into your cooking space. Over time, kitchen trends and home decor styles evolve, and what was once stylish may now seem outdated. For instance, if your kitchen was built in the early 2000s, like my mom's, the tile on the backsplash might give that away. Updating the backsplash can be a simple and cost-effective way to refresh your kitchen without changing or painting the cabinets.
Choosing the Right Materials
When selecting materials for your kitchen tile backsplash, you have a variety of options to choose from. Here are some popular choices:
- Ceramic Tiles: These are one of the most common types of tiles used for backsplashes. They come in a wide range of colors, patterns, and sizes.
- Porcelain Tiles: Similar to ceramic tiles but more durable and less prone to water damage.
- Glass Tiles: Add a touch of elegance with glass tiles. They can be used alone or in combination with other materials.
- Natural Stone Tiles: Options like marble, granite, or travertine can add a luxurious feel to your kitchen.
- Mosaic Tiles: These are perfect for creating unique patterns and designs.
Tools and Materials Needed
Before starting your project, make sure you have all the necessary tools and materials. Here’s a comprehensive list:
-
Tiles:
- Choose the type of tile that best suits your design and budget.
- Ensure you have enough tiles to cover the entire area, adding 10% for waste.
-
Tile Adhesive (Thinset):
- Thinset is a type of mortar specifically designed for tile installation.
- It comes in different types, such as modified thinset for glass or vitreous tiles.
-
Tile Spacers:
- These help maintain even spacing between tiles.
-
Grout:
- Sanded grout is recommended for most tile installations.
- Unsanded grout is better suited for areas where you don’t want to see the grout lines.
-
Grout Sealant Additive:
- This additive helps prevent stains and makes grouting easier.
-
Notch Trowel:
- A notch trowel is used to apply thinset to the wall.
- The notches help spread the adhesive evenly.
-
Tile Cutter or Wet Saw:
- A tile cutter is ideal for small cuts, while a wet saw is better for larger cuts.
-
Tile Snipper (Optional):
- A tile snipper is handy for quick snips but not essential.
-
Laser Level:
- Ensures that your tiles are installed straight and level.
-
Rubber Grout Float:
- Used to apply grout and spread it evenly between tiles.
-
Sponges:
- Large yellow sponges are recommended for cleaning up excess grout.
-
Clean Rags and Cheese Cloth Fabric:
- For cleaning up spills and wiping down surfaces.
-
Tape Measure and Pencil:
- For measuring and marking the area where you will install the tiles.
-
Painter’s Tape:
- For protecting surfaces from grout and mortar.
-
Safety Goggles and Respirator Mask:
- For protecting yourself from dust and debris.
-
Utility Knife or Scissors:
- For cutting various materials like tile edging bands or scrap cardboard.
-
Diamond Blade Wet Saw (Optional):
- For cutting through thicker tiles or glass tiles.
-
Straight Edge Ledge (Optional):
- If your floor or counter is uneven, use a straight edge ledge as support for installing the first row of tile.
-
Mixing Drill and Paintbrush:
- For mixing thinset and applying it evenly.
-
Professional-Grade Vacuum:
- For cleaning up dust and debris during and after installation.
Step-by-Step Guide to Installing a Kitchen Tile Backsplash
Step 1: Prepare the Wall
Before installing your tile backsplash, ensure that the wall is dry and firm enough to hold the weight of the tiles. Clean the wall thoroughly to remove any dirt, grime, or old adhesive. Take measurements to determine how many mosaic sheets or field tiles you will need, adding 10% for waste. Repair any damaged areas on the surface to ensure a smooth installation process.
Step 2: Apply Mortar/Adhesive
Using a v-notched trowel, apply mortar/adhesive to the wall. Spread it evenly using the flat side of the trowel, then rake it with the v-notched side to create ridges of proper depth and size. For glass tiles, use a thinset modified with polymer or latex compliant with ANSI 118.4 as recommended by manufacturers.
Step 3: Apply Mosaic Tile Sheets
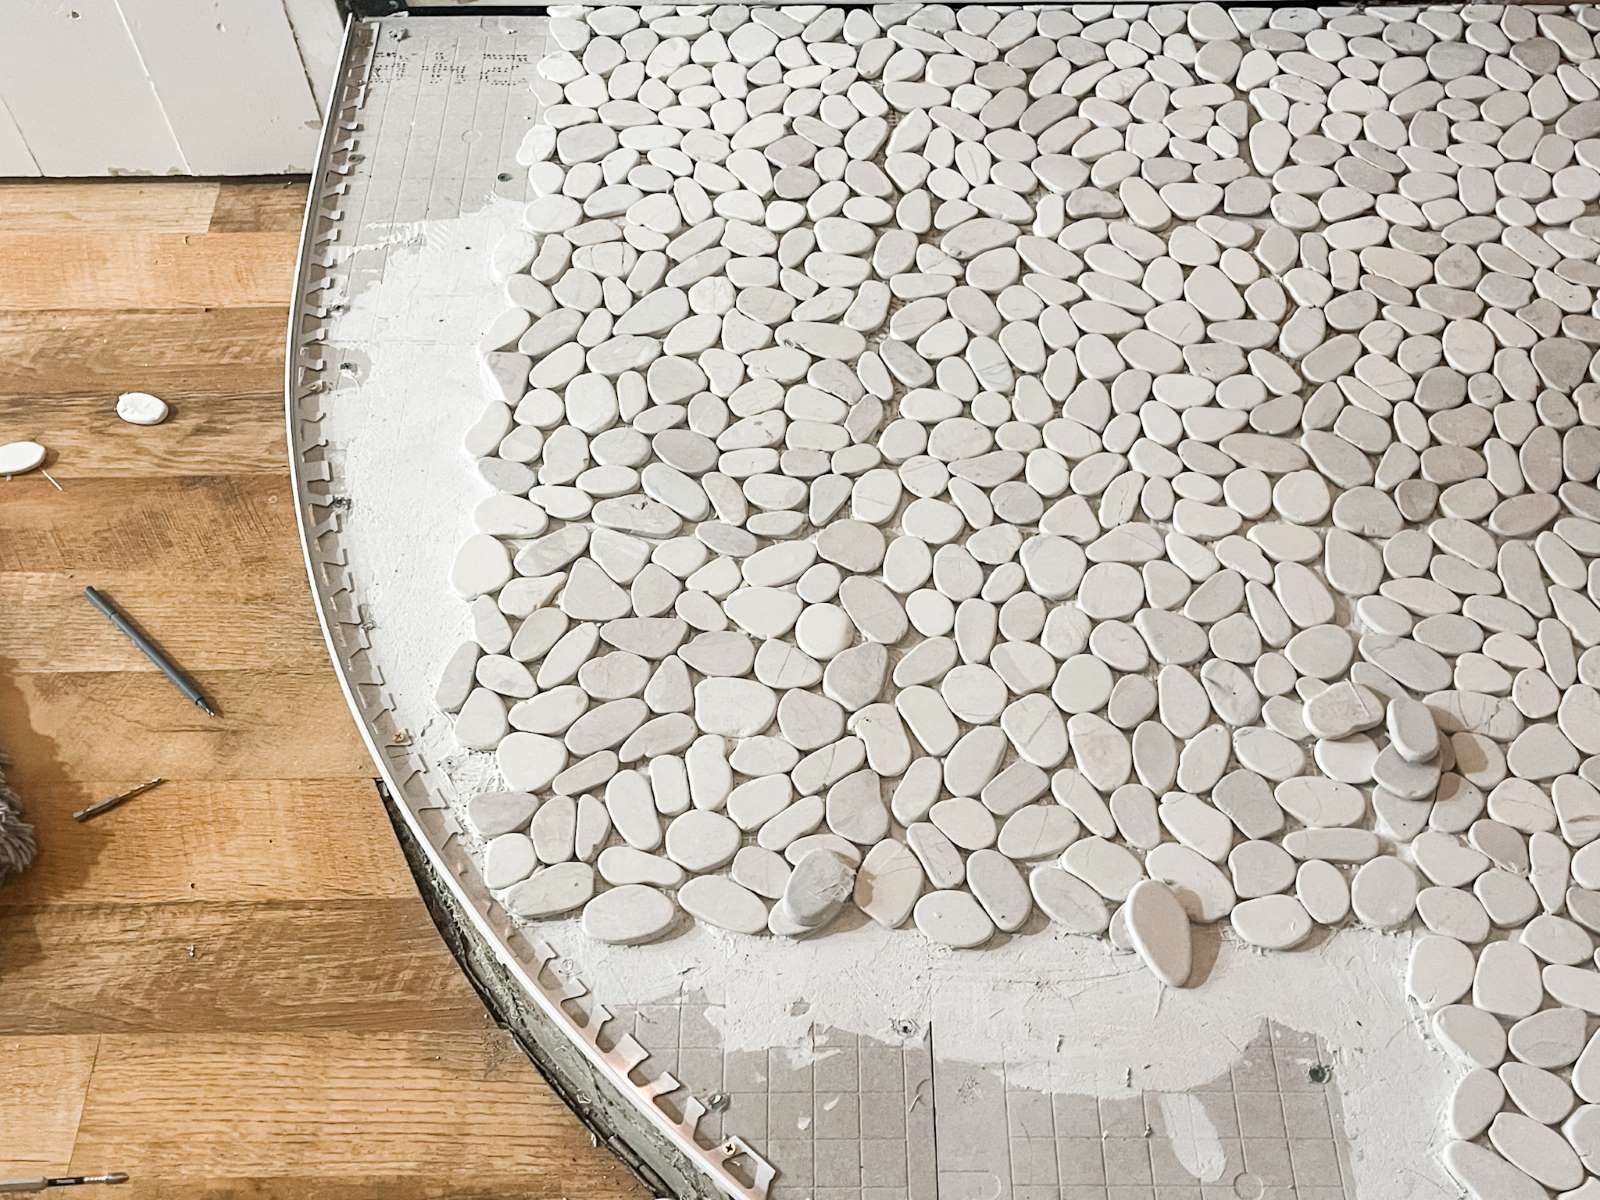
Begin your installation at the most visible part of the wall and work outwards from there. Apply mosaic tile sheets or field tiles to the wall using a rubber grout float to apply light and even pressure. Ensure that each tile is securely attached to the adhesive before moving on to the next one.
Step 4: Apply Grout
Once all tiles are in place, apply grout using a rubber grout float working diagonally across each tile. Force grout into joints until they are full, then use the grout float to take off any excess grout. Allow the grout to set for 7-10 minutes as recommended by manufacturers. Use premixed grout for peace of mind and to avoid any mess around the backsplash area.
Read more: DIY Guide To Installing A Kitchen Tile Backsplash With Photocatalytic Self-Cleaning Tiles
Step 5: Clean Excess Grout
To remove excess grout and clean any haze from tile surfaces, use a damp sponge with rounded edges and texture specifically designed for tile jobs. Repeat this process using clean water each time until the tile surface is free of grout.
Step 6: Seal Grout (Optional)
If desired, apply a grout sealant additive during mixing or after installation to prevent stains and make future cleaning easier.
Tips for Working Around Electrical Outlets
When installing tiles around electrical outlets, follow these steps:
- Mark Outlet Locations: Use painter’s tape to mark outlet locations on both sides of where you will be cutting tiles.
- Cut Tiles Carefully: Hold up individual tiles against marked areas and estimate where cuts need to be made. Use a straight edge to darken cut lines and place an “x” on parts that will be discarded during cutting.
- Cut Tiles Precisely: Place face-up tiles on a saw one at a time, ensuring cut marks align with blades. Guide tiles slowly onto blades until cuts are complete.
- Install Tiles Around Outlets: Scoop small amounts of mortar onto backs of tiles using short, notched sides of trowels before installing them around outlets. Ensure uniform grout lines with surrounding tiles.
Additional Tips for Smooth Installation
- Use Laser Level: Periodically check straightness using laser levels during application to ensure uniform spacing between rows.
- Protect Cabinets: Tape off undersides where cabinets meet walls during application to avoid accidental smears during mortar application.
- Allow Mortar Time: Wait at least 24 hours for mortar to fully cure before proceeding with grouting or sealing.
Conclusion
Installing a kitchen tile backsplash with mixed materials is a rewarding DIY project that can significantly enhance your kitchen's aesthetic appeal and functionality. By following these steps and tips outlined in this guide, you can create a beautiful and durable backsplash that will protect your walls from splatters and spills while adding a touch of elegance to your kitchen. Remember to take your time, be patient, and enjoy the process of transforming your kitchen into a more stylish and functional space.
FAQ’s
Q: Can I tile right over my old backsplash?
A: Yes, you can tile right over your old backsplash if it is in good condition and flat. However, ensure that you cover any exposed edges with trim pieces or quarter rounds.
Q: What about using peel-and-stick adhesive tile mats?
A: Peel-and-stick adhesive tile mats can be convenient but may not offer the flexibility needed for precise placement. Traditional methods provide more control over tile placement.
Q: How long does it take to complete this project?
A: This project can typically be completed within a weekend, depending on the size of your kitchen and your level of experience.
Q: What if I make mistakes during installation?
A: Mistakes are common in any DIY project. If you notice errors during installation, address them promptly by re-cutting tiles or re-grouting affected areas. It’s always better to catch mistakes early rather than later.
By following this detailed guide and adhering to these tips, you'll be well on your way to creating a stunning kitchen tile backsplash that will enhance both form and function in your home.
You Might Also Like:
- Choosing the Right Tiles: Learn about different types of tiles available in the market and how to choose them based on your needs.
- Painting Over Tile Backsplash: Discover how to paint over an existing tile backsplash if you prefer a different look without removing the old tiles.
- DIY Kitchen Makeovers: Get inspired with before-and-after kitchen makeovers and beautiful kitchens featuring gray cabinets.
Thank you for reading our comprehensive guide on installing a kitchen tile backsplash with mixed materials. We hope this article has provided you with the confidence and knowledge needed to tackle this exciting DIY project
Was this page helpful?
At Storables.com, we guarantee accurate and reliable information. Our content, validated by Expert Board Contributors, is crafted following stringent Editorial Policies. We're committed to providing you with well-researched, expert-backed insights for all your informational needs.

0 thoughts on “DIY Guide To Installing A Kitchen Tile Backsplash With Mixed Materials”