Home>Home Security and Surveillance>How To Activate Lights With Motion Detector In SmartThings
Home Security and Surveillance
How To Activate Lights With Motion Detector In SmartThings
Modified: March 6, 2024
Discover how to effortlessly activate lights using a motion detector in SmartThings. Enhance your home security and surveillance with this simple and effective solution.
(Many of the links in this article redirect to a specific reviewed product. Your purchase of these products through affiliate links helps to generate commission for Storables.com, at no extra cost. Learn more)
Introduction
Welcome to the world of home security and surveillance! In this fast-paced and ever-changing world, it’s more important than ever to take proactive measures to protect our homes and loved ones. One of the key components of a robust home security system is the use of motion detectors.
Motion detectors are devices that can sense movement in their surroundings. They work by detecting infrared radiation or changes in heat patterns caused by a moving object. This technology has become increasingly advanced and affordable, making it accessible to homeowners all over the world.
In this article, we will explore how to activate lights with motion detectors using the SmartThings platform. SmartThings is a popular home automation system that allows you to control and monitor various devices in your home with ease. By integrating your motion detectors with SmartThings, you can create a smart lighting system that automatically turns on the lights when motion is detected, providing an added layer of convenience and security.
Before we dive into the nitty-gritty details of setting up and configuring motion detectors with SmartThings, it’s essential to ensure that you have the necessary equipment. You will need a SmartThings hub, compatible motion detectors, and compatible smart lights or smart switches. Once you have these in place, you’re ready to embark on your journey towards a smarter and more secure home.
So, buckle up, get ready to unleash the power of technology, and let’s dive into the fascinating world of motion detectors and SmartThings!
Key Takeaways:
- Activate your home’s lights with motion detectors using SmartThings for added convenience and security. Simply connect your motion detectors to the SmartThings hub and configure automation rules for seamless integration.
- Test and troubleshoot your motion detectors and lights to ensure they work as intended. Enjoy the benefits of a smart lighting system that responds to motion, creating a welcoming and secure home environment.
Read more: How To Activate Motion Detector On A Light
Understanding Motion Detectors
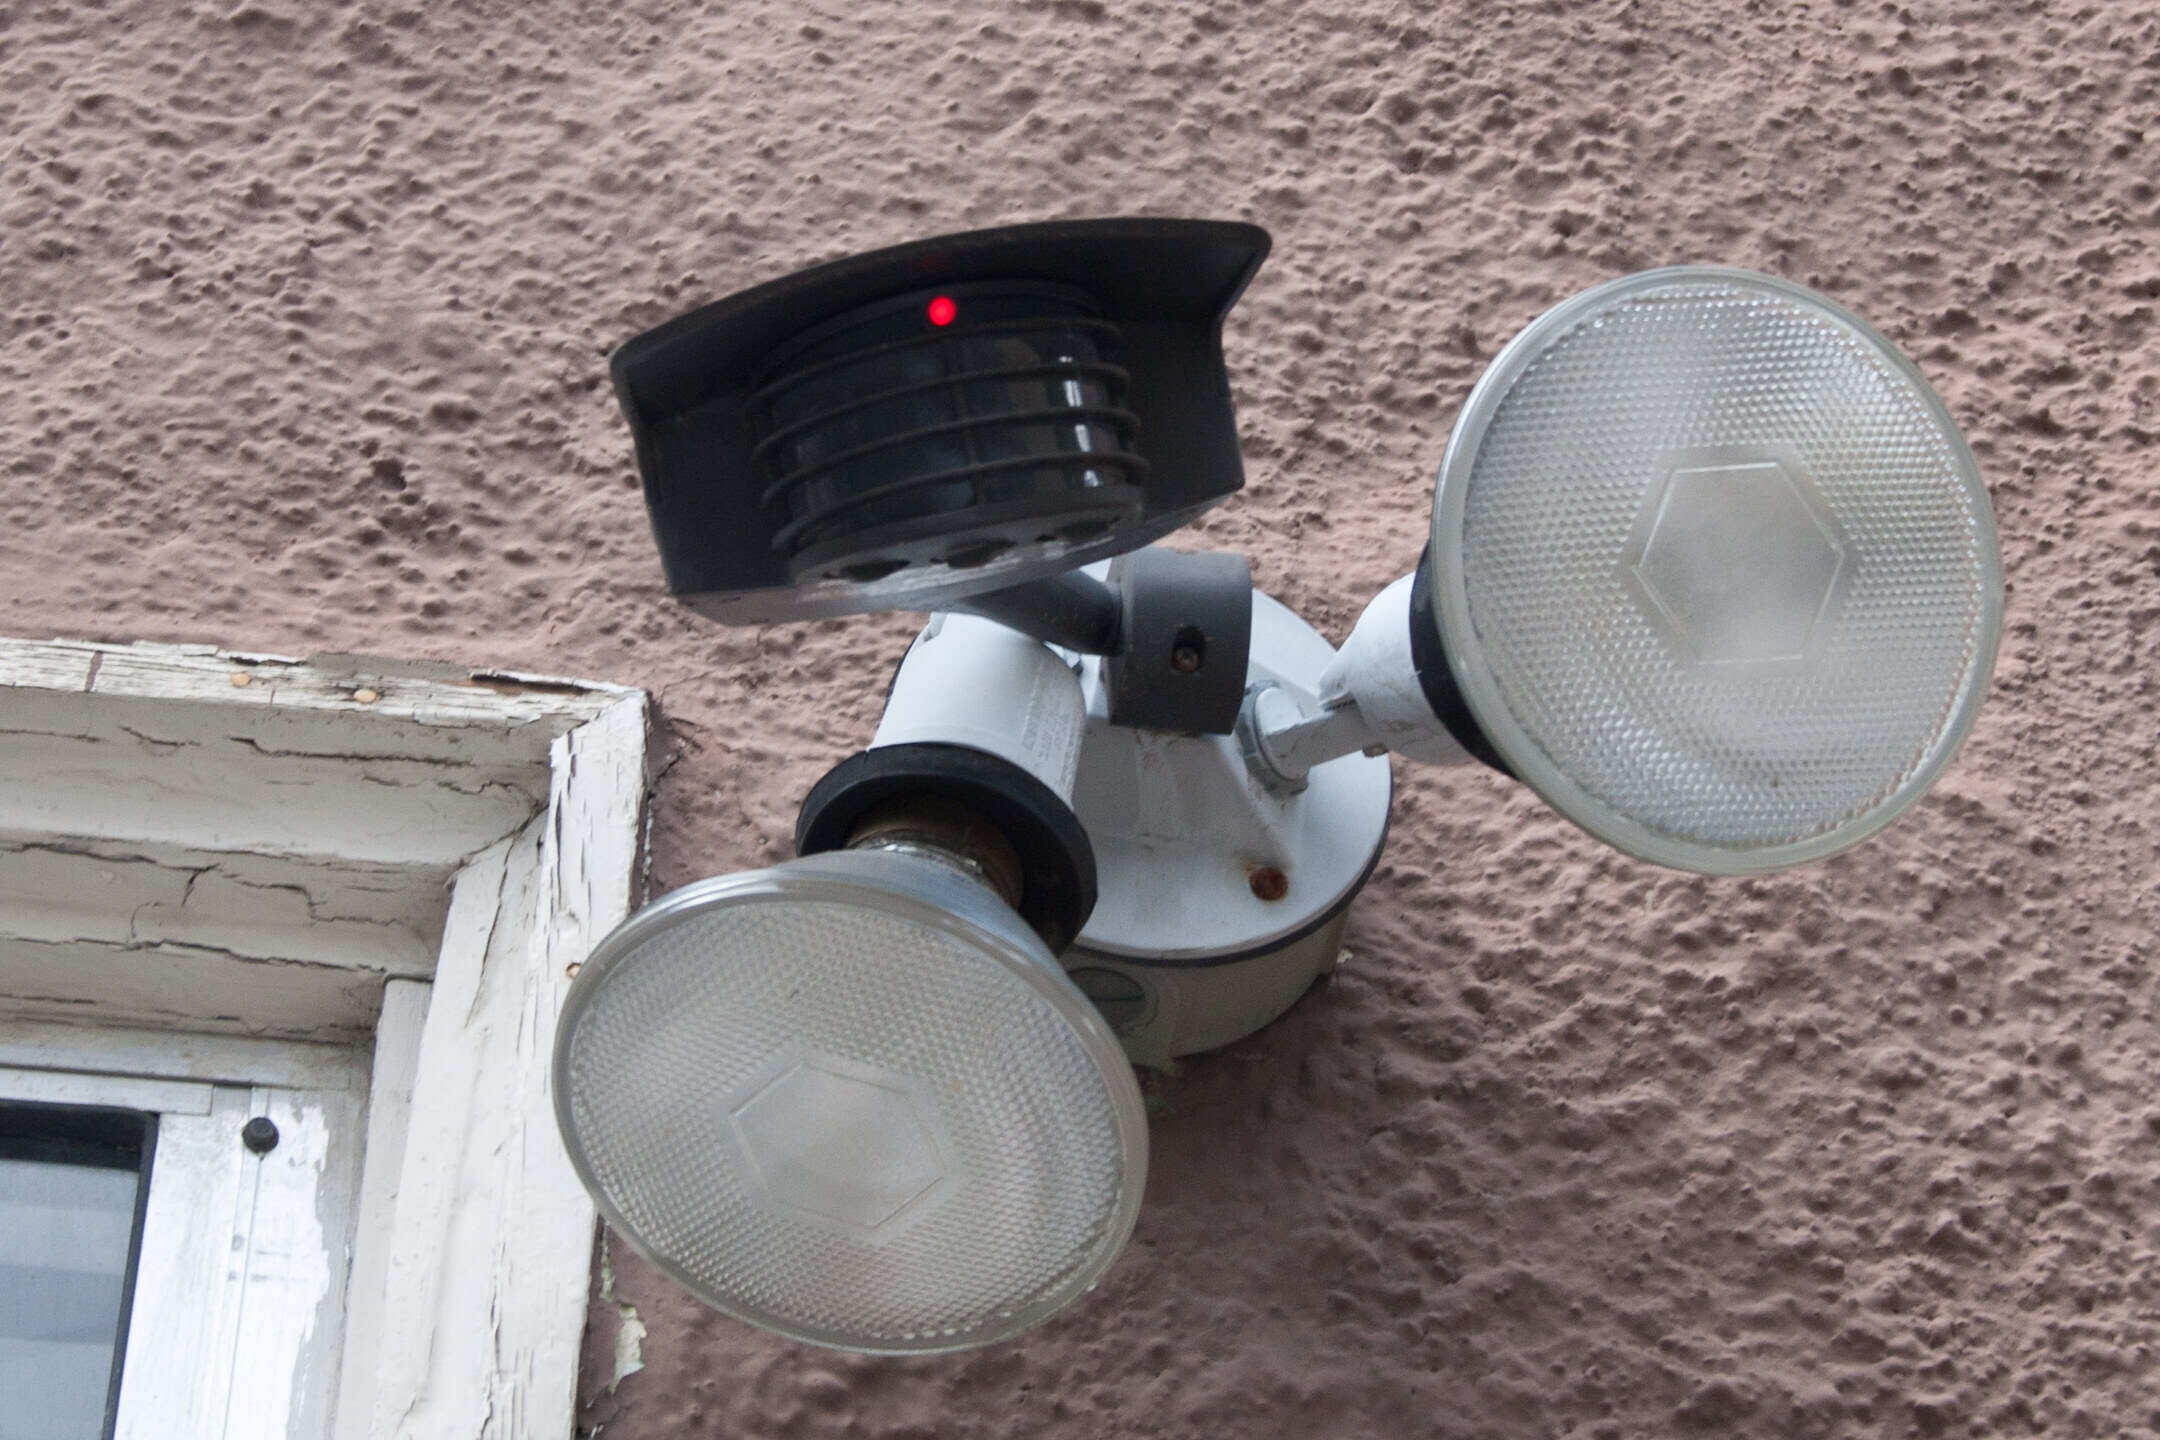
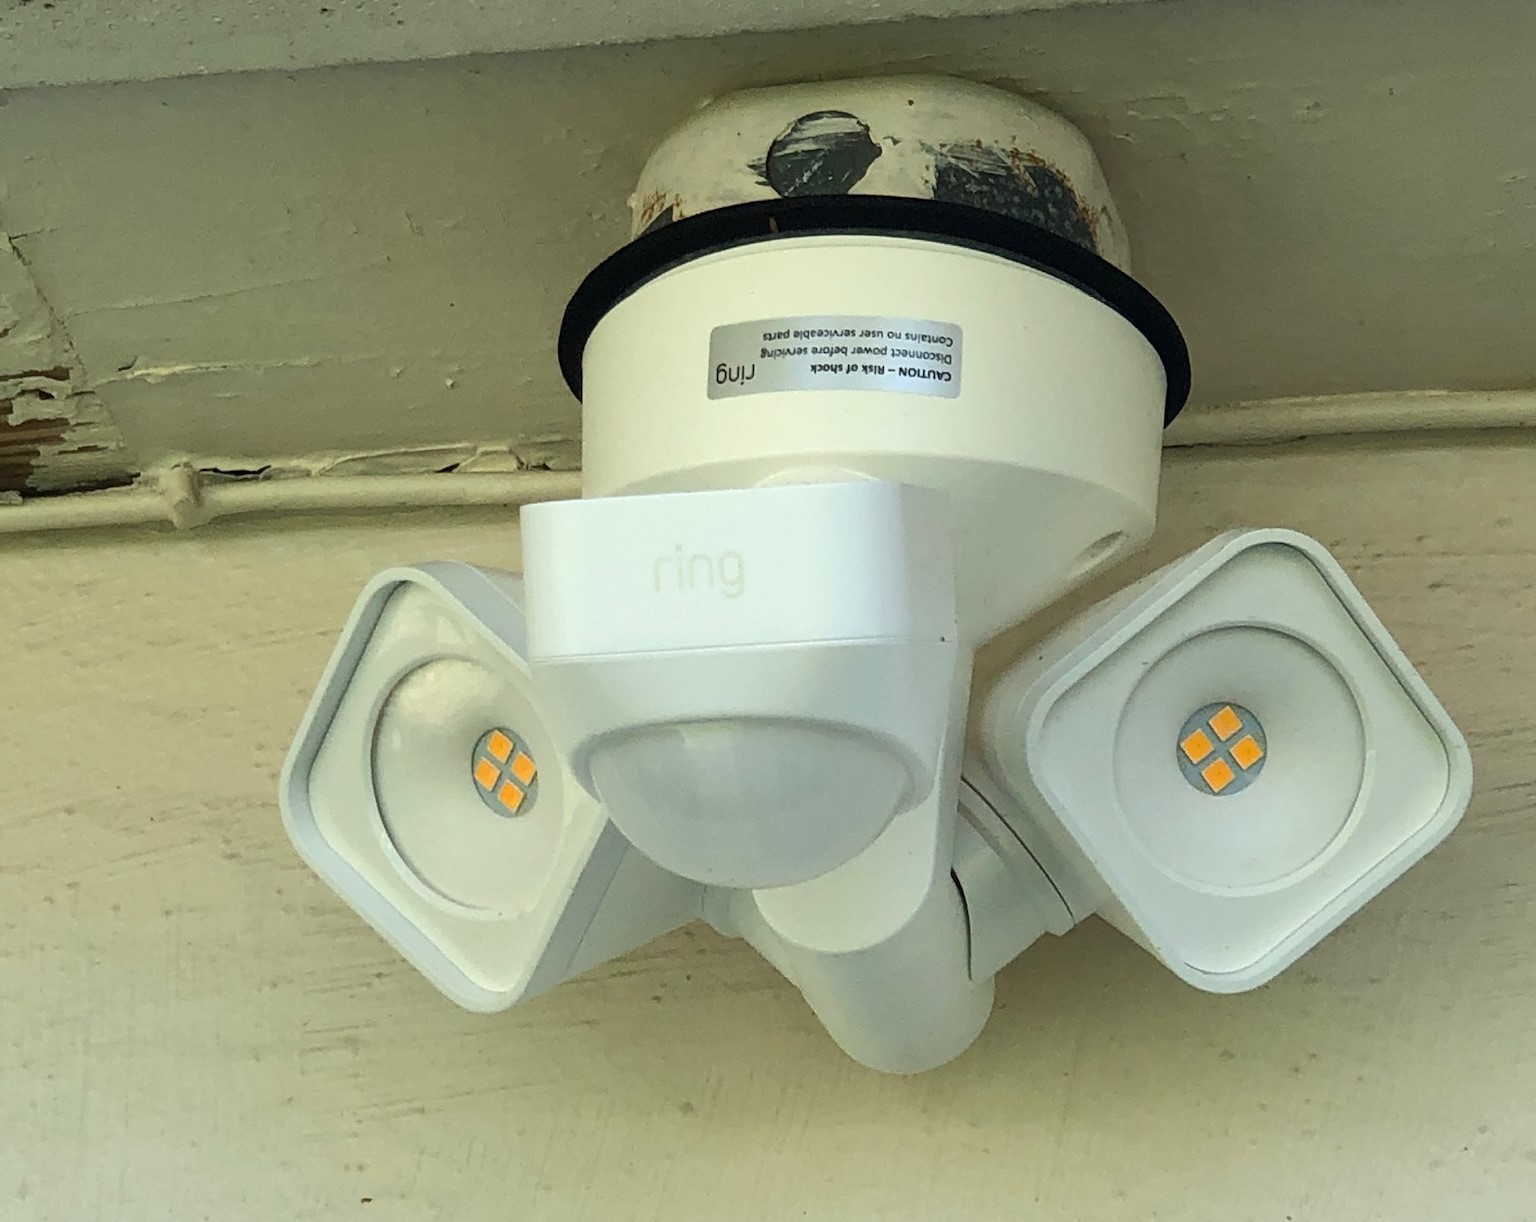
Motion detectors, also known as motion sensors, are devices that are designed to detect movement in their environment. They are widely used in home security systems, outdoor lighting systems, and automation systems. Understanding how they work is crucial in effectively implementing them in your home.
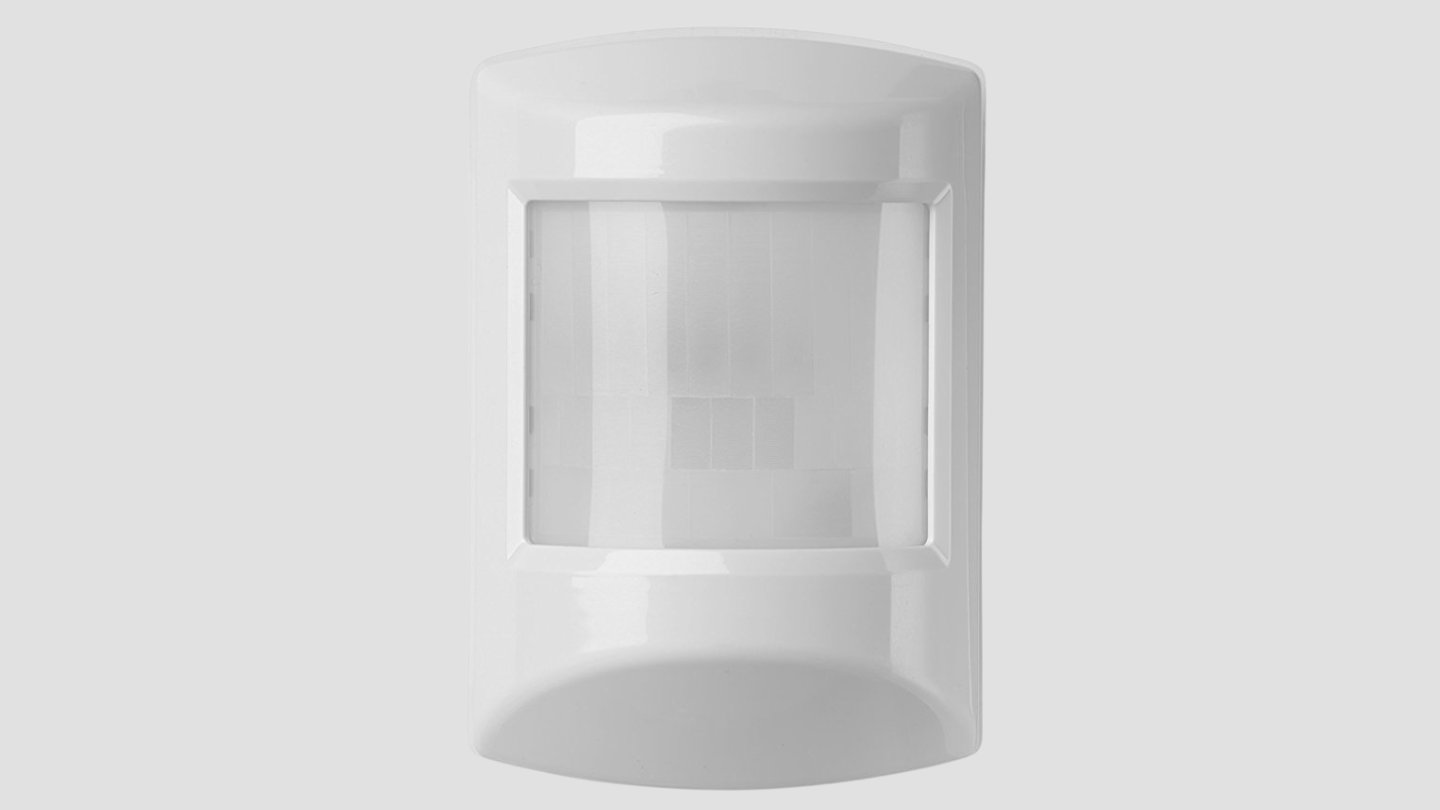
There are several types of motion detectors available on the market, including passive infrared (PIR) sensors, microwave sensors, and dual technology sensors. Each type operates differently, but they all serve the same purpose of detecting motion.
Passive infrared sensors, or PIR sensors, are the most commonly used in residential settings. They detect changes in heat patterns caused by a moving object. When a person or animal passes in front of the sensor, it detects the heat radiating from their body and triggers an alert. PIR sensors are highly sensitive to changes in infrared radiation but are less effective at detecting motion through windows or other obstacles.
Microwave sensors, on the other hand, emit microwave signals and measure the reflection or disturbance caused by an object in their path. These sensors are effective at detecting motion through walls and other obstructions, but they can be susceptible to false alarms caused by moving objects like tree branches or small animals.
Dual technology sensors combine both PIR and microwave technology to provide a more reliable detection mechanism. By using both heat and movement as triggers, they minimize false alarms and provide enhanced accuracy. These sensors are ideal for areas where a higher level of accuracy is required, such as entryways or high-security zones.
When selecting motion detectors for your home security system, consider factors such as the detection range, sensitivity, and compatibility with your chosen home automation platform. It’s also important to place the sensors strategically in areas where they can effectively monitor the desired locations without triggering false alarms.
With a solid understanding of how motion detectors operate, you are now ready to move on to the next step: setting up your SmartThings hub and connecting the motion detectors to create a seamless integration in your home automation system.
Setting up the SmartThings Hub
The SmartThings hub is the central control unit of the SmartThings home automation system. It allows you to connect and control various smart devices in your home, including motion detectors and smart lights. Setting up the hub is the first step towards creating a smart lighting system that activates lights with motion detectors.
To begin, make sure you have a stable internet connection and a smartphone or tablet that is compatible with the SmartThings app. Follow these steps to set up your SmartThings hub:
- Download the SmartThings app from the App Store or Google Play Store and create an account if you don’t have one already.
- Connect the SmartThings hub to a power source using the provided power adapter.
- Connect an Ethernet cable from your router to the Ethernet port on the SmartThings hub.
- Wait for the hub to power on and establish a connection with your home network. This may take a few minutes.
- Launch the SmartThings app on your smartphone or tablet and sign in to your account.
- Tap the “+” button in the app to add a new device, then select “Hub” from the list of available devices.
- Follow the on-screen instructions to complete the setup process. This may involve scanning a QR code on the hub or entering a setup code.
- Once the hub is successfully set up, you will see a confirmation message in the app.
Now that your SmartThings hub is set up and connected to your home network, you can proceed to connect your motion detectors to the hub. This will allow you to control and automate your lights based on motion detection.
In the next section, we will explore how to connect motion detectors to your SmartThings hub for seamless integration. Get ready to take your home security and automation to the next level!
Connecting Motion Detectors to SmartThings
Now that you have the SmartThings hub set up, it’s time to connect your motion detectors to the hub. This will allow you to control and monitor the motion detection events through the SmartThings app. Follow these steps to connect your motion detectors:
- Open the SmartThings app on your smartphone or tablet.
- Navigate to the “Devices” tab and tap the “+” button to add a new device.
- Select “Device” from the options and choose the type of motion detector you have.
- Follow the on-screen instructions to put your motion detector into pairing mode. This usually involves pressing a button or following a specific sequence of actions as outlined in the device’s user manual.
- Once in pairing mode, the SmartThings app will start scanning for nearby devices.
- When your motion detector is detected, it will appear on the screen. Select it and follow any additional prompts to complete the pairing process.
- Repeat the process for each motion detector you want to connect to the SmartThings hub.
- Once all your motion detectors are successfully connected, they will appear in the SmartThings app under the “Devices” tab.
Now that your motion detectors are connected to the SmartThings hub, you can configure them to trigger actions such as turning on lights when motion is detected. In the next section, we will delve into the process of configuring the motion detectors to work seamlessly with your smart lights or smart switches.
Remember to place your motion detectors strategically in areas where they can effectively monitor movement and trigger the desired actions. This could be near entrances, hallways, or other high-traffic areas in your home.
With your motion detectors successfully connected, you’re one step closer to having a fully integrated home security and automation system. Let’s move on to the next section to learn how to configure the motion detectors in the SmartThings app.
Configuring the Motion Detector
Now that you have your motion detectors connected to the SmartThings hub, it’s time to configure them to work seamlessly with your smart lights or smart switches. Configuring the motion detector involves setting up automation rules that dictate the actions to be taken when motion is detected. Follow these steps to configure your motion detector in the SmartThings app:
- Open the SmartThings app on your smartphone or tablet.
- Navigate to the “Automations” tab and tap the “+” button to create a new automation.
- Select “Motion” as the trigger for the automation.
- Choose the motion detector you want to use as the trigger from the list of available devices.
- Set the conditions for the automation, such as the time of day or specific days of the week when the automation should be active.
- Next, select the action you want to be triggered when motion is detected. This could be turning on specific lights, dimming the lights, or activating other smart devices.
- Configure any additional settings for the action, such as the duration that the lights should stay on after motion is detected.
- Save the automation and give it a name for easy reference.
Repeat these steps for each motion detector you have connected to the SmartThings hub. You can create different automations for each motion detector, allowing you to customize the lighting behavior in different areas of your home.
Keep in mind that you can also create additional conditions for the automation, such as the absence of motion for a certain period of time before turning off the lights. This helps prevent unnecessary activations and saves energy.
Once you have configured your motion detector in the SmartThings app, it’s time to test the automation and ensure that the lights are activated as expected when motion is detected. In the next section, we will guide you through testing the motion detector and lights to ensure everything is functioning correctly.
Enjoy the convenience and increased security of having your lights automatically turn on when motion is detected, thanks to your newly configured motion detectors!
To activate lights with a motion detector in SmartThings, go to the SmartThings app, select the motion sensor, and then choose the lights you want to control. Set up an automation to turn the lights on when motion is detected.
Creating Automation Rules for Lights
Now that you have configured your motion detectors in the SmartThings app, it’s time to create automation rules for your lights. These automation rules determine what actions should be taken when motion is detected. By creating specific rules for each motion detector, you can customize the lighting behavior in different areas of your home. Follow these steps to create automation rules for your lights:
- Open the SmartThings app on your smartphone or tablet.
- Navigate to the “Automations” tab and tap the “+” button to create a new automation.
- Select “Motion” as the trigger for the automation.
- Choose the motion detector you want to use as the trigger from the list of available devices.
- Set the conditions for the automation, such as the time of day or specific days of the week when the automation should be active.
- Select the light or group of lights you want to control in response to motion detection.
- Choose the desired action for the lights, such as turning them on, dimming them, or setting a specific color.
- Configure any additional settings for the action, such as the duration that the lights should stay on after motion is detected.
- Save the automation and give it a name for easy reference.
Repeat these steps for each motion detector and light combination you want to automate. For example, you may want to create an automation rule that turns on the hallway lights when motion is detected, and another rule that turns on the outdoor lights when motion is detected in the front yard.
Keep in mind that you can also add additional conditions to the automation rules, such as the absence of motion for a certain period of time before turning off the lights. This helps prevent unnecessary activations and saves energy.
Once you have created the automation rules for your lights, it’s time to test the motion detector and lights to ensure that everything is functioning as expected. In the next section, we will guide you through the process of testing the motion detector and lights in the SmartThings app.
Enjoy the convenience and peace of mind that comes with having your lights automatically respond to motion, enhancing both the security and comfort of your home!
Testing the Motion Detector and Lights
After configuring the automation rules for your motion detectors and lights in the SmartThings app, it’s important to test them to ensure that everything is working as expected. Testing will help you identify any potential issues and make any necessary adjustments. Follow these steps to test the motion detector and lights:
- Open the SmartThings app on your smartphone or tablet.
- Navigate to the “Automations” tab and locate the automation rule that you created for the motion detector and lights.
- Ensure that the motion detector is active and functioning properly.
- Move within the detection range of the motion detector to trigger motion.
- Observe the lights to see if they turn on or respond according to the automation rule.
- Check how long the lights stay on after motion is no longer detected, if you have configured a specific duration.
- If the lights are not responding as expected, double-check the automation rule settings for any misconfigurations.
- If needed, adjust the automation rule settings accordingly and retest.
- Repeat the process for each motion detector and its corresponding automation rule.
During the testing phase, it’s important to pay attention to any false activations or lights not triggering when they should. This can help you fine-tune the sensitivity settings of your motion detectors or adjust the automation rules to improve accuracy and responsiveness.
If you encounter any issues during the testing process, refer to the troubleshooting section in the SmartThings app or consult the user manuals of your motion detectors and lights for troubleshooting guidance. It’s possible that there may be compatibility issues or settings that need to be adjusted.
By thoroughly testing your motion detector and lights, you can ensure that they are properly integrated and functioning as intended. This enhances the security and convenience of your home, providing you with peace of mind.
In the next section, we will cover some common issues that you may encounter when working with motion detectors and lights, as well as possible solutions to troubleshoot them.
Troubleshooting Common Issues
While setting up and configuring motion detectors and lights with SmartThings, you may encounter some common issues that can affect their performance. It’s important to troubleshoot these issues to ensure that your system operates smoothly. Here are some common issues and possible solutions:
1. Motion detector not detecting motion: If your motion detector is not detecting motion, there could be a few reasons. Ensure that the motion detector is powered on and in the correct mode (e.g., armed or active). Check the detection range and angle of the motion detector to ensure it is properly positioned. Additionally, make sure there are no obstructions blocking the view of the motion detector.
2. Lights not responding to motion: If your lights are not responding to motion detection, first check that the automation rules are properly configured in the SmartThings app. Verify that the motion detector is connected to the SmartThings hub and working correctly. In some cases, there may be a delay in communication between the motion detector and lights, so ensure that your hub and devices are within a reasonable proximity to each other.
3. False activations: If your motion detector is triggering false activations, it may be due to a sensitivity issue. Adjust the sensitivity settings of the motion detector to reduce false alarms caused by moving objects like pets or passing cars. You can also try repositioning the motion detector or using masking techniques to narrow the detection area and minimize false activations.
4. Interference or connectivity issues: Sometimes, connectivity issues between the motion detector, SmartThings hub, and lights can arise. Ensure that all devices are connected to the same network and within range of each other. Check for any wireless interference from other devices or networks that may affect performance. Restarting the devices or resetting the network connection may help resolve connectivity issues.
5. Inconsistent performance: If you notice inconsistent performance from your motion detector and lights, ensure that the firmware and software of all devices are up to date. Some issues may be resolved by updating the SmartThings app or performing firmware updates on the motion detector or lights. Regular maintenance and updates can help improve the overall performance and reliability of your system.
If you have exhausted these troubleshooting steps and are still experiencing issues, it may be helpful to consult the manufacturer’s documentation or reach out to their customer support for further assistance. They will have more specific troubleshooting steps that are tailored to your motion detector and lights.
Remember that troubleshooting requires patience and persistence. By identifying and resolving common issues, you can ensure that your motion detector and lights work seamlessly together, providing you with a reliable and efficient home security and automation system.
With troubleshooting covered, we have reached the end of our guide. By following the steps outlined in this article, you are now equipped to activate lights with motion detectors using the SmartThings platform. Enjoy the convenience, security, and energy savings that this intelligent automation brings to your home. Stay safe!
Conclusion
Congratulations! You have successfully learned how to activate lights with motion detectors using the SmartThings platform. By integrating your motion detectors with SmartThings, you can create a smart lighting system that adds convenience, security, and energy efficiency to your home.
Throughout this guide, we covered the essentials of motion detectors, including their different types and how they work. We also provided step-by-step instructions on setting up the SmartThings hub, connecting motion detectors, configuring them in the SmartThings app, and creating automation rules for your lights.
Testing and troubleshooting common issues are crucial steps to ensure that your motion detectors and lights are functioning as intended. By conducting thorough testing and following the troubleshooting steps, you can address any issues and optimize the performance of your system.
Remember that home security and automation is an ongoing process. As technology advances, new features and capabilities may become available. Stay updated with the latest firmware and app updates to take full advantage of the functionalities offered by your motion detectors and SmartThings hub.
Now it’s time to enjoy the benefits of your smart lighting system. Experience the convenience of having your lights automatically turn on when motion is detected, creating a welcoming environment and enhancing the security of your home.
We hope this guide has been informative and useful in your journey towards creating a smart and secure home. If you have any further questions or need additional assistance, consult the SmartThings support documentation or reach out to their customer support for personalized guidance.
Thank you for joining us on this adventure into the world of home security and surveillance. May your home be safe, smart, and filled with peace of mind!
Frequently Asked Questions about How To Activate Lights With Motion Detector In SmartThings
Was this page helpful?
At Storables.com, we guarantee accurate and reliable information. Our content, validated by Expert Board Contributors, is crafted following stringent Editorial Policies. We're committed to providing you with well-researched, expert-backed insights for all your informational needs.