Home>Ideas and Tips>DIY Wreaths From Foraged Flowers And Foliage


Ideas and Tips
DIY Wreaths From Foraged Flowers And Foliage
Published: November 1, 2024
Create beautiful, eco-friendly DIY wreaths using foraged flowers and foliage. Follow our step-by-step guide for a unique, sustainable home decoration.
(Many of the links in this article redirect to a specific reviewed product. Your purchase of these products through affiliate links helps to generate commission for Storables.com, at no extra cost. Learn more)
Creating a wreath from foraged flowers and foliage is a delightful way to bring the beauty of nature into your home. Not only is this activity eco-friendly and cost-effective, but it also allows you to connect with the natural world and craft something truly unique. In this article, we will guide you through the process of making your own foraged wreath, exploring different materials, techniques, and tips to ensure your project turns out beautifully.
Why Choose Foraged Wreaths?
Foraged wreaths offer several advantages over traditional store-bought decorations. Firstly, they are environmentally friendly because they use natural materials that can be composted at the end of their life cycle. This approach reduces waste and supports sustainable living. Secondly, foraged wreaths are often more durable than their plastic counterparts, lasting longer with proper care.
Moreover, creating a foraged wreath is a fun and engaging activity that can be enjoyed with friends or family. It encourages mindfulness and appreciation for the natural world. Whether you're looking to decorate your home for a specific season or simply want to add some handmade charm, foraged wreaths are an excellent choice.
Materials Needed
Before we dive into the steps, let's outline the materials you'll need for your foraged wreath:
Tools
- Garden Shears or Clippers: These are essential for cutting vines, branches, and other foliage.
- Sharp Scissors: Useful for snipping smaller stems or delicate materials.
- Gardening Gloves: Optional but recommended if you're working with prickly plants like holly.
- Sturdy Bag: A large, sturdy bag is necessary to carry your foraged materials.
Materials
- Vines or Shoots: These will form the base of your wreath. Popular choices include hazel, willow, ivy, and other flexible branches.
- Foliage: Various types of foliage such as ivy, holly, conifers, and other greenery will add texture and color to your wreath.
- Reusable Decorations: Items like ribbon, dried fruit, baubles can be used to add a personal touch.
- Biodegradable Twine: This is used to secure your decorations in place.
Step-by-Step Guide
Step One: Create A Base
To start making your wreath, you'll need to create a base using vines or shoots. Here’s how:
- Gather Vines: Collect three to five vines that are long enough to form a loop around your desired wreath size.
- Form A Loop: Create a loop with the vines by twisting them back on themselves.
- Twist and Secure: Continue twisting the vines in and out of the loop until you achieve a sturdy hoop shape. When you run out of vine, push the ends through the gaps where the vines crisscross to secure them in place.
- Make It Flexible: If your vines are dry and brittle, run them under water to make them more pliable and easier to work with.
Step Two: Add Decoration
Once you have your base, it's time to add decoration:
- Wrap Vines Around Base: Wrap ivy or other vines around the twisted base of your wreath to create a cohesive look.
- Secure Foliage: Use biodegradable twine to secure stem clippings like fir branches, holly, and springs of berries in place.
- Add Pine Cones: If using pine cones, forage them with a branch so you can snip off a little stem for easier tying on.
- Add Final Touches: Attach any bows, dried fruit, or baubles after securing the foliage.
Step Three: Hang The Wreath
Finally, it's time to hang your beautiful foraged wreath:
- Find A Natural Loop: Look for a natural loop in the vines that can be used as a balance point on a door hook or nail.
- Use Twine or Ribbon: Alternatively, hang the wreath using a piece of twine or ribbon looped through the body of the wreath.
Additional Tips
Foraging Tips
Foraging for materials is an essential part of creating a foraged wreath. Here are some tips:
- Choose The Right Materials: Select materials that are flexible and durable enough to hold their shape over time.
- Be Mindful Of Your Environment: Only take what you need from any particular area to avoid damaging ecosystems.
- Rinse Materials: Give any foraged materials a thorough rinse with water before working with them to remove dirt or bugs.
Seasonal Variations
Foraged wreaths can be made for any season by using seasonal materials:
Spring Wreath
For a spring wreath, gather materials like ivy, clematis, virginia creeper, honeysuckle, cow parsley, and other spring flowers (like daffodils or tulips). Use florists wire to secure these elements onto a metal wreath ring or grapevine base.
Fall Wreath
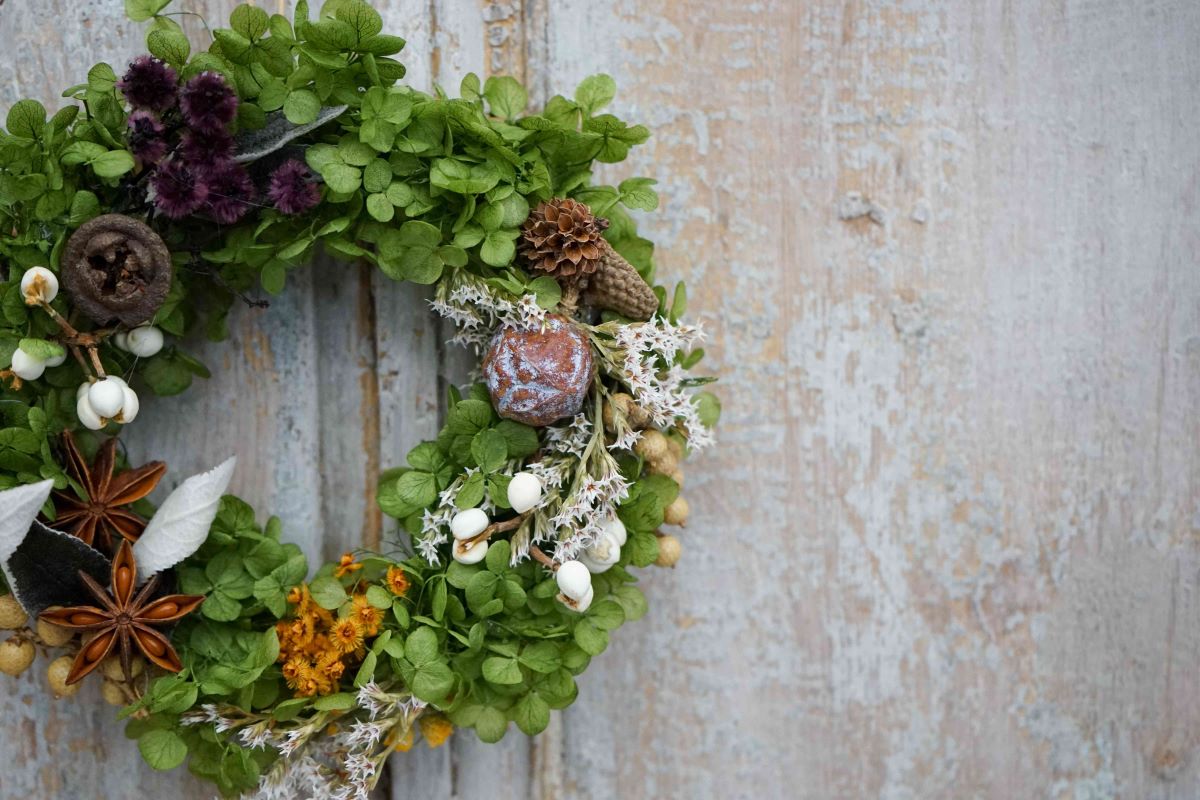
For a fall wreath, collect items such as pinecones, acorns, berries (like cranberries or blueberries), dried flowers (like astilbe or echinacea), twigs, bark, fall leaves, and flowers in fall colors (like chrysanthemums). Use these elements to create a freeform or structured wreath on a grapevine base.
Winter Wreath
For a winter wreath, focus on evergreen branches like fir or spruce along with pinecones and holly berries. You can also add some dried flowers like baby's breath for added texture.
Examples Of Foraged Wreaths
Simple Foraged Wreath Tutorial
Here’s an example from A Considered Life:
"Making A Simple Foraged Wreath" involves gathering vines or shoots to create the base of your wreath. You can use hazel, willow, or ivy for this purpose. Once you have your base formed into a twisted hoop shape, start decorating by wrapping ivy around it and securing stem clippings like fir branches with biodegradable twine.
Read more: How To Store Foraged Mushrooms
Foraged Spring Wreath Tutorial
Gathered Threads provides another example:
"To make a foraged spring wreath," start by twisting together virginia creeper that has been cleared from your house along with some ivy and clematis that has been pruned from your plant out back. Secure these elements onto a wreath base using florists wire or twine. Add flowers like cow parsley around the wreath base before finishing off with some cones and small buttercups.
Foraged Fall Wreath Tutorial
Cottage on Bunker Hill offers yet another example:
"To make a foraged fall wreath," start by collecting different berries from bushes around your yard along with pine cones and sprigs of greenery from Scotch pines and juniper trees. Cut dried grasses like ornamental grass plumes along with rose hips and echinacea globes before arranging them on a grapevine wreath base using florists wire or twine.
Conclusion
Creating a DIY foraged wreath is not only an enjoyable activity but also an excellent way to bring nature indoors while reducing waste. By following these steps and tips outlined above, you can craft beautiful seasonal wreaths that reflect the beauty of each time of year. Whether you're looking to decorate your home for spring, summer, autumn or winter there are plenty of materials available for you to choose from.
So next time you take a walk through your garden or local park keep an eye out for interesting branches twigs flowers etc., because they could be just what you need to create that perfect handmade wreath!
Happy crafting
Was this page helpful?
At Storables.com, we guarantee accurate and reliable information. Our content, validated by Expert Board Contributors, is crafted following stringent Editorial Policies. We're committed to providing you with well-researched, expert-backed insights for all your informational needs.


0 thoughts on “DIY Wreaths From Foraged Flowers And Foliage”