Home>Construction & Tools>Building Materials>How To Hang A Wreath On Brick

Building Materials
How To Hang A Wreath On Brick
Modified: October 20, 2024
Learn how to hang a wreath on brick with our step-by-step guide. Find the best building materials and techniques for a secure and stylish display.
(Many of the links in this article redirect to a specific reviewed product. Your purchase of these products through affiliate links helps to generate commission for Storables.com, at no extra cost. Learn more)
Introduction
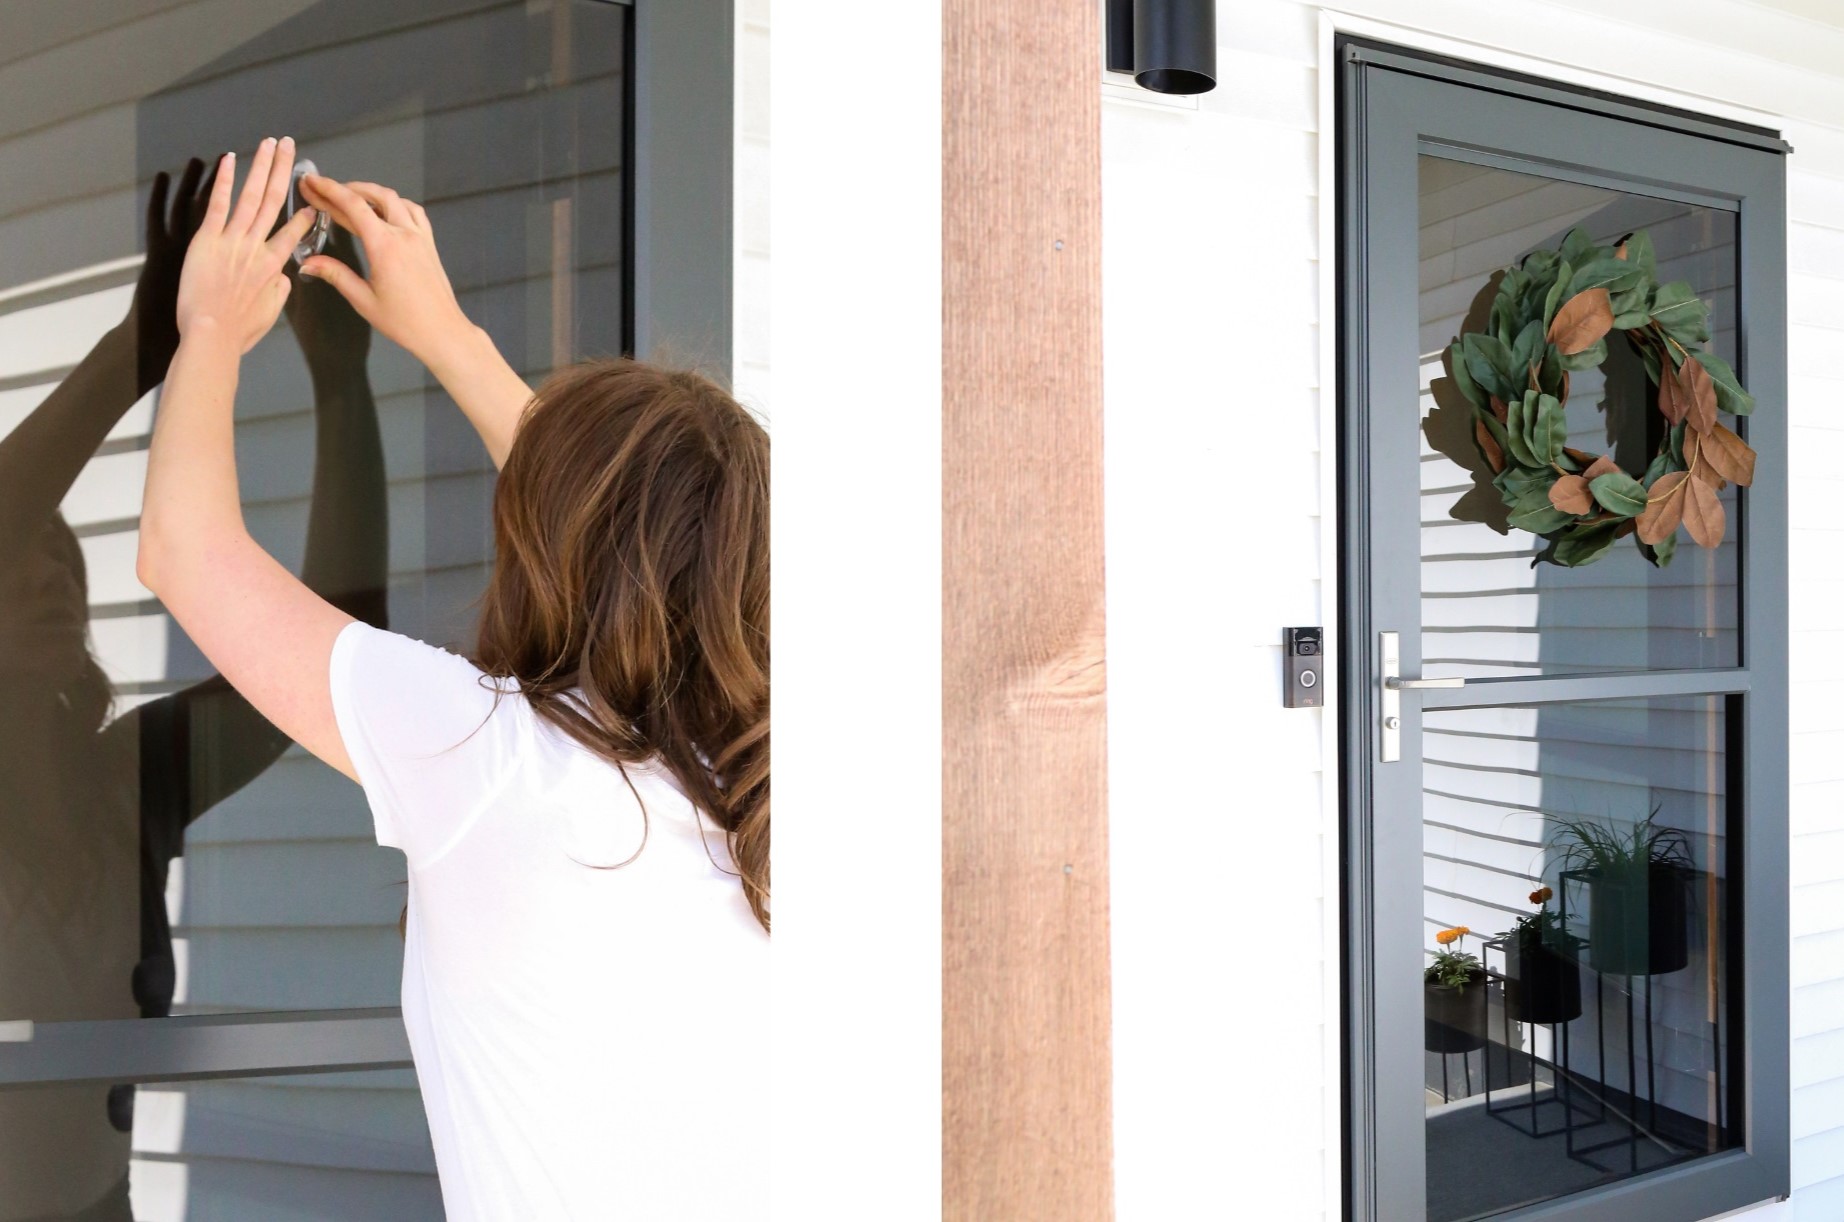
Hanging a wreath on a brick surface can add a touch of warmth and charm to your home's exterior, especially during festive seasons. However, the process requires careful consideration and the right tools to ensure that the wreath is securely and aesthetically mounted. Whether you're decorating for a special occasion or simply adding a welcoming embellishment to your home, knowing how to hang a wreath on brick can elevate your curb appeal and showcase your unique style.
In this comprehensive guide, we'll walk you through the step-by-step process of hanging a wreath on a brick surface. From selecting the ideal location to securing the wreath in place, we'll cover everything you need to know to accomplish this task with ease. With the right materials and a clear understanding of the process, you'll be able to showcase your creativity and enhance the exterior of your home with a beautifully hung wreath. Let's dive in and explore the art of adorning your brick surfaces with festive and inviting wreaths.
Key Takeaways:
- Hanging a wreath on brick requires careful planning and the right tools, such as brick hangers, a power drill, and anchors, to ensure a secure and visually appealing display that enhances your home’s exterior.
- By following the step-by-step process of choosing the location, measuring and marking, drilling holes, inserting anchors, and hanging the wreath, you can create a festive and welcoming focal point on your brick surface with ease and creativity.
Read more: How To Store Wreaths By Hanging
Materials Needed
Before you embark on hanging a wreath on a brick surface, it’s essential to gather the necessary materials to ensure a successful and secure installation. Here’s a list of the items you’ll need:
- Wreath: Select a wreath that complements your home’s exterior decor and fits the desired hanging location.
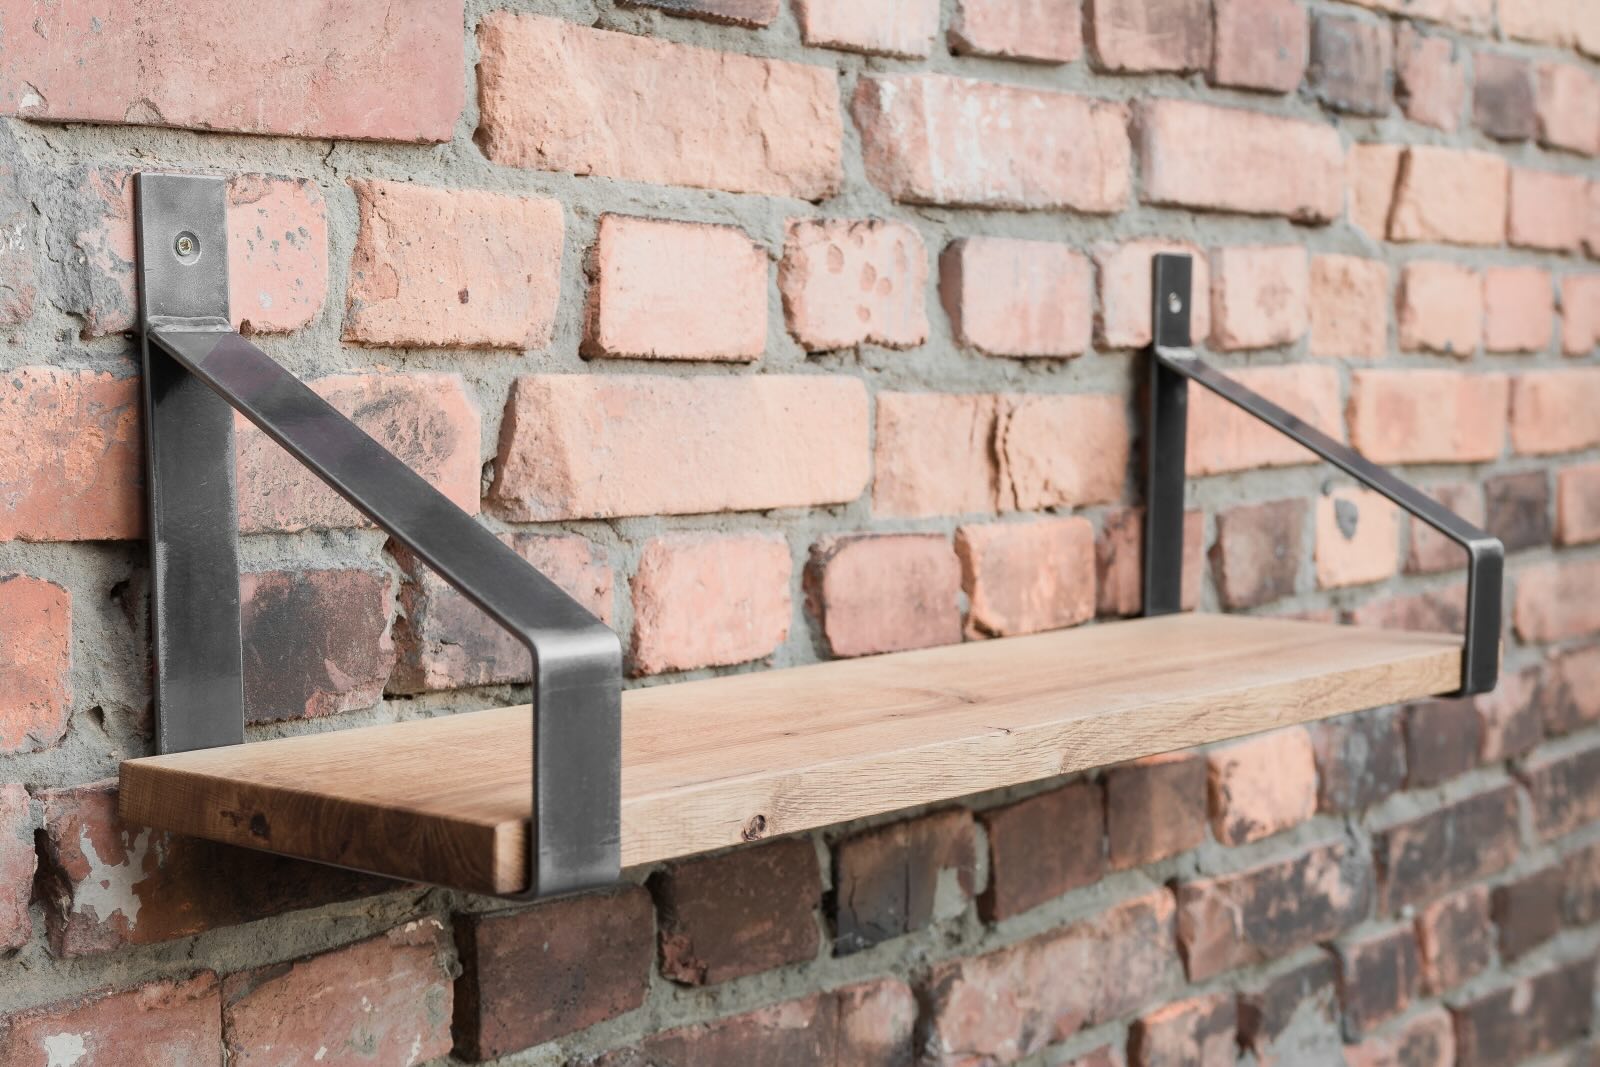
- Brick hangers or clips: These specialized hangers are designed to grip onto the mortar between the bricks without causing damage.
- Tape measure: Use a tape measure to determine the precise placement of the wreath and ensure it hangs symmetrically.
- Marker or chalk: Mark the spots for drilling on the brick surface using a marker or chalk.
- Power drill: A power drill equipped with a masonry drill bit is essential for creating holes in the brick.
- Anchors: Choose suitable anchors that can provide a sturdy grip within the drilled holes.
- Screwdriver: You’ll need a screwdriver to secure the anchors in place.
- Wreath hook or ribbon: Depending on your preference, you can use a wreath hook or a decorative ribbon to hang the wreath from the installed hangers.
- Level: A level will help ensure that the wreath hangs evenly and maintains a balanced appearance.
- Cloth or brush: Have a cloth or brush on hand to clean any debris or dust resulting from drilling into the brick.
By gathering these materials, you’ll be well-prepared to execute each step of the hanging process efficiently and effectively, resulting in a beautifully adorned brick surface that welcomes guests and passersby with seasonal cheer.
Step 1: Choose a Location
When hanging a wreath on a brick surface, selecting the right location is crucial for achieving visual harmony and ensuring the wreath is securely mounted. Consider the following factors when choosing the ideal spot:
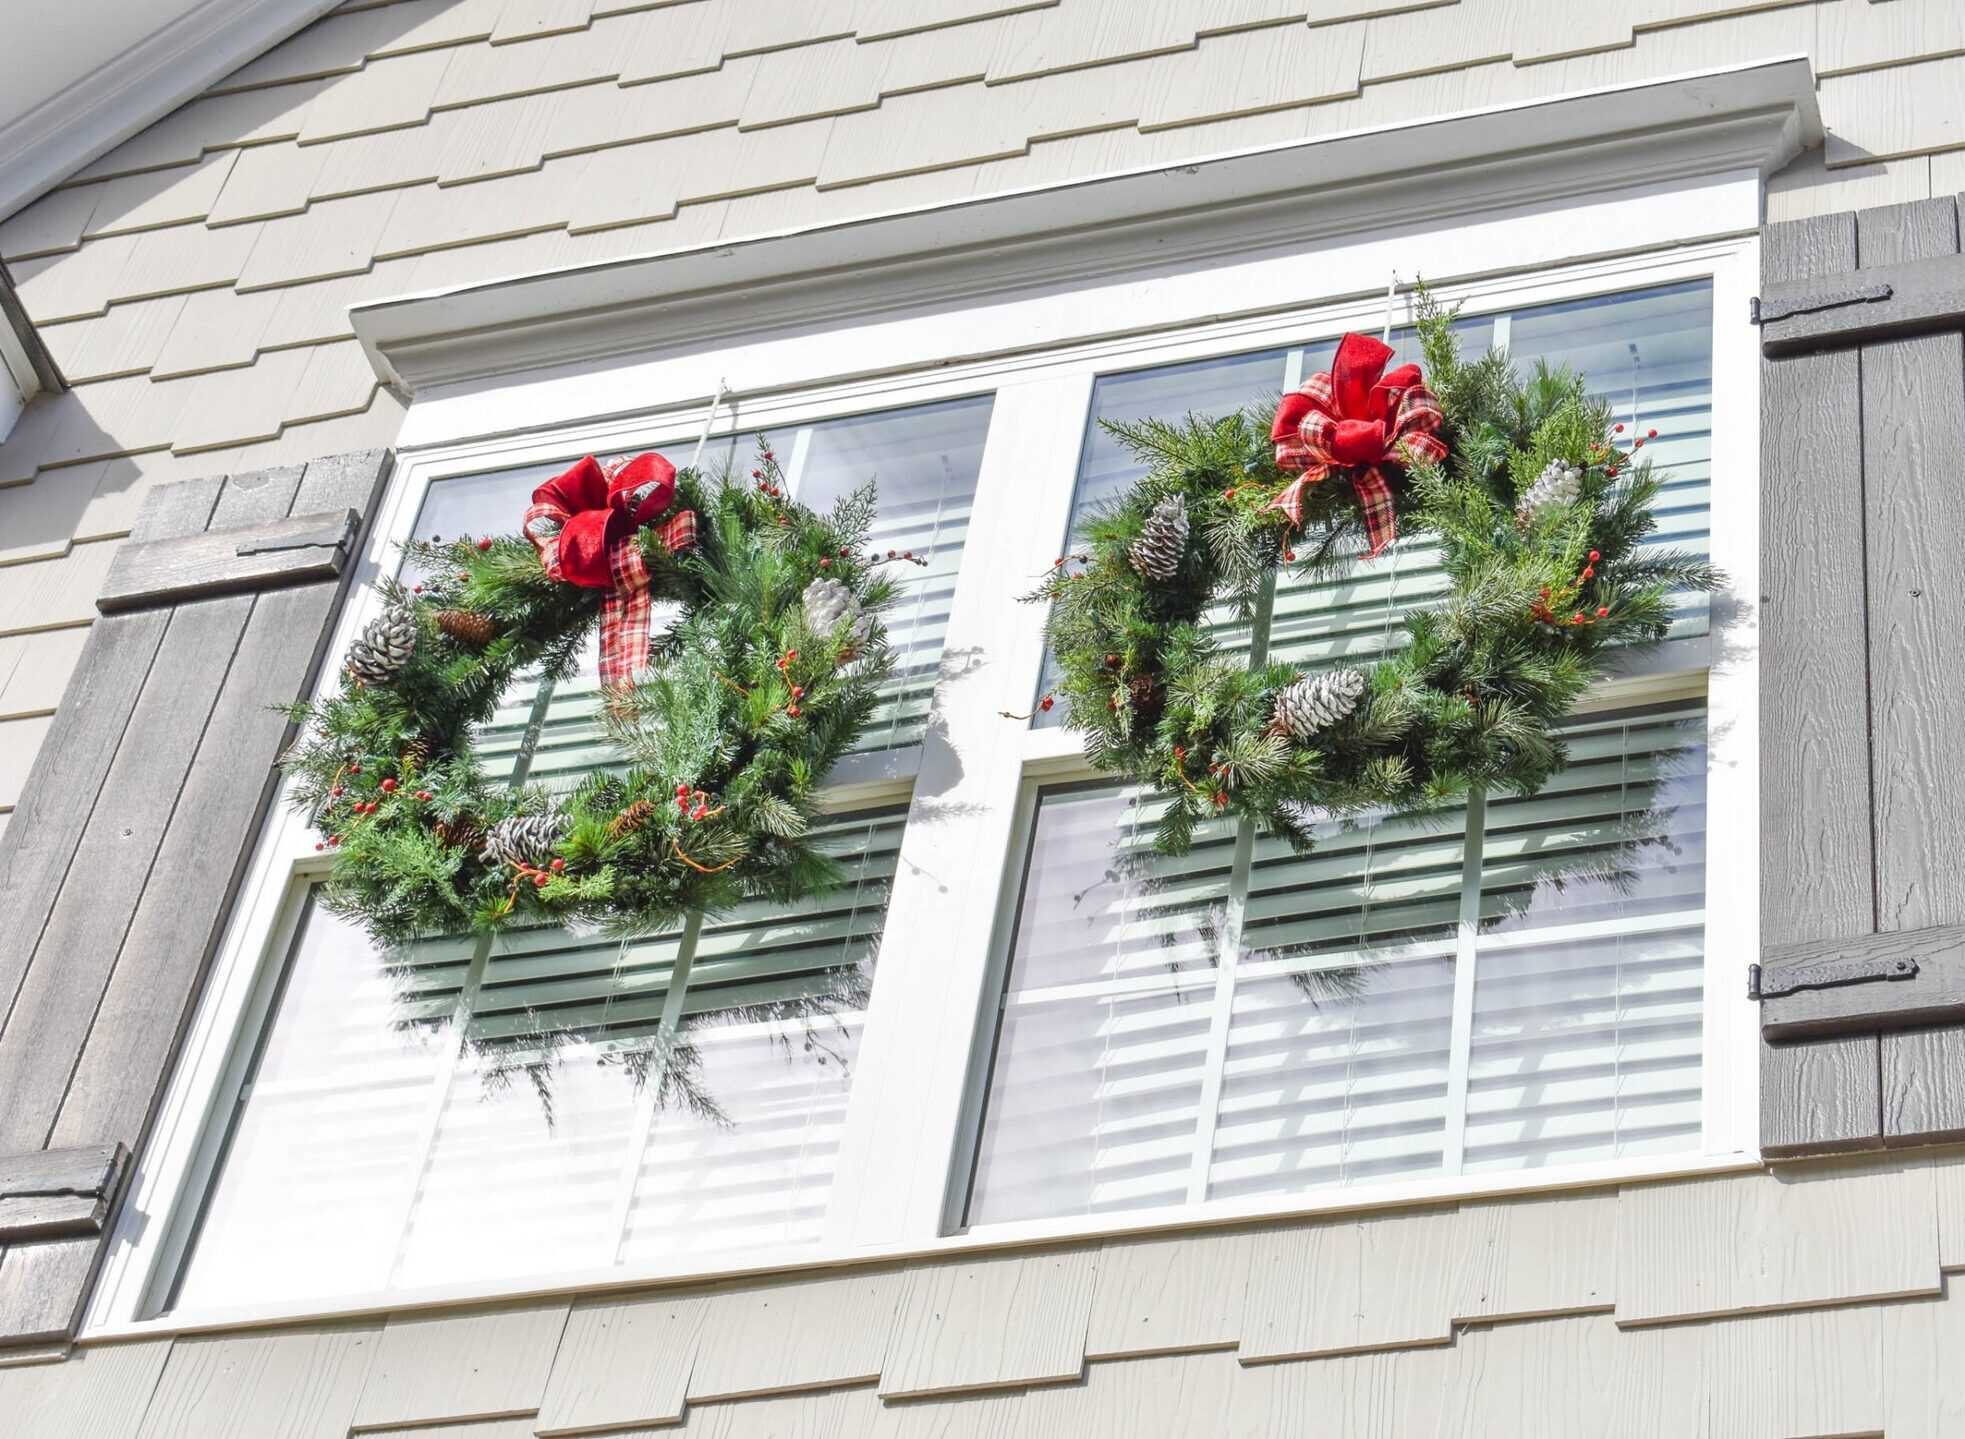
- Visibility: Determine where the wreath will be most visible from the street or main entryway, ensuring that it becomes a focal point of your home’s exterior.
- Protection from elements: Select a location that offers some protection from harsh weather conditions, such as strong winds or direct sunlight, to help preserve the wreath’s appearance.
- Accessibility: Choose a spot that allows for easy installation and maintenance, especially if you plan to switch out the wreath for different seasons or occasions.
- Symmetry and balance: Consider the architectural features of your home and aim for a location that complements the overall design, maintaining a sense of balance and symmetry.
By carefully assessing these aspects, you can pinpoint the perfect spot for hanging your wreath, ensuring that it enhances the visual appeal of your home while withstanding external elements. Once you’ve identified the location, you’re ready to move on to the next step in the hanging process.
Step 2: Measure and Mark
After identifying the optimal location for your wreath, the next step is to measure and mark the precise spots where the hangers or clips will be installed. Follow these guidelines to ensure accurate placement:
- Measurements: Use a tape measure to determine the desired distance between the hangers. Typically, positioning them approximately 1.5 to 2 feet apart works well for most standard-sized wreaths.
- Marking the spots: Once you’ve established the measurements, use a marker or chalk to make clear and visible marks on the brick surface where the hangers or clips will be mounted. Ensure that the marks align horizontally and maintain the desired level of symmetry.
- Consider eye-level placement: For a visually appealing display, position the marks at a height that allows the wreath to be easily seen and appreciated from eye level, whether it’s on a front door or an exterior wall.
By carefully measuring and marking the installation points, you can lay the groundwork for a balanced and aesthetically pleasing arrangement that complements your home’s exterior. Once the spots are clearly marked, you’re ready to proceed to the next step of the hanging process.
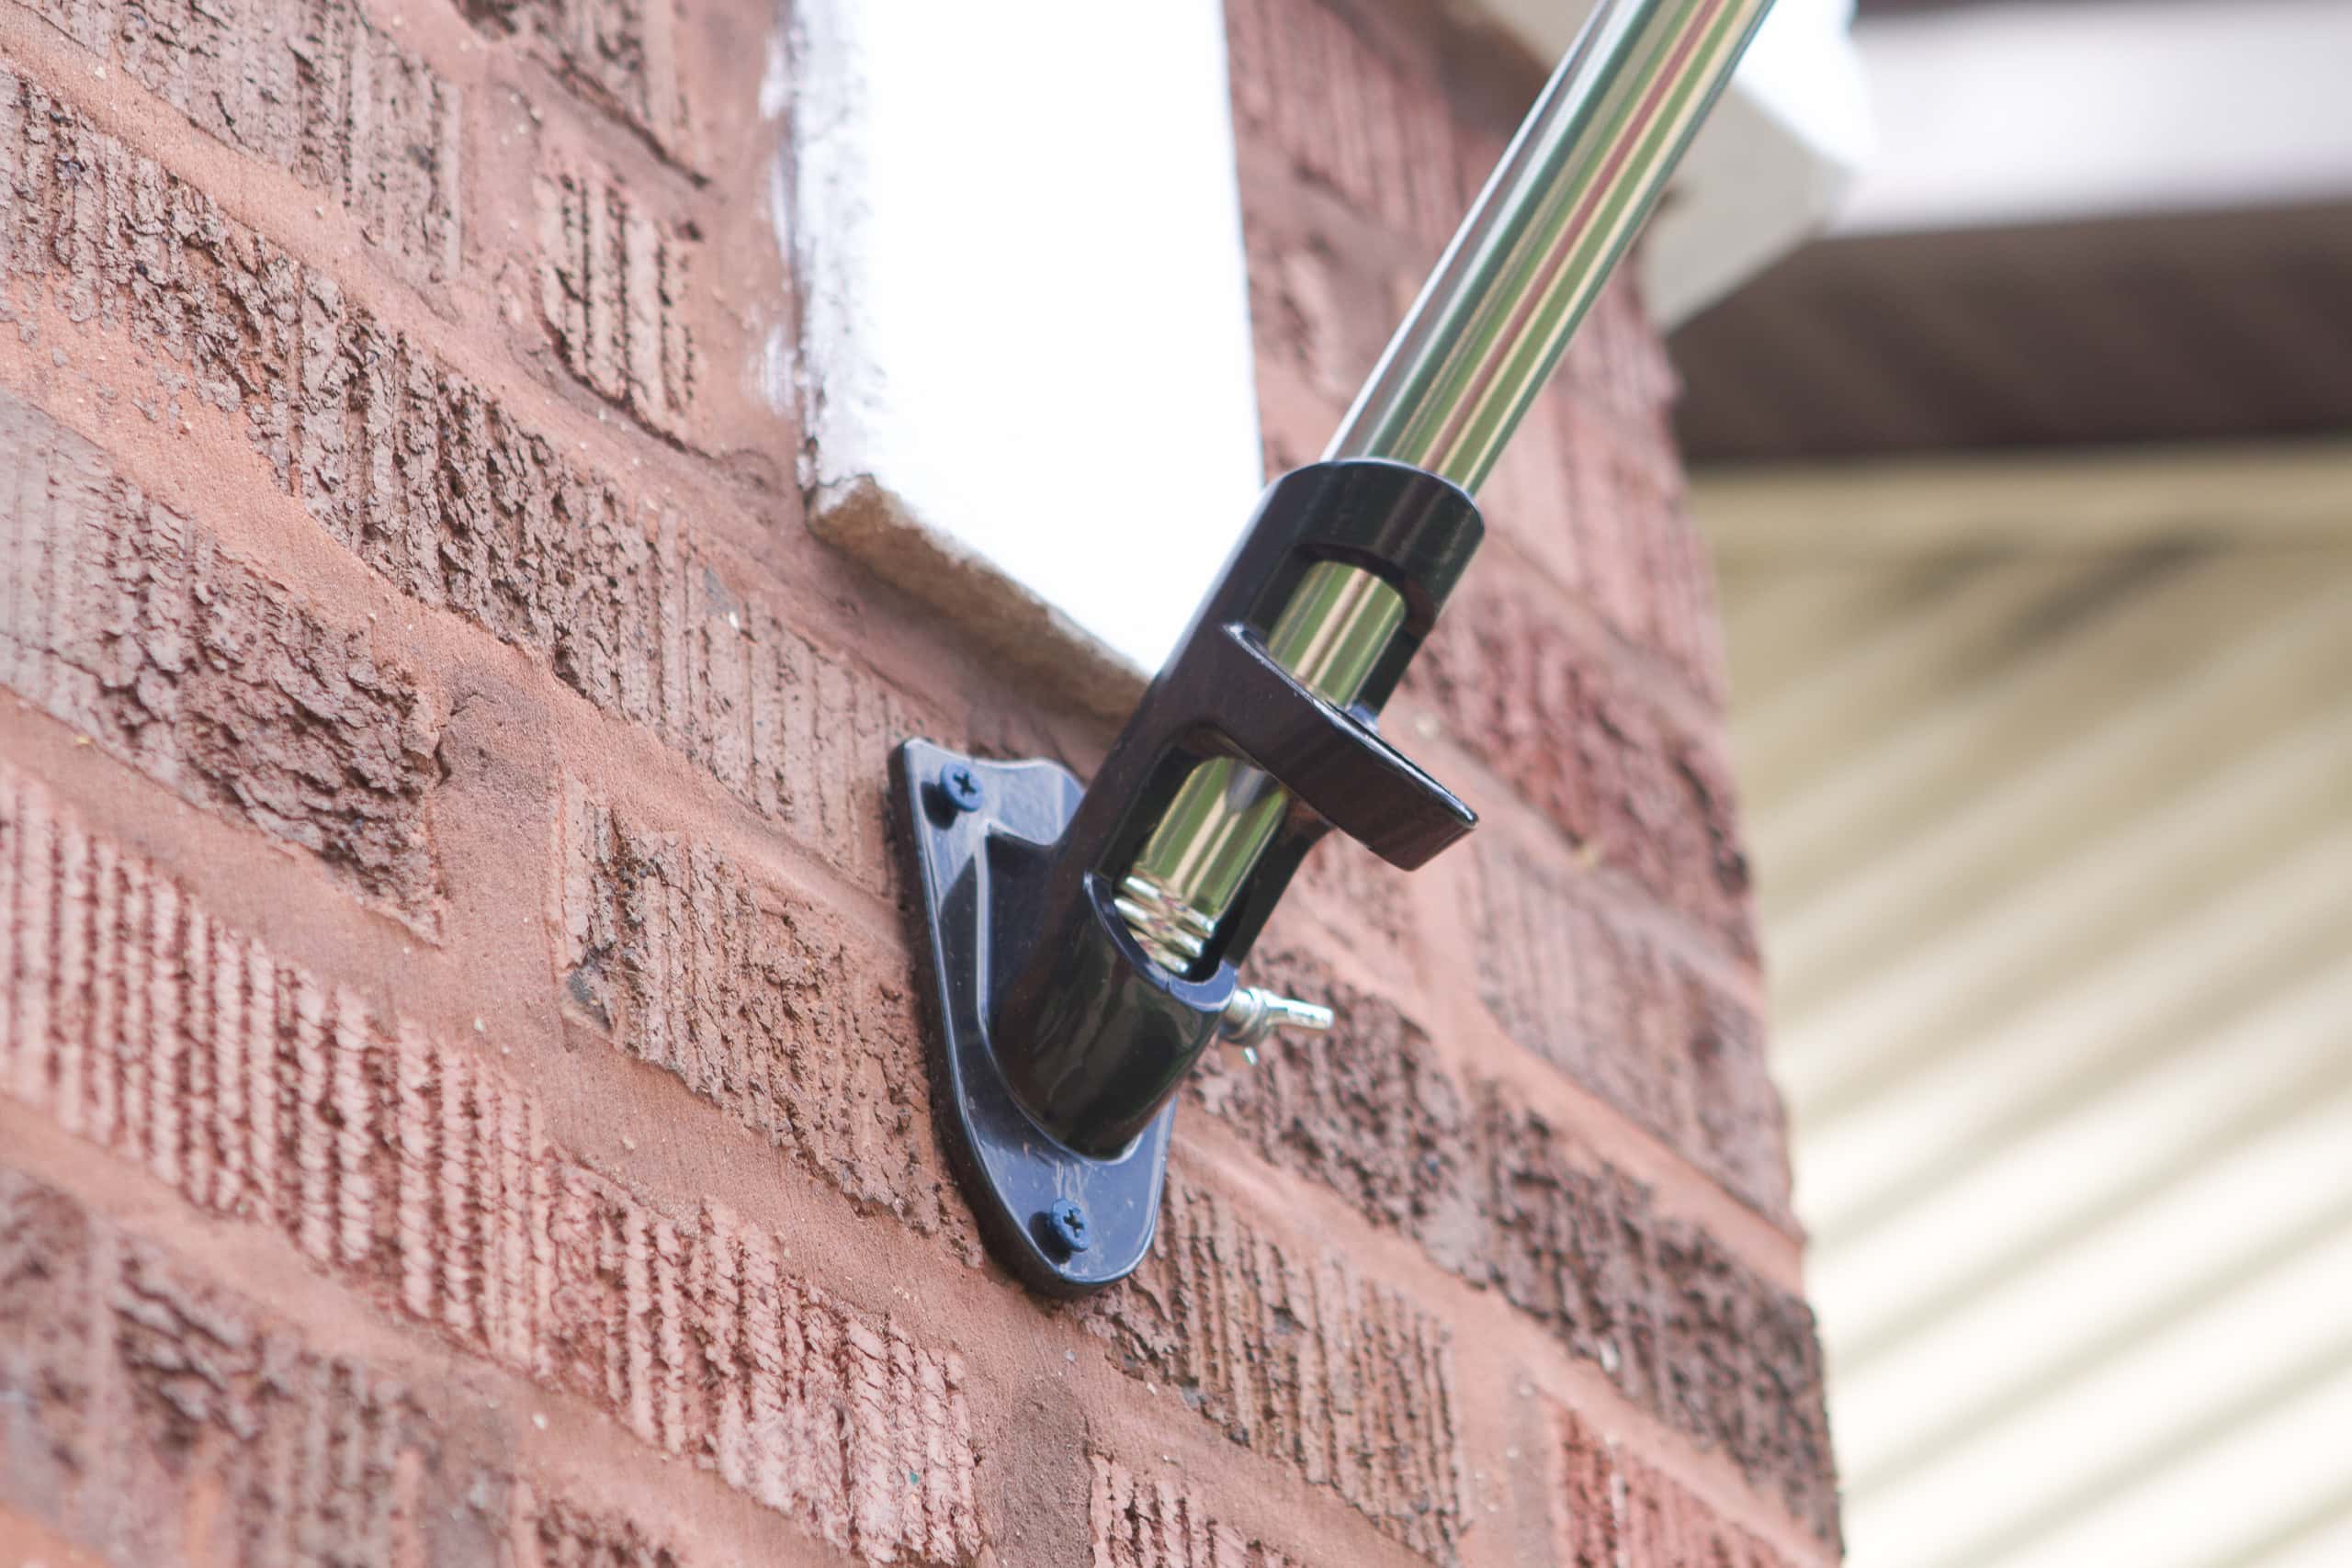
Use brick clips to hang a wreath on brick. These clips grip onto the brick without causing damage and provide a secure hold for your wreath.
Step 3: Drill Holes
With the marked spots in place, the next crucial step is to drill holes into the brick surface to accommodate the anchors that will support the hangers or clips. It’s essential to approach this task with precision and care to ensure that the holes are properly aligned and of the correct depth. Here’s how to proceed:
- Use the right drill bit: Equip your power drill with a masonry drill bit that matches the diameter of the anchors you’ll be using. This will allow you to create clean and accurately sized holes in the brick.
- Start with a pilot hole: Begin by creating a pilot hole at each marked spot, ensuring that the drill is held perpendicular to the brick surface to maintain the correct angle.
- Drilling technique: Apply gentle and consistent pressure as you drill, allowing the drill bit to gradually penetrate the brick without forcing it. Be mindful of the depth, aiming to create holes that are slightly deeper than the length of the anchors to ensure a secure fit.
- Clean as you go: Periodically pause to clear away any debris or dust resulting from drilling, using a cloth or brush to keep the work area clean and maintain visibility of the drilled holes.
By approaching the drilling process with patience and precision, you can create clean and accurately sized holes that accommodate the anchors, setting the stage for the next step of securing the hangers or clips in place. Once the holes are drilled, you’re ready to proceed to the subsequent stage of the hanging process.
Read more: How To Hang A Wreath On A Glass Door
Step 4: Insert Anchors
With the holes drilled into the brick surface, the next critical step involves inserting anchors to provide a stable and secure foundation for the hangers or clips. Anchors are essential for ensuring that the mounted elements remain firmly in place, especially when exposed to external forces such as wind or the weight of the wreath. Here’s how to proceed with this pivotal stage:
- Select suitable anchors: Choose anchors that are designed for masonry applications and are compatible with the diameter and depth of the drilled holes. This ensures a snug and reliable fit within the brick surface.
- Insertion technique: Gently tap each anchor into its respective hole using a hammer, ensuring that it sits flush with the surface of the brick. Take care to avoid applying excessive force that could cause damage to the anchor or the surrounding area.
- Verify stability: Confirm that the anchors are firmly seated and provide a solid grip within the brick, as this will form the basis for securely mounting the hangers or clips.
By carefully selecting and inserting the anchors, you establish a robust foundation that will support the hangers or clips, allowing your wreath to be elegantly displayed without the risk of displacement. Once the anchors are securely in place, you’re ready to progress to the final step of hanging the wreath on your brick surface.
Step 5: Hang the Wreath
As you reach the final stage of the hanging process, it’s time to elegantly display your wreath on the brick surface. This step involves attaching the hangers or clips to the anchors and ensuring that the wreath is securely and attractively mounted. Follow these guidelines to complete this phase with finesse:
- Attach the hangers or clips: Depending on the specific design of your chosen hangers or clips, carefully fasten them to the installed anchors, ensuring a snug and stable connection that can support the weight of the wreath.
- Hang the wreath: Once the hangers or clips are in place, gently lift the wreath and position it on the mounted elements, taking care to center it and ensure that it hangs evenly.
- Adjust and level: Use a level to confirm that the wreath is hanging straight and adjust its position if necessary to achieve a balanced and visually appealing display.
- Final touches: If you’re using a wreath hook or decorative ribbon to suspend the wreath, ensure that it’s securely attached and complements the overall aesthetic of the display.
By following these steps, you can confidently hang your wreath on the brick surface, creating an inviting and festive focal point that enhances the exterior of your home. With the wreath elegantly showcased, you can step back and admire the charming addition to your surroundings, welcoming guests and celebrating seasonal cheer.
Conclusion
Congratulations! By following the comprehensive guide on how to hang a wreath on a brick surface, you’ve successfully adorned your home with a delightful and welcoming embellishment. This process not only adds a touch of seasonal charm but also showcases your creativity and attention to detail in enhancing your home’s exterior.
From carefully choosing the location to securing the wreath in place, each step contributes to the creation of a visually appealing and securely mounted display. By investing the time and effort to execute the hanging process with precision, you’ve transformed a simple wreath into a captivating feature that welcomes visitors and passersby with festive cheer.
As you admire the beautifully hung wreath, take pride in the craftsmanship and artistry that went into its display. Whether it’s a vibrant arrangement for the holidays or a timeless adornment for year-round enjoyment, the wreath serves as a symbol of warmth and hospitality, reflecting your unique style and thoughtful attention to your home’s exterior decor.
Remember, the process of hanging a wreath on a brick surface is not just about installation; it’s about creating an inviting atmosphere that radiates seasonal joy and celebrates the spirit of your home. As you embark on future decorating endeavors, you can draw upon the knowledge and skills gained from this experience to continue enhancing your living spaces with creativity and flair.
Now, with your wreath elegantly displayed, take a moment to appreciate the inviting charm it brings to your home’s exterior. Whether it’s a festive celebration or a simple gesture of welcome, the sight of a beautifully hung wreath on your brick surface is a testament to your attention to detail and your desire to create a warm and inviting environment for all who visit.
Frequently Asked Questions about How To Hang A Wreath On Brick
Was this page helpful?
At Storables.com, we guarantee accurate and reliable information. Our content, validated by Expert Board Contributors, is crafted following stringent Editorial Policies. We're committed to providing you with well-researched, expert-backed insights for all your informational needs.


0 thoughts on “How To Hang A Wreath On Brick”