Home>Ideas and Tips>Easy DIY Projects To Transform Your Space In A Weekend

Ideas and Tips
Easy DIY Projects To Transform Your Space In A Weekend
Published: November 2, 2024
Transform your home in just a weekend with these easy DIY projects. From painting to upcycling, create a fresh look without breaking the bank.
(Many of the links in this article redirect to a specific reviewed product. Your purchase of these products through affiliate links helps to generate commission for Storables.com, at no extra cost. Learn more)
Transforming your space over a weekend is not only possible but also incredibly rewarding. You don't need to be a professional or spend a fortune to make your home look fresh and stylish. With a bit of creativity, some basic tools, and a few hours of your time, you can achieve impressive results. Let's dive into some easy DIY projects that can give your home a new look in just a couple of days.
Painting a Room
Painting a room is one of the easiest and most effective ways to change the look and feel of your space. A fresh coat of paint can make a room feel brand new. Here’s how you can do it:
Materials Needed:
- Paint (choose your desired color)
- Paintbrushes (various sizes)
- Roller and extension pole
- Paint tray
- Drop cloths or tarps
- Sandpaper (optional)
- Primer (optional)
Steps:
-
Prepare the Room:
- Move furniture away from walls and cover it with drop cloths or tarps.
- Remove any outlet covers and light switch plates.
- If necessary, use sandpaper to smooth out rough surfaces.
-
Tape Off Trim:
- Use painter’s tape to mask off baseboards, moldings, and any other areas you don’t want to paint.
-
Prime the Walls (Optional):
- If you’re using a dark color or covering a light color, consider applying a primer first.
-
Apply Paint:
- Start with the ceiling using a roller; work in sections to maintain even coverage.
- Use a paintbrush for edges and corners where the roller can’t reach.
-
Remove Tape:
- After the paint has dried completely, remove the tape carefully to avoid pulling off paint.
-
Touch Up:
- If there are any mistakes or areas where the paint may have gotten on the trim, use a small brush to touch them up.
-
Replace Outlet Covers and Light Switch Plates:
- Once everything is dry and clean up is complete, put back any items you removed.
Tips:
- Always read instructions on paint cans for specific drying times and any special instructions.
- Use high-quality brushes and rollers for better results.
- Consider using semi-gloss paint for easier cleaning in high-traffic areas like kitchens and bathrooms.
Upcycling Old Furniture
Upcycling old furniture is another fantastic way to give your space a unique touch without spending much money. Here’s how you can do it:
Materials Needed:
- Old furniture piece (e.g., an old dresser or nightstand)
- Paint or stain
- Sandpaper
- Decorative hardware (optional)
- New cushions or upholstery fabric (optional)
Steps:
-
Clean and Sand:
- Thoroughly clean the furniture piece with soap and water.
- Use sandpaper to smooth out any rough surfaces.
-
Paint or Stain:
- Apply paint or stain according to manufacturer’s instructions.
- Allow each coat to dry completely before applying additional layers.
-
Add Decorative Hardware:
- If desired, replace old hardware with new knobs or handles for a more modern look.
-
Upholster if Necessary:
- If you’re working with cushions or upholstery fabric, follow manufacturer’s instructions for reupholstering.
-
Assemble if Disassembled:
- If you disassembled parts during cleaning or painting process, now is the time to reassemble them securely.
-
Add Final Touches:
- Place any decorative items like vases, plants, or artwork on top of your newly transformed piece of furniture.
Tips:
- Be creative with colors and patterns; mixing different styles can create unique pieces that stand out.
- Consider repurposing items like turning an old ladder into bookshelves or using mason jars as vases.
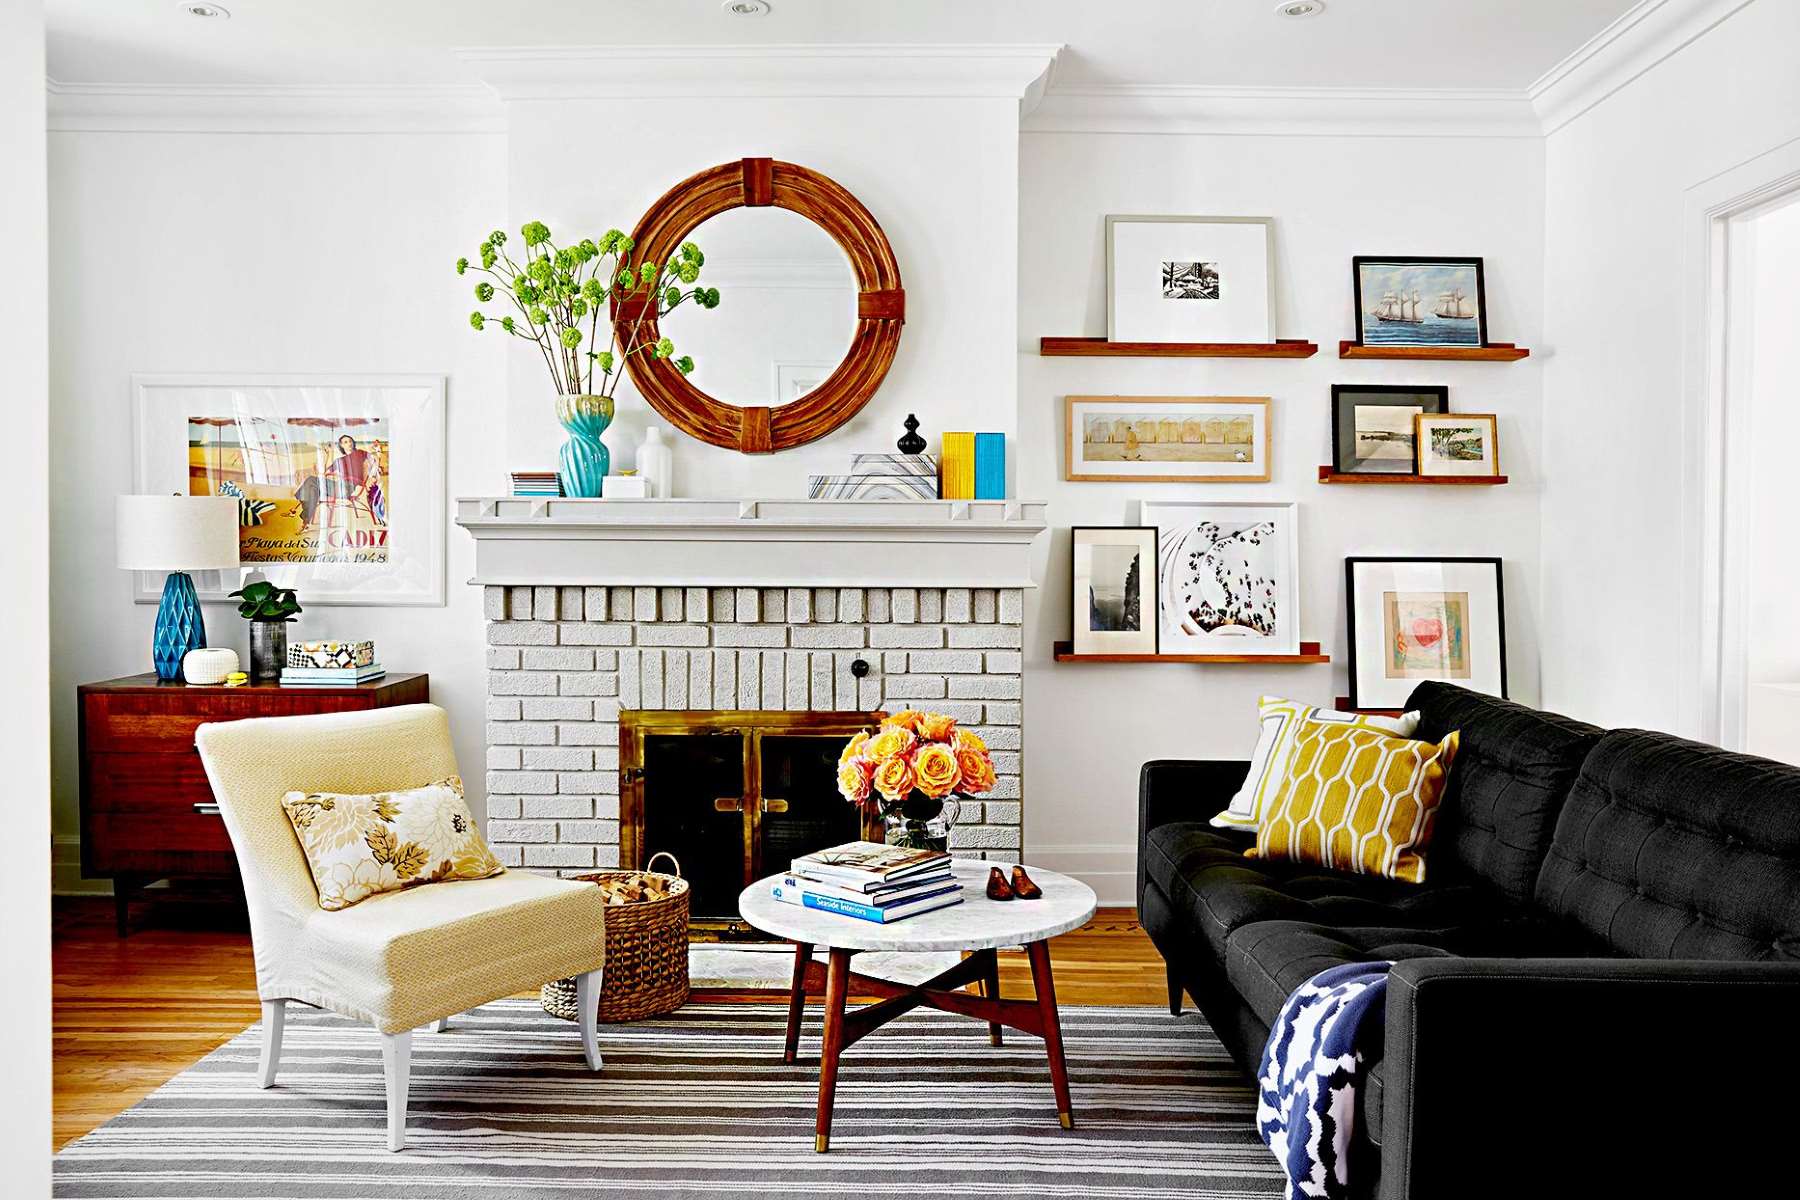
Creating a Gallery Wall
A gallery wall is an excellent way to add visual interest and personality to any room without taking up much space at all. Here’s how you can create one:
Materials Needed:
- Frames of various sizes
- Photos or artwork
- Hanging hardware (e.g., picture hooks)
- Level
- Pencil
- Measuring tape
Steps:
-
Plan Your Layout:
- Gather all frames and lay them out on the floor or against a wall to visualize different arrangements.
- Use a piece of paper to sketch out your desired layout before hanging anything up.
-
Measure and Mark Walls:
- Use measuring tape to mark where each frame will go based on your planned layout.
- Draw light pencil marks indicating where hooks should be placed.
-
Hang Frames:
- Start from center point if possible; this helps maintain balance throughout process.
- Use level tool ensure frames are straight before hammering nails into walls.
-
Adjust as Needed:
- Step back frequently during process make adjustments necessary maintain desired aesthetic.
-
Add Final Touches:
– Once complete step back admire handiwork add any finishing touches like adding spacers between frames if needed.
Tips:
– Mix frame styles shapes sizes create visually appealing composition.
– Consider grouping similar items together create cohesive look within larger collection pieces artwork photos etc..
Lighting Makeover
Lighting plays crucial role setting mood atmosphere space here’s how give existing fixtures makeover weekend:
Materials Needed:
– New light bulbs LED strips string lights etc..
– Dimmer switch (if applicable)
– Decorative lampshades sconces chandeliers etc..
– Drill screwdriver pliers wrenches necessary tools complete job safely efficiently
Steps:
1..Assess Current Lighting Situation:
– Take inventory existing fixtures identify areas improvement needed e.g., outdated fixtures insufficient lighting certain areas room etc..
2..Choose New Fixtures:
– Select new bulbs strips string lights etc.. that fit desired aesthetic style room e.g., warm cozy ambiance bright modern look etc..
3..Install New Fixtures:
– Follow manufacturer’s instructions install new bulbs strips string lights etc.. ensure proper functioning safety standards met throughout process
4..Update Lampshades Sconces Chandeliers Etc..:
– Replace old lampshades sconces chandeliers etc.. with decorative ones match desired style room e.g., vintage rustic modern minimalist etc..
5..Add Dimmer Switch If Applicable:
– Install dimmer switch control brightness levels different areas room e.g., living room kitchen bedroom etc..
6..Test Everything Before Finalizing Job:
– Turn on all lights test functionality ensure everything working properly before finalizing job completely
Tips:
– Consider energy-efficient options save money long-term reduce carbon footprint environment friendly practices adopted daily lives etc..
DIY Planters Pots
Adding plants indoor outdoor spaces not only enhances aesthetic appeal but also purifies air improves mental well-being overall health wellbeing here’s how create beautiful planters pots weekend:
Materials Needed:
– Old containers jars vases etc..
– Paint stain decorative paper etc..
– Soil plants desired type variety etc..
– Gardening tools necessary complete job safely efficiently e.g., trowel rake watering can etc..
Steps:
1..Clean Containers Jars Vases Etc..:
– Thoroughly clean containers jars vases etc.. using soap water scrub brush remove dirt grime accumulated over time etc..
2..Paint Stain Decorative Paper Etc..:
– Apply paint stain decorative paper etc.. according manufacturer’s instructions desired color pattern style room e.g., monochromatic pastel vibrant bold etc..
3..Prepare Soil Plants Desired Type Variety Etc..:
– Fill containers jars vases etc.. with soil plants desired type variety etc.. following manufacturer’s instructions specific needs each plant species etc..
4..Arrange Plants Desired Manner:
– Arrange plants desired manner considering factors like sunlight drainage space available each container jar vase etc..
5..Add Final Touches:
– Add final touches like decorative stones pebbles shells etc.. around base plants enhance overall appearance create visually appealing display etc..
Tips:
– Choose plants suitable climate conditions ensure proper growth development over time etc..
– Consider repurposing items like turning old boots shoes into planters unique conversation starters guests visitors alike etc..
Read more: Easy Ways To Give Your Home Character
Conclusion
Transforming your space weekend possible variety DIY projects mentioned above ranging simple yet impactful tasks like painting room upcycling old furniture creating gallery wall lighting makeover DIY planters pots etc.. Remember always follow safety guidelines manufacturer’s instructions specific tools materials used ensure successful completion job without any complications setbacks along way Happy crafting transforming beautiful spaces you love live enjoy
Was this page helpful?
At Storables.com, we guarantee accurate and reliable information. Our content, validated by Expert Board Contributors, is crafted following stringent Editorial Policies. We're committed to providing you with well-researched, expert-backed insights for all your informational needs.



0 thoughts on “Easy DIY Projects To Transform Your Space In A Weekend”