Home>Ideas and Tips>Upgrading Your Home’s Landscape Lighting: DIY Installation

Ideas and Tips
Upgrading Your Home’s Landscape Lighting: DIY Installation
Modified: November 1, 2024
Enhance your outdoor space with our DIY guide to landscape lighting installation. Learn how to plan, choose materials, and install lights for stunning results.
(Many of the links in this article redirect to a specific reviewed product. Your purchase of these products through affiliate links helps to generate commission for Storables.com, at no extra cost. Learn more)
Introduction
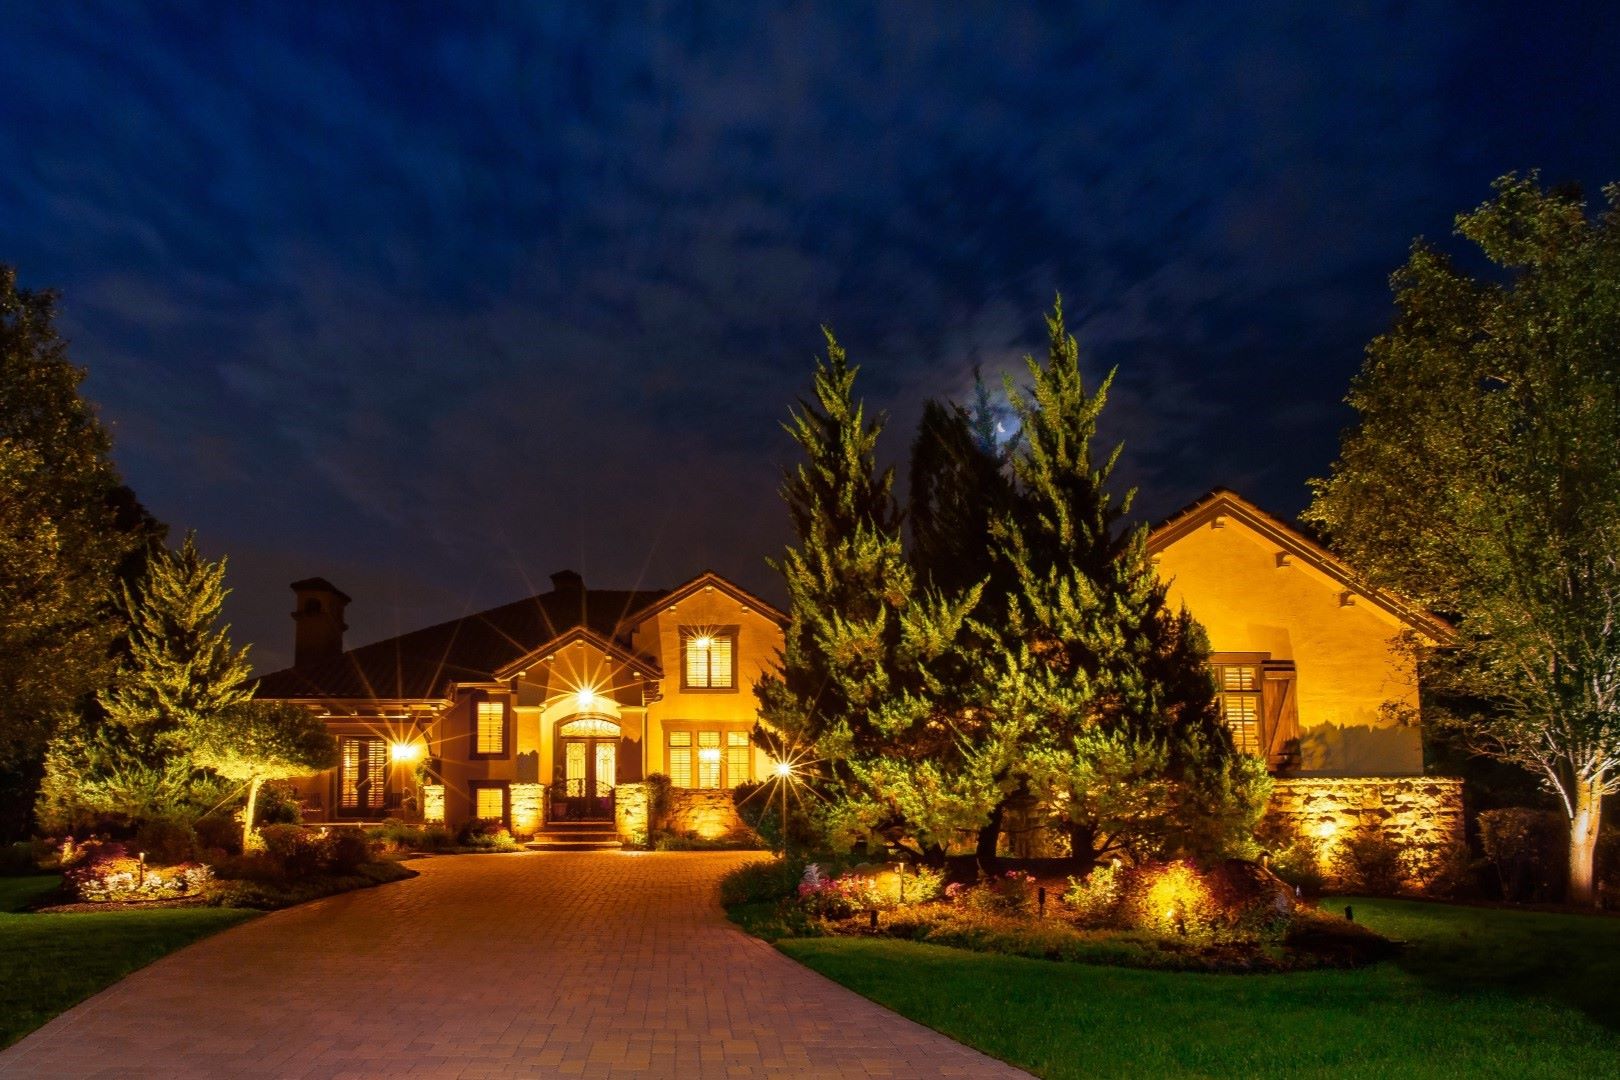
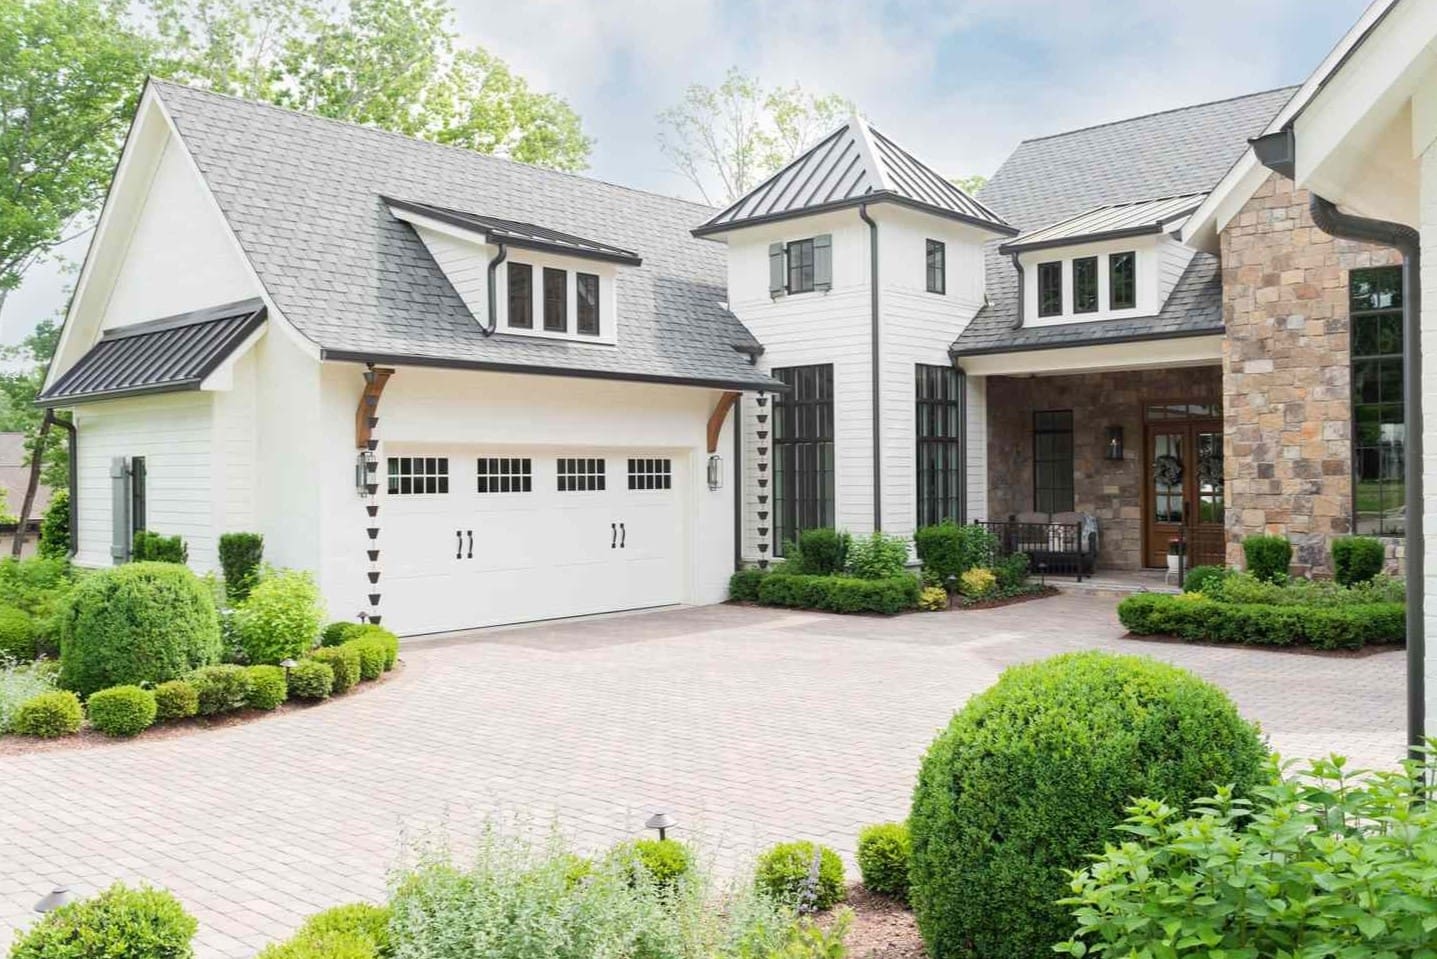
Landscape lighting is one of the most effective ways to enhance the beauty and functionality of your outdoor space. It not only illuminates your yard, but it also transforms it into a magical retreat that can be enjoyed both day and night. Whether you're looking to highlight architectural features, create a safe and inviting atmosphere, or simply add some drama to your garden, landscape lighting is an essential element of any outdoor design. In this article, we will guide you through the process of upgrading your home's landscape lighting with a DIY installation.
Understanding Landscape Lighting
Before diving into the installation process, it's essential to understand the basics of landscape lighting. This involves more than just placing a few lights around your yard; it requires careful planning and consideration of your property's unique features. The goal of landscape lighting is to create a balanced, aesthetically pleasing nighttime environment that extends your living space outdoors and showcases your property's best features.
Types of Landscape Lighting
There are several types of landscape lighting, each serving a specific purpose:
-
Up and Accent Lighting: These lights are great for highlighting trees, architectural features, and other key elements in your yard. They can be used as spotlights to create dramatic effects.
-
Path and Garden Lighting: These lights are essential for safety and aesthetics. They guide you and your guests through the garden, providing even lighting without overpowering the path.
-
In Ground Lights and Well Lights: These lights are perfect for areas that require less maintenance. They can be placed in the grass or soil, providing subtle illumination.
-
Wash Lights: These lights are soft and subtle, making them ideal for small shrubs, statues, and other decorative elements.
-
Hardscape Lights: These lights can be used on decks, fences, retaining walls, and other hardscapes to add ambiance and highlight these features.
Planning Your Landscape Lighting Design
Effective landscape lighting design requires careful planning and consideration of your property's unique features. Here are some steps to help you plan your landscape lighting design:
Mapping Out Your Exterior Lights
-
Create a Detailed Map: Begin by creating a detailed map of your property, including your home, pathways, trees, and key landscape features. This map will serve as your blueprint for placing lights.
-
Identify Key Areas: Consider the areas you want to highlight and the effects you want to achieve. For example, you might want to highlight a beautiful tree or a water feature.
-
Consider Distance: For DIY enthusiasts, it's recommended to place fixtures no closer than 20 feet apart. This ensures that you have pools of light guiding your eye from one plant to the next, rather than continuous illumination.
Choosing the Right Materials
Choosing the right materials is crucial for a successful landscape lighting installation. Here are some essential items you'll need:
Lights
-
FX Luminaire RS Up Light: This is a versatile uplight that can be used to create dramatic effects on trees or large shrubs.
-
FX Luminaire PL Path Light: These path lights are essential for safety and aesthetics, guiding you and your guests through the garden.
-
FX Luminaire Modern Path Light: These modern path lights offer a sleek design and can be used in various garden settings.
-
FX Luminaire WS Wash Light: These wash lights provide a soft, subtle illumination that is perfect for small shrubs and statues.
-
Pro Brass LED Spot/Wash Light: This light offers a combination of spot and wash lighting effects, making it versatile for different applications.
Transformers
- FX Luminaire 150 Watt Transformer: This transformer is essential for powering your low-voltage landscape lighting system. It steps down the voltage from your home's standard electrical supply to 12 volts, making it safe and cost-effective.
Connectors
- BVS2 Waterproof Connectors: These connectors are used to connect lengths of wire, ensuring that your lighting system remains waterproof and secure.
Read more: How To Install Outdoor Landscape Lighting
Step-by-Step Installation Guide
Now that you have your materials, it's time to start the installation process. Here are the six simple steps to install your very own professional-looking landscape lighting system:
Step 1: Choose Your Lights
The first step in installing your landscape lighting system is choosing the right lights for your needs. There are five main types of lights you'll use:
- Up and Accent Lighting: For highlighting trees, architectural features, and other key elements.
- Path and Garden Lighting: For safety and aesthetics, guiding you and your guests through the garden.
- In Ground Lights and Well Lights: For areas that require less maintenance.
- Wash Lights: For small shrubs, statues, and other decorative elements.
- Hardscape Lights: For decks, fences, retaining walls, and other hardscapes.
Once you've selected your lights, place them where you think they'll go. This doesn't mean they're permanent; you'll adjust their positions later.
Step 2: Dig Your Lights
Using a tiny little spade shovel (usually found in the garden aisle of a home improvement store) and a trusty rubber mallet, dig holes for your lights. Don't make anything permanent yet; you're just getting them in place so you can start running your wire.
Step 3: Stake Your Lights
Screw your lights into place using stakes or other temporary fixtures. This will give you a rough idea of where everything will go. You can always move them later if needed.
Step 4: Run Your Wire
Now that your lights are in place, it's time to run your wire. Start by figuring out what size transformer you'll need based on the wattage of all your lights. For example, if you have a 5-watt uplight and ten of them, you'll need a transformer that can handle at least 50 watts.
Use waterproof wire connectors to connect lengths of wire as needed. This ensures that your lighting system remains secure and waterproof.
Step 5: Connect Your Lights
Once you've run your wire, connect each light to the transformer using waterproof connectors. Make sure all connections are secure to avoid any issues with your lighting system.
Step 6: Test Your System
Finally, test your system to ensure everything is working properly. Check for any dimming lights or areas where the light might not be reaching as expected. Adjust the angles and positions of your lights as needed to achieve the desired effect.
Maintenance Tips
Once your outdoor lighting is installed, keeping it in top shape is essential. Here are some simple maintenance tips:
Regular Cleaning
Dust and debris can accumulate on your light fixtures, reducing brightness. Use a soft cloth and mild soap to keep them shining.
Check Connections
Periodically inspect wiring and connections for wear and tear. Look for exposed wires and replace damaged parts immediately.
Bulb Replacement
If you notice dimming lights, it might be time to replace the bulbs. Always use the recommended bulb type for each fixture.
Seasonal Adjustments
Adjust the angles and positions of your lights as plants grow and seasons change. This ensures your lighting remains effective year-round.
Read more: Upgrading Your Bedroom Storage DIY Solutions
Expanding Your Lighting Project
As your needs and tastes evolve, you might want to expand your outdoor lighting project. Here are a few ideas:
Add More Fixtures
Consider adding more path lights, spotlights, or wall-mounted fixtures to cover new areas or enhance existing ones.
Incorporate Smart Lighting
Use smart bulbs and controls to automate your lighting. This can include dimming options, color changes, and remote control via your smartphone.
Highlight New Features
If you add new garden elements, water features, or hardscapes, extend your lighting to highlight these additions.
Upgrade Existing Lights
Replace old fixtures with energy-efficient LED options for better performance and lower energy costs.
Conclusion
Upgrading your home's landscape lighting with a DIY installation is a rewarding project that can significantly enhance the beauty and functionality of your outdoor space. By following these steps and tips, you'll be able to create a stunning landscape lighting system that highlights your property's best features while providing safety and ambiance. Remember to plan carefully, choose the right materials, and maintain your system regularly to ensure it remains effective year-round. Happy lighting
Was this page helpful?
At Storables.com, we guarantee accurate and reliable information. Our content, validated by Expert Board Contributors, is crafted following stringent Editorial Policies. We're committed to providing you with well-researched, expert-backed insights for all your informational needs.




0 thoughts on “Upgrading Your Home’s Landscape Lighting: DIY Installation”