Home>Ideas and Tips>Home Gym Olympic Weightlifting Platform DIY Construction Guide
Ideas and Tips
Home Gym Olympic Weightlifting Platform DIY Construction Guide
Published: September 2, 2024
Learn how to build a sturdy and functional Olympic weightlifting platform for your home gym with our step-by-step DIY construction guide.
(Many of the links in this article redirect to a specific reviewed product. Your purchase of these products through affiliate links helps to generate commission for Storables.com, at no extra cost. Learn more)
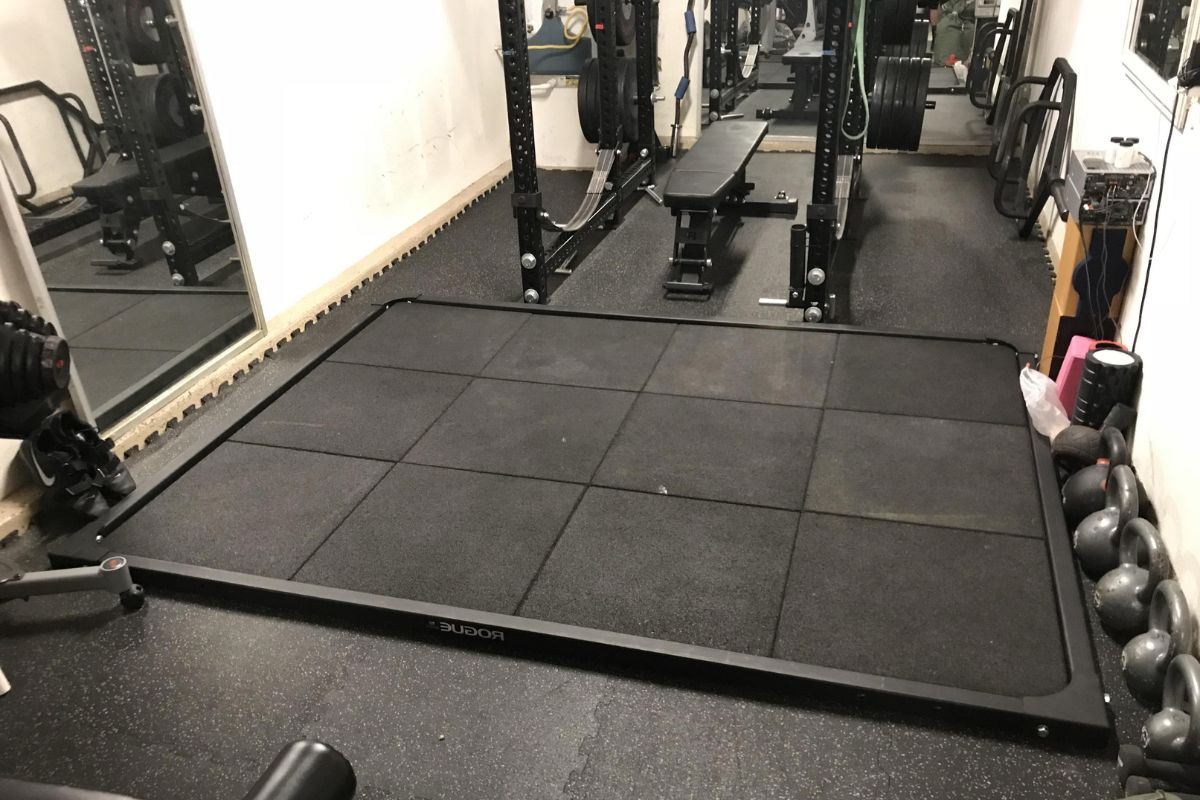
Building a weightlifting platform for your home gym is an excellent investment for any serious weightlifter. Not only does it provide a dedicated space for training, but it also helps protect your equipment and home from potential damage caused by dropped weights. In this comprehensive guide, we will walk you through the steps to build a sturdy and functional Olympic weightlifting platform using DIY methods.
Why Build a Weightlifting Platform?
Before diving into the construction process, it's essential to understand why a weightlifting platform is crucial for your home gym. Here are some key reasons:
- Safety: A weightlifting platform provides a clear and defined lifting area, reducing the risk of accidents and damage to your home.
- Equipment Protection: It absorbs the impact of dropped weights, protecting your equipment and floor from damage.
- Noise Reduction: The platform helps deaden the sound of the barbell, making it ideal for home gyms where noise can be a concern.
- Aesthetics: A well-built platform can enhance the appearance of your home gym, making it look more organized and professional.
Materials Needed
To build a weightlifting platform, you will need the following materials:
For a 2-Layer Platform
- 4 Sheets of 4’ x 8’ Plywood, 3/4” thick (CDX, RTD, or OSB Grade)
- 1 Sheet of “Nicer” 4’ x 8’ Plywood, 3/4” thick (BC or AB/AC Grade Hardwood)
- 1 Sheet of same “Nicer” plywood, ripped in half to 2’ x 8’ (for corners)
- 1 4’ x 6’ Horse Stall Mat, 3/4” thick (Pebble or Flat Texture Top)
- Box of 1 1/2” #8 Exterior Wood Screws
- 1/4” Flat Washers (8-12 per platform)
- Utility Knife aka a Box Cutter
- Straight Edge, a Level, or a PVC Pipe
- Tape Measure
- 32oz Can of Oil-Based Clear Semi-Gloss Polyurethane
- Paint Roller and Head Cover
- Plastic Paint Tray
For a 3-Layer Platform
- All the materials listed above plus:
- 2 Additional Sheets of CDX, RTD, or OSB
Tools Needed
In addition to the materials, you will also need the following tools:
- Drill-Driver
- Impact Driver
- Screwdriver
- Hammer
- Tape Measure
- Level
- Pencil and Marker
Step-by-Step Instructions
Step 1: Prepare the Workspace
Before starting the construction process, ensure your workspace is clear and well-lit. If you're building in your garage, cover the floor with drop cloths or old sheets to protect it from debris.
Step 2: Lay Down the Bottom Layer
Lay two of the 4’ x 8’ plywood sheets butted up next to each other in a vertical fashion. Ensure these sheets are as flush as possible. This will form the base of your platform.
Step 3: Add Additional Layers
Lay the remaining two 4’ x 8’ plywood sheets on top of the first layer in a horizontal fashion. Again, ensure all four sheets are flush together on the outside edges for a nice finished appearance.
Step 4: Secure the Layers
Using 1” screws, attach both layers by screwing the top layer to the bottom layer around the edges. Use about 10 screws per edge (20 screws total). You can use more screws as needed for added stability.
Step 5: Cut and Place the Horse Stall Mats
Cut your two 4’ x 6’ horse stall mats into four 4’ x 2’ pieces using a measuring tape, straight edge, and sharp utility knife. Place the single 4’ x 8’ nice plywood sheet in the approximate middle of the platform and place two 4’ x 2’ cut horse stall mats on each side of it. Make sure they are as flush as possible all around.
Pro Tip: Use the factory cut side of the horse stall mats against the top 4’ x 8’ plywood for a tighter fit in the center of your platform.
Step 6: Secure the Horse Stall Mats
Screw the rubber into place through the top layer using 1” screws. Use about 12 screws per side (24 screws total).
Step 7: Flip and Secure the Platform
Flip the top 4’ x 8’ plywood over onto the ground in front of the platform (top side down). Then flip the entire platform over (top side down) onto this plywood. Ensure everything is as flush as possible, which may take some heavy shimmying.
Step 8: Finalize with 2” Screws
At this point, everything is flipped over. Screw the bottom layer to the top 4’ x 8’ layer using 2” screws. Use about 16 screws total for added strength.
Additional Tips and Considerations
Using Extra Plywood Pieces
If you have extra plywood pieces that are not 4’ x 8’, you can still use them to build your platform. For example, if your bottom layer was made with two pieces of 4’ x 8’ plywood but they are only half-inch thick, you can construct the second layer with two 4’ x 6’ and two 4’ x 2’ pieces of plywood. However, this may affect the strength of your platform, so it's recommended to use standard 4’ x 8’ plywood for optimal stability.
Noise Reduction
If noise reduction is a concern, consider adding an extra layer of horse stall mats or using noise-reducing materials like rubber flooring. This will help deaden the sound of the barbell during lifts.
Read more: Ultimate Guide To Storm Windows
Aesthetics
To enhance the appearance of your platform, apply a coat of oil-based clear semi-gloss polyurethane after construction. This will protect the wood and give it a smooth finish.
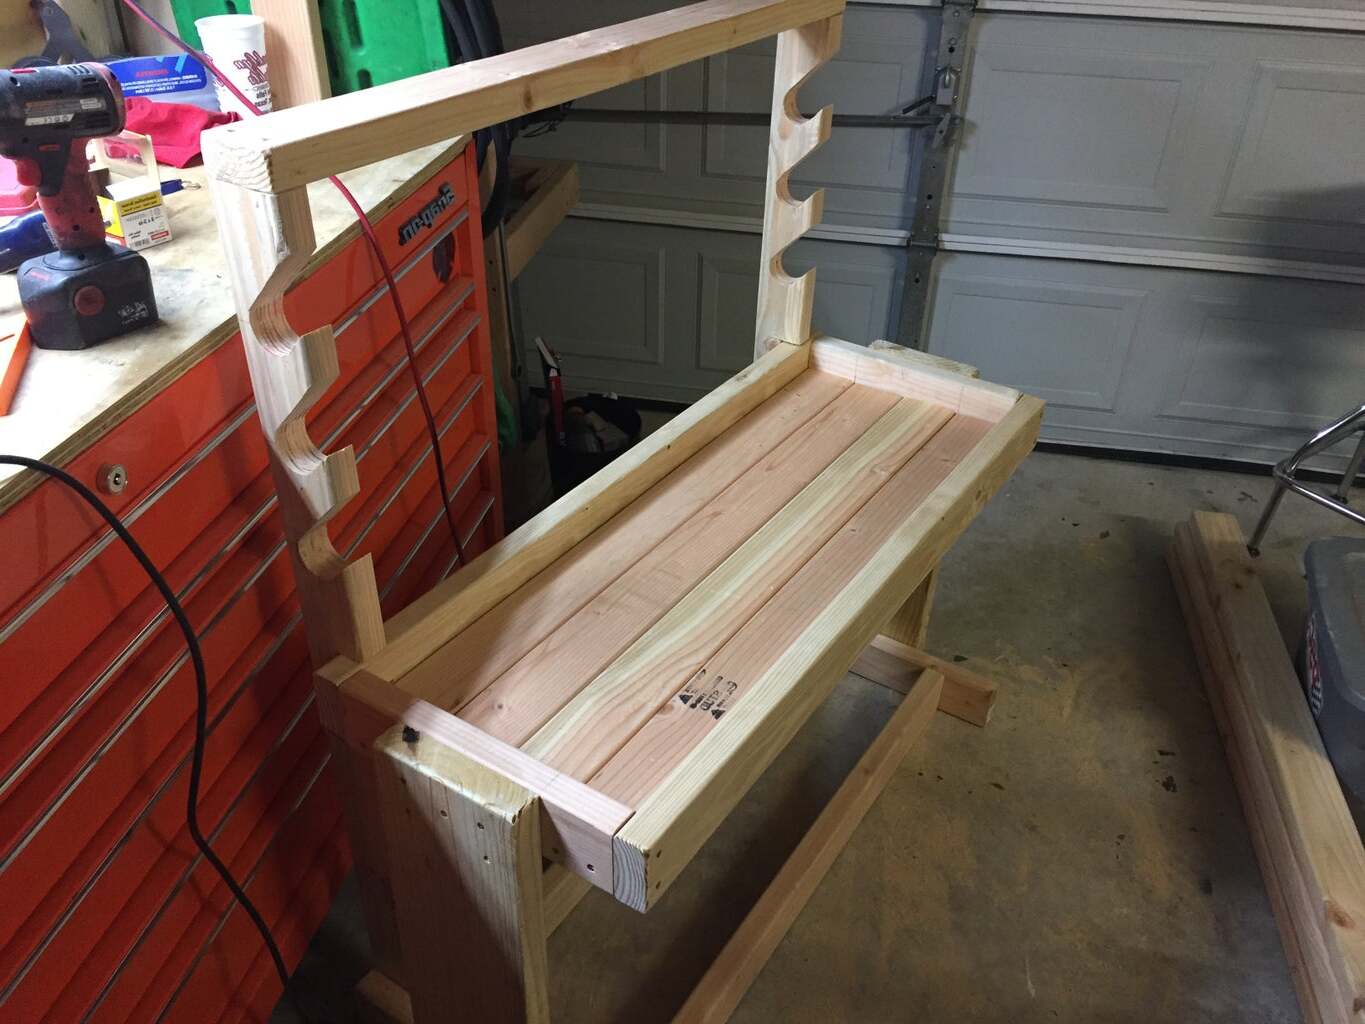
Integrating a Squat Stand
If you plan to integrate a squat stand into your platform, follow these additional steps:
- Measure Width: Measure the width of the base of your squat stand.
- Cut Nice Plywood: Cut the nice piece of plywood to fit around the squat stand, allowing it to be bolted securely.
- Apply Liquid Nails: Squeeze a full can of liquid nails where the nice piece of plywood will be laid.
- Seal Overnight: Lay down the plywood and place weight plates all over it to seal overnight.
- Bolt Squat Stand: Next morning, bolt the squat stand to the platform using L brackets, nuts, bolts, and lag bolts.
Final Thoughts
Building a weightlifting platform for your home gym is a worthwhile investment that enhances safety, protects equipment, reduces noise, and adds aesthetics to your training space. By following these steps and tips, you can create a sturdy and functional platform that meets all your needs for Olympic weightlifting.
Whether you're a seasoned lifter or just starting out, having a dedicated lifting area can make all the difference in your training experience. So why wait? Start building your home gym Olympic weightlifting platform today!
References:
- How to Build a Weightlifting Platform – Athletic Lab
- How to Build a Weightlifting Platform by Greg Everett – Catalyst Athletics
- DIY: Weightlifting Platform — HMBC – Heavy Metal Barbell Club
- DIY Weightlifting Platform with Squat Stand Attached – Garage Gym Reviews
By following this guide, you'll be able to create a professional-grade weightlifting platform that meets all your needs for home gym training. Happy lifting
Was this page helpful?
At Storables.com, we guarantee accurate and reliable information. Our content, validated by Expert Board Contributors, is crafted following stringent Editorial Policies. We're committed to providing you with well-researched, expert-backed insights for all your informational needs.


0 thoughts on “Home Gym Olympic Weightlifting Platform DIY Construction Guide”