Home>Ideas and Tips>Home Gym Pulley System DIY Cable Machine Alternative
Ideas and Tips
Home Gym Pulley System DIY Cable Machine Alternative
Published: September 3, 2024
Create a cost-effective and versatile home gym pulley system with our DIY cable machine guide. Perfect for small spaces and budget-friendly fitness.
(Many of the links in this article redirect to a specific reviewed product. Your purchase of these products through affiliate links helps to generate commission for Storables.com, at no extra cost. Learn more)
Introduction
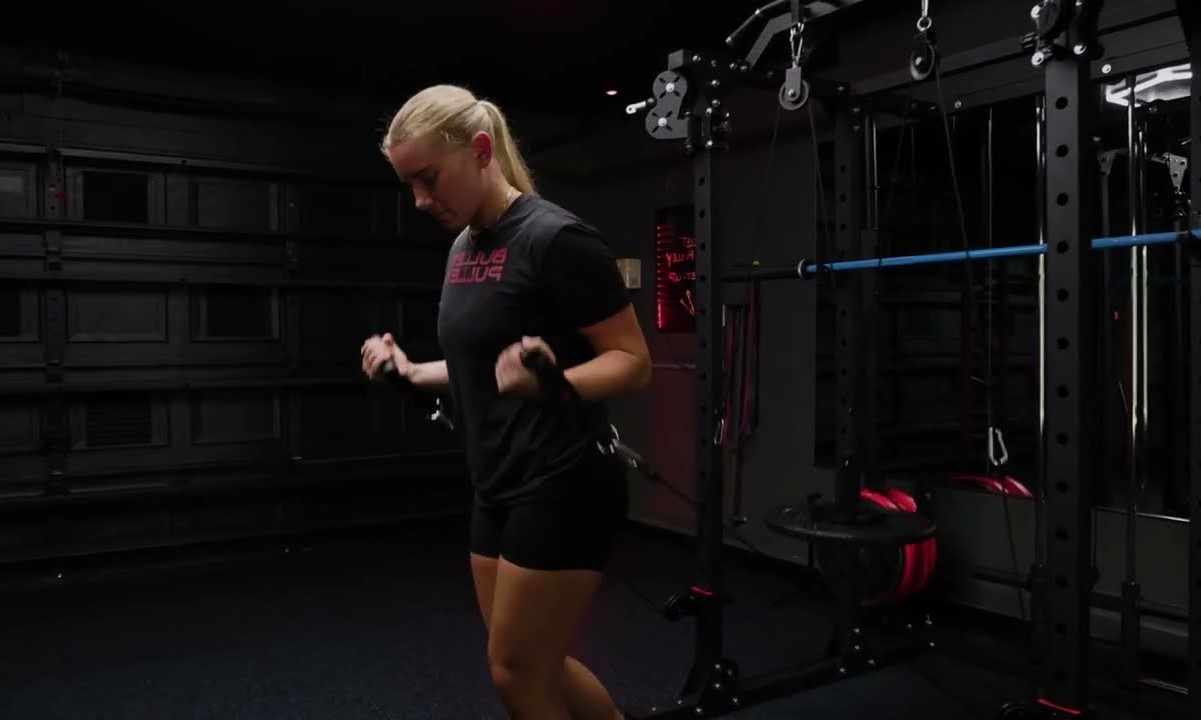
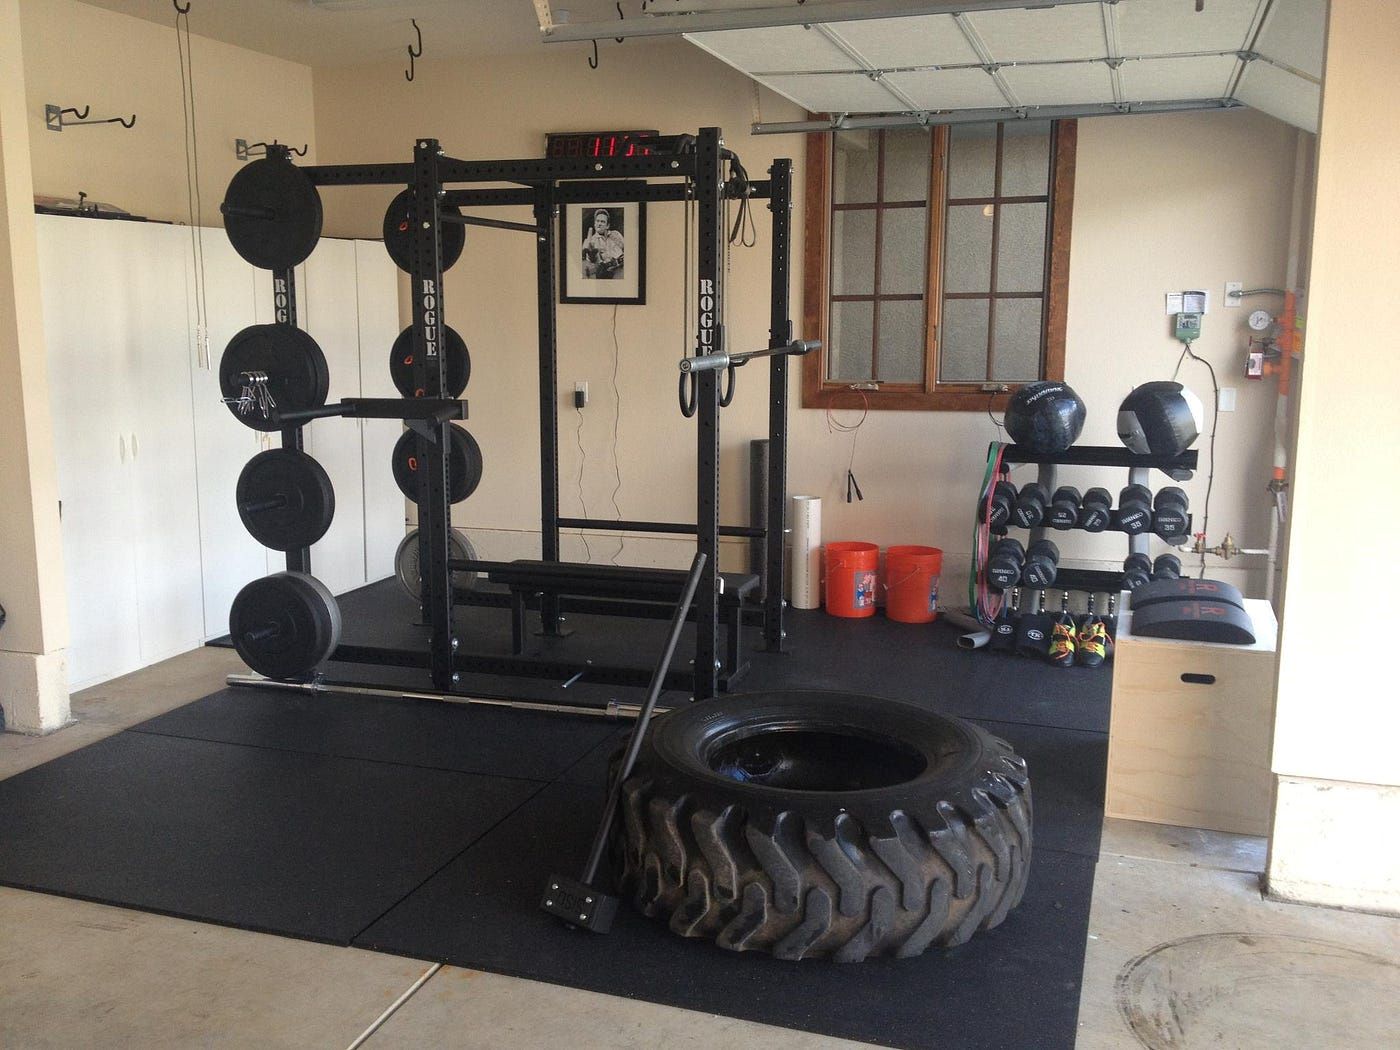
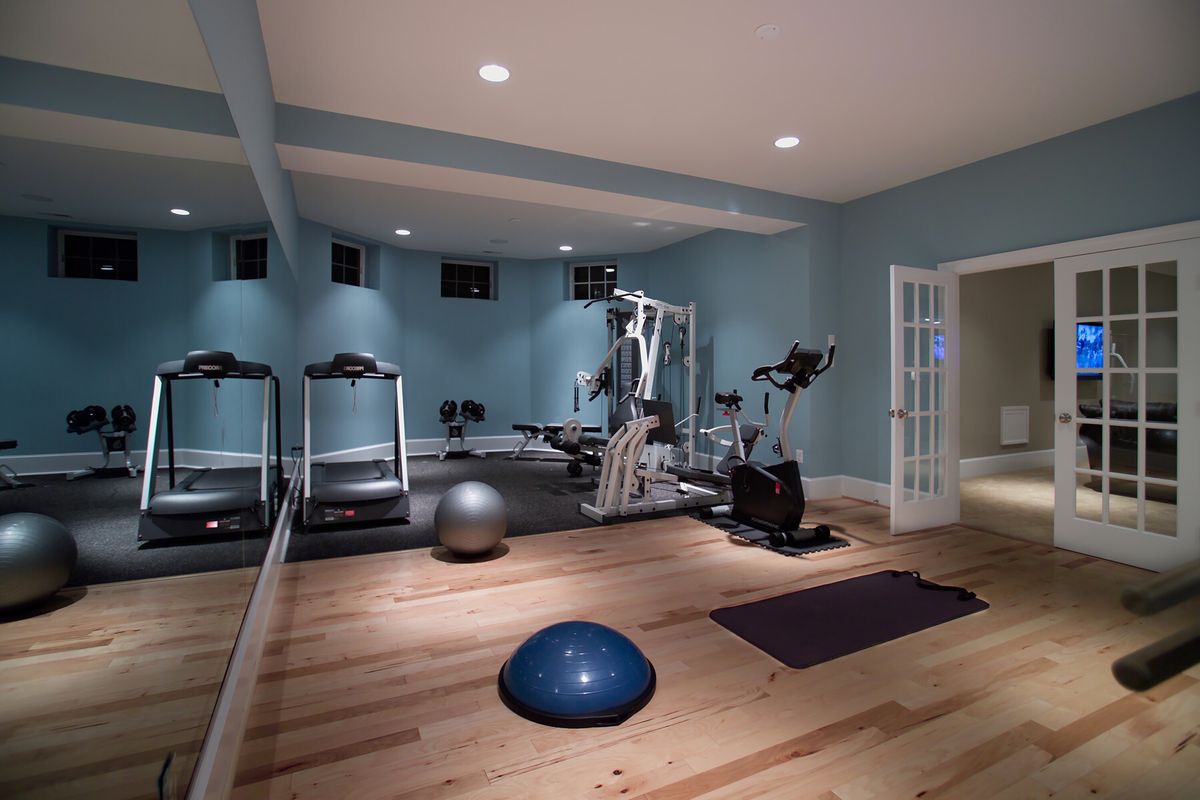
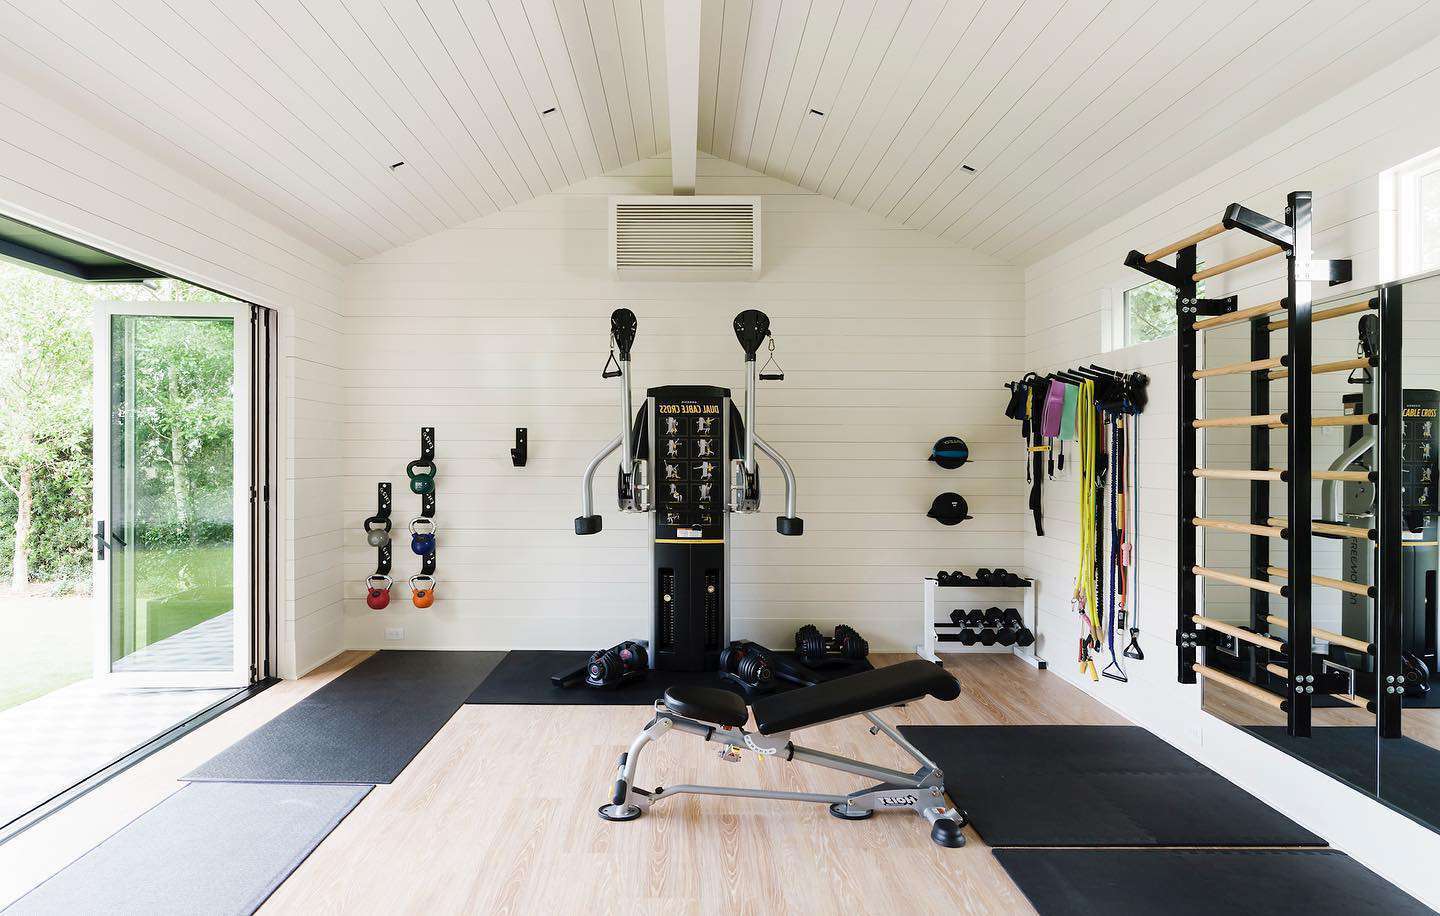
Setting up a home gym can be a game-changer for your fitness routine. One of the most versatile and effective pieces of equipment you can add is a cable machine. These machines let you perform a wide range of exercises, targeting various muscle groups. But, buying a commercial cable machine can cost a pretty penny, sometimes running into thousands of dollars. So, is there a more affordable way to get the same benefits? Absolutely! You can create your own DIY cable machine. Let's dive into how you can do this without breaking the bank.
Benefits of a DIY Cable Machine
Creating a DIY cable machine comes with a bunch of perks. First off, it's super versatile. You can do exercises like lat pulldowns, tricep extensions, rows, and bicep curls. This means you can hit multiple muscle groups without needing a ton of different equipment. Plus, it's space-efficient. Unlike bulky weightlifting gear, a cable machine doesn't take up much room. Perfect for smaller spaces.
Another big plus is the constant tension a cable machine provides. This is crucial for muscle growth and strength gains. The tension helps you maintain proper form and really engage your muscles. And let's not forget the cost. While commercial machines can be pricey, a DIY version can be incredibly affordable. You can build a functional cable machine for under $25. That's a steal!
DIY Cable Machine Options
There are several ways to create a DIY cable machine, each with its own set of pros and cons. Here are some popular options:
Option 1: Basic DIY Cable Pulley System
This is one of the simplest and most affordable options. You can find most of the materials at your local hardware store.
Materials Needed:
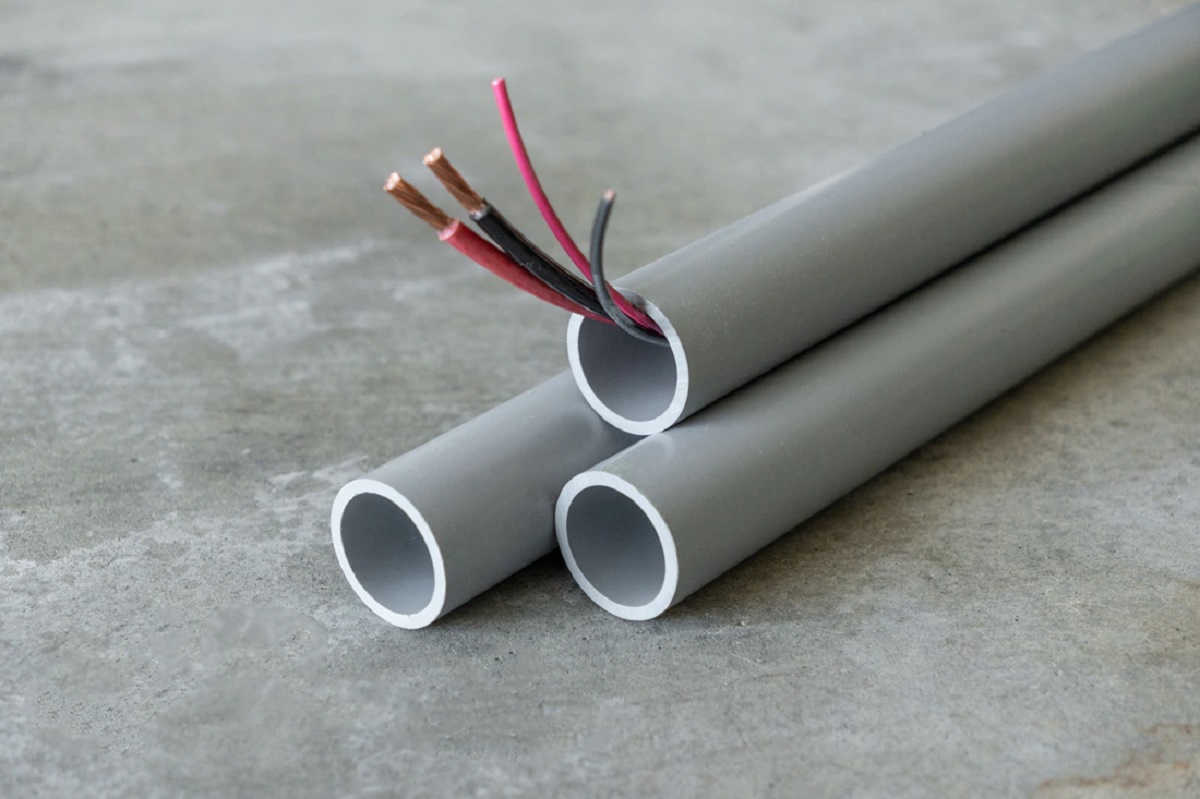
- Cable: Coated steel cable (1/8 inch)
- Pulley: Pulley that separates or has a cotter pin
- Screw Hook: 4-inch screw hook
- Cable Thimbles: Two cable thimbles
- Interlocking Spring Snaps: Two interlocking spring snaps
- Weight Pin: Weight pin
- Cable Ferrules or Clamps: Cable ferrules or clamps
Steps to Set Up:
- Cut the Cable: Cut the cable to the desired length, leaving extra length for flexibility.
- Wrap the Cable: Wrap the cable around the loop and attach it.
- Attach Clamps: Attach clamps around the cord, avoiding direct placement on the cord.
- Repeat on Both Sides: Repeat on both sides of the cord.
- Secure Pulley Attachment: Secure the pulley attachment to the cord, ensuring it's attached to the active part of the cord.
- Attach to Equipment: Attach the pulley system to a squat rack cross member, pull-up bar, or rack using chains, webbing, or carabiners.
- Add Weight Stack: Attach the weight stack to a carabiner on one end of the pulley system.
- Add WD40: Add WD40 to the pulley cord for smoother pulling and to prevent squeaking noises.
- Add Bands/Extra Weight: Add bands or extra weight for added resistance and stabilization.
Option 2: Using Flat Mount Pulleys
This setup is a bit more complex but offers more flexibility.
Materials Needed:
- Cable: Coated steel cable (1/8 inch)
- Flat Mount Pulleys: Two flat mount pulleys
- Regular Pulley: One regular pulley
- Exhaust Clamp or U Bolt: Exhaust clamp or U bolt
- Cable Thimbles: Four cable thimbles
- Interlocking Spring Snaps: Three or four interlocking spring snaps
- Weight Pin: Weight pin
- Cable Ferrules or Clamps: Cable ferrules or clamps
Steps to Set Up:
- Cut the Cable: Cut the cable to the desired length, leaving extra length for flexibility.
- Attach Pulleys: Attach flat mount pulleys and a regular pulley to the cable.
- Use Clamp or U Bolt: Use an exhaust clamp or U bolt to secure the pulleys in place.
- Attach Clamps: Attach clamps around the cord, avoiding direct placement on the cord.
- Repeat on Both Sides: Repeat on both sides of the cord.
- Secure Pulley Attachment: Secure the pulley attachment to the cord, ensuring it's attached to the active part of the cord.
- Attach to Equipment: Attach the pulley system to a squat rack cross member, pull-up bar, or rack using chains, webbing, or carabiners.
- Add Weight Stack: Attach the weight stack to a carabiner on one end of the pulley system.
- Add WD40: Add WD40 to the pulley cord for smoother pulling and to prevent squeaking noises.
- Add Bands/Extra Weight: Add bands or extra weight for added resistance and stabilization.
Option 3: Using Resistance Tubes
This option is the simplest and eliminates the need for pulleys.
Materials Needed:
- Resistance Tubes: Two sets of heavy-duty resistance tubes
- Hitch Pins: Two hitch pins
Steps to Set Up:
- Attach Resistance Tubes: Attach resistance tubes to the ends of the hitch pins.
- Secure to Equipment: Secure the hitch pins to a squat rack cross member, pull-up bar, or rack using chains, webbing, or carabiners.
- Add Weight: Add weight to one end of the resistance tube.
- Perform Exercises: Perform various exercises like bicep curls, tricep extensions, and rows using the resistance tubes.
Exercises You Can Perform with a DIY Cable Machine
A DIY cable machine offers a wide range of exercises. Here are some common ones:
High Pulley Exercises:
- Lat Pulldowns: Targets the latissimus dorsi muscles in your back.
- Triceps Extensions: Targets the triceps muscles in your arms.
- Face Pulls: Targets the muscles in your face and neck.
- Kneeling Cable Crunches: Targets the abdominal muscles.
Low Pulley Exercises:
- Rows: Targets the latissimus dorsi muscles in your back.
- Seated Rows: Targets the latissimus dorsi muscles in your back.
- Standing Rows: Targets the latissimus dorsi muscles in your back.
- Biceps Curls: Targets the biceps muscles in your arms.
- Shoulder Front Raises: Targets the deltoid muscles in your shoulders.
- Shoulder Lateral Raises: Targets the deltoid muscles in your shoulders.
- Lying Cable Crunches: Targets the abdominal muscles.
- Wood Chops: Targets the obliques muscles in your abdomen.
- Single Arm Rows: Targets the latissimus dorsi muscles in your back.
- Single Arm Kickbacks: Targets the triceps muscles in your arms.
Pros and Cons of a DIY Cable Machine
Pros:
- Cost-Effective: Creating a DIY cable machine is incredibly cost-effective, with most setups costing under $25.
- Space Efficiency: DIY cable machines are relatively compact and can be set up in smaller spaces, making them ideal for home gyms.
- Versatility: These machines offer a wide range of exercises that can target various muscle groups.
- Constant Tension: Cable machines provide constant tension throughout the range of motion, which is essential for muscle growth and strength gains.
Cons:
- Time-Consuming: Setting up a DIY cable machine can be time-consuming, especially if you're not familiar with the materials or tools required.
- Limited Durability: While DIY cable machines can be durable, they may not last as long as commercial machines, which are built with higher-quality materials.
- Adjustment Issues: Some users may experience issues with adjusting the tension or setting up the pulleys, which can affect the performance of the machine.
Tips for Setting Up Your DIY Cable Machine
-
Choose the Right Materials: Ensure that you choose high-quality materials that can withstand regular use. Coated steel cables and durable pulleys are essential for a reliable setup.
-
Follow Instructions Carefully: When setting up your DIY cable machine, follow the instructions carefully to avoid any mistakes that could compromise the functionality of the machine.
-
Add WD40: Adding WD40 to the pulley cord can help prevent squeaking noises and ensure smoother pulling.
-
Add Bands/Extra Weight: Adding bands or extra weight can provide additional resistance and help stabilize the weights, preventing swinging.
-
Secure Properly: Ensure that all attachments are securely fastened to prevent any accidents or injuries.
Conclusion
Creating a DIY cable machine is an excellent way to save money while setting up a home gym. With the right materials and a bit of patience, you can create a functional and versatile piece of equipment that offers a wide range of exercises. While there are some pros and cons associated with DIY cable machines, the benefits far outweigh the drawbacks, especially for those on a budget. Whether you choose the basic setup or one of the more complex configurations, a DIY cable machine is an excellent addition to any home gym.
References:
- DIY Pulley System & Other Alternatives That Aren't Worth It – YouTube
- Cable Machines – Targeted Talk and Favorite Voting : r/homegym
- Home Cable Machine DIY – Shredded Dad
- DIY Pulley System: Easy and Cheap | Garage Gym Reviews
By following these steps and tips, you can create a reliable and effective DIY cable machine that enhances your home gym experience without breaking the bank.
Was this page helpful?
At Storables.com, we guarantee accurate and reliable information. Our content, validated by Expert Board Contributors, is crafted following stringent Editorial Policies. We're committed to providing you with well-researched, expert-backed insights for all your informational needs.


0 thoughts on “Home Gym Pulley System DIY Cable Machine Alternative”