Articles
How To Run Overhead Electrical Wire To Garage
Modified: March 2, 2024
Learn how to run overhead electrical wire to your garage with these step-by-step articles, ensuring a safe and efficient installation process.
(Many of the links in this article redirect to a specific reviewed product. Your purchase of these products through affiliate links helps to generate commission for Storables.com, at no extra cost. Learn more)
Introduction
Running overhead electrical wire to a garage can be a complex and challenging task, but with the right knowledge and tools, it can be accomplished effectively and safely. Whether you are looking to power lights, outlets, or appliances in your garage, installing overhead electrical wire is a popular choice.
Before you embark on this project, it is important to have a clear understanding of the process involved and the necessary precautions to ensure the safety and compliance of the installation. In this article, we will guide you through the step-by-step process of running overhead electrical wire to your garage, from choosing the right wire and tools to obtaining permits and checking regulations.
By following these guidelines, you can ensure a successful and efficient installation that meets the necessary electrical codes and regulations. So let’s get started on this electrifying journey!
Key Takeaways:
- Proper planning, wire selection, and adherence to regulations are crucial for safely running overhead electrical wire to a garage. Attention to detail and consultation with professionals ensure a successful installation.
- Testing, safety measures, and professional consultation are essential for verifying the functionality and safety of the electrical system in the garage. Prioritizing safety throughout the process is paramount for a reliable installation.
Read more: How To Run Electrical Wire In A House
Choosing the Right Wire and Tools
Before you begin running overhead electrical wire to your garage, it is crucial to select the right type and size of wire for the job. The wire you choose will depend on various factors such as the distance between your house and garage, the amount of power you require, and the local electrical codes and regulations.
When it comes to wire selection, there are a few key factors to consider:
- Wire Gauge: The gauge of the wire refers to its thickness. For a typical residential garage, a 12-gauge wire is usually sufficient. However, if you plan to run heavy appliances or equipment in your garage, you may need to opt for a thicker wire, such as a 10-gauge or 8-gauge.
- Wire Type: There are several types of wire available, including copper and aluminum. Copper wire is the most commonly used due to its superior conductivity and durability. It is more expensive than aluminum, but it is worth the investment for a reliable and long-lasting installation.
- THHN vs. UF Wire: THHN (Thermoplastic, High Heat-Resistant Nylon) wire is suitable for indoor installations and can be used inside conduit or cable trays. UF (Underground Feeder) wire, on the other hand, is specifically designed for outdoor installations and can be used directly underground without conduit.
In addition to selecting the right wire, you will also need to gather the necessary tools for the installation. Here are some essential tools you will need:
- Tape Measure: A tape measure will be essential for accurately measuring the distance between your house and garage, as well as determining the length of wire required.
- Wire Cutters and Strippers: These tools will be used to cut the wire to the desired lengths and strip off the insulation for proper connections.
- Ladder or Scaffolding: Depending on the height of your house and garage, you may need a ladder or scaffolding to access the overhead electrical wire route. Safety is paramount, so use a sturdy and reliable means of elevation.
- Conduit and Conduit Benders: If you are using THHN wire, you will need conduit and conduit benders to protect and route the wire properly. Conduit is required for both indoor and outdoor installations.
- Support Hardware: This includes staples, straps, and clamps to secure the wire to the house and garage. These ensure the safety and stability of the installation.
- Electrical Tape and Connectors: Electrical tape and connectors are essential for making secure and reliable connections between wires and devices.
By selecting the appropriate wire and gathering the necessary tools, you are setting yourself up for a successful installation and a well-functioning electrical system in your garage. Always consult the local electrical codes and regulations to ensure compliance and adhere to safety guidelines throughout the process.
Obtaining Permits and Checking Regulations
Before you start running overhead electrical wire to your garage, it is important to understand and adhere to the local permits and regulations. Electrical work is highly regulated to ensure safety and compliance with the National Electrical Code (NEC) and local building codes. Failure to obtain the necessary permits and follow the regulations can result in fines, safety hazards, and difficulties when selling your property in the future.
The first step is to contact your local building department to determine what permits are required for your project. They will provide you with the necessary information and guide you through the permit application process. Typically, you will need to submit a detailed plan of your electrical installation, including the route of the overhead wire, the type of wire to be used, and any other relevant details.
It is crucial to follow the requirements of the NEC and your local building codes when running overhead electrical wire. Some common regulations to be aware of include:
- Clearances: The NEC specifies minimum clearances that must be maintained between overhead wires and other structures, such as roofs, trees, and fences. This is to prevent any potential hazards, such as electrical arcing or accidental contact.
- Grounding and Bonding: Proper grounding and bonding of the electrical system are essential for safety. Make sure you understand the requirements for grounding your overhead wire to prevent electrical shocks and ensure proper functionality.
- Sag and Tension: Overhead wire should be properly supported and tensioned to prevent sagging. This ensures the wire remains at a safe height and minimizes the risk of damage and accidents.
- Buried Utilities: Before digging any holes for your support hardware, it is important to contact the appropriate utility companies to locate and mark any underground utilities. This will prevent accidental damage to gas, water, or other utility lines.
By obtaining the necessary permits and adhering to the regulations, you are ensuring the safety and compliance of your overhead electrical wire installation. It is always recommended to consult with a licensed electrician or electrical inspector to help you navigate the regulations and ensure a successful project.
Planning the Route for Overhead Electrical Wire
Planning the route for your overhead electrical wire is a crucial step in ensuring a smooth installation process. By carefully considering factors such as distance, obstacles, and aesthetics, you can determine the most practical and efficient route for running the wire from your house to the garage.
Here are some steps to help you plan the route:
- Measure the Distance: Start by measuring the distance between your house and garage. This will help you determine the length of wire you will need and ensure you have enough to complete the installation.
- Identify Obstacles: Take note of any obstacles that may hinder the path of the overhead wire, such as trees, structures, or landscaping features. Consider the clearance requirements specified by the National Electrical Code (NEC) to ensure the wire maintains a safe distance from these obstacles.
- Determine Mounting Locations: Identify suitable mounting locations on both the house and garage for attaching the wire and support hardware. These locations should be sturdy and provide proper clearance.
- Consider Aesthetics: Visually assess the route and determine if there are any aesthetic considerations. You may want to choose a route that minimizes the visibility of the wire and hardware, especially if the garage is connected to your house or in a prominent location.
- Inspect Existing Wiring: If your house already has existing electrical wiring, take this into consideration when planning the route. You may be able to use existing conduit or mounting points to simplify the installation process.
After considering these factors, create a diagram or sketch of the planned route, noting the locations of the wire, support hardware, and any necessary bends or turns. This will serve as a reference during the installation process and ensure a streamlined and efficient installation.
It is important to consult local building codes and regulations when planning the route for your overhead electrical wire. They may have specific requirements regarding clearance, mounting, and aesthetics that you need to adhere to. If you are unsure, it is always recommended to consult with a licensed electrician or electrical inspector for guidance.
Measuring and Cutting Wire Lengths
Accurate measurement and precise cutting of wire lengths are vital for a successful overhead electrical wire installation. Properly measured and cut wires ensure a clean and tidy installation, while avoiding unnecessary waste or shortage of wire.
Here are the steps to measure and cut wire lengths:
- Measure the Distance: Using a tape measure, measure the distance between the house and the garage along the planned route. This measurement will determine the length of wire you need to connect the two locations.
- Add Extra Length: It’s always a good idea to add a few feet of extra wire to account for any unexpected bends, loops, or adjustments that may be required during the installation. This additional length provides flexibility and ensures that you won’t fall short.
- Mark the Wire: Using a marker or tape, mark the length on the wire, including the extra length you added. This mark will serve as a guide when cutting the wire.
- Cut the Wire: Using wire cutters or a similar cutting tool, carefully cut the wire along the marked length. Make sure to use sharp and reliable cutting tools to ensure clean and accurate cuts.
- Strip the Ends: Once the wire is cut, use wire strippers to remove the insulation from the ends of the wire. The amount of insulation to remove will depend on the type of connectors you will be using.
It’s important to note that different wire types may have different requirements for stripping the ends. Copper wire typically requires approximately 3/4 inch of insulation to be removed, while aluminum wire may require slightly more. Always refer to the manufacturer’s recommendations or consult a licensed electrician for the specific requirements of the wire you are using.
Remember to handle the wire carefully during the measuring and cutting process to avoid damaging the insulation or causing any kinks or nicks in the wire. These can compromise the integrity and safety of the wire, so it’s crucial to exercise caution.
By accurately measuring and cutting the wire lengths, you can ensure a proper fit and a professional-looking installation. Take your time and double-check your measurements to avoid any mistakes or wastage. This attention to detail will contribute to a successful and efficient overhead electrical wire installation.
Read more: How To Run Outdoor Electrical Wire
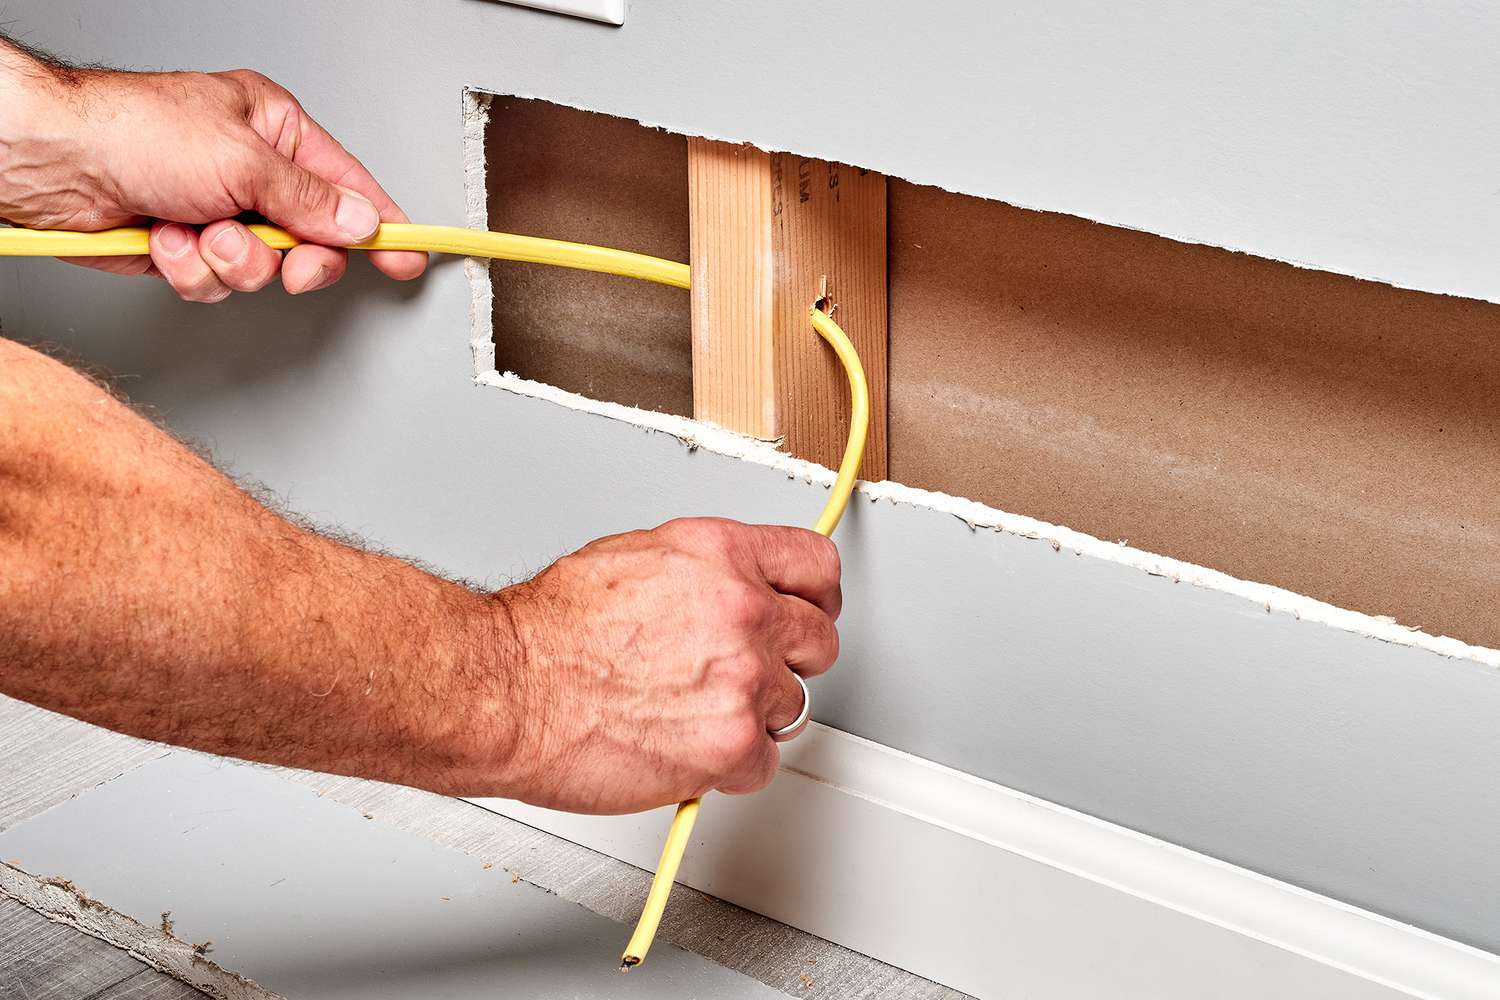
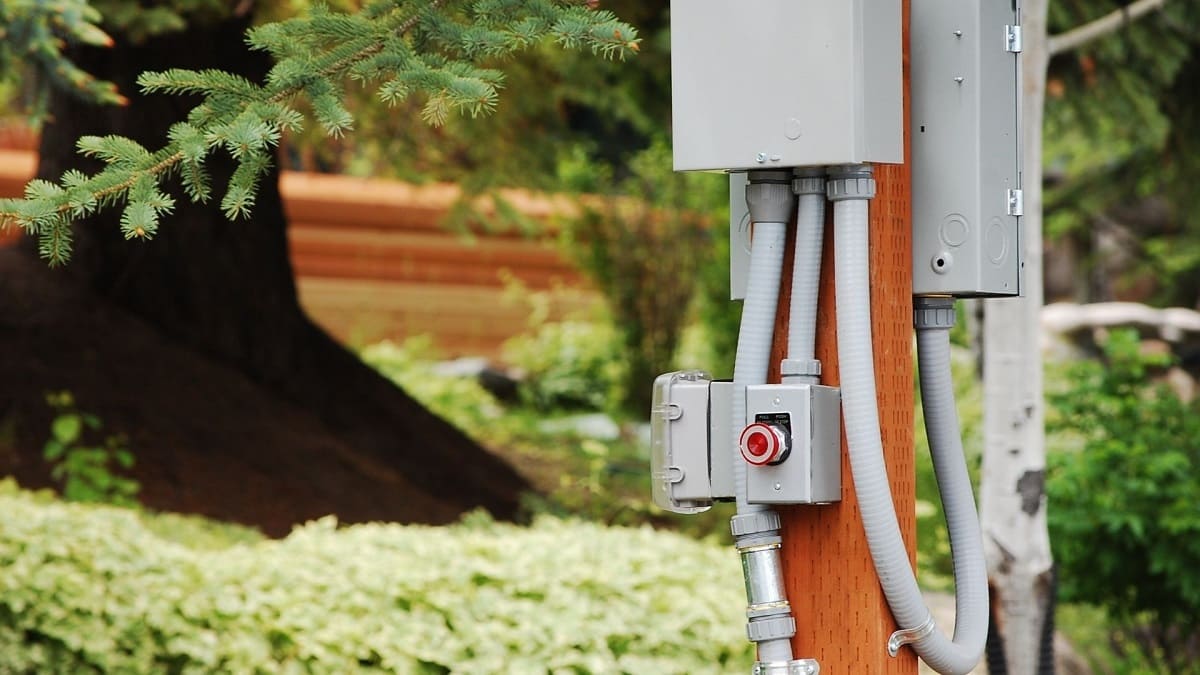
Attaching the Wire to the House
Attaching the overhead electrical wire to your house is an important step in the installation process. Proper attachment ensures a secure connection and helps to protect the wire from damage as it extends to the garage. Here are the steps to follow when attaching the wire to the house:
- Locate the Mounting Point: Identify the designated mounting point on the house where the wire will be attached. This could be an existing electrical service entrance or an approved mounting location as specified by local building codes.
- Mount the Surface Hardware: Install surface mounting hardware, such as clips or brackets, to attach the wire securely to the house. These hardware options are designed specifically for overhead wire installations and provide a sturdy anchor point.
- Attach the Wire: Once the hardware is in place, carefully loop the wire through the mounting point and secure it using appropriate fasteners. Ensure that the wire is taut and straight to prevent sagging or unnecessary tension.
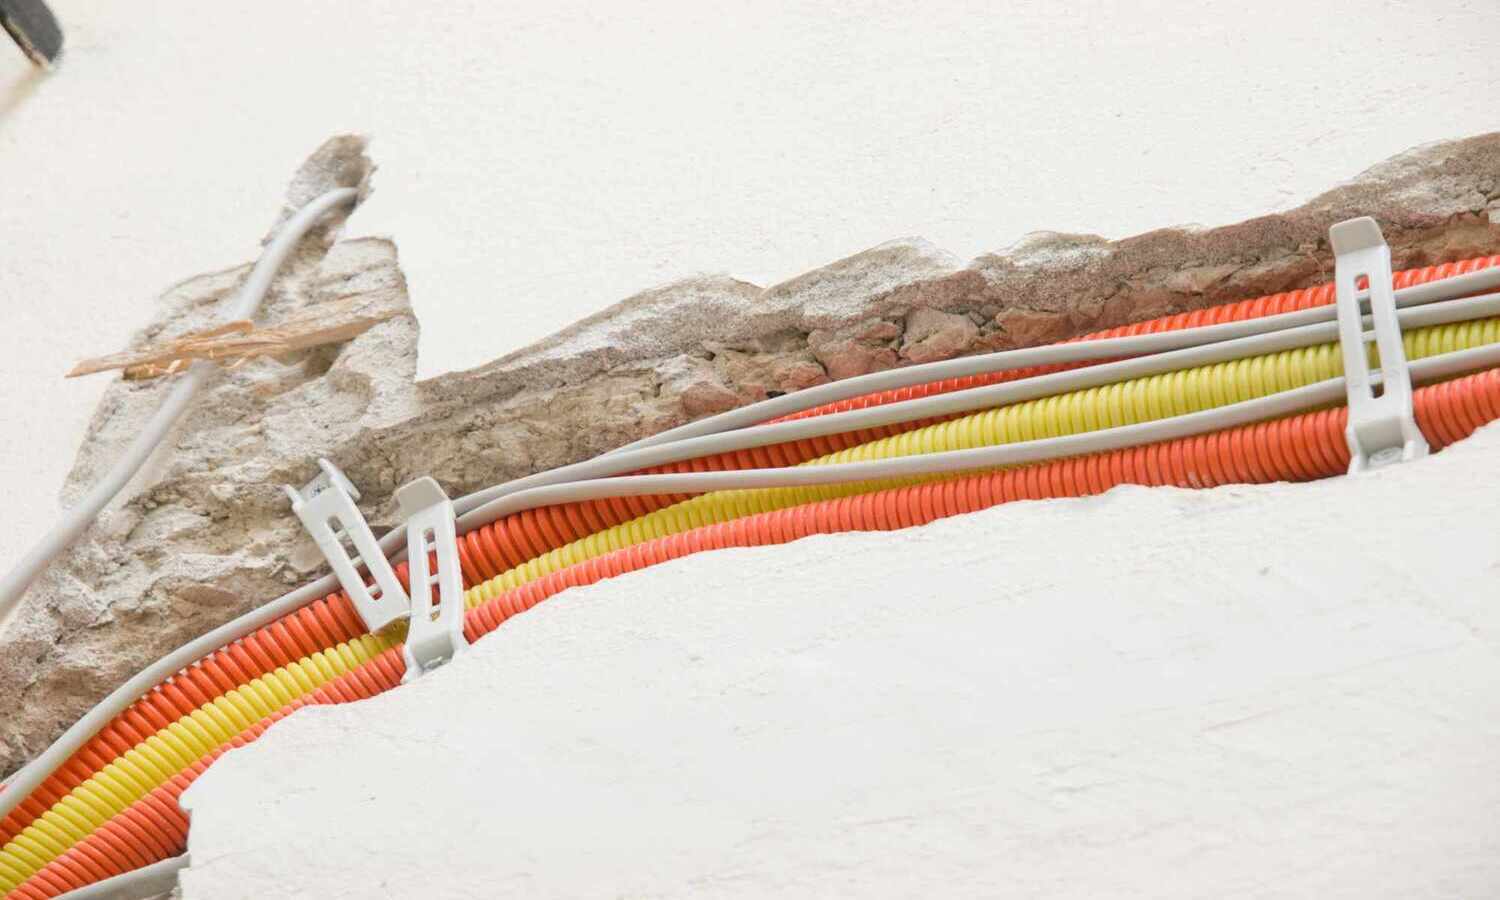
- Use Conduit (If Required): Depending on local regulations or personal preference, you may need to use conduit to protect the wire as it travels along the house. If conduit is required, carefully run the wire through the conduit and attach it to the mounting hardware on the house.
- Anchor the Wire: Use additional surface hardware or clamps as needed to anchor the wire at regular intervals along the house. This ensures stability and minimizes the risk of the wire coming loose or sagging.
During the attachment process, it’s important to be mindful of the clearance requirements specified in the National Electrical Code (NEC). The wire should be kept at a safe distance from any potential hazards such as windows, doors, or other openings in the house.
Always exercise caution when working with electrical wiring and ensure that the power is turned off before making any connections. If you are not familiar with electrical work, it is advisable to consult a licensed electrician to ensure proper installation and adherence to all safety regulations.
By attaching the wire securely to the house, you are laying the foundation for a safe and reliable overhead electrical wire installation. Take the time to double-check your connections and ensure that everything is properly anchored and supported before moving on to the next step.
When running overhead electrical wire to a garage, make sure to use weatherproof and UV-resistant wire to protect it from the elements. Additionally, install a drip loop to prevent water from running down the wire into the garage.
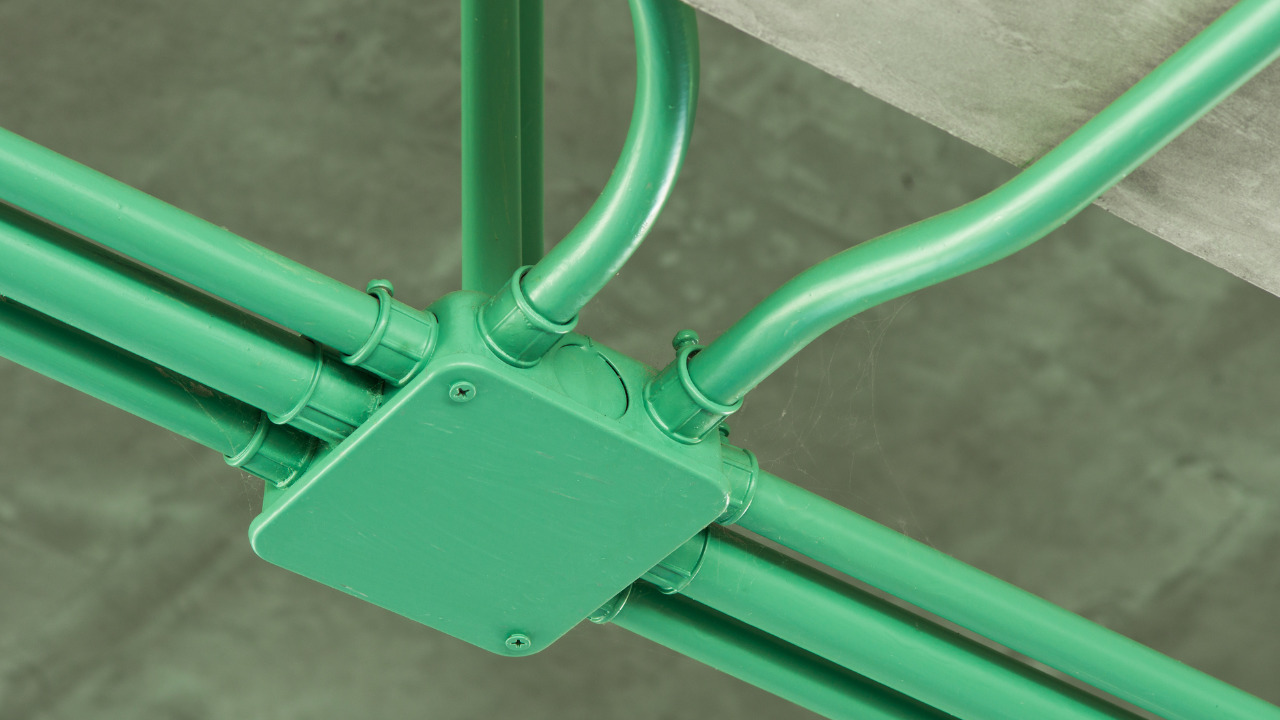
Installing Support Hardware
Proper installation of support hardware is crucial for the success of your overhead electrical wire project. Support hardware provides stability, protects the wire from potential damage, and ensures the longevity of the installation. Here are the steps to follow when installing support hardware:
- Plan the Placement: Determine the locations where you will install the support hardware along the planned route. These locations should be spaced at regular intervals and provide adequate support for the wire.
- Choose the Right Hardware: Select the appropriate hardware for your installation. The hardware options include clamps, straps, hooks, and brackets, depending on the specific requirements of your project and the materials you will be mounting the wire to.
- Prepare the Mounting Surface: If you are attaching the support hardware to the side of the house or a structure, prepare the surface by cleaning it and ensuring it is free from any debris or obstructions. This will provide a solid and secure attachment point.
- Mount the Hardware: Securely attach the support hardware to the mounting surface using appropriate screws, bolts, or nails. Make sure the hardware is tightly fastened and able to withstand the weight and tension of the wire.
- Route the Wire Through the Hardware: Once the support hardware is in place, carefully route the wire through the designated openings or loops of the hardware. Ensure that the wire is properly seated and securely held in place.
- Check for Proper Clearance: As you install the support hardware, double-check that the wire maintains the required clearance from potential hazards such as trees, roofs, or fences. The National Electrical Code (NEC) specifies the minimum clearances to ensure safety.
- Secure the Wire: Along the route, use additional hardware such as clamps or straps to secure the wire at specific intervals. This will prevent unwanted movement or sagging and keep the wire taut and in position.
It is important to follow the manufacturer’s instructions and local building codes when selecting and installing support hardware. Each type of hardware may have specific requirements for placement, spacing, and load-bearing capacity. If you are unsure, consult a licensed electrician for guidance.
Remember that safety is paramount when working with electrical installations. If you are uncomfortable with any aspect of the installation or are unsure of your abilities, it is always advisable to seek the assistance of a qualified electrician.
By installing appropriate support hardware, you are ensuring the stability and integrity of your overhead electrical wire installation. Properly supported wires minimize the risk of damage, reduce the chance of sagging, and contribute to a safe and reliable electrical system in your garage.
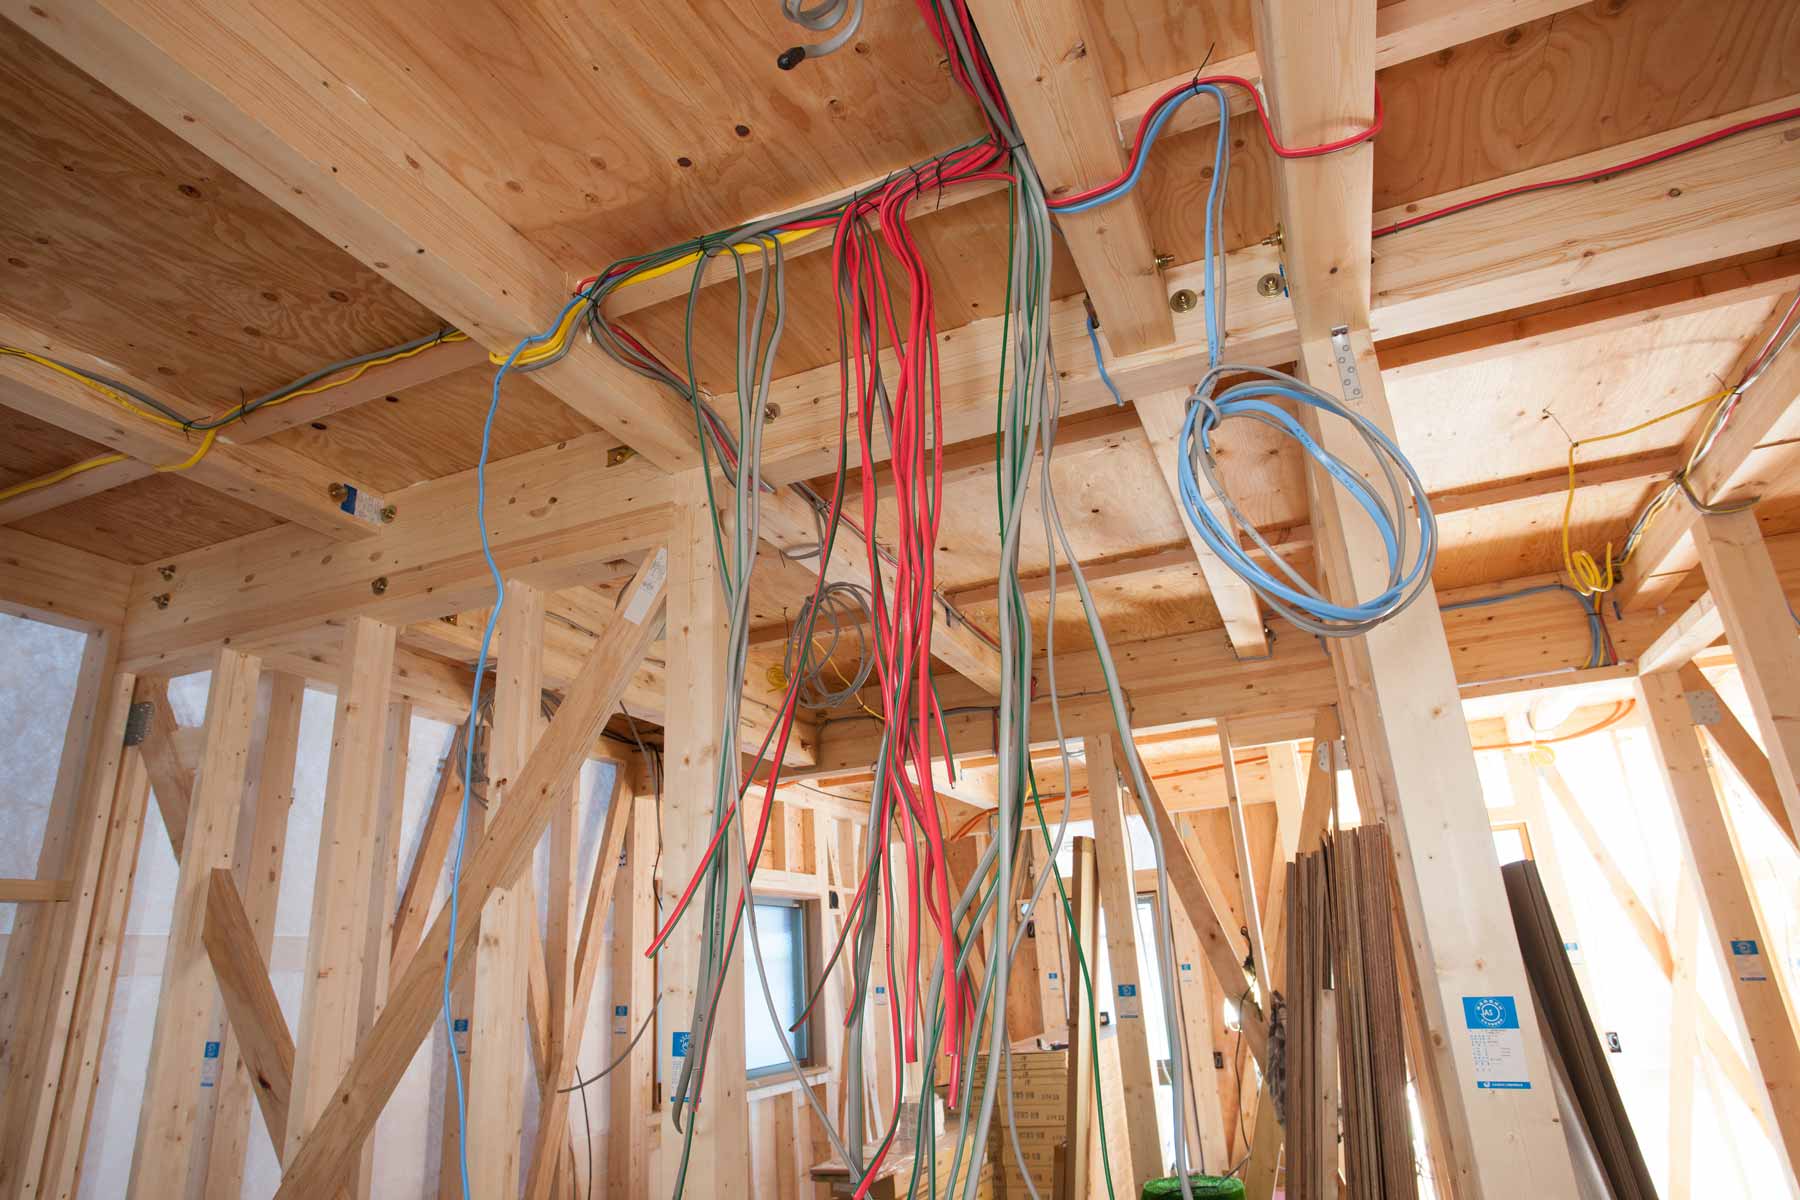
Running the Wire to the Garage
Once you have chosen the right wire, obtained permits, planned the route, and installed support hardware, it’s time to run the overhead electrical wire to your garage. This step requires careful attention to detail and precision to ensure a successful installation. Here’s a step-by-step guide on how to run the wire to the garage:
- Start at the House: Begin at the designated attachment point on the house where you previously installed the support hardware. Ensure that the wire is securely attached and properly routed through any conduit if required.
- Follow the Planned Route: Carefully follow the planned route you mapped out earlier, taking note of any obstacles, clearances, or additional support hardware required along the way. Keep the wire taut but not overly tense.
- Use Ladders or Scaffolding: If necessary, use ladders or scaffolding to access high points along the route. Ensure that these elevation tools are sturdy, secure, and safely positioned to prevent accidents or injuries.
- Attach the Wire to Support Hardware: As you progress, attach the wire to the support hardware you previously installed. Use appropriate clamps, brackets, or straps to firmly secure the wire in place, maintaining proper clearance and support.
- Avoid Sharp Bends or Abrupt Turns: Minimize the number of sharp bends or abrupt turns in the wire to avoid potential damage or strain. These can weaken the wire and increase the risk of future issues with the electrical system.
- Maintain Proper Clearance: Along the entire route, ensure that the wire maintains the required clearance from trees, structures, and any other potential sources of contact or damage. Adhere to the guidelines outlined by the National Electrical Code (NEC) and local regulations.
- Secure the Wire at Regular Intervals: Install additional support hardware such as clamps or straps at regular intervals to secure the wire and further minimize the risk of sagging or movement. These intervals will depend on factors such as wire gauge and local guidelines.
Throughout the process of running the wire to the garage, always prioritize safety. Handle the wire carefully to avoid any kinks, sharp bends, or damage to the insulation. Inspect the wire regularly to ensure its integrity and make any necessary adjustments or corrections along the way.
Once the wire reaches the garage, proceed to the next step of connecting the wire to the electrical system within the garage. This will involve making secure and proper electrical connections to ensure functionality and safety.
By following these steps and maintaining attention to detail, you can successfully run the overhead electrical wire to your garage, providing power for lights, outlets, and other electrical needs in the space.
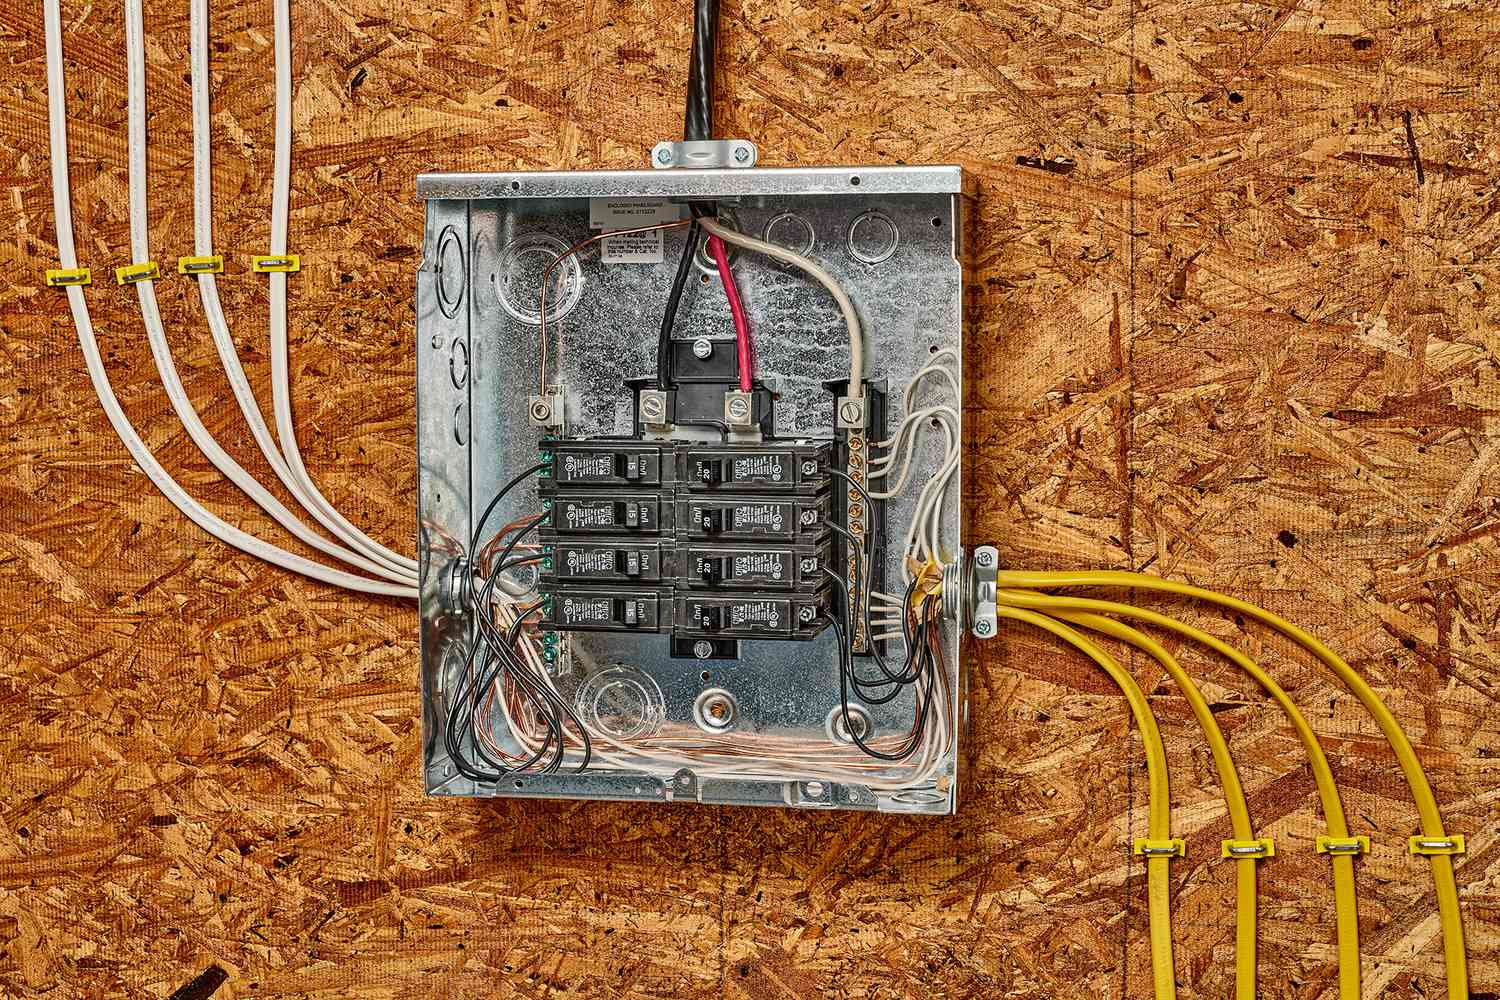
Connecting the Wire to the Garage
After running the overhead electrical wire to your garage, the next step is to connect the wire to the electrical system within the garage. This involves making secure and proper electrical connections to ensure functionality and safety. Here’s a step-by-step guide on how to connect the wire to the garage:
- Evaluate the Garage’s Electrical Needs: Determine the specific electrical needs of your garage, including any lights, outlets, appliances, or other devices you plan to power. This will help you determine the number and type of connections required.
- Shut Off the Power: Before making any electrical connections, turn off the power to the garage at the main electrical panel. This ensures your safety during the connection process.
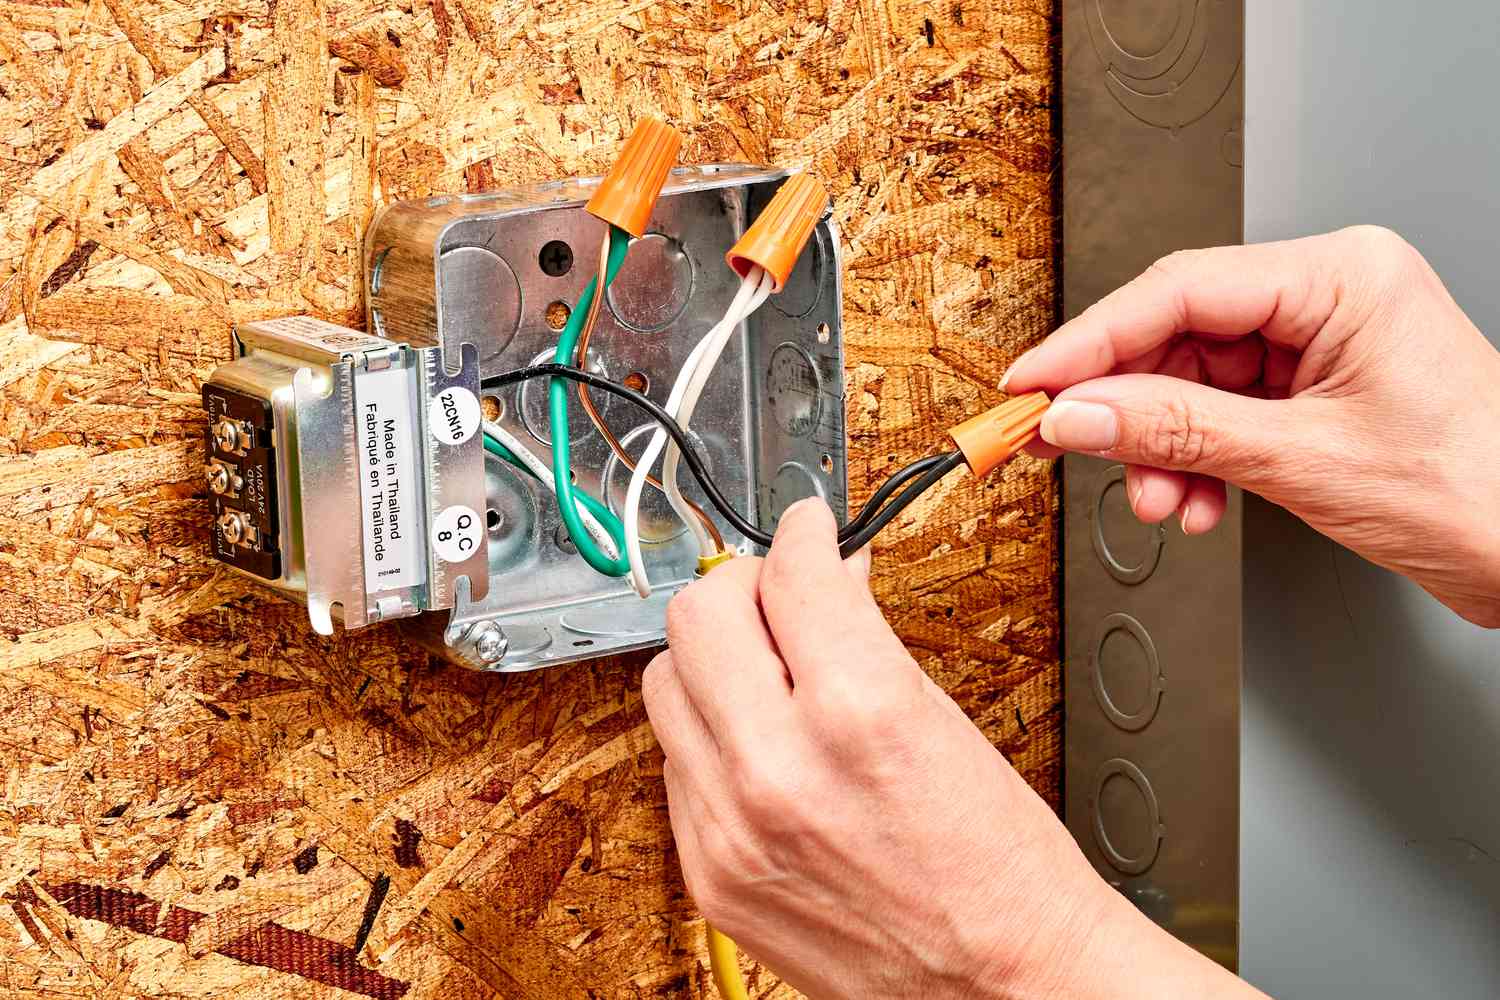
- Strip the Wire Ends: Use wire strippers to carefully strip the insulation from the ends of the wire. The amount of insulation to remove will depend on the type of connectors you will be using.
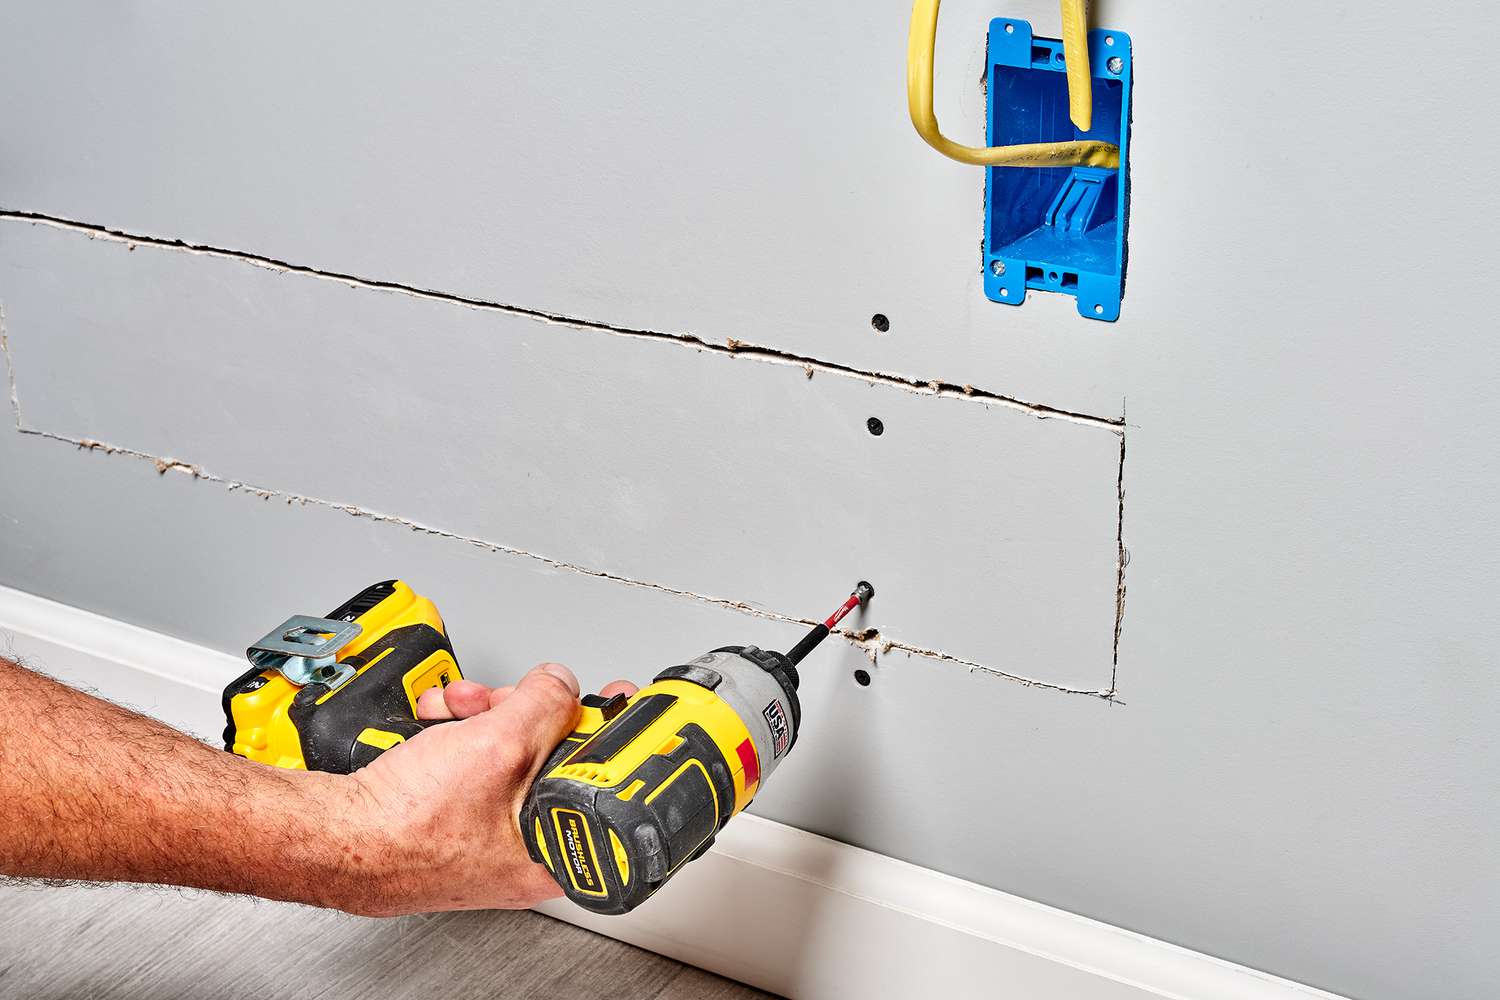
- Install Electrical Boxes: Install electrical boxes at appropriate locations in the garage where outlets or switches will be located. Ensure that the boxes are securely mounted and adhere to local building codes.
- Make Connections at the Electrical Panel: At the main electrical panel in your garage, make the necessary connections. This may involve connecting the wire to circuit breakers or electrical bus bars, depending on your specific electrical setup.
- Make Connections at Electrical Boxes: At the electrical boxes you previously installed, connect the wire with appropriate connectors, such as wire nuts or terminal blocks. Follow the manufacturer’s instructions or consult a licensed electrician for proper techniques and guidelines.
- Grounding the System: Ensure that the electrical system in the garage is properly grounded. Connect the ground wire of the overhead wire to the ground terminal in the electrical panel or other grounding points as required by local regulations.
- Test the Connections: After making all the necessary electrical connections, turn the power back on and test the functionality of the electrical system in the garage. Use a voltage tester or other appropriate tools to ensure that the connections are secure and the power is flowing correctly.
- Secure and Protect the Connections: Once the connections have been tested and verified, secure them within electrical boxes and protect them with appropriate covers. This helps to prevent accidental contact and ensures the safety and longevity of the electrical system.
It is important to note that electrical work can be hazardous, and it is always recommended to consult a licensed electrician if you are unsure or inexperienced. They can provide expert guidance and ensure compliance with electrical codes and regulations.
By following these steps and taking the necessary precautions, you can successfully connect the overhead electrical wire to the electrical system within your garage, providing power for your various electrical needs.
Read more: What Electrical Wire To Run Underground
Testing and Ensuring Safety
Once you have completed the process of running overhead electrical wire to your garage and connecting it to the electrical system, it is crucial to test the installation and ensure safety measures are in place. Testing is essential to confirm that the electrical system is functioning correctly without any potential hazards. Here are the steps to test and ensure safety:
- Check for Proper Grounding: Verify that the electrical system in the garage is properly grounded. Use a multimeter or ground-fault circuit interrupter (GFCI) tester to ensure that the grounding connection is intact.
- Inspect for Loose Connections: Examine all electrical connections made during the installation process. Check for any signs of loose wires, improper connections, or visible damage. Tighten any loose connections and fix any issues identified.
- Test Circuit Breakers and/or Fuses: Test the functionality of the circuit breakers or fuses in the electrical panel. Make sure they are correctly labeled and that they trip or blow in response to an overload or short circuit.
- Verify Proper Voltage: Use a voltage tester to confirm that the voltage output in the garage matches the expected voltage. Ensure that the voltage readings are within an acceptable range for the appliances and devices connected.
- Test Outlets and Switches: Test all the outlets and switches in the garage to ensure proper functionality. Use a receptacle tester to check for proper wiring and grounding connections.
- Check for Physical Safety Hazards: Perform a visual inspection to identify any potential physical safety hazards, such as exposed wires, damaged insulation, or improperly secured support hardware. Address any safety concerns promptly.
- Install Safety Devices: Consider installing safety devices such as ground-fault circuit interrupters (GFCIs) or arc-fault circuit interrupters (AFCIs) to enhance the safety of the electrical system in the garage.
- Consult an Electrician: If you have any doubts about the safety or functionality of the electrical installation, it is recommended to consult a licensed electrician. They can perform a thorough inspection, address any deficiencies, and ensure compliance with electrical codes and regulations.
Testing the system and ensuring safety measures are in place is vital for the protection of your property and the well-being of those using the electrical system. It is important to prioritize safety and take appropriate measures to minimize any potential electrical hazards.
Remember to exercise caution and follow local electrical codes and regulations throughout the testing process. Regular maintenance and periodic inspections can help maintain the safety and reliability of your garage’s electrical system.
Conclusion
Running overhead electrical wire to your garage can be a challenging task, but with proper planning, the right materials, and careful installation, you can achieve a safe and efficient electrical system in your garage. Throughout the process, it is essential to prioritize safety, adhere to local electrical codes and regulations, and consult professionals when needed.
Choosing the right wire and tools, obtaining permits, and planning the route are crucial initial steps. Measuring and cutting wire lengths accurately, attaching the wire to the house securely, and installing proper support hardware ensure a solid foundation for your installation. Running the wire to the garage with care and making secure connections within the garage are essential for functionality.
Testing the installation and ensuring safety measures are in place is a critical final step. Take the time to verify proper grounding, inspect for loose connections, test circuit breakers and outlets, and address any physical safety hazards. If you have concerns or uncertainties, it is always best to consult a licensed electrician to ensure a safe and compliant electrical system.
By following the steps outlined in this guide and emphasizing safety throughout the process, you can successfully run overhead electrical wire to your garage and enjoy a reliable electrical system to power your lights, outlets, and appliances. With proper planning and execution, your garage will become a functional and efficient space for all your electrical needs.
Remember, electrical work can be dangerous, and it’s crucial to have a good understanding of the task at hand. If you are unsure or uncomfortable with any aspect of the installation, it is always best to seek the assistance of a qualified professional.
Now that you have the knowledge and guidance, it’s time to embark on this electrifying journey and bring power to your garage!
Frequently Asked Questions about How To Run Overhead Electrical Wire To Garage
Was this page helpful?
At Storables.com, we guarantee accurate and reliable information. Our content, validated by Expert Board Contributors, is crafted following stringent Editorial Policies. We're committed to providing you with well-researched, expert-backed insights for all your informational needs.


0 thoughts on “How To Run Overhead Electrical Wire To Garage”