Home>Ideas and Tips>How to Choose and Install the Right Bathroom Mirror with a Demister Pad
Ideas and Tips
How to Choose and Install the Right Bathroom Mirror with a Demister Pad
Modified: October 28, 2024
Learn how to choose and install the perfect bathroom mirror with a demister pad to keep your mirror clear and streak-free in humid conditions.
(Many of the links in this article redirect to a specific reviewed product. Your purchase of these products through affiliate links helps to generate commission for Storables.com, at no extra cost. Learn more)
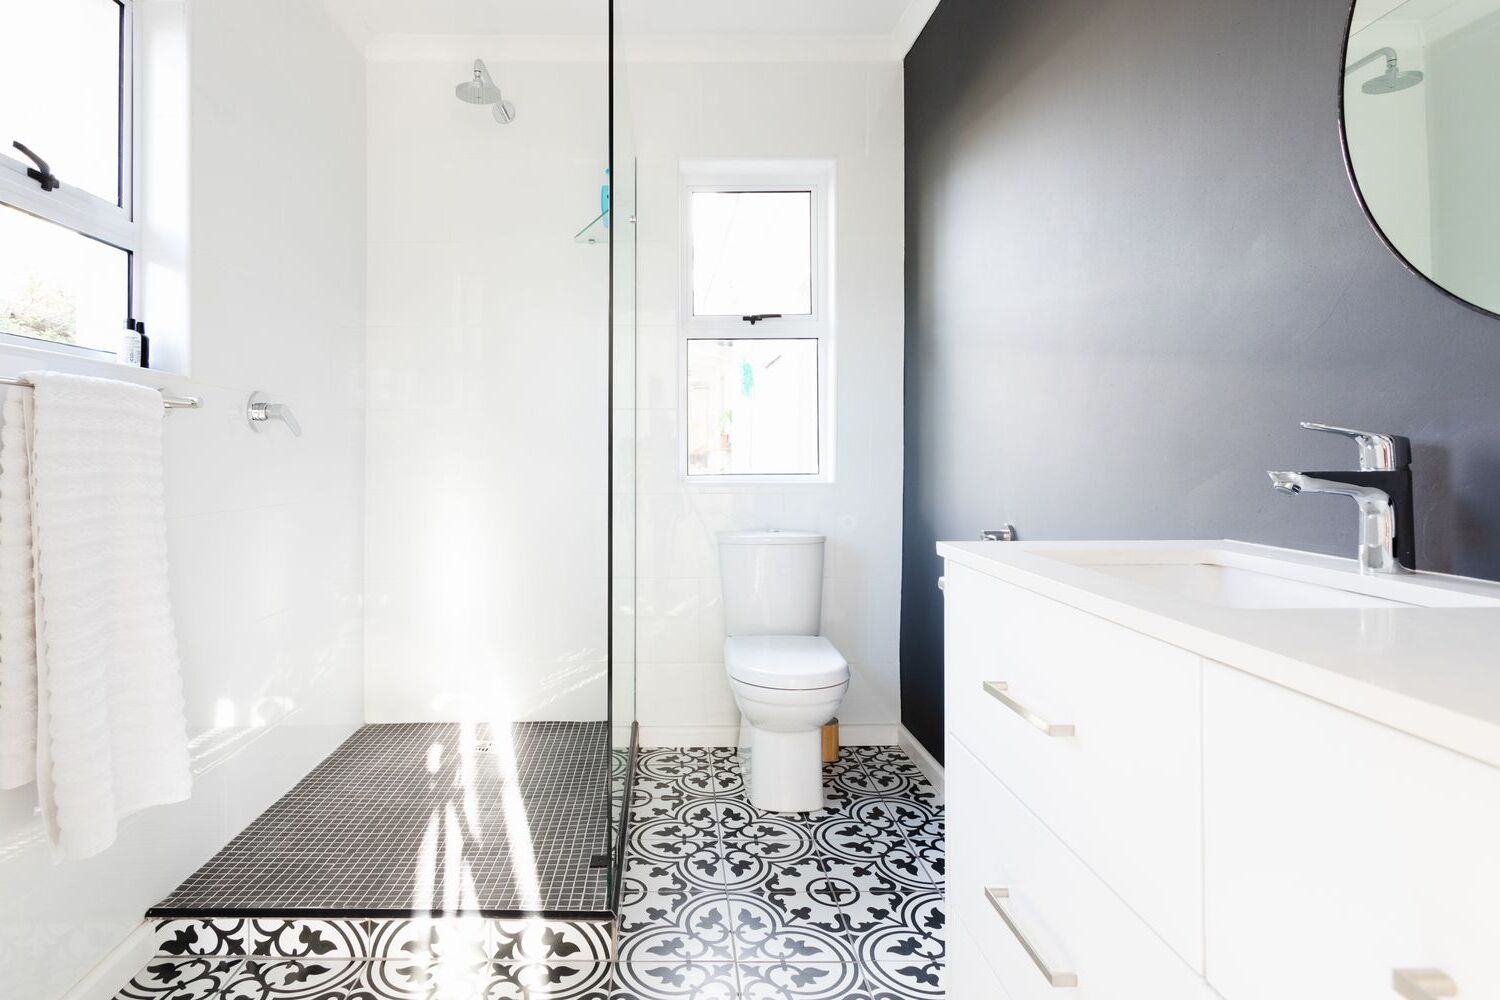
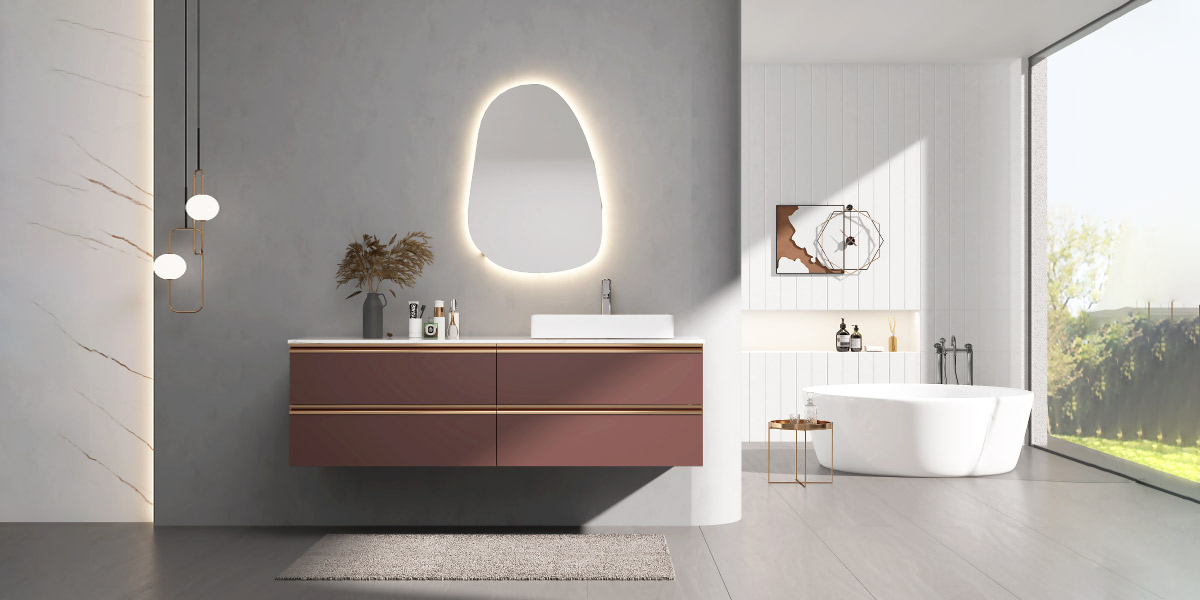
Choosing the right bathroom mirror with a demister pad can significantly enhance your bathroom experience by ensuring that your mirror remains clear and streak-free, even in the most humid conditions. In this article, we will guide you through the process of selecting the perfect demister pad mirror and provide detailed instructions on how to install it correctly.
Understanding Demister Pads
Before diving into the installation process, it's essential to understand what a demister pad is and how it works. A demister pad is a small device that heats up a section of your mirror to prevent the build-up of steam and condensation. These pads are typically made from PET (Polyethylene Terephthalate) resistance wire, which produces an electric circuit made of enamel-insulated wire. When activated, the demister pad heats the surface of the mirror between 8-15 degrees centigrade higher than the room temperature, causing any moisture on the surface to evaporate quickly.
Advantages of Demister Pads
- No Need to Wait for Steam to Clear: With a demister pad, you don't need to wait for the steam in your bathroom to naturally disappear. You can simply turn on the demister pad and wait just 15 seconds for it to clear.
- Less Time Spent Cleaning Your Mirror: Water droplets often leave marks on bathroom mirrors, requiring frequent cleaning. With a demister pad, water droplets evaporate away, leaving no marks behind, thus reducing the need for constant cleaning.
Choosing the Right Demister Pad Mirror
When selecting a demister pad mirror, there are several factors to consider:
- Compatibility: Ensure that your mirror is compatible with demister pads. Some mirrors may have cut-outs for lights or sockets that could compromise the integrity of the mirror.
- Coverage Area: The demister pad should cover at least 70% of the mirror's surface for efficient heating.
- Thickness and Positioning: Opt for a slimline demister pad thickness of 0.4mm, and position it neatly behind the mirror towards the center for the best effect.
- Power Requirements: Demister pads typically run at mains voltage (240V) but can also be found in low-voltage (12V) models. Ensure that your electrical setup can accommodate these requirements.
Installation Steps
Preparing Your Mirror
- Positioning the Mirror: Place your mirror with the reflective side facing down on a level surface.
- Cleaning the Backside: Clean the backside of the mirror to remove any dirt or grease.
- Removing Safety Foil: Peel off any safety foil from the backside of the demister pad.
Attaching the Demister Pad
- Adhesive Application: Position the demister pad with the adhesive side facing downward onto the desired area on the back of the mirror. Ensure there are no air bubbles trapped underneath.
- Choosing Adhesive: Select a solvent and acrylic-free adhesive and follow the manufacturer's instructions for its application.
- Securing with Screws: If you plan to secure the mirror using screws, make sure these screws come with rubber spacers. This design allows only the mirror to make contact with the spacers while allowing for slight movement. Avoid making any additional holes in the mirror, as this could subject it to undue stress and potentially damage it during the heating process.
Electrical Connection
- Connecting to Lighting Circuit: Typically, the demister should be connected through a fused spur to the lighting circuit of the room. However, it's important to note that the demister should not be left on for extended periods if it cannot effectively dissipate its heat.
- Using a Thermostat or Timer Switch: In situations where the demister will be in continuous use, we strongly recommend installing either a thermostat or a timer switch to prevent overheating and ensure safe operation.
Grounding Considerations
- Capacitance Issue: Mirror demisters have the potential to induce an electric charge in the metallic foil used in the mirror's construction. If this foil is not grounded, it can result in a capacitance issue where the foil accumulates an electric charge that only dissipates when properly grounded. For installations where there's a risk of contact with the metallic foil within the mirror construction, it's highly advisable to contemplate installing an earth connection to mitigate this concern.
Controlling Demister and LED Strips
Many bathroom mirrors come with both demister pads and LED strips. However, controlling these components separately can be challenging due to their shared electrical connections.
Using a Relay
One solution is to use a relay to control the demister pad separately from the LED strips. A relay can be activated automatically upon the shower turning on, either via a hot water pipe stat feeding the shower or via a current clamp on the flex going to the shower. This method allows for automation using Home Assistant, ensuring that the demister pad turns on automatically when needed and turns off when not in use.
IR Switches
Some mirrors come with IR switches that control both the demister pad and LED strips simultaneously. While convenient, these setups can be problematic if you want to turn off the demister pad without affecting the LED strips. In such cases, using a relay or separate switches for each component might be more practical.
Toggle Switches
Toggle switches are another option for controlling the demister pad and LED strips. These switches can be hidden behind the mirror or in a nearby location, providing a more elegant solution compared to touch switches. However, they may not have memory settings, so they will default to off after losing power.
Hidden Touch Switches
Hidden touch switches are available but require an artifact intruding on the mirror space, which may not be aesthetically pleasing. However, they offer the advantage of not needing to physically touch a switch, making them convenient for use in bathrooms.
Conclusion
Choosing and installing the right bathroom mirror with a demister pad involves careful consideration of compatibility, coverage area, thickness, and power requirements. By following the detailed installation steps outlined above and considering advanced control methods like relays or separate switches, you can ensure that your mirror remains clear and functional while enhancing your bathroom experience.
Final Tips
- Regular Maintenance: Regularly inspect your demister pad for any signs of wear or damage. Clean the mirror and demister pad regularly to maintain their effectiveness.
- Energy Efficiency: Ensure that your demister pad is not left on for extended periods to avoid wasting electricity and overheating.
- Aesthetics: Consider the aesthetic appeal of your control method. Hidden switches or relays can provide a more elegant solution compared to visible switches.
By following these guidelines, you can select and install the perfect demister pad mirror that meets both your functional and aesthetic needs, providing you with a clear and streak-free bathroom mirror experience.
Was this page helpful?
At Storables.com, we guarantee accurate and reliable information. Our content, validated by Expert Board Contributors, is crafted following stringent Editorial Policies. We're committed to providing you with well-researched, expert-backed insights for all your informational needs.


0 thoughts on “How to Choose and Install the Right Bathroom Mirror with a Demister Pad”