Home>Ideas and Tips>Smart Light Switch Installation for Convenient Lighting Control
Ideas and Tips
Smart Light Switch Installation for Convenient Lighting Control
Published: September 2, 2024
Learn how to install a smart light switch for convenient, energy-efficient lighting control. Enhance your home with smart technology today!
(Many of the links in this article redirect to a specific reviewed product. Your purchase of these products through affiliate links helps to generate commission for Storables.com, at no extra cost. Learn more)
Introduction
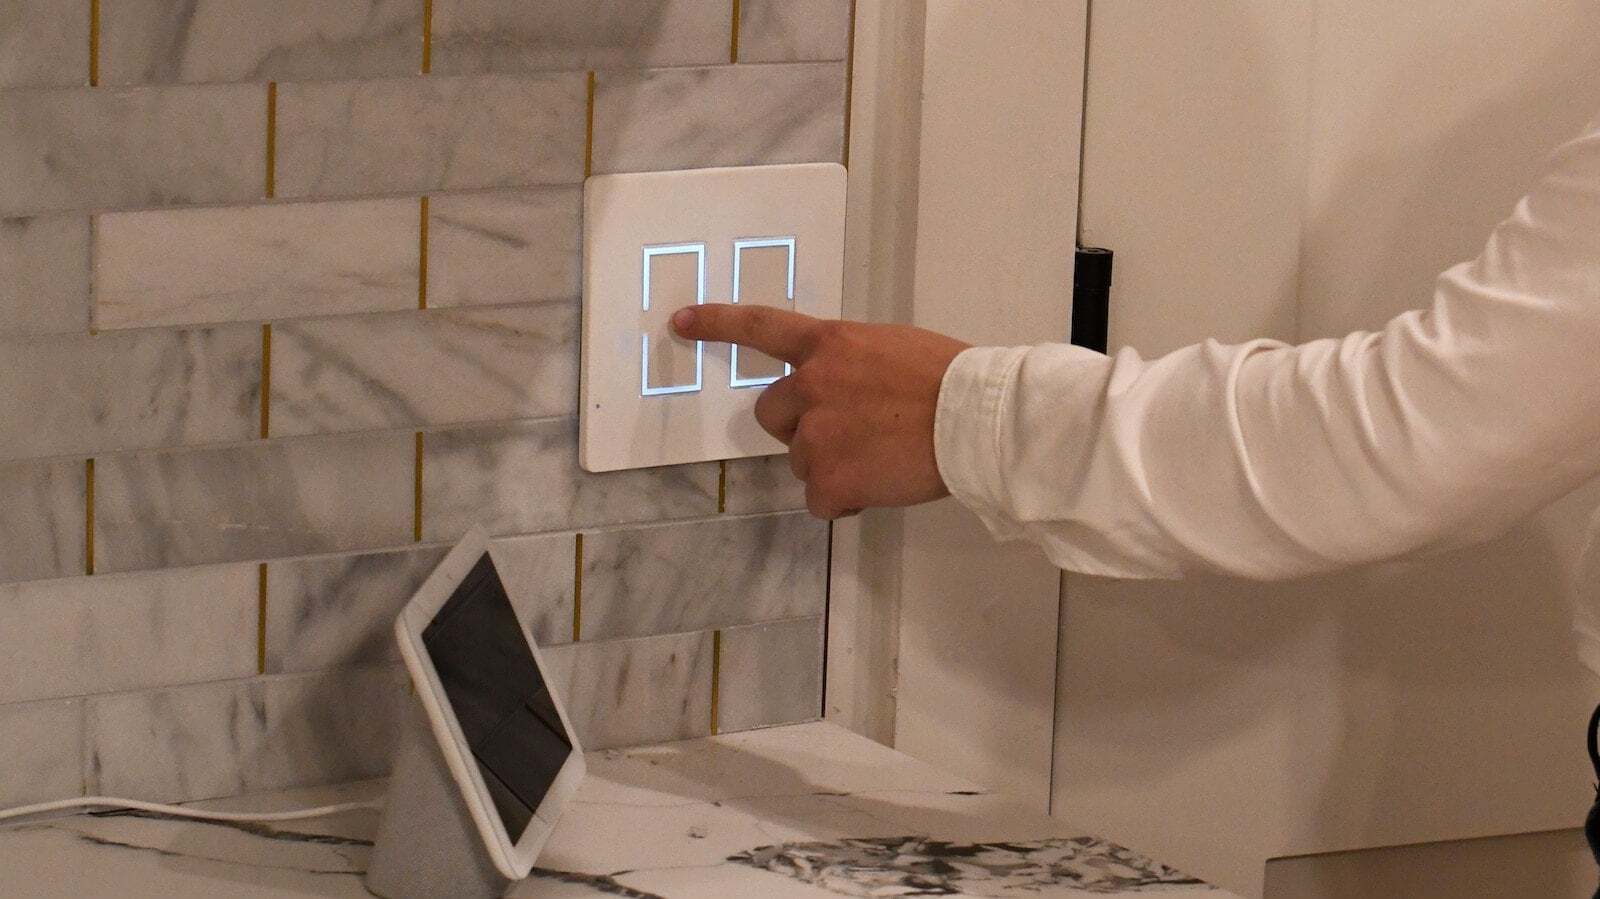
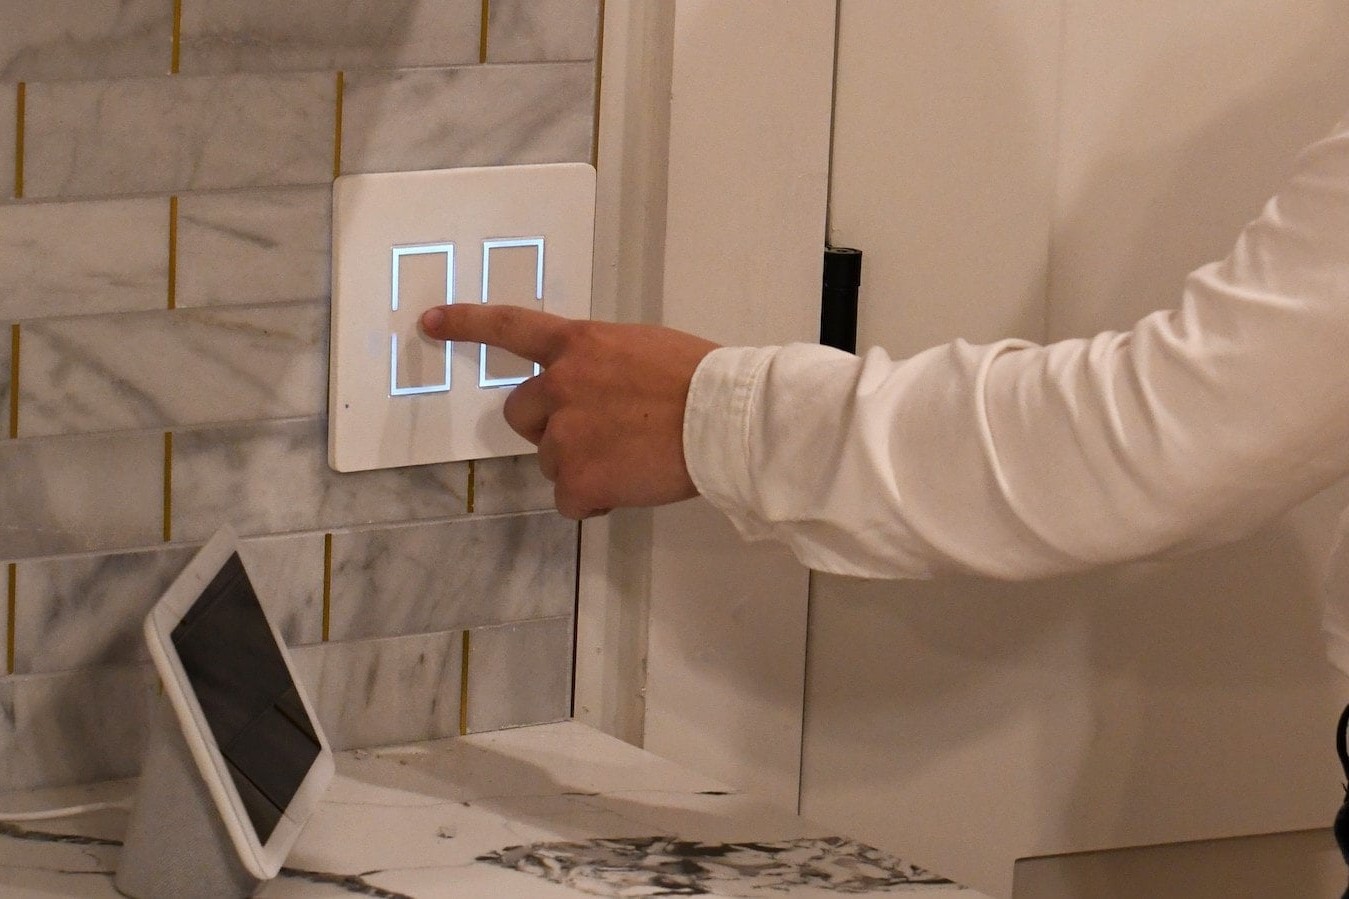
Smart home technology is all the rage these days, and one of the easiest ways to dip your toes into this tech-savvy world is by installing a smart light switch. These nifty devices not only help save energy but also make life a whole lot easier. Imagine being able to control your lights from your phone or even with your voice. Sounds cool, right? But how do you go about installing one? Let's dive right in and answer that burning question.
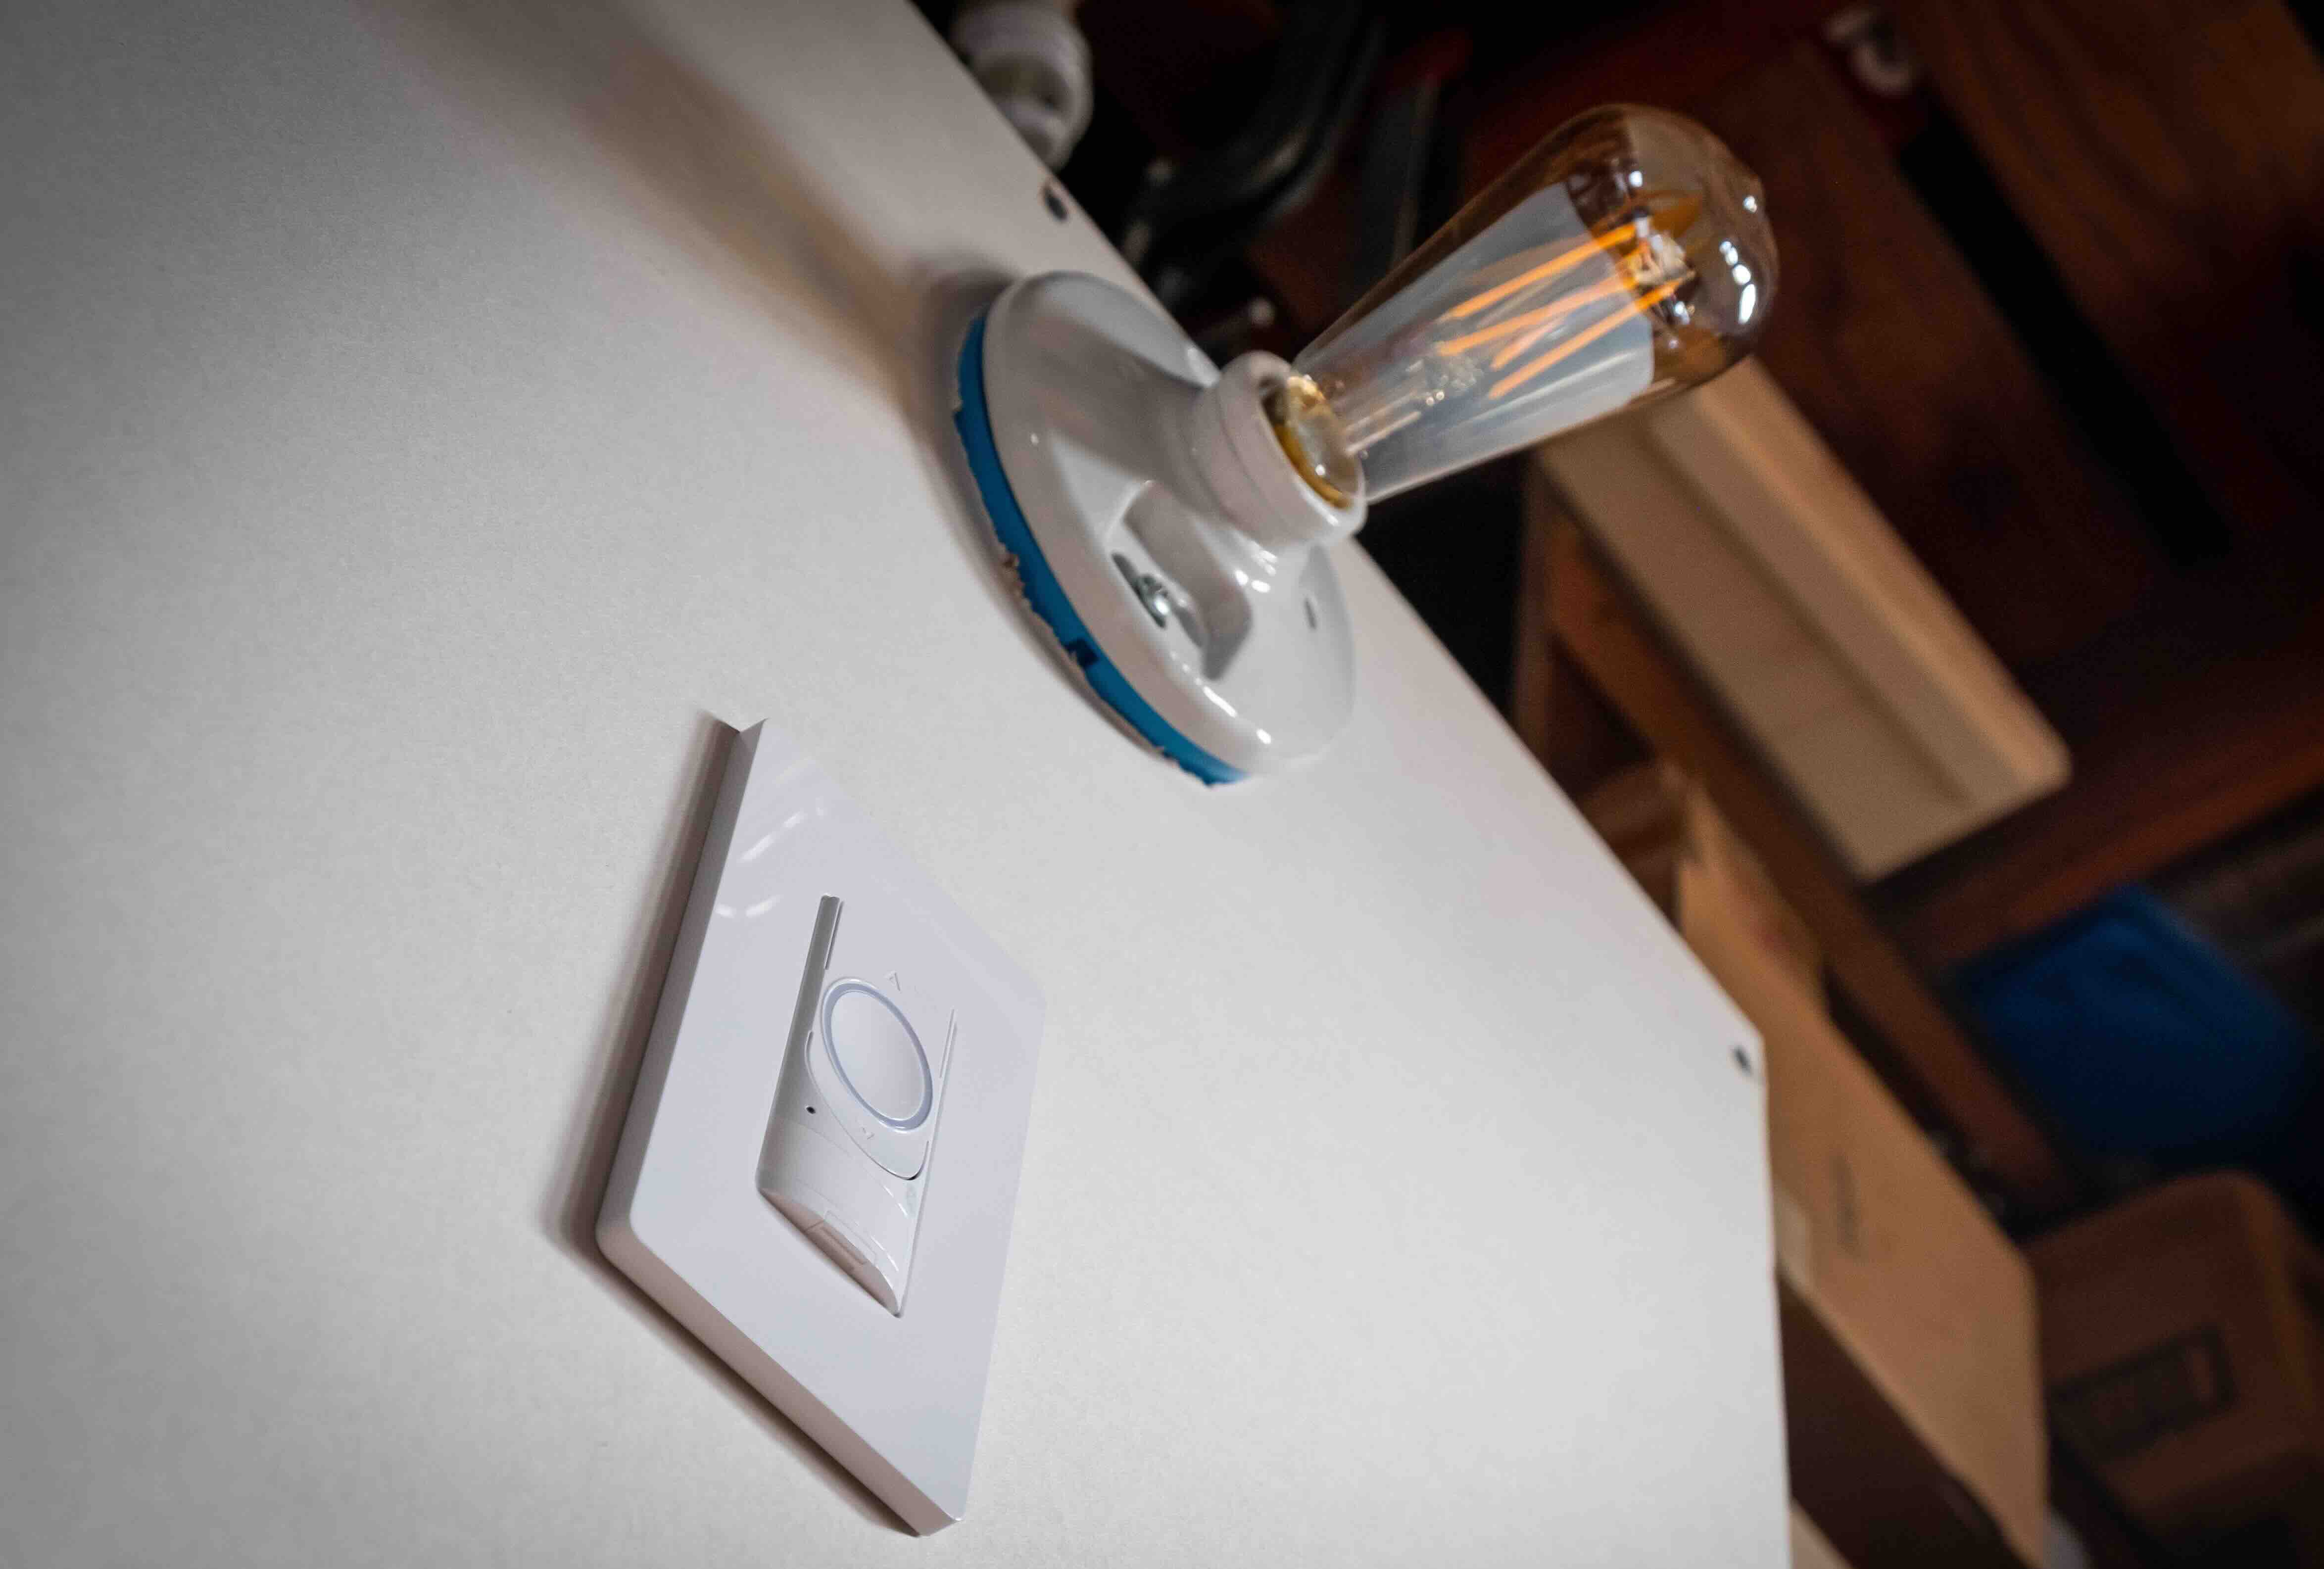
Benefits of Smart Light Switches
Smart light switches offer a ton of benefits that make them worth every penny. Here are some of the standout features:
-
Energy Efficiency: These switches often come with automatic turn-off features, which can save you a bundle on your electricity bill. Some even have built-in sensors that detect motion, ensuring lights are only on when needed.
-
Convenience: Imagine controlling your lights from anywhere in the house or even when you're not home. With smart light switches, you can do just that using your smartphone or voice assistants like Amazon Alexa or Google Assistant.
-
Customization: You can set schedules for when your lights should turn on and off. This is super handy for making your home look occupied when you're away, which can deter potential intruders.
-
Integration with Other Devices: These switches often work seamlessly with other smart home devices like thermostats and security systems, creating a comprehensive smart home ecosystem.
-
Health Benefits: Some smart lighting systems can improve your health by providing better lighting conditions. For example, certain smart bulbs emit light that mimics natural daylight, helping regulate your circadian rhythms and improve your mood.
Choosing the Right Smart Light Switch
Before you get started with the installation, it's crucial to pick the right smart light switch for your needs. Here are some factors to consider:
-
Compatibility: Make sure the switch is compatible with your existing wiring and any other smart devices you plan to integrate it with.
-
Features: Think about what features are most important to you. Do you need remote control, automatic turn-off, or motion sensing? Different models offer varying levels of functionality.
-
Brand and Reviews: Do some research on different brands and read reviews from other users to get an idea of their reliability and user experience.
-
Price: Smart light switches can range from affordable to pretty pricey. Set a budget and look for options within it.
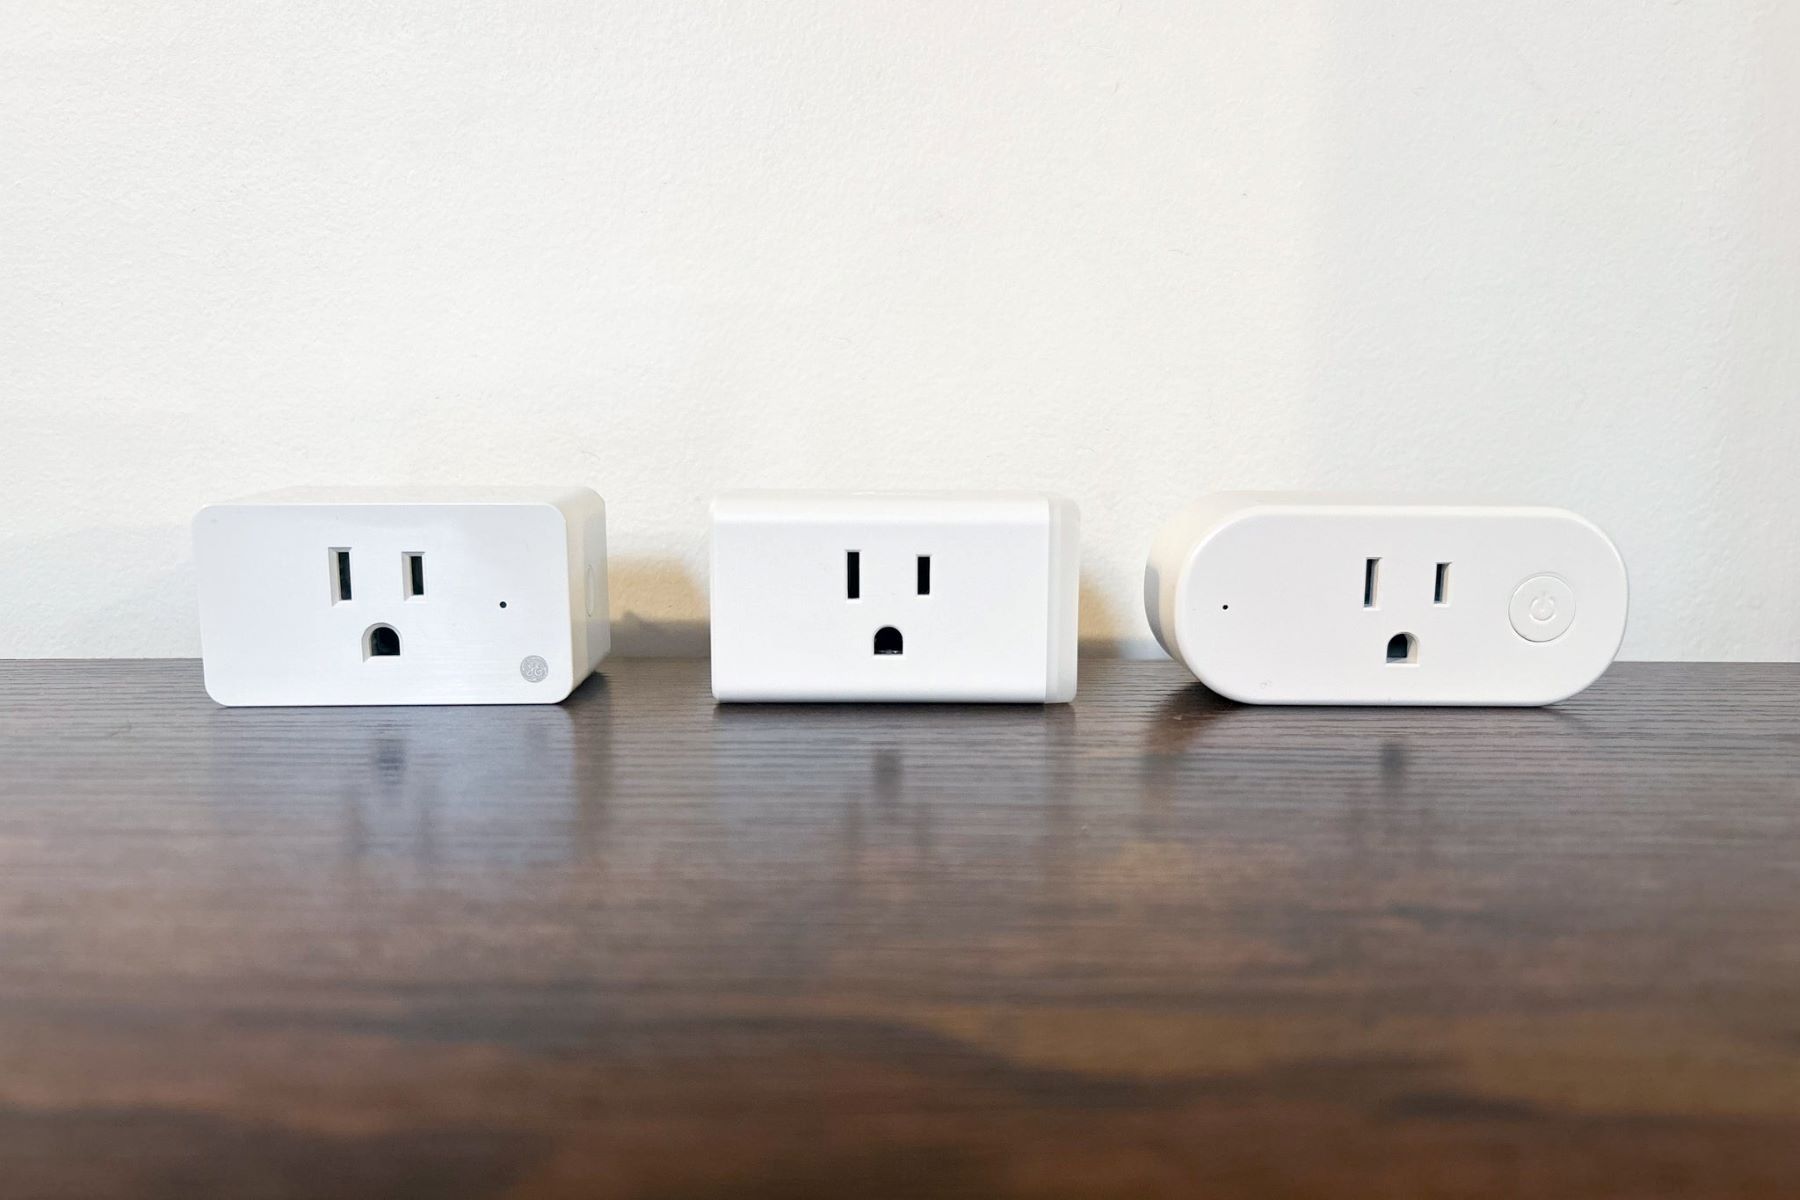
Popular Brands
Here are some popular brands to consider:
- Philips Hue: Known for their wide range of compatible devices and seamless integration with other smart home systems.
- LIFX: Offers a variety of color-changing bulbs and smart switches with advanced features like motion sensing.
- Belkin Wemo: Provides a user-friendly interface and integrates well with other Wemo devices.
- GE Smart Bulbs: Offers affordable options with basic features like remote control and scheduling.
Tools and Materials Needed
To install a smart light switch, you'll need the following tools and materials:
- Smart Light Switch: The device you've chosen based on your needs.
- Wire Strippers: For stripping the insulation off the wires.
- Needle-Nose Pliers: For gripping small wires.
- Screwdriver: A flathead screwdriver is usually sufficient.
- Wire Nuts or Connectors: To connect the wires securely.
- Electrical Tape: To secure any exposed wires.
- Mounting Bracket (if necessary): Some smart light switches come with a mounting bracket that needs to be attached to the wall.
Step-by-Step Installation Guide
Step 1: Turn Off the Power
First things first, turn off the power supply to the circuit at your main electrical panel. Use a non-contact voltage tester to make sure no power is flowing through the wires.
Step 2: Remove the Old Switch
Take out the old light switch by unscrewing it from its mounting bracket or plate. If it's stuck, gently pry it off with a screwdriver while protecting the surrounding area with electrical tape.
Step 3: Identify Wires
Identify which wires are connected to your old light switch:
- Black (Hot) Wire: Usually connected to one of the brass terminals on your old switch.
- White (Neutral) Wire: Usually connected to one of the silver terminals on your old switch.
- Copper (Ground) Wire: Usually connected to a grounding terminal on your old switch.
Step 4: Disconnect Wires
Use wire strippers to remove about an inch of insulation from each wire. Then use needle-nose pliers to grip each wire and pull them out of their respective terminals on your old switch.
Step 5: Prepare New Switch
Take your new smart light switch and prepare it for installation:
- If it comes with a mounting bracket, attach it securely to your wall using screws provided.
- Ensure all wires are securely connected according to manufacturer instructions.
Step 6: Connect Wires
Connect each wire from your old setup to its corresponding terminal on your new smart light switch:
- Connect black (hot) wire to brass terminal.
- Connect white (neutral) wire to silver terminal.
- Connect copper (ground) wire securely.
Step 7: Secure Connections
Use wire nuts or connectors to secure connections between wires and terminals. Wrap any exposed wires with electrical tape for added safety.
Step 8: Install New Switch
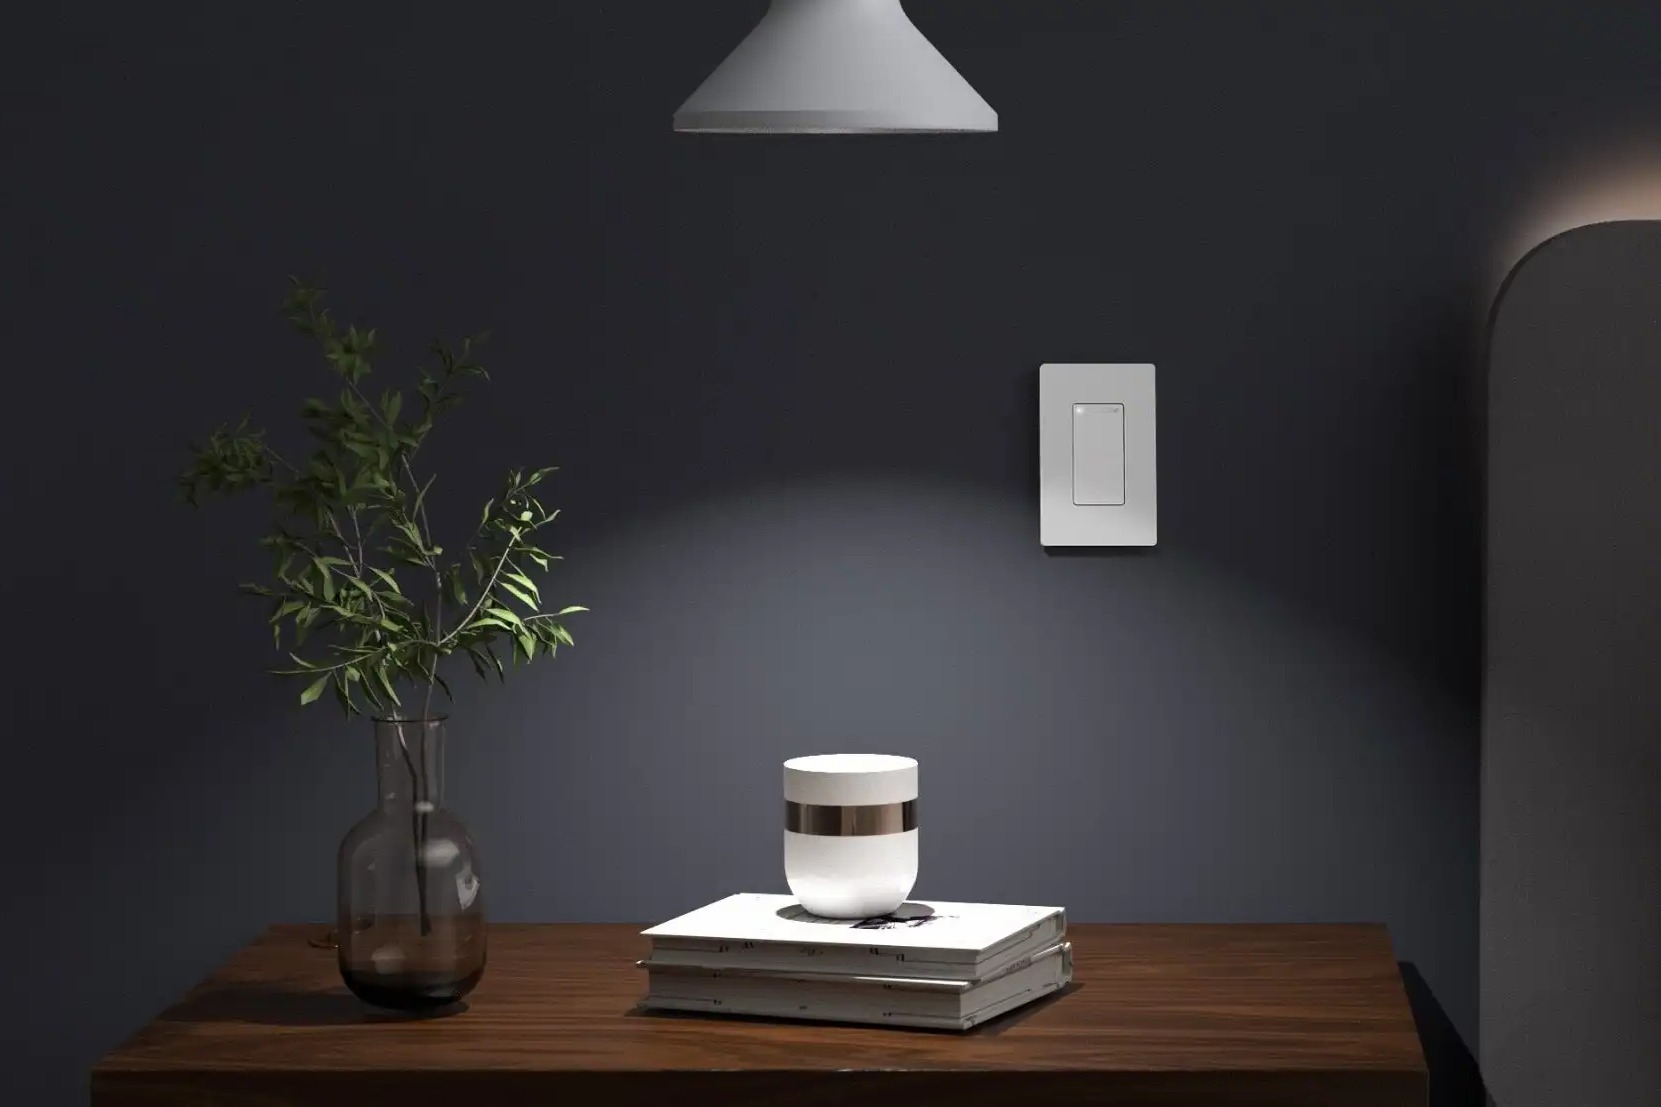
Place your new smart light switch into its mounting bracket or plate and screw it securely into place.
Step 9: Test Installation
Turn power back on at your main electrical panel and test your new smart light switch by turning it on and off using its remote control or voice assistant.
Troubleshooting Common Issues
While installing a smart light switch is generally straightforward, there are some common issues you might encounter:
- Incorrect Wiring: Double-check that all wires are correctly connected according to manufacturer instructions.
- Power Issues: If your lights don't turn on after installation, check that power has been turned back on at your main electrical panel.
- App Connectivity Issues: Ensure that your smart light switch is properly paired with its app or voice assistant.
Conclusion
Installing a smart light switch can significantly enhance your home's convenience and energy efficiency. By following these steps and considering the right features for your needs, you can enjoy seamless control over your lighting system from anywhere in the house or even remotely. Remember always to follow safety guidelines when working with electrical systems, and if unsure about any part of the process, consider consulting a professional electrician.
Additional Tips
- Regular Maintenance: Regularly update firmware on your smart devices for optimal performance.
- Energy Monitoring: Use energy monitoring features provided by some smart light switches to track your energy consumption.
- Customization Options: Experiment with different color schemes or brightness levels using color-changing bulbs for added ambiance.
By integrating smart technology into your home through smart light switches, you're not only making life easier but also contributing towards a more sustainable future by reducing unnecessary energy consumption.
Was this page helpful?
At Storables.com, we guarantee accurate and reliable information. Our content, validated by Expert Board Contributors, is crafted following stringent Editorial Policies. We're committed to providing you with well-researched, expert-backed insights for all your informational needs.


0 thoughts on “Smart Light Switch Installation for Convenient Lighting Control”