Home>Ideas and Tips>Smart Lock Guest Access Management with Temporary Entry Codes
Ideas and Tips
Smart Lock Guest Access Management with Temporary Entry Codes
Published: September 2, 2024
Learn how to set up and manage temporary entry codes for smart locks, enhancing security and convenience for guests and service professionals.
(Many of the links in this article redirect to a specific reviewed product. Your purchase of these products through affiliate links helps to generate commission for Storables.com, at no extra cost. Learn more)
In today's digital age, smart locks have become an essential component of home security systems. These locks offer a range of features that enhance convenience and security, one of which is the ability to set temporary entry codes for guests and service professionals. This feature is particularly useful when you have visitors, maintenance personnel, or even when you lose your key. In this article, we will delve into the process of setting up and managing temporary entry codes for your electronic front door lock.
Understanding Smart Locks
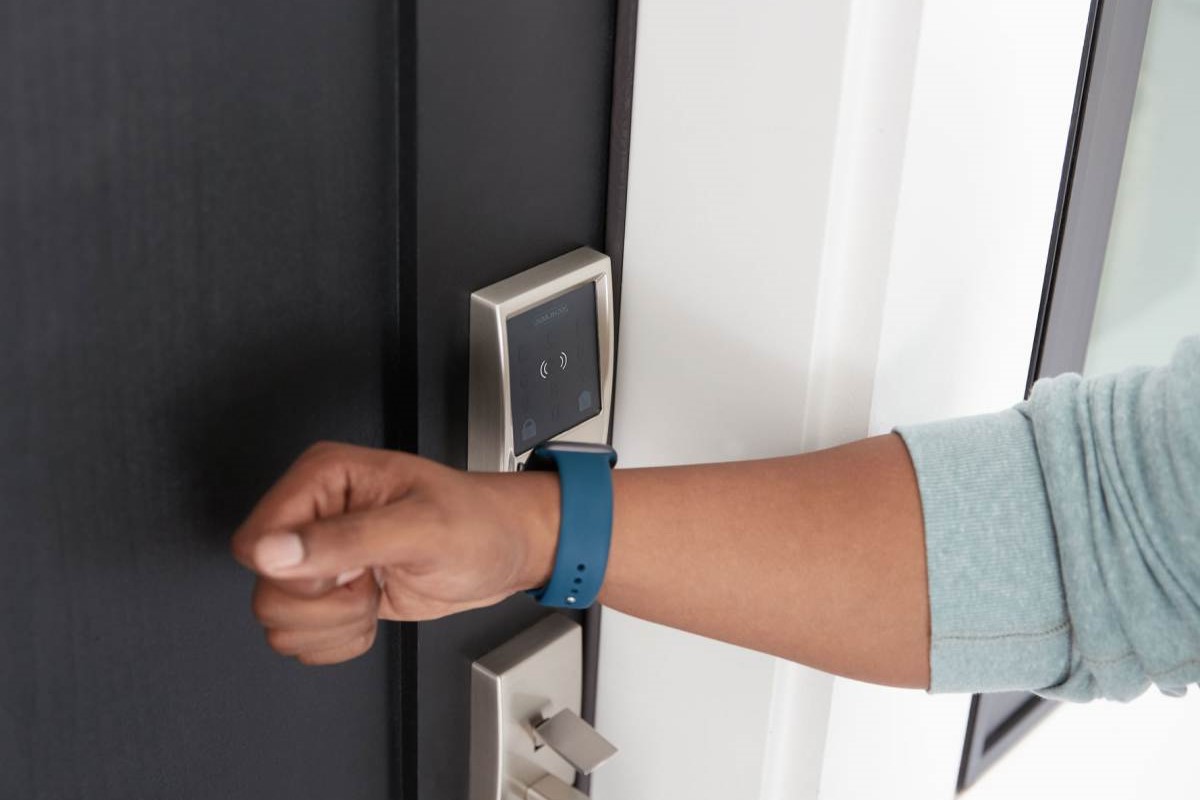
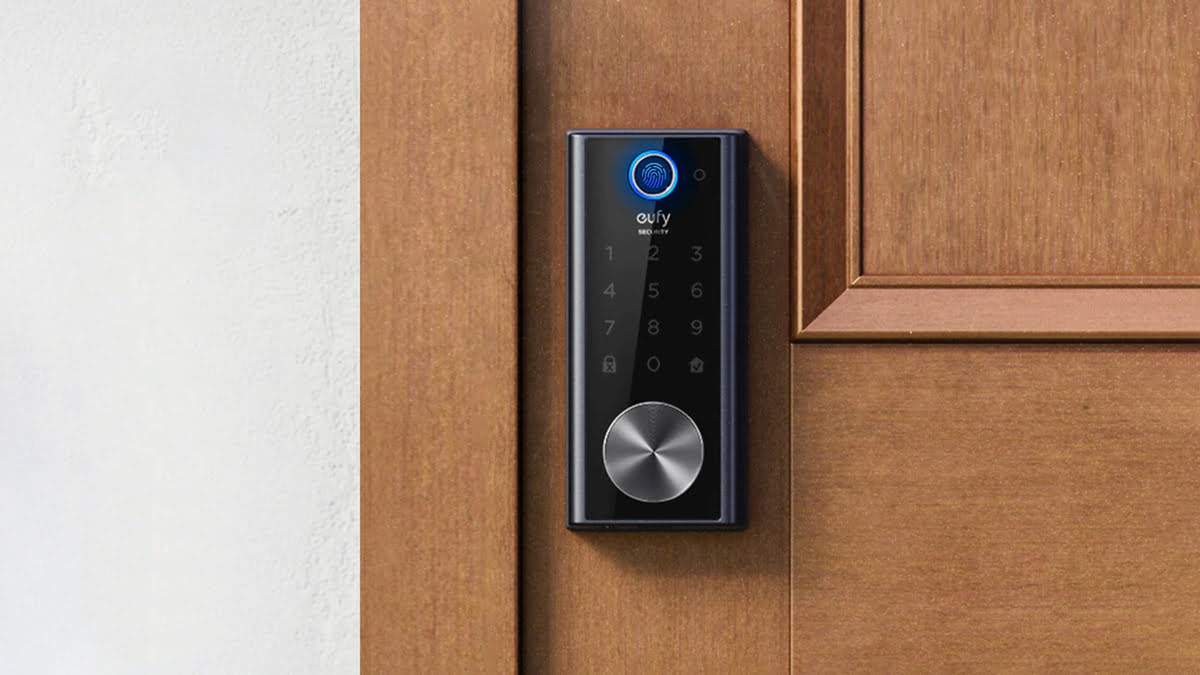
Before we dive into the specifics of setting up temporary entry codes, it's important to understand the basics of smart locks. Smart locks are electronic locks that can be controlled and monitored remotely using a smartphone app. They often come with advanced features such as biometric authentication, keyless entry, and integration with home automation systems.
Benefits of Temporary Entry Codes
Temporary entry codes offer several benefits:
- Convenience: They allow you to grant access to your home or office without the need for physical keys, which can be lost or misplaced.
- Security: Temporary codes can be set to expire after a specific period, reducing the risk of unauthorized access.
- Flexibility: They are particularly useful for short-term visits, such as when you have guests or service professionals coming over.
Setting Up Temporary Passwords
To set up a temporary password for your electronic front door lock, follow these steps:
Step 1: Access the System Menu
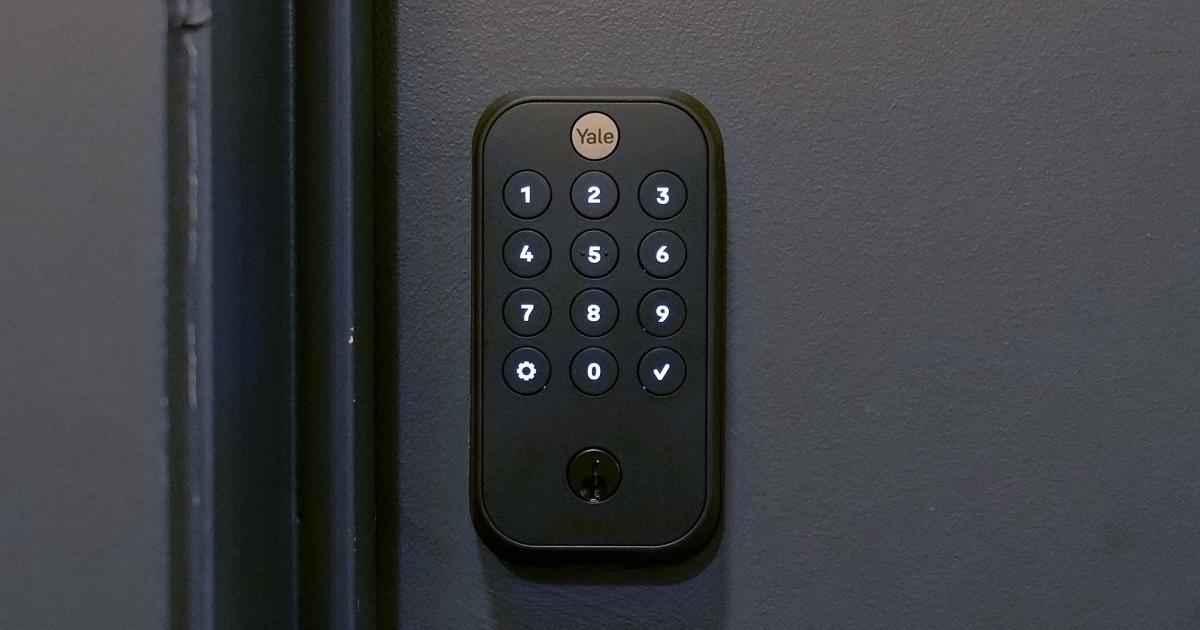
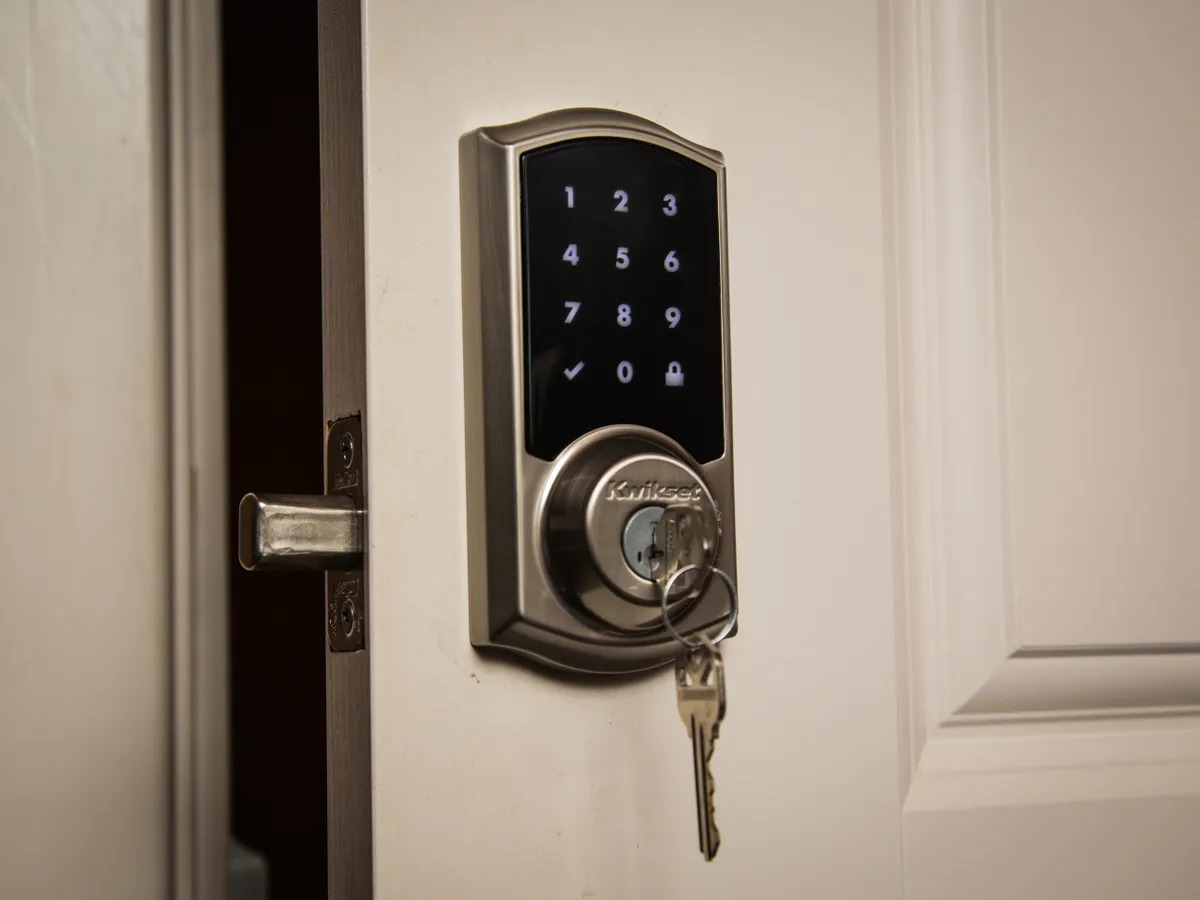
The first step is to access the system menu of your front entry door knobs. This process will differ significantly based on the make and model of your lock. Typically, it would involve either using a master code on the lock’s keypad or accessing the system settings through an app on your smartphone that is paired with the front door key.
- Using a Master Code: If your lock requires a master code to access the system menu, enter this code into the keypad. The master code is usually provided by the manufacturer and is used to unlock the lock's advanced features.
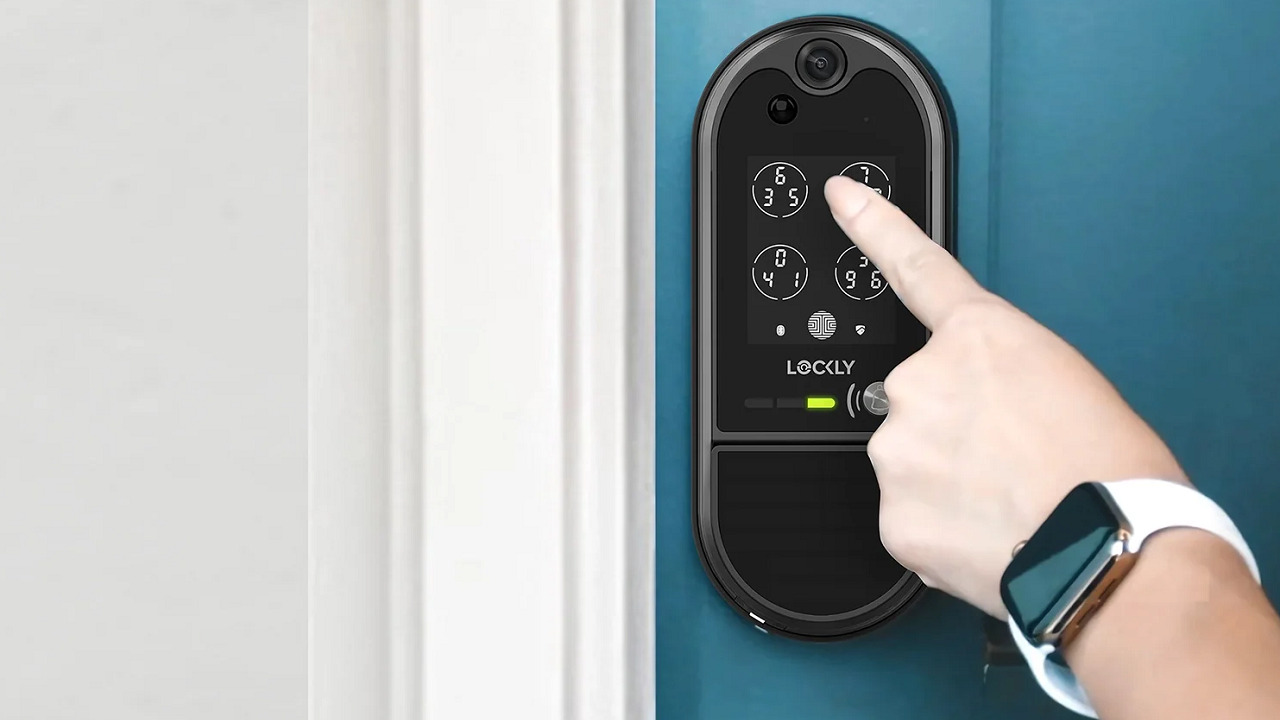
- Using an App: If your lock is connected to a smartphone app, open the app and navigate to the settings or control panel. Here, you will find options to manage lock codes.
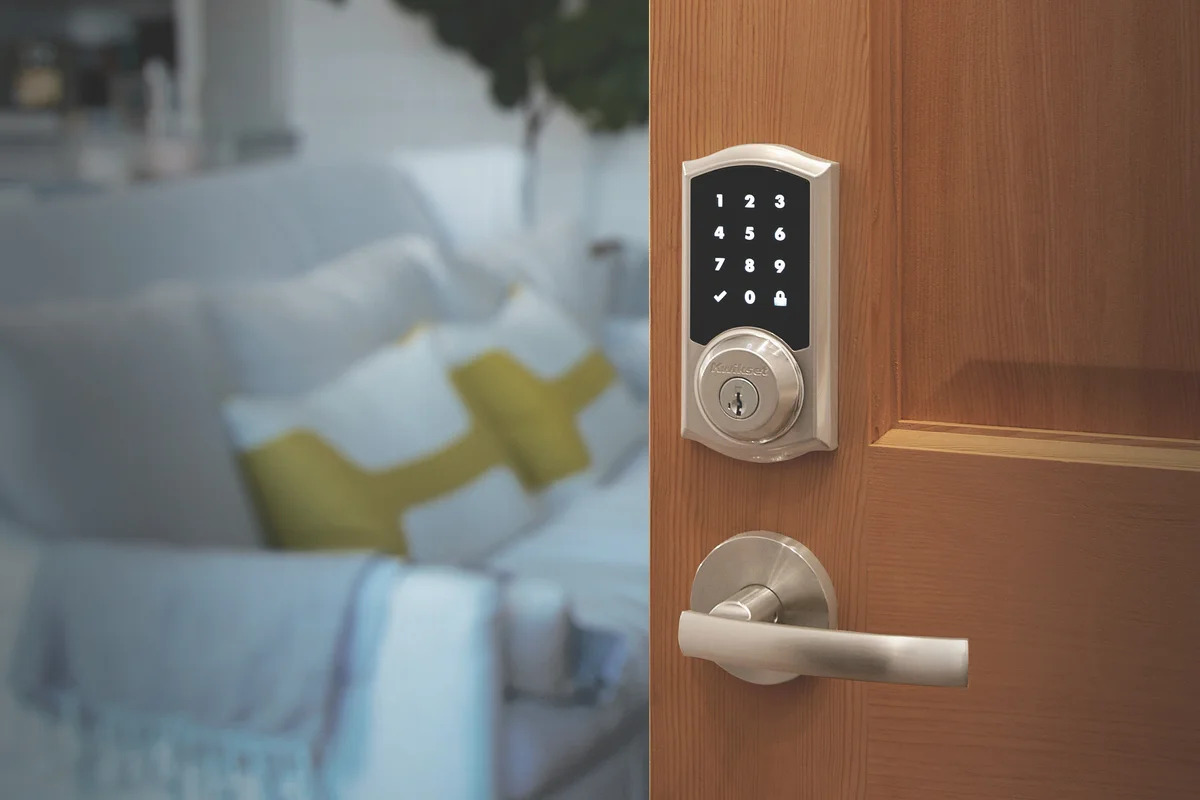
Step 2: Navigate to Temporary Password Settings
Once you have accessed the system menu, navigate to the section where you can manage lock codes. This could be labeled as ‘Manage Codes’, ‘Temporary Password’, ‘Guest Codes’, or something similar. The exact label may vary depending on the manufacturer and model of your lock.
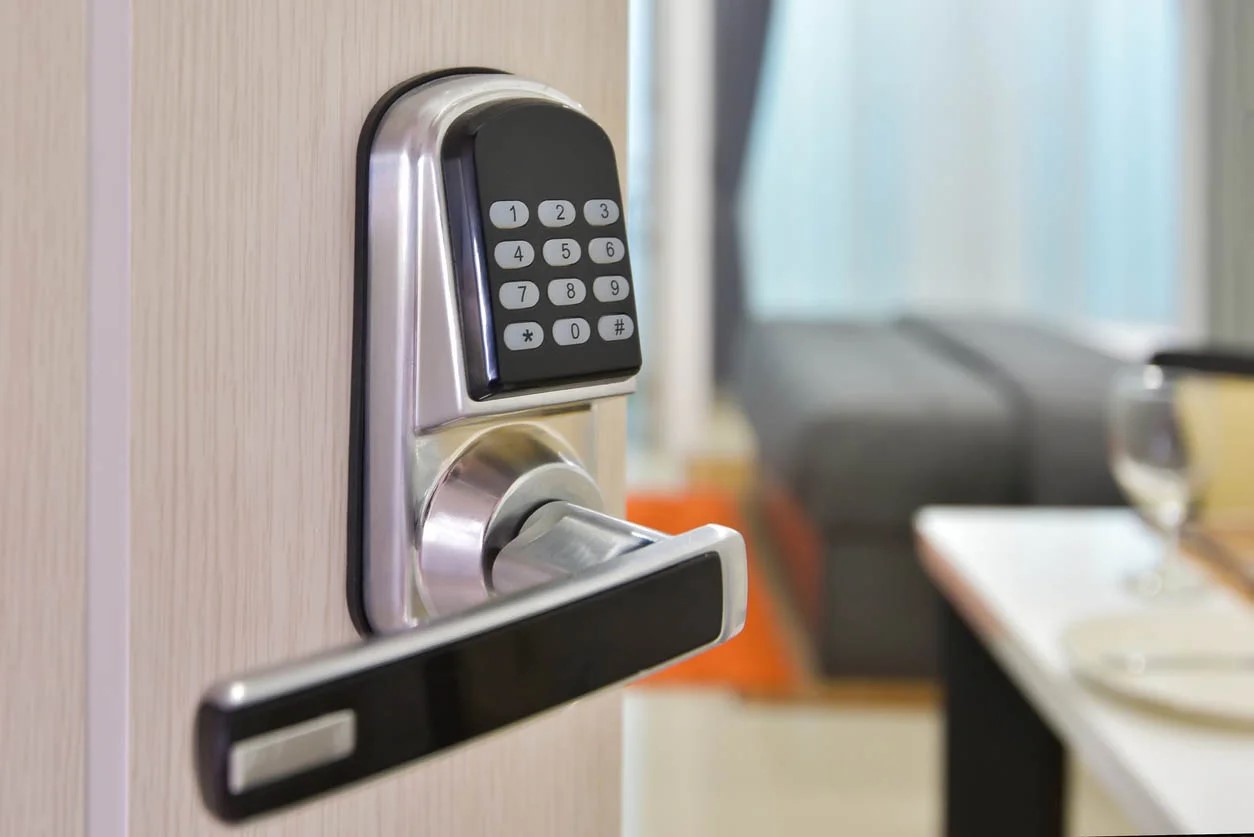
Step 3: Set Up the Temporary Password
After navigating to the correct section, you can proceed to set up a new temporary password. You will likely be asked to input a new password code. Ensure that the code you set is unique and hasn’t been used as a permanent or temporary code previously.
- Code Requirements: The temporary password should be a combination of numbers that are easy for your guests or service professionals to remember but difficult for unauthorized individuals to guess.
- Expiration Date: Some locks allow you to set an expiration date for the temporary password. This feature ensures that the code becomes invalid after a specified period, reducing the risk of prolonged unauthorized access.
Step 4: Confirm and Save
After inputting the temporary password, confirm it (you might need to enter it twice for verification purposes) and save it. Once the system confirms the setup process, your temporary password is ready to go.
Step 5: Share the Temporary Password
Now that you’ve successfully set a temporary password, you can share this with your guest or service professional. Remember to clarify to them that this password is temporary and is to be used only within the agreed timeframe.
- Communication: It’s essential to communicate clearly with your guests or service professionals about when they should use the temporary password and how long it will remain active.
- Documentation: Consider documenting this information so that anyone who needs access can refer back to it easily.
Step 6: Removing or Changing the Temporary Password
After its use, ensure that you remove the temporary password from your system. Should the same guests visit again or professionals require more than one visit, it’s recommended to create a new temporary password.
- Security Best Practices: Regularly changing temporary passwords helps maintain security by reducing the risk of unauthorized access over time.
- User Manual: Refer to your user’s manual or contact customer service for specific instructions on how to remove or change temporary passwords on your particular electronic lock.
Managing Multiple Temporary Passwords
In some cases, you might need to manage multiple temporary passwords for different guests or service professionals. Here are some tips:
- Organize Codes: Keep track of all temporary passwords in a secure location such as a note-taking app or spreadsheet.
- Expiration Dates: Set different expiration dates for each code to ensure that each guest or professional has access only during their scheduled visit.
- Communication: Clearly communicate which code should be used by each individual and when it will expire.
Security Considerations
While temporary entry codes offer significant convenience and security benefits, there are some security considerations you should keep in mind:
- Code Length: Ensure that your temporary passwords are long enough to be secure but short enough for your guests or service professionals to remember easily.
- Code Complexity: Avoid using easily guessable codes such as birthdays or common numbers like 1234.
- Code Sharing: Only share the temporary password with authorized individuals and avoid sharing it via unsecured channels like text messages.
Conclusion
Setting up and managing temporary entry codes for your electronic front door lock is a straightforward process that enhances both convenience and security. By following these steps and adhering to best practices outlined above, you can ensure that your home or office remains secure while allowing authorized access as needed.
In conclusion, smart locks with temporary entry code features are an excellent addition to any home security system. They provide flexibility, convenience, and enhanced security, making them an essential tool for modern homeowners and businesses alike.
Additional Tips
- Regular Updates: Regularly update your lock's firmware to ensure you have the latest security patches and features.
- Customer Support: If you encounter any issues setting up or managing temporary passwords, refer to your user’s manual or contact customer support for assistance.
- Backup Plans: Have a backup plan in place in case you lose access to your primary method of entry (e.g., having a spare key or another authorized user).
By following these guidelines and staying informed about the latest advancements in smart lock technology, you can enjoy peace of mind knowing that your home or office is secure and easily accessible when needed.
Was this page helpful?
At Storables.com, we guarantee accurate and reliable information. Our content, validated by Expert Board Contributors, is crafted following stringent Editorial Policies. We're committed to providing you with well-researched, expert-backed insights for all your informational needs.


0 thoughts on “Smart Lock Guest Access Management with Temporary Entry Codes”