Home>Ideas and Tips>Smart Robot Vacuum Setup for Effortless Floor Cleaning

Ideas and Tips
Smart Robot Vacuum Setup for Effortless Floor Cleaning
Modified: November 1, 2024
Discover how to set up and maximize your smart robot vacuum for effortless floor cleaning with advanced features like self-emptying docks and AI obstacle avoidance.
(Many of the links in this article redirect to a specific reviewed product. Your purchase of these products through affiliate links helps to generate commission for Storables.com, at no extra cost. Learn more)
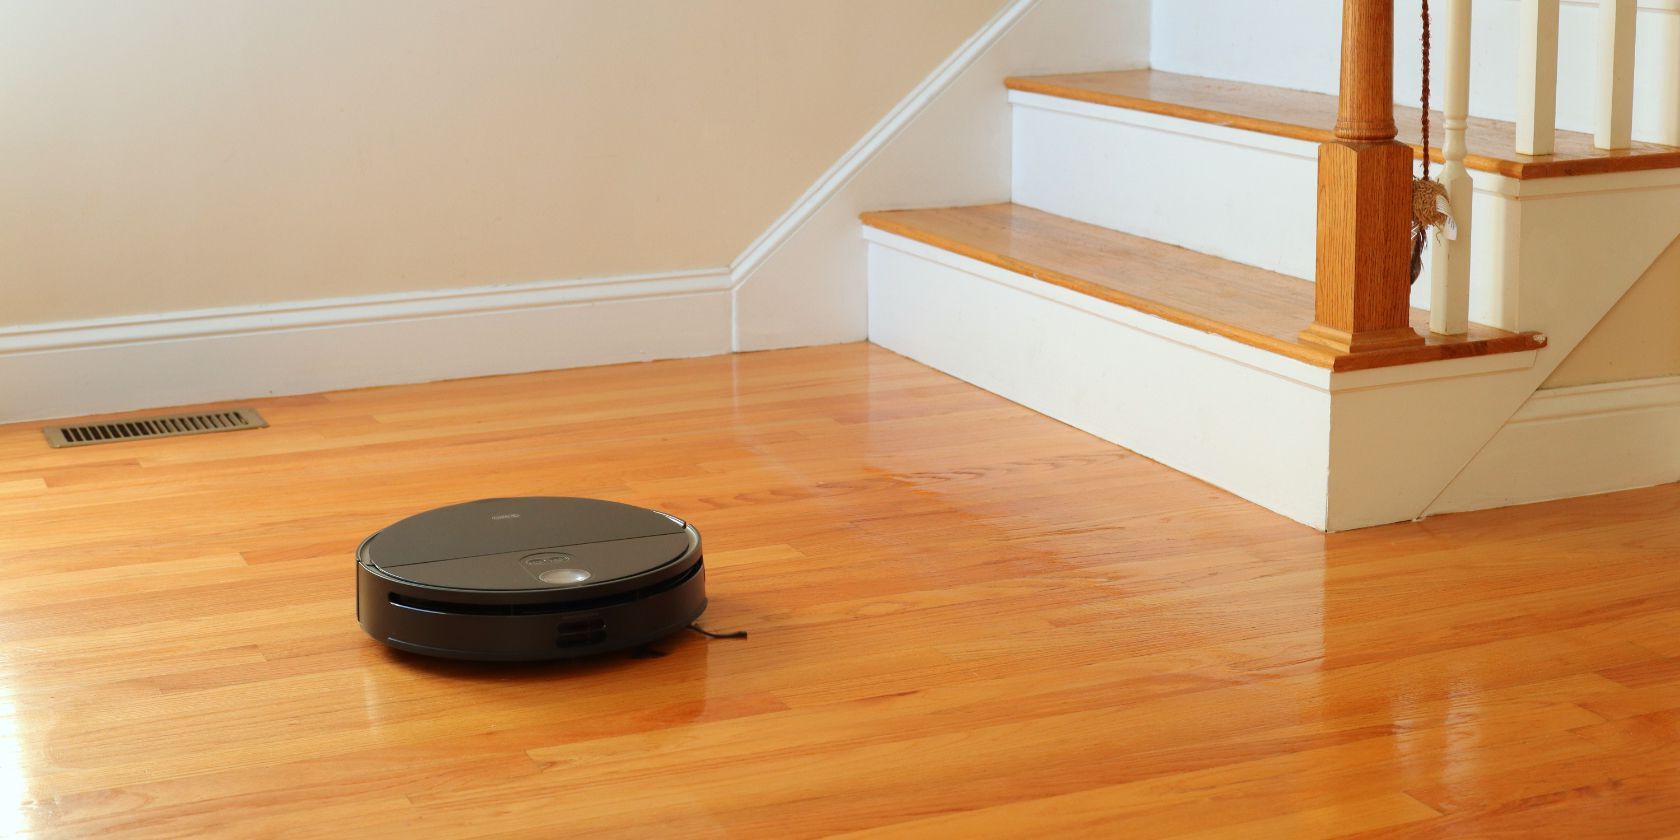
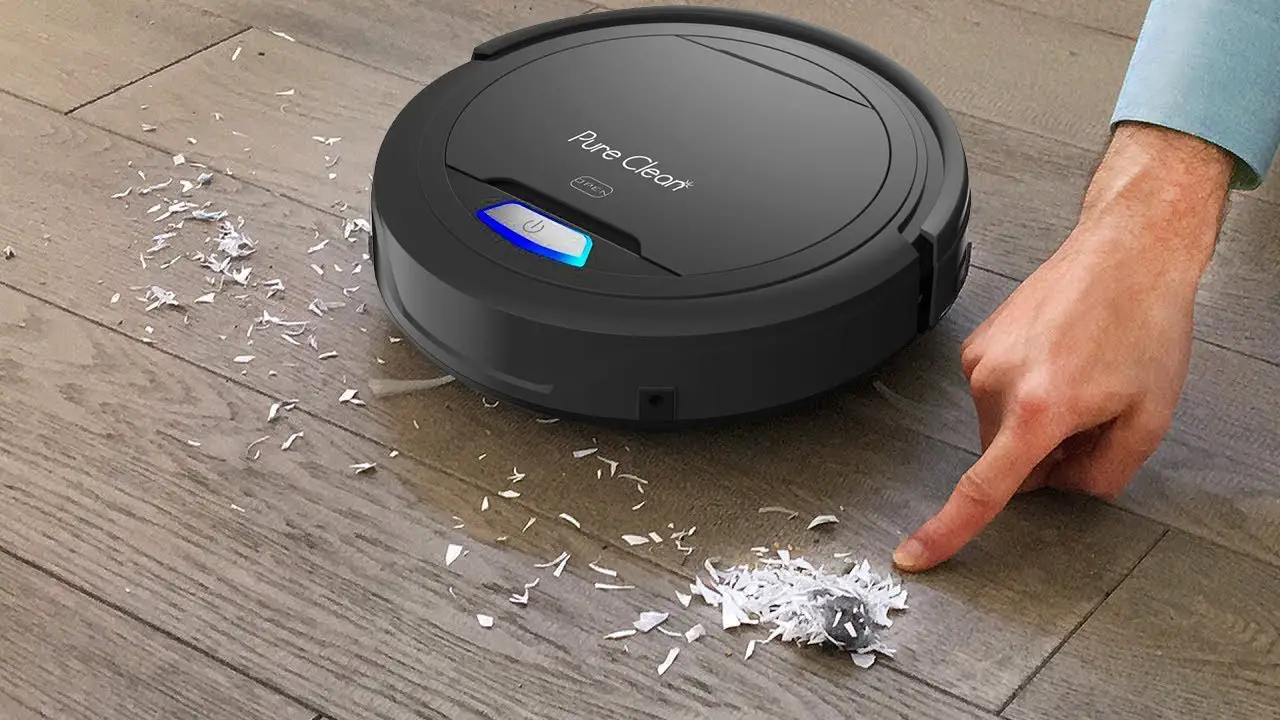
In the quest for a cleaner, more efficient home, smart robot vacuums have emerged as a game-changer. These devices not only save time but also provide a level of convenience and effectiveness that traditional vacuum cleaners cannot match. With advancements in technology, robot vacuums now come equipped with features such as self-emptying docks, AI-powered obstacle avoidance, and advanced mapping capabilities. In this article, we will delve into the world of smart robot vacuums, exploring their setup, maintenance, and how to maximize their potential for effortless floor cleaning.
Introduction to Smart Robot Vacuums
Smart robot vacuums are designed to navigate and clean your floors with minimal human intervention. These devices have evolved significantly over the years, from their initial limitations to the sophisticated models available today. The primary reasons for investing in a smart robot vacuum include saving time and effort, ensuring thorough cleaning, and enjoying the peace of mind that comes with knowing your floors are always clean.
Key Features of Smart Robot Vacuums
-
Self-Emptying Docks:
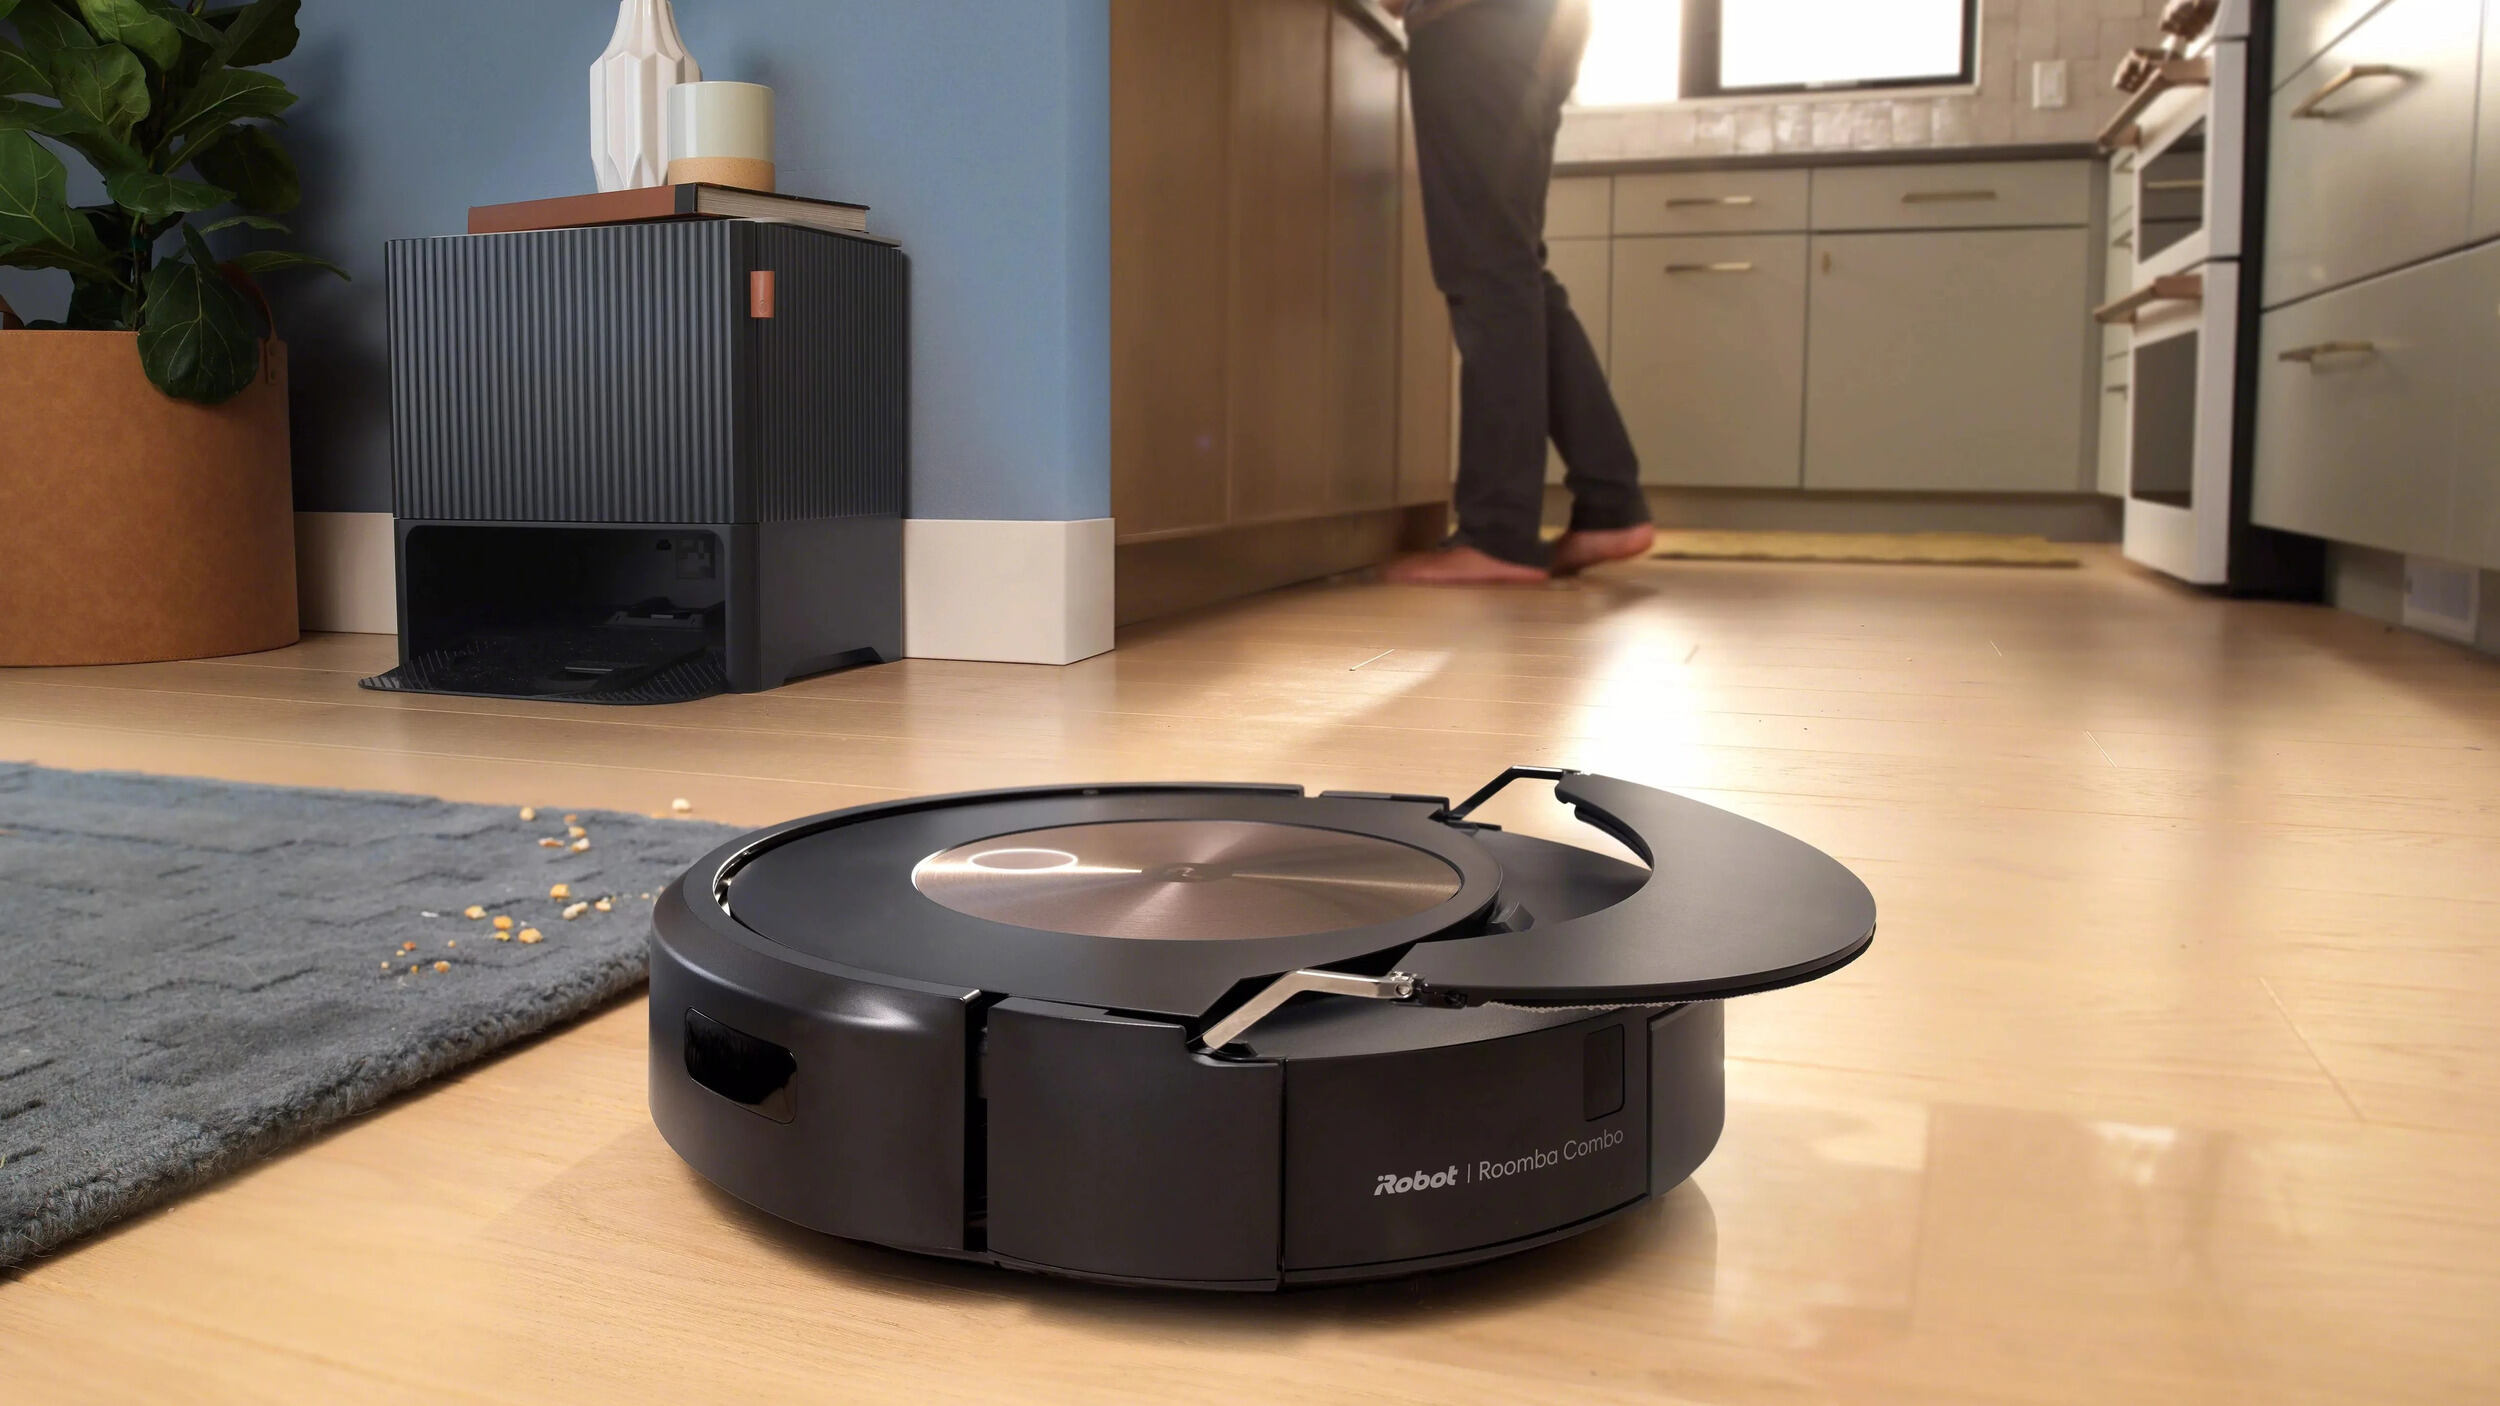
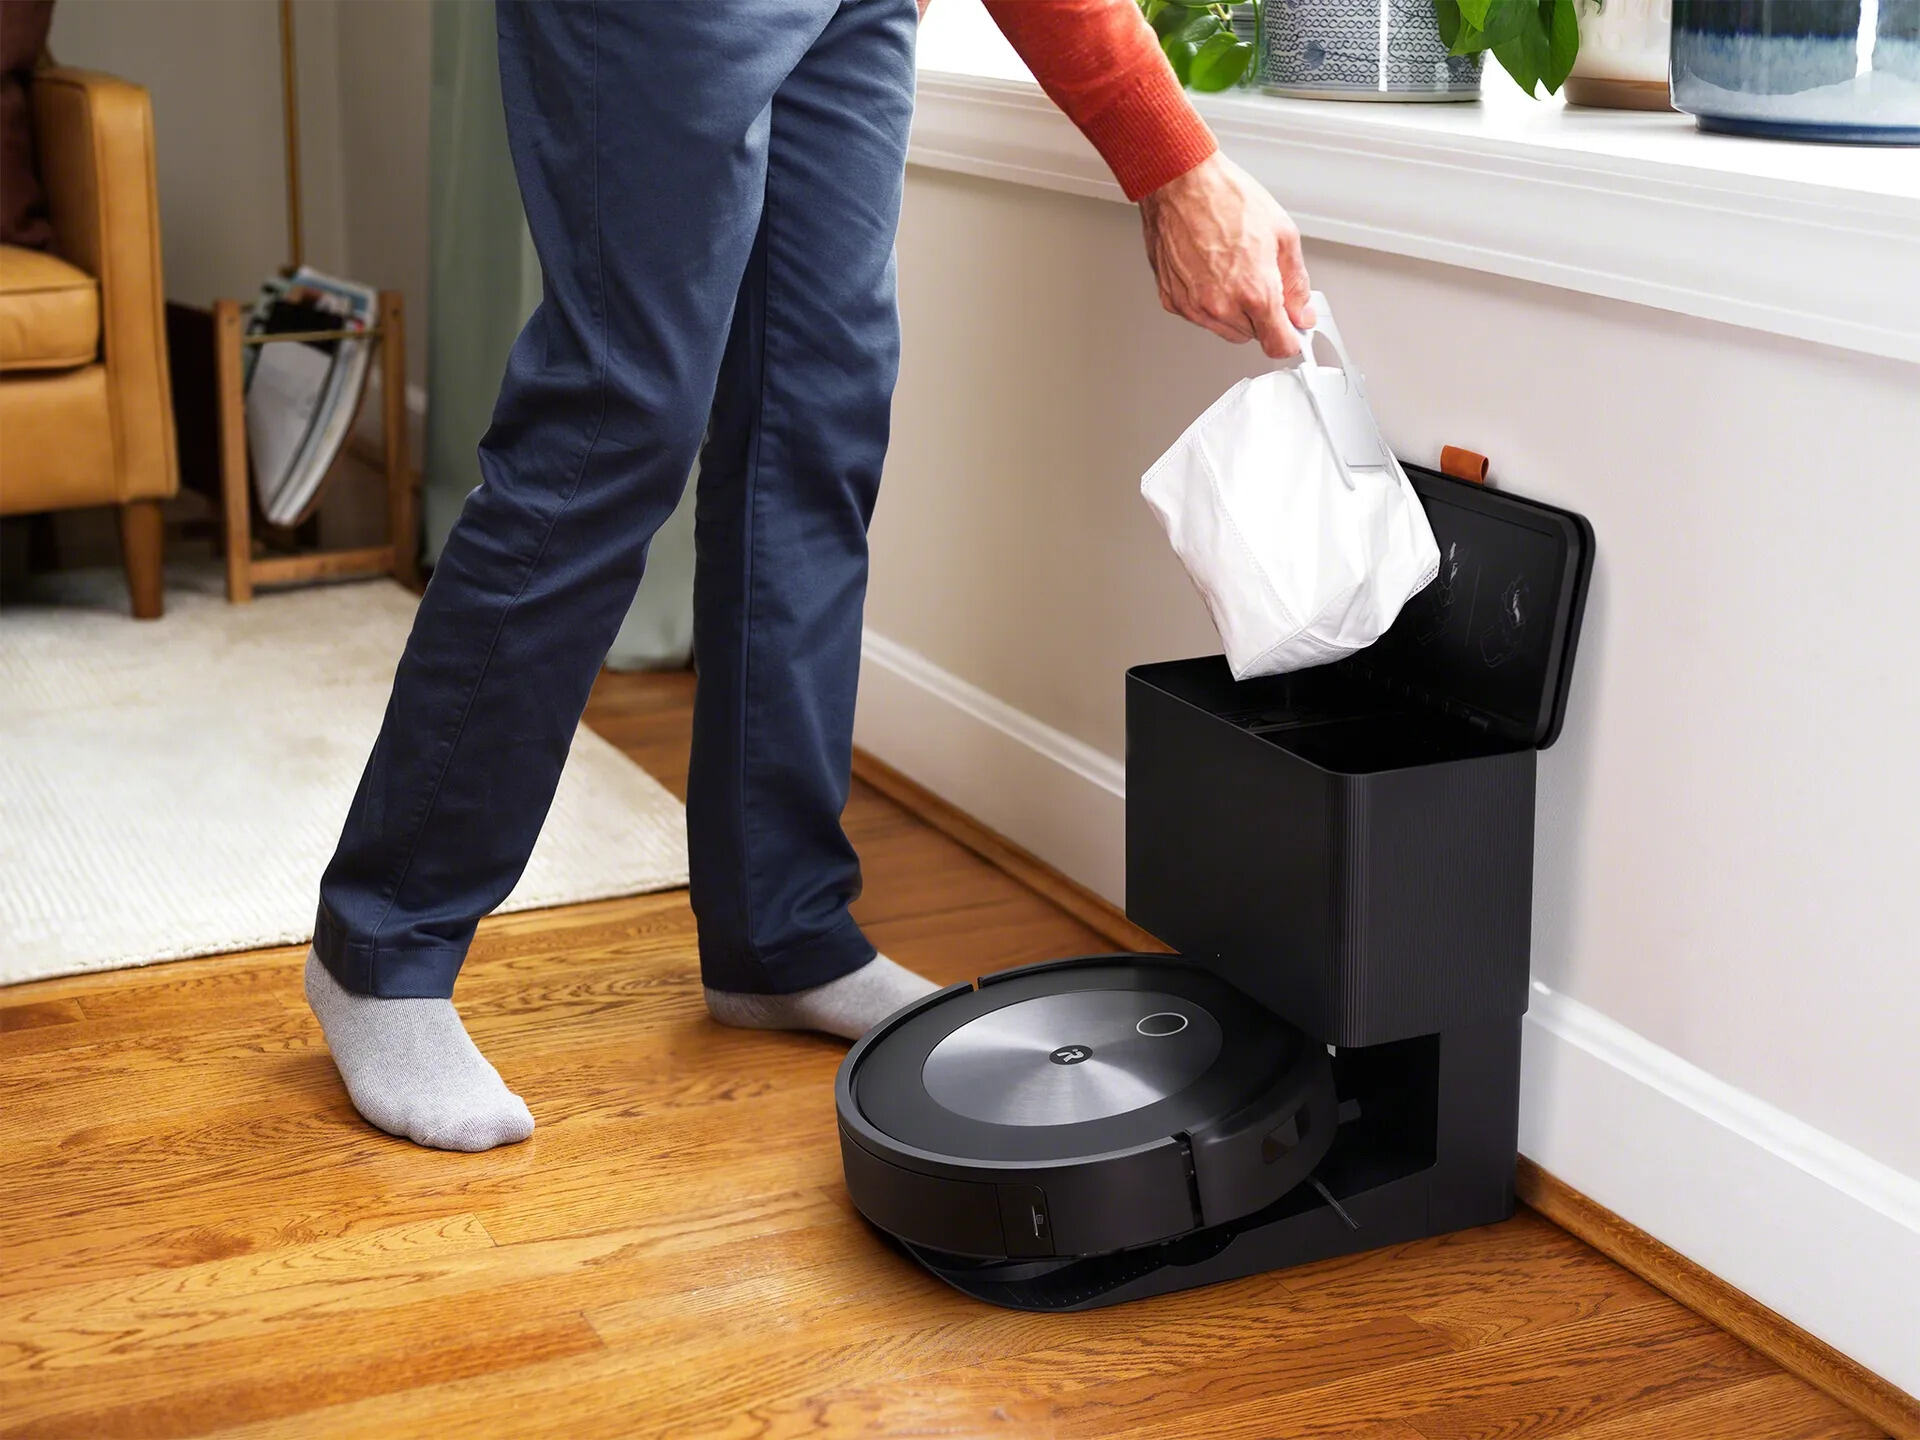
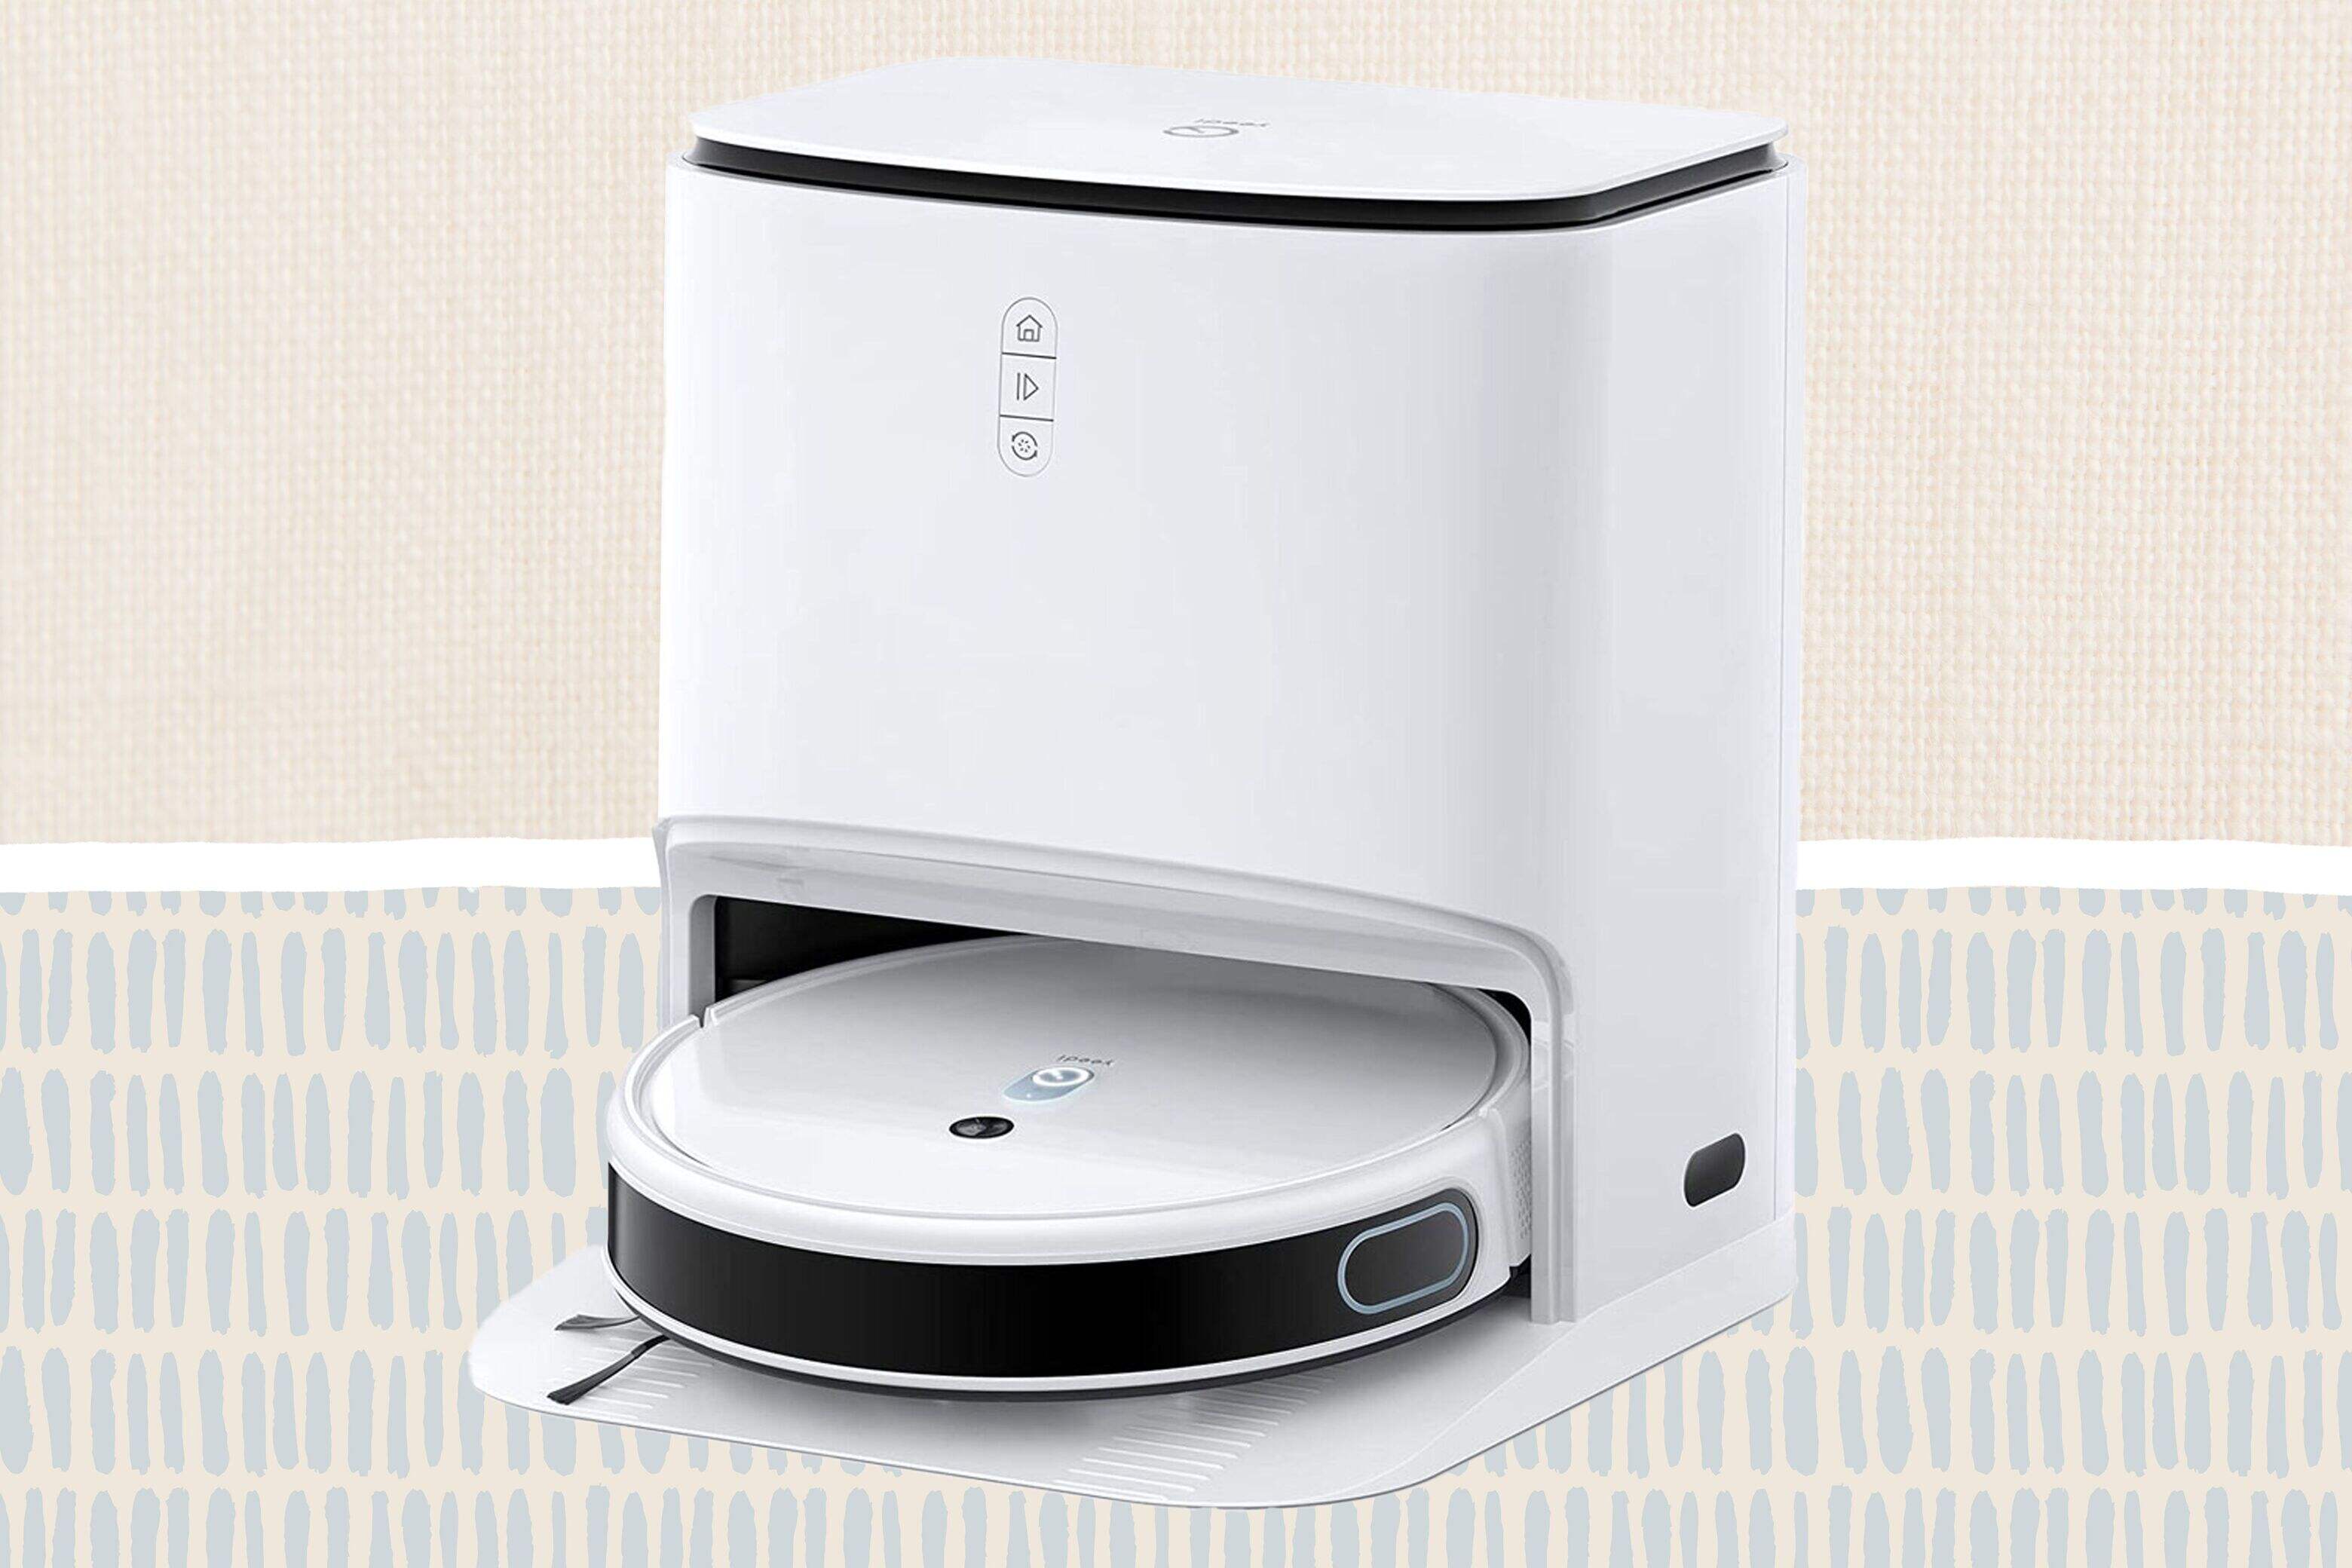
- One of the most significant advancements in robot vacuum technology is the self-emptying dock. This feature transforms the charging base into a motorized emptying station that sucks out the dirt from the vacuum's bin. This saves users from having to pull out the bin after every few runs and empty it themselves. However, it does require replacing the bag when it gets full, generally about once a month.
-
AI-Powered Obstacle Avoidance:
- AI-powered obstacle avoidance is another crucial feature that helps your robot vacuum navigate through clutter and avoid potential hazards like pet waste. These models use cameras to see objects in their path and onboard processors to decide how to approach them based on what they see. While not all AI is created equal, this technology significantly reduces the likelihood of your robot getting stuck during cleaning.
-
Reliable Mapping:
- A robot that maps your house will get into every nook and cranny better than one that bumps and rolls around. Mapping also allows you to send the robot to clean specific rooms rather than the whole space and add virtual walls to prevent it from going where you don’t want it to. This feature is essential for efficient cleaning and customization.
-
Easy-to-Use App and Voice Control:
- A good app should have easy controls to stop and start your vacuum, scheduling options (including do-not disturb hours), and good mapping features. Nice-to-have features include room-specific cleaning and settings so you can tell your vacuum to clean the kitchen or have it mop and vacuum the kitchen but only vacuum the living room. Many vacuums now come with voice control options like Alexa, providing more in-depth control over your cleaning sessions.
Choosing the Right Robot Vacuum
With so many options available, selecting the right robot vacuum can be overwhelming. Here are some key considerations to help you make an informed decision:
Budget Considerations
If you're on a tight budget, there are still excellent options available. For instance, the Eufy RoboVac 11S is a budget-friendly option that offers reliable performance and ease of use. However, if you're willing to invest more, premium models like the iRobot Roomba s9+ offer superior cleaning performance and smart mapping capabilities.
Specific Needs
Different robot vacuums cater to specific needs such as mopping, tackling small spaces, or besting pet hair. For example, the SwitchBot S10 is a great mopping robot with a battery-powered water refill dock that makes it the most hands-free robovac we’ve tested. If you have pets, look for models with enhanced pet hair removal capabilities.
Advanced Features
If you want advanced features like self-emptying docks and AI-powered obstacle avoidance, consider models like the Roborock Q5 Pro+ or the Shark Detect Pro Self-Emptying Robot. These models offer robust cleaning performance and minimal maintenance requirements.
Setting Up Your Robot Vacuum
Setting up your robot vacuum is relatively straightforward but requires some attention to detail. Here’s a step-by-step guide:
Unboxing and Initial Setup
-
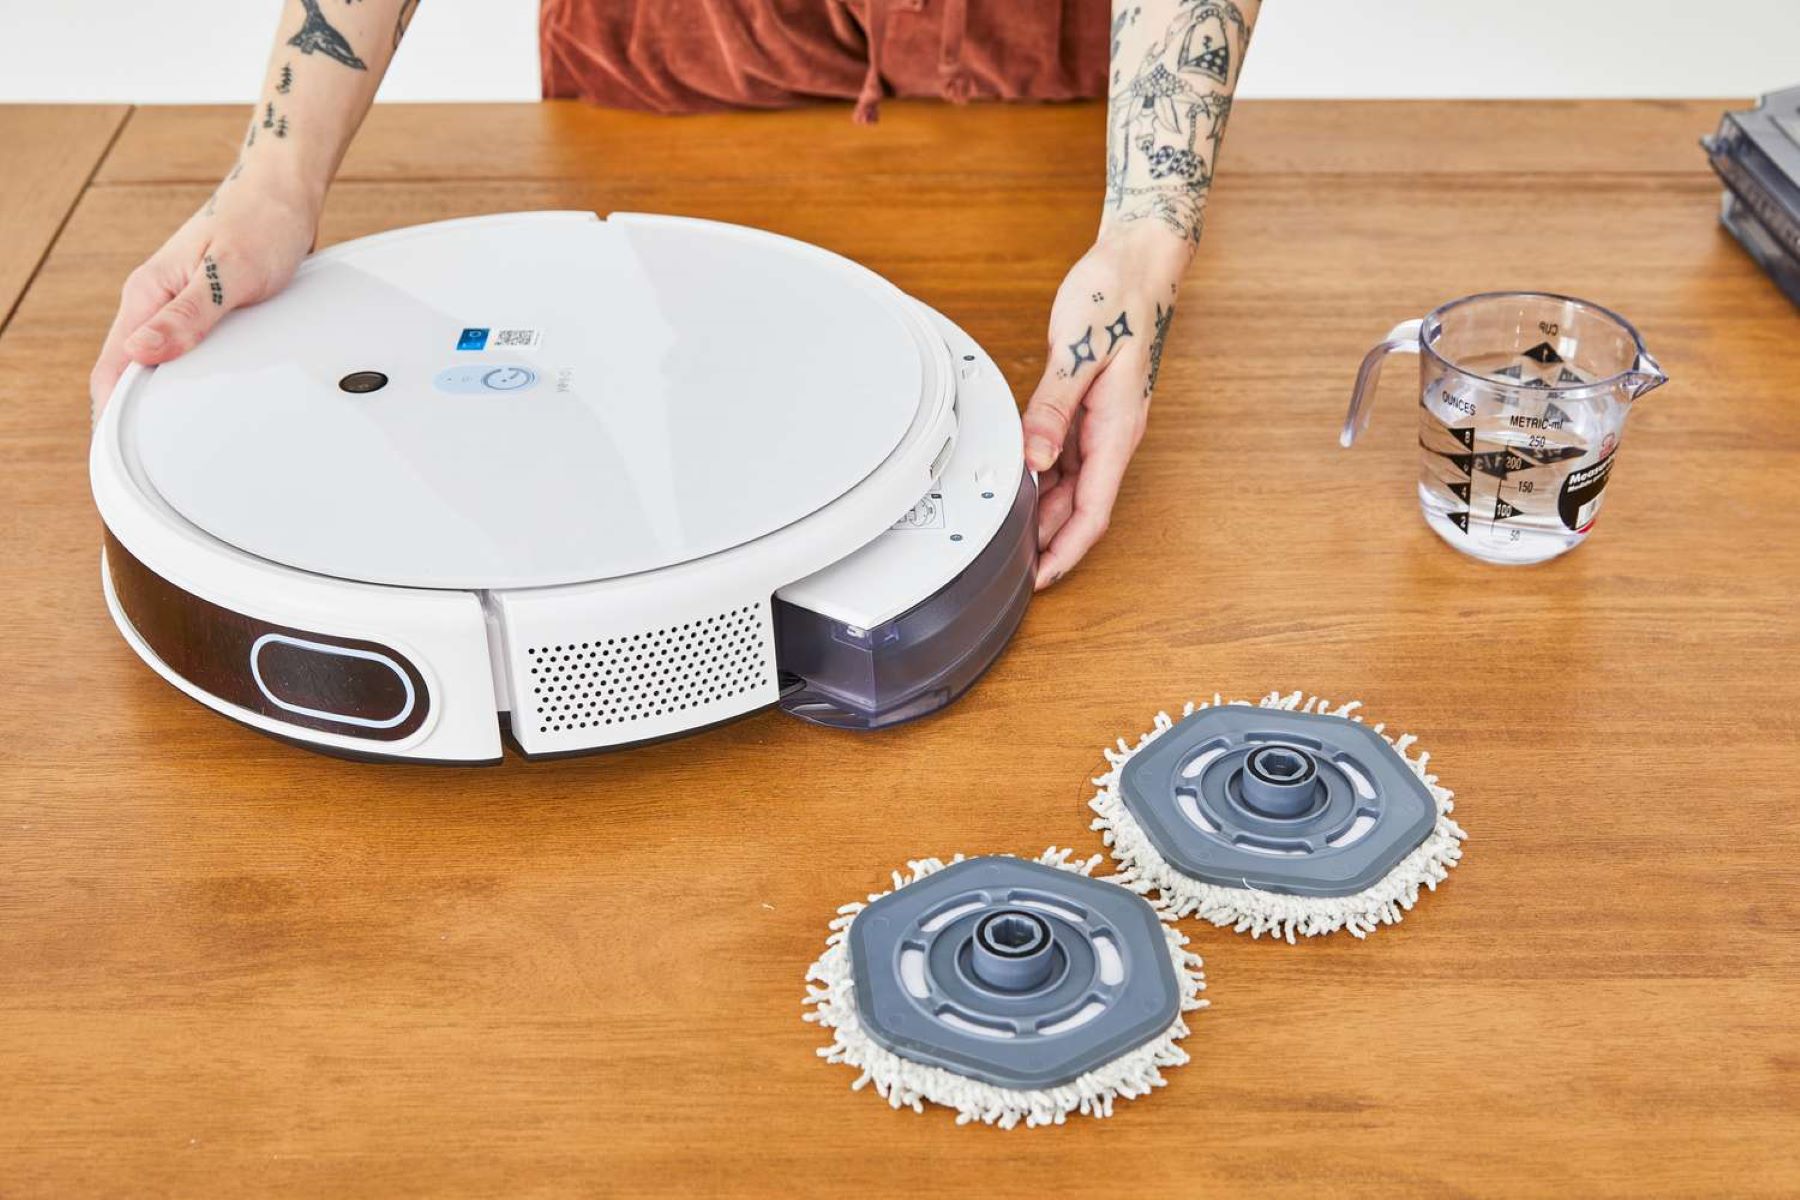
Unboxing: Carefully unbox your robot vacuum and all its components. This should include the vacuum itself, charging dock, power adapter, and any additional accessories like mop pads or water tanks.
-
Charging Dock Assembly: Some models require basic assembly of the charging dock. For example, the Roborock Q5 Pro+ requires tightening six small screws and using an included tool. Make sure to follow the manufacturer’s instructions for assembly.
-
Powering On: Plug in the power adapter and turn on your robot vacuum. It will usually start a self-diagnostic process to ensure all components are functioning correctly.
-
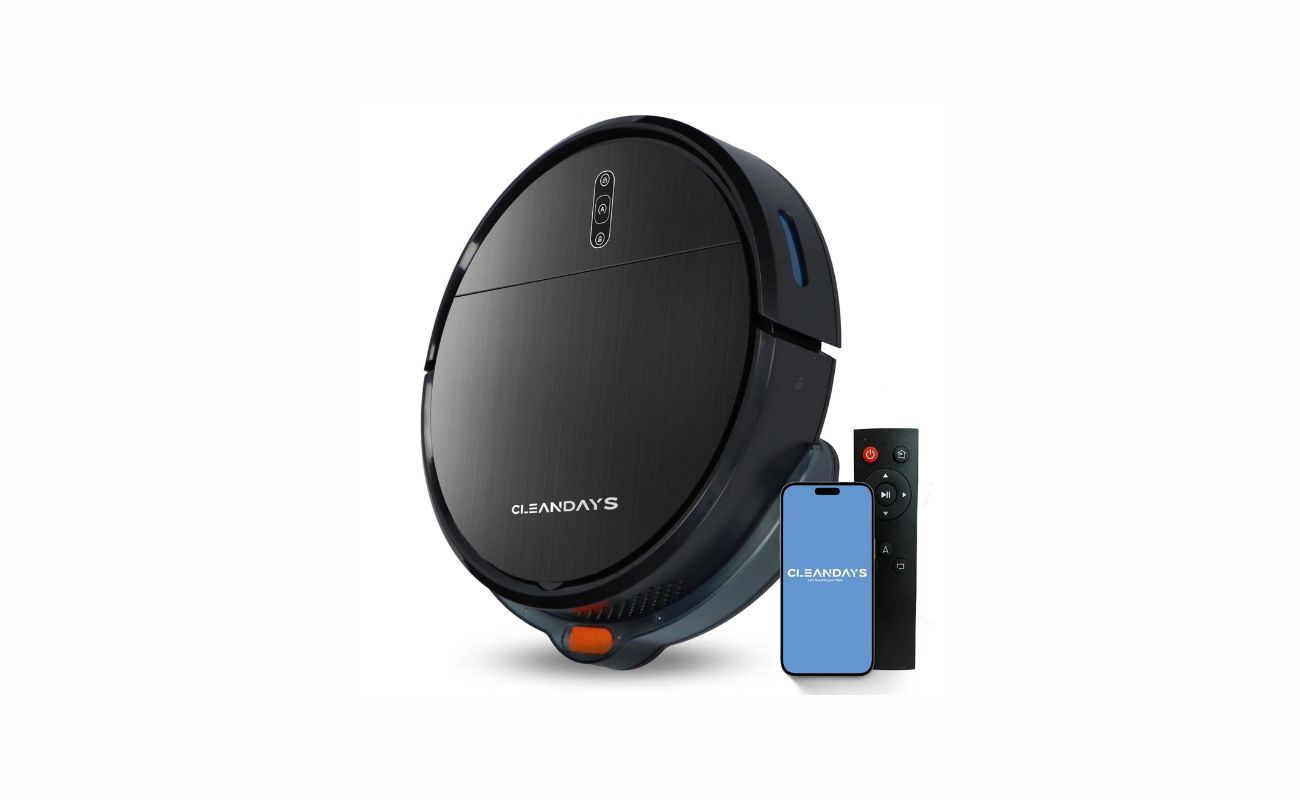
App Installation: Download and install the companion app on your mobile device (e.g., Apple iPhone). Most apps are available for both iOS and Android platforms.
-
App Setup: Open the app and follow the on-screen instructions to connect your robot vacuum to Wi-Fi. This is usually done by scanning a QR code provided by the manufacturer or entering a network password manually.
-
Mapping Your Space: Once connected, the app will guide you through mapping your space. This involves letting the robot vacuum navigate around your home while creating a virtual map of your floors. This map helps the vacuum understand your space better and allows for more efficient cleaning.
-
Scheduling Cleanings: Use the app to schedule cleanings at specific times or set up do-not disturb hours if needed. Many models also offer room-specific cleaning options so you can tell your vacuum to clean specific areas like the kitchen or living room.
Maximizing Your Robot Vacuum's Potential
To get the most out of your smart robot vacuum, follow these tips:
Regular Maintenance
-
Emptying the Bin: Regularly empty the dustbin to ensure optimal performance. Some models come with self-emptying docks that reduce this task significantly.
-
Cleaning Mop Pads: If your model includes a mop feature, regularly clean or replace the mop pads to maintain effectiveness.
-
Updating Maps: Periodically update your robot vacuum's map to reflect any changes in your home's layout. This ensures it continues to navigate efficiently and avoid obstacles.
Advanced Features
-
Edge Detection Features: If you have a multi-story home, consider models equipped with edge-detecting features like advanced cliff sensors that prevent accidental falls down stairs.
-
Zoned Cleaning: Use zoned cleaning options available through the app to tailor the vacuum's route to each floor's layout. This ensures thorough cleaning without wasting time on unnecessary areas.
-
Smart Home Integration: Integrate your robot vacuum with other smart home devices for seamless control and scheduling. For example, you can use voice commands like Alexa to instruct your vacuum to clean specific areas.
Common Issues and Troubleshooting
Despite their advanced features, robot vacuums can sometimes encounter issues. Here are some common problems and their solutions:
Getting Stuck
If your robot vacuum gets stuck on cords or other obstacles:
- Clear Obstacles: Remove any objects that might be causing it to get stuck.
- Adjust Settings: Check if there are any settings that need adjustment in the app regarding obstacle avoidance.
- Edge Detection: If it’s equipped with edge detection features, ensure they are enabled to prevent falls down stairs.
Read more: What Is A Robot Vacuum Cleaner
Poor Mapping
If the mapping feature isn’t working correctly:
- Restart App: Sometimes restarting the app resolves issues with mapping.
- Update Firmware: Ensure that your robot vacuum’s firmware is up-to-date as updates often include improvements in mapping technology.
- Manual Mapping: If necessary, manually map out your space using virtual walls or other tools provided by the manufacturer.
Connectivity Issues
If there are connectivity issues with Wi-Fi:
- Restart Router: Restart your router to ensure a stable connection.
- Check Passwords: Double-check that you have entered the correct network password.
- Reset Device: If all else fails, reset your device back to its factory settings and reconfigure it.
Conclusion
Smart robot vacuums have revolutionized home cleaning by providing efficient and convenient solutions for maintaining clean floors. By understanding their key features, choosing the right model for your needs, setting them up correctly, and maximizing their potential through regular maintenance and advanced features integration, you can enjoy effortless floor cleaning every day. Whether you're dealing with multi-story homes or simple one-floor layouts, these devices offer unparalleled flexibility and effectiveness in keeping your floors spotless without much effort from you.
Was this page helpful?
At Storables.com, we guarantee accurate and reliable information. Our content, validated by Expert Board Contributors, is crafted following stringent Editorial Policies. We're committed to providing you with well-researched, expert-backed insights for all your informational needs.

0 thoughts on “Smart Robot Vacuum Setup for Effortless Floor Cleaning”