Home>Articles>How To Clean A Robot Vacuum To Keep It Performing Its Best
Articles
How To Clean A Robot Vacuum To Keep It Performing Its Best
Modified: August 28, 2024
Learn how to clean a robot vacuum for optimal performance. Read our articles for expert tips and techniques to keep your vacuum running smoothly.
(Many of the links in this article redirect to a specific reviewed product. Your purchase of these products through affiliate links helps to generate commission for Storables.com, at no extra cost. Learn more)
Introduction
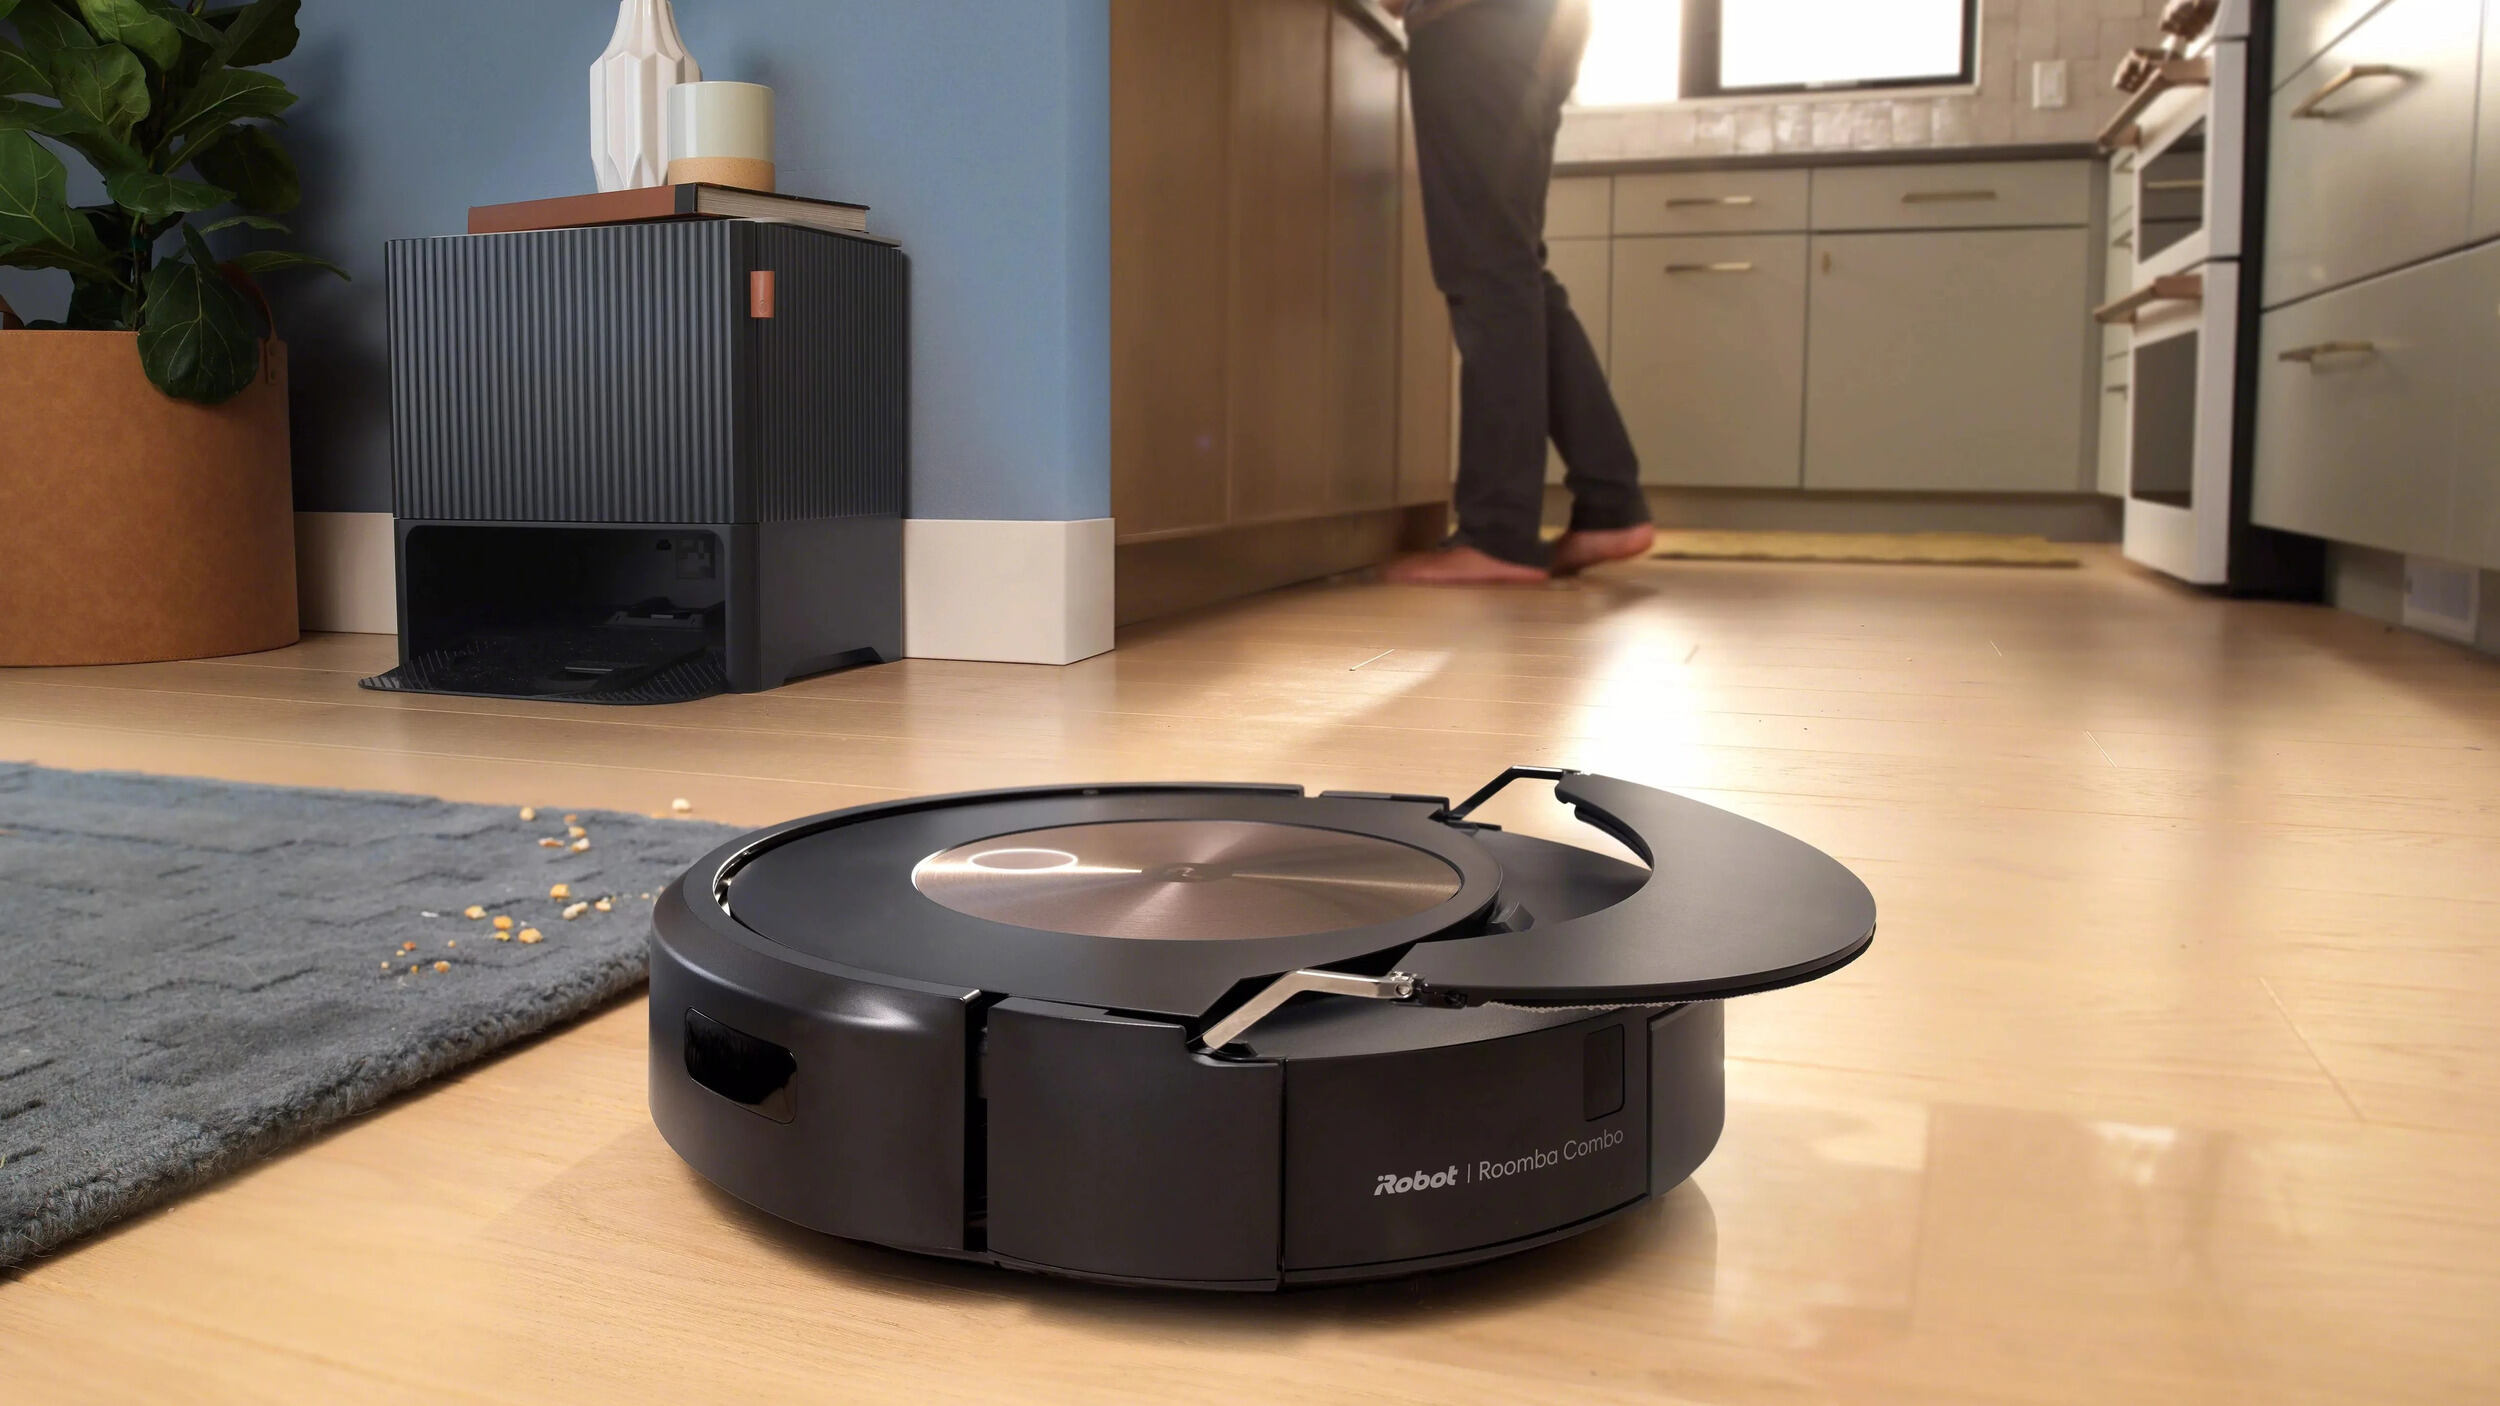
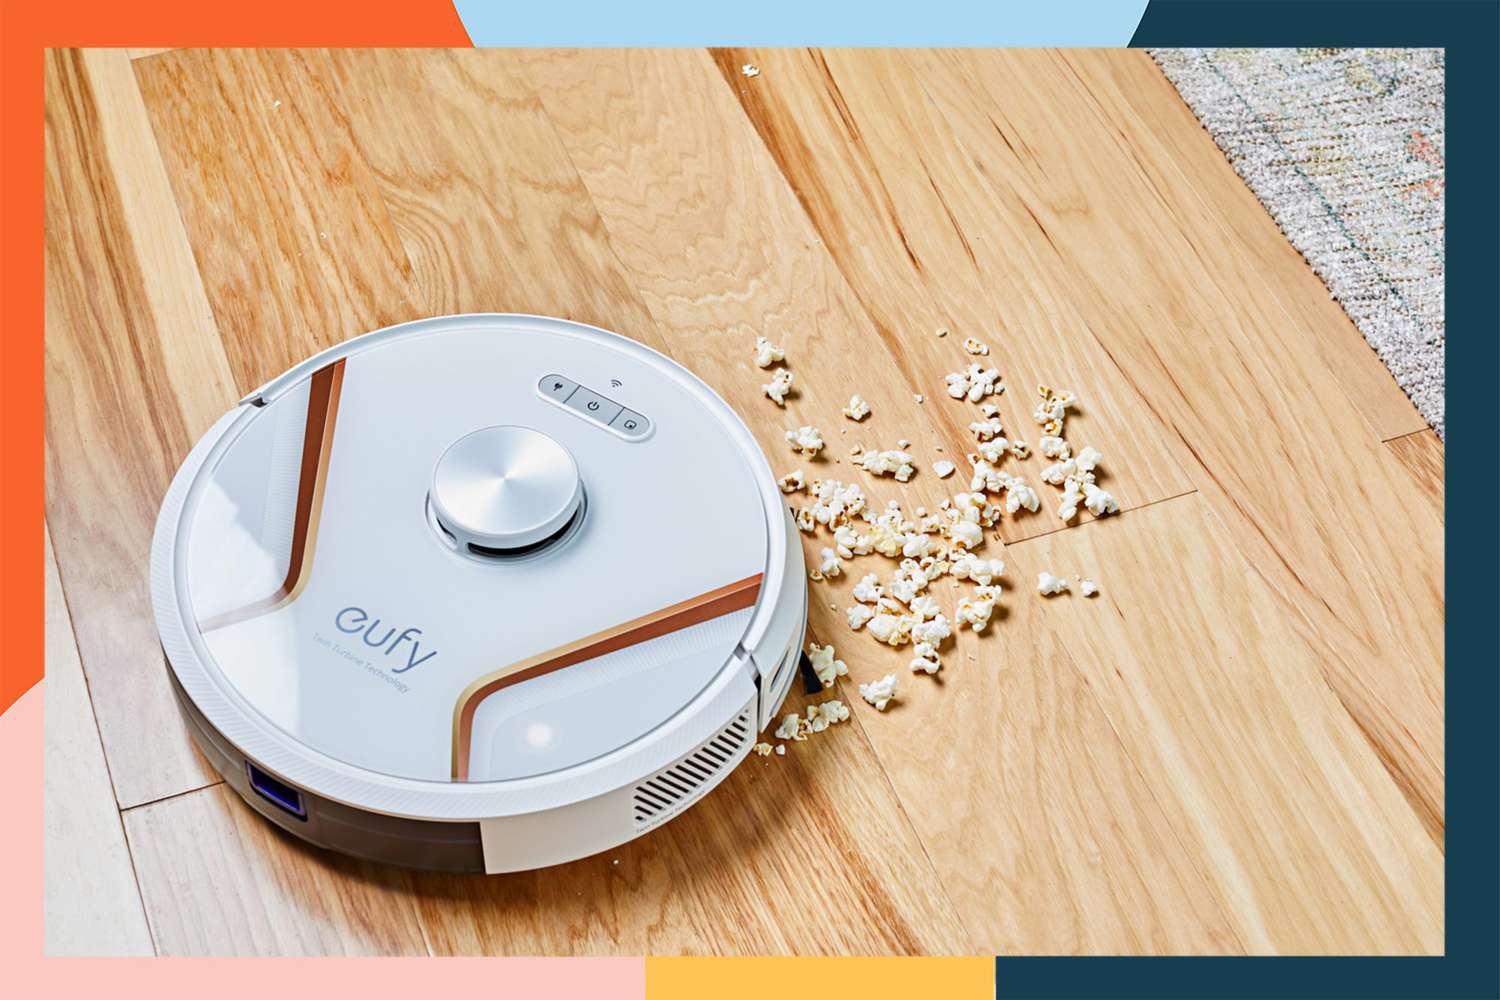
Welcome to the world of convenience and technology – the era of robot vacuum cleaners. These compact, self-navigating devices have revolutionized the way we clean our homes. With their ability to autonomously navigate and clean various surfaces, robot vacuums have become a staple in many households.
While these automated cleaners make our lives easier, it is important to keep them clean and well-maintained to ensure they continue to perform at their best. Regular maintenance not only extends the lifespan of your robot vacuum but also improves its cleaning efficiency.
In this article, we will guide you through the steps to clean your robot vacuum effectively. By following these simple guidelines, you can ensure that your robot vacuum remains in top-notch condition, providing you with a spotless and dust-free home.
Key Takeaways:
- Regularly cleaning your robot vacuum is crucial for efficient cleaning, preventing blockages, extending its lifespan, and improving indoor air quality. Follow the steps to keep your robot vacuum performing at its best.
- Gather the necessary tools, power off the vacuum, empty the dustbin, clean the brushes and filter, wipe down the exterior, check and clean the sensors, reassemble, charge, and test your robot vacuum for optimal performance.
Importance of Cleaning a Robot Vacuum
Regularly cleaning your robot vacuum is crucial for its optimal performance and longevity. Here are a few reasons why cleaning your robot vacuum is important:
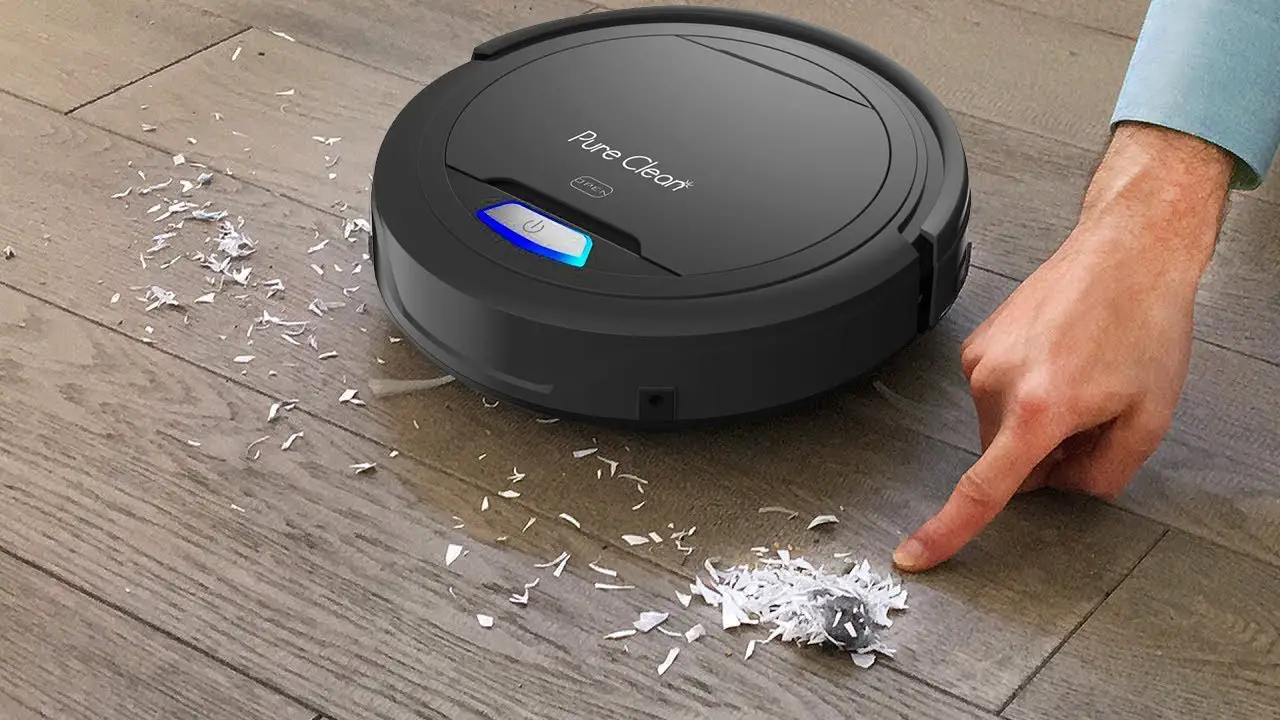
- Efficient Cleaning: Over time, dirt, debris, and pet hair can accumulate in the dustbin, brushes, and filters of your robot vacuum. If not cleaned regularly, this buildup can impede the vacuum’s suction power, leading to inefficient cleaning. By cleaning the vacuum, you can maintain its ability to effectively pick up dirt and keep your floors clean.
- Prevent Clogs and Blockages: Robot vacuums are designed with brushes and sensors to navigate around furniture and obstacles. However, small objects like hair strands, string, or large clumps of dust can get tangled in the brushes or block the sensors. Regular cleaning helps prevent clogs and blockages, allowing the vacuum to navigate smoothly and effectively clean every corner of your home.
- Extend Lifespan: Just like any other appliance, regular maintenance can help prolong the lifespan of your robot vacuum. Cleaning the brushes, filters, and sensors prevents excessive wear and tear, ensuring that your vacuum lasts for years to come.
- Improved Indoor Air Quality: A dirty robot vacuum can release trapped dirt, dust, and allergens back into the air, reducing the indoor air quality. By cleaning the vacuum and replacing filters, you can maintain a healthier living environment, especially for those with allergies or respiratory issues.
By understanding the importance of cleaning your robot vacuum, you can ensure that it continues to operate efficiently, delivering clean and pristine floors each time it runs.
Tools and Materials Needed
Before you begin cleaning your robot vacuum, make sure you have the following tools and materials on hand:
- Soft cloth or microfiber cloth: This will be used to wipe down the exterior surfaces of the robot vacuum.
- Mild cleaning solution: Prepare a mixture of mild dish soap and water for cleaning the dustbin and brushes.
- Compressed air canister or brush: This will come in handy for removing dust and debris from hard-to-reach areas, such as the sensors and crevices.
- Tweezers: Use tweezers to remove any tangled hair or debris that may be stuck in the brushes.
- New filters: Depending on the model of your robot vacuum, you may need to replace the filters periodically. Make sure you have compatible replacement filters.
- Clean, flat surface: Find a suitable area to work on, such as a table or countertop, where you can easily access and clean the robot vacuum.
It’s always a good idea to gather all the necessary tools and materials before you start cleaning. This ensures a smooth and efficient cleaning process and helps prevent any interruptions or delays.
Step 1: Power off the Robot Vacuum
Before you begin cleaning your robot vacuum, it is essential to turn off the power to avoid any accidents or damage. Follow these steps to power off your robot vacuum:
- Look for the power button or switch on your robot vacuum. It is usually located on the top or side of the device.
- Press and hold the power button until the robot vacuum shuts off. You may need to hold the button for a few seconds.
- Confirm that the robot vacuum is completely powered off by checking for any indicator lights or sound signals that may indicate it is still active.
Once you have successfully powered off the robot vacuum, you can proceed with the cleaning process safely and effectively. Remember to disconnect any charging cables or power cords that may be connected to the device.
Note: It’s always a good idea to consult the user manual specific to your robot vacuum model for any manufacturer’s instructions or guidelines regarding the power-off process.
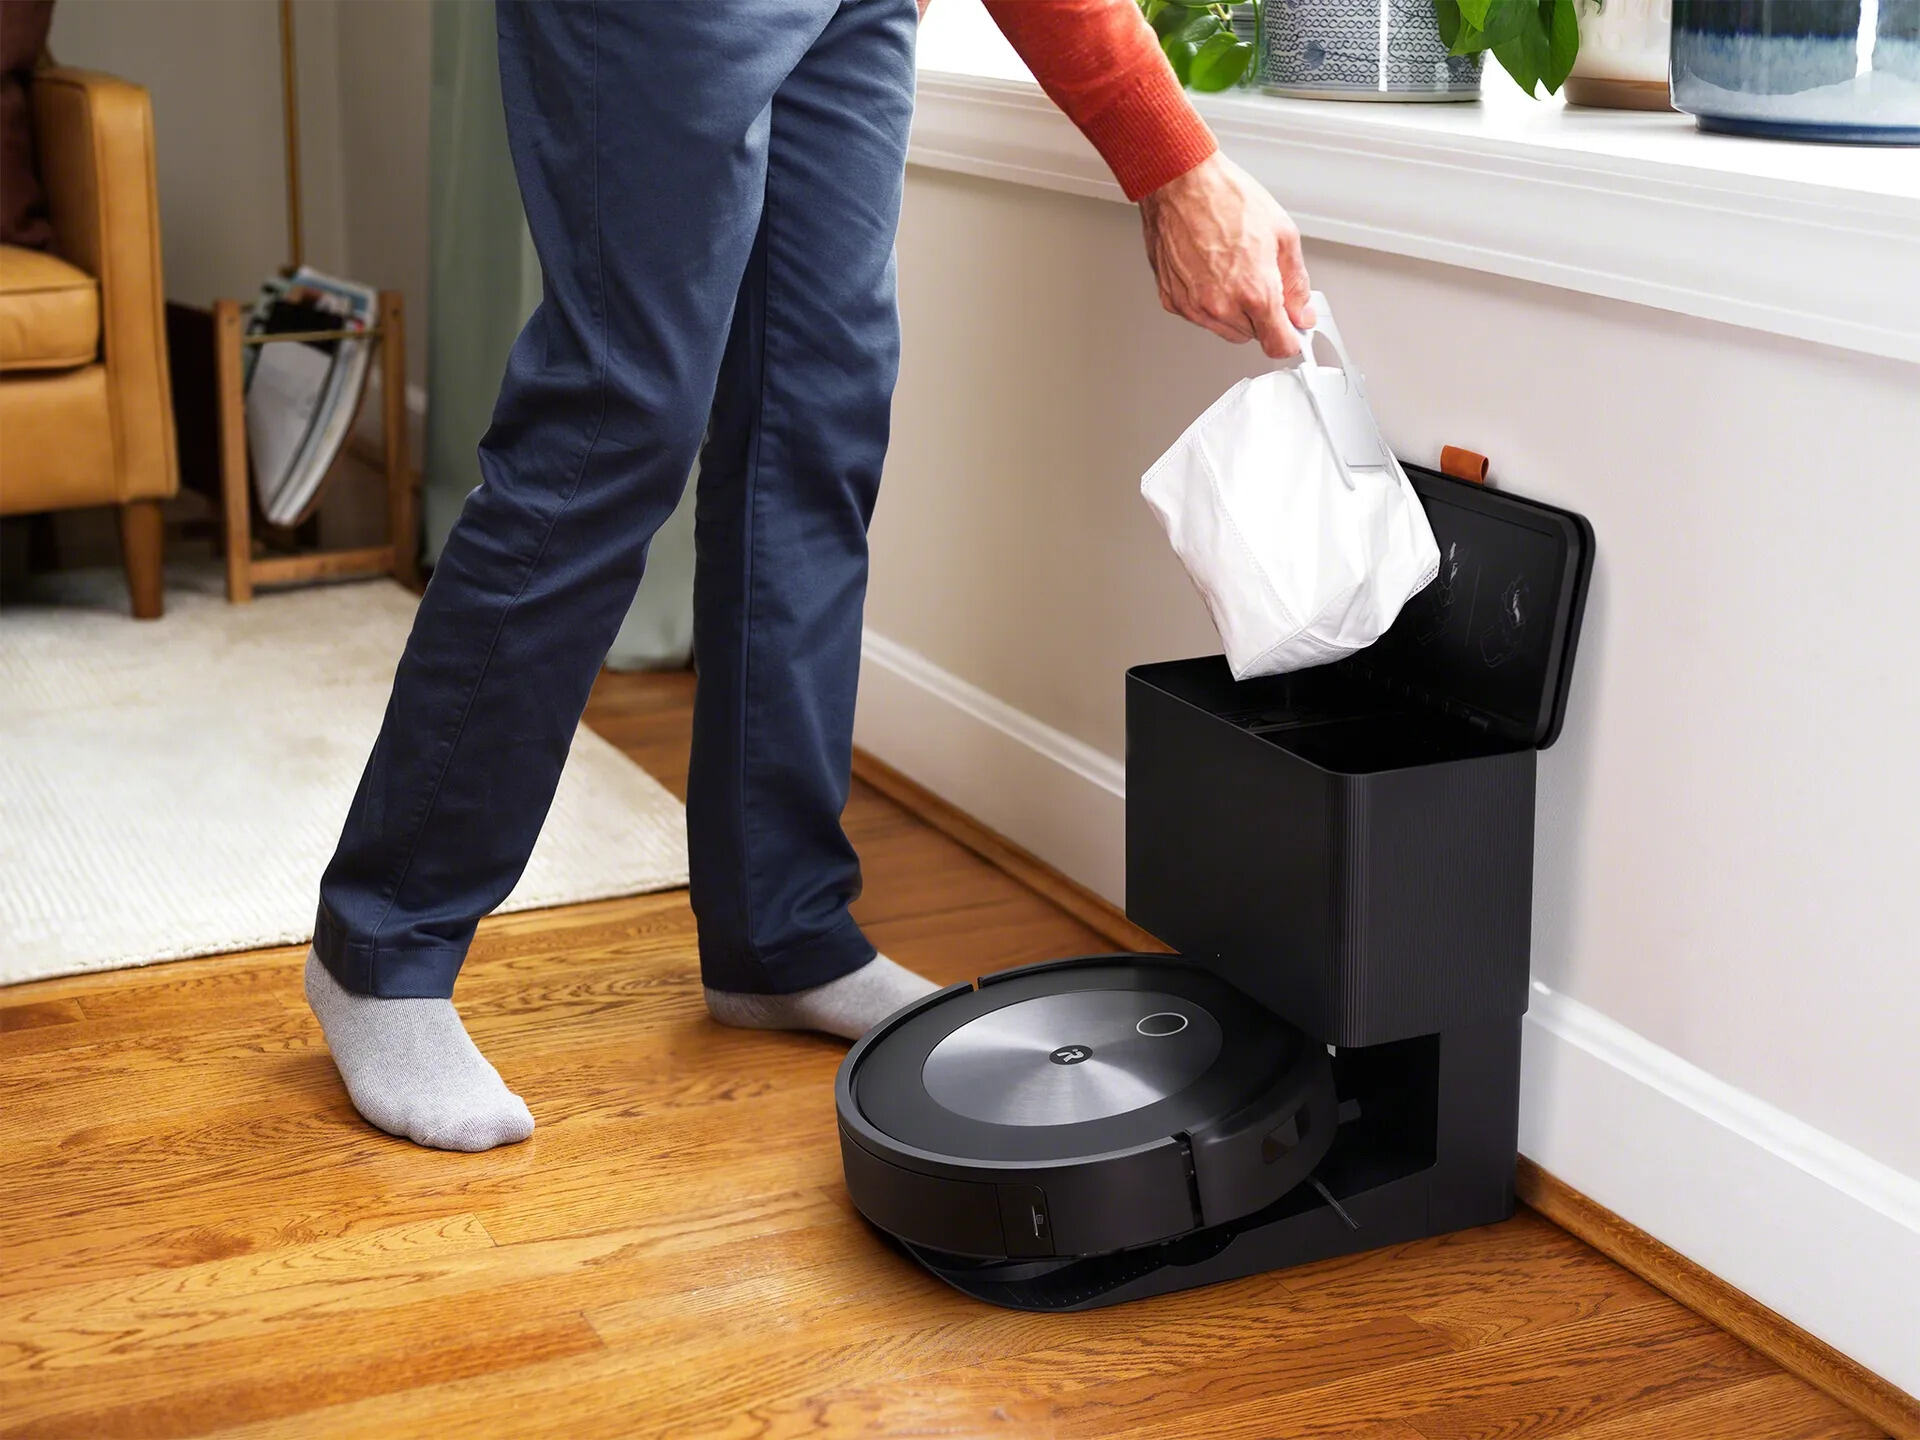
Step 2: Empty the Dustbin
To keep your robot vacuum running at peak performance, it’s important to regularly empty the dustbin. Here’s how you can do it:
- Locate the dustbin compartment on your robot vacuum. It is typically located on the back or bottom of the device.
- Remove the dustbin by pressing the release button or sliding it out, depending on your vacuum model.
- Hold the dustbin over a trash can and open the lid or flap to release the collected dirt and debris. Some robot vacuums have a bagless design, while others may have disposable bags. Follow the manufacturer’s instructions accordingly.
- Tap or shake the dustbin gently to remove any remaining dust or debris that may be stuck inside.
- Inspect the dustbin for any signs of damage or blockages. Clean any clogged openings or filters using a soft brush or cloth.
- Once the dustbin is empty and clean, reinsert it back into the robot vacuum until it clicks or locks securely in place.
By regularly emptying the dustbin, you ensure that there is enough space for the vacuum to collect dirt and maintain its suction power. This also prevents any blockages that may hinder the cleaning performance of your robot vacuum.
It’s important to note that the frequency of emptying the dustbin may vary depending on the size of the dustbin and the amount of dirt accumulated during each cleaning cycle. It’s best to check the dustbin after each use and empty it as needed.
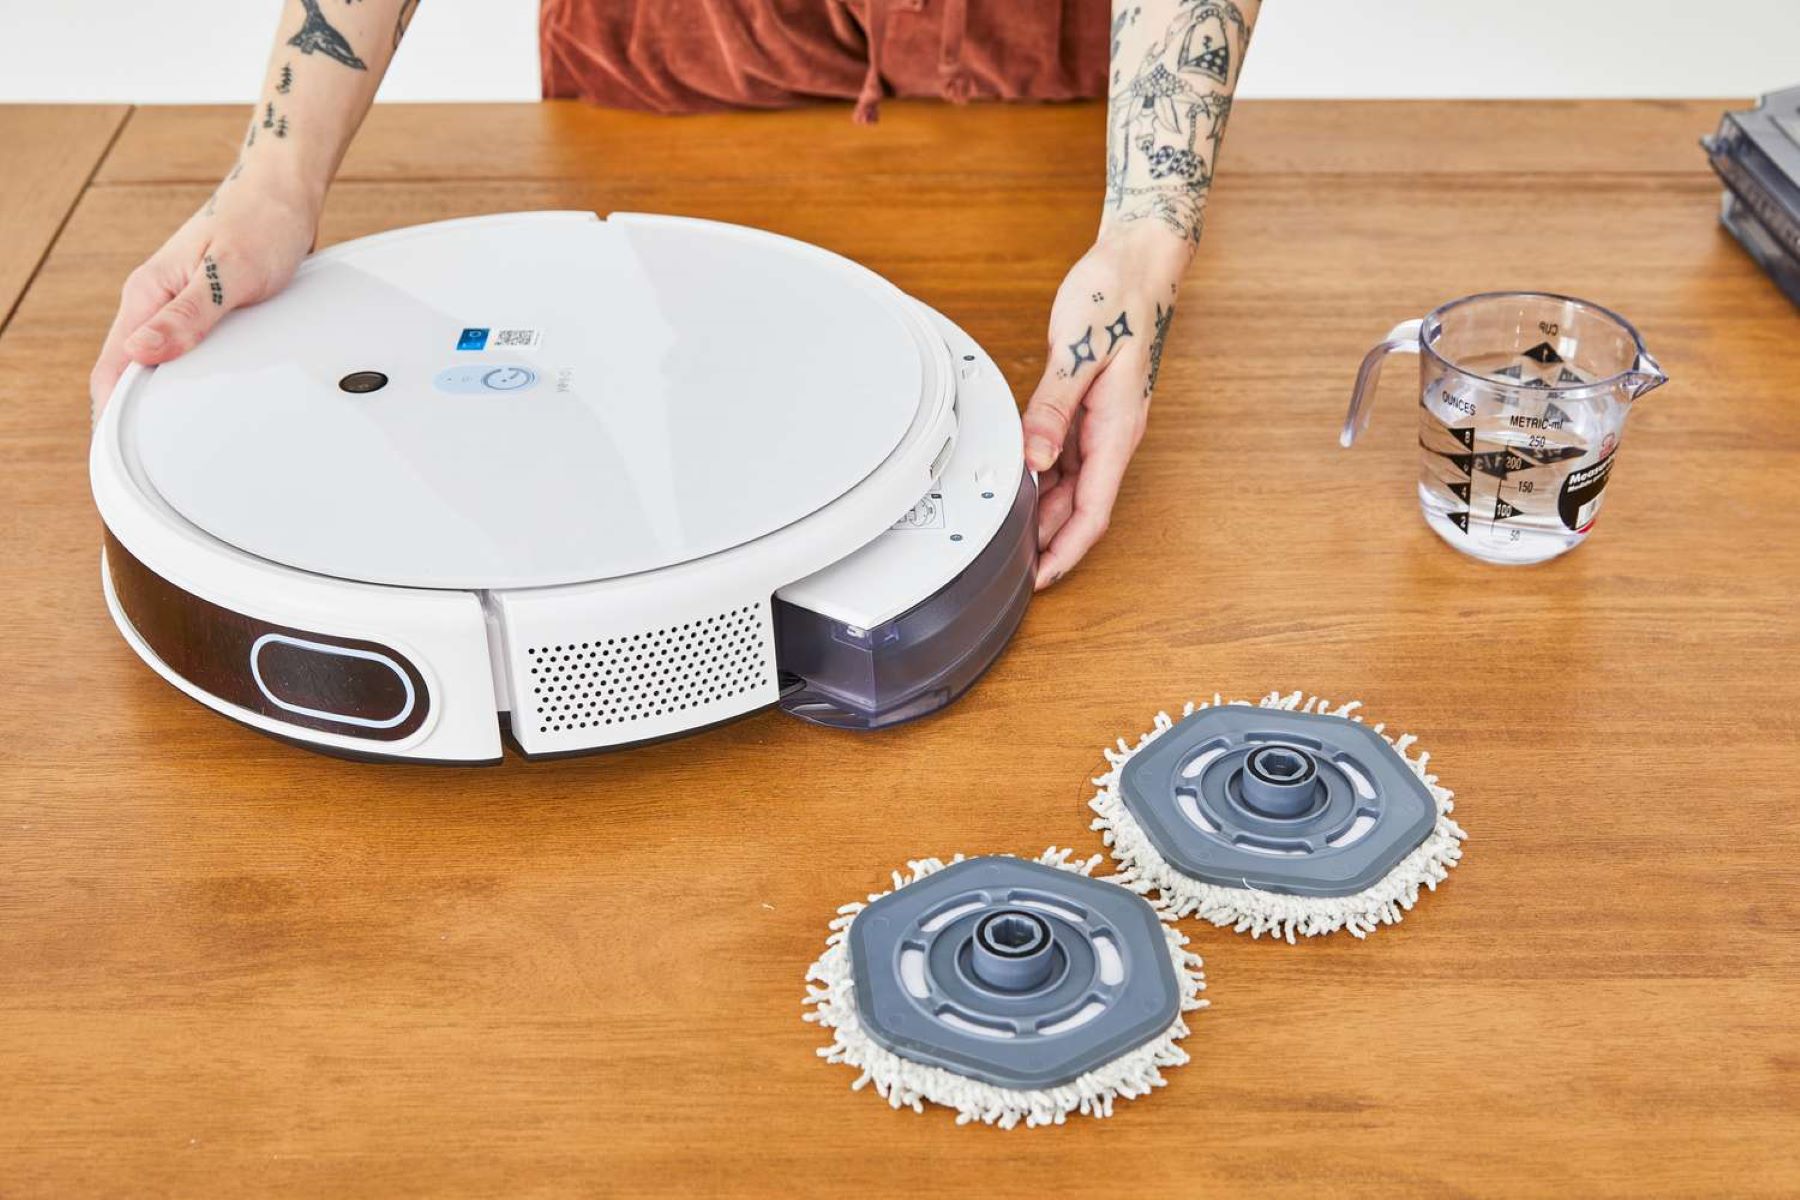
Step 3: Remove and Clean the Brushes
To ensure effective cleaning, it’s important to regularly remove and clean the brushes of your robot vacuum. Follow these steps:
- Refer to your user manual to locate the brush module or access point on your robot vacuum. This is where the brushes are attached and can be easily removed.
- Gently remove the brush module by pressing the release buttons or unscrewing any fasteners, depending on your robot vacuum model.
- Once the brush module is detached, take a close look at the brushes. You may find dirt, hair, or tangled threads wrapped around them. Use a pair of tweezers or your fingers to remove any debris or tangles.
- If necessary, you can use a small brush or toothbrush to gently scrub the brushes and remove any stubborn dirt. Be careful not to use excessive force or damage the bristles.
- Inspect the brush module and remove any debris or dust that may have accumulated. You can use a soft cloth or compressed air canister to clean hard-to-reach areas.
- Once the brushes and brush module are clean and free from debris, reattach the module back onto the robot vacuum. Ensure it is securely fastened and clicks into place.
Cleaning the brushes of your robot vacuum on a regular basis helps prevent blockages and ensures that the vacuum can effectively pick up dirt and debris from your floors. It also helps extend the life of the brushes and maintains the performance of your robot vacuum.
Refer to your user manual for any additional instructions or specific maintenance requirements for your robot vacuum’s brushes.
Regularly clean the brushes, sensors, and dustbin of your robot vacuum to ensure optimal performance. Use a small brush or compressed air to remove debris and hair from the components.
Step 4: Clean the Filter
The filter plays a crucial role in trapping fine dust particles and allergens, preventing them from being released back into the air. Regularly cleaning the filter is essential for maintaining the cleaning efficiency of your robot vacuum. Follow these steps to clean the filter:
- Consult your user manual to locate the filter compartment on your robot vacuum. In most cases, it is situated near the dustbin or within the brush module.
- Remove the filter from its compartment. Depending on your model, it may be a washable filter or a disposable one.
- If the filter is washable, gently rinse it under running water. Use mild dish soap if necessary to remove any stubborn dirt or debris. Be sure to follow the manufacturer’s guidelines regarding the washing process.
- Allow the filter to air dry completely before reinserting it. Ensure it is dry to avoid any water damage to the robot vacuum.
- If the filter is disposable, simply replace it with a new one. Make sure to use the correct filter replacement that is compatible with your robot vacuum model.
- Reinsert the filter back into its compartment, ensuring it is properly seated and secured.
Cleaning or replacing the filter regularly helps maintain the performance of your robot vacuum and ensures that your floors are thoroughly cleaned. It also contributes to better indoor air quality by minimizing the release of dust and allergens into the environment.
Refer to your user manual for specific instructions or recommendations regarding the cleaning and replacement of the filter for your robot vacuum model.
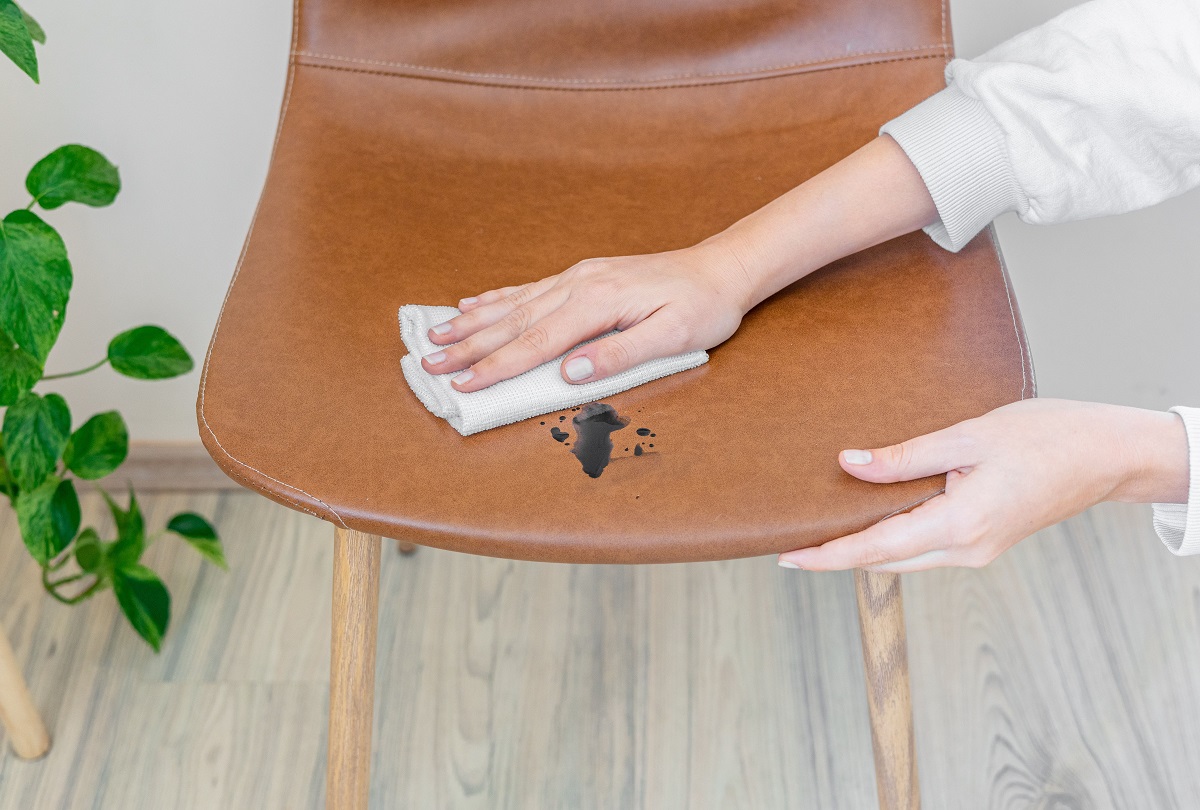
Step 5: Wipe Down the Robot Vacuum’s Exterior
Keeping the exterior of your robot vacuum clean not only helps with its overall appearance but also ensures optimal functionality. Here’s how you can effectively wipe down the robot vacuum’s exterior:
- Prepare a mild cleaning solution by mixing a small amount of dish soap with water in a bowl or spray bottle.
- Dampen a soft cloth or microfiber cloth with the cleaning solution. Make sure the cloth is not dripping wet.
- Gently wipe down the surfaces of the robot vacuum, including the top, sides, and bottom. Pay attention to any areas that may accumulate dirt or grime, such as the edges and corners.
- For stubborn stains or sticky residue, you can use a slightly dampened cloth or a cotton swab to spot clean the affected area.
- Take extra care when cleaning around buttons, display screens, or charging ports. Avoid excessive moisture contact or getting water inside these sensitive areas.
- Allow the robot vacuum to air dry completely before turning it back on or using it again.
Regularly wiping down the exterior of your robot vacuum helps remove dust, fingerprints, and other debris that may accumulate over time. It also helps to maintain proper functioning and prolong the lifespan of the device.
Remember to consult your user manual for any manufacturer-specific guidelines or recommendations regarding the cleaning of your robot vacuum’s exterior.
Step 6: Check and Clean the Sensors
The sensors on your robot vacuum are responsible for detecting obstacles, preventing collisions, and ensuring efficient navigation. Regularly checking and cleaning these sensors will help optimize the performance of your robot vacuum. Follow these steps:
- Refer to your user manual to identify the location of the sensors on your robot vacuum. They are typically located on the front, sides, and bottom of the device.
- Inspect the sensors for any visible dirt, dust, or smudges. Use a soft cloth or a cotton swab to gently wipe away any debris.
- If there are stubborn dirt or fingerprints on the sensors, you can lightly dampen the cloth or swab with water or a mild cleaning solution to remove them. Be careful not to use excessive moisture, as it may damage the sensors.
- Pay close attention to any optical sensors, such as cliff sensors or wall sensors, that are responsible for detecting drop-offs or boundaries. Ensure they are clean and free from any obstructions.
- Additionally, check the wheels and contact points for accumulated dirt, hair, or debris. Use a small brush or a toothpick to carefully remove any blockages.
- Once the sensors and contact points are clean, allow them to dry completely before operating the robot vacuum.
Cleaning the sensors ensures that your robot vacuum can effectively navigate your home and avoid obstacles. It helps prevent accidental collisions, improves accuracy in detecting boundaries, and maintains consistent performance.
Remember to consult your user manual for any specific instructions or guidelines regarding the cleaning and maintenance of the sensors for your robot vacuum model.
Step 7: Reassemble the Robot Vacuum
After completing the necessary cleaning and maintenance steps, it’s time to reassemble your robot vacuum. Follow these steps to ensure everything is properly put back together:
- Start by reattaching the cleaned brush module. Align it with the designated slot or connection point on your robot vacuum and firmly press or fasten it until it clicks into place.
- If you removed the filter during the cleaning process, insert it back into its compartment. Make sure the filter is correctly oriented and securely seated.
- Next, reinsert the dustbin into its designated space on the robot vacuum. Ensure it is properly aligned and securely locked or closed.
- If there are any additional attachments or accessories, such as side brushes or mop attachments, attach them according to the manufacturer’s instructions.
- Once everything is reassembled, take a quick look around the robot vacuum to ensure all components are securely in place and properly aligned.
Proper reassembly is essential to ensure that your robot vacuum functions as intended. Any loose or improperly fitted components may affect the performance or even cause damage to the device.
Always refer to your user manual for any specific reassembly instructions, as the steps may vary depending on the model and design of your robot vacuum.
Step 8: Charge and Test the Robot Vacuum
Once you have reassembled your robot vacuum, it’s time to charge it and run a test to ensure everything is working properly. Follow these final steps:
- Place the robot vacuum on its charging dock or connect it to a power source using the provided charging cable.
- Allow the robot vacuum to charge fully, following the recommended charging time specified in your user manual. This ensures that the device has enough power to operate efficiently.
- Once the robot vacuum is fully charged, remove it from the charging dock or unplug the charging cable.
- Turn on the power to activate the robot vacuum. Depending on your model, this may involve pressing a power button or using a remote control or smartphone app.
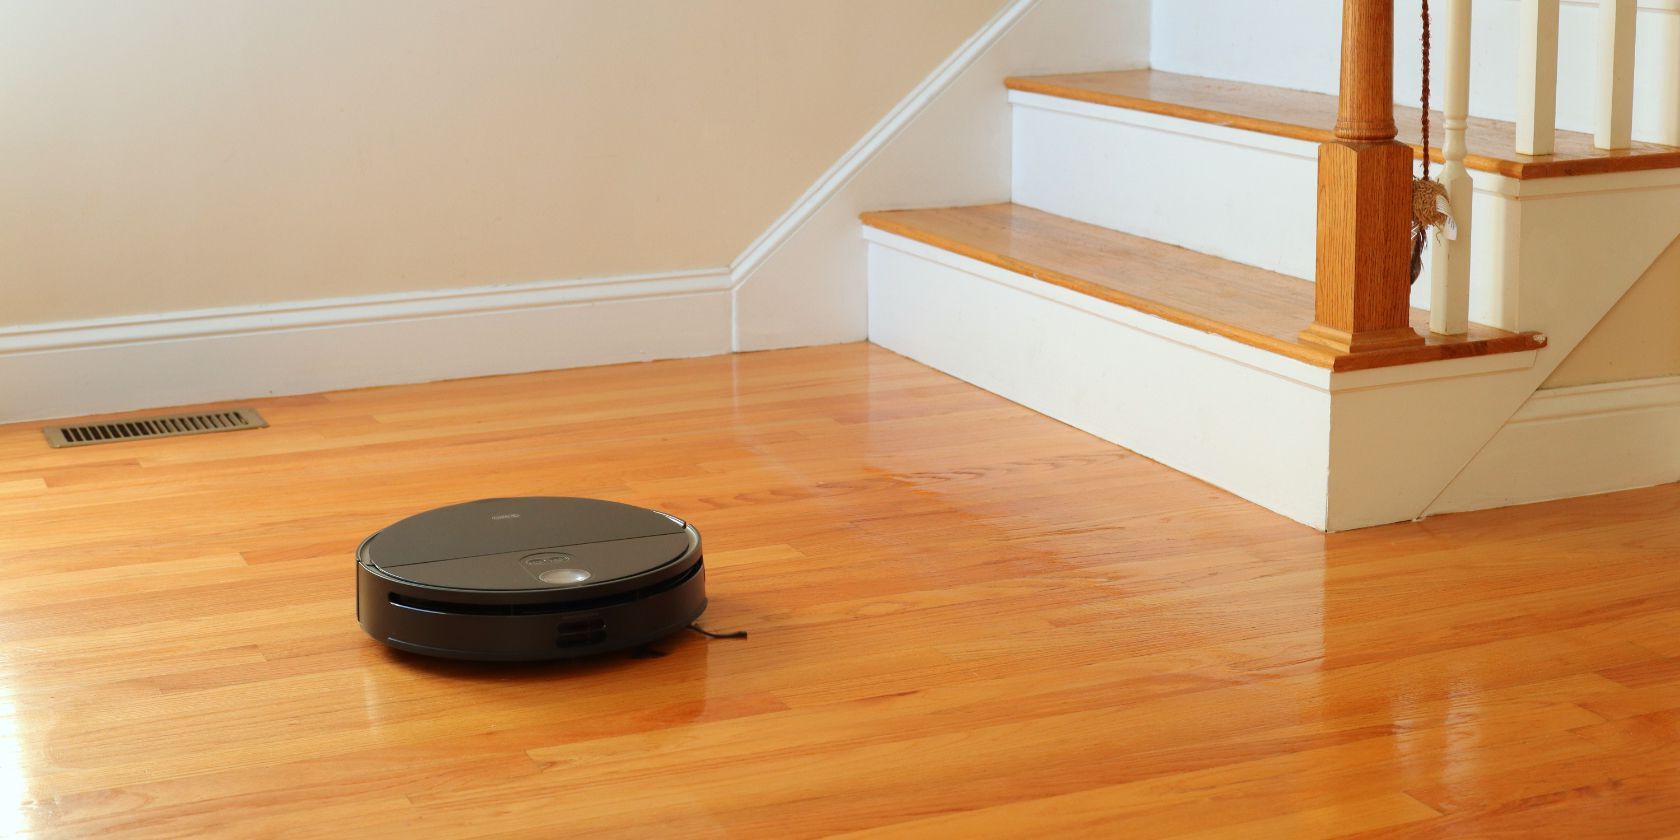
- Run a test by starting a cleaning cycle in a designated area of your home. Observe the robot vacuum’s movements and make sure it navigates smoothly, avoids obstacles, and effectively picks up dirt and debris.
- Monitor the cleaning performance to ensure that the robot vacuum is functioning as expected. Check if it properly returns to the charging dock after completing the cleaning cycle.
- If you notice any issues or abnormal behavior, consult your user manual for troubleshooting tips or contact customer support for assistance.
By charging and testing your robot vacuum after cleaning and maintenance, you can ensure that it is ready to perform optimally on your next cleaning session. Regular testing helps you identify any potential issues early on and take the necessary steps to resolve them.
Remember to follow any specific instructions or recommendations provided by the manufacturer for charging and testing your robot vacuum.
Conclusion
Cleaning and maintaining your robot vacuum is essential for its optimal performance and longevity. By following the steps outlined in this guide, you can ensure that your robot vacuum remains in top shape, providing you with efficient and thorough cleaning for years to come.
Regularly emptying the dustbin, cleaning the brushes and filters, wiping down the exterior, checking and cleaning the sensors, and reassembling the robot vacuum are all important tasks that should be performed on a routine basis. These maintenance steps not only improve the cleaning efficiency of your robot vacuum but also contribute to better indoor air quality and extend the lifespan of the device.
Remember to consult your user manual for any specific instructions or guidelines that are unique to your robot vacuum model. Additionally, be sure to use the recommended tools and cleaning solutions to avoid causing any damage to the device.
By incorporating regular cleaning and maintenance into your routine, you can optimize the performance of your robot vacuum, ensuring clean and dust-free floors effortlessly. So, don’t forget to give your robot vacuum some well-deserved attention and enjoy its convenience and efficiency in keeping your home tidy.
Frequently Asked Questions about How To Clean A Robot Vacuum To Keep It Performing Its Best
Was this page helpful?
At Storables.com, we guarantee accurate and reliable information. Our content, validated by Expert Board Contributors, is crafted following stringent Editorial Policies. We're committed to providing you with well-researched, expert-backed insights for all your informational needs.
0 thoughts on “How To Clean A Robot Vacuum To Keep It Performing Its Best”