Home>Ideas and Tips>Upgrading Your Home’s Attic With DIY Structural Insulated Panels
Ideas and Tips
Upgrading Your Home’s Attic With DIY Structural Insulated Panels
Published: September 21, 2024
Upgrade your attic with DIY Structural Insulated Panels for superior insulation, energy efficiency, and structural integrity. Learn how to install SIPs effectively.
(Many of the links in this article redirect to a specific reviewed product. Your purchase of these products through affiliate links helps to generate commission for Storables.com, at no extra cost. Learn more)
Introduction
Upgrading your home's attic with DIY structural insulated panels (SIPs) is a game-changer. These panels offer superior insulation, structural integrity, and energy efficiency. They’re perfect for both new and existing homes. Let’s dive into the world of SIPs, exploring their benefits, installation process, and tips for a successful DIY project.
Benefits of Using SIPs
SIPs have several advantages that make them a top choice for attic upgrades:
-
Superior Insulation:
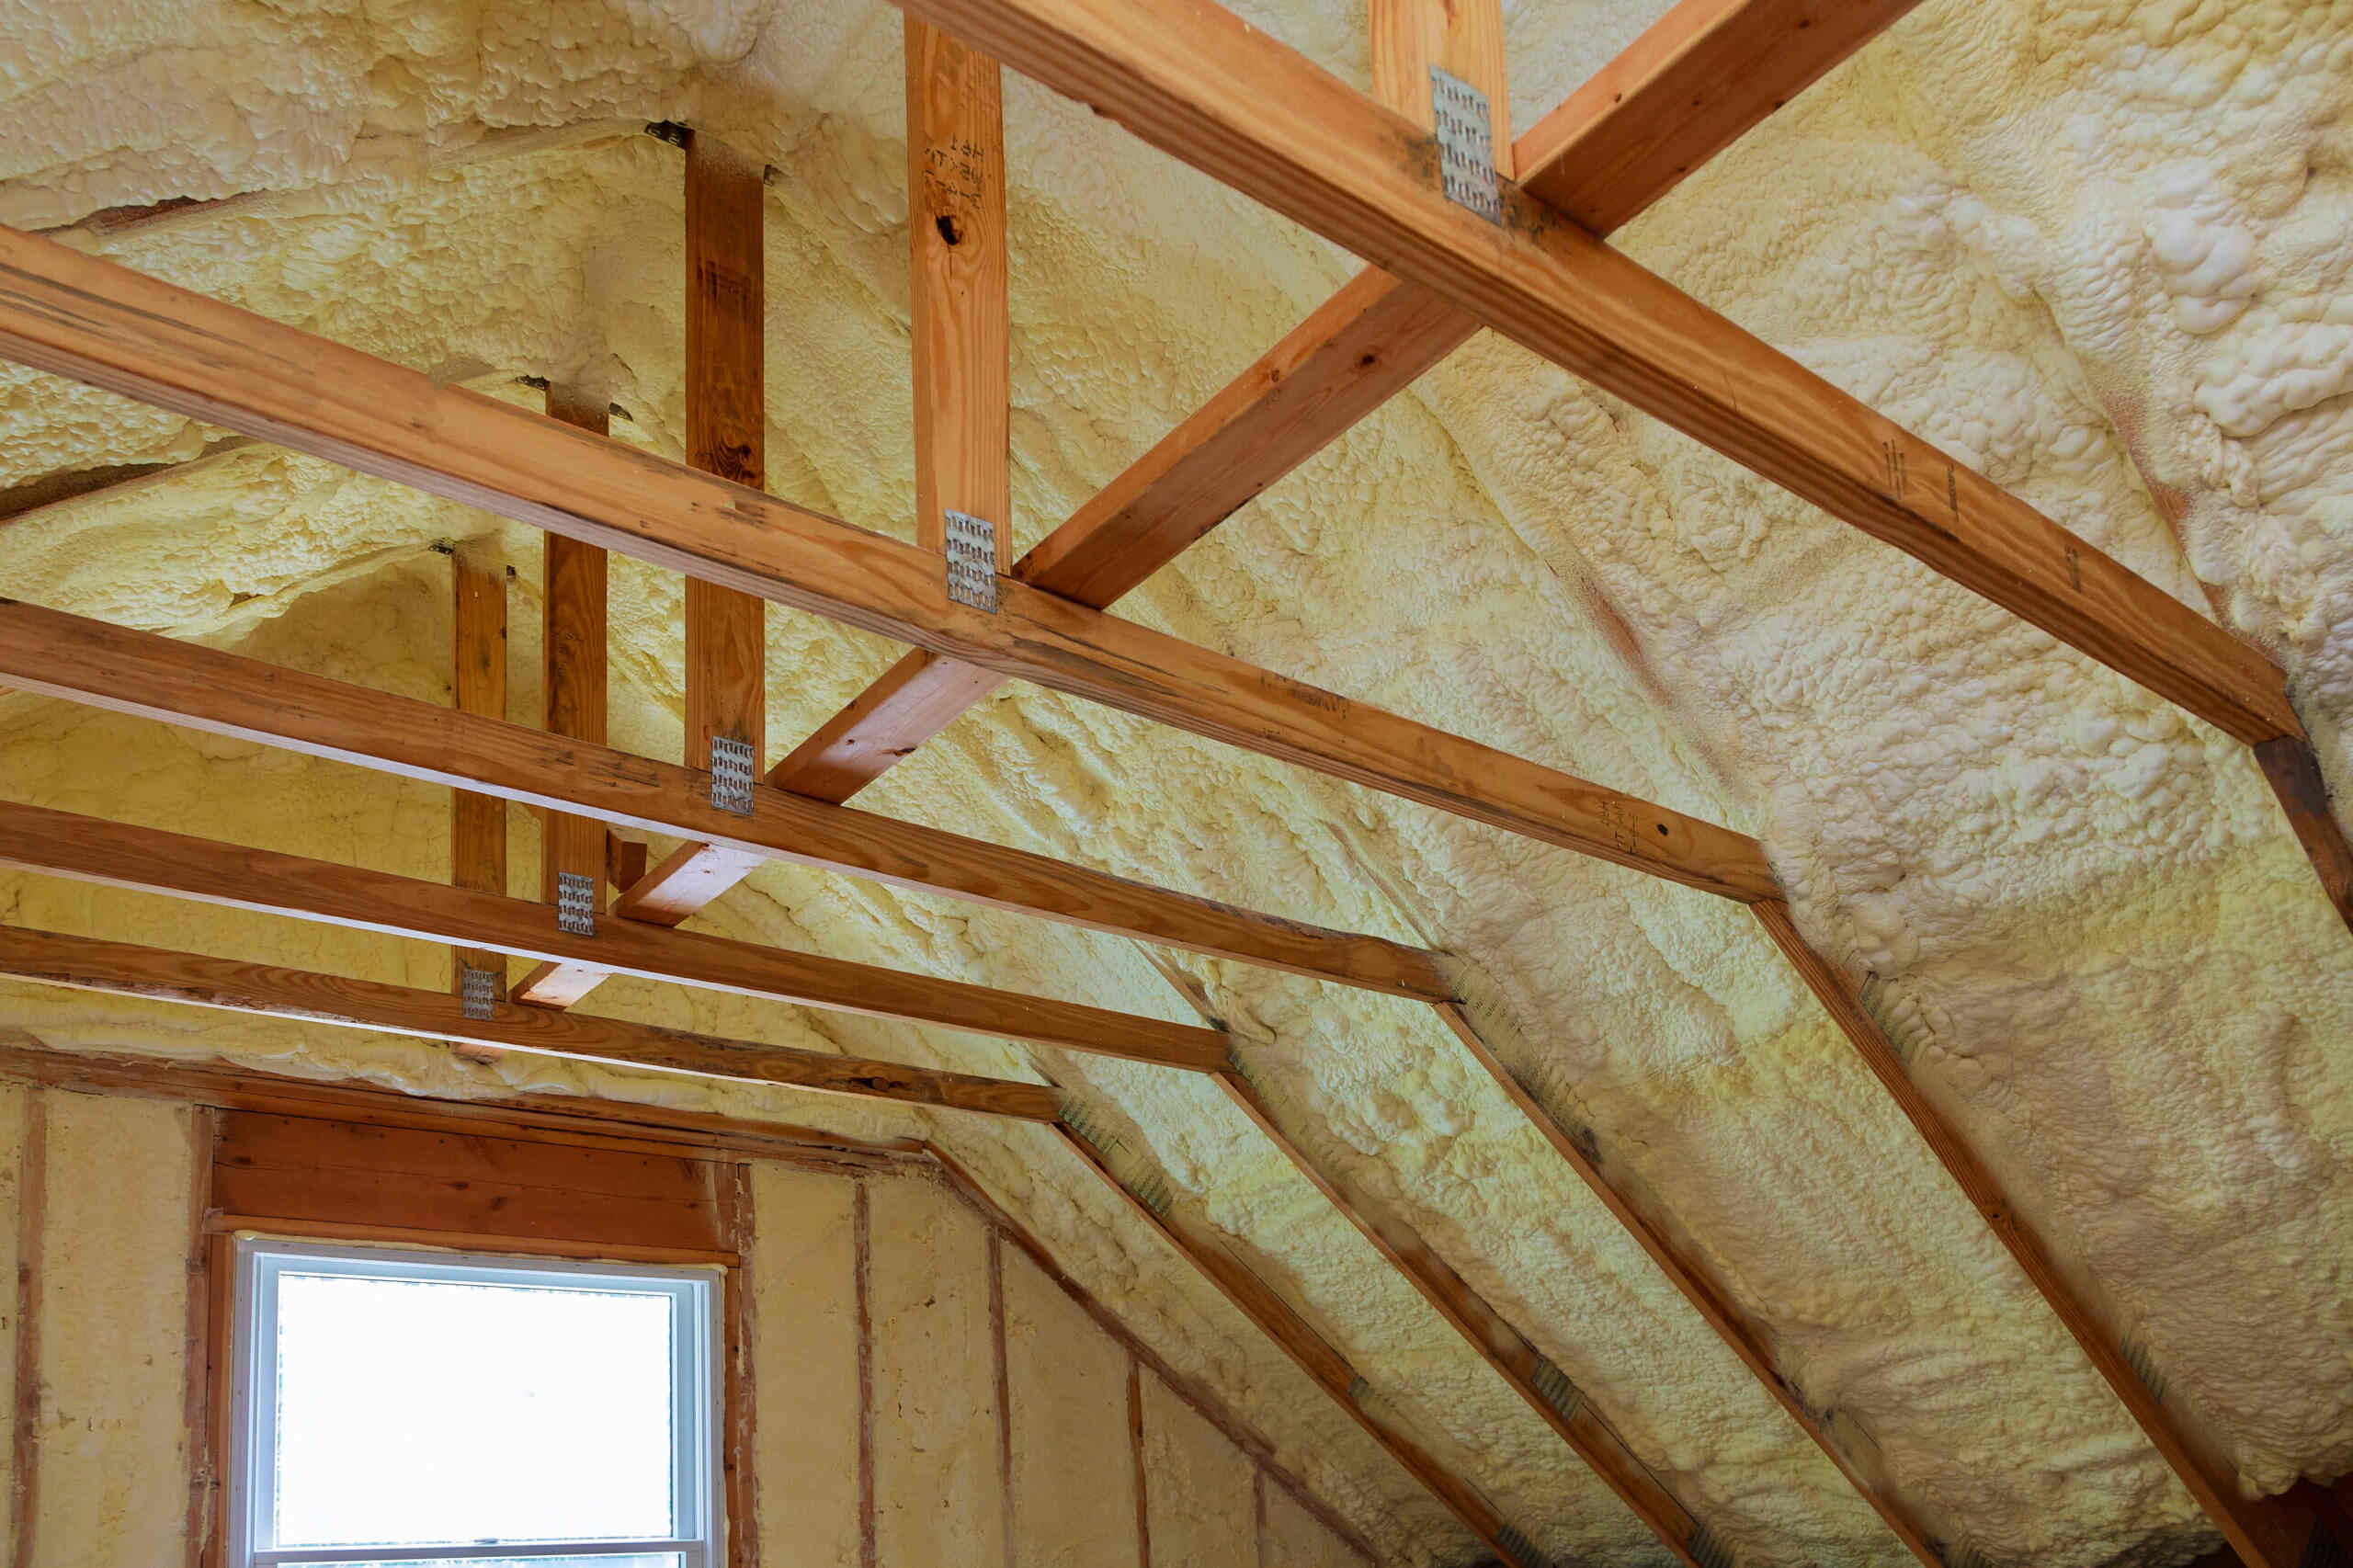
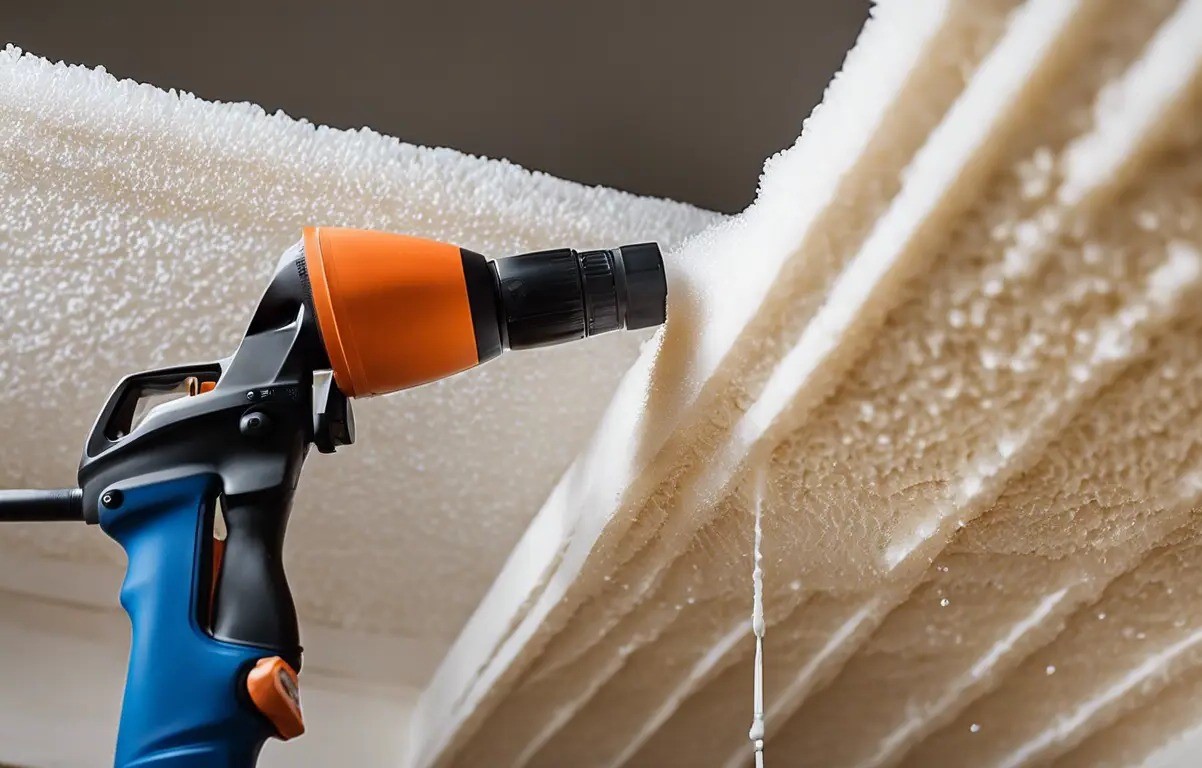
- SIPs are made from rigid foam insulation sandwiched between two structural facings, usually OSB (oriented strand board). This construction provides a high R-value, which is essential for keeping your home cozy and cutting down on energy costs.
-
Structural Integrity:
- The structural facings of SIPs offer excellent load-bearing capacity. This means you can achieve a more solid and durable structure with less material than traditional framing methods.
-
Energy Efficiency:
- By minimizing thermal bridging (the flow of heat through structural elements), SIPs ensure that the insulation remains effective throughout the building envelope. This results in significant energy savings and improved comfort.
-
Reduced Construction Time:
- SIPs are prefabricated, which means they can be assembled quickly on-site. This reduces construction time and minimizes the impact on your daily routine.
-
Enhanced Durability:
- The rigid foam core of SIPs is resistant to moisture and pests, ensuring that your attic remains dry and free from damage over time.
Preparing Your Attic for SIP Installation
Before you start installing SIPs, it’s crucial to prepare your attic space properly. Here are some steps to follow:
-
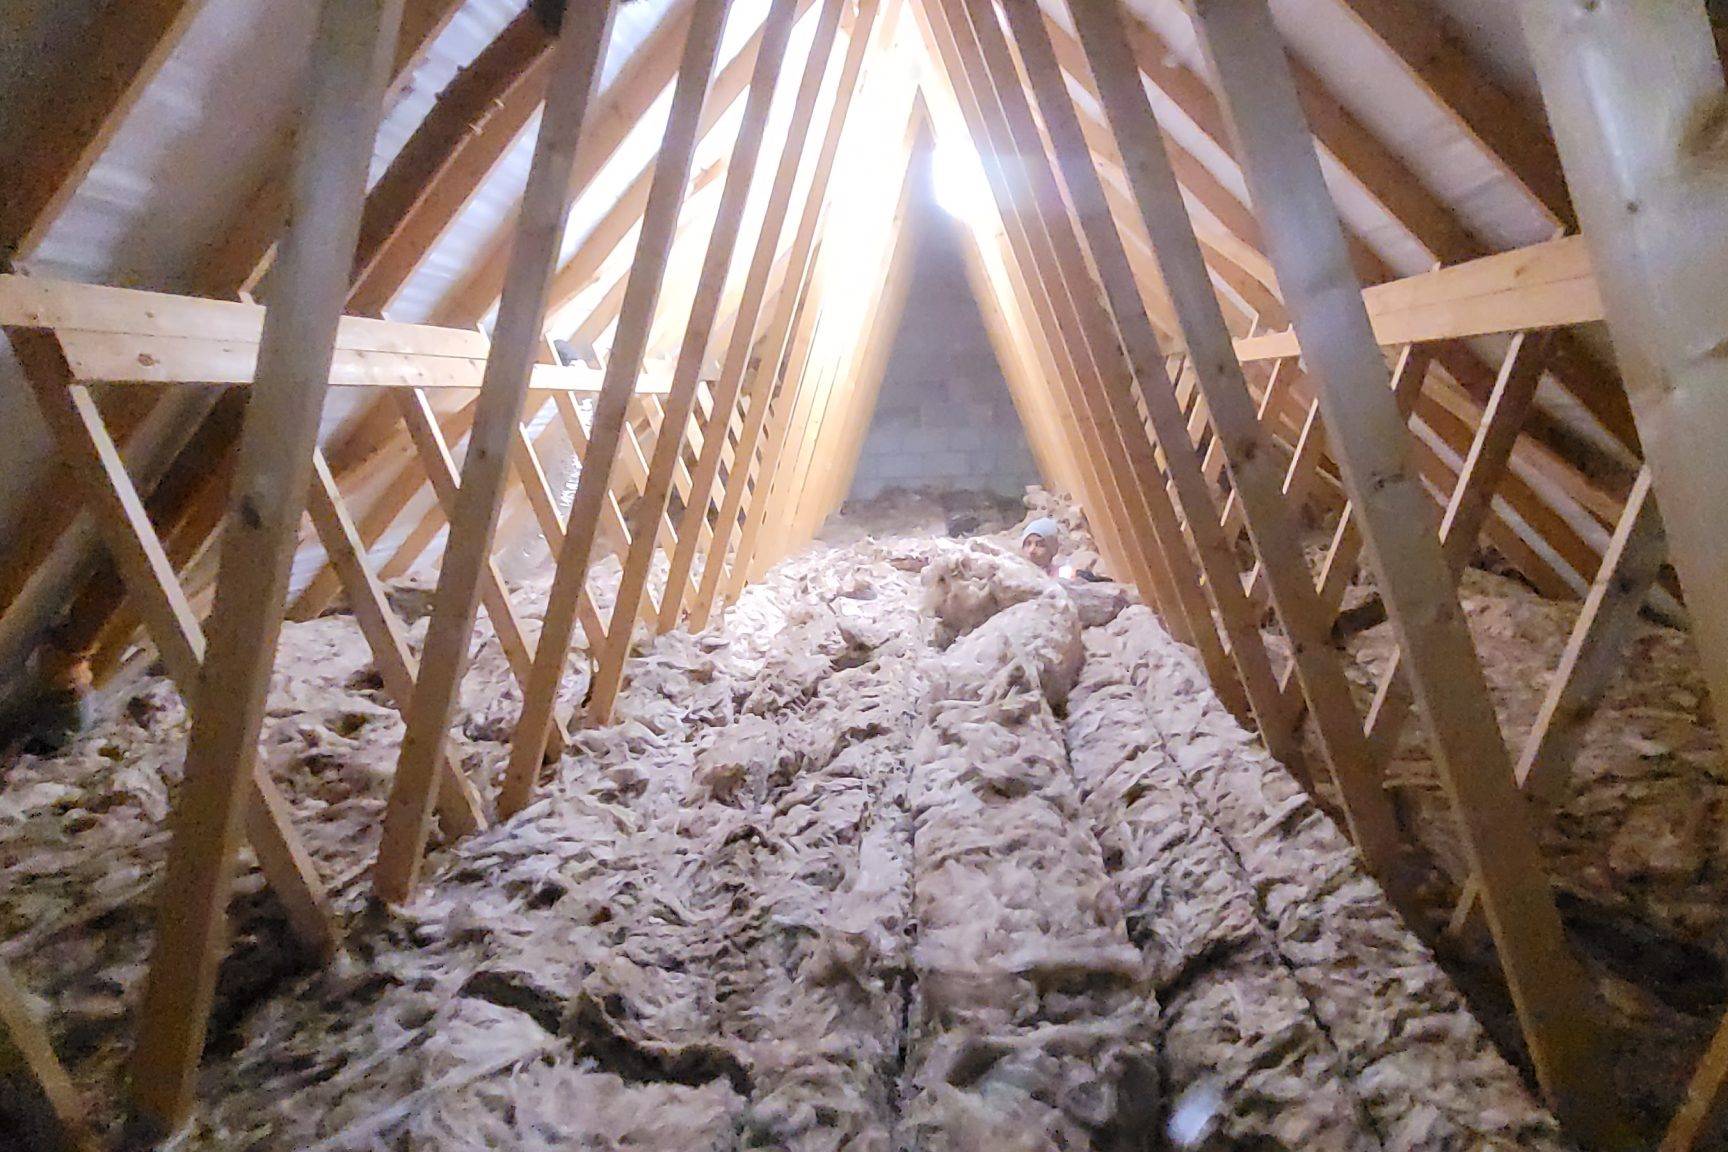
Assess Your Current Insulation:
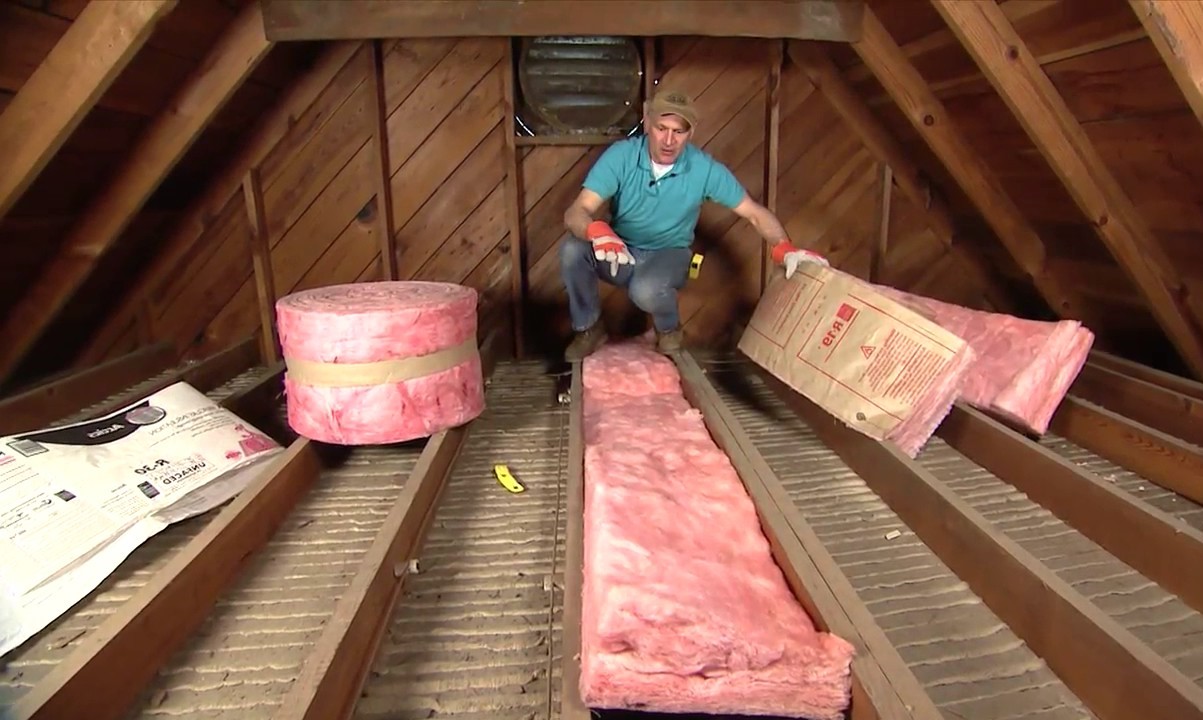
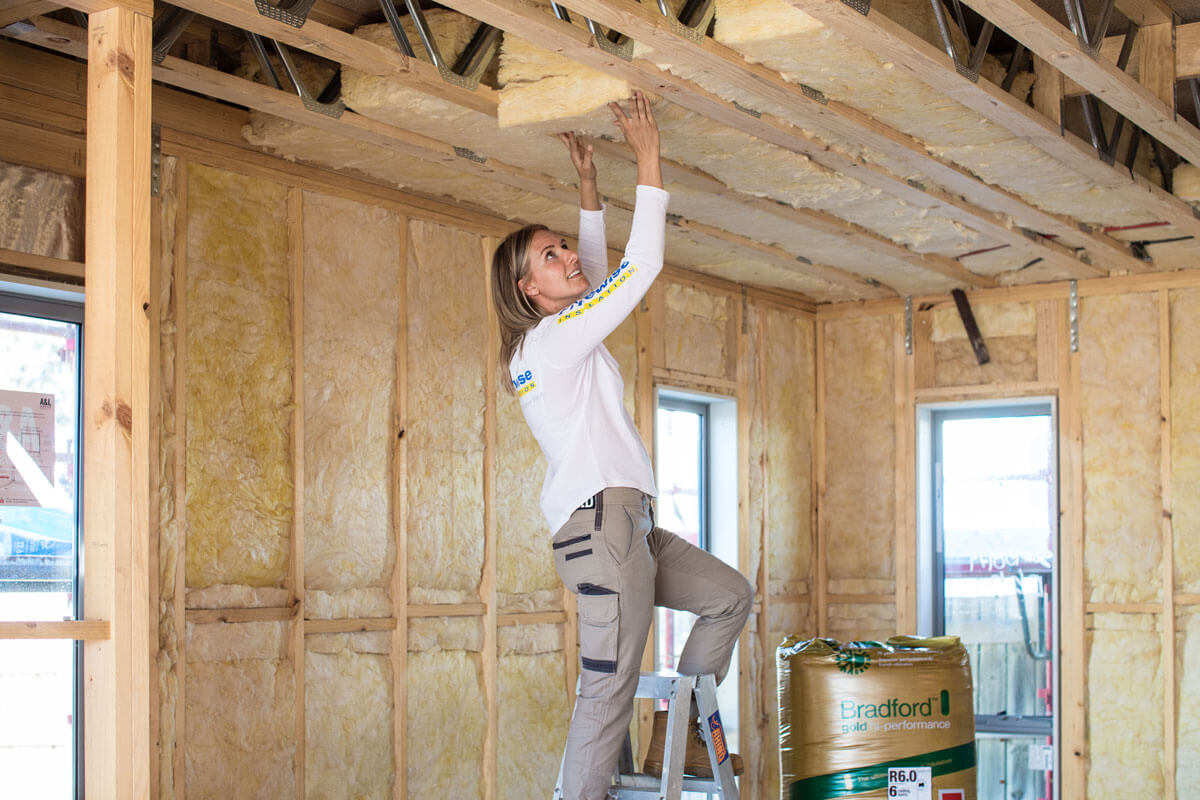
- Measure the thickness of your current attic insulation to determine if it meets the recommended R-value (typically R-30). If it’s insufficient, you may need to add more insulation before installing SIPs.
-
Seal Air Leaks:
- Ensure that all air leaks in the attic are sealed. This includes gaps around vents, chimneys, and any other openings that could compromise the integrity of your attic space.
-
Repair Roof and Other Necessary Repairs:
- Address any roof leaks or other necessary repairs before proceeding with SIP installation. A dry and secure roof is essential for a successful SIP installation.
-
Insulate and Air Seal Attic Access:
- If your attic access is located in a conditioned part of the house, make sure it is properly insulated and air sealed to prevent heat loss.
-
Address Knee Walls:
- Knee walls are vertical walls with attic space directly behind them. Insulate and air seal these areas to maintain consistent temperatures throughout your home.
Choosing the Right Type of SIPs
There are several types of SIPs available, each with its own advantages and applications:
-
Nail Base SIPs:
- These panels have OSB on only one side, making them ideal for retrofitting existing homes. They can be glued and screwed to existing wall studs, providing added insulation without requiring extensive structural changes.
-
Standard SIPs:
- These panels have OSB on both sides and are commonly used in new construction projects. They offer superior structural integrity and can be used for both walls and roofs.
-
Specialty SIPs:
- Some manufacturers offer specialty SIPs designed for specific applications, such as those with integrated radiant barriers or enhanced moisture resistance.
Installing Nail Base SIPs in an Existing Home
Installing nail base SIPs in an existing home is a feasible DIY project if you follow these steps:
-
Remove Siding, Doors, and Windows:
- Start by removing the siding, doors, and windows from the area where you plan to install the SIPs. This will give you clear access to the wall studs.
-
Prepare Wall Studs:
- Ensure that the wall studs are clean and free from debris. If necessary, replace any rotten or damaged studs to ensure a solid base for your SIPs.
-
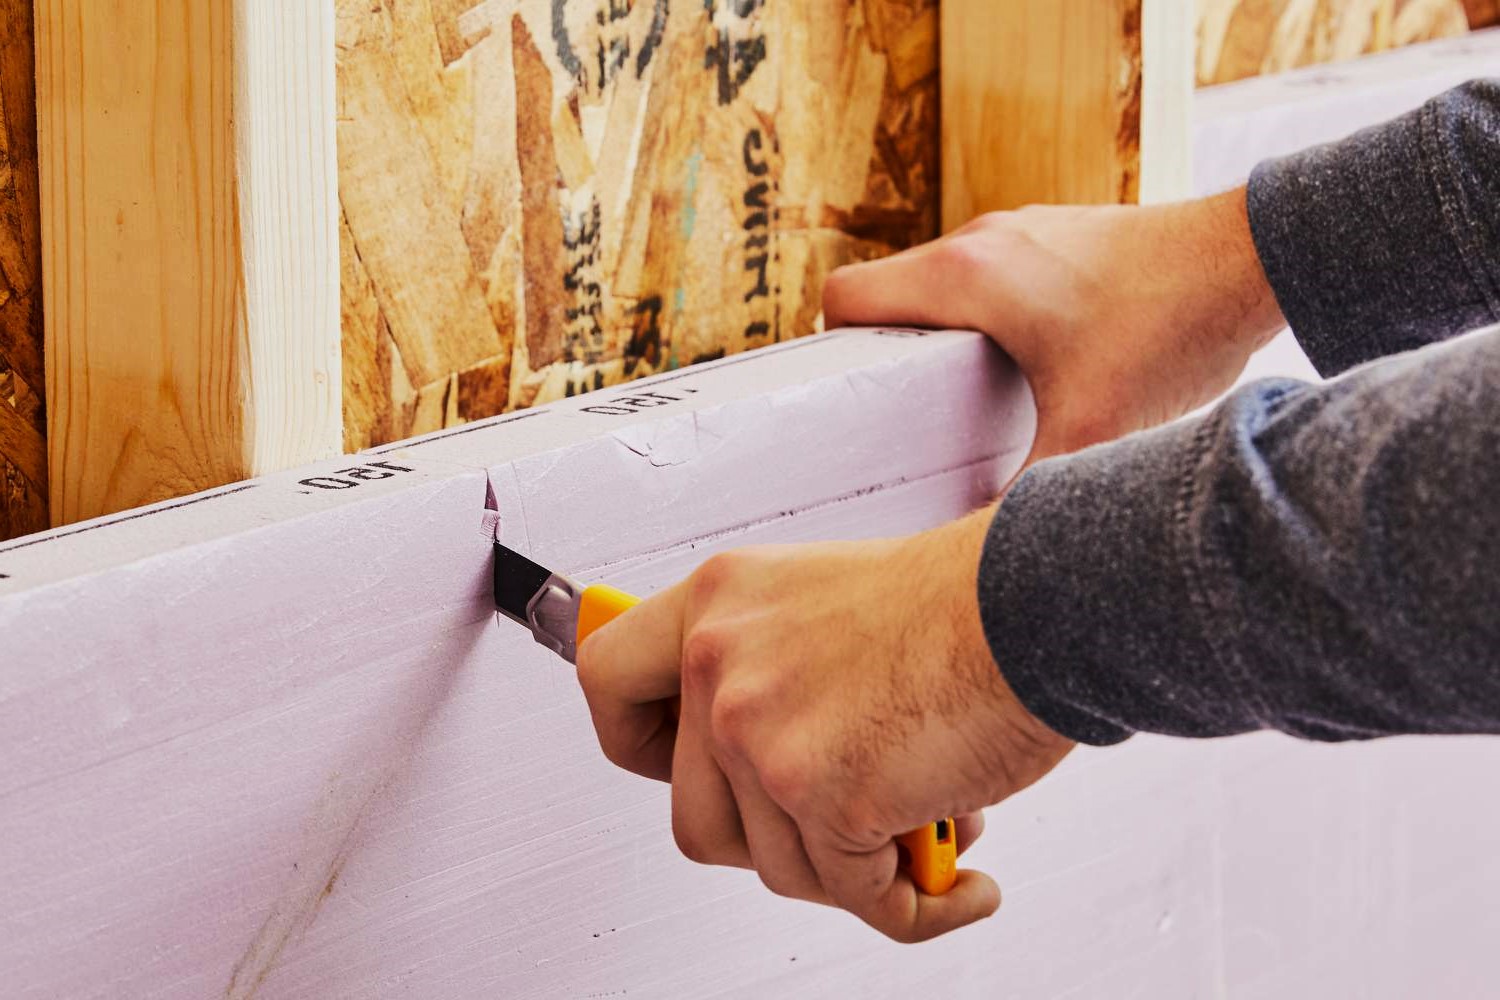
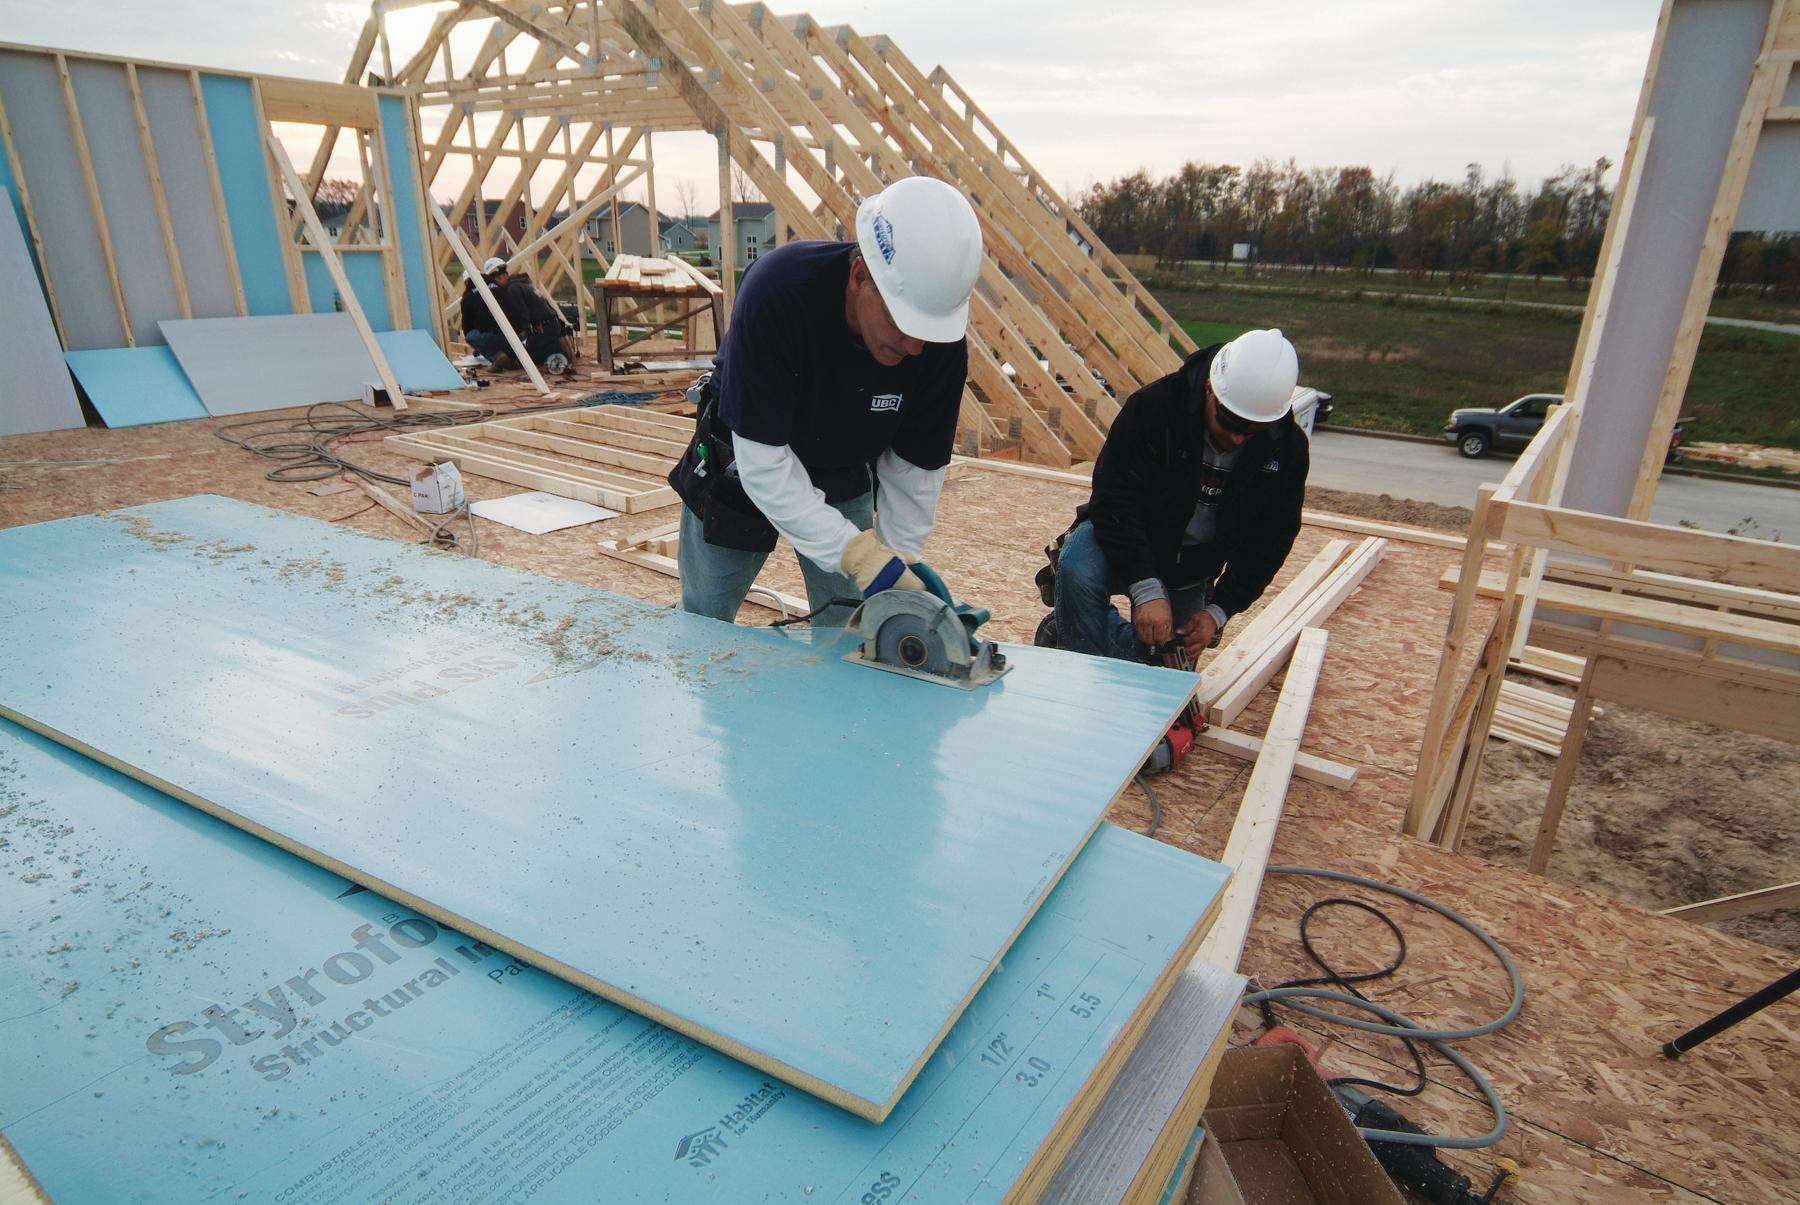
Glue and Screw SIPs to Wall Studs:
- Apply adhesive to the OSB side of the SIP panel and screw it into place using nails or screws. Make sure to align the panels carefully to avoid gaps or overlaps.
-
Cut Out for Doors and Windows:
- Use a saw or utility knife to cut out openings for doors and windows from the inside of the SIP panel. This will allow you to install new doors and windows or replace existing ones with energy-efficient options.
-
Reinstall Siding, Doors, and Windows:
- Once all SIP panels are in place, reinstall the siding, doors, and windows. Ensure that all seams are sealed with caulk or tape to prevent air leaks.
-
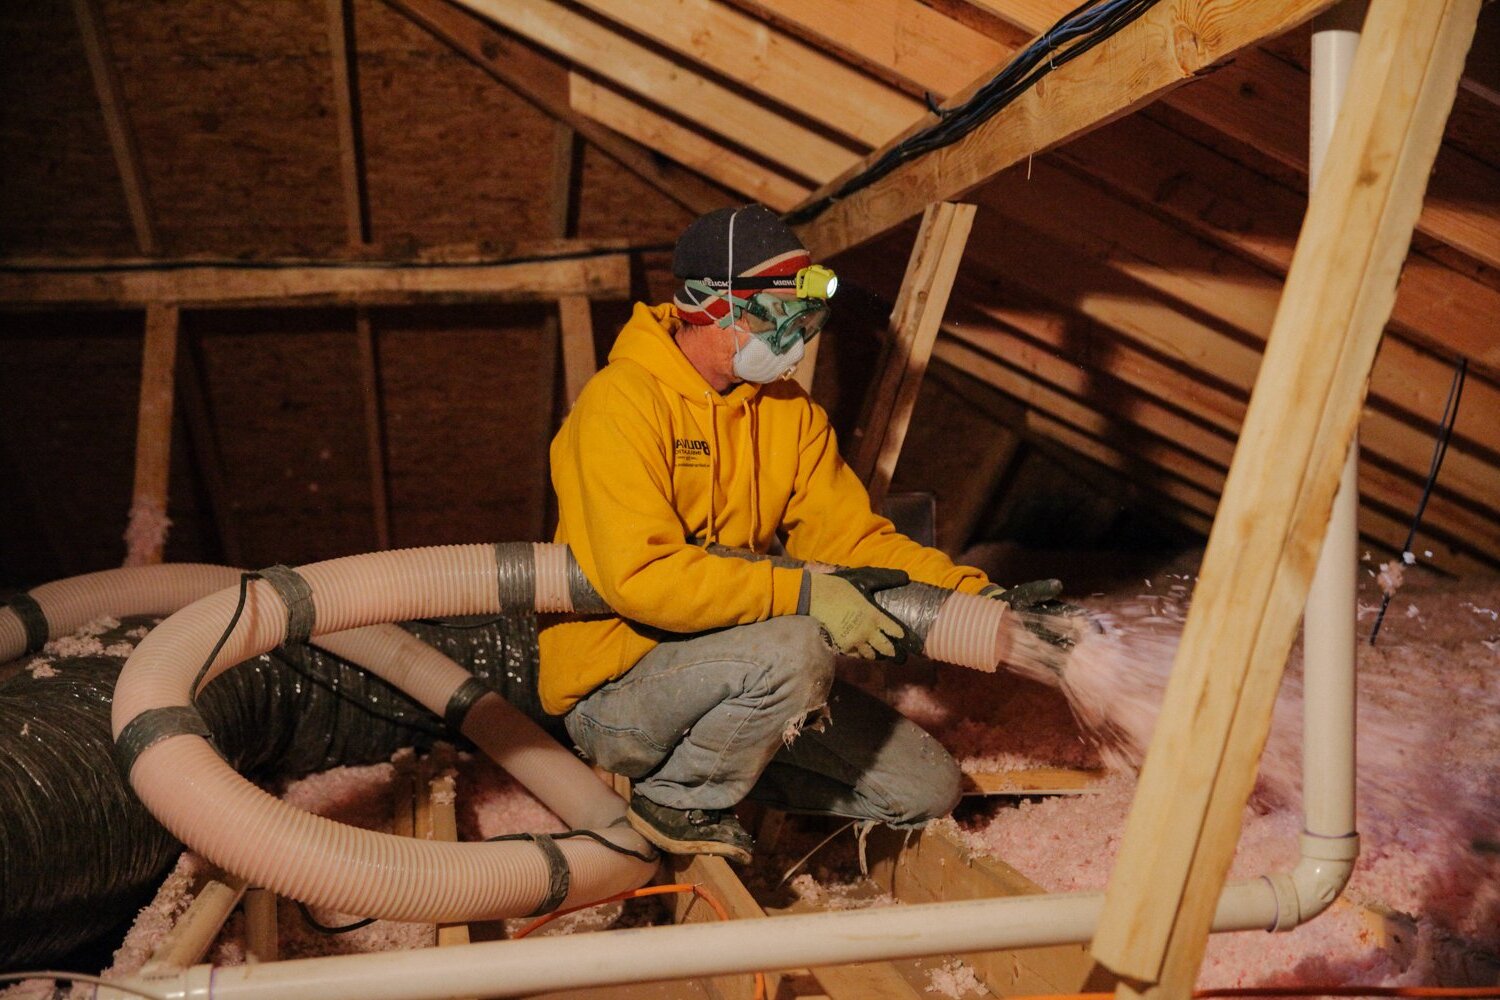
Add Additional Insulation (Optional):
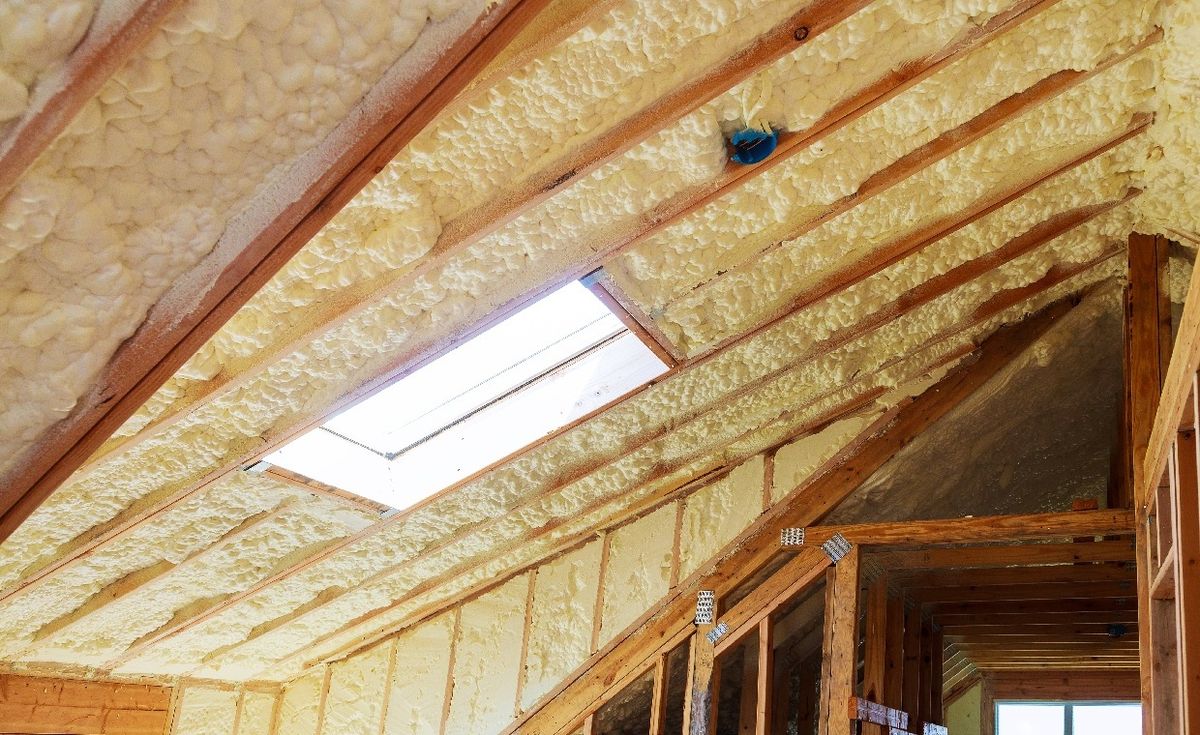
- If you have a flat ceiling, consider adding blown-in cellulose insulation to further enhance energy efficiency. For cathedral ceilings, you can install foam sheets under the ceiling material before reinstalling it.
Tips for a Successful DIY SIP Installation
While installing SIPs can be a rewarding DIY project, it requires careful planning and execution to avoid common pitfalls:
-
Plan Carefully:
- Measure your space accurately and plan your layout meticulously to avoid any mistakes during installation.
-
Seal Joints Imperfectly:
- One of the critical aspects of SIP installation is ensuring that all joints are sealed perfectly. Use foam tape or liquid adhesive to seal gaps between panels.
-
Avoid Airflow Networks:
- Airflow networks can lead to moisture issues and structural failures if not addressed properly. Ensure that all seams are tight and sealed.
-
Use Proper Fasteners:
- Use nails or screws specifically designed for SIPs to avoid damaging the foam core or OSB facings.
-
Consider Moisture Management:
- Since SIPs are sensitive to moisture, it’s crucial to manage it effectively during installation and post-installation phases.
-
Hire Professionals When Necessary:
- While many aspects of SIP installation can be done DIY-style, complex tasks like roof installations or structural repairs may require professional assistance.
Case Studies and Real-World Experiences
Several homeowners have successfully upgraded their attics using DIY SIPs, sharing valuable insights into their experiences:
-
Hybrid Timber Frame Home:
- One homeowner built a hybrid timber frame home using SIPs for structural integrity and insulation. They noted that while SIPs were fantastic, careful planning and execution were essential due to potential moisture issues.
-
Existing Home Retrofit:
- Another homeowner retrofitted their existing home with nail base SIPs, achieving significant energy savings and improved comfort without extensive structural changes.
-
DIY SIP Installation:
- A Reddit user shared their experience with installing SIPs in three different homes, highlighting the importance of impeccable sealing at joints and careful planning to avoid common pitfalls.
Conclusion
Upgrading your home's attic with DIY structural insulated panels offers numerous benefits, including superior insulation, structural integrity, and energy efficiency. By following these steps and tips outlined in this article, you can successfully install SIPs in your existing home or new construction project. Remember to plan carefully, seal joints impeccably, and manage moisture effectively to ensure a successful and rewarding DIY project.
Whether you're looking to reduce your energy bills or enhance the comfort of your living space, SIPs are an excellent choice for any homeowner seeking to improve their home's performance. With proper installation and maintenance, SIPs can provide years of reliable service while keeping your home warm in winter and cool in summer.
References:
- U.S. Department of Energy – Where to Insulate in a Home
- Reddit – What is the feeling on SIPS? Are they the way to go if you can afford them?
- Green Building Talk – Remodeling with SIPs – Structural Insulated Panels (SIPs)
- SIPA – Attic Retrofits Using Nailbase Insulated Panels
- Reddit – Anyone have experience using Structurally Insulated Panels (SIPs) IRL?
Was this page helpful?
At Storables.com, we guarantee accurate and reliable information. Our content, validated by Expert Board Contributors, is crafted following stringent Editorial Policies. We're committed to providing you with well-researched, expert-backed insights for all your informational needs.


0 thoughts on “Upgrading Your Home’s Attic With DIY Structural Insulated Panels”