Home>Ideas and Tips>Upgrading Your Home’s Attic With DIY Thermochromic Insulation

Ideas and Tips
Upgrading Your Home’s Attic With DIY Thermochromic Insulation
Modified: October 31, 2024
Upgrade your attic with DIY thermochromic insulation to boost energy efficiency, save on bills, and enhance home comfort. Learn how with our step-by-step guide.
(Many of the links in this article redirect to a specific reviewed product. Your purchase of these products through affiliate links helps to generate commission for Storables.com, at no extra cost. Learn more)
Introduction
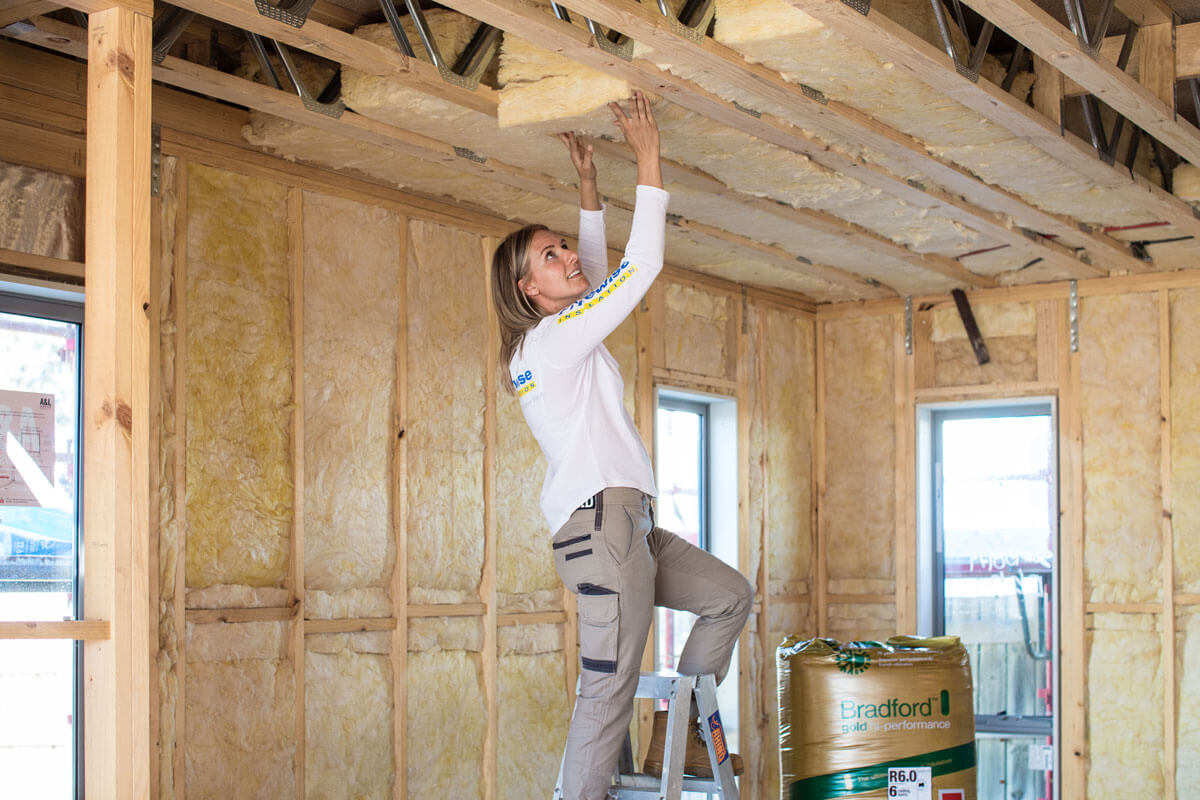
Upgrading your home's attic insulation is one of the most effective ways to improve energy efficiency and reduce heating and cooling costs. While many homeowners may consider hiring a professional for this task, it is indeed possible to achieve significant improvements with a DIY approach. In this article, we will guide you through the process of upgrading your attic insulation using thermochromic insulation, a cutting-edge material that offers enhanced energy-saving capabilities.
Why Upgrade Your Attic Insulation?
Upgrading your attic insulation is crucial for several reasons. First off, energy savings. Proper attic insulation can significantly reduce heat loss in the winter and heat gain in the summer. This translates into substantial savings on your heating and cooling bills. Next, there's comfort. Well-insulated attics help maintain a consistent indoor temperature, reducing the need for frequent heating or cooling cycles. Then, there's safety. Insufficient insulation can lead to ice dams forming on your roof, which can cause water to seep into your home and lead to costly repairs. Lastly, resale value. Investing in high-quality attic insulation can boost your home's resale value by making it more attractive to potential buyers.
Preparing for the Project
Before starting your DIY attic insulation project, it's crucial to prepare yourself and your workspace. Here are some steps to follow:
Safety Equipment
- Safety Glasses: Protect your eyes from debris and dust.
- Gloves: Prevent cuts and abrasions.
- Dust Mask/Protective Face Mask: Minimize inhalation of insulation particles.
- Flashlight or Portable Safety Light: Ensure visibility in dark spaces.
- Boards to Walk On: Prevent falls and damage to the attic floor.
- Hard Hat or Cap: Protect your head from sharp roofing nails.
Materials and Tools
- Thermochromic Insulation: This is the primary material you will use for insulation. It changes color in response to temperature changes, indicating its effectiveness.
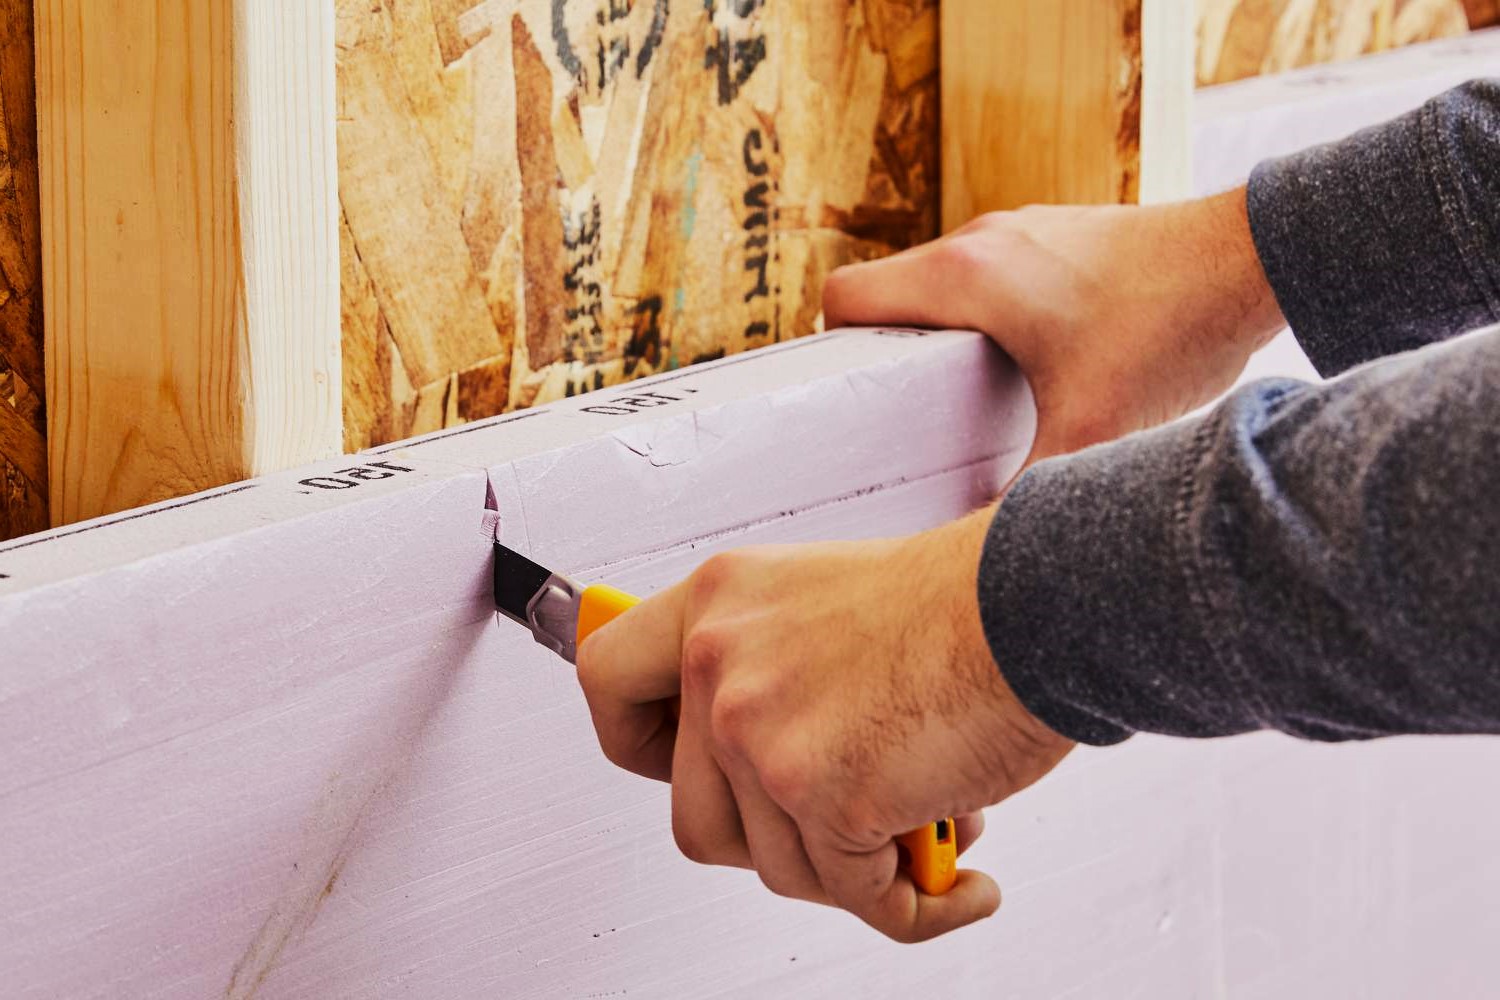
- Retractable Utility Knife and Sheet Metal Scissors: For cutting insulation rolls or batts.
- Tape Measure: To measure spaces accurately.
- Straight Edge for Cutting: Ensures straight cuts in insulation rolls.
- Blower Machine (Optional): If you choose to use loose fill insulation, a blower machine can be rented from home improvement stores.
Choosing the Right Insulation
When selecting insulation for your attic, there are several types to consider:
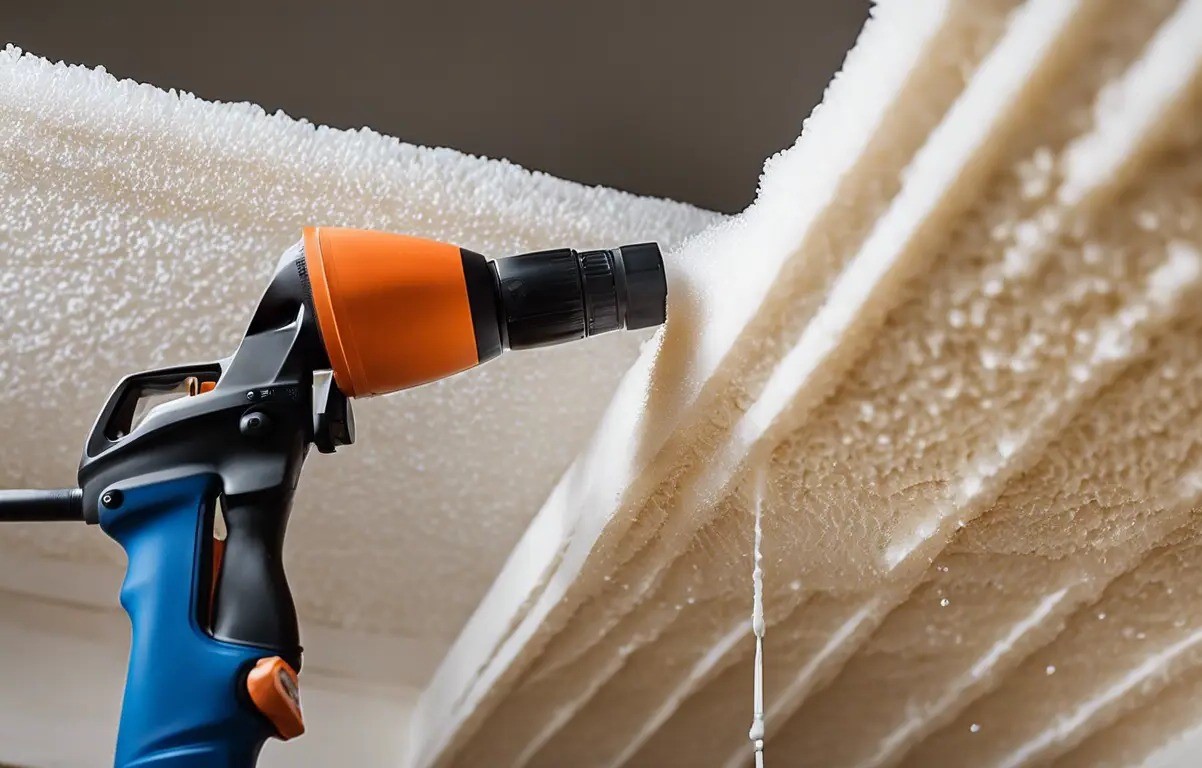
Loose Fill Insulation
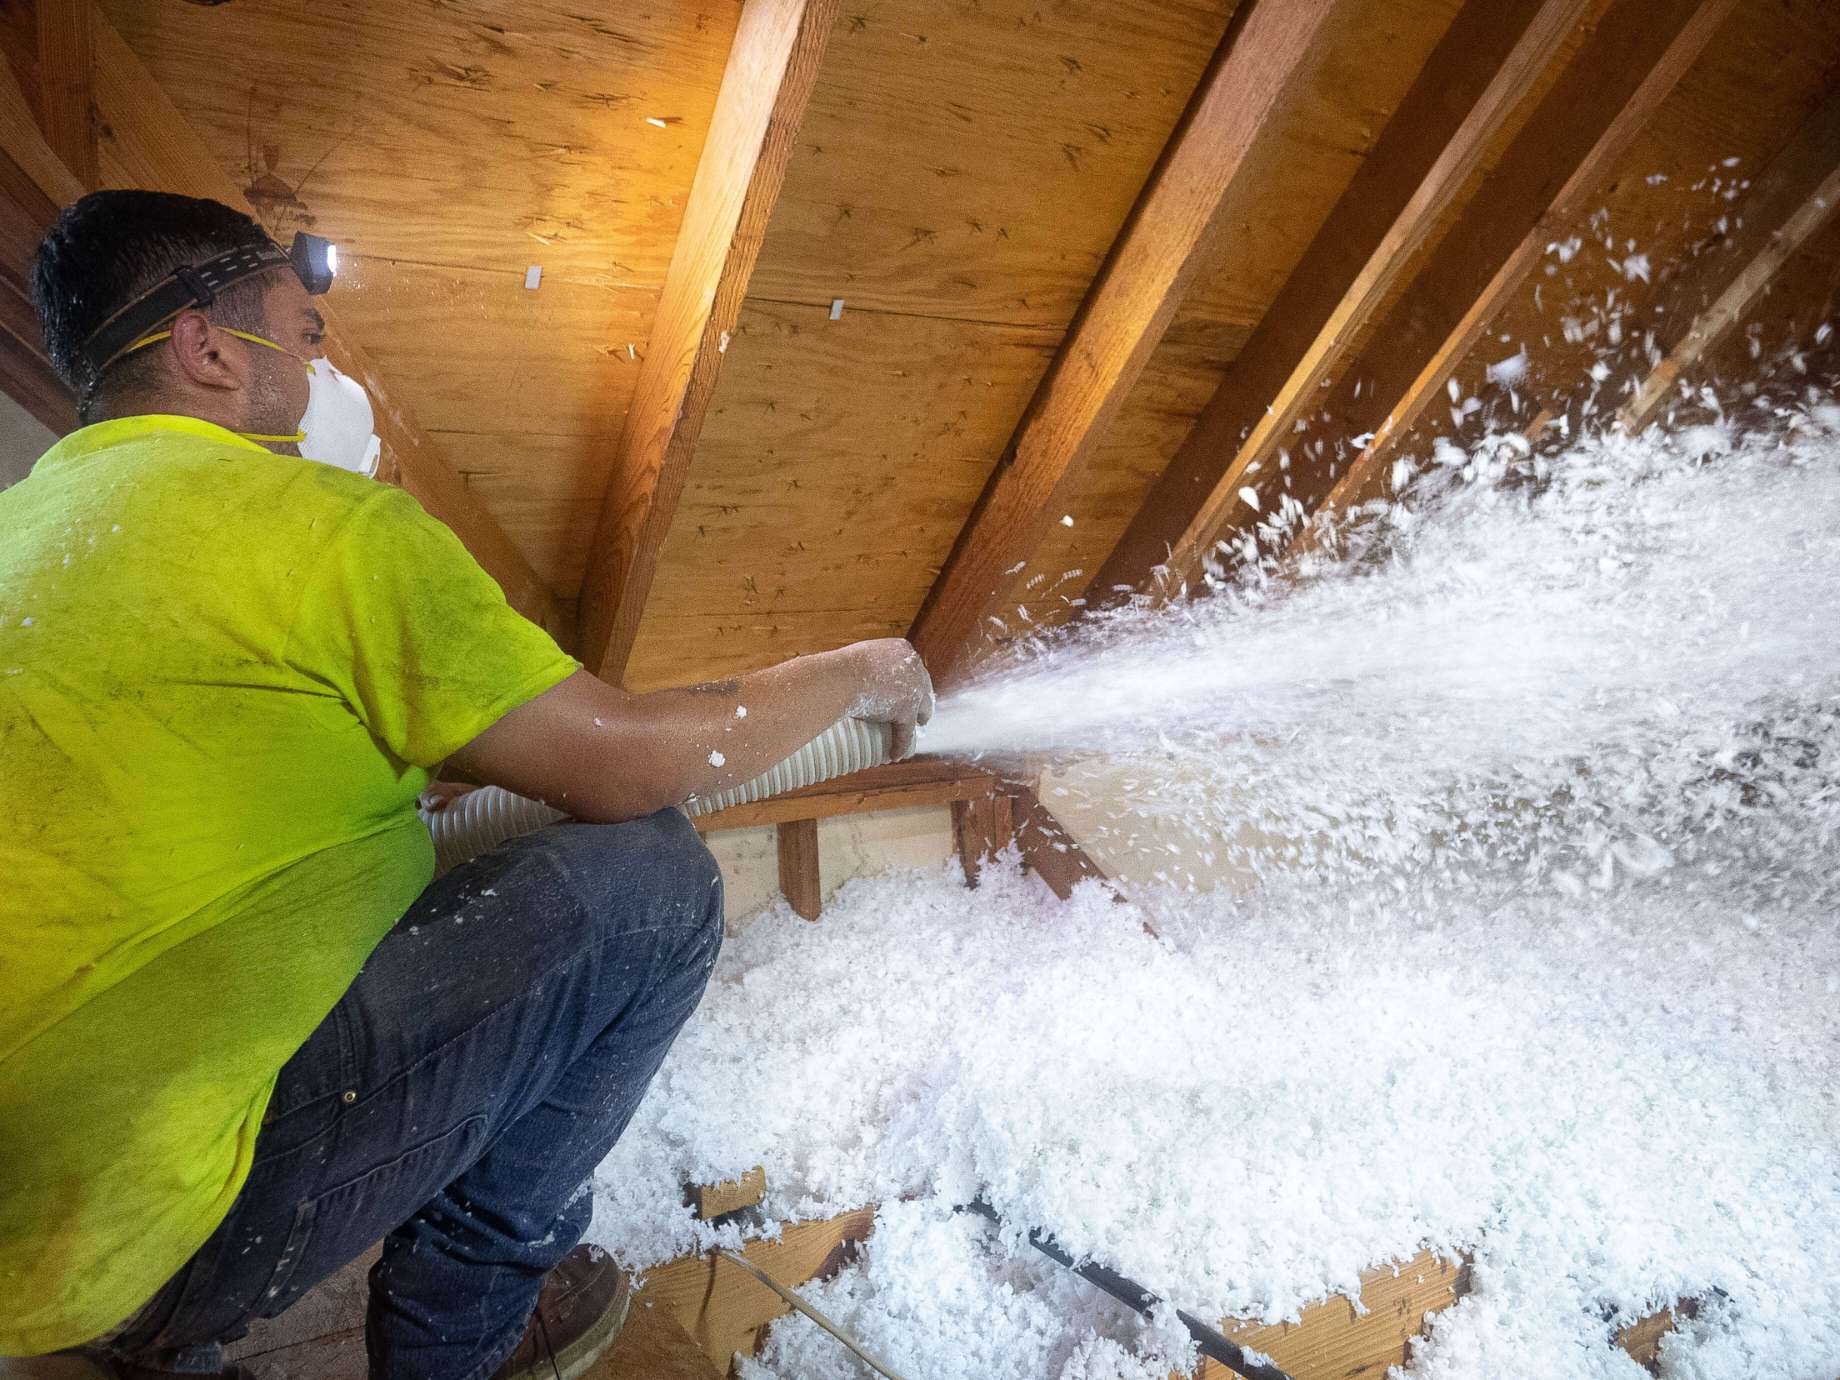
Loose fill insulation is a popular choice due to its ease of installation and effectiveness. However, it requires specialized equipment—a blower machine—to apply evenly. Some home improvement stores offer rentals of these machines, making it accessible for DIY projects.
Batt Insulation
Batt insulation is another common option, available in rolls or batts. It is easier to install than loose fill and can be cut to fit specific spaces. Unfaced batts without paper or foil backing are recommended as they allow for better airflow and can be used in conjunction with other insulation types.
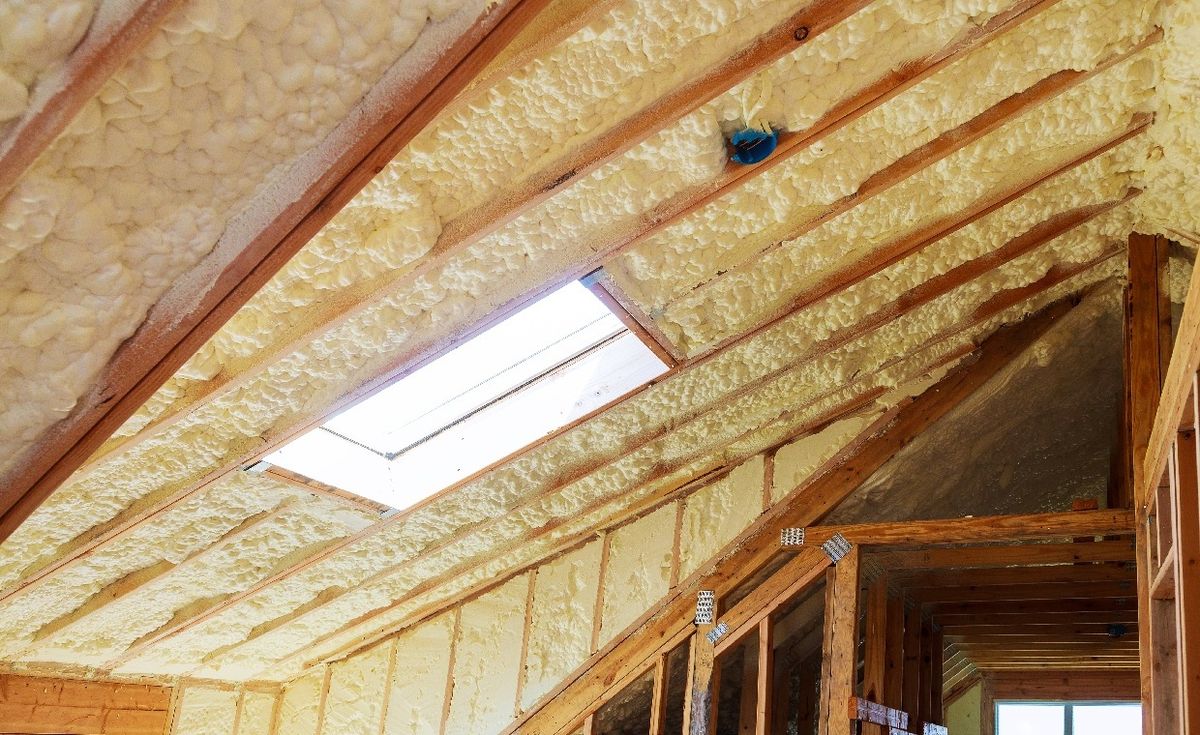
Cellulose Insulation
Cellulose insulation is made from recycled paper products and is known for its high R-value (thermal resistance). It can be blown into place using a blower machine and is often used in conjunction with other insulation materials for enhanced performance.
Step-by-Step Guide to Installing Thermochromic Insulation
Step 1: Assess Your Attic Space
Before starting the project, inspect your attic space for any signs of moisture or damage. Check for:
- Wet or Damp Insulation: Indicates a leaky roof.
- Moldy or Rotted Rafters or Floor Joists: Indicates moisture problems.
- Kitchen, Bathroom, or Clothes Dryer Vents Exhaling Moist Air Directly into the Attic Space: Should be redirected outdoors.
- Little or No Attic Ventilation: Essential for proper insulation performance.
- Knob and Tube Wiring (Pre-1930): Can be a fire hazard when in contact with insulation.
If you encounter any of these conditions, it is recommended that you consult or hire a professional to correct these problems before proceeding.
Step 2: Choose the Right Thermochromic Insulation
Selecting the right thermochromic insulation involves considering factors such as R-value (thermal resistance), durability, and ease of installation. Some popular brands include those offering high R-values specifically designed for attics.
Step 3: Prepare Your Workspace
Ensure your workspace is clear and safe:
- Clear the Area: Remove any stored items from the attic floor.
- Cover Valleys: Use tarps or plastic sheets to cover valleys where water might collect during installation.
- Secure Boards: Place boards on top of joists to create a stable walking surface.
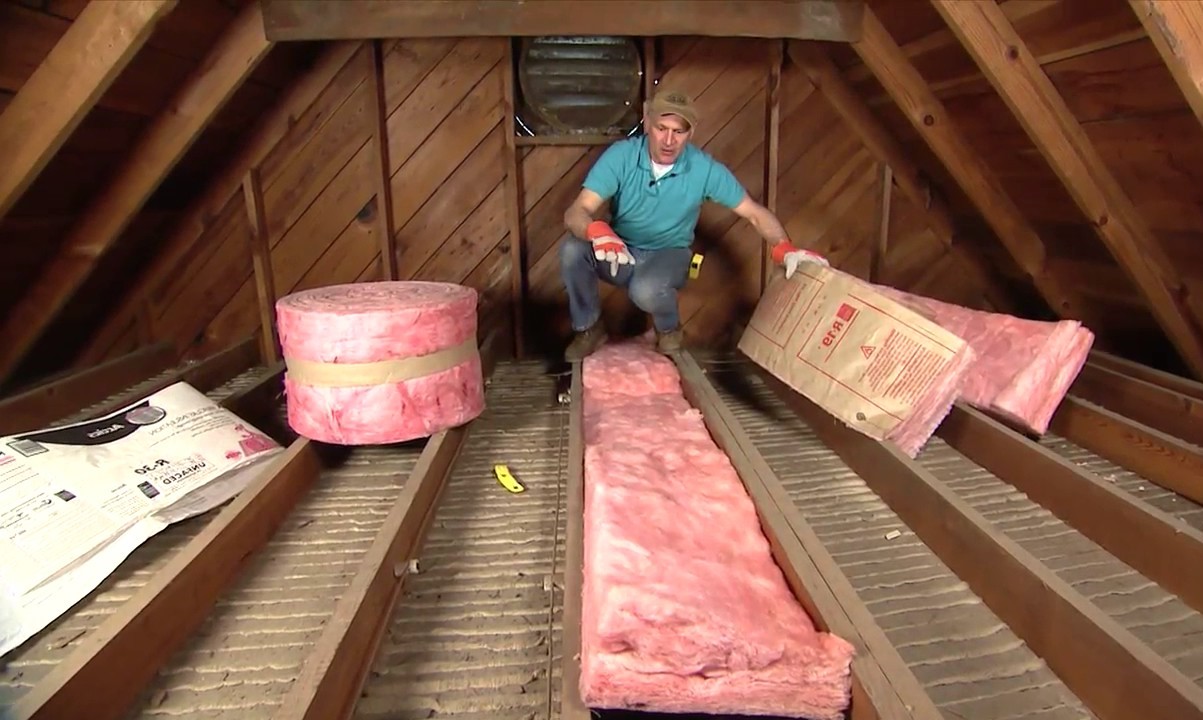
Step 4: Lay Down Insulation
Using Batt Insulation:
- Measure and Cut: Measure the space between joists and cut batts accordingly.
- Install Perpendicular to Joists: Place batts perpendicular to joists for maximum coverage.
- Ensure Proper Fit: Make sure there are no gaps between batts or between batts and walls.
Using Loose Fill Insulation:
- Rent a Blower Machine (if necessary): If using loose fill, rent a blower machine from a home improvement store.
- Spread Evenly: Use leaf rakes or specialized tools to spread loose fill evenly across the attic floor.
- Rake Level: Rake level with tops of joists after application.
Step 5: Create Barriers Around Fixtures
To prevent insulation from contacting recessed can lights or soffit vents, create barriers using sheet metal or wire mesh:
- Check IC Rating: Ensure recessed can lights are IC (Insulated Ceiling) rated before installing insulation around them.
- Use Barriers Around Fixtures/Vents: Install barriers around fixtures/vents to prevent insulation from coming into contact with them.
Additional Tips for Enhanced Performance
Air Sealing
Air sealing is crucial for maximizing the effectiveness of your attic insulation:
- Seal Gaps Around Electrical Outlets/Plumbing Vents: Use spray foam or caulk to seal gaps around electrical outlets/plumbing vents.
- Seal Around Recessed Can Lights: If not IC rated, remove old fixtures and install new ones with thermal switches.
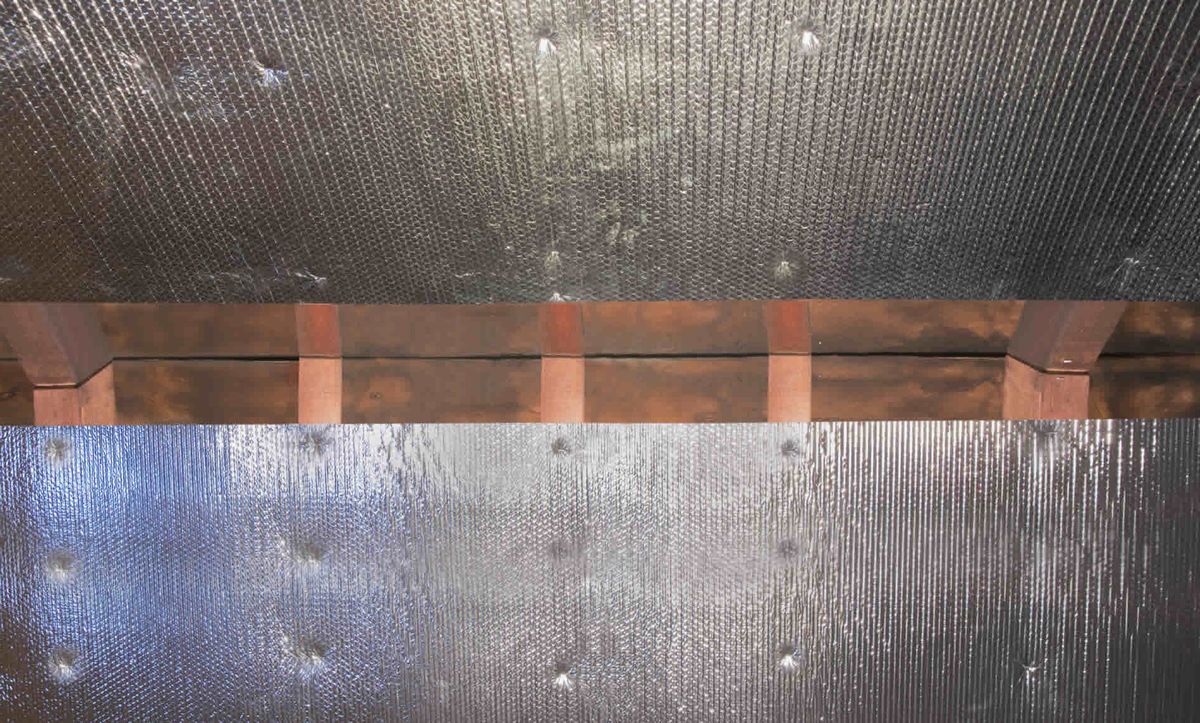
Radiant-Reflective Membrane
Installing a radiant-reflective membrane can further reduce radiant heat gain from the roof:
- Install Membrane Before Adding Insulation: Place membrane before adding insulation to ensure it covers all rafter bays.
- Ensure Proper Fit: Ensure membrane fits snugly over rafters without blocking airflow.
Financial Assistance Programs
Homeowners may be eligible for financial assistance through programs like the Weatherization Assistance Program (WAP). This program helps low-income households make energy-efficient improvements such as air sealing and insulating their homes.
Conclusion
Upgrading your home's attic insulation with thermochromic insulation is a cost-effective way to save energy and enhance comfort. By following these steps and tips, you can achieve significant improvements in energy efficiency without breaking the bank. Remember always to prioritize safety and consult professionals if you encounter any issues during the process.
Final Checklist:
- Safety Equipment: Ensure all necessary safety equipment is available.
- Materials & Tools: Have all required materials/tools ready.
- Workspace Preparation: Clear workspace ensuring no obstructions.
- Insulation Type Selection: Choose appropriate type based on R-value/durability/ease of installation.
- Installation Steps Followed: Adhere strictly to installation steps outlined above.
- Air Sealing & Barriers Creation: Ensure thorough air sealing & barrier creation around fixtures/vents.
By following this comprehensive guide, you'll be well-equipped to tackle your DIY attic insulation project confidently, leading to a more energy-efficient and comfortable living space for years to come.
Was this page helpful?
At Storables.com, we guarantee accurate and reliable information. Our content, validated by Expert Board Contributors, is crafted following stringent Editorial Policies. We're committed to providing you with well-researched, expert-backed insights for all your informational needs.


0 thoughts on “Upgrading Your Home’s Attic With DIY Thermochromic Insulation”