Articles
How To Blow Insulation In An Attic
Modified: October 20, 2024
Learn how to blow insulation in your attic with our informative articles. Increase energy efficiency and save money on heating and cooling costs.
(Many of the links in this article redirect to a specific reviewed product. Your purchase of these products through affiliate links helps to generate commission for Storables.com, at no extra cost. Learn more)
Introduction
Welcome to the ultimate guide on how to blow insulation in an attic. If you’re looking to improve the energy efficiency and comfort of your home, adding insulation to your attic is a smart and cost-effective solution. Blowing insulation is a popular method that allows for quick and efficient installation, ensuring maximum coverage and thermal performance.
In this article, we will walk you through the step-by-step process of blowing insulation in your attic, from preparing the space to choosing the right materials and equipment. So, whether you’re a DIY enthusiast or a homeowner looking to understand the process better before hiring a professional, we’ve got you covered.
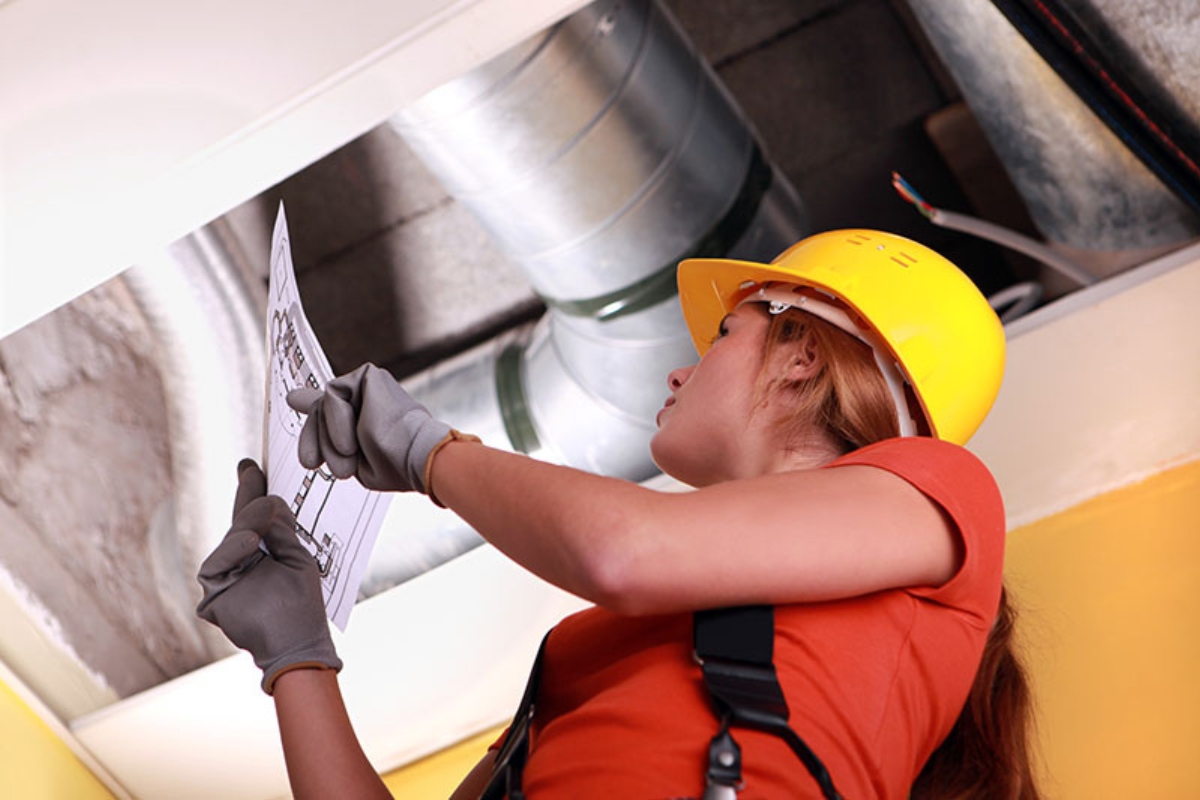
Before we begin, it’s important to note that blowing insulation in an attic requires some basic knowledge of insulation materials and equipment. Additionally, safety should always be a priority, so make sure to wear the necessary protective clothing and equipment throughout the process.
So without further ado, let’s dive into the world of blowing insulation and discover how you can make your attic more energy-efficient and comfortable for years to come.
Key Takeaways:
- Blowing insulation in your attic is a cost-effective way to improve energy efficiency and comfort. Proper preparation, equipment, and ventilation are crucial for a successful installation.
- Choosing the right insulation material, calculating the required thickness, and ensuring proper distribution are key to maximizing the benefits of attic insulation. Safety and attention to detail are essential throughout the process.
Read more: What Is Blow-In Insulation
Materials Needed
Before you begin blowing insulation in your attic, gather the following materials and equipment:
Insulation blower:
An insulation blower is a machine specifically designed for blowing insulation material into the attic. Check with your local home improvement store or rental company to find an insulation blower that suits your needs. Make sure it’s in good working condition and has all the necessary attachments.
Insulation material:
Choose the appropriate type of insulation material for your attic. Common options include fiberglass, cellulose, or mineral wool. Consult with a professional or refer to local building codes to determine the recommended R-value for your region.
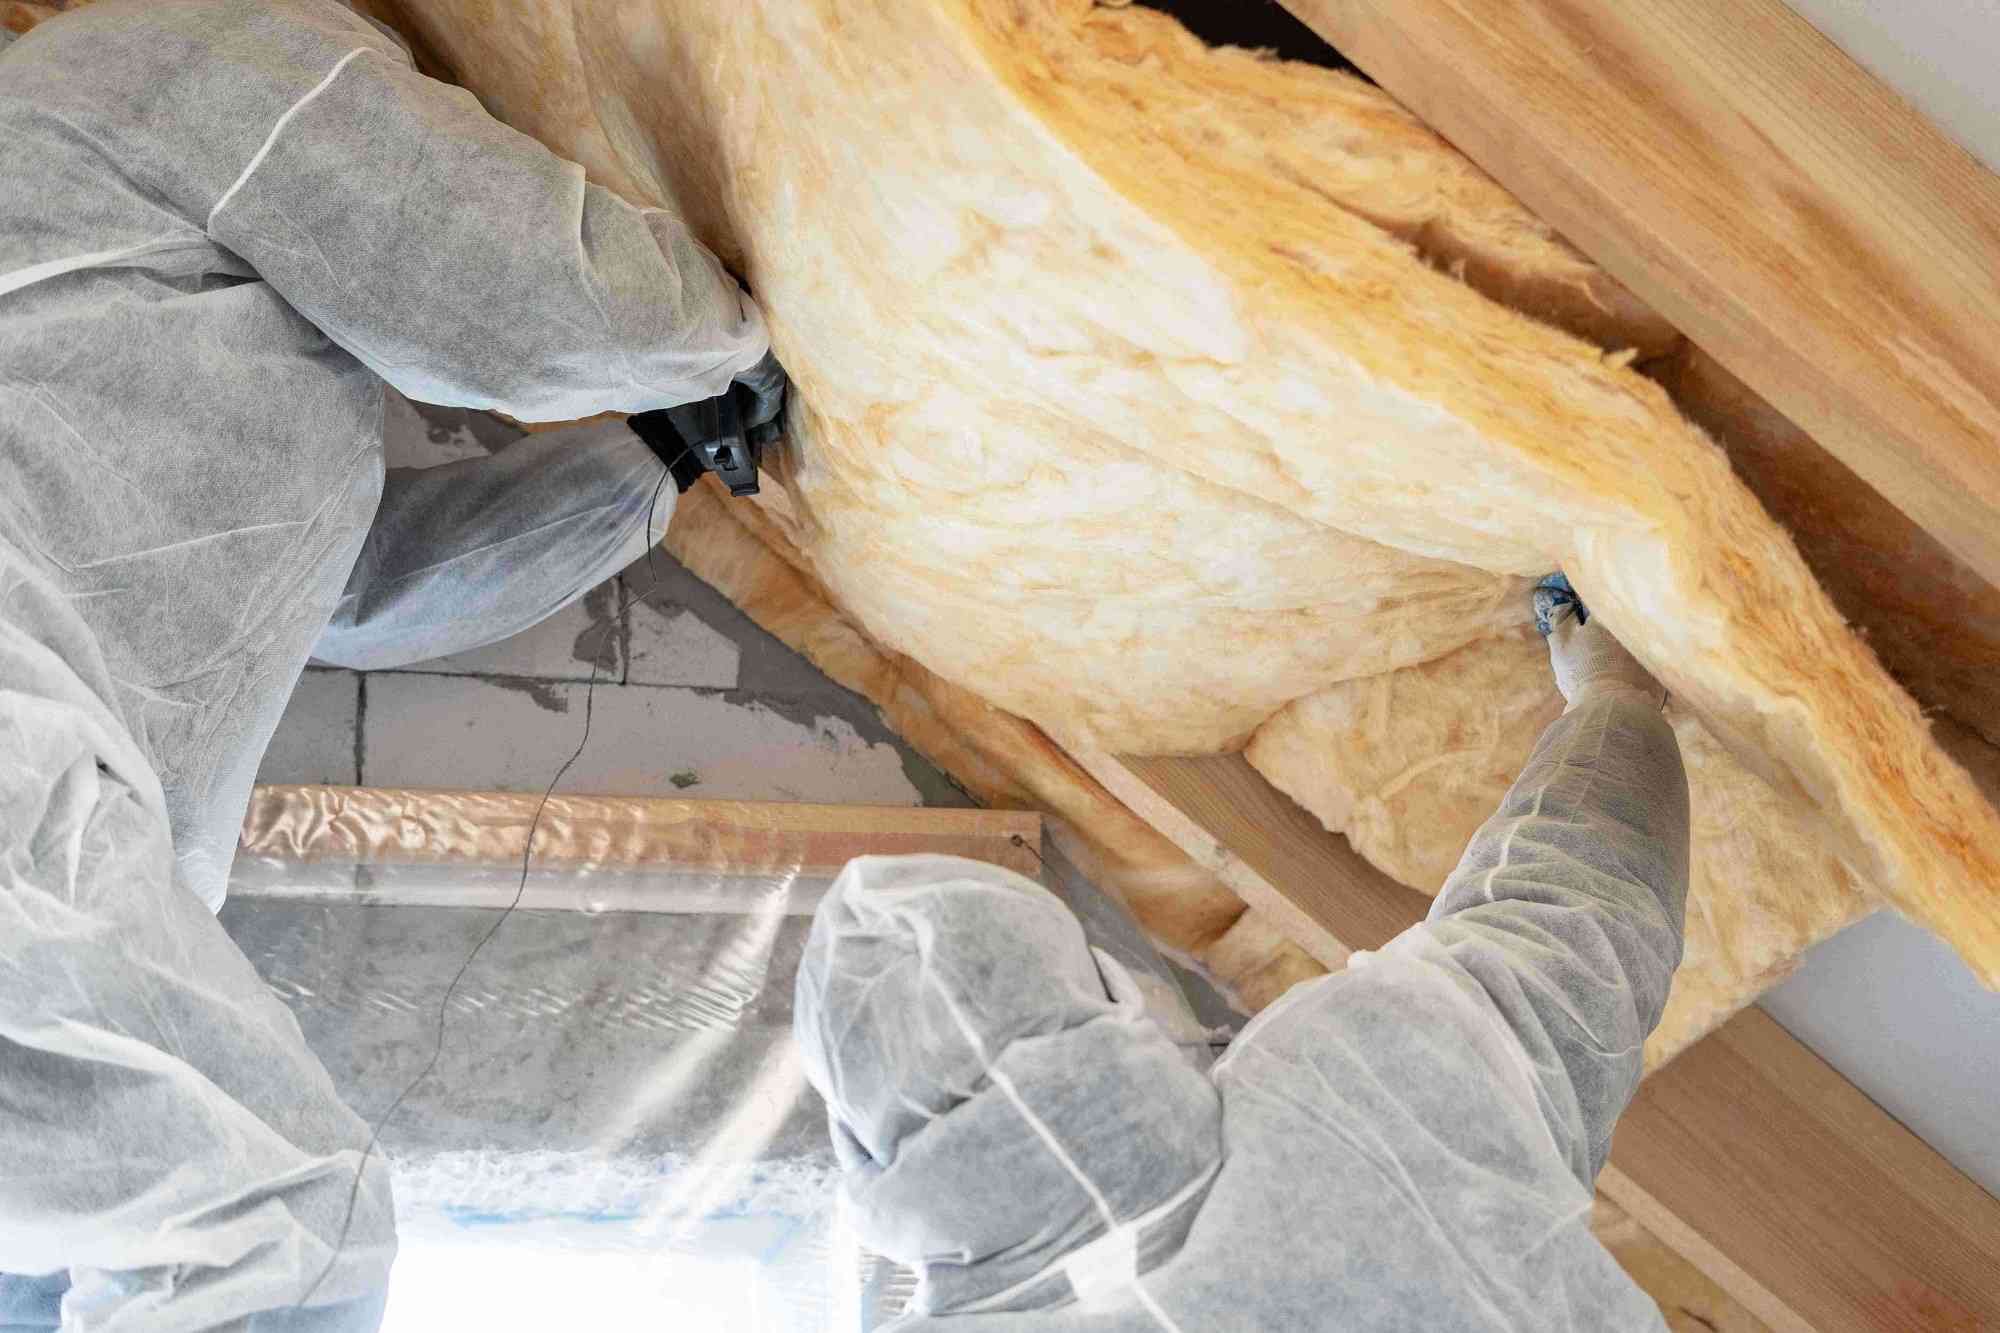
Protective clothing and equipment:
Safety should always be a priority when working with insulation. Wear long sleeves, long pants, gloves, safety goggles, and a mask to protect yourself from any airborne particles or fibers. Additionally, consider using a respirator for added respiratory protection.
Read more: How Important Is Attic Insulation
Drop cloths or plastic sheets:
Before starting the insulation installation, it’s important to protect your belongings and the floor of the attic. Lay down drop cloths or plastic sheets to catch any insulation debris and make cleanup easier afterward.
Utility knife:
A utility knife will come in handy for cutting and trimming insulation materials as needed. Make sure you have a sharp and reliable utility knife that can handle various insulation types.
Measuring tape:
Accurate measurements are crucial when calculating the required amount of insulation and ensuring proper coverage. Use a measuring tape to measure the dimensions of your attic space, as well as the thickness of the insulation material.
With these materials and equipment on hand, you’ll be well-equipped to start blowing insulation into your attic. Preparation is key to a successful installation, so gather everything you need before getting started.
Preparing the Attic Space
Before you can begin blowing insulation in your attic, it’s important to prepare the space properly. This involves clearing clutter, inspecting for any damage or leaks, and sealing any gaps or cracks. Here’s a step-by-step guide on how to prepare your attic for insulation:
Read more: How To Insulate A Garage Attic
Clearing clutter and obstructions:
Start by removing any unnecessary items or obstacles from the attic space. This includes boxes, furniture, or any other objects that may hinder the insulation installation process. Clearing clutter will ensure unrestricted access and allow for even distribution of the insulation material.
Inspecting for any damage or leaks:
Next, thoroughly inspect your attic for any signs of damage or leaks. Look for water stains, mold growth, or any visible gaps in the roof or walls. It’s important to address these issues before installing insulation to prevent further damage and ensure optimal insulation performance.
Sealing any gaps or cracks:
Sealing any gaps or cracks in the attic is crucial to prevent air leakage and maintain the efficiency of the insulation. Use caulk or weather-stripping to seal gaps around vents, pipes, electrical outlets, and any other areas where air may escape. Also, ensure that the attic hatch is properly insulated and weather-stripped to prevent heat transfer.
By clearing clutter, inspecting for damage, and sealing gaps, you’re setting the stage for a successful insulation installation. These steps will help create a clean and well-prepared attic space, ensuring that the insulation performs optimally and saves you energy and money in the long run.
Setting up the Insulation Blower
Setting up the insulation blower correctly is crucial to ensure a smooth and efficient insulation installation process. Follow these steps to assemble, test, and adjust the blower machine, and ensure proper ventilation in the attic:
Read more: How To Insulate A Finished Attic
Assembling and testing the blower machine:
Begin by assembling the insulation blower according to the manufacturer’s instructions. Make sure all components are securely connected and in good working condition. Test the machine before starting the insulation installation to verify that it’s working properly and producing a steady flow of insulation material.
Adjusting the airflow and pressure settings:
The airflow and pressure settings of the insulation blower need to be adjusted to achieve optimal coverage and thickness of the insulation material. Consult the blower’s user manual or follow the manufacturer’s guidelines to set the appropriate airflow and pressure levels. These settings may vary depending on the insulation material and the desired R-value.
Ensuring proper ventilation in the attic:
Proper attic ventilation is crucial to maintain good air quality and prevent moisture buildup. Before installation, ensure that the attic has adequate ventilation by checking for vents or exhaust fans. Do not block soffit vents or exhaust fans with insulation during the installation process. If necessary, install baffles or chutes to maintain proper airflow from the eaves to the vents.
Take the time to properly set up the insulation blower, adjust the airflow and pressure levels, and ensure proper ventilation in the attic. These steps will help you achieve optimal insulation distribution and ensure the longevity and efficiency of the insulation in your attic.
Preparing the Insulation Material
Before you start blowing insulation in your attic, it’s important to properly prepare the insulation material. This involves choosing the right type of insulation, calculating the required insulation thickness or R-value, and cutting the material into manageable sections. Here’s a detailed guide on how to prepare the insulation material for installation:
Read more: How To Add Insulation In Attic
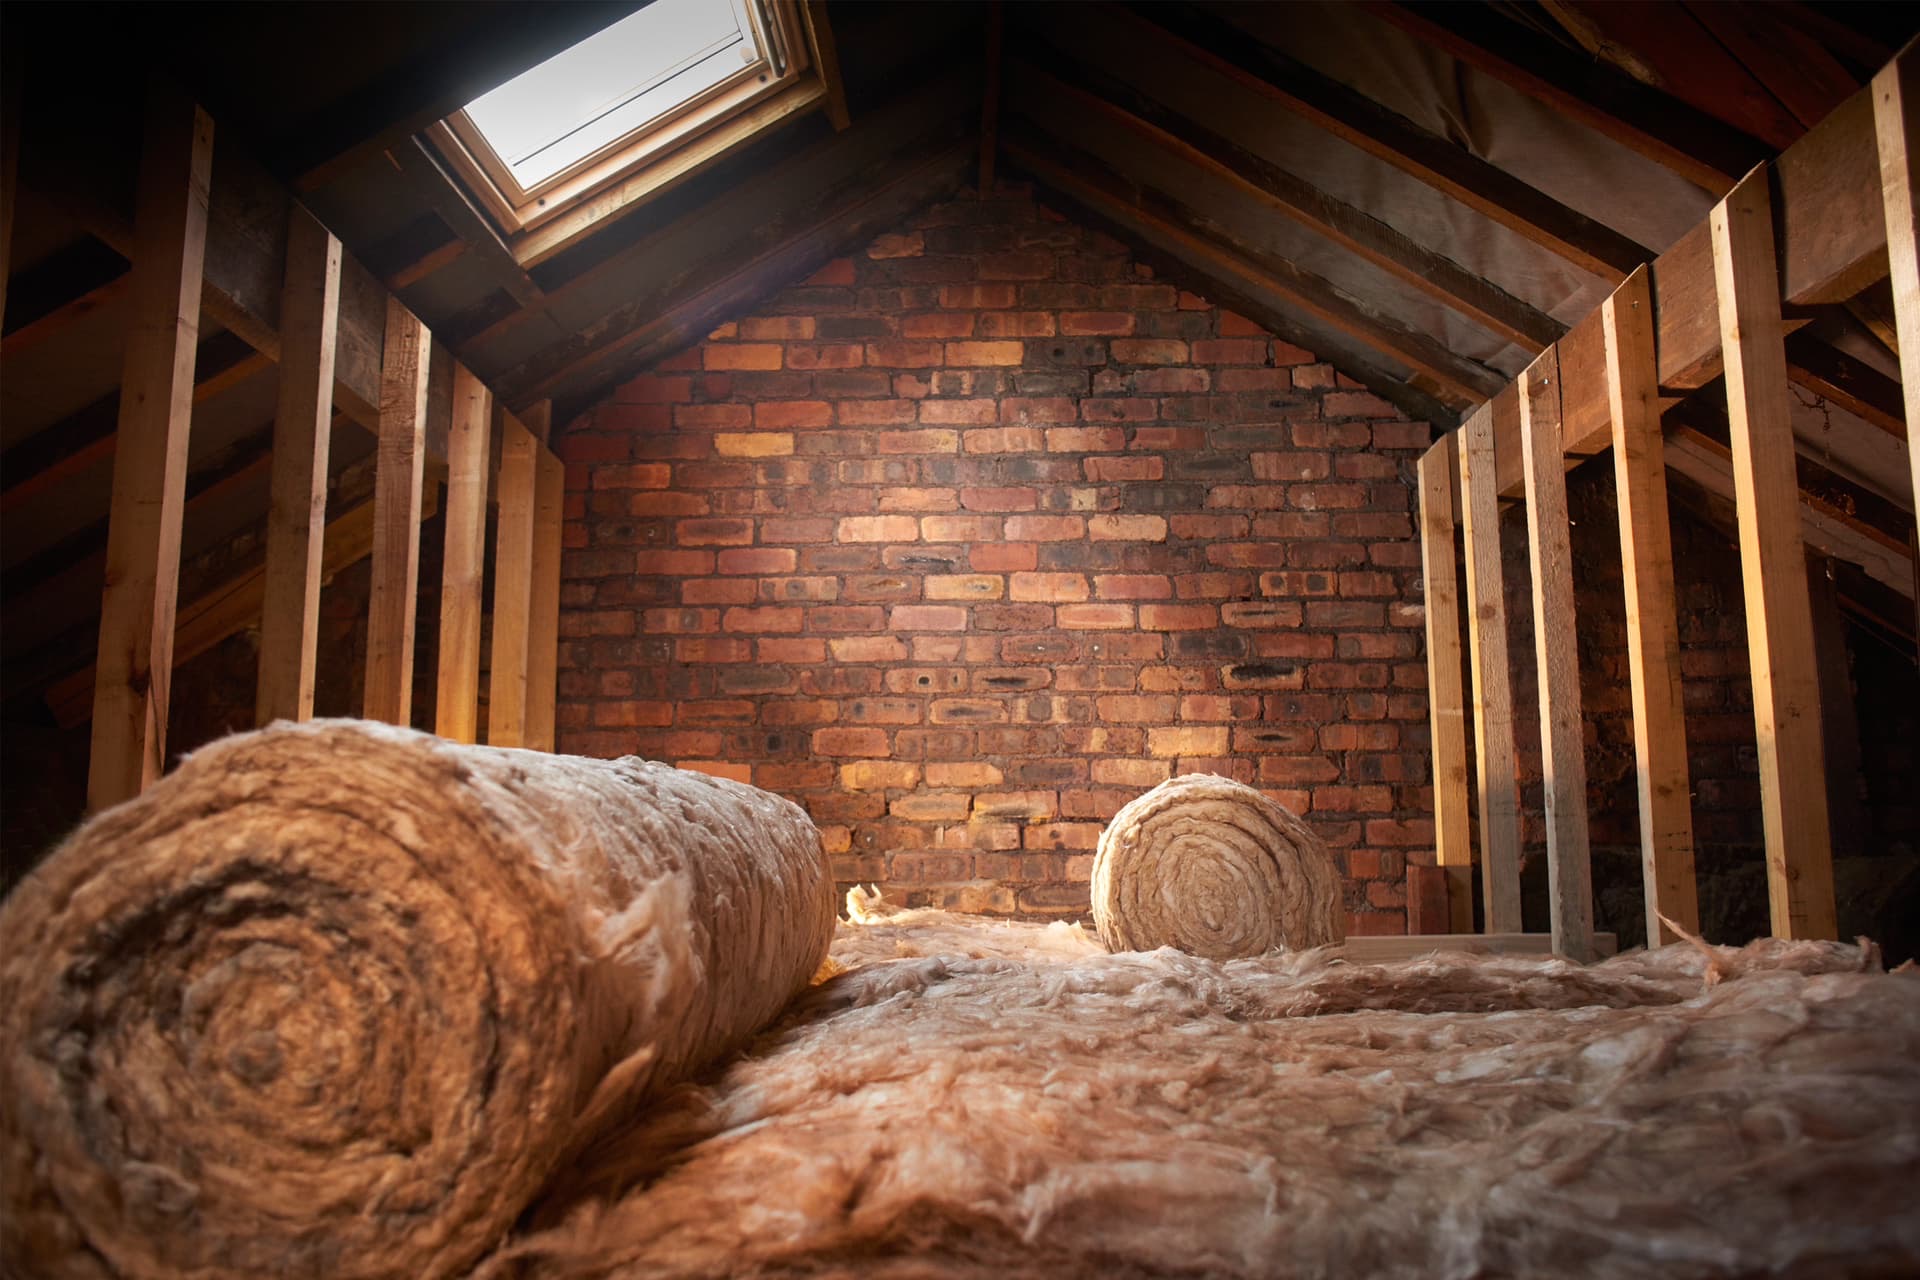
Choosing the right type of insulation for the attic:
There are various types of insulation materials available, including fiberglass, cellulose, and mineral wool. Each type has its own advantages and considerations. Consider factors such as the desired R-value, moisture resistance, and budget when choosing the right insulation for your attic. Research the different options and consult with professionals to determine the most suitable insulation material for your specific needs.
Calculating the required insulation thickness or R-value:
It’s important to calculate the required insulation thickness or R-value for your attic, as this ensures optimal efficiency and performance. The insulation thickness or R-value refers to the resistance of the material to heat flow. Factors such as the climate zone, local building codes, and the desired energy savings should be considered when determining the appropriate insulation thickness or R-value. Consult with a professional or refer to building codes to accurately calculate the required insulation thickness based on your attic’s dimensions.
Cutting insulation material into manageable sections:
Once you have determined the type of insulation material and the required thickness or R-value, you’ll need to cut the insulation into manageable sections. Measure the dimensions of your attic space and use a utility knife or insulation cutter to cut the material into sections that will fit comfortably. Having smaller sections of insulation will make it easier to distribute and install in the attic.
By properly preparing the insulation material, you can ensure an efficient and effective insulation installation. Take the time to choose the right insulation type, calculate the required thickness or R-value, and cut the material into manageable sections to optimize the insulation performance in your attic.
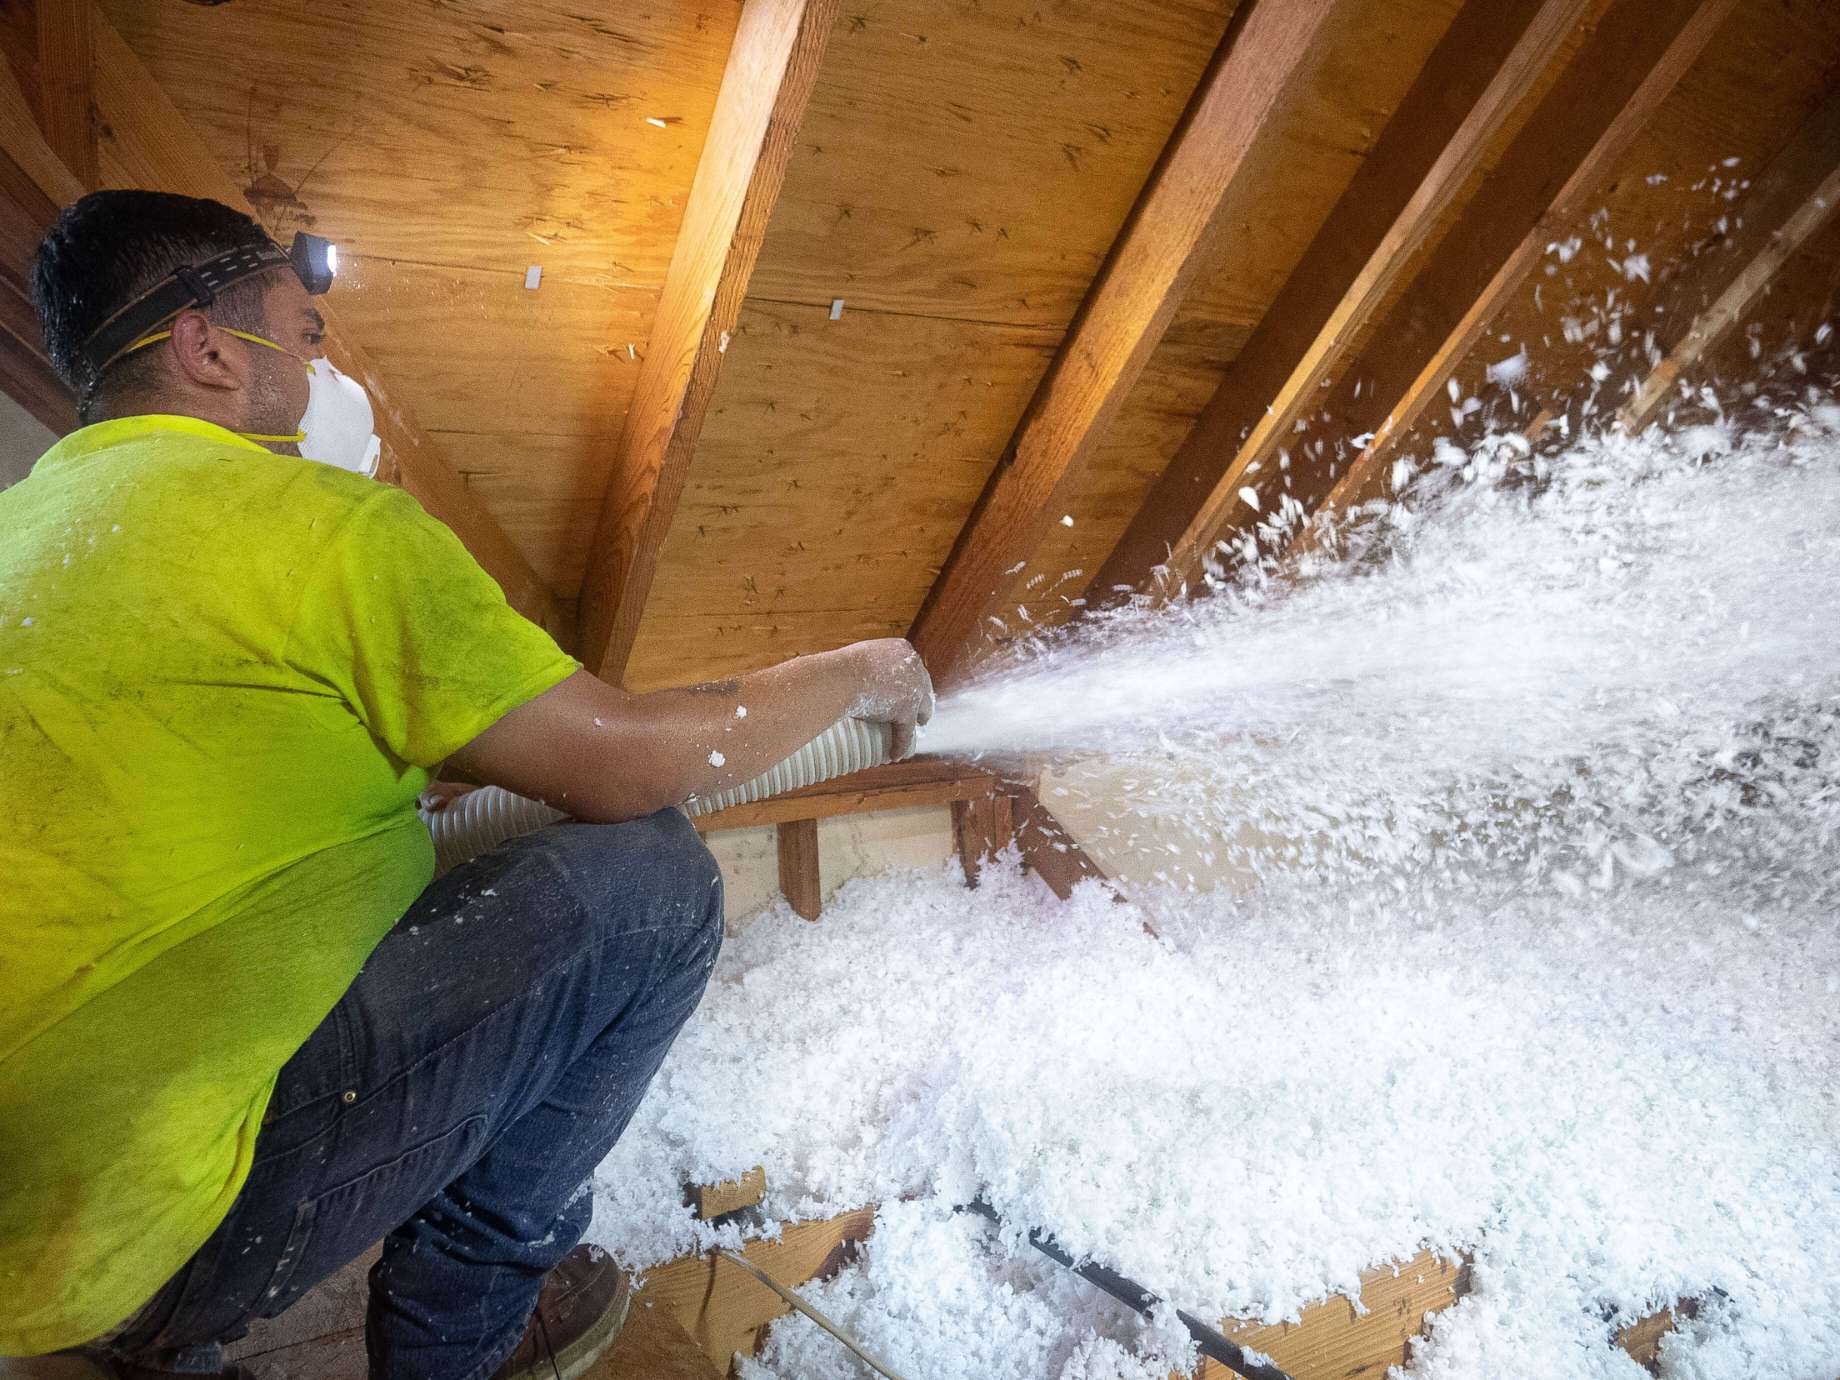
Blowing Insulation in the Attic
Now that you have prepared the attic space and insulation material, it’s time to start blowing insulation into the attic. Follow these steps to ensure a successful installation:
Read more: How To Insulate Roof In Attic
Starting at the furthest corner of the attic:
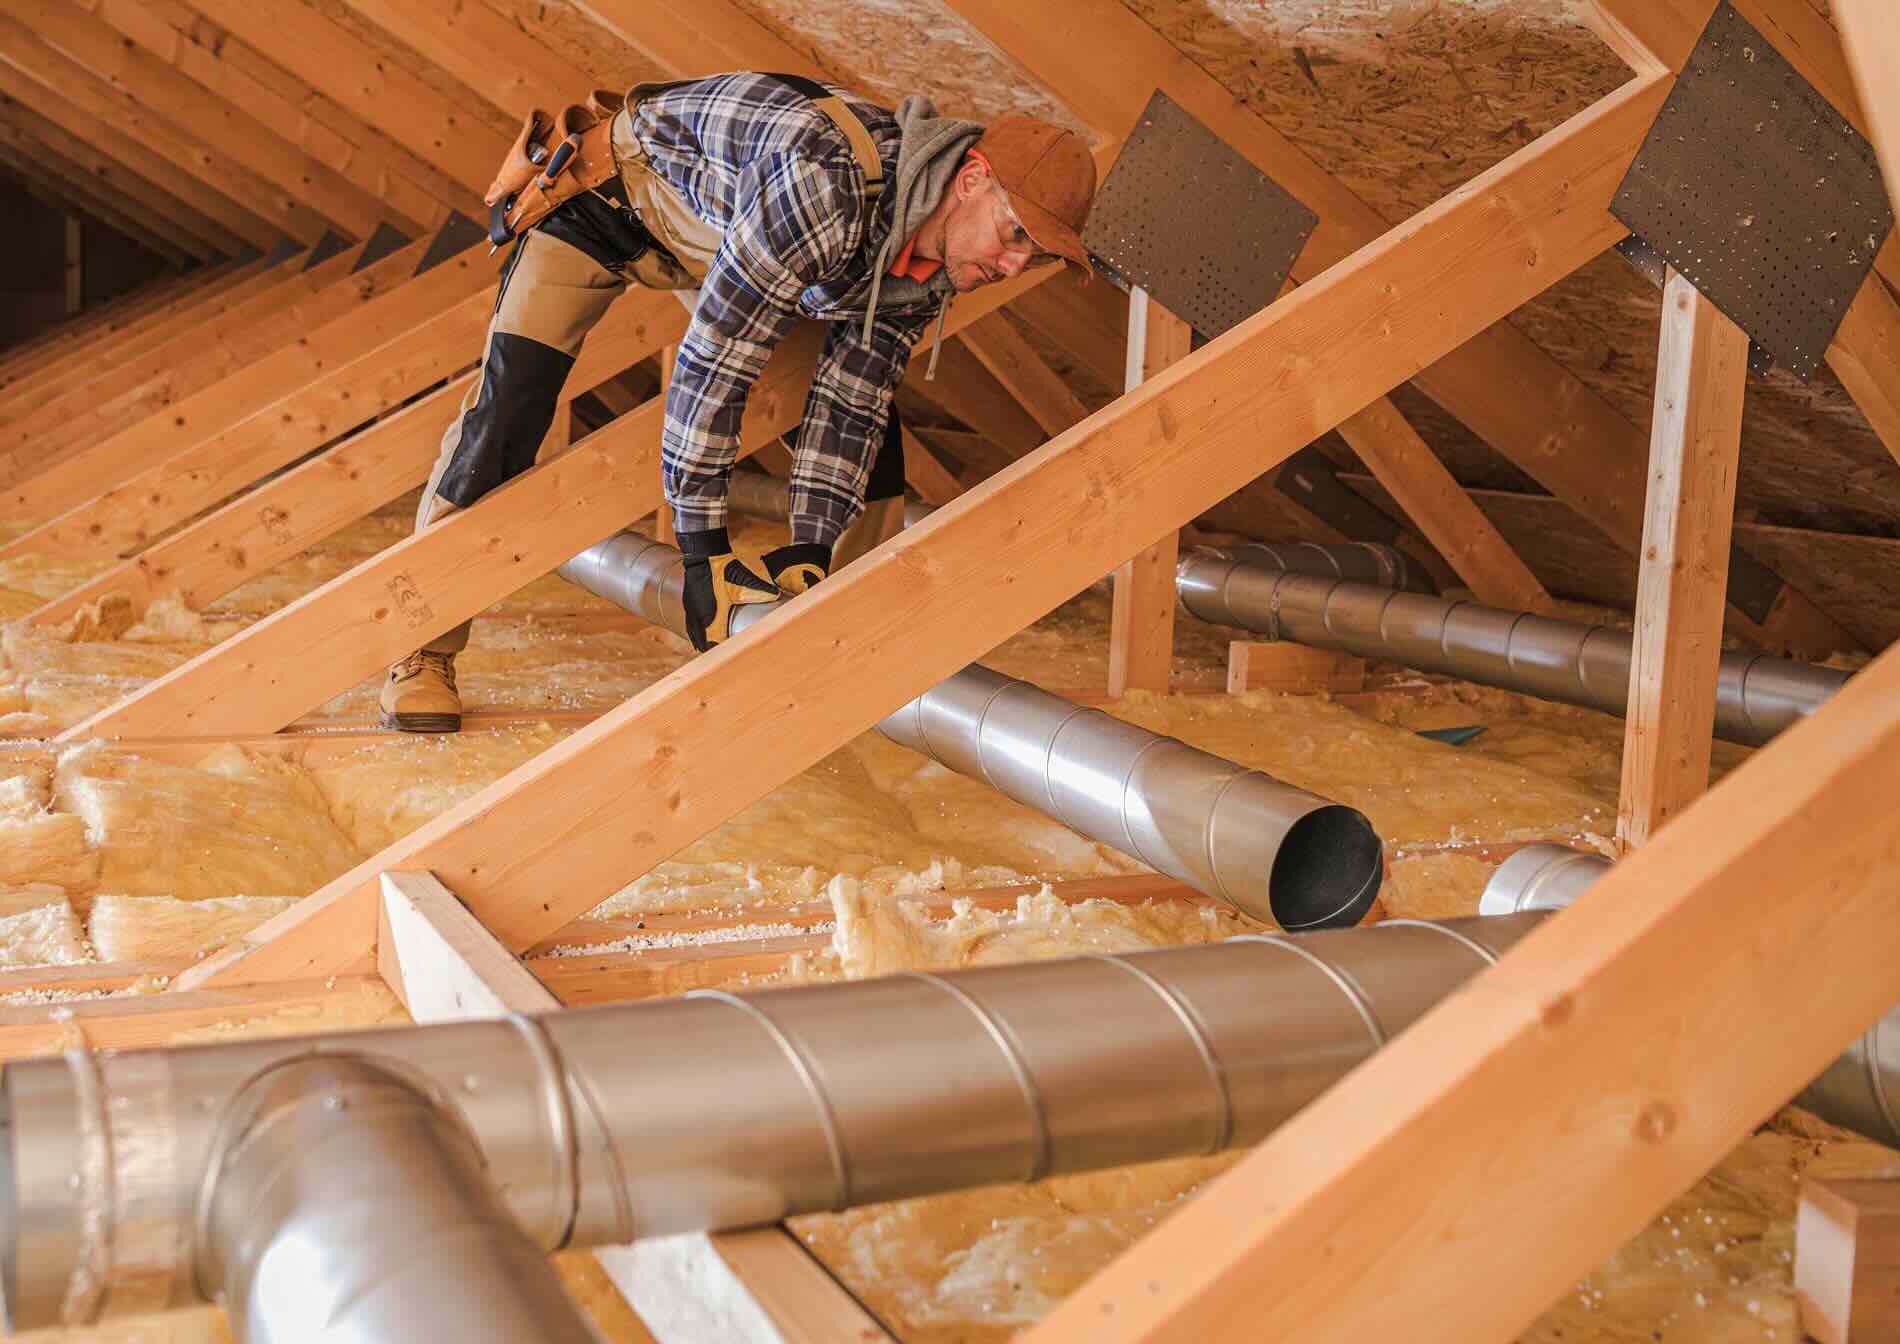
Begin the insulation installation process at the furthest corner of the attic from the access point. This will ensure that you can easily access all areas of the attic without stepping on freshly blown insulation. Start from the eaves and work your way towards the middle of the attic, moving in a systematic manner.
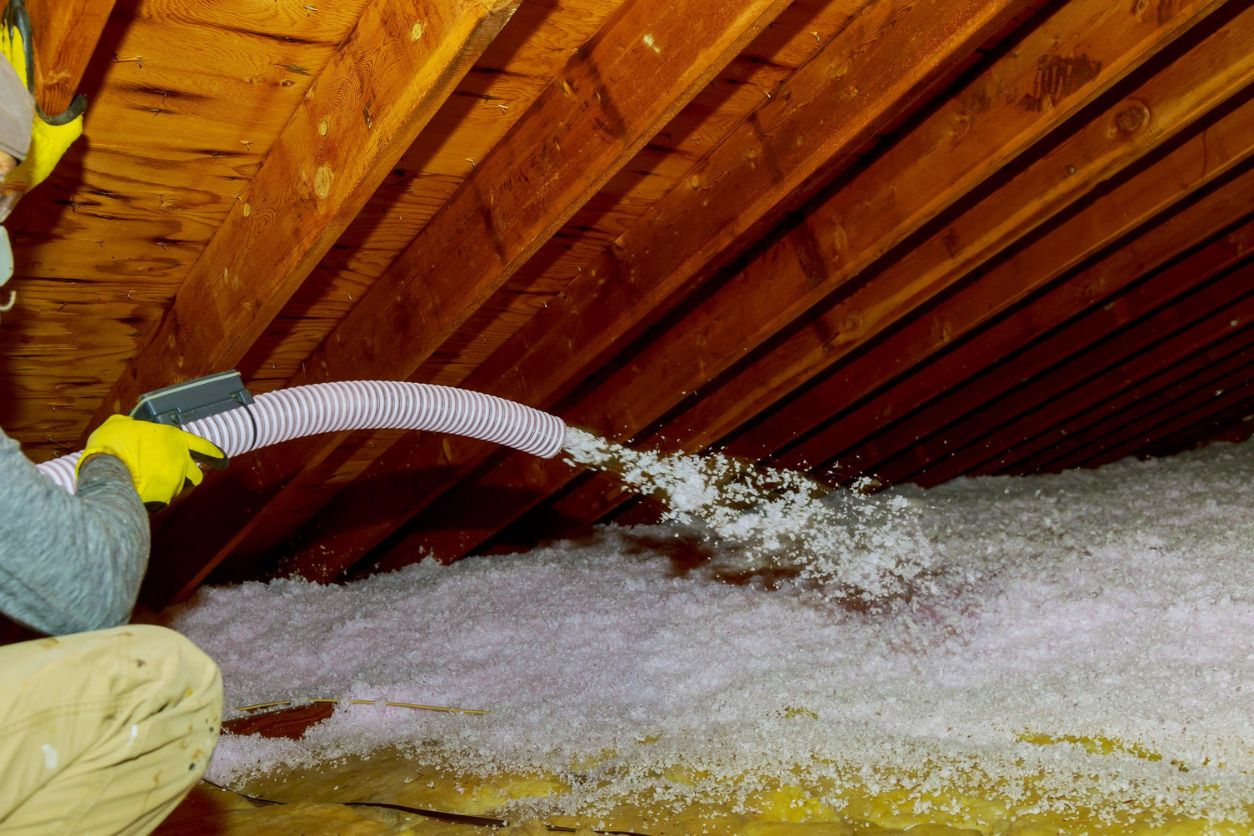
Properly distributing the insulation material:
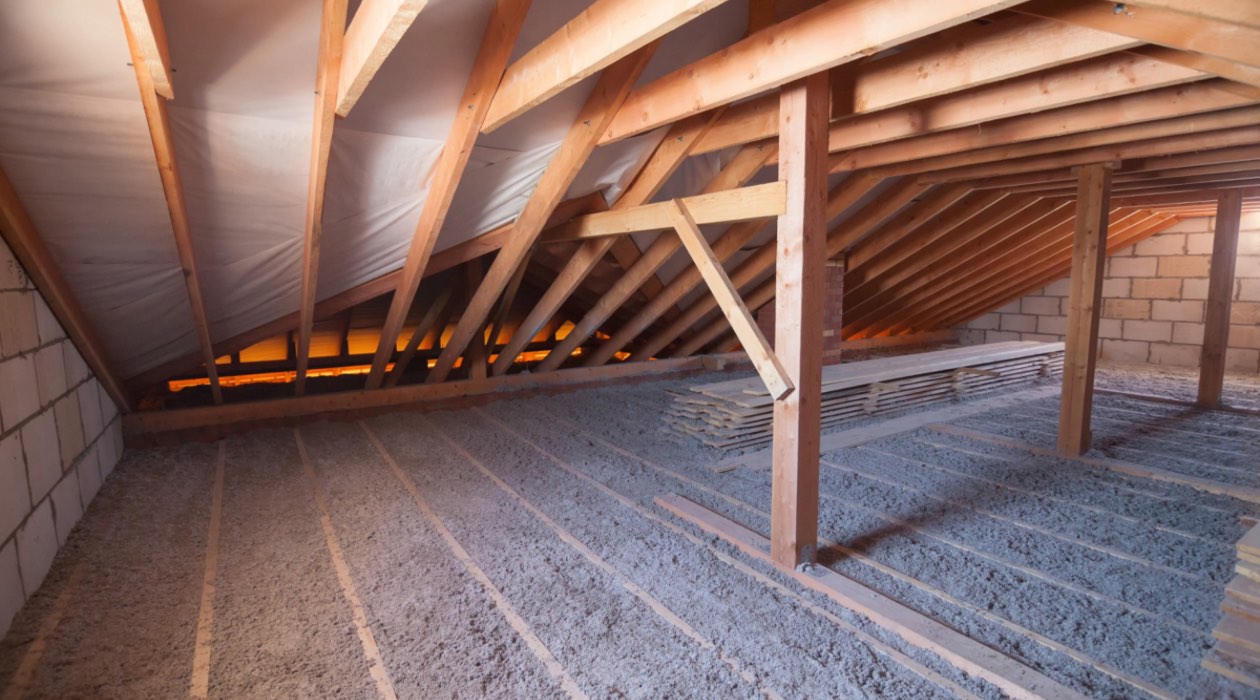
Hold the insulation blower hose or nozzle at a distance from the attic floor and use smooth, sweeping motions to distribute the insulation material. Aim for a consistent layer of insulation throughout the attic space. Be sure to cover all areas, paying special attention to corners, edges, and any gaps or uneven spots.
Maintaining a consistent layer and coverage:
As you move through the attic, maintain a consistent layer and coverage of insulation. Avoid overloading certain areas while neglecting others. Use the measuring tape occasionally to check the thickness of the insulation layer and ensure it meets the required R-value or thickness calculations. Adjust the blower machine’s settings if needed to achieve the desired coverage.
Throughout the insulation installation process, be mindful of safety precautions. Avoid stepping on the blown insulation to prevent compressing or damaging it. Instead, use sturdy boards or plywood to create walkways in the attic if necessary. Additionally, take breaks as needed to avoid fatigue and overheating.
By starting at the furthest corner, properly distributing the insulation material, and maintaining a consistent layer and coverage, you can ensure that your attic is effectively insulated. This will help improve energy efficiency, reduce heating and cooling costs, and create a more comfortable living environment in your home.
Ensuring Proper Ventilation
Proper ventilation is essential for maintaining good air quality and preventing moisture buildup in your attic. When blowing insulation, it’s important to ensure that ventilation is not compromised. Follow these steps to ensure proper ventilation during the insulation installation process:
Read more: How To Insulate Attic Ladder
Avoiding blocking soffit vents or exhaust fans:
Soffit vents and exhaust fans play a crucial role in allowing fresh air to enter the attic and removing stale air and moisture. When blowing insulation, make sure to avoid blocking these vents or fans. Position the insulation material away from them to allow for proper airflow and ventilation. Use rafter baffles or other solutions if needed to maintain a clear pathway for air circulation.
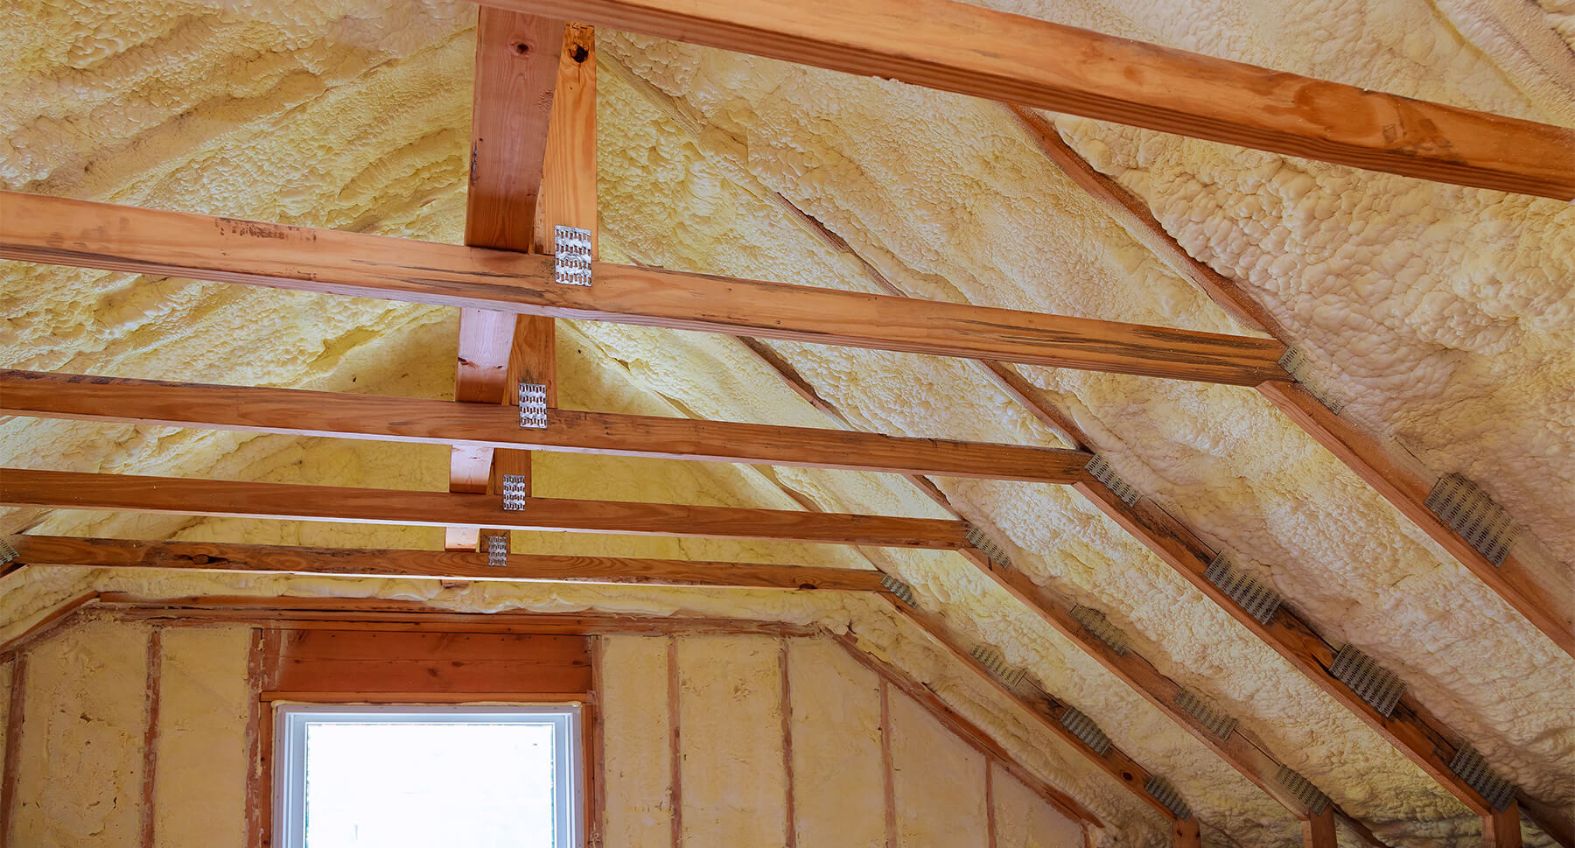
Installing baffles or chutes for airflow:
If your attic does not have proper airflow channels, consider installing baffles or chutes to facilitate the movement of air. Baffles are typically installed between roof rafters or trusses to create a clear path for air to flow from the soffit vents to the ridge or gable vents. Chutes, on the other hand, are generally placed between the joists to ensure proper air circulation.
Sealing any gaps around vents or ducts:
Inspect the area around vents, exhaust fans, and HVAC ductwork in your attic. Ensure that there are no gaps or cracks that could allow air leakage. Use caulk or weatherstripping to seal these gaps and ensure that the air is directed where it should be, rather than escaping through leaks.
By taking these steps to ensure proper ventilation, you can maintain a healthy and well-ventilated attic space. This will help prevent moisture buildup, reduce the risk of mold growth, and promote energy efficiency in your home. Proper ventilation in conjunction with effective insulation will maximize the benefits of your attic insulation installation.
Finishing Touches
Once you have completed the insulation installation in your attic, there are a few finishing touches to attend to. These steps will ensure that your attic is properly insulated and that the job is completed to a high standard:
Read more: How To Install Insulation In An Attic
Inspecting the attic for missed spots or gaps:
After blowing the insulation, carefully inspect the attic to check for any missed spots or gaps in coverage. Look for areas where the insulation may be thinner or uneven. Use additional insulation material to fill in these spots and ensure that there are no exposed areas that compromise the overall insulation effectiveness.
Cleaning up any insulation debris:
Insulation installation can sometimes result in small remnants or debris left behind. Use a broom or a vacuum with a HEPA filter to clean up any loose insulation or debris in the attic. Be gentle when cleaning near the insulation to avoid disturbing the newly installed insulation layer.
Properly disposing of waste material:
Dispose of any waste material in a responsible manner. Insulation materials, particularly fiberglass, can be hazardous if not handled properly. Check with local waste management facilities or recycling centers to understand the proper disposal methods for your specific insulation material. Avoid throwing the waste material in regular trash bins or leaving it exposed in your yard.
By performing a thorough inspection, cleaning up any debris, and properly disposing of waste material, you can ensure that your attic insulation is of the highest quality. These finishing touches will contribute to maximizing the insulation’s efficiency and performance, ultimately leading to energy savings and improved comfort throughout your home.
Conclusion
Congratulations! You have successfully learned how to blow insulation in an attic. By following the steps outlined in this guide, you have taken a significant step towards improving the energy efficiency and comfort of your home.
Blowing insulation in the attic is an effective way to optimize your home’s insulation and reduce energy loss. It helps create a thermal barrier that prevents heat transfer, keeping your home warmer in the winter and cooler in the summer. Additionally, a well-insulated attic can significantly reduce your heating and cooling costs, saving you money in the long run.
Throughout this guide, we covered the materials needed for the insulation installation, the preparation of the attic space, setting up the insulation blower, preparing the insulation material, the process of blowing insulation, ensuring proper ventilation, and completing the finishing touches.
Remember, as you embark on this insulation project, always prioritize safety. Wear protective clothing and equipment, work in well-ventilated areas, and take breaks as needed. If you feel unsure about any aspect of the insulation installation, do not hesitate to consult with a professional for guidance and assistance.
Now that you have completed the insulation installation, take a moment to appreciate the hard work you put into making your home more energy-efficient. Enjoy the increased comfort, reduced energy bills, and the positive impact on the environment.
Thank you for choosing to learn how to blow insulation in an attic. We hope this guide has provided you with the knowledge and confidence to undertake this project successfully. Happy insulating!
Frequently Asked Questions about How To Blow Insulation In An Attic
Was this page helpful?
At Storables.com, we guarantee accurate and reliable information. Our content, validated by Expert Board Contributors, is crafted following stringent Editorial Policies. We're committed to providing you with well-researched, expert-backed insights for all your informational needs.

0 thoughts on “How To Blow Insulation In An Attic”