Home>Ideas and Tips>Upgrading Your Home’s Basement With DIY Floating Floor
Ideas and Tips
Upgrading Your Home’s Basement With DIY Floating Floor
Modified: October 28, 2024
Enhance your basement with a DIY floating floor. Learn benefits, preparation, and step-by-step installation for a cost-effective and stylish upgrade.
(Many of the links in this article redirect to a specific reviewed product. Your purchase of these products through affiliate links helps to generate commission for Storables.com, at no extra cost. Learn more)
Upgrading the flooring in your basement can significantly enhance the aesthetic appeal and functionality of the space. One of the most popular and DIY-friendly options for basement flooring is the floating floor installation. In this article, we will guide you through the process of installing a floating floor in your basement, highlighting the benefits, necessary preparations, and step-by-step instructions.
Benefits of Floating Floor Installation
Floating floors offer several advantages that make them an ideal choice for basement renovations:
-
DIY-Friendly: Floating floors do not require professional installation, making them a great option for homeowners who enjoy DIY projects. The installation process is relatively straightforward and can be completed with basic tools and materials.
-
Cost-Effective: By installing the flooring yourself, you can save money on labor costs. Additionally, floating floors are often less expensive than traditional hardwood or tile installations.
-
Quick Installation: The installation process is quick and efficient. Most floating floor systems involve fitting planks or tiles together using a tongue and groove mechanism or an interlocking system, which does not require extensive power tools or specialized skills.
-
Easy Maintenance: Floating floors are generally easy to maintain. They do not require refinishing like traditional hardwood floors and are less prone to scratches and dents.
-
Moisture Resistance: Many floating floor options, such as vinyl plank and engineered wood, are designed to be moisture-resistant, making them suitable for basements where humidity levels can be higher.
Preparing Your Basement for Floating Floor Installation
Before you start the installation process, it's crucial to prepare your basement floor properly:
-
Clean the Floor: Ensure the subfloor is clean and free of debris. Use a scraper or a broom to remove any dust, dirt, or old adhesive from the surface.
-
Level the Subfloor: Floating floors require a level subfloor to ensure proper installation and prevent unevenness. Use a level tool to check for any dips or grooves in the concrete and address them before proceeding.
-
Check for Cracks: Inspect the concrete for any cracks. While small cracks are not a significant issue, larger ones may need to be filled with a concrete patching compound before installing the floating floor.
-
Use Underlayment: To prevent sound amplification and ensure the floor feels more solid underfoot, consider using an underlayment material like foam or cement-based underlayment. This layer helps to smooth out any imperfections in the subfloor and provides additional insulation.
Choosing the Right Floating Floor Material
The type of floating floor material you choose will depend on your personal preferences, budget, and the specific needs of your basement. Here are some popular options:
-
LVP (Luxury Vinyl Plank): LVP is a popular choice for basements due to its durability, moisture resistance, and realistic wood grain patterns. It is relatively inexpensive and easy to install.
-
Engineered Hardwood: Engineered hardwood offers a more traditional look and feel while being more budget-friendly than solid hardwood. It is also moisture-resistant and can be installed over concrete subfloors.
-
Vinyl Tile: Vinyl tile is another cost-effective option that mimics the look of wood or stone. It is easy to install and resistant to moisture, making it suitable for basements.
Step-by-Step Guide to Installing a Floating Floor
Step 1: Gather Materials and Tools
Before you begin, make sure you have all the necessary materials and tools:
- Floating Floor Planks/Tiles
- Underlayment Material
- Adhesive (if required)
- Tongue and Groove Mechanism/Interlocking System
- Measuring Tape
- Square
- Pencil/Marker
- Laser Level
- Utility Knife/Cutting Tool
- Pliers/Tapcons (for securing OSB)
Step 2: Lay Down Underlayment
If you are using underlayment, start by laying it down over the entire subfloor. Ensure it is smooth and even, following the manufacturer's instructions for application.
Step 3: Prepare the Subfloor
Ensure the subfloor is clean and level. If necessary, fill any cracks with a concrete patching compound and allow it to dry completely before proceeding.
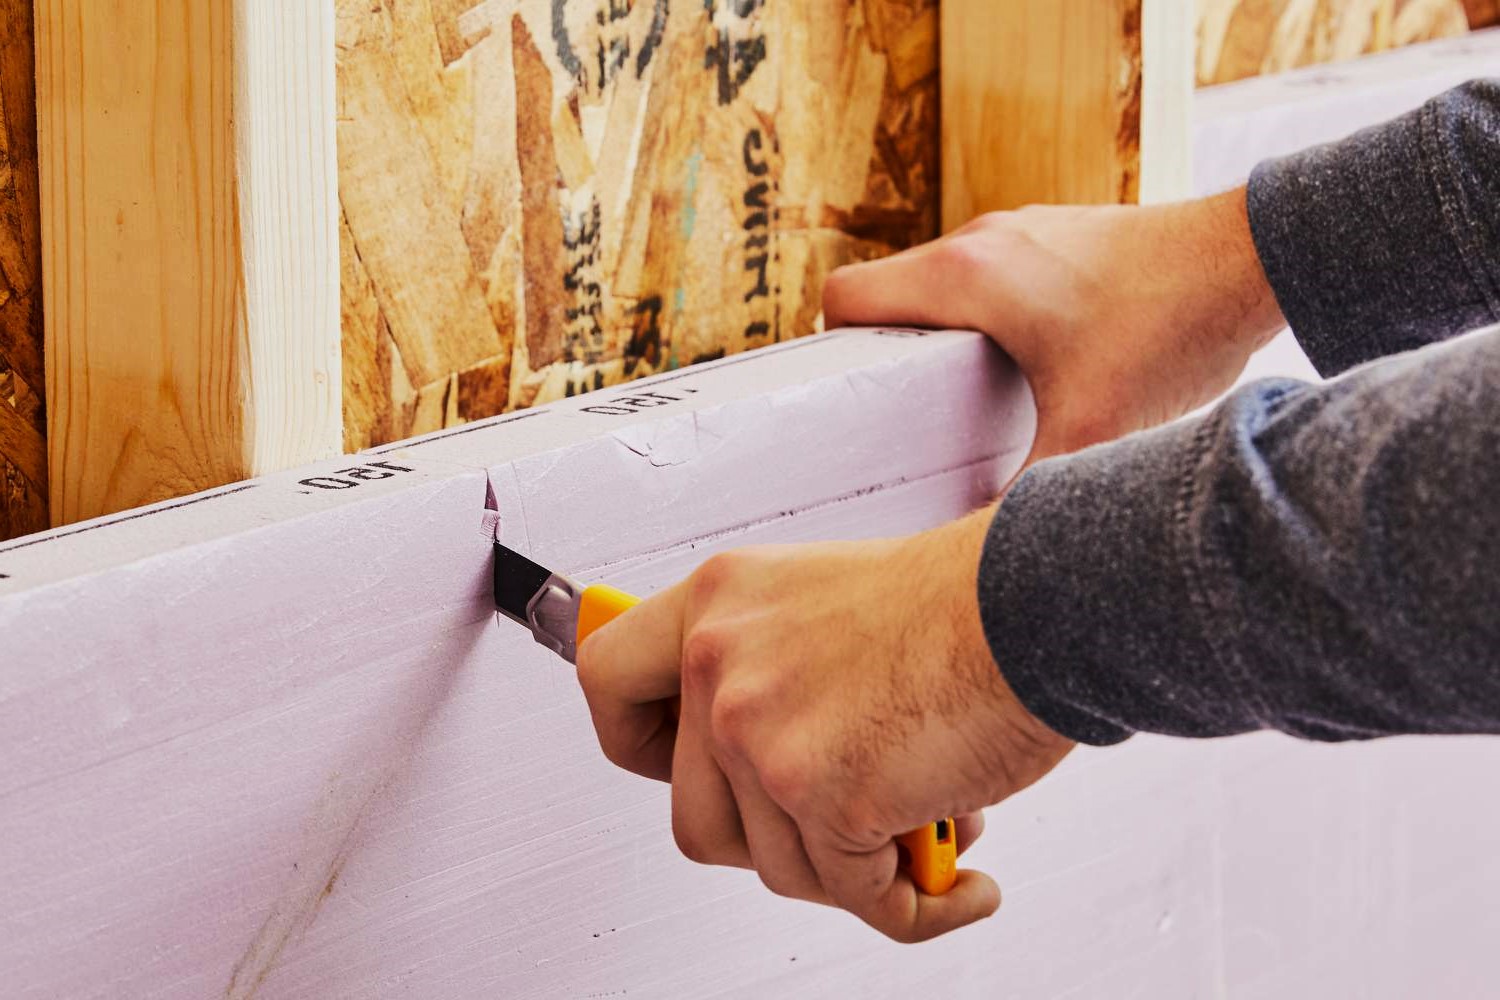
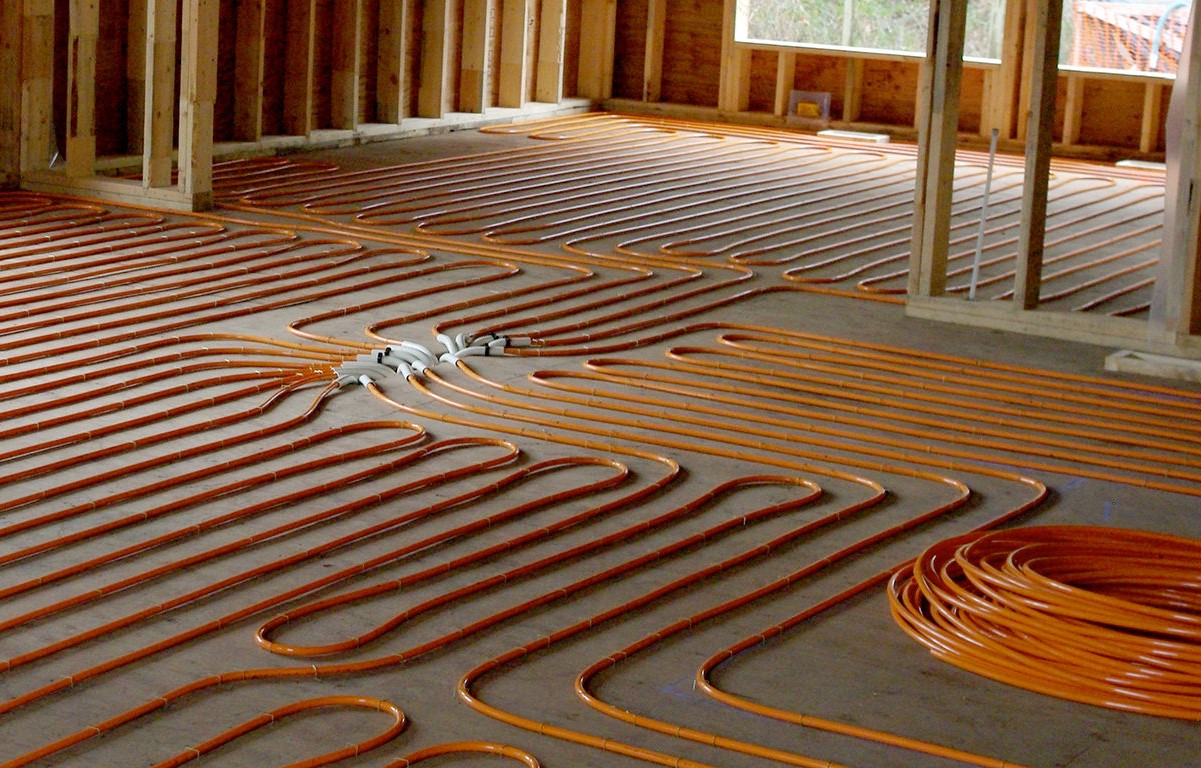
Step 4: Lay Down Delta Foundation Wrap (Optional)
If you live in an area prone to moisture or have concerns about water penetration, consider laying down a Delta foundation wrap over the subfloor. This dimpled plastic membrane helps create an air gap between the concrete and the flooring, reducing the risk of mold and water damage.
Step 5: Secure OSB (Optional)
If you are using OSB (oriented strand board) as an additional layer, secure it to the concrete using tapcons. This provides extra stability and helps prevent movement of the flooring over time.
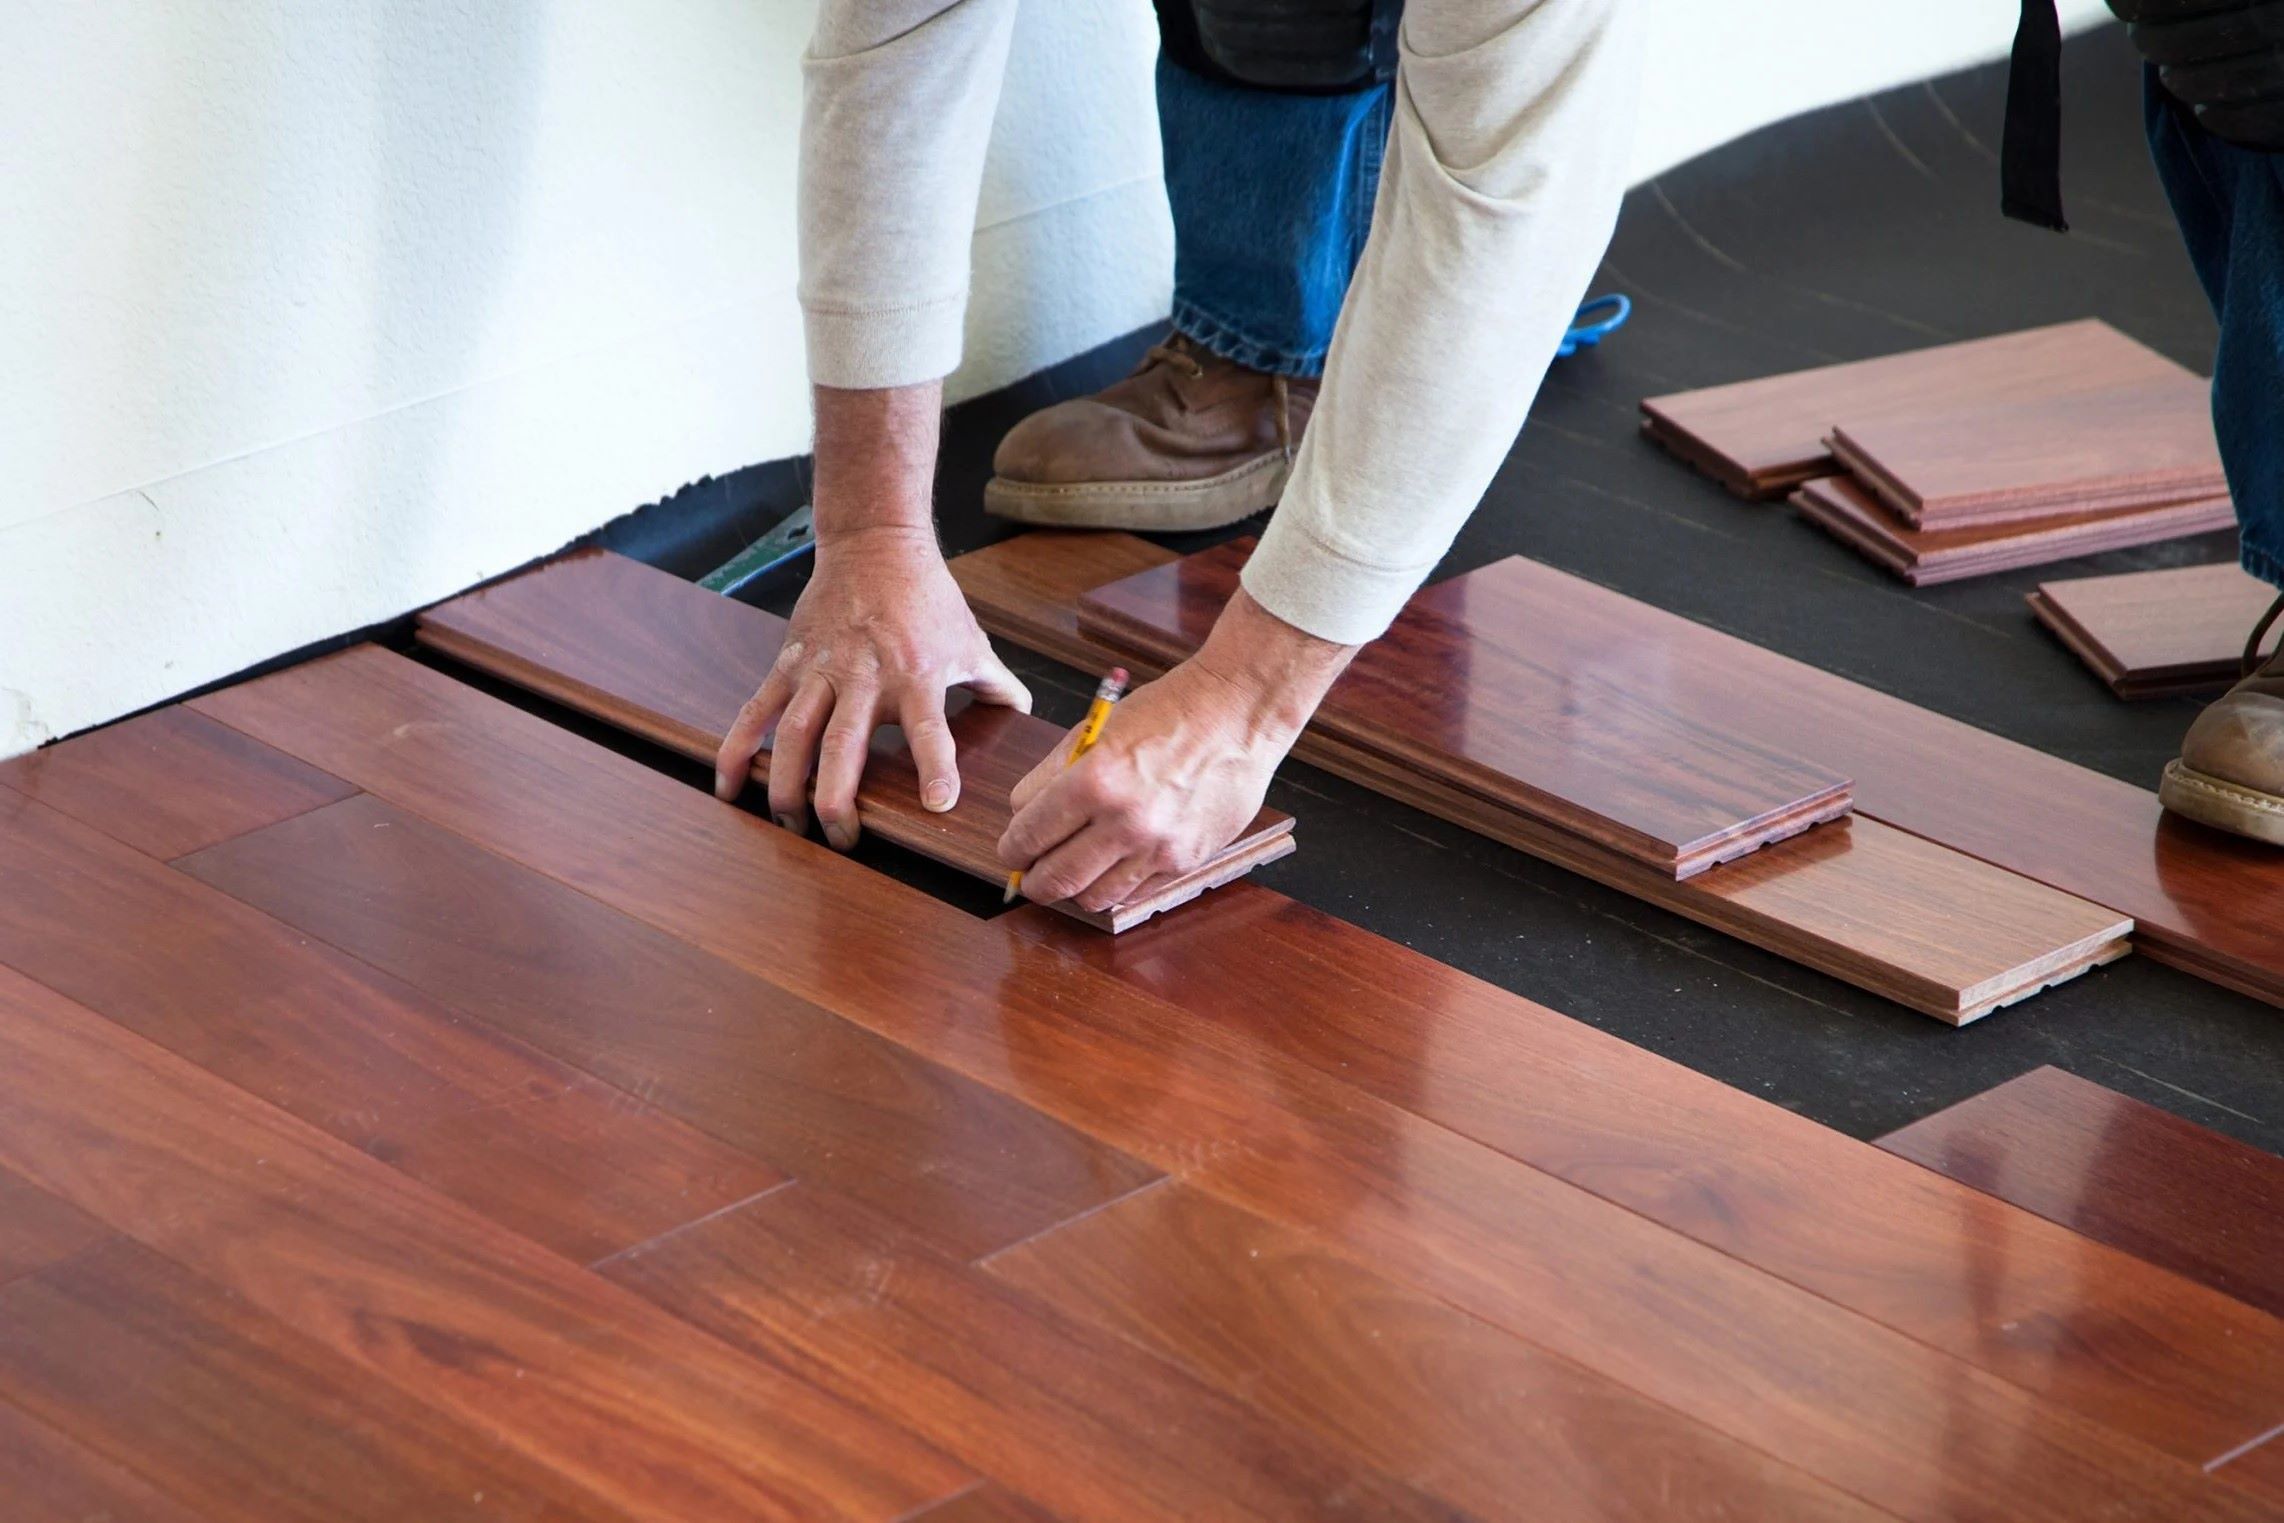
Step 6: Lay Down Floating Floor Planks/Tiles
Begin by laying down the first plank or tile along one edge of the room. Use a laser level to ensure it is straight and level. Continue laying planks or tiles, using a tongue and groove mechanism or interlocking system to secure them in place. Make sure to leave space for expansion and contraction due to humidity changes.
Step 7: Cut Planks/Tiles as Needed
Use a utility knife or cutting tool to cut planks or tiles to fit around edges or corners. Measure carefully to avoid errors that could affect the overall appearance of your installation.
Step 8: Secure Planks/Tiles (if Required)
Some floating floor systems may require adhesive for additional security. Follow the manufacturer's instructions for application and drying times.
Step 9: Final Check
Once all planks or tiles are in place, perform a final check to ensure everything is level and secure. Make any necessary adjustments before moving on to finishing touches.
Tips and Tricks
-
Acclimate Flooring: Allow your floating floor planks or tiles to acclimate to your basement environment for a few days before installation. This helps them adjust to temperature and humidity levels, reducing the risk of warping or buckling.
-
Work in Sections: Divide your basement into sections and complete each one at a time. This helps maintain even spacing and prevents mistakes from compounding as you work through larger areas.
-
Use Protective Gear: Wear protective gear like gloves and safety glasses when handling tools and materials to avoid injuries.
Common Issues and Solutions
Sound Amplification
If you notice sound amplification during installation, it may be due to uneven subfloors or rigid flooring over an unlevel subfloor. To prevent this, use underlayment material under your floating floor.
Humidity Issues
Floating floors can contract and expand with different humidity levels. To mitigate this issue, ensure proper acclimation before installation and consider using moisture-resistant materials like LVP or engineered hardwood.
Mold Issues
Mold can form between the slab surface and the bottom of floating floor panels if there is stagnant water present. To prevent this, ensure good ventilation in your basement and consider using a dimpled plastic membrane like Delta foundation wrap.
Conclusion
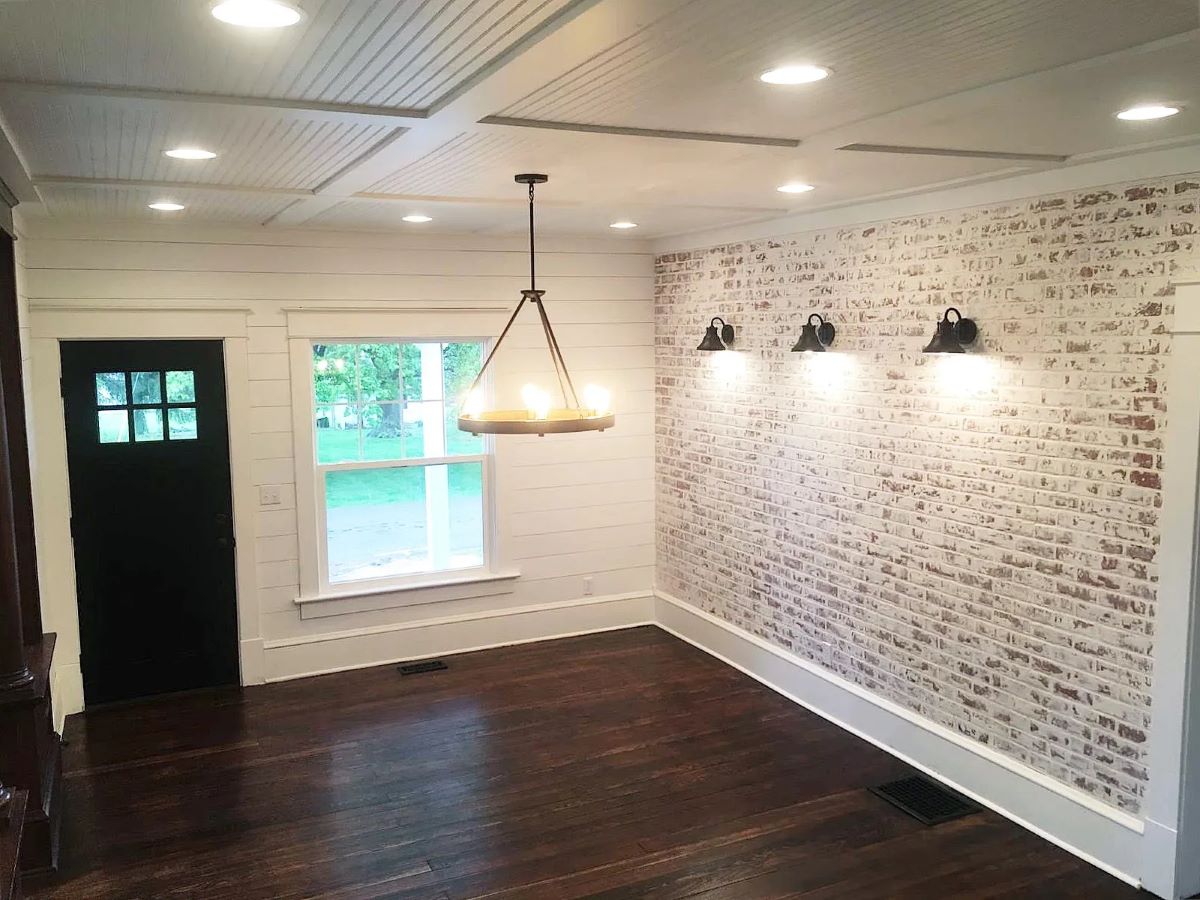
Upgrading your home's basement with a DIY floating floor is a rewarding project that can significantly enhance both the aesthetic appeal and functionality of the space. By following these steps and tips, you can achieve professional-looking results without breaking the bank or requiring extensive professional help. Whether you choose luxury vinyl plank, engineered hardwood, or vinyl tile, floating floors offer numerous benefits that make them an ideal choice for basement renovations.
Additional Resources
For more detailed guides and tutorials on floating floor installation, consider the following resources:
-
YouTube Tutorials: Videos like "DIY Installing Laminate Floors | Basement Update" and "How To Install The Best Flooring For Your Basement OR Any Room" provide step-by-step instructions and real-world examples of floating floor installations.
-
Flooring Inc Blog: The blog "What is a Floating Floor Installation? The Ultimate Guide" offers comprehensive information on floating floor installation methods and materials.
-
Reddit Home Improvement Community: The discussion on floating floors in basements on the Reddit Home Improvement community provides valuable insights from experienced DIYers who have faced similar challenges.
By combining these resources with the detailed guide provided here, you'll be well-equipped to tackle your basement renovation project with confidence and achieve stunning results.
Was this page helpful?
At Storables.com, we guarantee accurate and reliable information. Our content, validated by Expert Board Contributors, is crafted following stringent Editorial Policies. We're committed to providing you with well-researched, expert-backed insights for all your informational needs.


0 thoughts on “Upgrading Your Home’s Basement With DIY Floating Floor”