Home>Ideas and Tips>Upgrading Your Home’s Exterior Paint DIY Tips

Ideas and Tips
Upgrading Your Home’s Exterior Paint DIY Tips
Published: September 3, 2024
Enhance your home's curb appeal and protection with our DIY exterior paint tips. Learn step-by-step methods for a professional finish.
(Many of the links in this article redirect to a specific reviewed product. Your purchase of these products through affiliate links helps to generate commission for Storables.com, at no extra cost. Learn more)
Introduction
When it comes to enhancing the curb appeal and longevity of your home, one of the most impactful and cost-effective methods is upgrading the exterior paint. A fresh coat of paint can not only give your home a vibrant and inviting appearance but also protect it from the elements. However, painting your home's exterior can be a daunting task, especially if you're new to DIY projects. In this article, we will guide you through the process of upgrading your home's exterior paint with DIY tips and tricks.
Why Upgrade Your Exterior Paint?
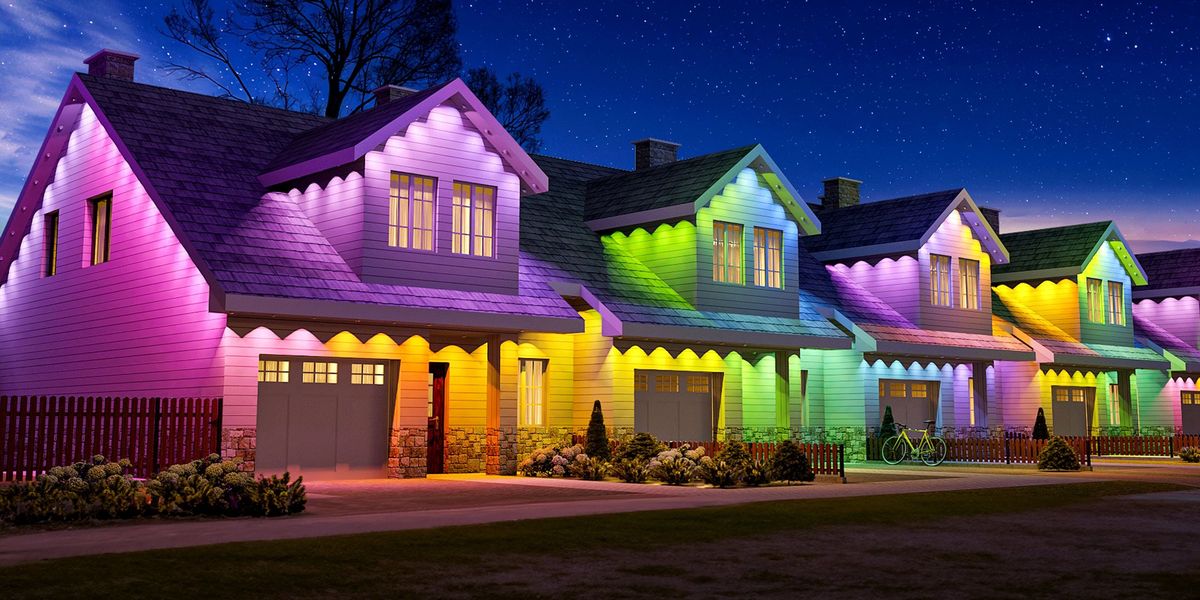
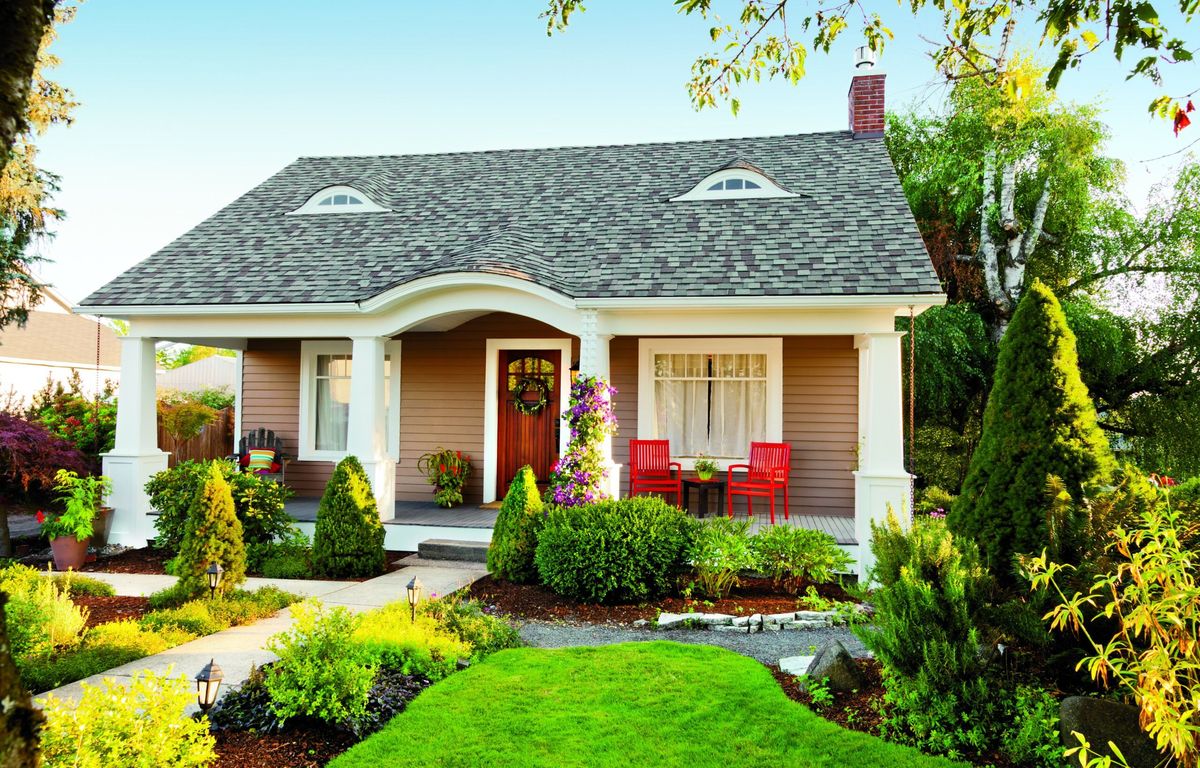
Upgrading your exterior paint is a game-changer for several reasons. First off, a well-painted exterior can significantly boost your home's curb appeal. Imagine driving up to a house with peeling, faded paint versus one with a fresh, vibrant coat. The difference is night and day. A fresh coat of paint can make your home look new and well-maintained, which is a big plus if you're thinking about selling.
But it's not just about looks. Exterior paint acts as a protective barrier against weather conditions like rain, sun, and extreme temperatures. Think of it as your home's first line of defense. Over time, the elements can take a toll on your home's exterior, causing damage that can be costly to repair. A good paint job can help prevent this by sealing out moisture and protecting against UV rays.
Durability is another biggie. A high-quality exterior paint can extend the lifespan of your home's exterior surfaces. This means fewer touch-ups and less frequent repainting, saving you time and money in the long run. Plus, some exterior paints are designed to reflect sunlight and reduce heat gain, which can help lower your energy bills. So, you're not just making your home look good; you're also making it more energy-efficient.
Preparing for the Project
Before you dive into painting, it's crucial to prepare your home and yourself for the project. Proper preparation can make the difference between a professional-looking paint job and one that screams DIY disaster.
1. Choose the Right Time
Timing is everything. The best time to paint your home's exterior is during the cooler months when the weather is less humid and there's less chance of rain. Avoid painting in direct sunlight or during extremely hot or cold weather. The ideal temperature range for painting is between 50°F and 85°F. This ensures that the paint adheres properly and dries evenly.
2. Gather Materials
You'll need several materials to get started. Here's a handy list:
- Paint: Choose a high-quality exterior paint that suits your climate and the type of surface you're painting (e.g., latex for wood, oil-based for metal).
- Primer: A good primer can ensure better adhesion and coverage.
- Brushes and Rollers: Use high-quality brushes and rollers specifically designed for exterior use.
- Drop Cloths: Protect your lawn and surrounding areas with drop cloths.
- Ladders and Scaffolding: Ensure you have sturdy ladders or scaffolding to reach all areas safely.
- Cleaning Supplies: Have soap, water, and rags on hand for cleaning tools and surfaces.
3. Prepare Your Tools
Before starting, make sure all your tools are in good condition. Clean any brushes or rollers thoroughly after each use. Store them in a dry place to prevent damage. If you're using old tools, consider replacing them for better performance. Trust me, using a worn-out brush can make your job a lot harder than it needs to be.
4. Plan Your Schedule
Exterior painting projects can be time-consuming, so plan accordingly. Break down the project into manageable sections, like one side of the house at a time. Set realistic goals for each day, such as painting one wall per day. This way, you won't feel overwhelmed and can tackle the project bit by bit.
Step-by-Step Guide to Painting Your Home's Exterior
Now that you're prepared, let's move on to the actual painting process. Follow these steps for a smooth and successful paint job.
1. Clean the Surface
Cleaning the surface is essential for ensuring proper paint adhesion. Start by removing any debris such as leaves, twigs, or dirt from the surface. Use a power washer to remove dirt and grime if necessary. Scrape off any loose or flaking old paint with a scraper or sandpaper. Sand down any rough spots to create a smooth surface for painting.
2. Apply Primer (Optional but Recommended)
Applying primer can significantly improve the quality of your paint job. Choose a primer that matches your paint type (latex or oil-based). Use a roller or brush to apply primer evenly across the surface. Allow the primer to dry according to manufacturer instructions before proceeding with painting.
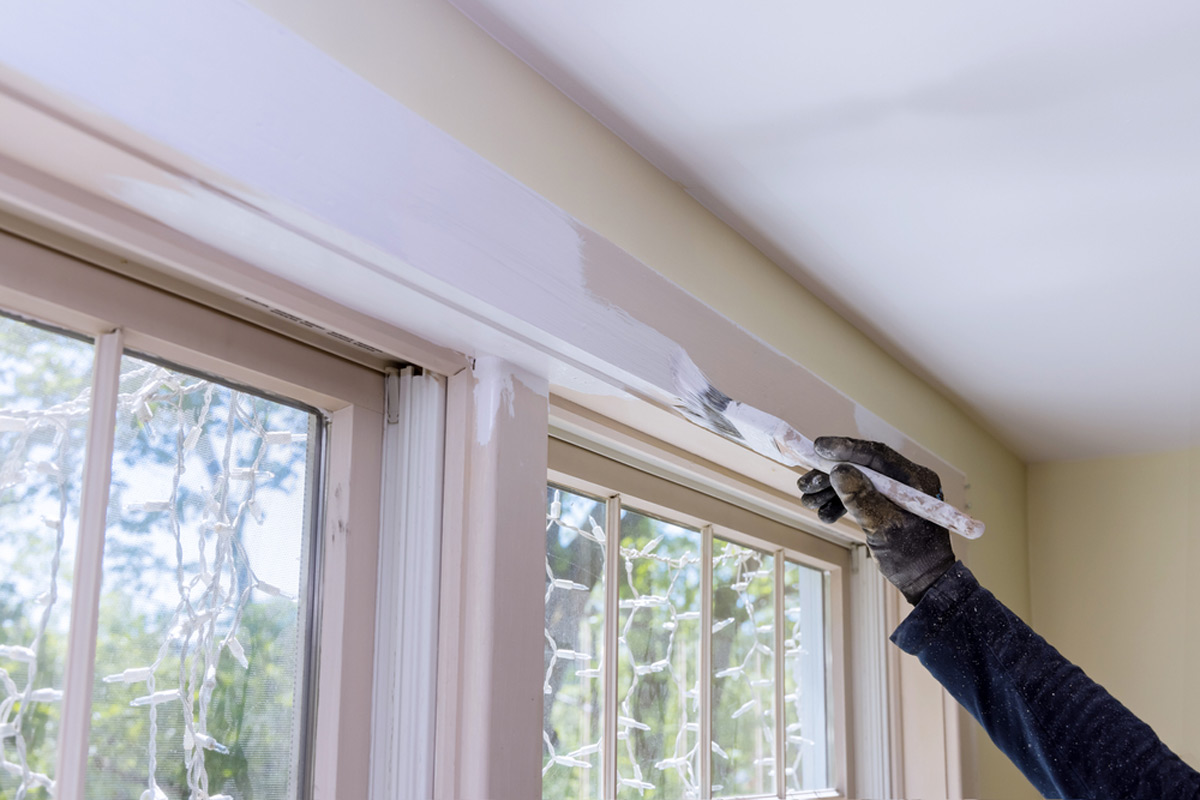
3. Tape Off Trim and Windows
Protecting trim and windows is crucial to avoid paint spills. Apply masking tape around windows, doors, and trim. Use painter's tape to seal edges where paint might seep through.
4. Paint Your Home's Exterior
Now it's time for the main event—painting your home's exterior. Start painting from the top down so drips don’t run down freshly painted areas. Divide large surfaces into smaller sections for easier coverage. Use proper techniques:
- For large areas like walls: Use a roller with an extension pole for better reach.
- For corners or edges: Use brushes for more precise control.
Apply thin coats, allowing each coat to dry completely before adding additional layers. Avoid overlapping strokes to prevent unevenness in the finish.
5. Remove Tape Carefully
Once you've completed painting all sections, start removing tape slowly while the paint is still wet but not dripping wet. This prevents the tape from pulling off the freshly painted surface. Clean up any spills immediately before the paint dries.
Additional Tips for a Professional Finish
While following these steps will give you great results, here are some additional tips that can help achieve a professional finish:
- Use High-Quality Brushes & Rollers: Investing in good quality brushes and rollers will make a big difference, especially when dealing with complex shapes like corners and eaves.
- Work During Cooler Hours: Avoid painting during the hottest part of the day when the sun is beating down relentlessly, causing the paint to dry faster and unevenly.
- Keep Tools Clean & Organized: Maintaining cleanliness and organization throughout the process ensures efficiency, minimizing wasted time and effort.
- Consider Hiring Professional Help If Necessary: If you feel overwhelmed tackling the entire project yourself, consider hiring professional help, especially if dealing with large, complex surfaces requiring specialized techniques and expertise.
Common Mistakes to Avoid
While following the above guidelines carefully, there are still a few common mistakes to avoid:
- Insufficient Preparation of the Surface: Failing to properly prepare the surface before applying primer and paint results in poor adhesion and an uneven finish, ultimately requiring costly touch-ups and repairs down the line.
- Inadequate Ventilation in the Area Worked Upon: Working in enclosed spaces without proper ventilation leads to inhaling fumes, potentially causing health issues with long-term exposure.
- Rushing Through the Process: Taking shortcuts and cutting corners ultimately leads to subpar results, requiring additional coats and touch-ups, wasting valuable resources, time, and money.
Conclusion
Upgrading your exterior paint as a DIY project can be a rewarding experience, yielding long-lasting benefits by enhancing curb appeal and protecting surfaces while saving money. By following the steps outlined above and avoiding common pitfalls, achieving a professional finish becomes an achievable reality for anyone willing to put in the effort and dedication required. Happy painting!
Was this page helpful?
At Storables.com, we guarantee accurate and reliable information. Our content, validated by Expert Board Contributors, is crafted following stringent Editorial Policies. We're committed to providing you with well-researched, expert-backed insights for all your informational needs.


0 thoughts on “Upgrading Your Home’s Exterior Paint DIY Tips”