Home>Ideas and Tips>Upgrading Your Home’s Exterior With DIY Shutters
Ideas and Tips
Upgrading Your Home’s Exterior With DIY Shutters
Published: August 31, 2024
Enhance your home's curb appeal with DIY shutters. Learn about types, benefits, materials, and a step-by-step installation guide for a stylish upgrade.
(Many of the links in this article redirect to a specific reviewed product. Your purchase of these products through affiliate links helps to generate commission for Storables.com, at no extra cost. Learn more)
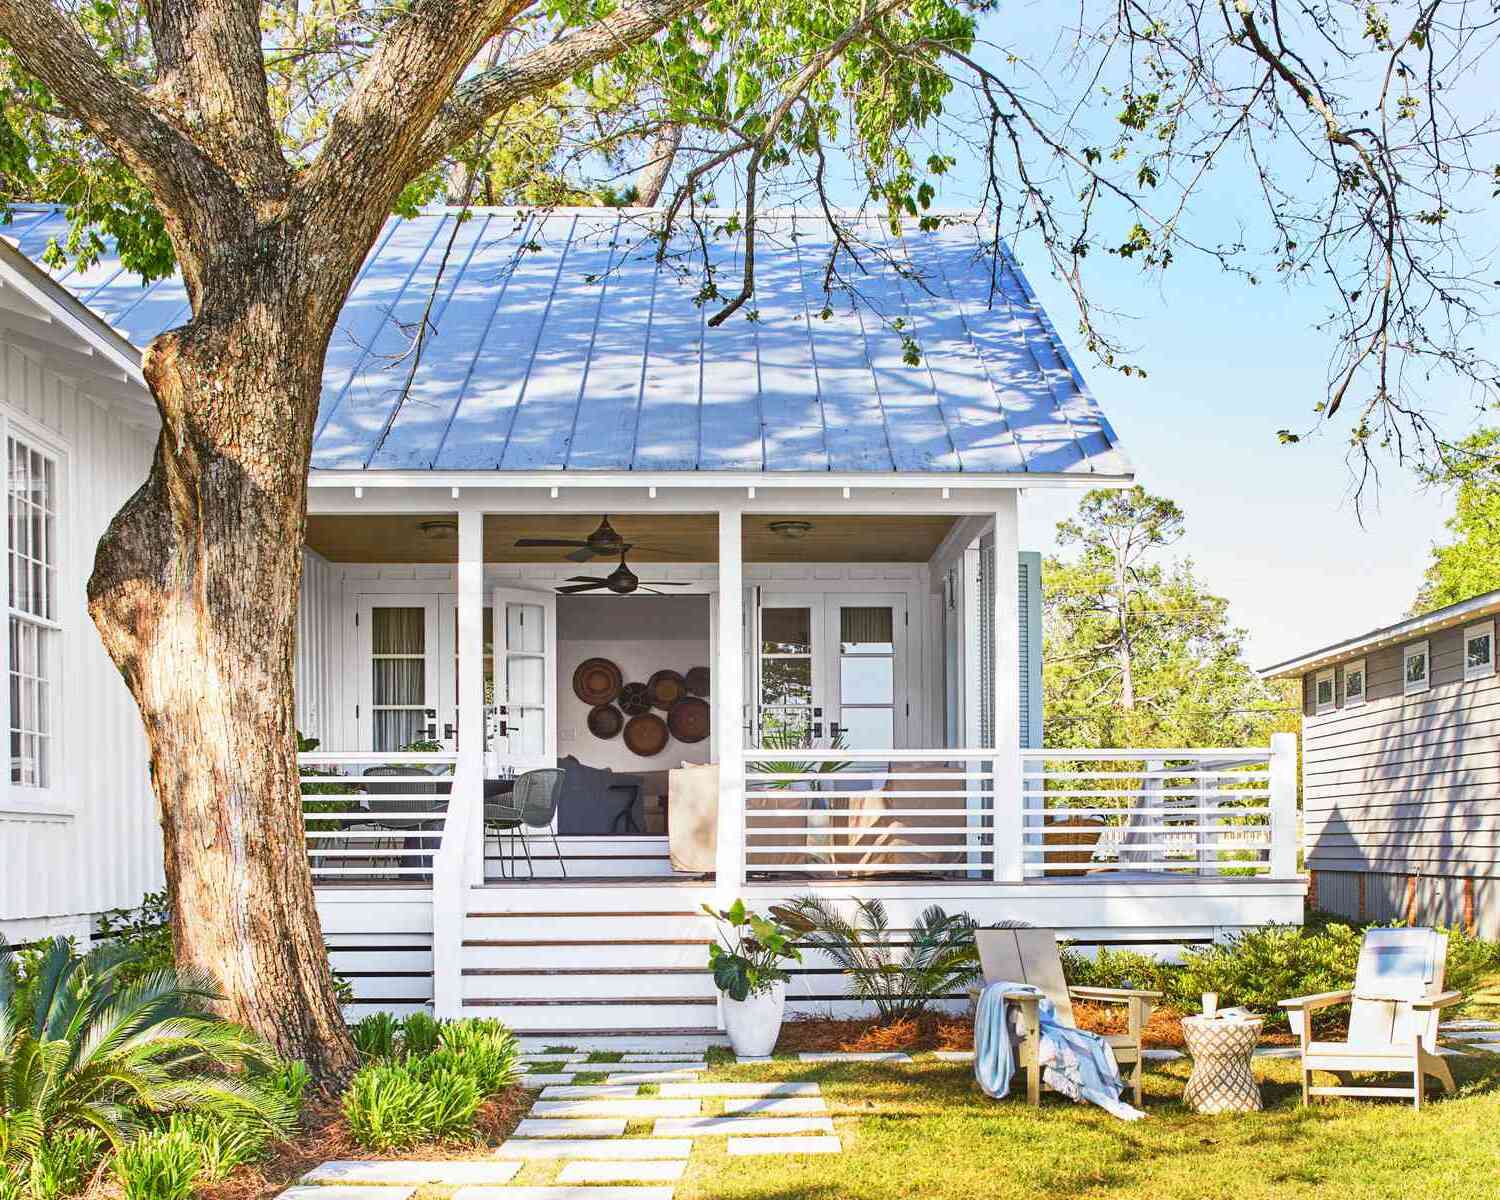
When it comes to enhancing the exterior of your home, there are numerous options available. One of the most effective and stylish ways to upgrade your home's exterior is by installing DIY shutters. Not only do shutters add a touch of elegance and sophistication, but they also provide several practical benefits such as improved energy efficiency, enhanced security, and increased property value. In this article, we will delve into the world of DIY shutters, exploring their history, types, benefits, and step-by-step guide on how to install them.
History of Shutters
Shutters have been a part of architectural design for centuries. Originating in ancient Greece and Rome, shutters were initially used to protect windows from the elements and provide privacy. Over time, shutters evolved to become an integral part of various architectural styles, from colonial to modern designs. Today, shutters are not just functional but also serve as an aesthetic element that can significantly enhance the curb appeal of any home.
Types of Shutters
There are several types of shutters available in the market, each with its unique characteristics and benefits. Here are some of the most common types:
-
Panel Shutters
- These are the most traditional type of shutter and consist of solid panels that can be made from various materials such as wood, vinyl, or composite materials.
- They are ideal for providing maximum privacy and insulation.
-
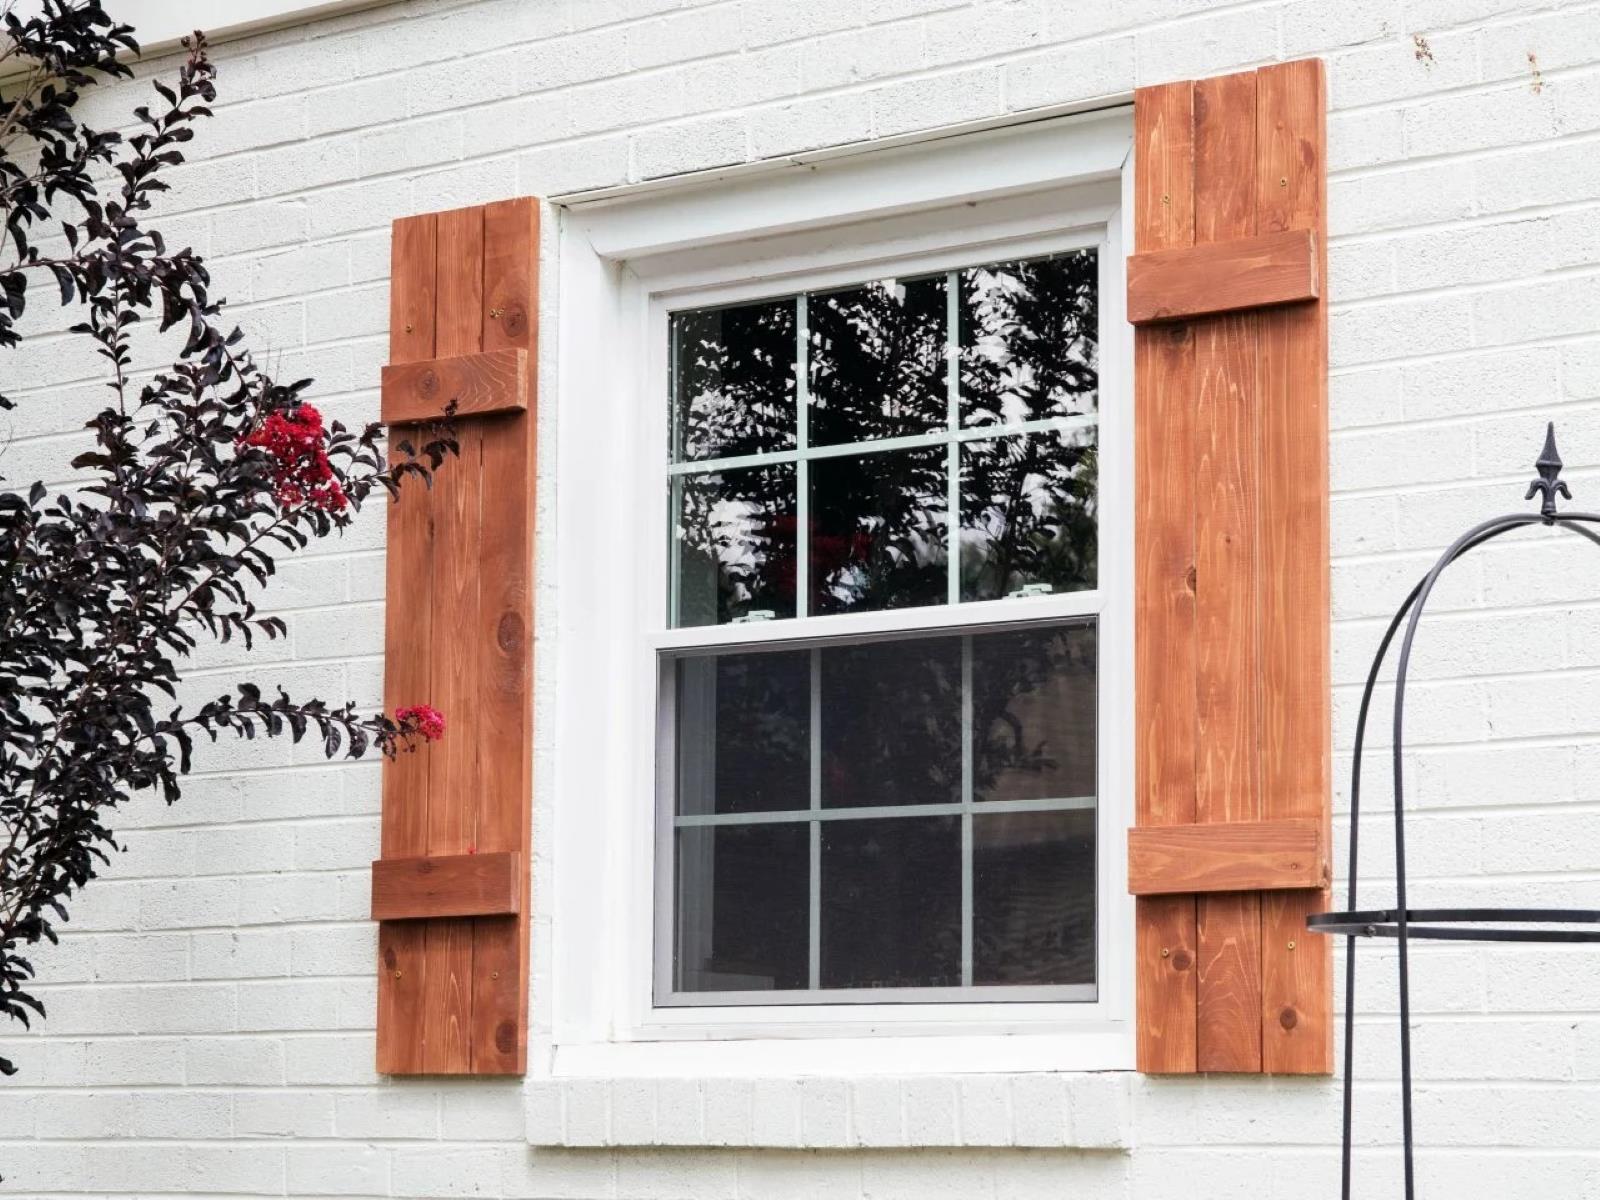
Board-and-Batten Shutters
- These shutters feature horizontal boards separated by vertical battens.
- They are often used in coastal or rustic designs and can add a charming touch to any exterior.
-
Plantation Shutters
- These shutters have wide louvers that allow for natural light while maintaining privacy.
- They are popular for their sleek and modern look.
-
Barn Shutters
- These shutters have a more rustic appearance with wide horizontal slats.
- They are often used in country or farmhouse-style homes.
-
Hybrid Shutters
- These shutters combine different materials such as wood and vinyl to offer durability and low maintenance.
- They are versatile and can be used in various architectural styles.
Benefits of DIY Shutters
Installing DIY shutters offers numerous benefits that make it an attractive option for homeowners:
-
Energy Efficiency
- Shutters can help reduce heat transfer through windows, keeping your home cooler in summer and warmer in winter.
- This can lead to significant savings on energy bills.
-
Enhanced Security
- Shutters provide an additional layer of security by making it difficult for intruders to break into your home through windows.
- They can also help protect your windows from severe weather conditions like hurricanes or storms.
-
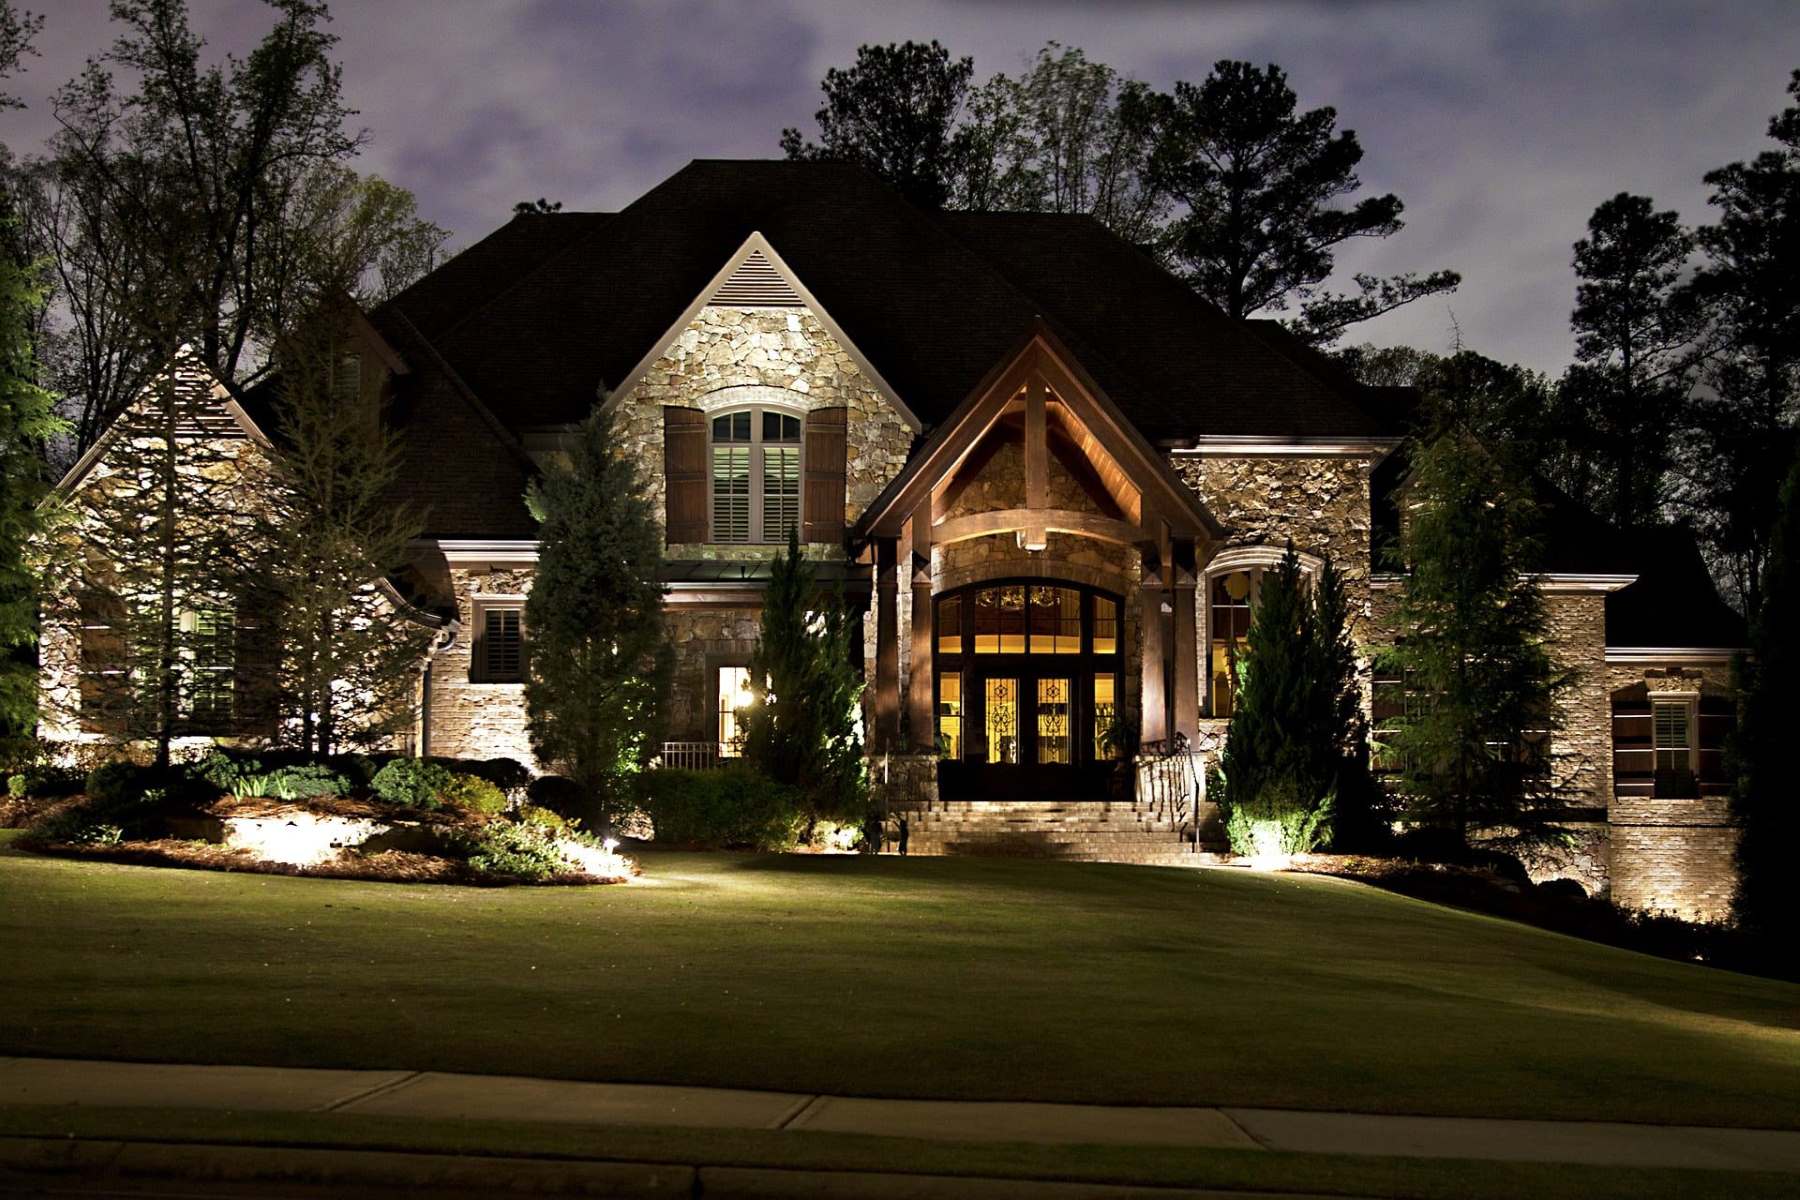
Increased Property Value
- Installing high-quality shutters can significantly enhance the curb appeal of your home, making it more attractive to potential buyers if you decide to sell in the future.
- They can also increase the resale value of your property.
-
Customization Options
- With DIY shutters, you have the flexibility to choose from various materials, colors, and designs that match your home's architectural style.
- You can also customize the size and shape of the shutters to fit perfectly with your windows.
-
Low Maintenance
- Many modern shutter materials are designed to be low maintenance, requiring minimal upkeep and cleaning.
Materials for DIY Shutters
When it comes to choosing materials for your DIY shutters, there are several options available:
-
Wooden Shutters
- Wooden shutters offer a classic look and can be stained or painted to match any color scheme.
- However, they require regular maintenance to prevent rotting or warping.
-
Vinyl Shutters
- Vinyl shutters are durable, water-resistant, and easy to clean.
- They come in various colors and styles but may lack the natural beauty of wood.
-
Composite Shutters
- Composite shutters combine different materials like wood and vinyl for durability and low maintenance.
- They offer a versatile option that blends the best features of both materials.
-
Aluminum Shutters
- Aluminum shutters are lightweight yet strong and often used in coastal areas due to their resistance to saltwater corrosion.
- They can be powder-coated in various colors but may not provide the same aesthetic appeal as other materials.
Tools Needed for Installation
Before starting your DIY shutter project, make sure you have all the necessary tools:
-
Drill
- A drill is essential for drilling holes into your wall or window frame for shutter installation.
-
Hammer
- A hammer helps secure screws or nails into place.
-
Level
- A level ensures that your shutters are properly aligned and straight.
-
Measuring Tape
- A measuring tape helps measure your windows accurately before cutting or ordering shutters.
-
Saw
- A saw (either hand saw or power saw) is necessary for cutting wooden shutters according to size specifications.
-
Screwdriver
- A screwdriver is used to tighten screws after installation.
-
Safety Goggles
- Safety goggles protect your eyes from debris while drilling or sawing.
Step-by-Step Guide to Installing DIY Shutters
Installing DIY shutters involves several steps:
Step 1: Measure Your Windows
Measure each window carefully using a measuring tape to determine the exact size required for your shutters.
Step 2: Choose Your Material
Select the material that best suits your needs based on factors such as durability, maintenance requirements, and aesthetic appeal.
Step 3: Cut Your Shutters
Cut your shutters according to the measurements taken earlier using a saw or power tool.
Step 4: Prepare the Frame
Ensure that the window frame is clean and free from any debris or old adhesive residue before proceeding with installation.
Step 5: Attach Mounting Brackets
Attach mounting brackets securely onto the window frame using screws or nails. These brackets will serve as anchors for your shutters.
Step 6: Install Shutter Panels
Place each shutter panel onto its respective mounting bracket ensuring proper alignment with other panels if applicable (e.g., plantation style).
Step 7: Secure Panels
Secure each panel using screws provided with most kits or nails if necessary ensuring they are tightly fastened but not over-tightened which could damage surrounding material.
Step 8: Add Finishing Touches
Add any finishing touches such as painting or staining if desired before finalizing installation process ensuring smooth operation when opening/closing shutters.
Tips for Successful Installation
Here are some additional tips that can help ensure successful installation:
-
Follow Manufacturer Instructions
- Always refer back manufacturer instructions provided with kit especially when dealing complex mechanisms like hinges/latches found certain types hybrid models available today!
-
Use Proper Tools
- Invest quality tools mentioned earlier ensuring longevity lifespan overall project outcome ultimately saving time effort down line!
-
Work Methodically
- Break task into smaller manageable chunks working methodically avoiding mistakes common pitfalls encountered inexperienced DIY enthusiasts alike!
-
Seek Professional Help If Needed
- Don't hesitate seek professional help if unsure particular aspect installation process itself especially dealing complex designs requiring specialized knowledge expertise beyond average homeowner capabilities!
Upgrading your home's exterior with DIY shutters offers numerous benefits ranging from improved energy efficiency enhanced security increased property value customization options low maintenance requirements among others By choosing right material following step-by-step guide provided herein article readers equipped tackle project confidently achieving desired results enhancing overall aesthetic appeal their respective properties simultaneously Whether opting traditional wooden vinyl composite aluminum hybrid models available today one thing remains certain installing high-quality shutters significantly enhances value investment long-term basis making worthwhile endeavor anyone considering upgrading exterior living space today
Was this page helpful?
At Storables.com, we guarantee accurate and reliable information. Our content, validated by Expert Board Contributors, is crafted following stringent Editorial Policies. We're committed to providing you with well-researched, expert-backed insights for all your informational needs.


0 thoughts on “Upgrading Your Home’s Exterior With DIY Shutters”