Home>Ideas and Tips>Upgrading Your Home’s Exterior With DIY Solar-Powered Path Lights
Ideas and Tips
Upgrading Your Home’s Exterior With DIY Solar-Powered Path Lights
Published: September 20, 2024
Enhance your home's exterior with DIY solar-powered path lights. Learn how to create energy-efficient, customizable lighting solutions.
(Many of the links in this article redirect to a specific reviewed product. Your purchase of these products through affiliate links helps to generate commission for Storables.com, at no extra cost. Learn more)
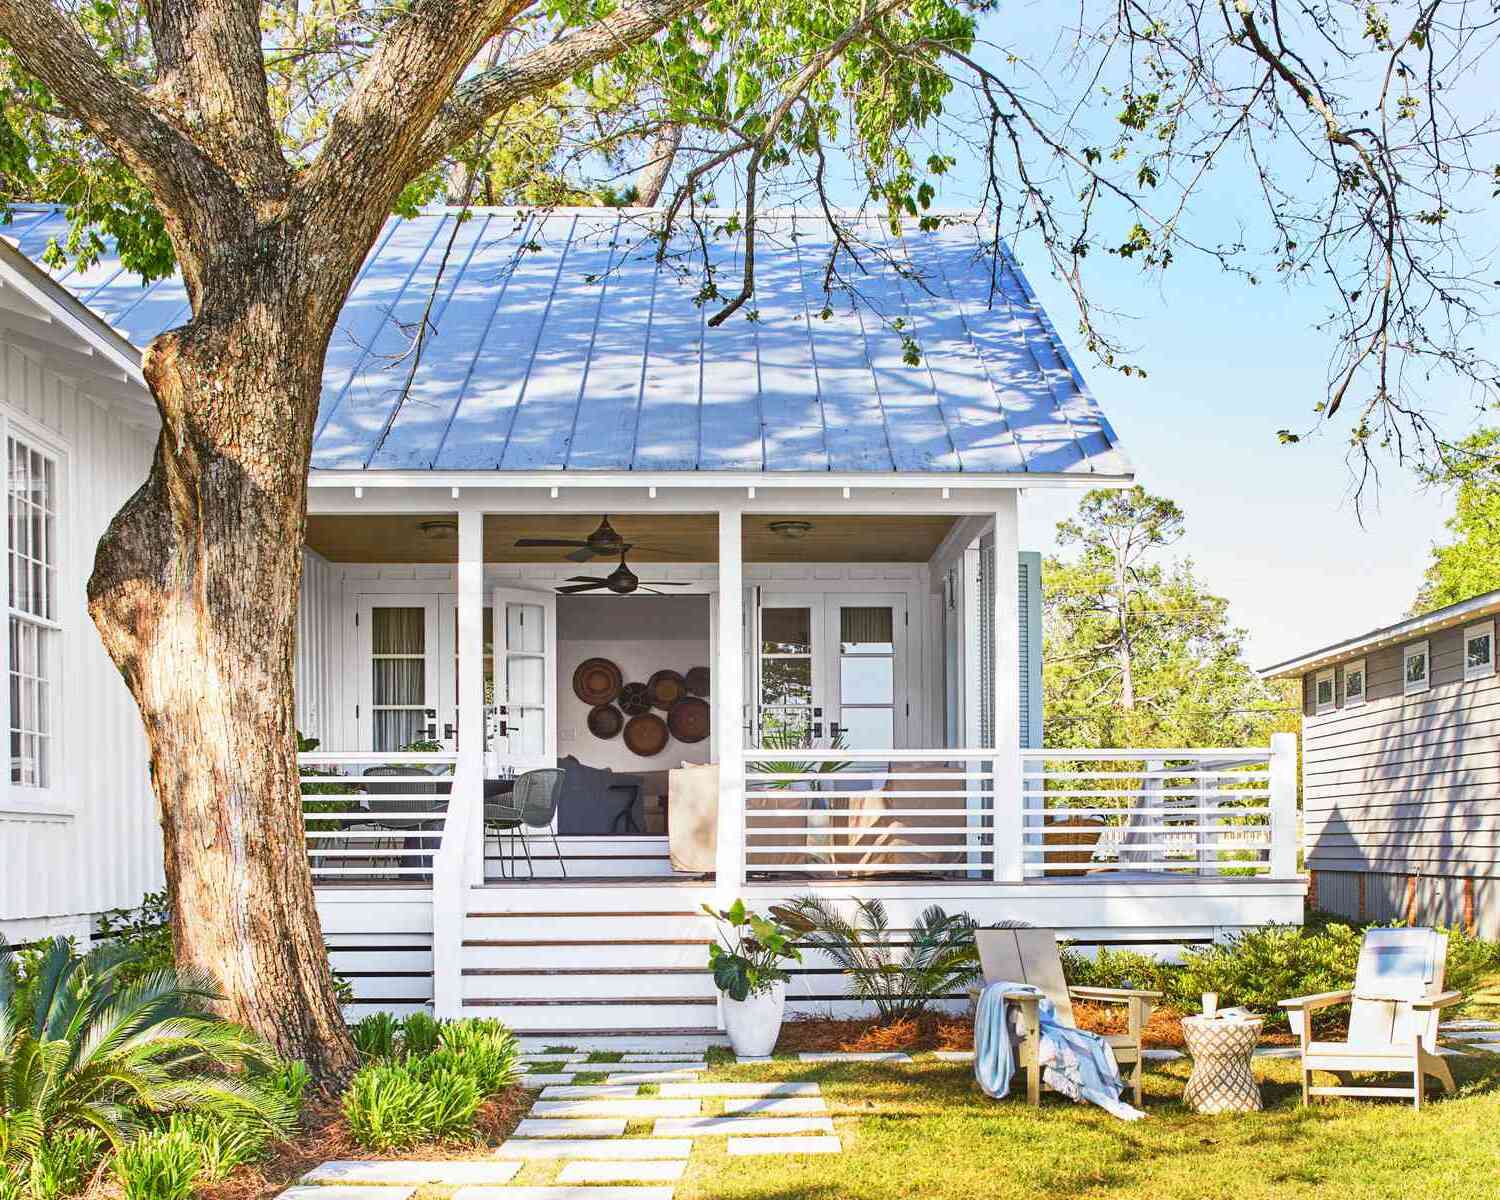
As the days get shorter and the nights get cooler, it's the perfect time to think about upgrading your home's exterior with some beautiful and energy-efficient DIY solar-powered path lights. Not only do these lights add a touch of elegance to your outdoor space, but they also provide a reliable and sustainable way to illuminate your pathways without relying on the commercial power grid. In this article, we'll take you through the entire process of creating your own solar-powered path lights, from selecting the right components to installing and customizing them.
Introduction to Solar-Powered Path Lights
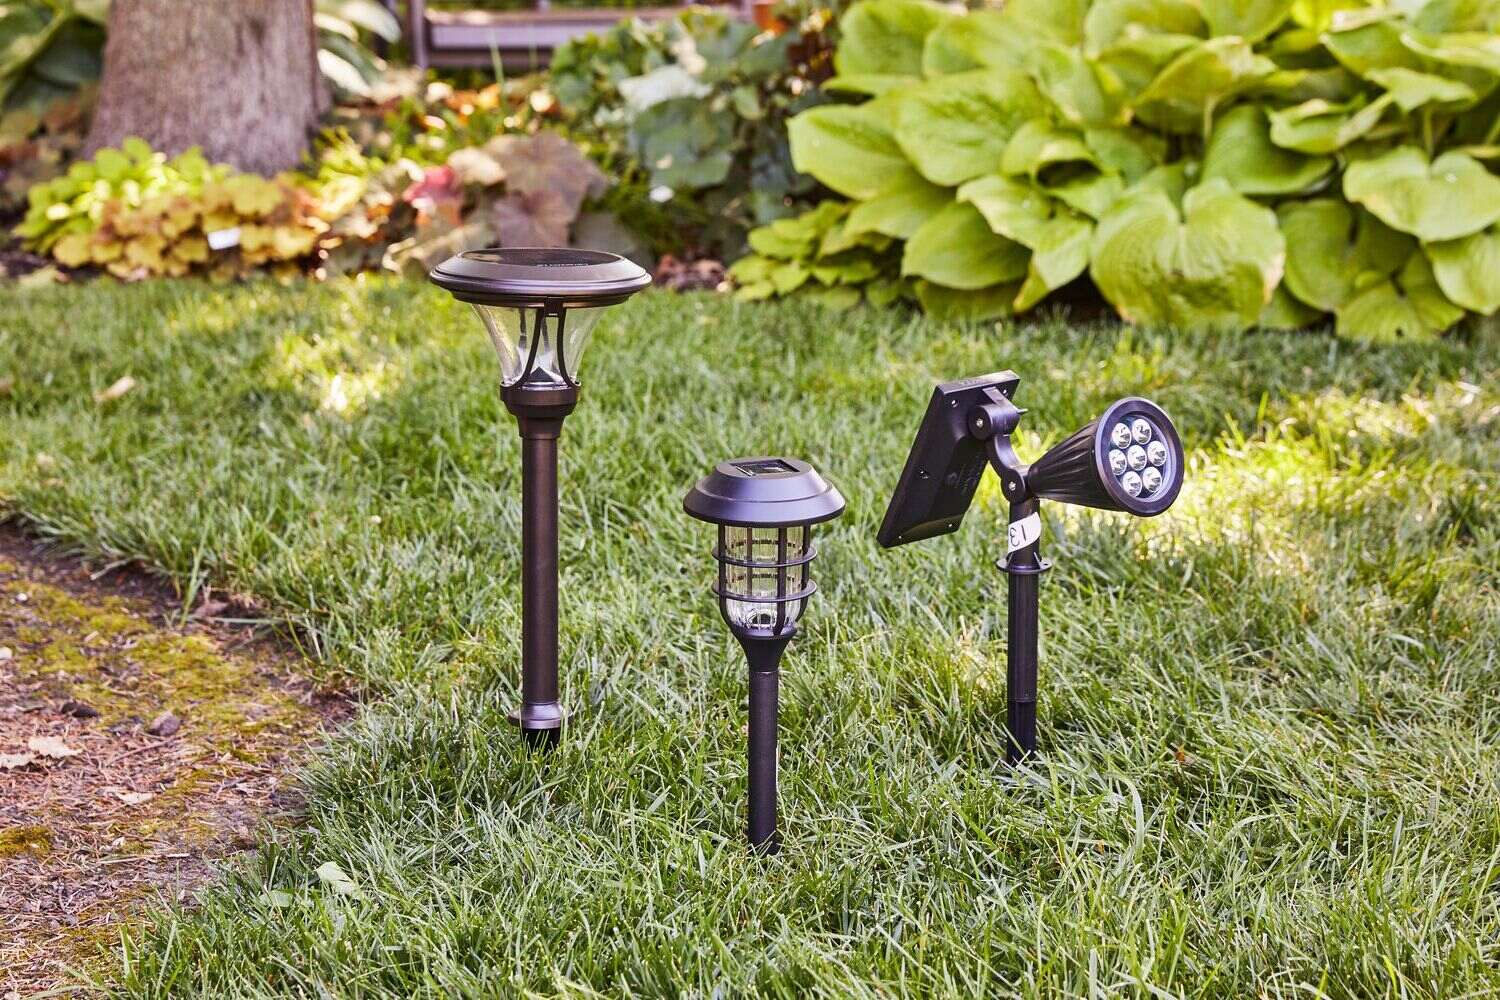
Solar-powered path lights are an excellent choice for homeowners who want to enhance their outdoor spaces while reducing their carbon footprint. These lights are designed to harness the energy from the sun during the day and store it in a battery, which then powers the lights at night. This setup ensures that your pathways are illuminated without any additional electrical connections or high utility bills.
Benefits of DIY Solar-Powered Path Lights
- Energy Efficiency: Solar-powered path lights are incredibly energy-efficient. They use LED bulbs, which consume significantly less power compared to traditional incandescent bulbs.
- Cost-Effective: Building your own solar-powered path lights can be cost-effective. You can source materials at a lower cost and customize the design to fit your specific needs.
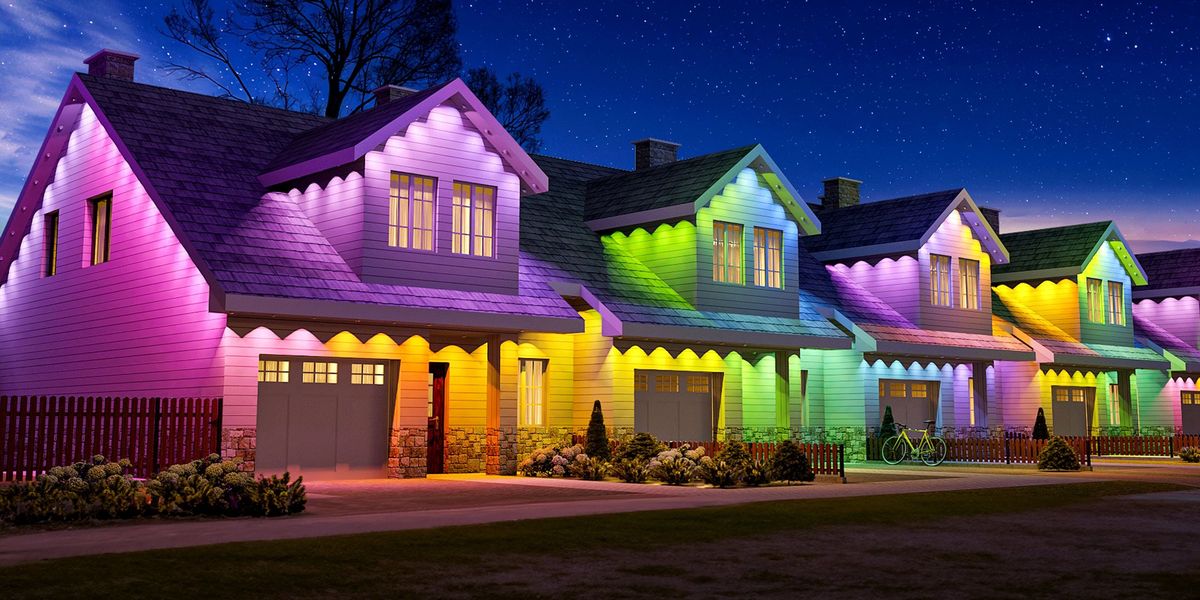
- Customization: One of the best advantages of DIY solar-powered path lights is the ability to customize them according to your preferences. You can choose different colors, patterns, and even set up schedules for when the lights turn on and off.
- Low Maintenance: These lights require minimal maintenance. The solar panels charge the batteries during the day, and the lights turn on automatically at night, making it a hassle-free solution for outdoor lighting.
Materials Needed
To build your own solar-powered path lights, you'll need the following materials:
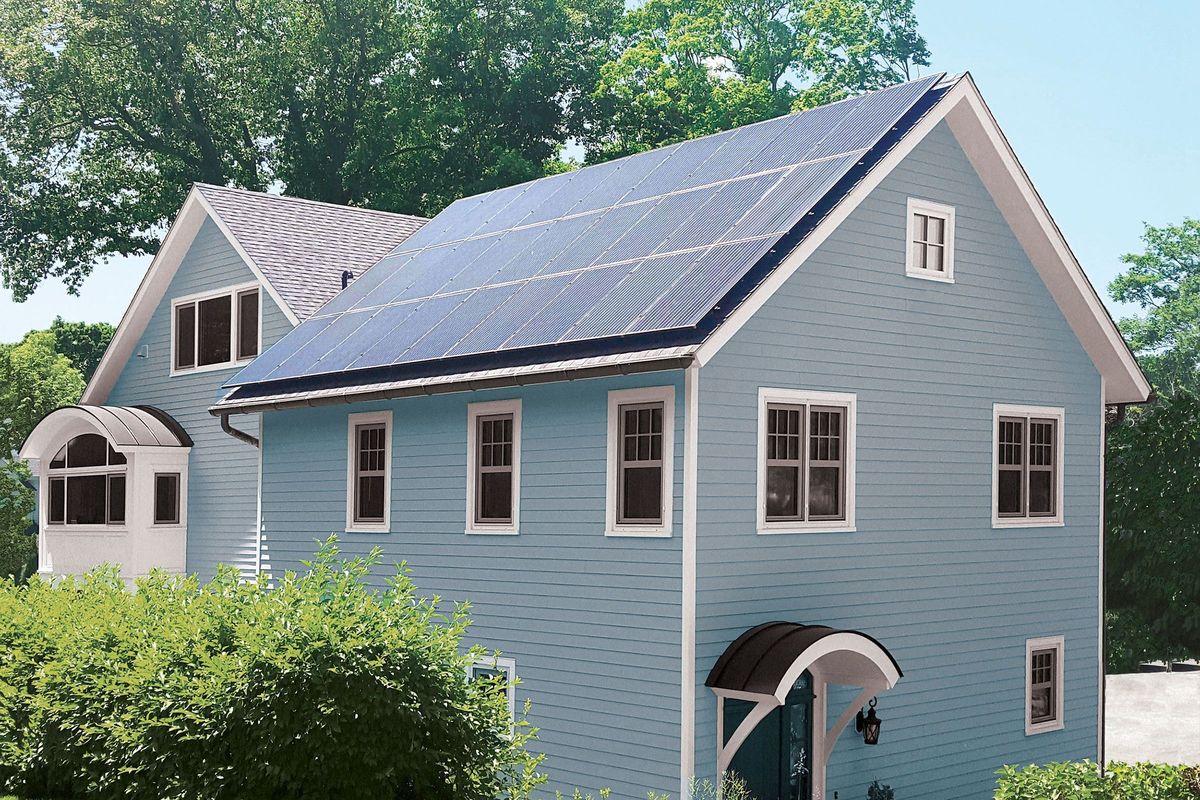
- Solar Panels: These convert sunlight into electrical energy that charges the battery. Choose solar panels with a minimum of 80 watts to ensure reliable charging.
- Battery: A deep cycle battery is ideal for this project. It should have at least 40 amp hours to power your lights for several hours at night.
- Charge Controller: This component regulates the flow of energy from the solar panel to the battery, preventing overcharging.
- LED Bulbs: High-powered RGB LEDs are perfect for creating colorful and customizable lighting effects.
- Dig-Quad Board: This board runs the RGB LEDs and allows for customizable patterns and colors.
- Relay: A relay is used to turn off the power to the lights during the day or when they're not in use, reducing unnecessary power consumption.
- Wiring and Connectors: Use 12awg landscaping wire and MC4 solar panel connectors for connecting wires to the solar panel.
- Enclosure Materials: You'll need materials like 2×6 boards, 1/4″ plywood for the enclosure roof, and 3/4″ boards or plywood for the enclosure walls.
- Tools: Basic hand tools like a miter saw, hacksaw, utility knife, tape measure, and wire fastener clips are necessary for assembling the project.
Step-by-Step Guide to Building Your Solar-Powered Path Lights
Step 1: Sizing Your System
Before you start building, it's crucial to size your system correctly. Calculate the total wattage required by your LED bulbs and determine how many hours you want them to run each night. For example, if each LED bulb is 9 watts and you want them to run for 10 hours each night, you'll need a total of 400 watt hours. Based on this calculation, you'll need a battery with at least 40 amp hours and a solar panel with a minimum of 80 watts. It's always a good idea to upsize these components slightly to account for cloudy days and ensure extra buffer.
Step 2: Choosing Your Components
- Solar Panels: Select solar panels that are suitable for your climate and the amount of sunlight your area receives. A 100-watt solar panel is a good starting point.
- Battery: Opt for a deep cycle battery like the 12.8 volt 50 amp hour battery mentioned in. This will provide enough power to run your lights nightly.
- Charge Controller: Use a solar controller like the Bouge RV 10 amp controller to regulate the flow of energy from the solar panel to the battery.
- LED Bulbs: High-powered RGB LEDs are ideal for creating colorful and customizable lighting effects. Each LED bulb should be around 9 watts for this project.
- Dig-Quad Board: This board runs the RGB LEDs and allows for customizable patterns and colors.
- Relay: A relay is used to turn off the power to the lights during the day or when they're not in use, reducing unnecessary power consumption.
Step 3: Building Your Enclosure
- Cutting Materials: Cut your materials according to your design specifications. For example, you'll need four pieces of 28-inch long 4×4 posts for your solar posts.
- Painting Posts: Paint your posts using exterior solid stain or paint that matches your home's exterior color scheme.
- Attaching Solar Caps: Attach solar post caps to the top of each post using glue and screws.
- Adding Aluminum Strips: Glue aluminum strips to each corner of the posts for added stability and aesthetics.
Step 4: Assembling Your System
- Connecting Solar Panels: Connect your solar panels to the charge controller using MC4 solar panel connectors.
- Connecting Battery: Connect your battery to the charge controller ensuring that it's properly regulated.
- Connecting LEDs: Connect your LEDs to the Dig-Quad board which will run them according to your desired patterns and colors.
- Adding Relay: Connect your relay to turn off power when not needed.
Step 5: Testing Your System
- Testing Lights: Test your lights by turning them on manually or setting up a schedule using WLED software on your Dig-Quad board.
- Checking Battery Charge: Monitor how long it takes for your battery to charge fully during sunny days and how long it lasts at night.
Customizing Your Solar-Powered Path Lights
One of the best advantages of DIY solar-powered path lights is customization Here are some tips on how you can customize them:
- Color Patterns: Use WLED software on your Dig-Quad board to create different color patterns and effects. You can set up different presets under the favorites tab at the bottom for quick access later.
- Scheduling: Set up schedules in WLED so that your lights come on and off each night automatically.
- Adding Effects: Use LED effects like color changes or patterns to test if everything is working correctly before finalizing your setup.
Tips for Reliability and Maintenance
To ensure that your solar-powered path lights remain reliable over time, follow these tips:
- Regular Cleaning: Clean your solar panels regularly to ensure maximum efficiency.
- Battery Maintenance: Check your battery periodically for any signs of wear or damage.
- Weather Resistance: Use weather-resistant materials like heavy-duty L brackets and exterior-grade structural screws when assembling your enclosure.
- Local Building Codes: Adhere to local building codes regarding electrical installations even though these are low voltage systems.
Conclusion
Upgrading your home's exterior with DIY solar-powered path lights is an excellent way to enhance both aesthetics and sustainability without breaking the bank or relying heavily on commercial power sources. By following these steps and tips outlined above, you'll be able to create beautiful customized lighting solutions that not only illuminate your pathways but also contribute positively towards reducing carbon footprints globally.
Whether you're looking for a simple yet elegant solution or something more complex with customizable features, building your own solar-powered path lights offers endless possibilities tailored specifically towards enhancing curb appeal while promoting eco-friendly practices within residential settings alike!
Was this page helpful?
At Storables.com, we guarantee accurate and reliable information. Our content, validated by Expert Board Contributors, is crafted following stringent Editorial Policies. We're committed to providing you with well-researched, expert-backed insights for all your informational needs.


0 thoughts on “Upgrading Your Home’s Exterior With DIY Solar-Powered Path Lights”