Home>Ideas and Tips>Upgrading Your Home’s Garage With DIY Ceiling Storage Racks
Ideas and Tips
Upgrading Your Home’s Garage With DIY Ceiling Storage Racks
Modified: October 28, 2024
Maximize your garage space with DIY ceiling storage racks. Learn how to install and customize overhead storage for a clutter-free, organized garage.
(Many of the links in this article redirect to a specific reviewed product. Your purchase of these products through affiliate links helps to generate commission for Storables.com, at no extra cost. Learn more)
Introduction
The garage is often an underutilized space in our homes, serving as a repository for everything from seasonal decorations to tools and equipment. However, with a little creativity and some DIY effort, you can transform your garage into a well-organized and functional area that enhances both the usability and value of your property. One of the most effective ways to achieve this is by installing DIY ceiling storage racks. In this article, we will guide you through the process of creating a sturdy and efficient overhead storage system for your garage, highlighting the benefits, materials needed, and step-by-step instructions.
Benefits of Overhead Garage Storage
Before diving into the DIY project, it's essential to understand the benefits of overhead garage storage. Here are some key advantages:
-
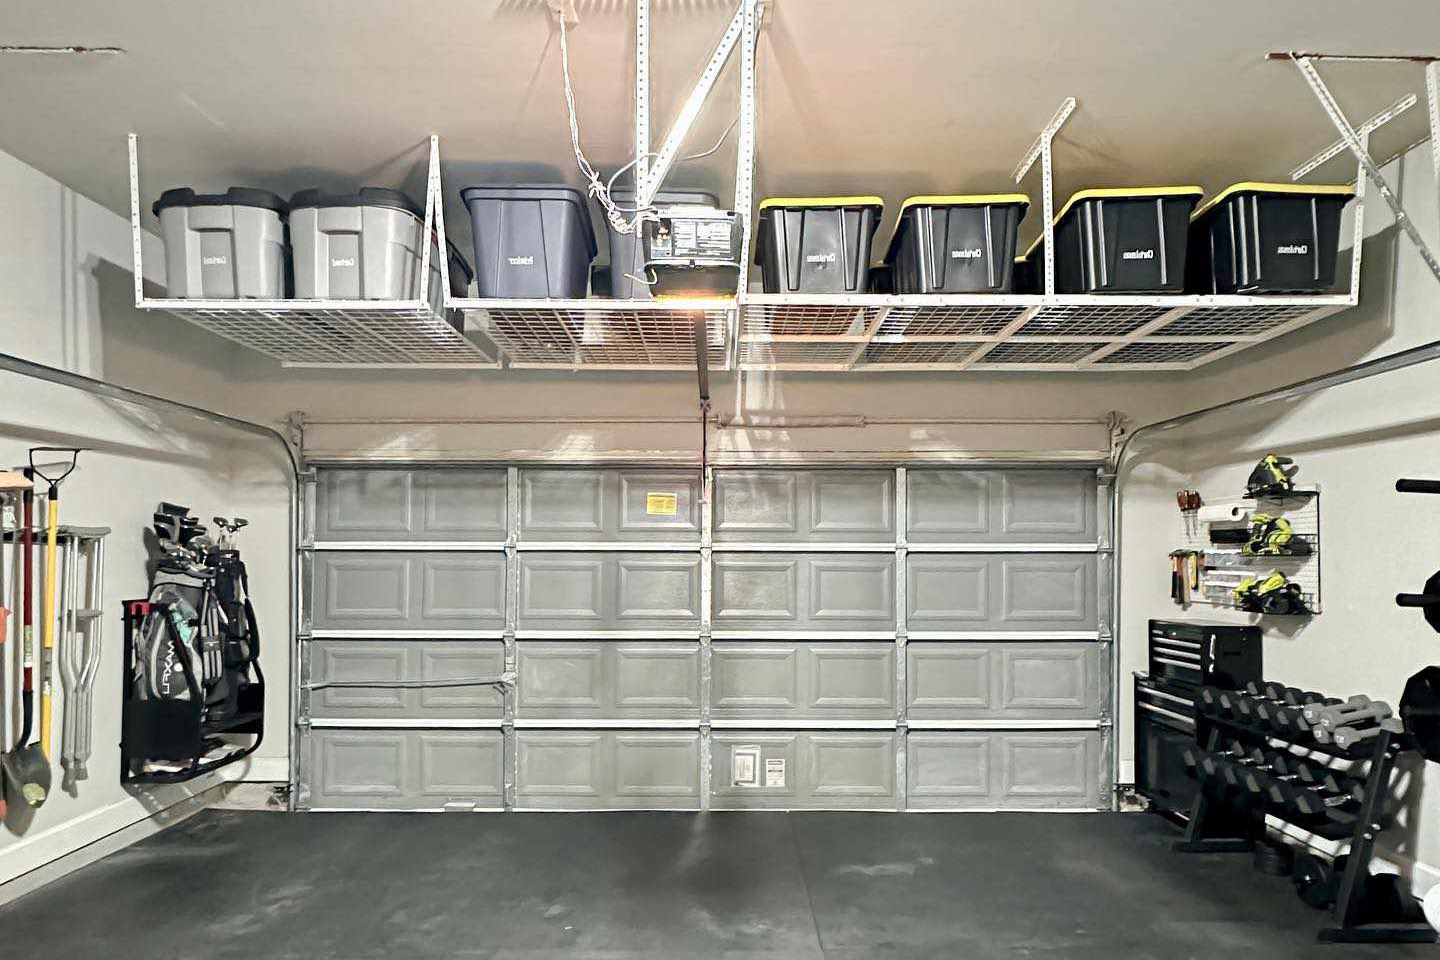
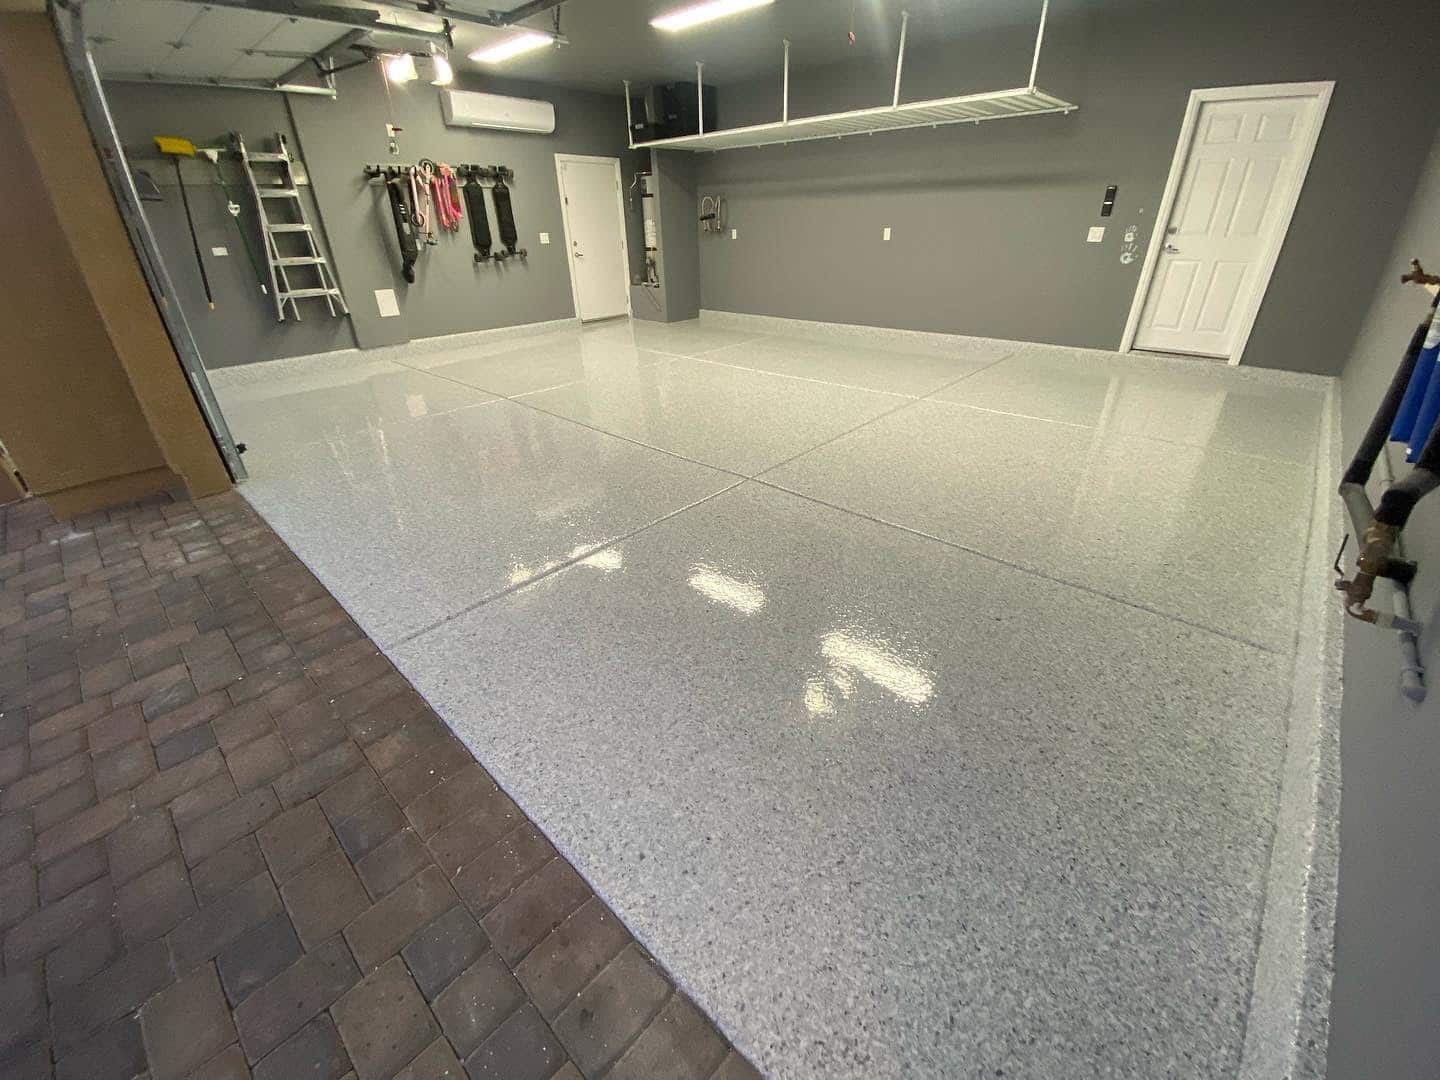
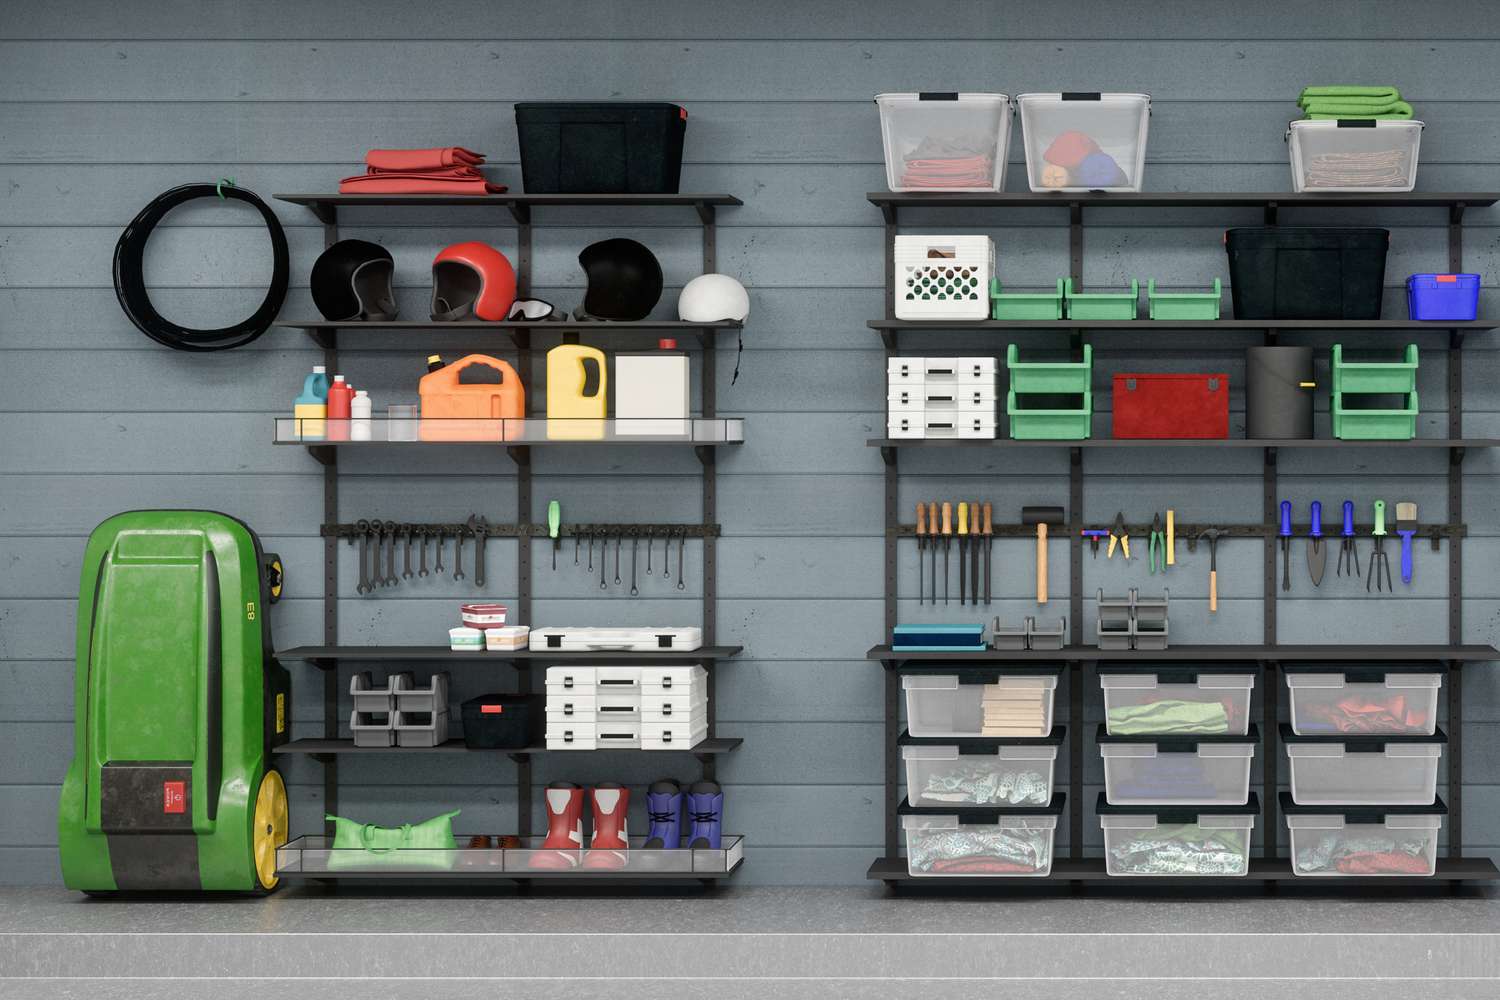
Maximizing Space: Overhead storage racks make the most of your garage's vertical space, keeping items off the floor and out of the way. This is particularly useful for seasonal decorations, camping gear, and tools that are not frequently used.
-
Enhancing Organization: By storing items in bins or containers that can be easily labeled and accessed, you can maintain a clutter-free garage. This organization also extends to the overall appearance of your garage, making it look more polished and inviting.
-
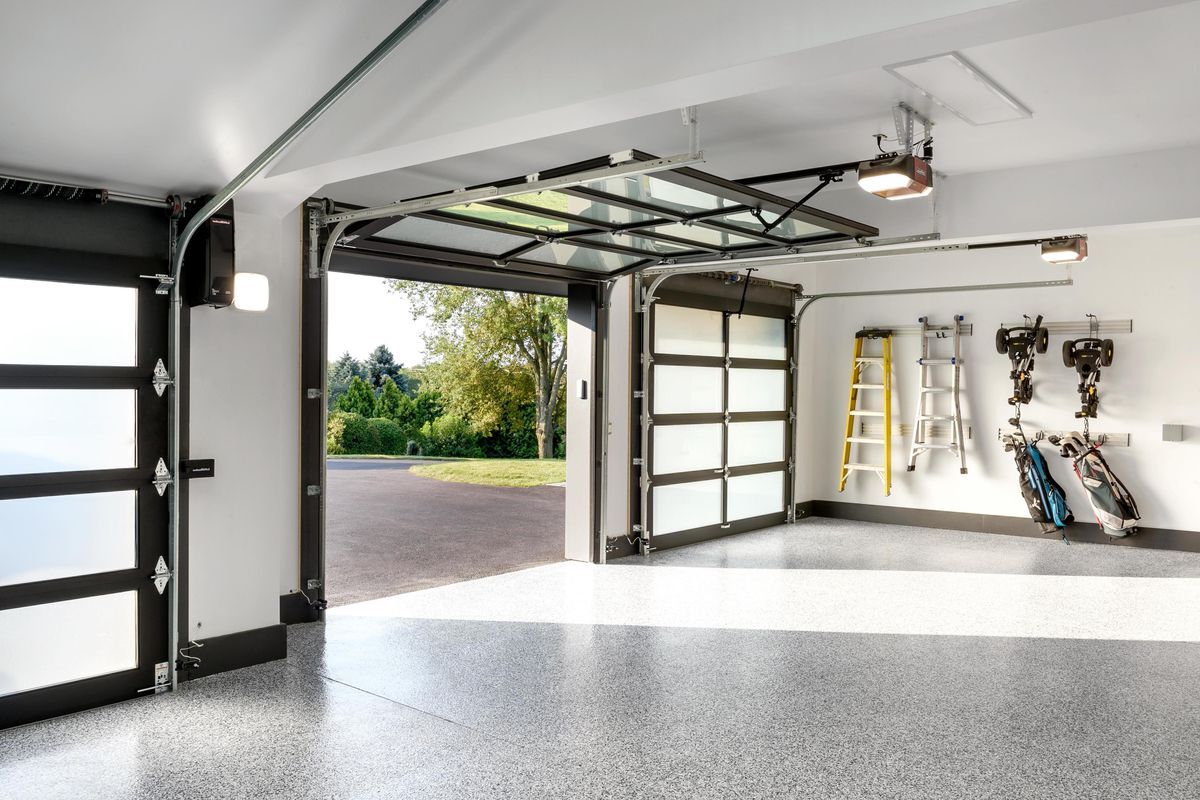
Improving Safety: Keeping the floor clear reduces tripping hazards and makes it easier to move around the garage. This is especially important if you use your garage as a workshop or for other activities.
-
Increasing Property Value: A well-organized and functional garage can significantly increase the value of your property. Potential buyers often look for garages that are well-maintained and offer ample storage solutions.
-
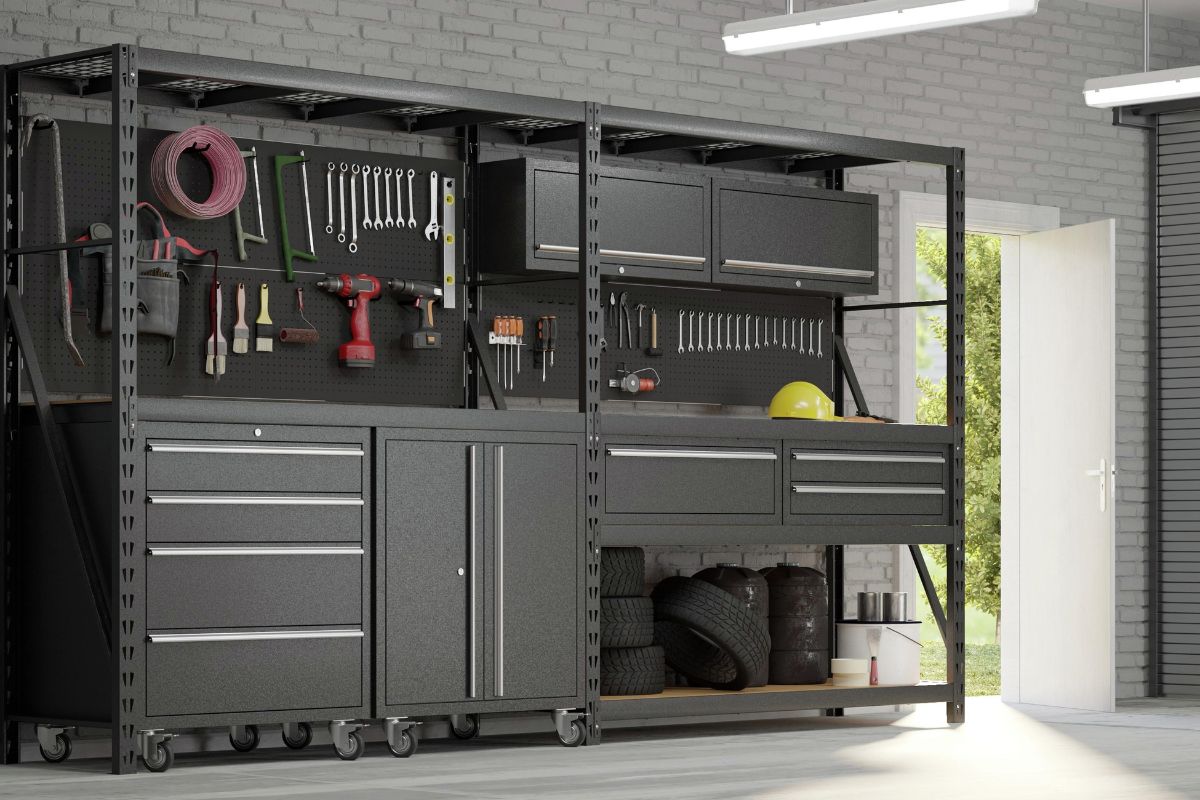
Customization: Overhead storage racks can be customized to fit your specific needs. You can choose the type of containers or bins you want to use and adjust the shelving units to accommodate different sizes and weights of items.
Materials Needed
To build an overhead garage storage system, you will need the following materials:
- 2×4 Lumber: This will be used for the frame of the shelving units and the carriages that hold the bins.
- 4×8′ Sheet of 3/4″ Plywood: This will serve as the base for the shelving units.
- 1×2 x 8′ Pine Stop Strip: This is used to create the bottom flanges of the carriages.
- Carpenter’s Glue: For assembling the carriages and attaching them to the ceiling joists.
- 1/4″ x 3-1/2″ Lag Screws and Washers: These are used to anchor the carriages into place.
- 2″ Wood Screws: For assembling the shelving units.
- 3″ Wood Screws: For attaching the bins to the shelving units.
- Plastic Totes or Containers: These are used to store items and can be labeled for easy identification.
- Tools:
- Measuring Tape
- Hammer
- Miter Saw
- Cordless Drill
- Circular Saw
- Socket / Ratchet Set
- Stud Finder
- Level
- Drill Bit Set
- Ladder
- Safety Glasses
Step-by-Step Instructions
Step 1: Measure Your Space
Before you start building, it's crucial to measure your garage ceiling space. Determine the width of the tote rims and the size of the bottom flanges of the carriages. This will help you cut the necessary pieces accurately.
Step 2: Cut the 2×4 Lumber
Cut four pieces of 2×4 lumber to the desired length for your carriages. These pieces will form the frame of your shelving units.
Step 3: Assemble the Carriages
Use carpenter’s glue and 2″ wood screws to assemble the carriages. Attach the 1×2 pine stop strip to the bottom of each carriage piece, ensuring it is flush with the bottom edge.
Step 4: Attach Lag Screws and Washers
Drill holes into the ceiling joists and attach lag screws with washers. This will provide a secure anchor point for your carriages.
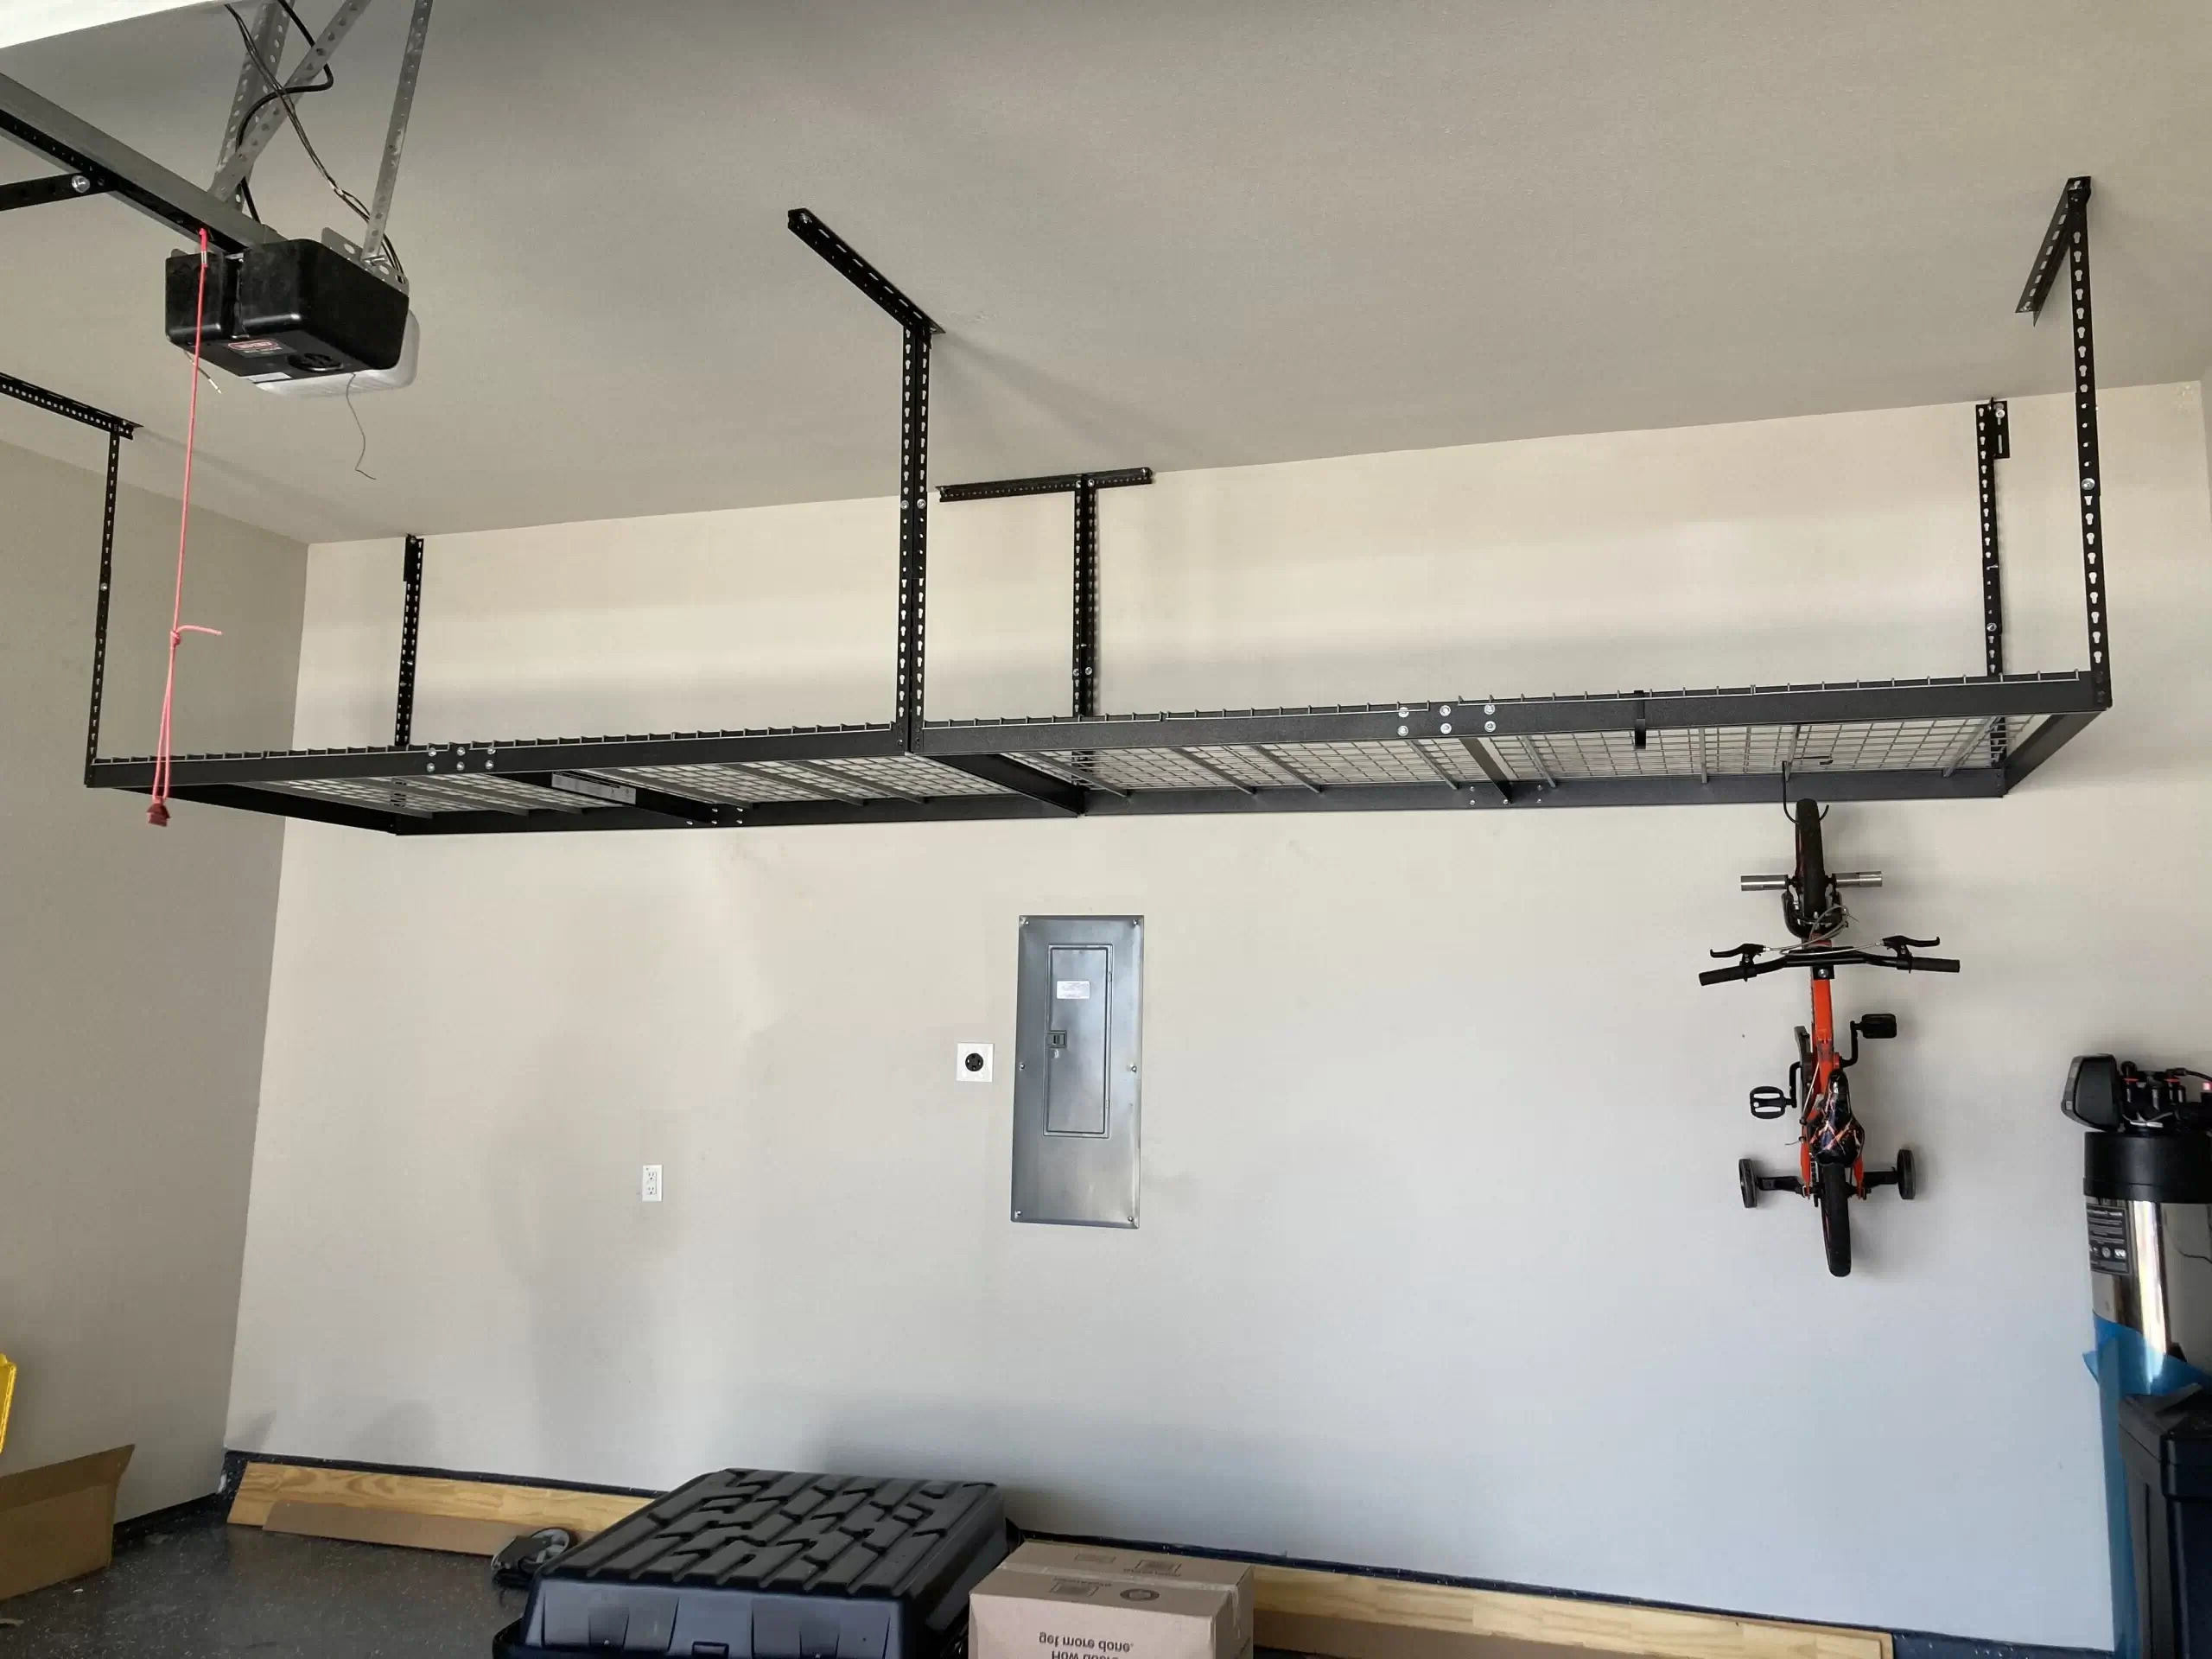
Step 5: Install Carriages
Hold each carriage in place against the ceiling joists and secure it with lag screws. Make sure they are level and plumb using a level tool.
Step 6: Cut Plywood Base
Cut a 4×8′ sheet of 3/4″ plywood into the desired size for your shelving unit base.
Step 7: Assemble Shelving Units
Attach the plywood base to the carriages using 2″ wood screws. Ensure that all edges are flush and secure.
Step 8: Add Bins or Containers
Place plastic totes or containers onto the shelving units. You can label them for easy identification.
Step 9: Test and Adjust
Test the system by lifting a bin or container up and down to ensure smooth movement. Adjust any parts as needed to ensure proper alignment and function.
Innovative Uses of Garage Ceiling Space
While overhead storage racks are primarily used for storing items, there are several innovative ways to utilize this space:
-
Overhead Bin Storage for Sports Equipment: Transform your garage ceiling into a sports equipment hub by installing specialized bin storage. This system allows you to easily organize and access basketballs, soccer balls, and other sports gear without taking up valuable floor space.
-
Retractable Workspace Solutions: For those who use their garage as a workshop, space is always at a premium. By installing a retractable table or workbench from the ceiling, you can have a full-sized workspace that disappears when not in use. This innovative use of garage ceiling storage maximizes the area available for other tasks while keeping your tools and work materials neatly organized and out of the way.
-
Seasonal and Occasional Item Archive: Some items in your home are only needed occasionally or seasonally, such as holiday decorations, winter sports equipment, or suitcases. By dedicating a section of your garage ceiling storage to these less frequently used items, you can declutter your home and keep these items out of sight but easily accessible when needed.
-
Hanging Bike Racks: Bicycles can take up a lot of space when stored on the ground. A hanging bike rack from the garage ceiling not only saves floor space but also protects your bikes from damage. Garage ceiling storage for bicycles is especially beneficial for families or cycling enthusiasts who need an organized and efficient way to store multiple bikes.
-
Adjustable Hanging Shelves: Introduce adjustable hanging shelves that can be raised or lowered depending on your current storage needs. This flexible system allows you to store a variety of items of different sizes and weights, from storage bins to power tools. Adjustable shelves are a perfect example of how garage ceiling storage can be adapted to suit any homeowner’s requirements, providing a versatile solution to storage challenges.
Safety Considerations
When installing overhead storage racks in your garage, safety should be your top priority:
-
Ensure Solid Wood in the Ceiling: Avoid relying on moly bolts in drywall ceilings as they may not provide sufficient support for heavy loads.
-
Proper Installation: Follow all instructions carefully and ensure that each part is securely attached to avoid any accidents.
-
Weight Capacity: Make sure that each bin or container does not exceed the weight capacity of the shelving unit to avoid any structural damage or collapse.
-
Clearance from Lighting and Door Springs: Keep the bins at least two feet away from garage lighting, door springs, and garage door openers to avoid any interference or damage.
Conclusion
Creating a DIY overhead garage storage system is an excellent way to maximize your garage's vertical space while enhancing its organization and functionality. By following these steps and considering innovative uses for this space, you can transform your garage into a more orderly and useful area that adds value to your property. Remember always to prioritize safety during installation and ensure that all parts are securely attached to avoid any accidents or structural damage. With the right materials and tools, you can design a strong and effective storage solution that improves the usability of your garage significantly.
Additional Tips
-
Regular Maintenance: Regularly inspect your overhead storage system for any signs of wear or damage. Make necessary repairs promptly to maintain its functionality.
-
Customization: Customize your storage system according to your specific needs. For example, you can add hooks for hanging tools or baskets for storing small items.
-
Labeling: Label each bin or container clearly so that you can easily identify what is stored in each one. This helps in maintaining organization and reduces clutter.
By following these tips and guidelines, you can create an efficient and well-organized overhead garage storage system that enhances both the functionality and aesthetic appeal of your garage.
Was this page helpful?
At Storables.com, we guarantee accurate and reliable information. Our content, validated by Expert Board Contributors, is crafted following stringent Editorial Policies. We're committed to providing you with well-researched, expert-backed insights for all your informational needs.


0 thoughts on “Upgrading Your Home’s Garage With DIY Ceiling Storage Racks”