Home>Ideas and Tips>Upgrading Your Home’s Insulation DIY Tips
Ideas and Tips
Upgrading Your Home’s Insulation DIY Tips
Modified: October 19, 2024
Upgrade your home's insulation with these DIY tips to boost energy efficiency, save on costs, and enhance comfort. Follow our step-by-step guide.
(Many of the links in this article redirect to a specific reviewed product. Your purchase of these products through affiliate links helps to generate commission for Storables.com, at no extra cost. Learn more)
Upgrading your home's insulation is one of the most effective ways to improve energy efficiency, reduce heating and cooling costs, and create a more comfortable living space. While hiring a professional can be expensive, many insulation upgrades can be done as a DIY project with the right tools and knowledge. In this article, we will guide you through the process of upgrading your home's insulation, including the necessary materials, tools, and step-by-step instructions.
Why Upgrade Your Home's Insulation?
Upgrading your home's insulation is a smart move for several reasons. First off, energy efficiency is a biggie. Proper insulation helps keep the heat inside during winter and the cool air in during summer. That means your HVAC system doesn't have to work as hard, saving you a bundle on energy bills. According to the U.S. Department of Energy, you could save up to 30% on your energy costs with proper insulation.
Then there's the comfort factor. Insulation helps maintain a consistent indoor temperature, making your home cozy year-round. No more freezing in one room and sweating in another. Plus, it's good for the environment. By using less energy, you're reducing your carbon footprint, which is a win-win for everyone.
Materials Needed
To tackle this project, you'll need a few key materials. Here's a rundown:
-
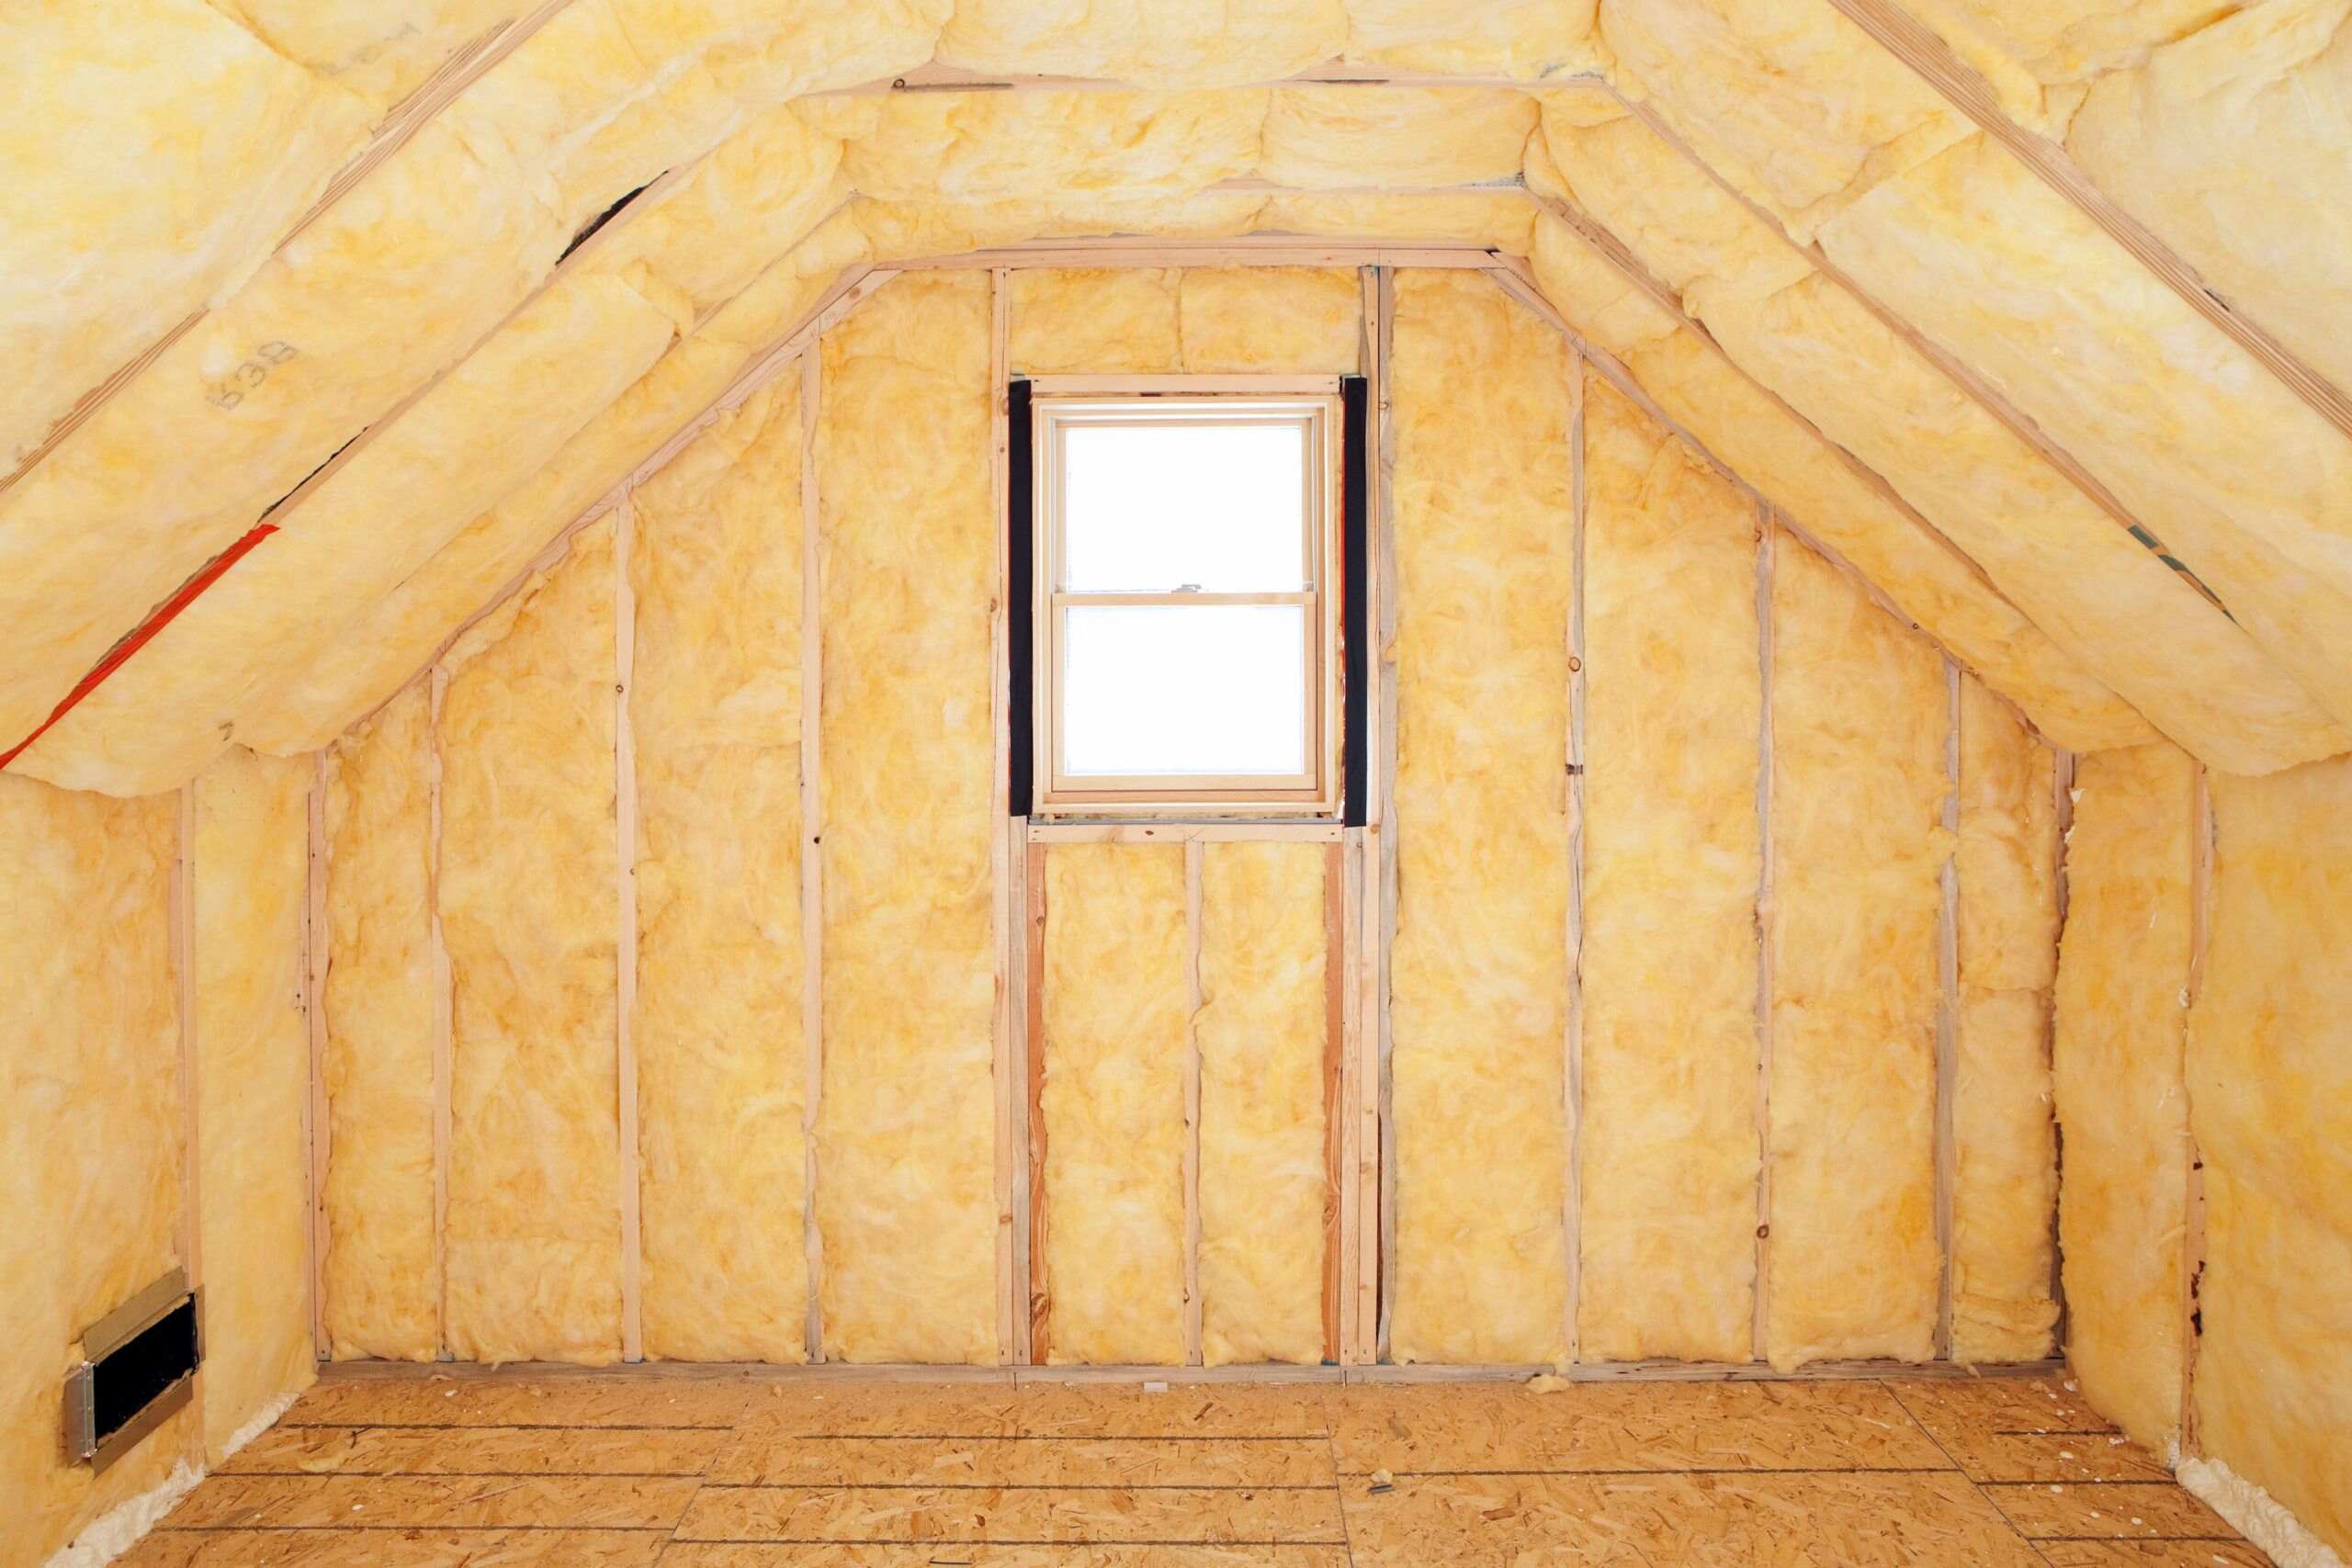
Insulation Material: The type you choose depends on your budget, the area you need to insulate, and local building codes. Common types include:
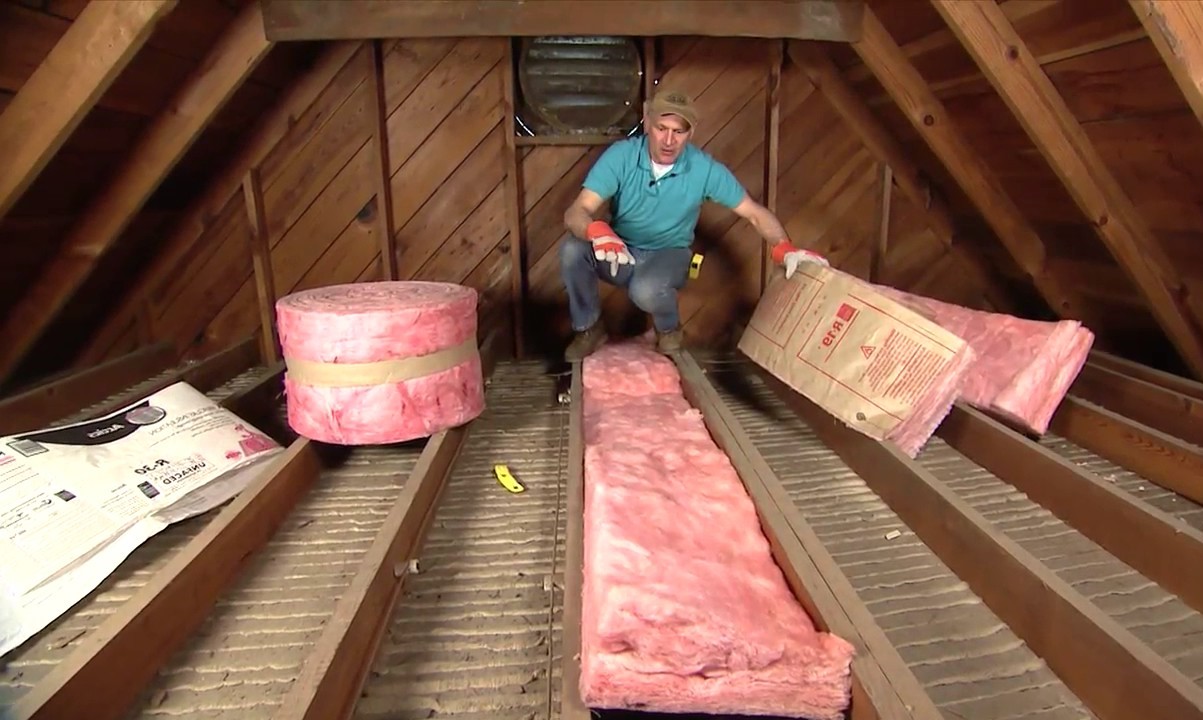
- Fiberglass Batt Insulation: Affordable and available in batts or rolls.
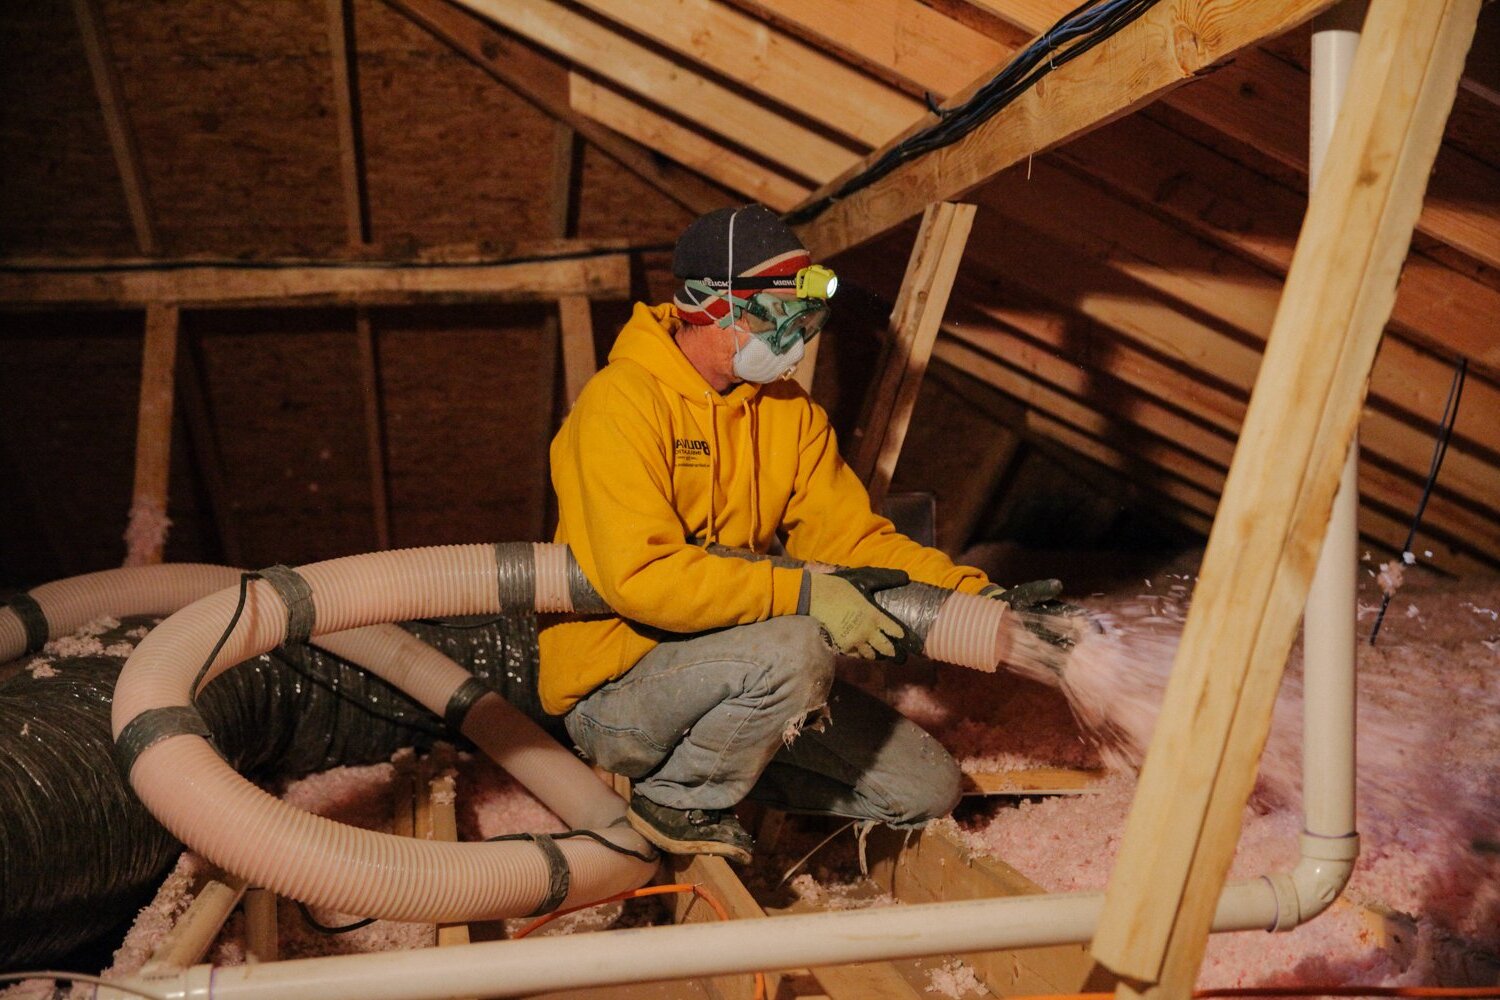
- Cellulose Insulation: Made from recycled paper products, it's eco-friendly.
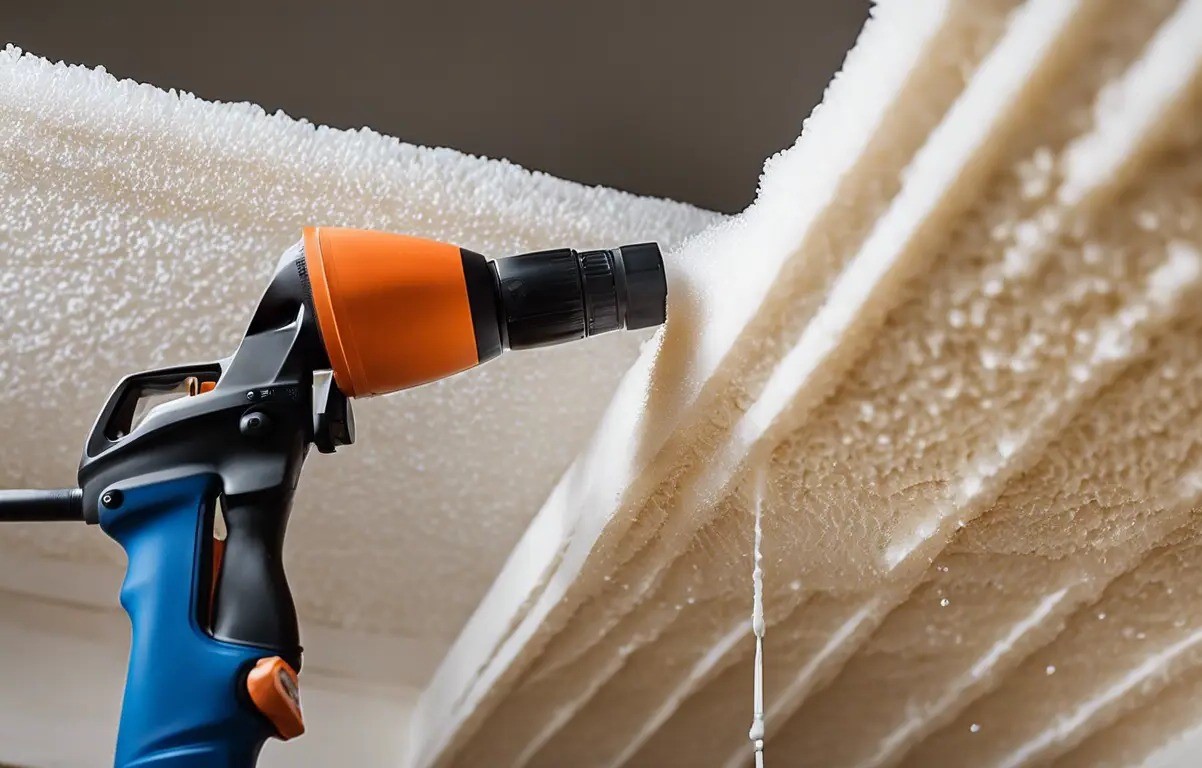
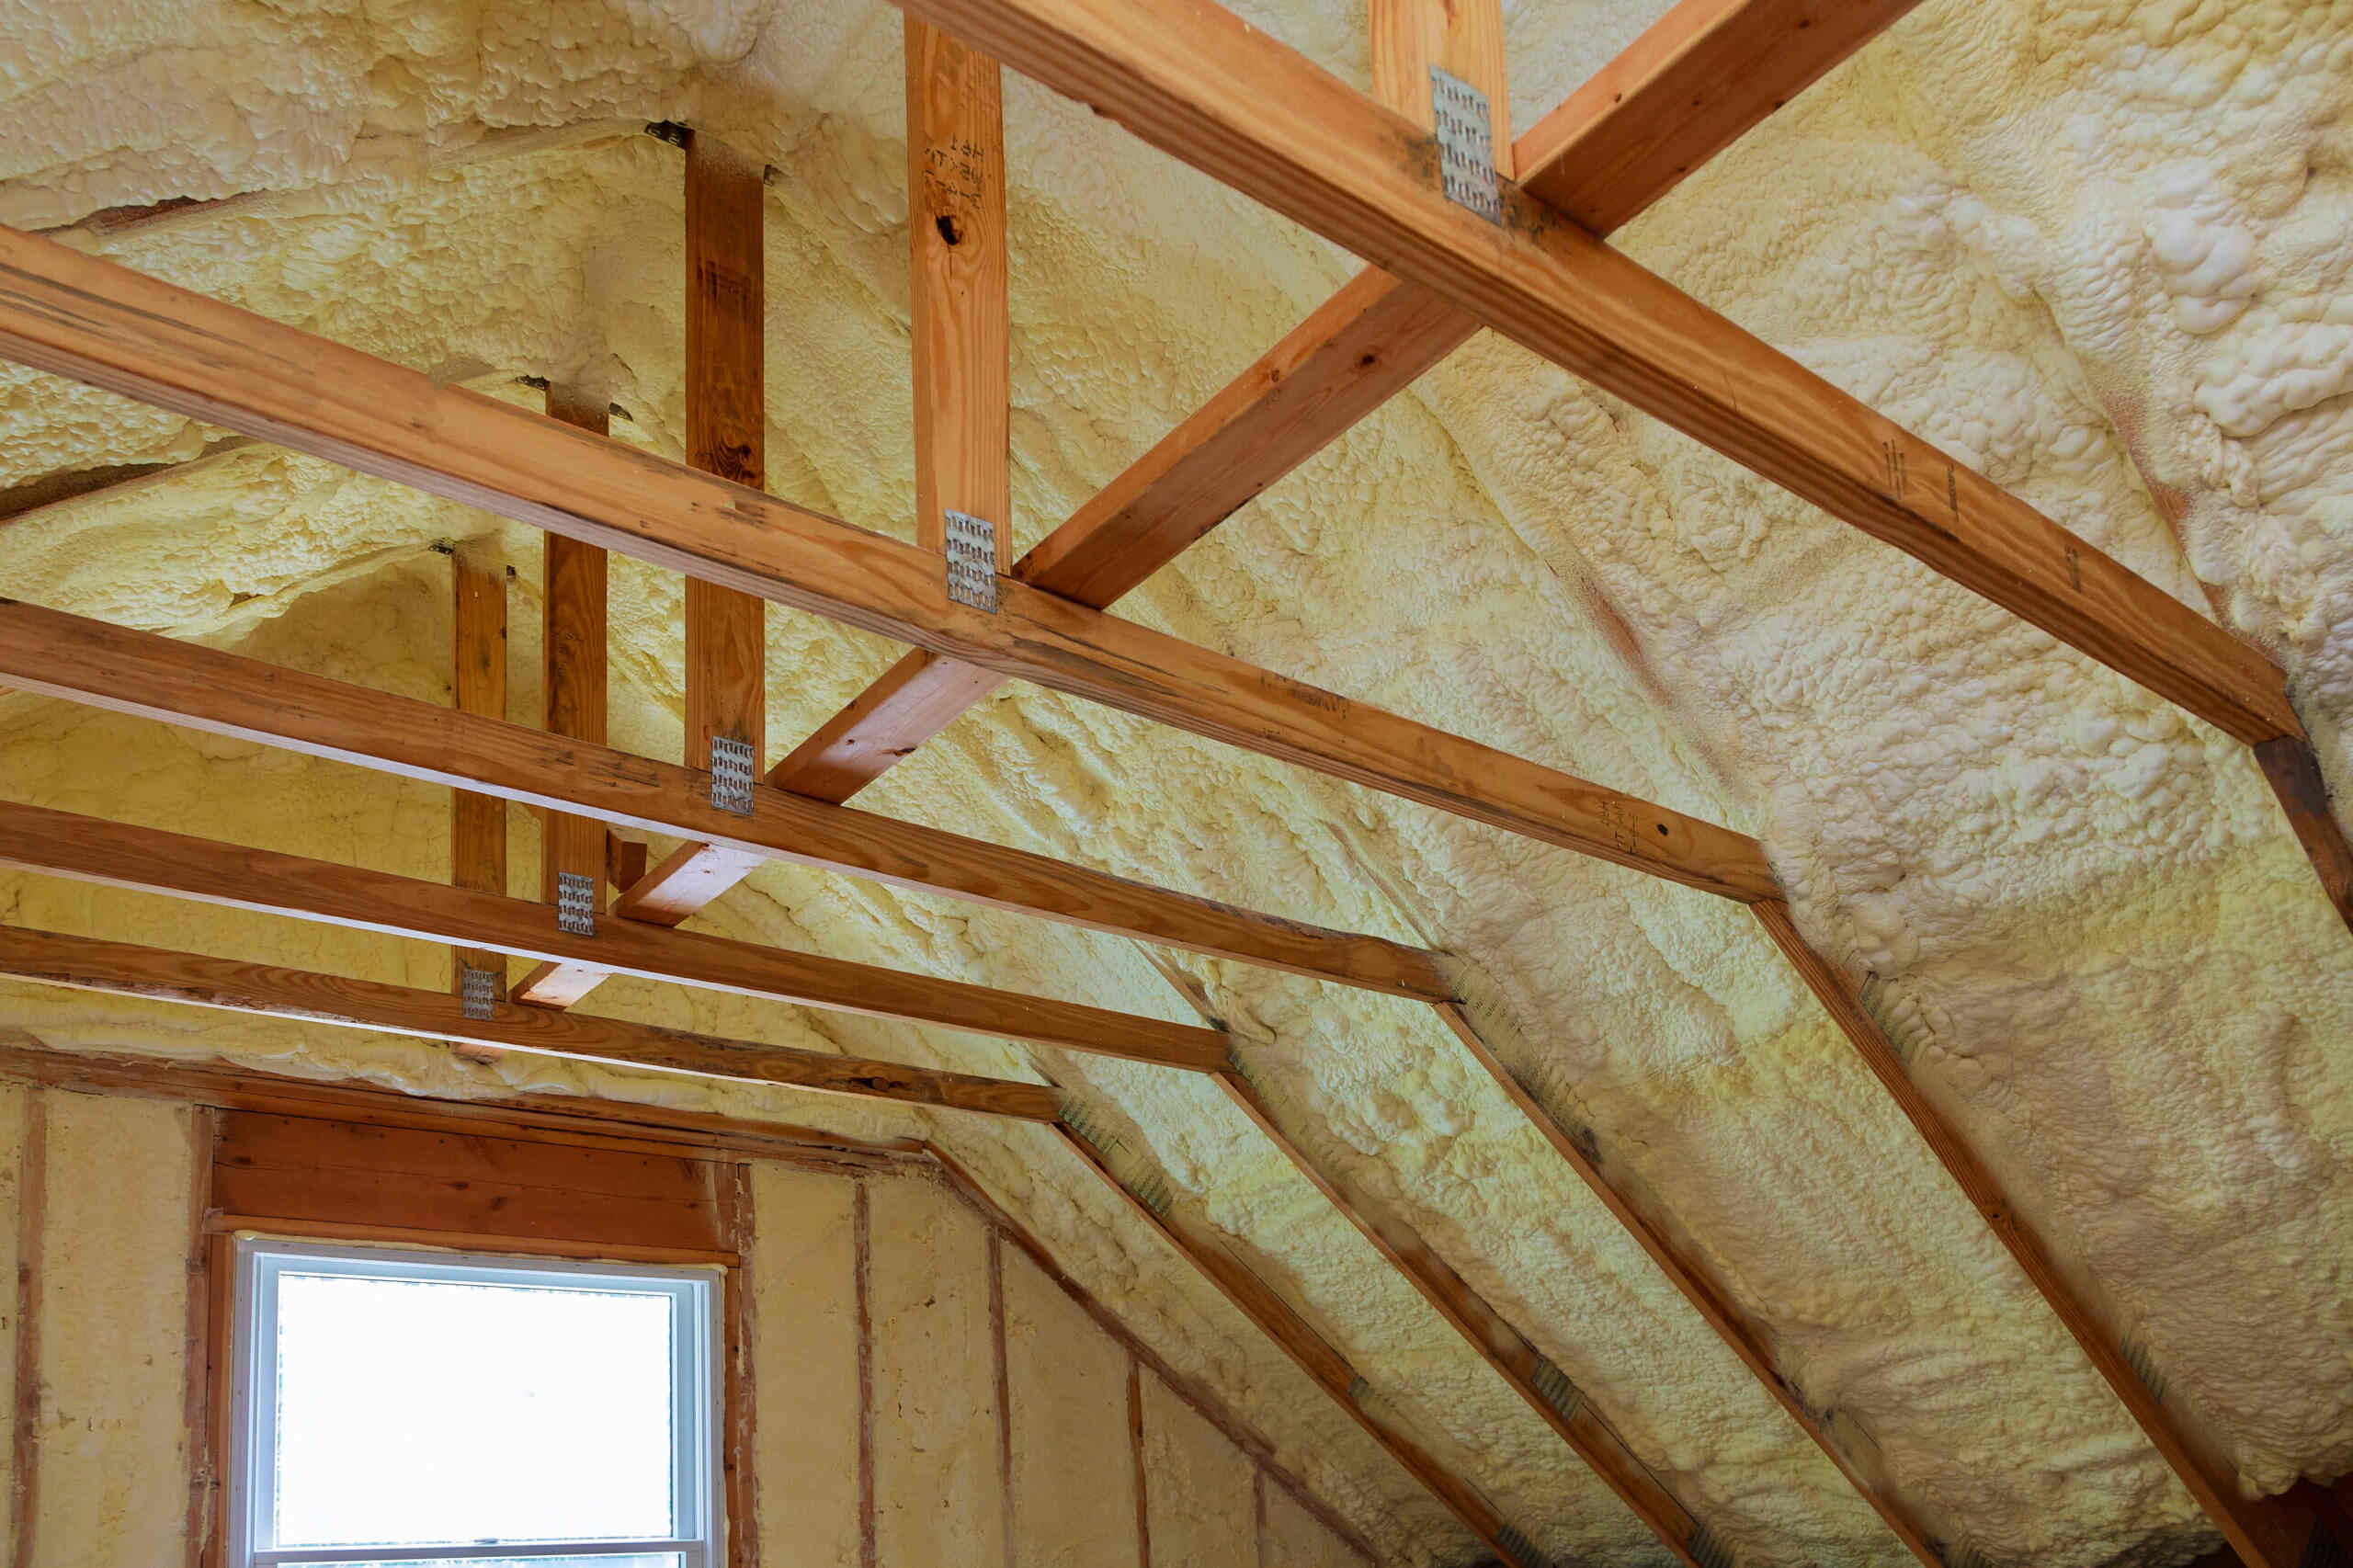
- Spray Foam Insulation: Offers excellent R-value (thermal resistance) but is pricier.
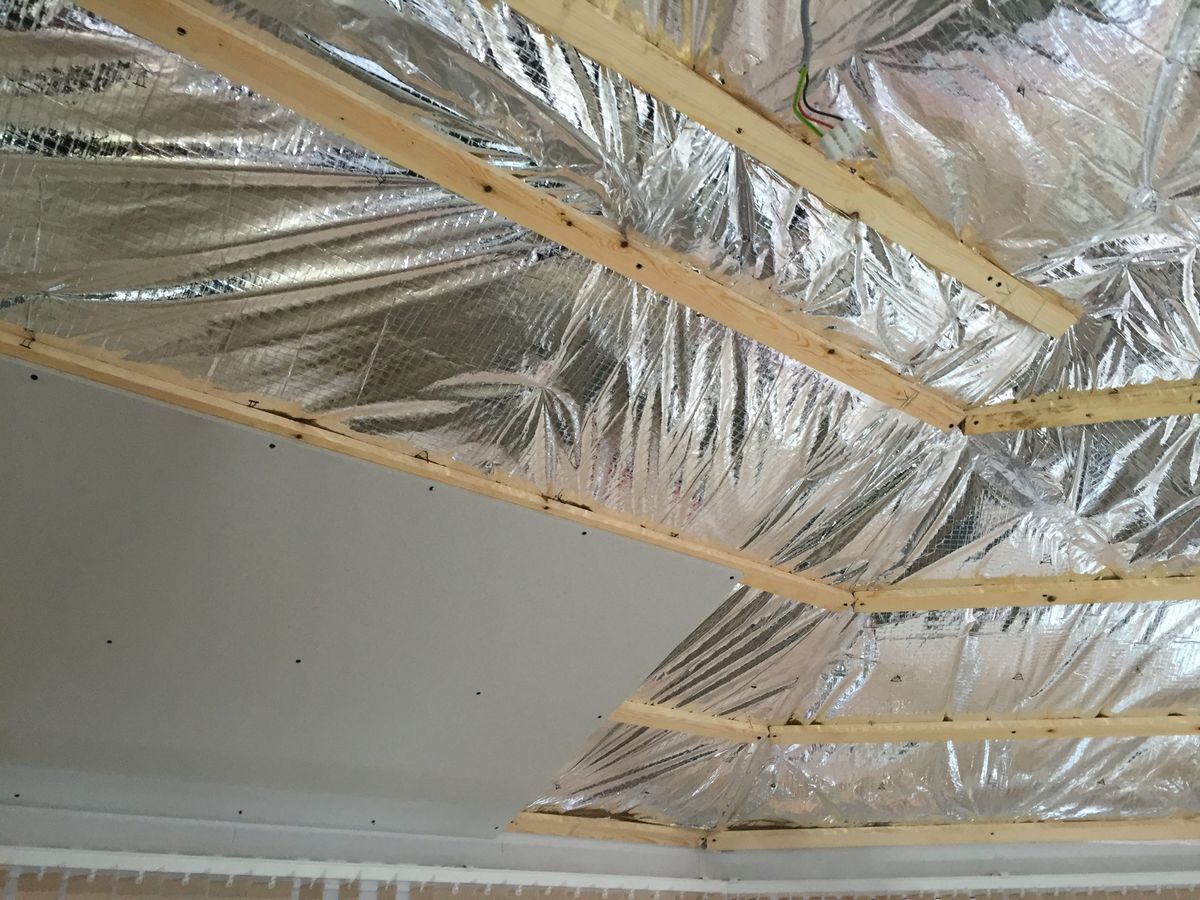
- Reflective Insulation: Used in attics and crawl spaces to reflect radiant heat.
-
Safety Gear:
- Gloves: Protect your hands from sharp edges and fibers.
- Mask or Respirator: Avoid inhaling dust or fibers.
- Safety Goggles: Keep debris out of your eyes.
-
Tools:
- Measuring Tape: Measure the area you need to insulate.
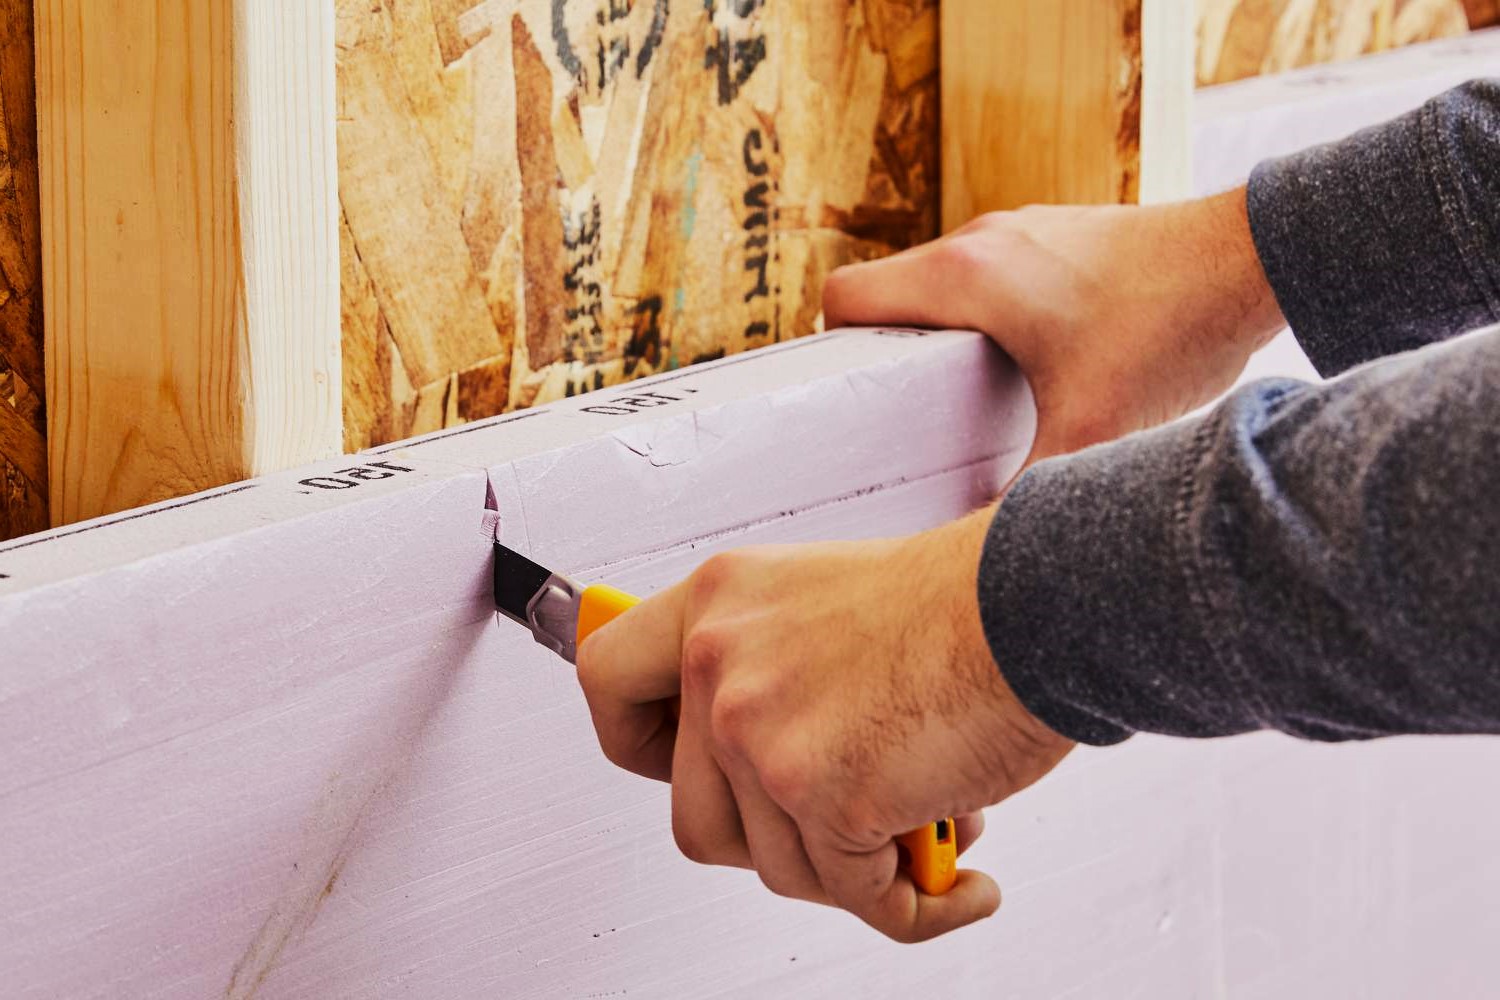
- Utility Knife or Saw: Cut insulation batts or rolls.
- Pneumatic Drill or Hammer: For installing spray foam insulation.
- Blower or Vacuum: Spread cellulose insulation evenly.
-
Additional Materials:
- Vapor Barrier: A plastic sheet that prevents moisture from entering your home.
- Insulation Stickers or Tape: Secure insulation in place.
Step-by-Step Instructions
1. Prepare the Area
Before starting, clear the area of any furniture, curtains, or other obstructions. Cover the floor with drop cloths or old sheets to prevent damage from debris.
2. Remove Old Insulation
If you're replacing old insulation, remove it carefully. Wear protective gear to avoid inhaling dust or fibers. Use a utility knife or saw to cut through any existing insulation, then pull it out.
3. Inspect for Gaps
Check for any gaps or holes in your walls, floors, or ceilings where air might be escaping. Seal these gaps with caulk or spray foam before installing new insulation.
4. Measure and Cut Insulation
Measure the area you need to insulate using a measuring tape. Cut the insulation batts or rolls using a utility knife or saw according to your measurements.
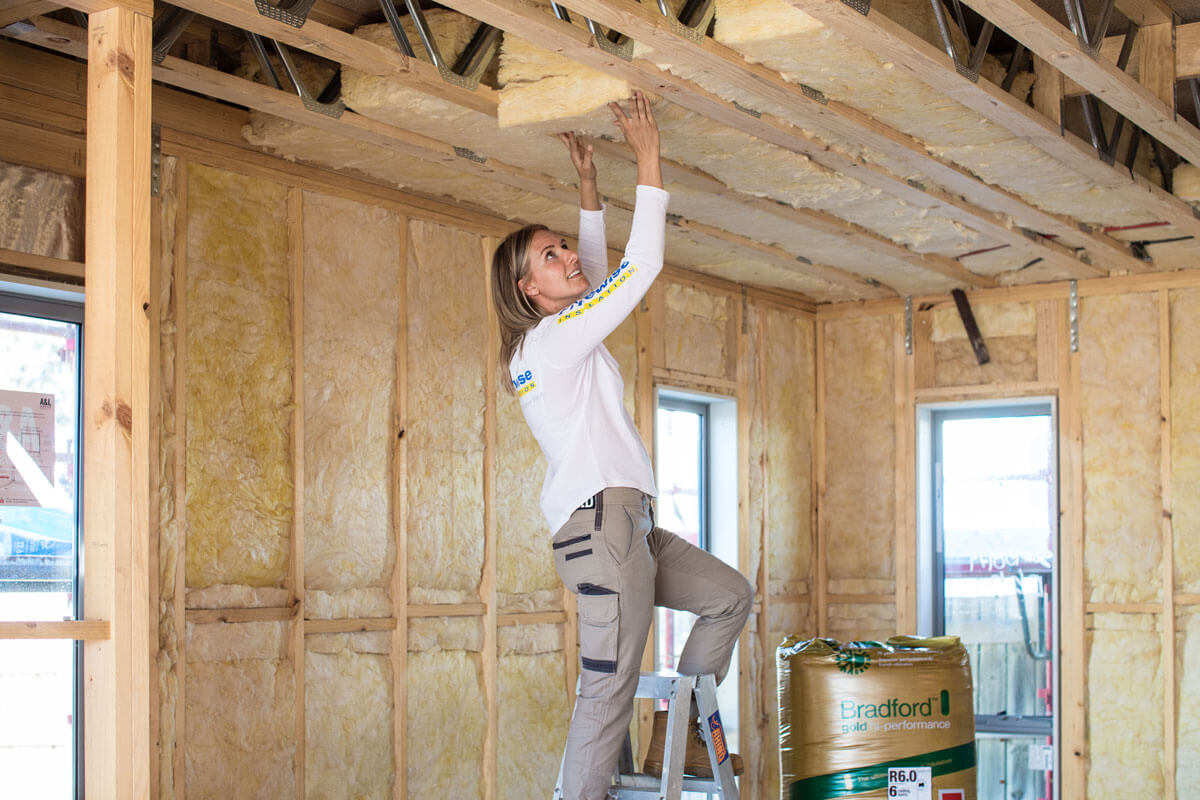
5. Install Fiberglass Batt Insulation
- Place Insulation: Begin by placing the first layer of insulation along the bottom edge of your wall or ceiling.
- Cut Around Obstacles: Use a utility knife to cut around any electrical outlets, switches, or other obstacles.
- Secure with Stickers or Tape: Use insulation stickers or tape to secure the batts in place.
6. Install Cellulose Insulation
- Spread Evenly: Use a blower or vacuum to spread cellulose evenly across the area.
- Compact Fibers: Use a rake or broom to compact the fibers into place.
- Seal Gaps: Use caulk or spray foam to seal any gaps where air might be escaping.
7. Install Spray Foam Insulation
- Prepare Surface: Clean the surface where you will be applying spray foam.
- Apply Foam: Use a pneumatic drill or hammer to apply spray foam insulation in sections.
- Allow to Set: Let each section set before applying additional layers.
8. Install Reflective Insulation
- Unroll Material: Unroll reflective insulation material in your attic or crawl space.
- Cut Around Obstacles: Use scissors or a utility knife to cut around any obstacles like vents or ductwork.
- Secure with Tape: Use reflective insulation tape to secure the material in place.
9. Add Vapor Barrier
If necessary, install a vapor barrier over your insulation to prevent moisture from entering your home.
Tips and Considerations
-
Check Local Building Codes: Ensure that your insulation upgrade complies with local building codes and regulations.
-
Use Proper Safety Gear: Always wear protective gear when handling insulation materials to avoid health risks.
-
Seal All Gaps: Properly seal all gaps and holes in your walls, floors, and ceilings before installing new insulation.
-
Consider Professional Help: If you are unsure about any part of the process or if you have complex insulation needs (like in a crawl space), consider hiring a professional.
-
Maintain Your Insulation: Over time, insulation can become compressed or damaged. Regularly inspect your insulation and replace it as needed.
Conclusion
Upgrading your home's insulation is a worthwhile DIY project that can significantly improve energy efficiency, reduce costs, and enhance comfort. By following these steps and using the right materials, you can effectively insulate your home without breaking the bank. Remember to always prioritize safety and ensure compliance with local regulations. With these tips, you'll be well on your way to creating a more sustainable and comfortable living space.
Additional Resources
For more detailed information on insulation types, installation methods, and safety precautions, consider consulting resources from reputable organizations such as the U.S. Department of Energy or local insulation manufacturers. Additionally, many hardware stores offer free workshops or consultations on home improvement projects like insulation upgrades.
By taking the time to upgrade your home's insulation, you are not only saving money but also contributing to a more sustainable future. Whether you choose fiberglass batts, cellulose insulation, spray foam insulation, or reflective insulation, following these DIY tips will help you achieve professional-grade results without the hefty price tag. Happy insulating
Was this page helpful?
At Storables.com, we guarantee accurate and reliable information. Our content, validated by Expert Board Contributors, is crafted following stringent Editorial Policies. We're committed to providing you with well-researched, expert-backed insights for all your informational needs.


0 thoughts on “Upgrading Your Home’s Insulation DIY Tips”