Articles
How To Clean A Vitamix Blender
Modified: August 28, 2024
Learn the best techniques and tips for cleaning your Vitamix blender with this helpful article. Keep your blender in top shape for delicious smoothies and meals!
(Many of the links in this article redirect to a specific reviewed product. Your purchase of these products through affiliate links helps to generate commission for Storables.com, at no extra cost. Learn more)
Introduction
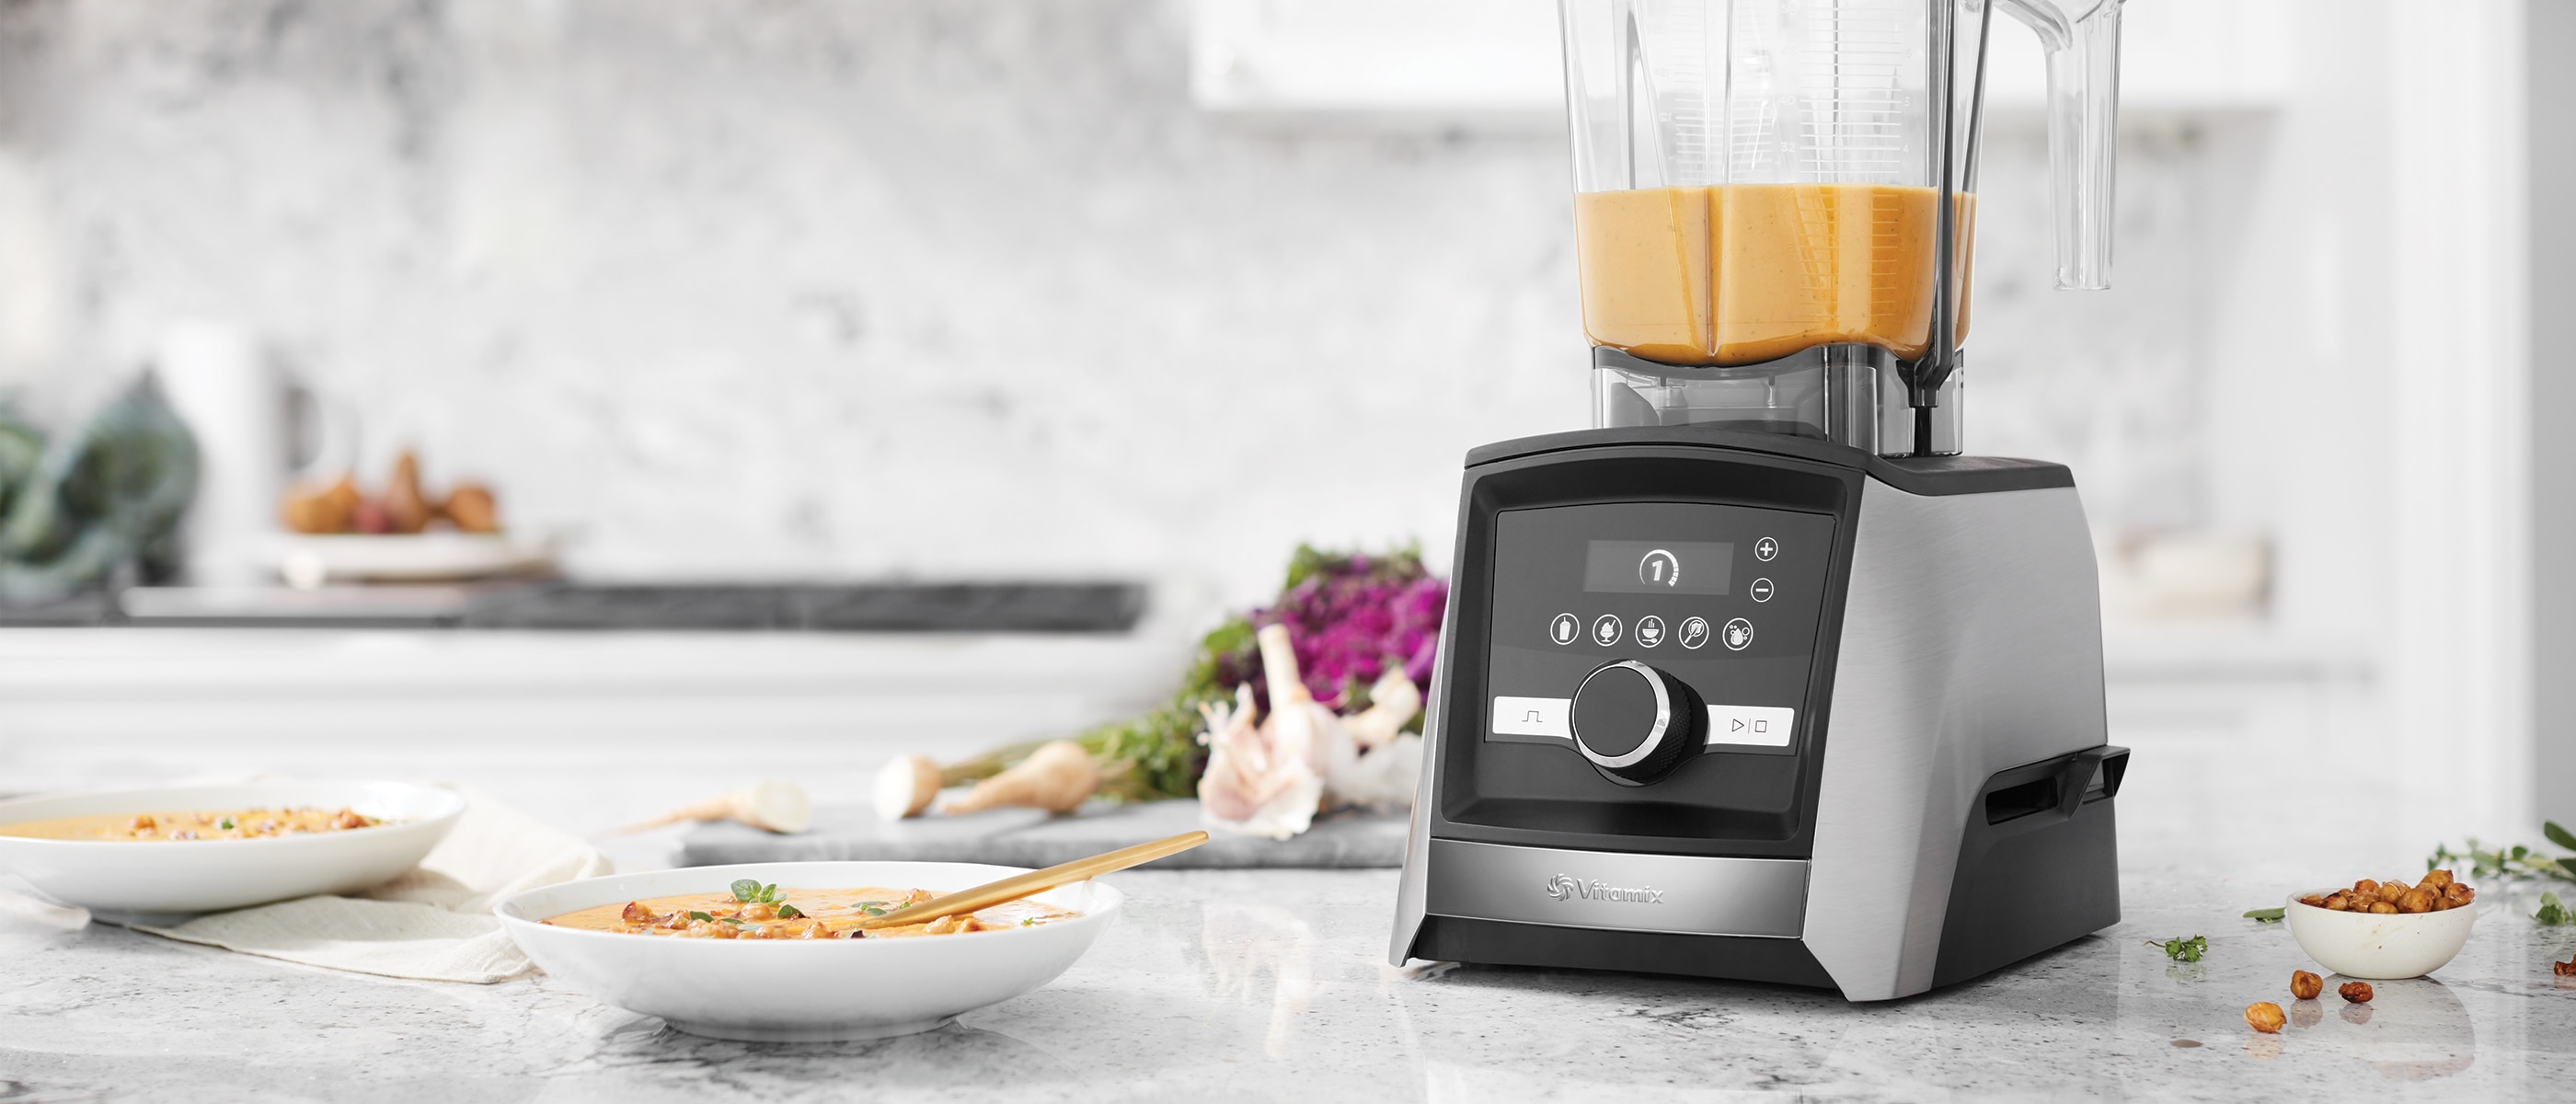
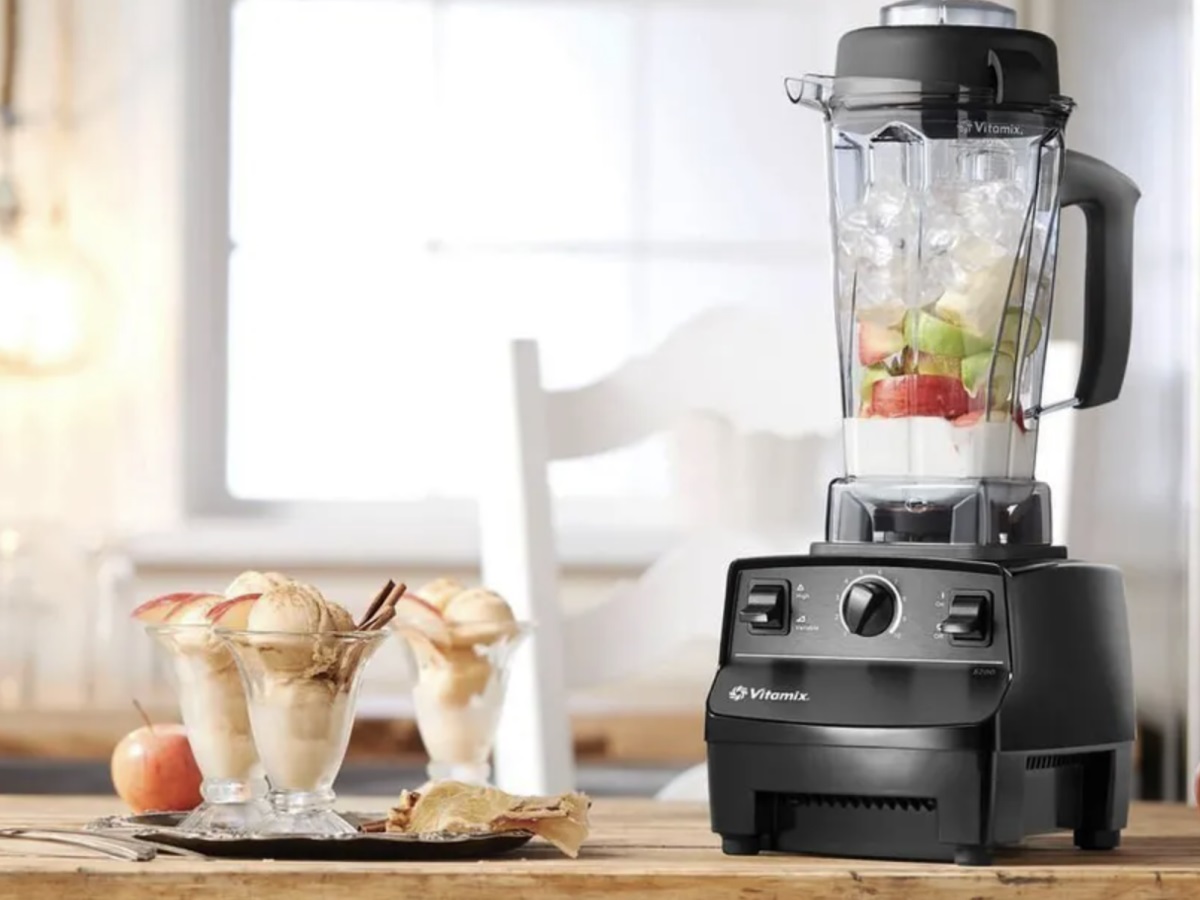
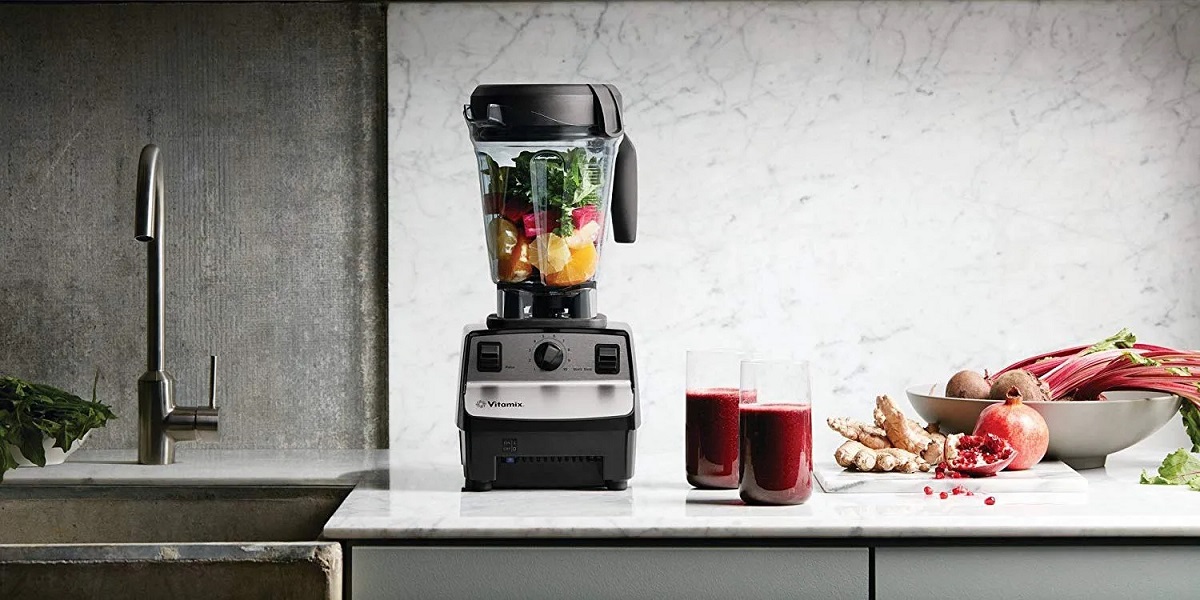
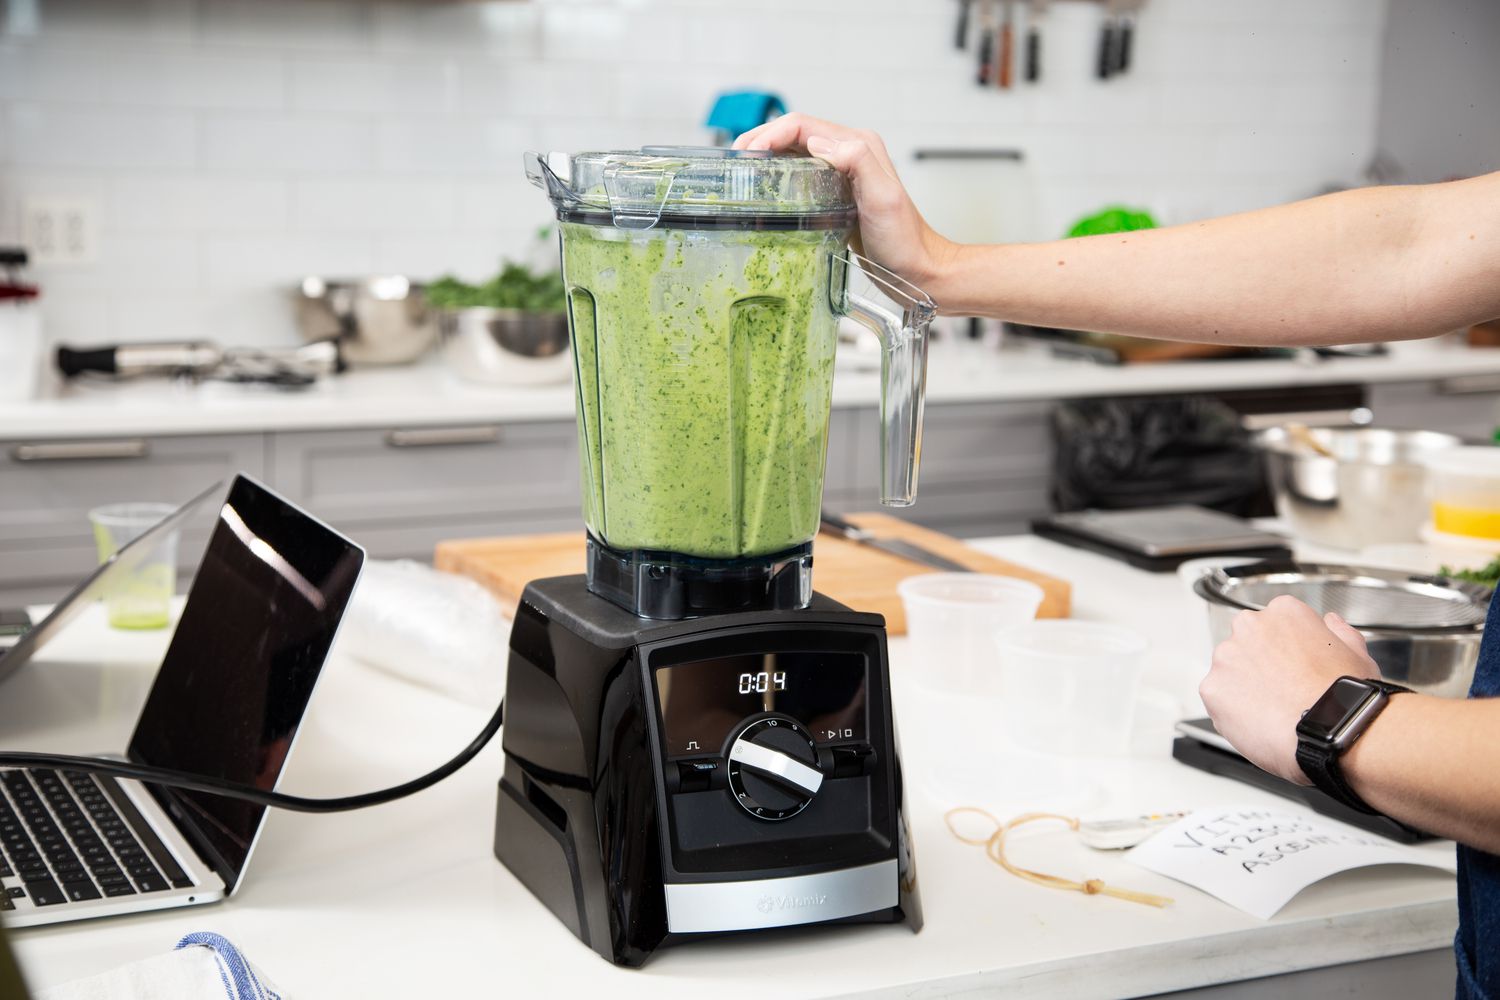
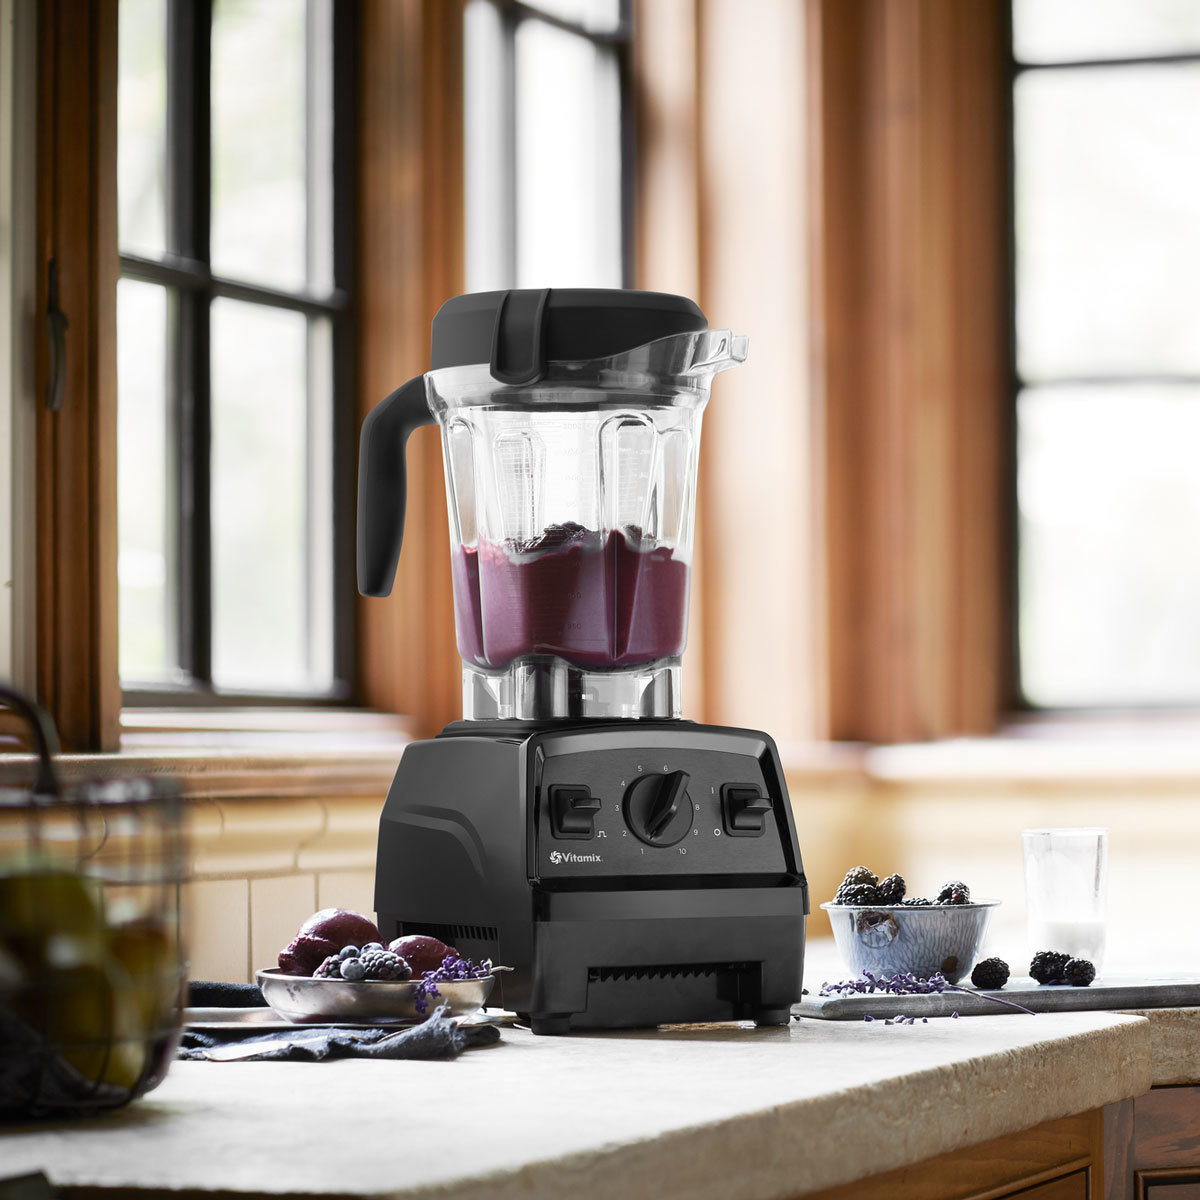
A Vitamix blender is a versatile and powerful kitchen appliance that can be used to create a wide variety of delicious and nutritious recipes. From smoothies and soups to nut butters and sauces, a Vitamix blender is a valuable tool for any home cook or food enthusiast.
However, with regular use, the blender can become dirty and develop unpleasant odors. Cleaning your Vitamix blender is not only important for maintaining its performance but also for ensuring proper hygiene. In this article, we will guide you through the step-by-step process of cleaning your Vitamix blender effectively and safely.
Before we dive into the cleaning process, it’s essential to mention a few safety precautions. Always make sure to unplug the blender from the power source before starting the cleaning process. This will prevent any accidental injuries or electrical shocks. Additionally, handle the blender parts with care as they contain sharp blades. Keep your fingers away from the blade assembly to avoid any cuts or injuries.
Now that we have covered the necessary safety precautions, let’s get started with disassembling the blender parts.
Key Takeaways:
- Proper maintenance of your Vitamix blender is essential for hygiene and performance. Follow the step-by-step cleaning process, handle parts with care, and use natural cleaning solutions to ensure a clean and functional appliance.
- Implement safety precautions, immediate rinsing after use, and regular deep cleaning to maintain a pristine blender. Utilize tips like pre-rinsing the blender jar and replacing worn-out parts for long-term cleanliness and performance.
Read more: How To Turn On A Vitamix Blender
Safety Precautions
Before cleaning your Vitamix blender, it’s important to follow some safety precautions to ensure your well-being and the longevity of the appliance. Here are a few key safety measures to keep in mind:
- Unplug the blender: Always disconnect the blender from the power source before starting the cleaning process. This will help prevent any accidents or electrical shocks.
- Handle with care: Remember that the blender container and blade assembly contain sharp blades. Be cautious when handling these parts to avoid any cuts or injuries. It’s recommended to use protective gloves, especially when dealing with the blade assembly.
- Avoid submerging the base in water: The base of the blender contains electrical components and should not be submerged in water. Always clean the base with a damp cloth or sponge to prevent damage to the motor and electrical parts.
- Use mild cleaning agents: When cleaning the blender, avoid using harsh chemicals or abrasive cleaning agents as they can damage the blender’s components. Stick to gentle, non-toxic detergents or natural cleaning solutions.
- Do not immerse the control panel: Take care to avoid getting water or cleaning solutions on the control panel of the blender. Wipe it down with a clean, damp cloth to remove any spills or stains.
- Keep the blender in a secure location: Make sure to place the blender on a stable and secure surface during the cleaning process. This will prevent any accidental falls or tip-overs that could result in damage or injury.
By following these safety precautions, you can ensure a safe and successful cleaning process for your Vitamix blender. Next, we will guide you through the disassembly of the blender parts.
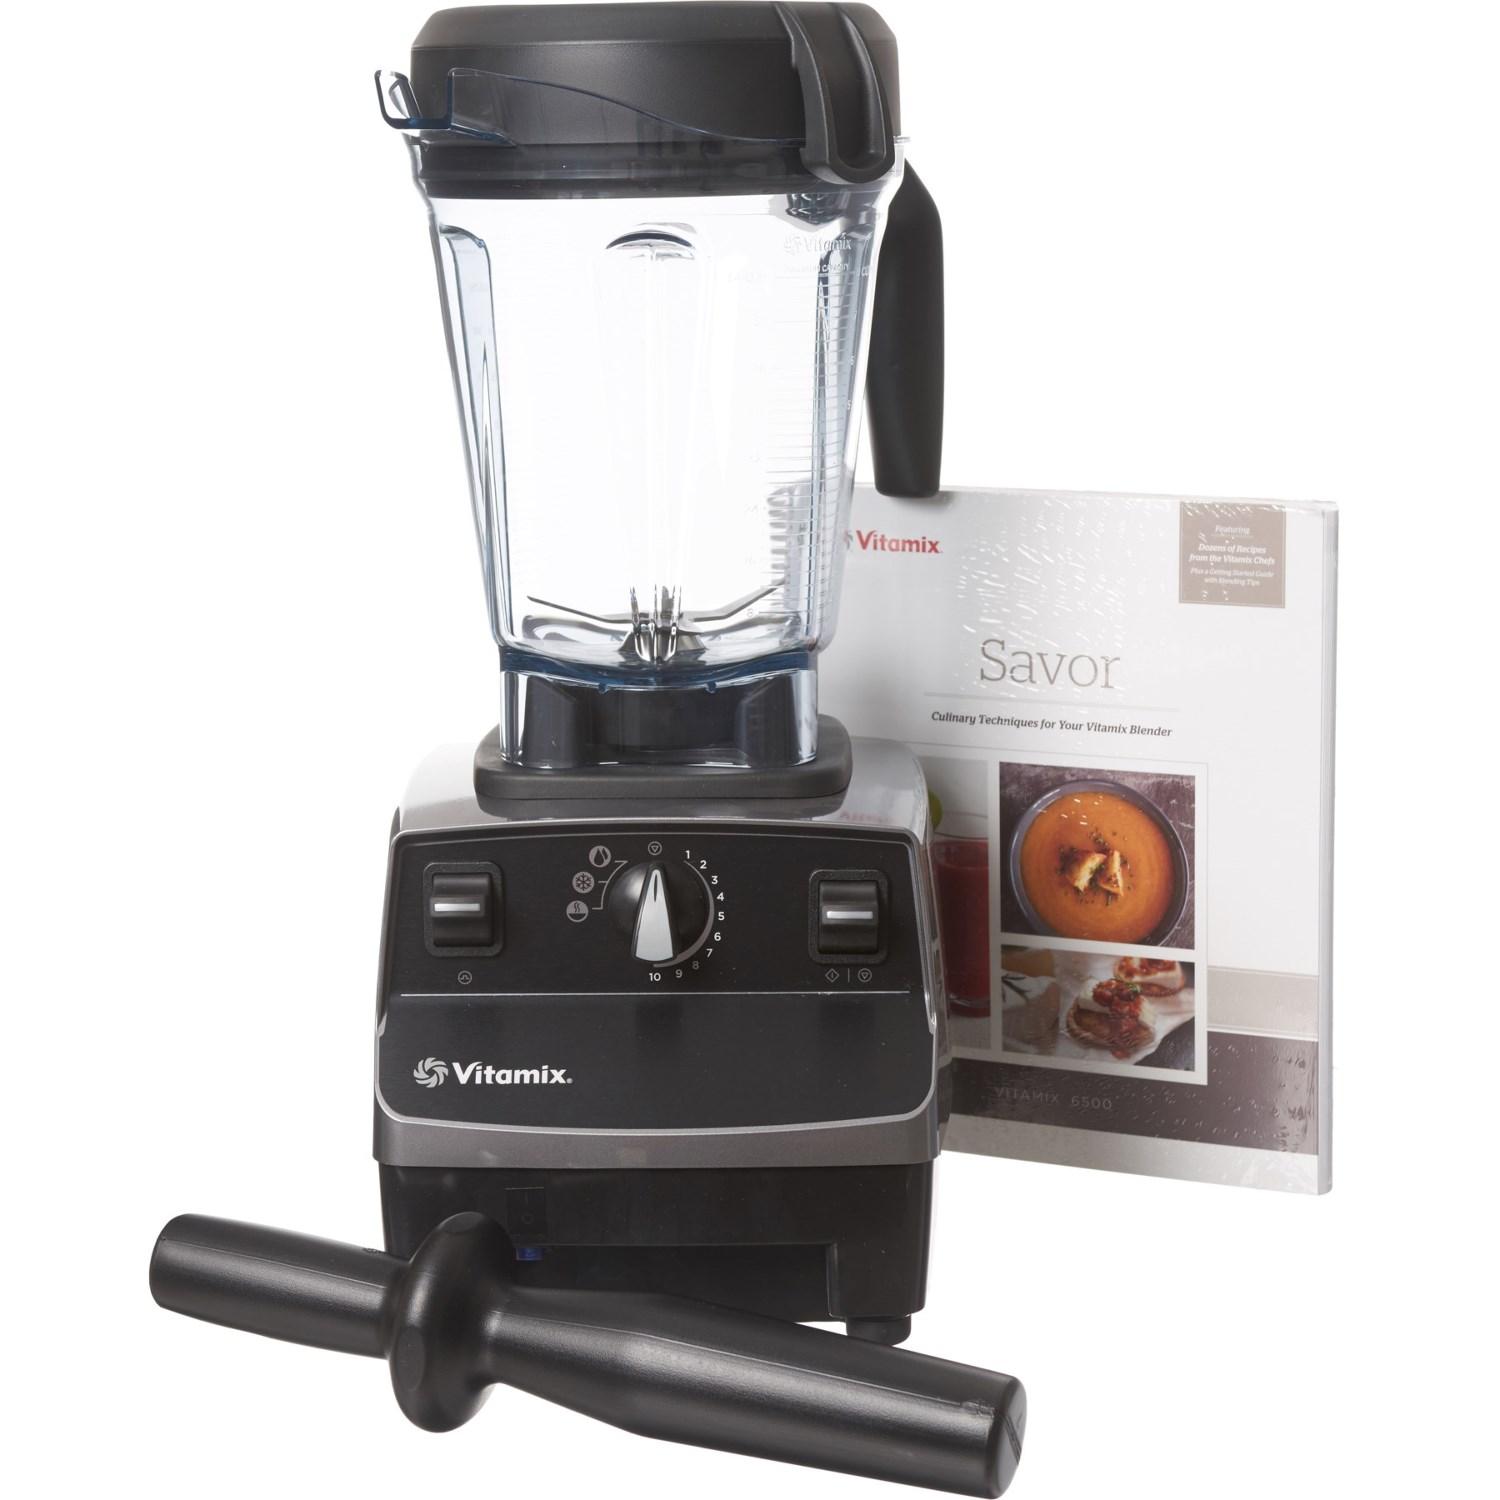
Disassembling the Blender Parts
Before you start cleaning your Vitamix blender, it’s important to disassemble the various parts for a thorough and efficient cleaning. Here’s how to disassemble the blender:
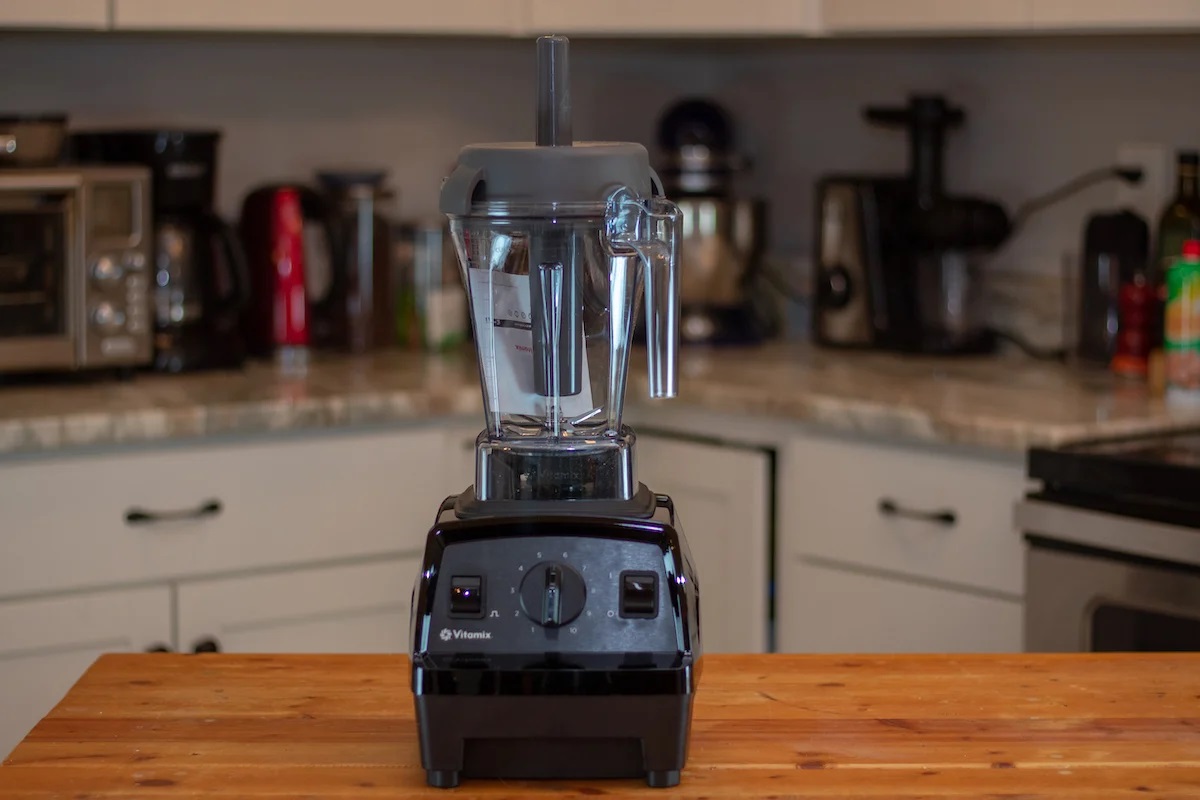
- Remove the blender jar: Start by unplugging the blender from the power source. Lift the blender jar straight up to remove it from the base. Set it aside for cleaning.
- Detach the lid: Remove the lid from the blender jar by twisting it counterclockwise. Some Vitamix models may have a locking mechanism, so make sure to unlock it before removing the lid. Set the lid aside for cleaning.
- Take out the tamper (if applicable): If your Vitamix blender has a tamper, remove it from the blender jar. The tamper is used to push ingredients down towards the blades while blending. Set the tamper aside for cleaning.
- Remove the blade assembly: Carefully lift the blade assembly out of the blender jar. Be cautious as the blades are sharp. Set the blade assembly aside for cleaning.
- Inspect the gasket: Take a moment to inspect the gasket, which is a rubber seal located on the blade assembly. Make sure the gasket is intact and free from any cracks or damage. If needed, replace the gasket for optimal performance.
By following these steps, you have successfully disassembled the Vitamix blender and are now ready to clean each part individually. In the next section, we will guide you through the process of cleaning the blender jar.
Cleaning the Blender Jar
The blender jar is where you blend your ingredients, and it can accumulate residue, stains, and odors over time. Here’s how to effectively clean the blender jar:
- Rinse out any leftover contents: Start by rinsing out the blender jar with warm water to remove any remaining ingredients.
- Add warm water and detergent: Fill the blender jar about halfway with warm water and add a few drops of gentle dish detergent. This will help loosen any residue and stains.
- Blend the soapy water: Place the blender jar back onto the base and turn the blender on low speed. Let it run for about 30 seconds to a minute, allowing the soapy water to thoroughly clean the inside of the jar.
- Scrub the interior: If there are stubborn stains, use a soft brush or sponge to gently scrub the interior of the blender jar. Pay extra attention to areas around the blade assembly.
- Rinse thoroughly: Empty the soapy water from the blender jar and rinse it thoroughly with warm water. Make sure to remove all traces of detergent.
- Dry the blender jar: Use a clean towel or allow the blender jar to air dry completely before reassembling the blender.
- Remove tough stains or odors: If there are lingering stains or odors, you can try mixing a solution of equal parts water and white vinegar. Fill the blender jar halfway with the solution, let it sit for a few hours, and then rinse it out thoroughly.
By following these steps, you can effectively clean the blender jar and remove any residue or odors. Next, we will move on to cleaning the blender lid and tamper.
Cleaning the Blender Lid and Tamper
The blender lid and tamper are essential parts of the Vitamix blender that also require regular cleaning. Here’s how to clean them effectively:
- Separate the lid components: Disassemble the blender lid by removing any removable parts, such as the center cap or measuring cup insert. Check your blender model’s instructions for specific details on how to disassemble the lid.
- Wash the lid components: Wash the lid components with warm, soapy water. Use a sponge or brush to remove any food particles or residue. Pay extra attention to any crevices or hard-to-reach areas.
- Rinse thoroughly: Rinse the lid components with warm water to ensure that no soap residue remains. Alternatively, you can place the lid components on the top rack of your dishwasher for easy cleaning.
- Clean the tamper: If your Vitamix blender comes with a tamper, wash it with warm, soapy water. Make sure to clean both ends of the tamper thoroughly to remove any residue or buildup.
- Rinse and dry: Rinse the tamper and lid components with warm water, ensuring all soap residue is removed. Allow them to air dry completely before reassembling the blender.
By following these steps, you can keep the blender lid and tamper clean and free from any residue. Now, let’s move on to cleaning the blade assembly.
Read more: How To Use The Vitamix Blender
Cleaning the Blade Assembly
The blade assembly is a crucial part of the Vitamix blender that requires proper cleaning to maintain its performance and longevity. Here’s how to clean the blade assembly effectively:
- Handle with care: Before cleaning the blade assembly, ensure that the blender is unplugged and the blades have completely stopped rotating. Always handle the blade assembly with caution as the blades are sharp.
- Dismantle the blade assembly: Some Vitamix blender models allow you to easily remove the blade assembly for cleaning. If possible, detach the blade assembly according to the manufacturer’s instructions.
- Wash with warm, soapy water: Clean the blade assembly in warm, soapy water. Use a brush or sponge to remove any stubborn debris or residue stuck around the blades. Be careful not to cut yourself on the sharp edges.
- Rinse thoroughly: Rinse the blade assembly with warm water to remove any soap residue. Ensure that no food particles or cleaning agents remain on the blades or in the crevices.
- Inspect the gasket: Take a moment to inspect the rubber gasket located on the blade assembly. If there are any cracks or signs of wear, consider replacing it to maintain the blender’s proper functioning.
- Dry completely: Once cleaned and rinsed, dry the blade assembly thoroughly with a clean towel or allow it to air dry completely before reassembling the blender.
- Reassemble the blade assembly: Follow the manufacturer’s instructions to safely reassemble the blade assembly and ensure it is securely in place before using the blender.
By following these steps, you can effectively clean the blade assembly and ensure it remains in optimal condition for blending. Now, let’s move on to cleaning the base of the blender.
To clean a Vitamix blender, fill it halfway with warm water and a drop of dish soap. Run the blender on high for 30 seconds, then rinse with clean water. If needed, use a soft brush to scrub any stubborn residue.
Cleaning the Base of the Blender
The base of the Vitamix blender houses the motor and other electrical components, which should be cleaned with caution. Follow these steps to clean the base of the blender properly:
- Unplug the blender: Before cleaning the base, ensure that the blender is unplugged from the power source to avoid any accidents or electrical hazards.
- Use a damp cloth: Dampen a soft cloth or sponge with warm water. Wring out any excess moisture to prevent water from reaching the electrical components.
- Clean the exterior: Gently wipe the exterior of the base, including the control panel and any other accessible areas, with the damp cloth. Pay attention to any spills, stains, or food residue.
- Avoid submerging in water: Do not—under any circumstances—submerge the base of the blender in water or any other liquid. Doing so can damage the motor and electrical components.
- Absorb excess moisture: If there are any areas that became damp during the cleaning process, use a dry cloth to absorb the moisture. Ensure that the base is completely dry before plugging the blender back in.
- Remove stubborn stains: If you encounter stubborn stains or residue on the base, make a paste using baking soda and water. Apply the paste to the affected areas and gently scrub with a soft cloth. Rinse and dry the base thoroughly.
- Care for the power cord: Check the power cord for any signs of wear or damage. If necessary, replace the power cord as per the manufacturer’s instructions.
By following these steps, you can safely and effectively clean the base of your Vitamix blender, ensuring its longevity and proper functioning. Now that you have cleaned all the individual parts, let’s move on to dealing with tough stains or residue if necessary.
Removing Tough Stains or Residue
Despite regular cleaning, there may be instances when tough stains or residue persist in your Vitamix blender. Here are some methods to remove stubborn stains or residue:
- Vinegar and Baking Soda: Create a paste by combining equal parts white vinegar and baking soda. Apply the paste to the affected area and let it sit for 15-20 minutes. Scrub gently with a soft brush or sponge, then rinse thoroughly with warm water.
- Lemon Juice: Squeeze fresh lemon juice onto the stained area and allow it to sit for 10-15 minutes. Scrub gently with a soft brush or sponge, then rinse with warm water. The natural acidity of the lemon will help break down the stains.
- White Vinegar Soak: Fill the blender jar about halfway with a mixture of equal parts white vinegar and warm water. Let it soak for a few hours or overnight. Rinse the jar thoroughly with warm water and wash with mild dish soap to remove the vinegar scent.
- Baking Soda Soak: Fill the blender jar with warm water and add a few tablespoons of baking soda. Let it soak for a few hours or overnight. Rinse thoroughly with warm water and wash with mild dish soap to remove any baking soda residue.
- Commercial Blender Cleaner: If all else fails, you may consider using a commercial blender cleaner specifically designed to remove tough stains and residue. Follow the instructions provided on the cleaner’s packaging for safe and effective use.
Remember to always rinse the blender parts thoroughly with warm water after using any cleaning method. Inspect the parts to ensure the stains or residue are completely removed before drying and reassembling the blender.
Now that you have successfully removed any tough stains or residue, we can move on to drying and reassembling the blender.
Drying and Reassembling the Blender
After cleaning all the individual parts of your Vitamix blender, it’s important to ensure that they are properly dried and reassembled before using the appliance again. Here’s how to complete the drying and reassembly process:
- Dry each part thoroughly: Use a clean, dry towel or allow the blender parts to air dry completely. Ensuring that each part is completely dry helps prevent the growth of mold and bacteria.
- Inspect for any remaining moisture: Before reassembling the blender, double-check that there is no residual moisture on any of the blender parts, including the blender jar, lid, blade assembly, and tamper.
- Reassemble the blender: Follow the manufacturer’s instructions to securely reassemble the blender. Place the blade assembly back into the blender jar and ensure it is tightly secured. Attach the lid and tamper, if applicable, making sure they are properly aligned.
- Test the blender: Before using the blender with food ingredients, run a quick test by turning it on without any ingredients inside. This allows you to ensure that all the parts are securely in place and the blender operates smoothly.
- Store the blender properly: Once the blender is completely dry and reassembled, find a clean and dry place to store it. Keep the blender in a secure location, away from excessive heat, moisture, and direct sunlight.
By following these steps, you can ensure that your Vitamix blender is properly dried, reassembled, and ready for use. Now let’s explore some tips and tricks for maintaining a clean blender.
Read more: Where To Buy Vitamix Blender
Tips and Tricks for Maintaining a Clean Blender
Maintaining the cleanliness of your Vitamix blender is essential for its longevity and optimal performance. Here are some tips and tricks to help you keep your blender clean:
- Clean the blender immediately after use: To prevent stubborn stains and residue, make it a habit to clean the blender immediately after each use. This will help prevent any food particles from drying and sticking to the blender parts.
- Pre-rinse the blender jar: After each use, rinse the blender jar with warm water to remove any remaining ingredients. This will make the cleaning process easier and help prevent the buildup of residue.
- Avoid blending hot liquids: To prevent warping or damage to the blender jar, avoid blending extremely hot liquids. Allow hot ingredients to cool down before adding them to the blender.
- Regularly clean the rubber gasket: Over time, the rubber gasket on the blade assembly can accumulate residue and become discolored. Clean the gasket regularly to prevent any buildup that could affect the blender’s performance.
- Use citrus fruits for odor control: If your blender develops unpleasant odors, blend a mixture of water and citrus fruits like lemon, lime, or orange. The natural acidity and fresh aroma will help eliminate any lingering odors.
- Wipe down the blender base regularly: Keep the base of the blender clean by wiping it down regularly with a damp cloth. This will help remove any spills or stains and maintain its appearance.
- Store the blender with the lid off: When storing your Vitamix blender, remove the lid to allow air circulation and prevent any moisture buildup inside the blender jar.
- Deep clean periodically: In addition to regular cleaning, consider performing a deep clean of your Vitamix blender once a month. Follow the manufacturer’s instructions for specific deep cleaning techniques.
- Replace worn-out parts: Regularly inspect the blender parts for signs of wear and tear. Replace any components, such as gaskets or lids, that show signs of damage or deterioration to maintain the blender’s functionality.
By following these tips and tricks, you can keep your Vitamix blender clean and in excellent condition for years of use. Remember, a clean blender not only ensures better-tasting recipes but also maintains optimal performance.
Conclusion
Maintaining a clean Vitamix blender is crucial for both hygiene and optimal performance. By following the step-by-step cleaning process outlined in this article, you can ensure that your blender remains in a pristine condition. Remember to disassemble the blender parts, clean them thoroughly, and handle them with care to avoid any accidents or damage.
Implementing the safety precautions, such as unplugging the blender before cleaning, will help prevent any harmful incidents. Additionally, using mild cleaning agents and avoiding submerging the base in water will protect the blender’s electrical components.
Cleaning the different parts of the blender, including the jar, lid, blade assembly, and tamper, is essential to remove residue, stains, and odors. Utilizing natural cleaning solutions like vinegar, lemon juice, or baking soda can be highly effective in removing tough stains or residue.
Make sure to thoroughly dry each part before reassembling the blender to prevent the growth of mold or bacteria. Regular maintenance, such as immediate rinsing after use, deep cleaning periodically, and replacing worn-out parts, will contribute to the long-term cleanliness and performance of your Vitamix blender.
By implementing the provided tips and tricks, such as pre-rinsing the blender jar, wiping down the base regularly, and storing the blender properly, you can maintain a clean and functional appliance.
Remember, a clean Vitamix blender ensures better tasting recipes and prolongs the lifespan of your appliance. So, take the time to clean and maintain your blender and enjoy delicious and healthy creations for years to come.
Frequently Asked Questions about How To Clean A Vitamix Blender
Was this page helpful?
At Storables.com, we guarantee accurate and reliable information. Our content, validated by Expert Board Contributors, is crafted following stringent Editorial Policies. We're committed to providing you with well-researched, expert-backed insights for all your informational needs.


0 thoughts on “How To Clean A Vitamix Blender”