Home>Renovation & DIY>DIY Projects & Ideas>What DIY Projects Can I Do With A Damaged Monitor
DIY Projects & Ideas
What DIY Projects Can I Do With A Damaged Monitor
Modified: January 23, 2024
Discover creative DIY projects and ideas for repurposing a damaged monitor. Explore innovative ways to transform your old monitor into something new and useful.
(Many of the links in this article redirect to a specific reviewed product. Your purchase of these products through affiliate links helps to generate commission for Storables.com, at no extra cost. Learn more)
Introduction
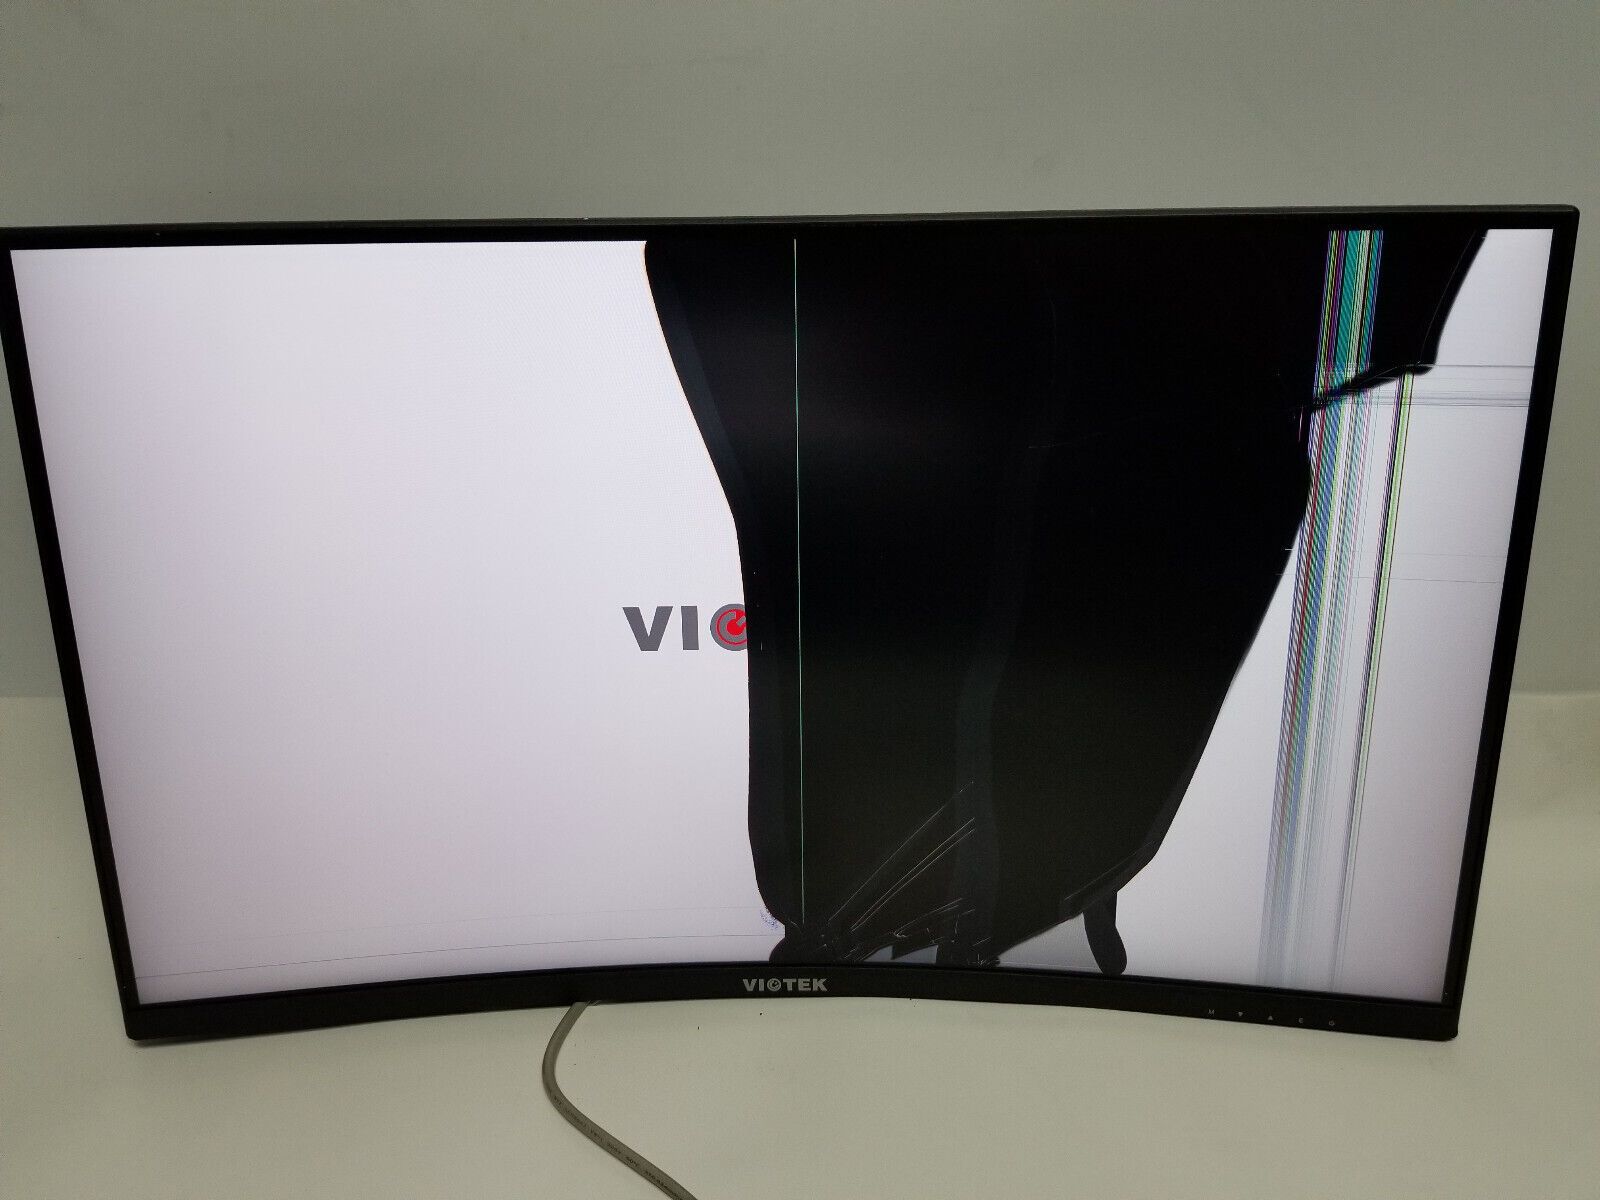
So, you've found yourself with a damaged monitor that's no longer functional. Before you toss it in the trash, why not consider giving it a new lease on life through some creative do-it-yourself (DIY) projects? Repurposing your old monitor can not only be a fun and rewarding endeavor but also an eco-friendly way to reduce electronic waste. In this article, we'll explore five innovative DIY projects that will breathe new life into your damaged monitor, transforming it into something both practical and visually appealing. Whether you're a seasoned DIY enthusiast or just looking for a unique weekend project, these ideas are sure to inspire your inner creativity and resourcefulness. Let's dive in and discover the exciting possibilities of repurposing a damaged monitor!
Key Takeaways:
- Don’t toss that old monitor! Repurpose it into a stylish picture frame, pet bed, or terrarium for a fun and eco-friendly DIY project.
- Give new life to your damaged monitor with creative DIY projects, reducing electronic waste and adding unique, personalized touches to your home decor.
DIY Project 1: Turning the Monitor into a Picture Frame
One of the most popular and visually striking ways to repurpose a damaged monitor is by transforming it into a sleek and modern picture frame. This project not only breathes new life into your old monitor but also provides a stylish and unique way to display your favorite photographs or artwork. Here’s how you can turn your damaged monitor into a stunning picture frame:
- Disassembly: Carefully disassemble the monitor, removing the outer casing and any internal components, leaving only the bare screen intact.
- Frame Construction: Construct a custom frame to fit the dimensions of the monitor screen. This can be done using a variety of materials, such as wood, metal, or even repurposed materials from other household items.
- Mounting the Screen: Secure the monitor screen within the custom frame, ensuring a snug and secure fit. This step may involve using adhesive or mounting brackets to hold the screen in place.
- Personalization: Once the screen is securely mounted, you can customize the frame to suit your style. This may involve painting or staining the frame, adding decorative embellishments, or even integrating additional features such as backlighting for a dramatic effect.
- Display: With your newly repurposed monitor picture frame complete, it’s time to display your favorite photos or artwork. Simply connect the frame to a power source and upload your desired images for a stunning visual display.
By repurposing your damaged monitor into a picture frame, you not only give new life to an old electronic device but also create a unique and eye-catching piece of functional art for your home or office. This project allows you to showcase your creativity and resourcefulness while adding a touch of modern sophistication to your living space.
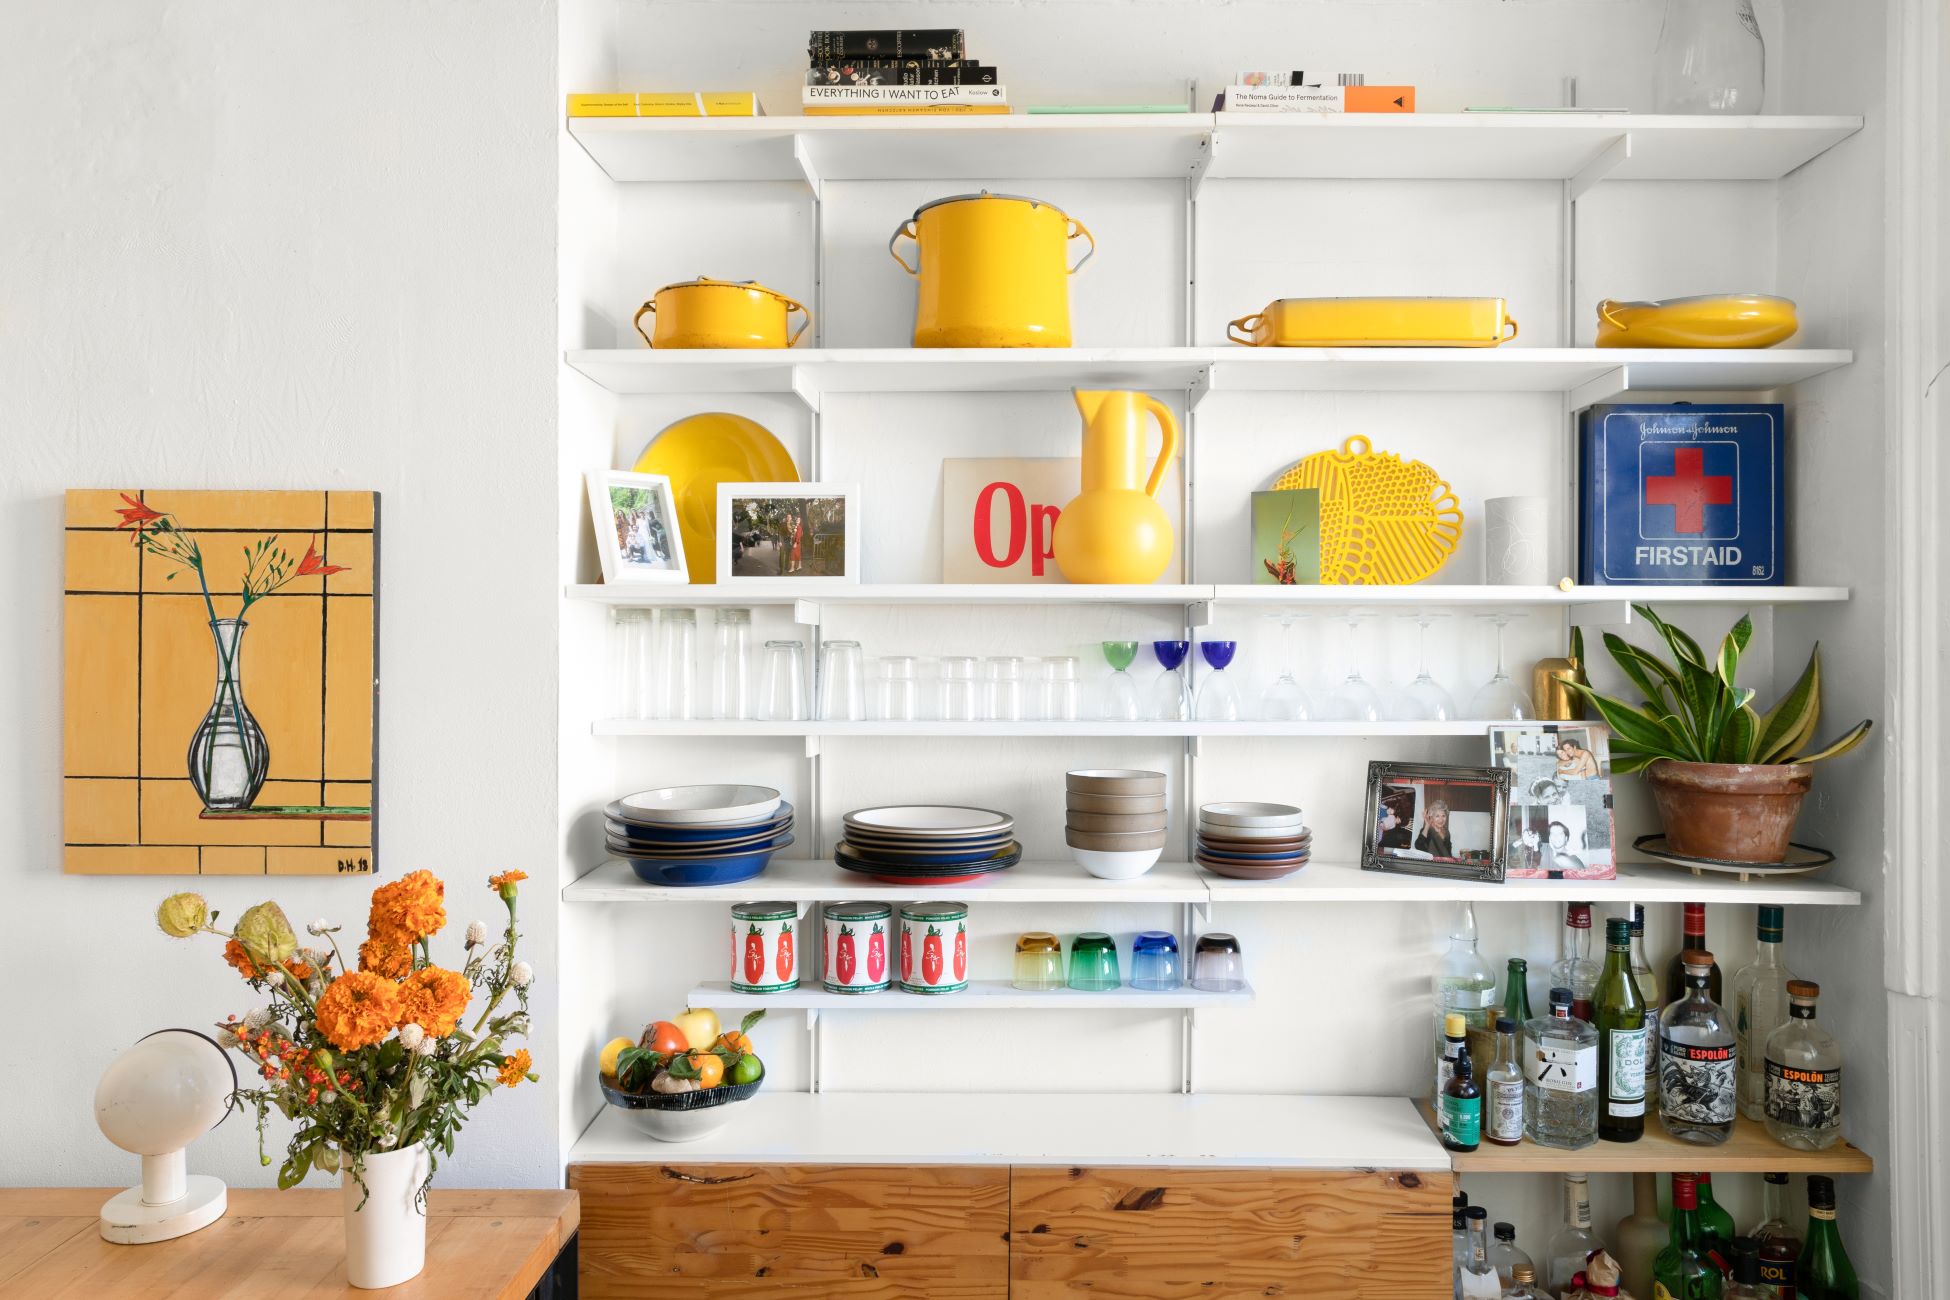
DIY Project 2: Creating a Monitor Shelf
Repurposing a damaged monitor into a stylish and functional shelf is a fantastic way to breathe new life into an old electronic device while adding a practical and visually appealing element to your space. Here’s how you can transform your damaged monitor into a unique and versatile shelf:
- Disassembly: Begin by carefully disassembling the monitor, removing the internal components and electronics to leave only the monitor casing and screen.
- Frame Modification: Depending on the design of the monitor casing, you may need to make modifications to create a flat and stable surface for the shelf. This could involve removing any protruding elements or reinforcing the structure as needed.
- Shelf Installation: Determine the desired orientation of the monitor shelf and securely mount it to the wall using appropriate hardware. Ensure that the shelf is level and can support the intended weight of items to be displayed.
- Decorative Touches: Once the shelf is securely installed, consider adding decorative elements to enhance its visual appeal. This could include painting the shelf, adding trim or molding, or incorporating additional features such as hooks or small storage compartments.
- Functional Display: With your newly repurposed monitor shelf in place, it’s time to display your favorite items. Whether it’s small potted plants, decorative accents, or practical storage containers, the shelf provides a unique and eye-catching platform for showcasing your personal style.
By repurposing your damaged monitor into a shelf, you not only divert electronic waste from landfills but also create a functional and visually striking addition to your home decor. This project allows you to exercise your creativity while contributing to a more sustainable and eco-friendly approach to household design.
DIY Project 3: Building a Terrarium Inside the Monitor
Transforming a damaged monitor into a captivating terrarium not only repurposes electronic waste but also introduces a unique and eye-catching green space into your home. Here’s how you can breathe new life into your old monitor by creating a stunning terrarium:
- Disassembly: Carefully disassemble the monitor, removing the internal components and electronics, leaving only the monitor casing and screen.
- Preparation: Clean the interior of the monitor thoroughly, ensuring that it is free from any dust or debris. Consider painting the exterior of the monitor to complement the natural elements that will be housed within.
- Landscaping: Add a layer of small pebbles or gravel to the bottom of the monitor to facilitate drainage. Follow this with a layer of activated charcoal to help purify the terrarium environment.
- Soil and Planting: Add a layer of nutrient-rich potting soil, carefully planting a selection of small, low-maintenance plants such as succulents, air plants, or moss. Arrange the plants creatively to make the most of the available space.
- Finishing Touches: Add decorative elements such as small figurines, natural stones, or driftwood to create visual interest within the terrarium. Consider incorporating a small mister for watering and maintaining the terrarium environment.
- Display: Once your terrarium is complete, place the repurposed monitor in a well-lit area, avoiding direct sunlight that could overheat the enclosed environment. Regularly mist the plants and monitor the moisture levels to ensure a healthy and thriving terrarium ecosystem.
Repurposing your damaged monitor into a terrarium not only showcases your creativity but also introduces a captivating and low-maintenance green space into your home. This project offers a unique way to blend technology with nature, creating an intriguing conversation piece and a visually stunning addition to your living space.
You can repurpose a damaged monitor by turning it into a digital photo frame, a wall-mounted calendar, or a decorative wall art piece. Just remove the screen and use the frame for your new project.
DIY Project 4: Crafting a Monitor Pet Bed
Repurposing a damaged monitor into a cozy and stylish pet bed offers a creative and eco-friendly solution for both your beloved pet and electronic waste. Here’s how you can transform your old monitor into a comfortable and visually appealing pet bed:
- Disassembly: Carefully disassemble the monitor, removing the internal components and electronics, leaving only the monitor casing and screen.
- Frame Preparation: Depending on the size of your pet, you may need to modify the monitor frame to create a comfortable sleeping area. This could involve removing any protruding elements and reinforcing the structure as needed.
- Padding and Fabric: Line the interior of the monitor with soft padding, ensuring a cozy and comfortable space for your pet to rest. Cover the padding with pet-friendly fabric, securing it neatly to create a snug and inviting bed.
- Decorative Elements: Consider adding decorative touches to the pet bed, such as personalized embroidery, decorative trim, or even a small pillow for added comfort.
- Personalization: Customize the pet bed to suit your pet’s personality and your home decor. Whether it’s adding your pet’s name to the bed or coordinating the fabric with your existing furnishings, this is an opportunity to infuse your creativity into the project.
- Introducing the Pet Bed: Once the pet bed is complete, introduce it to your pet in a familiar and comfortable space. Encourage your pet to explore and become accustomed to their new sleeping area, providing positive reinforcement to create a sense of ownership and comfort.
Repurposing your damaged monitor into a pet bed not only provides a cozy and personalized space for your pet but also demonstrates a creative and sustainable approach to reusing electronic materials. This project allows you to showcase your love for your pet while contributing to a more environmentally conscious and resourceful lifestyle.
Read more: Diy Projects To Do When Bored
DIY Project 5: Constructing a Monitor Clock
Repurposing a damaged monitor into a unique and eye-catching clock not only offers a creative way to breathe new life into old technology but also provides a functional and stylish addition to your home decor. Here’s how you can transform your old monitor into a striking and personalized clock:
- Disassembly: Carefully disassemble the monitor, removing the internal components and electronics, leaving only the monitor casing and screen.
- Frame Modification: Depending on the design of the monitor casing, you may need to make modifications to create a flat and stable surface for the clock. This could involve reinforcing the structure and ensuring that the screen is securely mounted within the frame.
- Clock Mechanism: Install a clock mechanism onto the monitor, ensuring that it is centered and securely attached. You can find clock mechanisms at craft stores or repurpose an existing clock to fit the dimensions of the monitor screen.
- Personalization: Customize the clock to suit your style and preferences. This could involve painting the frame, adding decorative elements, or integrating additional features such as backlighting for a dramatic effect.
- Functional Display: With your newly repurposed monitor clock complete, hang it in a prominent location where it can be both functional and visually striking. Set the time and enjoy your one-of-a-kind creation that seamlessly blends technology and decor.
By repurposing your damaged monitor into a clock, you not only give new life to an old electronic device but also create a unique and personalized timepiece for your home. This project allows you to showcase your creativity and resourcefulness while adding a touch of modern sophistication to your living space.
Conclusion
Repurposing a damaged monitor through these innovative DIY projects not only offers a creative outlet but also contributes to a more sustainable and eco-friendly approach to household innovation. From transforming the monitor into a picture frame to creating a stylish pet bed, each project showcases the potential for repurposing electronic waste into functional and visually appealing items. By embracing these DIY endeavors, you can exercise your creativity, reduce electronic waste, and breathe new life into old technology.
These projects also serve as a reminder of the importance of resourcefulness and environmental consciousness in our daily lives. Instead of discarding damaged electronics, we can find new and inventive ways to repurpose them, minimizing their impact on the environment and maximizing their potential for practical use. By incorporating these DIY projects into your home, you not only infuse your living space with unique and personalized elements but also contribute to a more sustainable and thoughtful lifestyle.
So, before you bid farewell to your damaged monitor, consider the exciting possibilities of repurposing it into something extraordinary. Whether it’s a captivating terrarium, a sleek picture frame, or a stylish clock, each project offers an opportunity to transform electronic waste into functional and visually striking creations. Embrace the spirit of innovation, creativity, and sustainability as you embark on these DIY adventures, and let your imagination guide you in giving new purpose to old technology.
Frequently Asked Questions about What DIY Projects Can I Do With A Damaged Monitor
Was this page helpful?
At Storables.com, we guarantee accurate and reliable information. Our content, validated by Expert Board Contributors, is crafted following stringent Editorial Policies. We're committed to providing you with well-researched, expert-backed insights for all your informational needs.


0 thoughts on “What DIY Projects Can I Do With A Damaged Monitor”