Home>Renovation & DIY>Tools & Equipment>How To Restore Paint Brushes With Vinegar
Tools & Equipment
How To Restore Paint Brushes With Vinegar
Modified: September 2, 2024
Learn how to restore paint brushes with vinegar and save money on tools and equipment. Follow our simple steps for effective brush maintenance. Discover more DIY tips now!
(Many of the links in this article redirect to a specific reviewed product. Your purchase of these products through affiliate links helps to generate commission for Storables.com, at no extra cost. Learn more)
Introduction
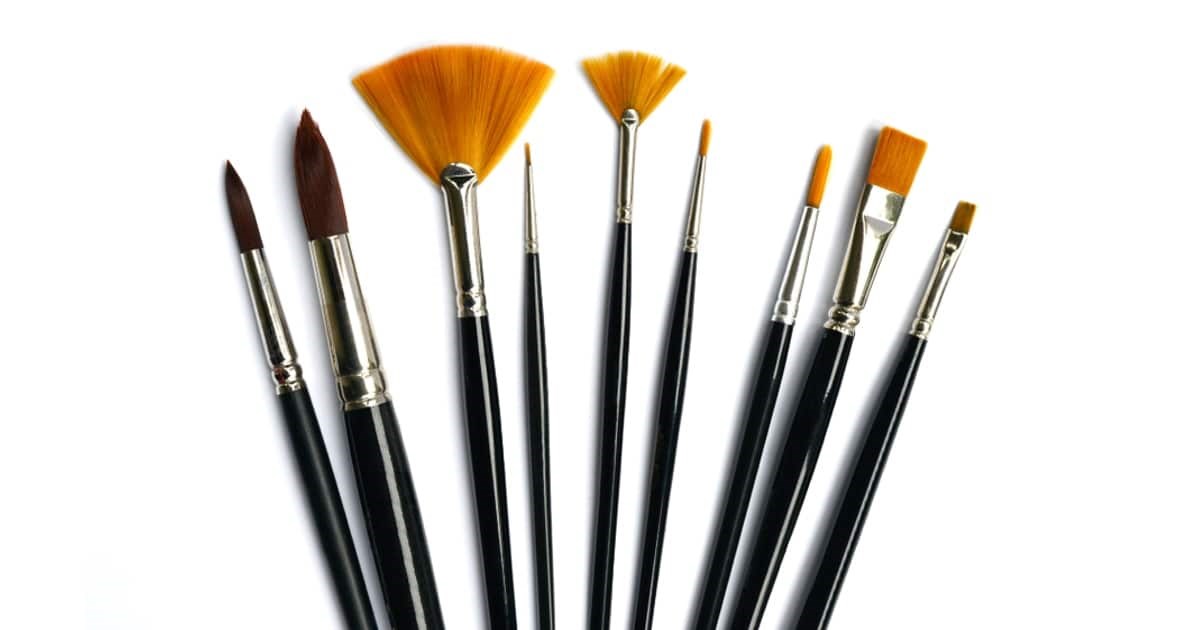
Paint brushes are essential tools for artists, DIY enthusiasts, and professionals alike. Over time, these brushes can become caked with dried paint, leading to stiff bristles and compromised performance. However, there’s no need to discard your beloved brushes just yet. With a simple household ingredient, you can restore your paint brushes to their former glory: vinegar.
In this guide, we’ll explore the process of rejuvenating paint brushes using vinegar, a natural and cost-effective solution. By following these steps, you can breathe new life into your brushes, ensuring they remain reliable tools for your creative endeavors.
Key Takeaways:
- Revive stiff paint brushes by soaking them in vinegar to soften hardened paint, then clean and dry them. This simple, cost-effective method extends the lifespan of your brushes, reducing waste and saving money.
- Harness the power of vinegar to restore paint brushes, showcasing DIY resourcefulness and sustainability. With patience and attention to detail, transform worn brushes into reliable tools for creative projects.
Read more: How To Reshape Paint Brushes
Materials Needed
Before embarking on the journey of restoring your paint brushes with vinegar, it’s important to gather the necessary materials. Fortunately, the items required for this process are readily available and likely already present in your home. Here’s what you’ll need:
- Dirty paint brushes in need of restoration
- White vinegar
- Small container or jar
- Warm water
- Dish soap
- Paper towels or a clean cloth
- Old towel or rag
With these simple materials at your disposal, you’re well-equipped to begin the journey of reviving your paint brushes using the power of vinegar.
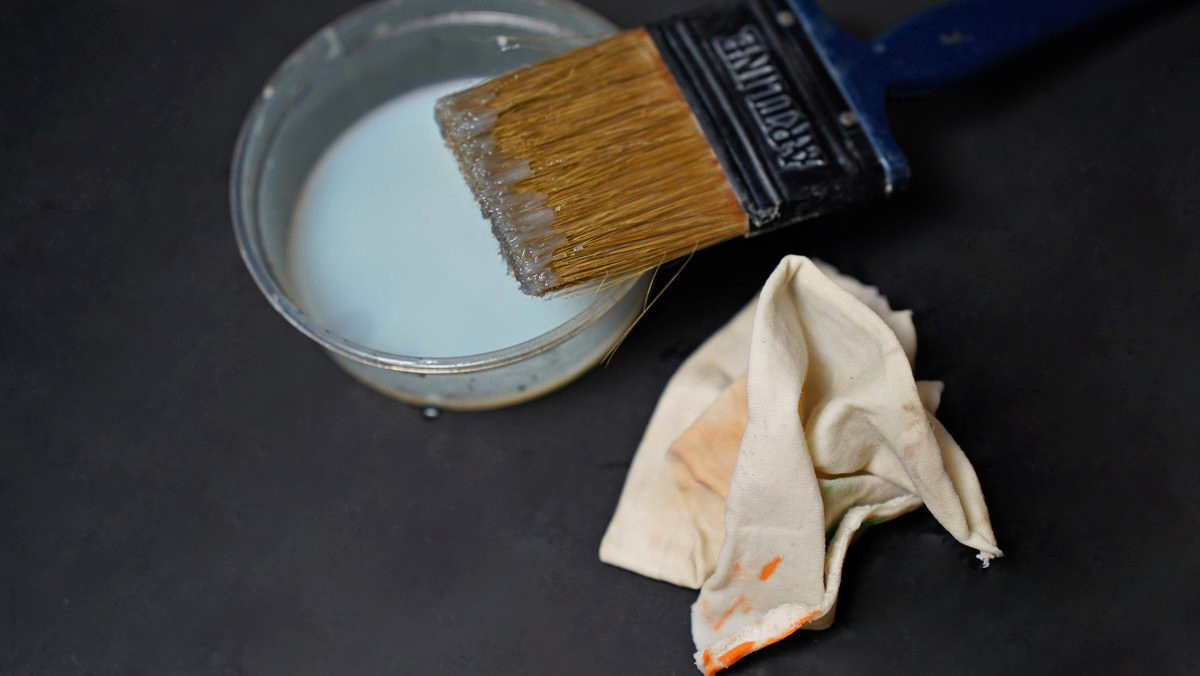
Step 1: Soaking the Brushes in Vinegar
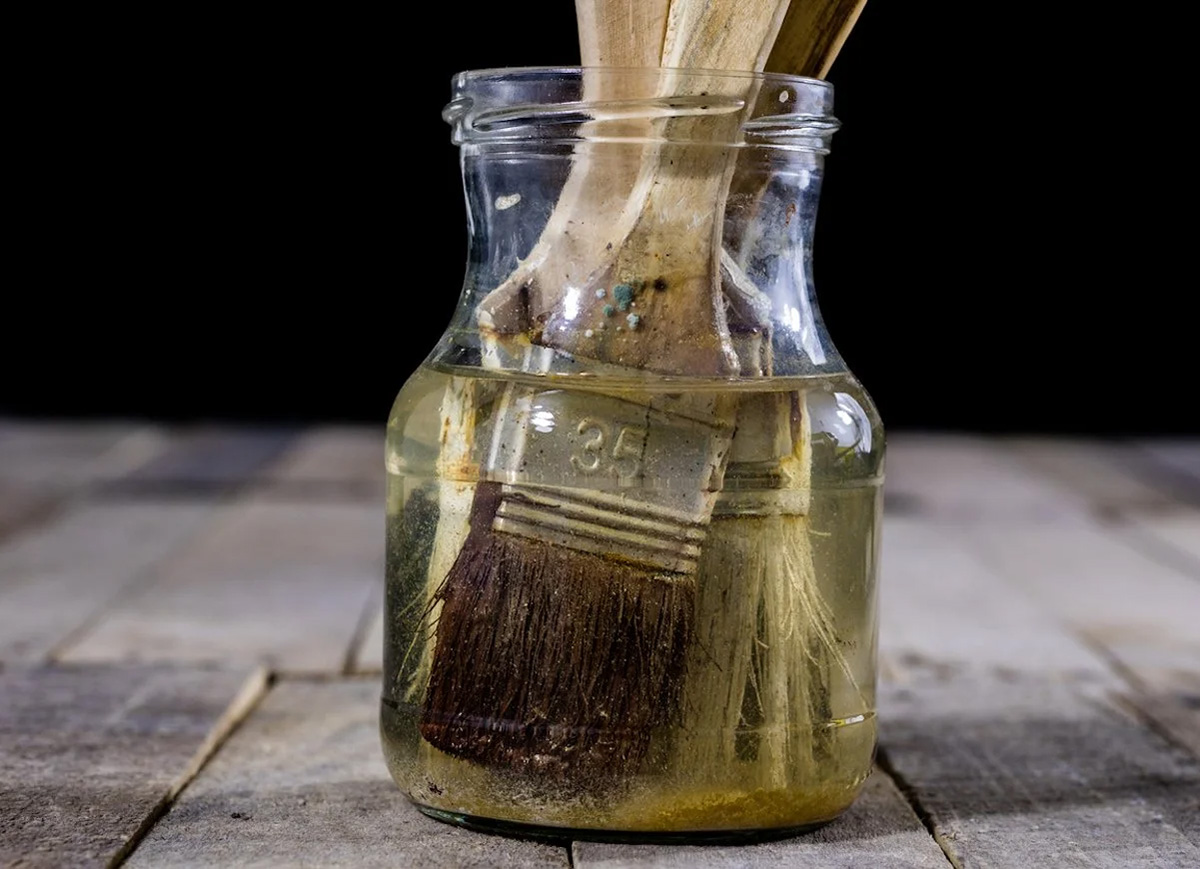
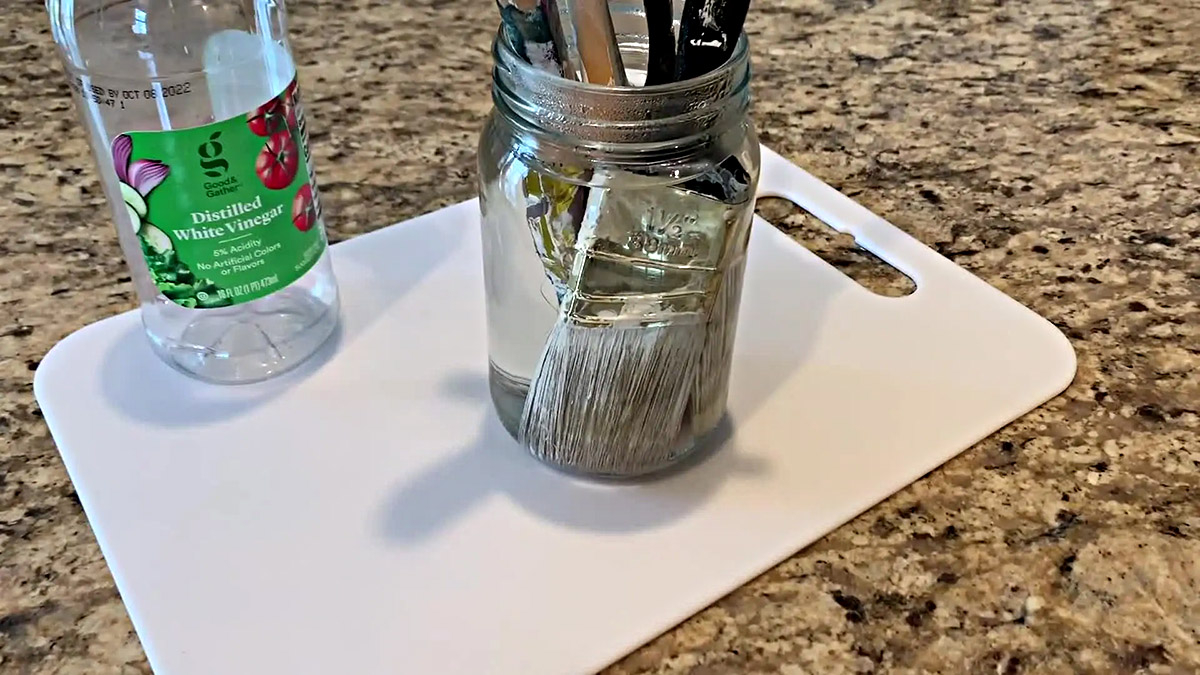
The first step in restoring your paint brushes involves soaking the bristles in white vinegar. This natural acidic solution works wonders in breaking down the hardened paint and softening the bristles, making it easier to remove the stubborn residue. Here’s how to proceed:
- Prepare the Vinegar Solution: Pour enough white vinegar into a small container or jar to fully submerge the bristles of the paint brushes.
- Submerge the Brushes: Gently place the dirty paint brushes into the vinegar solution, ensuring that the bristles are completely immersed. Allow the brushes to soak for at least an hour, or preferably overnight for heavily soiled brushes.
- Check the Progress: After the soaking period, carefully remove the brushes from the vinegar solution. You may notice the vinegar has started to dissolve the dried paint, and the bristles should feel noticeably softer.
By allowing the vinegar to penetrate the bristles, it effectively loosens the hardened paint, facilitating the subsequent cleaning process. This initial step sets the stage for the thorough restoration of your paint brushes, preparing them for the next phase of the rejuvenation process.
Soak the paint brushes in a mixture of vinegar and hot water for 30 minutes to remove dried paint. Then rinse with warm soapy water and reshape the bristles before allowing them to dry.
Step 2: Cleaning the Brushes
Once the paint brushes have undergone the vinegar soaking process, it’s time to proceed with the cleaning phase. This step focuses on removing the softened paint residue and thoroughly cleansing the bristles to restore their original flexibility and functionality. Follow these steps to effectively clean the brushes:
- Rinse the Brushes: Begin by rinsing the paint brushes under warm running water, gently massaging the bristles to dislodge any remaining paint. The combination of water and vinegar will help to further loosen the paint, making it easier to remove.
- Apply Dish Soap: Squeeze a small amount of mild dish soap onto the bristles of the paint brushes. Using your fingers, work the soap into the bristles, ensuring thorough coverage. The dish soap aids in breaking down any residual paint and helps to remove any lingering vinegar scent.
- Rinse and Repeat: Rinse the brushes once again under warm water, continuing to massage the bristles until the water runs clear. Repeat the process of applying dish soap and rinsing as needed until the bristles are completely free of paint and vinegar residue.
- Dry the Brushes: Gently pat the clean bristles with paper towels or a clean cloth to remove excess water. To further expedite the drying process, you can gently reshape the bristles with your fingers to ensure they dry in their original form.
By diligently following these steps, you can effectively cleanse the paint brushes, removing all traces of paint and vinegar. This meticulous cleaning process ensures that your brushes are restored to their optimal condition, ready to be utilized for your next artistic or DIY project.
Step 3: Drying the Brushes
After the thorough cleaning process, the final step in restoring your paint brushes involves ensuring they are properly dried. Proper drying is crucial to prevent mildew or damage to the bristles, ultimately prolonging the lifespan of your rejuvenated brushes. Follow these guidelines to effectively dry your paint brushes:
- Remove Excess Water: Begin by gently pressing the bristles of the paint brushes with a paper towel or clean cloth to absorb any remaining moisture. Avoid applying excessive force, as this could misshape the bristles.
- Air-Drying: Once excess water has been removed, lay the paint brushes flat on an old towel or rag in a well-ventilated area. Ensure that the brushes are positioned in such a way that the bristles can fully air-dry without being in contact with any surfaces.
- Reshape the Bristles: While the brushes are drying, periodically check on the bristles and gently reshape them with your fingers to maintain their original form. This step is particularly important for preserving the brushes’ functionality and precision.
- Patience is Key: Allow the paint brushes to air-dry completely before using them for any painting or DIY projects. Depending on the ambient conditions, the drying process may take several hours to a day. It’s essential to exercise patience to ensure the brushes are fully dry before their next use.
By meticulously following these drying guidelines, you can safeguard the integrity of the bristles and prolong the lifespan of your rejuvenated paint brushes. Once the brushes are thoroughly dry, they will be ready to serve as reliable tools for your creative pursuits, ensuring optimal performance and longevity.
Read more: How To Get Paint Off Of Paint Brushes
Conclusion
Reviving paint brushes with vinegar is a simple yet powerful method to breathe new life into these essential tools. By harnessing the natural properties of vinegar, you can effectively soften hardened paint and restore the flexibility of the bristles, ensuring that your brushes remain reliable companions for your artistic or DIY endeavors.
Through the step-by-step process of soaking the brushes in vinegar, followed by thorough cleaning and proper drying, you can transform worn and stiff brushes into fully functional tools once again. This cost-effective and environmentally friendly approach not only saves money by extending the lifespan of your brushes but also reduces waste by minimizing the need for frequent brush replacements.
Furthermore, the restoration process using vinegar is a testament to the resourcefulness and ingenuity of DIY enthusiasts and artists. It exemplifies the art of repurposing everyday household items to solve common challenges, showcasing the beauty of simplicity and sustainability in creative practices.
As you embark on the journey of restoring your paint brushes with vinegar, remember that patience and attention to detail are key. By dedicating time to this rejuvenation process, you can ensure that your paint brushes are primed for continued use, ready to contribute to your artistic vision and practical projects with renewed vigor.
Embrace the transformative power of vinegar and witness how this humble ingredient can breathe new life into your cherished paint brushes, preserving their quality and functionality for countless creative endeavors to come.
Frequently Asked Questions about How To Restore Paint Brushes With Vinegar
Was this page helpful?
At Storables.com, we guarantee accurate and reliable information. Our content, validated by Expert Board Contributors, is crafted following stringent Editorial Policies. We're committed to providing you with well-researched, expert-backed insights for all your informational needs.

0 thoughts on “How To Restore Paint Brushes With Vinegar”