Home>Renovation & DIY>Tools & Equipment>How To Reshape Paint Brushes
Tools & Equipment
How To Reshape Paint Brushes
Modified: October 20, 2024
Learn how to reshape your paint brushes with this step-by-step guide. Discover the essential tools and equipment needed to achieve professional results.
(Many of the links in this article redirect to a specific reviewed product. Your purchase of these products through affiliate links helps to generate commission for Storables.com, at no extra cost. Learn more)
Introduction
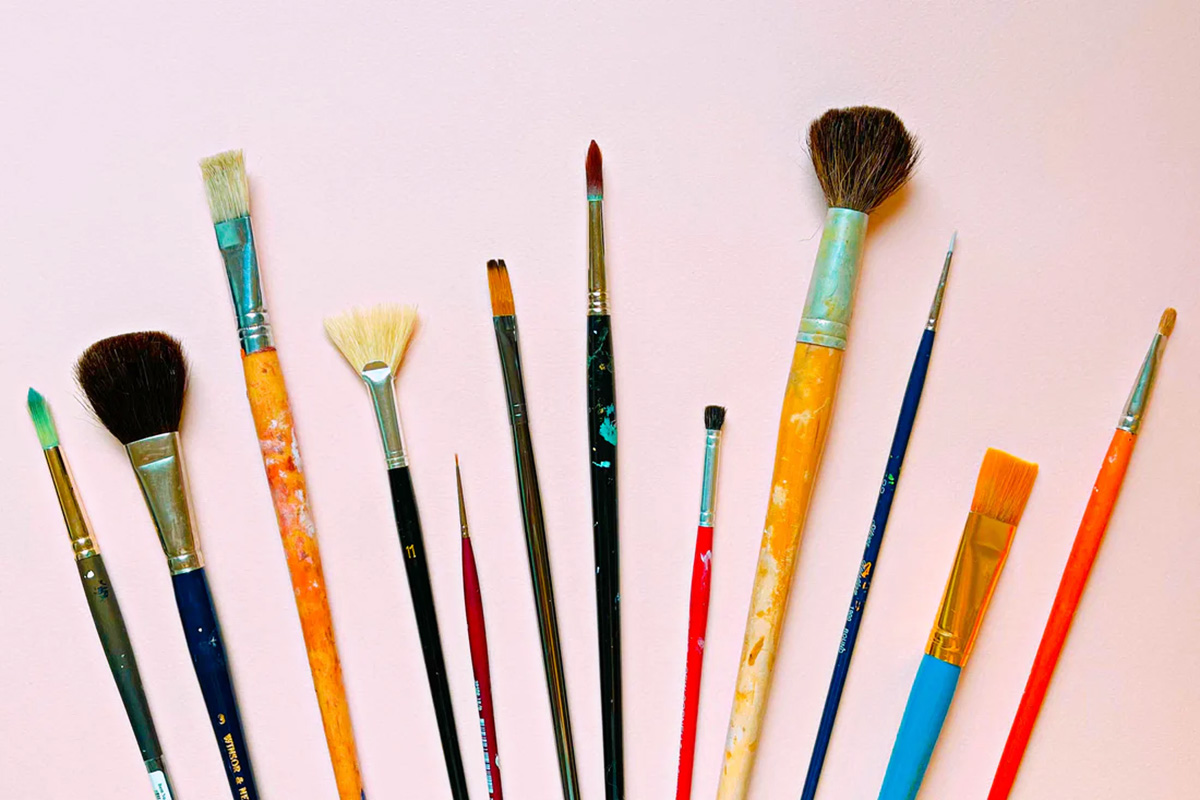
Paint brushes are essential tools used by artists, DIY enthusiasts, and professionals alike to create beautiful works of art or to complete various projects. Over time, the bristles of paint brushes can become misshapen and lose their original form, affecting their ability to apply paint smoothly and accurately. It’s important to properly reshape your paint brushes to ensure optimal performance and longevity.
In this article, we will provide a step-by-step guide on how to reshape paint brushes effectively. By following these techniques and tips, you can restore your brushes to their original shape and get them ready for your next project.
Key Takeaways:
- Properly reshaping paint brushes involves cleaning, reshaping, conditioning, and drying. Following these steps ensures optimal performance, longevity, and precise paint application for artistic and DIY projects.
- Regular maintenance, including cleaning, reshaping, conditioning, and drying, extends the lifespan of paint brushes. Well-maintained brushes yield the best results for artistic endeavors and DIY tasks.
Read more: How To Get Paint Off Of Paint Brushes
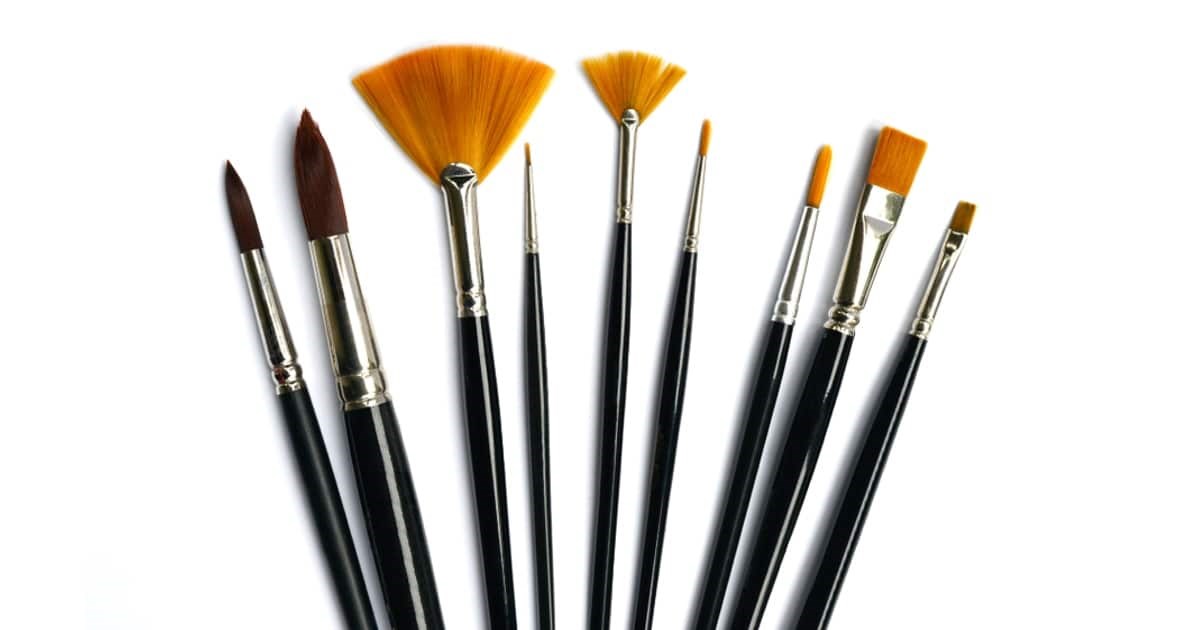
Materials Needed
Before we begin reshaping your paint brushes, make sure you have the following materials on hand:
- A container filled with lukewarm water
- A mild liquid soap or brush cleaner
- A clean towel or paper towels
- A comb or brush comb
- A brush conditioner or hair conditioner (optional)
Gather these materials before starting the process to ensure you have everything you need for successful brush reshaping.
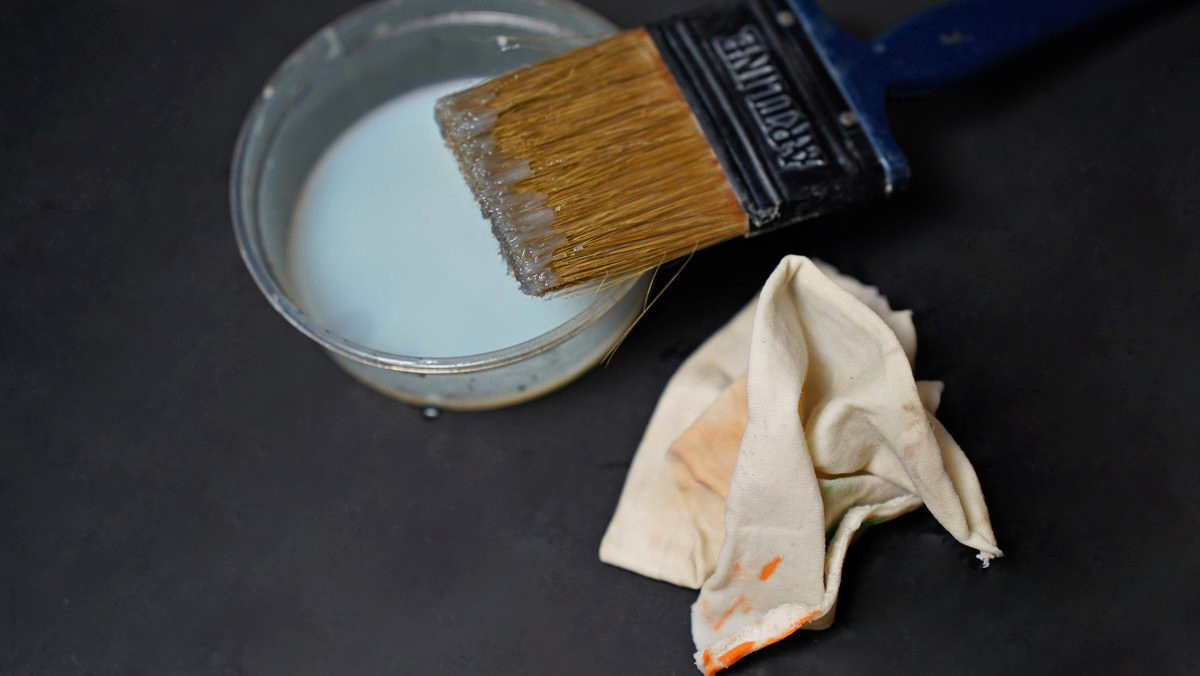
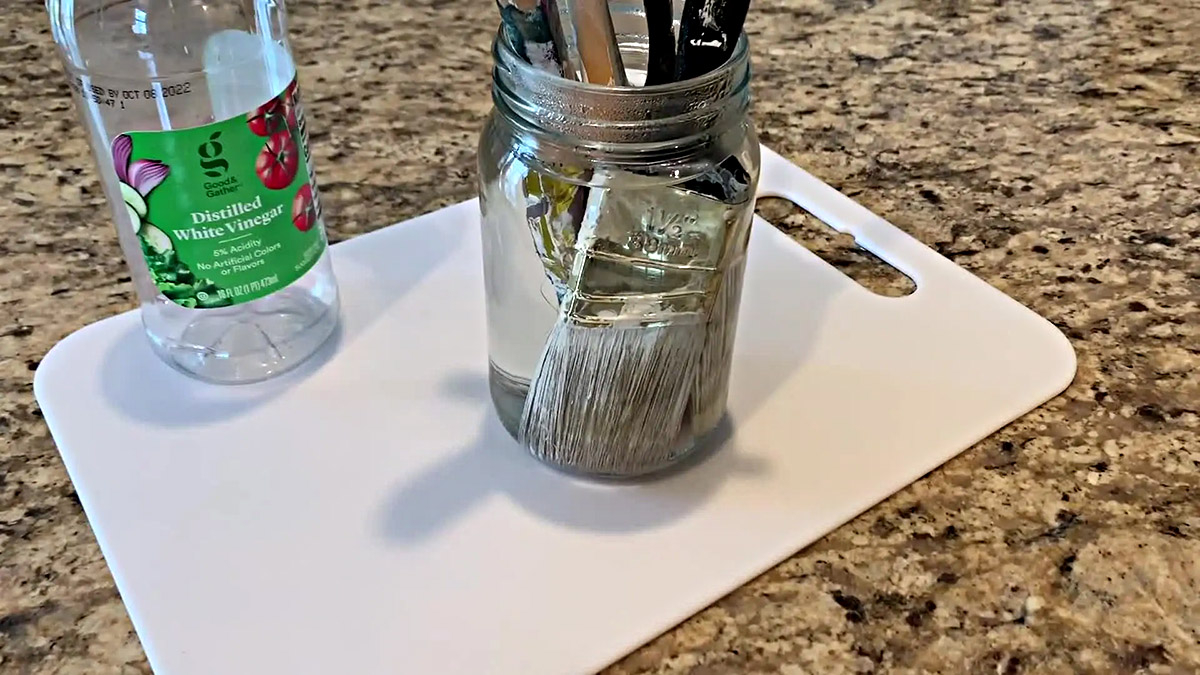
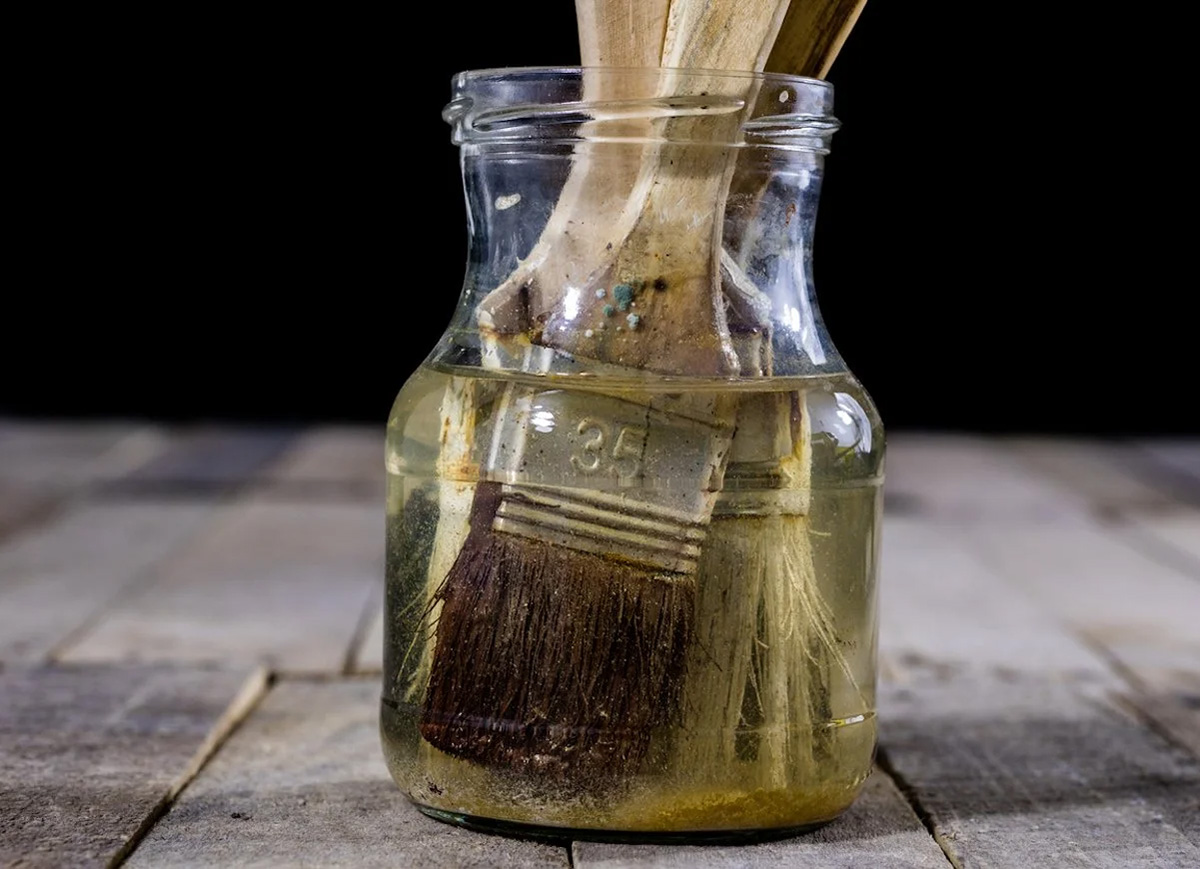
Step 1: Cleaning the Brushes
Before reshaping your paint brushes, it is crucial to clean them properly. This ensures that any paint residue or debris is removed, allowing for a more effective reshaping process. Follow these steps to clean your brushes:
- Start by rinsing the brushes under lukewarm water to remove as much paint as possible. Make sure to handle the brushes gently to avoid damaging the bristles.
- Add a small amount of mild liquid soap or brush cleaner to your hand or a clean container filled with water.
- Gently swirl the brushes in the soapy water, being careful not to apply too much pressure.
- If necessary, use a brush comb to remove any stubborn paint or residue from the bristles. Brush combs are specifically designed to clean and separate the bristles without causing damage.
- Rinse the brushes thoroughly under running water to remove any soap or cleaner residue.
- Blot the brushes dry using a clean towel or paper towels. Be sure to gently squeeze out any excess water without twisting or pulling the bristles.
Your paint brushes should now be clean and ready for the next step of reshaping.
Step 2: Reshaping the Bristles
Now that your paint brushes are clean, it’s time to reshape the bristles to restore their original form. Follow these steps to reshape the bristles:
- Start by wetting the bristles of the brush under lukewarm water. This will make the bristles more pliable and easier to reshape.
- Hold the brush handle and gently reshape the bristles with your fingers or by using a brush comb. Gradually shape the bristles back to their original form, making sure they are evenly distributed.
- If the bristles are stubborn and not reshaping easily, you can try dipping the bristles in hot water for a few seconds. This can help loosen them up and make them more malleable for reshaping.
- Once you have reshaped the bristles, rinse the brush under running water to remove any excess water or loosened bristles.
- Gently squeeze out any excess water from the bristles without twisting or pulling them. Be careful not to flatten or deform the bristles while doing this.
By carefully reshaping the bristles, you ensure that your paint brushes are in optimal condition and ready to deliver accurate and smooth brushstrokes.
After cleaning your paint brushes, reshape the bristles by gently combing them with a brush comb or your fingers. Then, store them with the bristles facing upward to maintain their shape.
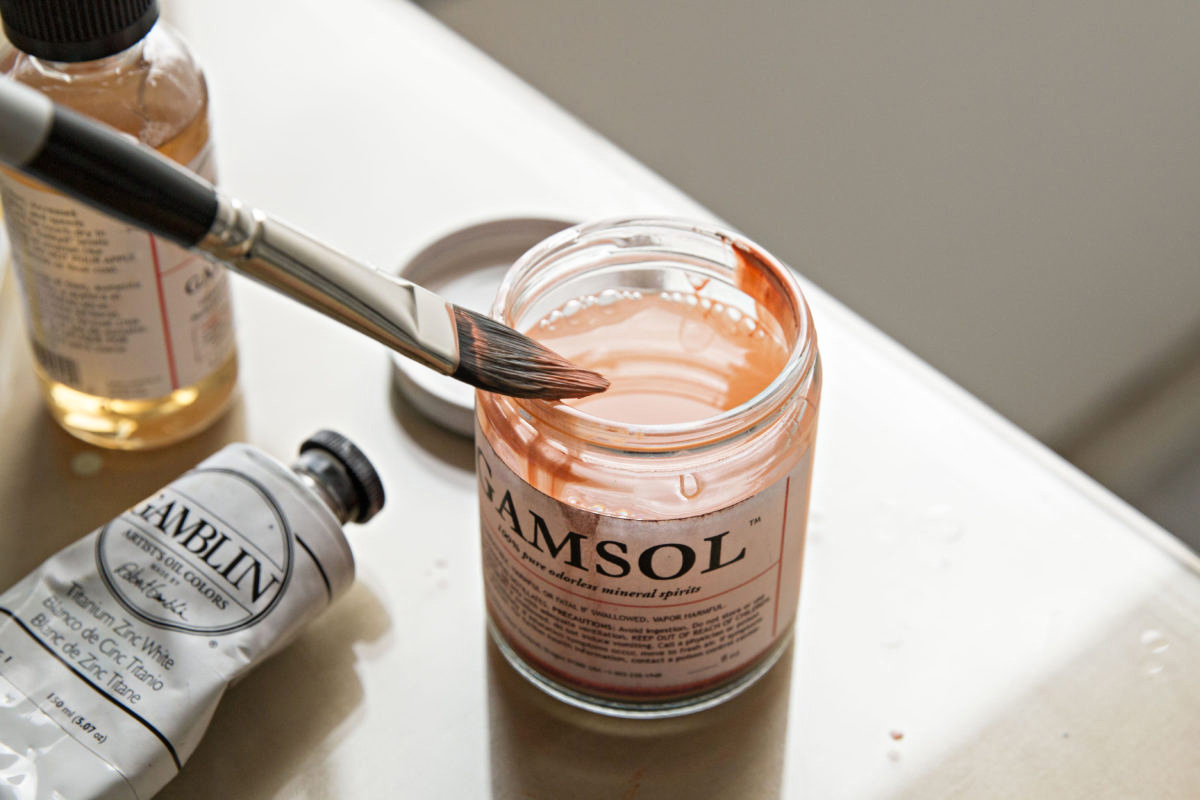
Step 3: Conditioning the Brushes
After reshaping the bristles, it is beneficial to condition your paint brushes to keep them soft and flexible. Conditioning helps prevent the bristles from becoming dry and brittle, extending the life of your brushes. Follow these steps to condition your brushes:
- If you have a brush conditioner or hair conditioner, apply a small amount to your hand and gently massage it into the bristles. This helps to moisturize the bristles and keep them supple.
- If you don’t have a specific brush conditioner, you can use a small amount of hair conditioner instead. Ensure that the conditioner is mild and doesn’t have any harsh chemicals.
- Allow the conditioner to sit on the bristles for a few minutes to penetrate and nourish them.
- Rinse the brushes under lukewarm water to remove any excess conditioner. Squeeze out any excess water gently.
- Reshape the bristles if necessary, ensuring they are evenly distributed and retain their original shape.
Conditioning your paint brushes regularly helps maintain the quality and performance of the bristles, allowing for smooth and precise paint application.
Read more: What Are Good Paint Brushes
Step 4: Drying the Brushes
Properly drying your paint brushes is essential to ensure that they retain their shape and integrity. Follow these steps to dry your brushes effectively:
- After rinsing and reshaping the bristles, gently squeeze out any excess water using a clean towel or paper towels. Avoid twisting or pulling on the bristles, as this can cause damage.
- Once you have removed the majority of the moisture, lay the brushes flat on a clean towel or hang them with the bristles facing downward. This allows for proper airflow and prevents water from pooling in the ferrule or handle.
- Ensure the brushes are placed in a well-ventilated area to allow for adequate drying. Avoid placing them near direct heat sources, as this can cause the bristles to become brittle.
- For faster drying, you can use a fan or a brush drying rack specifically designed to hold the brushes in an upside-down position, allowing any remaining moisture to drip away.
- Allow the brushes to air dry completely before storing or using them. This can take several hours or even overnight, depending on the thickness and density of the bristles.
By allowing your paint brushes to dry thoroughly, you prevent mold or mildew growth and maintain the shape and quality of the bristles, ensuring they are ready for your next painting session.
Conclusion
Reshaping your paint brushes is a necessary step in maintaining their performance and longevity. By following the steps outlined in this article, you can effectively clean, reshape, condition, and dry your brushes, ensuring they are always in optimal condition for your artistic endeavors or DIY projects.
Remember to clean your brushes thoroughly, removing any paint residue or debris that can affect their performance. Reshape the bristles carefully, restoring them to their original form for precise and smooth paint application. Conditioning your brushes helps keep the bristles soft and flexible, while proper drying techniques prevent damage and maintain shape.
By incorporating these steps into your regular brush maintenance routine, you can extend the lifespan of your paint brushes and make the most out of your investment. Clean, reshaped, conditioned, and well-dried brushes will always yield the best results, ensuring your artistic projects or DIY tasks are executed with precision and finesse.
So the next time you notice your paint brushes have lost their shape, don’t worry! By following this guide, you can easily reshape them and get back to creating beautiful works of art or successfully completing your projects.
Frequently Asked Questions about How To Reshape Paint Brushes
Was this page helpful?
At Storables.com, we guarantee accurate and reliable information. Our content, validated by Expert Board Contributors, is crafted following stringent Editorial Policies. We're committed to providing you with well-researched, expert-backed insights for all your informational needs.

0 thoughts on “How To Reshape Paint Brushes”