Home>Renovation & DIY>Tools & Equipment>How To Unscrew PS4 Controller Without A Screwdriver
Tools & Equipment
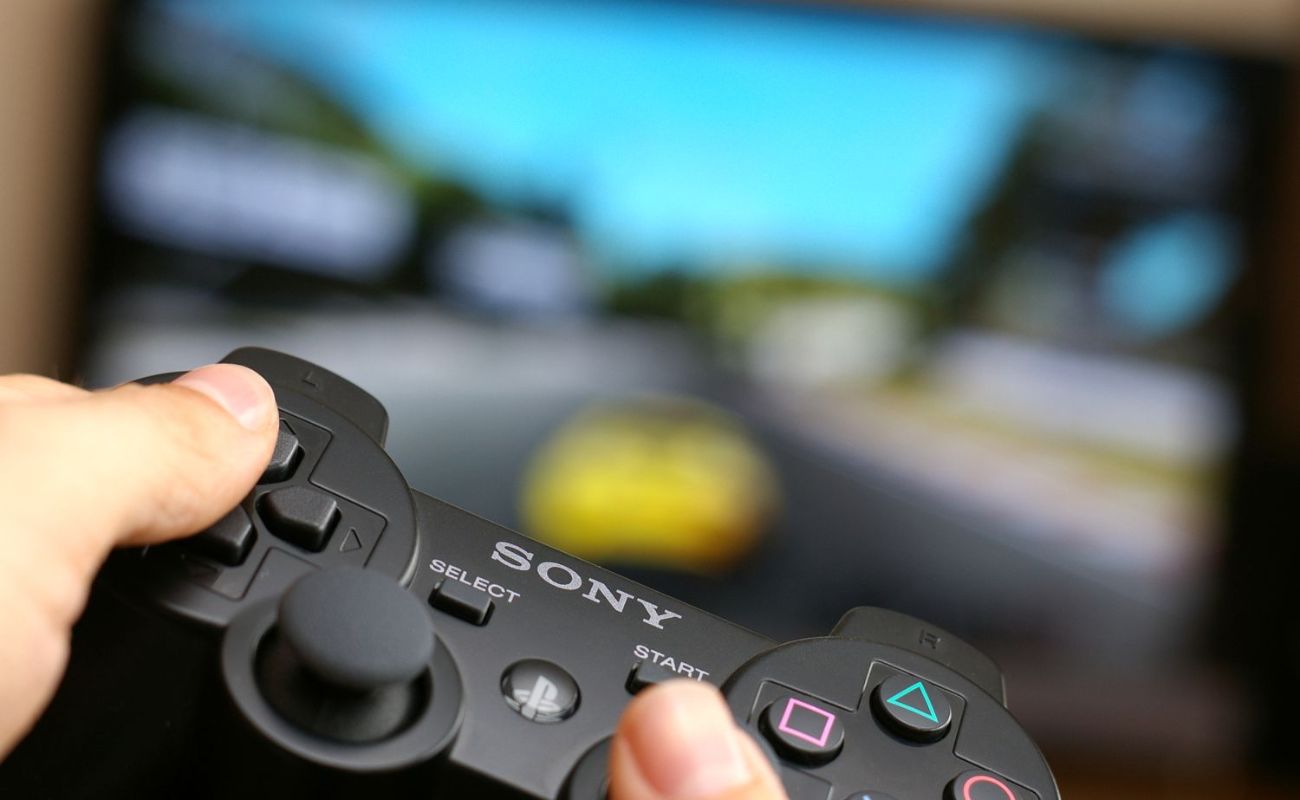
How To Unscrew PS4 Controller Without A Screwdriver
Modified: March 20, 2024
Learn how to unscrew a PS4 controller without a screwdriver using simple tools and equipment. Follow our step-by-step guide for easy disassembly.
(Many of the links in this article redirect to a specific reviewed product. Your purchase of these products through affiliate links helps to generate commission for Storables.com, at no extra cost. Learn more)
Introduction
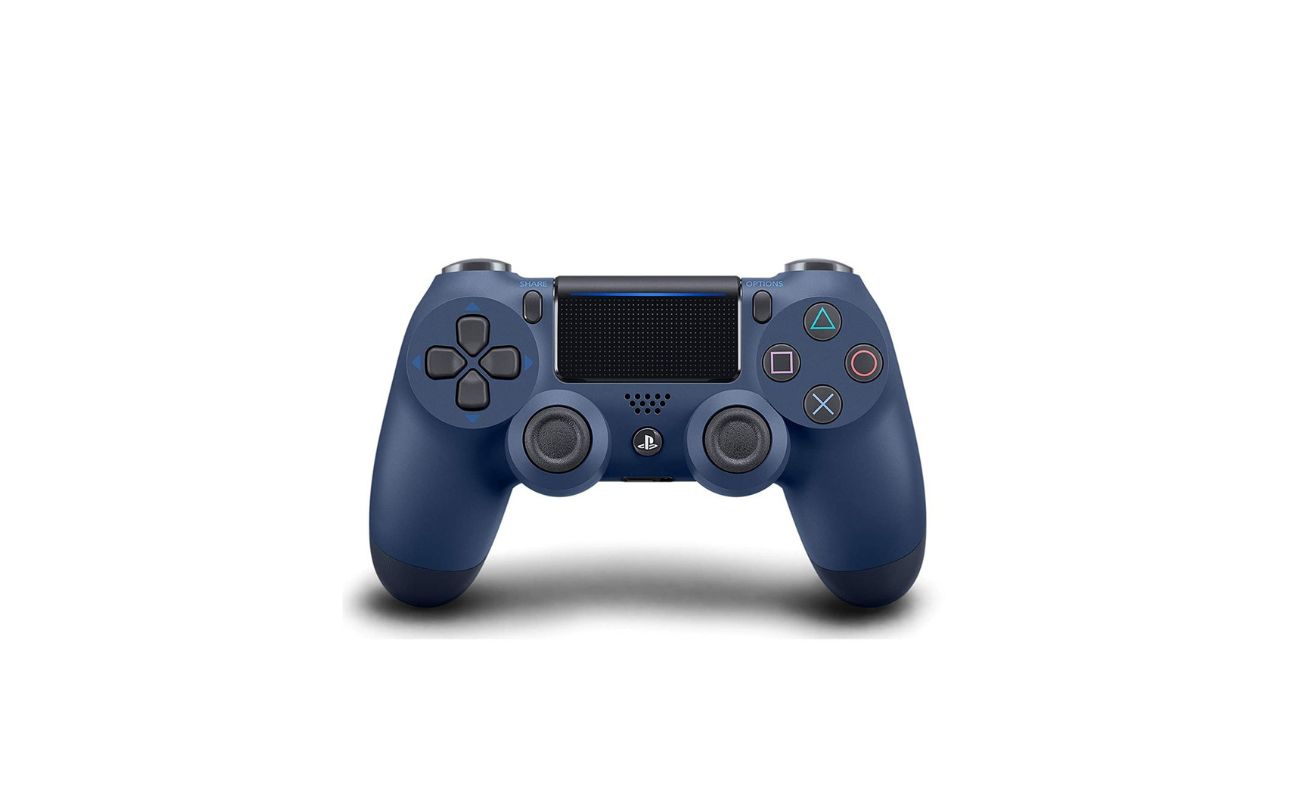
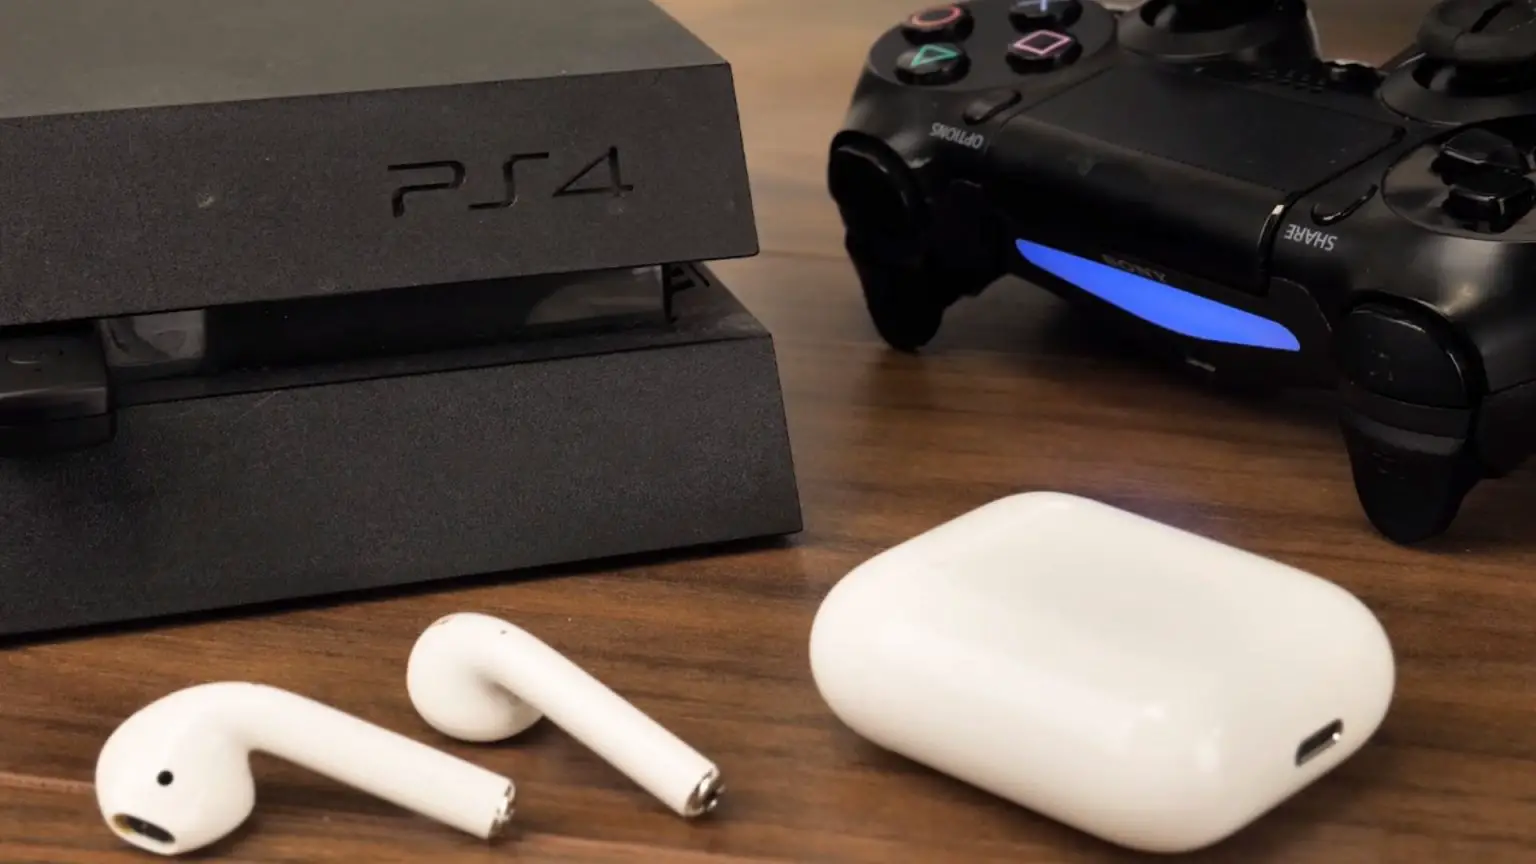
Have you ever found yourself in a situation where you need to unscrew your PS4 controller but can't seem to find a screwdriver anywhere? It can be quite frustrating, especially when you're eager to fix or customize your controller. The good news is that you don't necessarily need a screwdriver to accomplish this task. With a few simple tools and a bit of patience, you can successfully unscrew your PS4 controller and access its inner components without a traditional screwdriver.
In this guide, we'll walk you through the process of unscrewing your PS4 controller without a screwdriver. Whether you're looking to replace a faulty component, clean the interior, or customize the controller with a new shell or buttons, this step-by-step tutorial will equip you with the knowledge and techniques to get the job done.
So, gather your tools and let's dive into the world of PS4 controller maintenance and customization. Get ready to unleash your DIY spirit and discover the inner workings of your trusty gaming companion.
Key Takeaways:
- You can unscrew your PS4 controller without a screwdriver by using alternative tools like a flat, thin object and tweezers. With patience and care, you can access and customize its inner components.
- Prepare your workspace and be resourceful when unscrewing your PS4 controller. Use precision and patience to remove screws and open the controller, allowing you to explore and personalize your gaming gear.
Read more: What Type Of Screwdriver To Open PS4
Materials Needed
Before embarking on the journey of unscrewing your PS4 controller without a screwdriver, it’s essential to gather the necessary materials. While a traditional screwdriver may not be in play, you’ll need a few alternative tools to facilitate the process. Here’s what you’ll need:
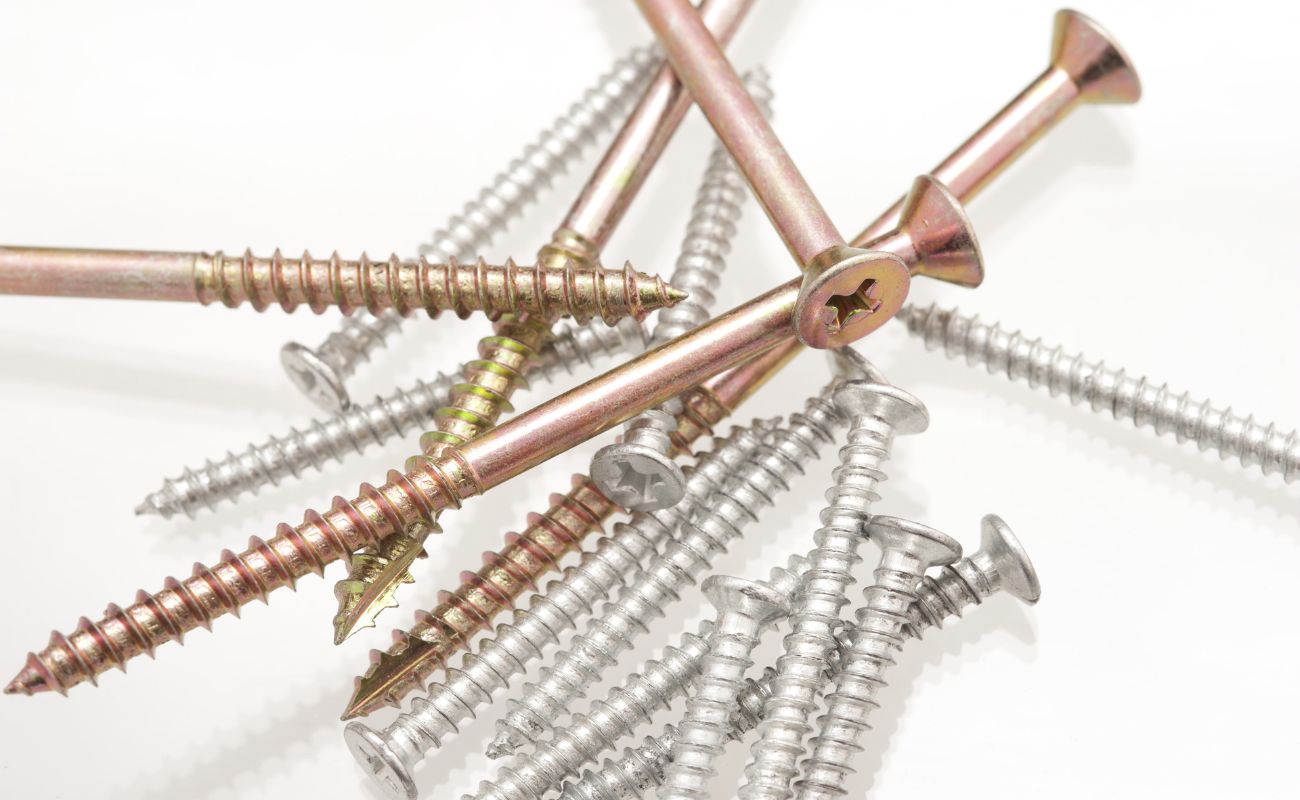
- Flat, Thin Tool: Look for a flat, thin tool that can fit into the seam between the two halves of the controller. This tool will serve as a substitute for a screwdriver and help you pry the controller open.
- Tweezers or Small Pliers: Having a pair of tweezers or small pliers on hand can be incredibly useful for gripping and removing the screws from the controller’s interior. These tools will help you carefully extract the screws without causing damage.
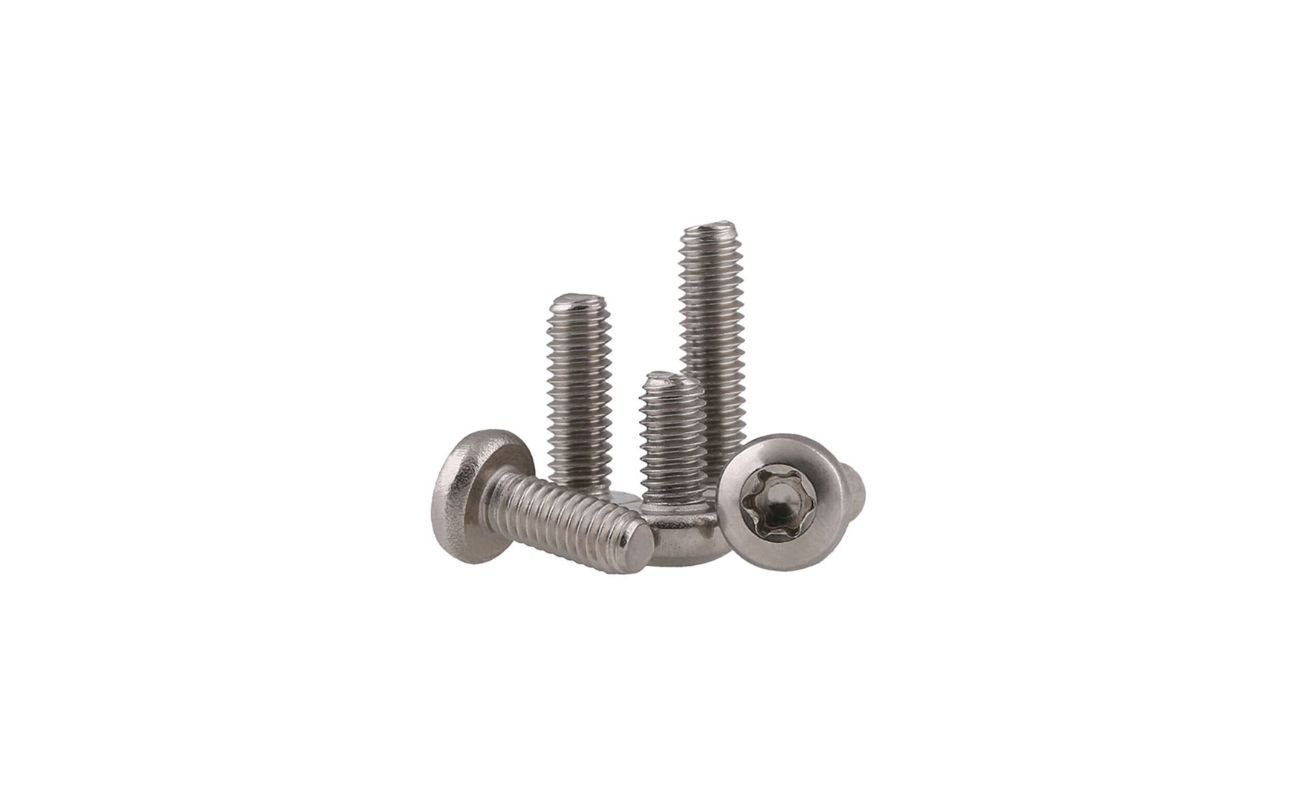
- Replacement Screws (Optional): If you plan to replace the existing screws with new ones, make sure to have the appropriate replacement screws ready. This is particularly relevant if the original screws are worn out or damaged.
- Clean Cloth: It’s always a good idea to have a clean cloth nearby to wipe down the controller and remove any dust or debris that may have accumulated inside.
- Work Area: Prepare a well-lit and spacious work area where you can comfortably work on the controller. A clutter-free environment will make the process smoother and help prevent any small components from getting lost.
By having these materials at your disposal, you’ll be well-equipped to tackle the task of unscrewing your PS4 controller without a traditional screwdriver. With the right tools and a methodical approach, you’ll soon be on your way to exploring the inner workings of your controller with confidence and precision.
Step 1: Prepare the Controller
Before delving into the process of unscrewing your PS4 controller without a screwdriver, it’s crucial to prepare the controller and create an optimal working environment. By taking the following preparatory steps, you’ll set the stage for a smooth and successful disassembly process:
- Power Off the Controller: Ensure that your PS4 controller is powered off to prevent any accidental inputs or disturbances during the unscrewing process. Disconnect it from any devices it may be paired with to avoid interference.
- Clean the Exterior: Use a clean cloth to wipe down the exterior of the controller, removing any dirt, grime, or fingerprints. This will not only provide a better grip but also prevent debris from entering the controller’s interior when it’s opened.
- Organize Your Workspace: Set up a well-lit and organized workspace where you can comfortably work on the controller. Ensure that you have ample space to maneuver and lay out the necessary tools and materials within reach.
- Mentally Prepare for the Task: Take a moment to familiarize yourself with the controller’s construction and visualize the steps involved in the unscrewing process. Having a clear mental picture of the task ahead can boost your confidence and efficiency.
- Inspect the Controller: Carefully inspect the seams and edges of the controller to identify the areas where the two halves are joined. This will help you determine the best approach for prying the controller open without a traditional screwdriver.
By preparing the controller and your workspace in advance, you’ll be primed for a successful unscrewing process. These preliminary steps lay the foundation for a methodical and hassle-free disassembly, allowing you to proceed with confidence and precision.
Step 2: Unscrewing the Controller
Unscrewing your PS4 controller without a traditional screwdriver requires a resourceful approach to bypassing the standard screw removal process. While the absence of a screwdriver may initially seem like a hurdle, you can overcome this challenge by employing alternative techniques. Here’s how you can effectively unscrew the controller using unconventional methods:
- Identify the Seams: Examine the perimeter of the controller to locate the seams where the two halves are joined. These seams indicate the points where you can begin separating the controller without the need for a screwdriver.
- Use a Flat, Thin Tool: Select a flat, thin tool, such as a plastic spudger or a butter knife with a thin blade, to gently pry open the controller. Insert the tool into the seam and carefully apply pressure to create a small opening between the two halves.
- Work Methodically: Gradually move along the seam, gently prying and creating additional openings as you progress. Take your time and exercise patience to avoid damaging the controller’s exterior. The goal is to create enough separation to access the interior components.
- Apply Even Pressure: When using the flat tool to pry open the controller, distribute the pressure evenly to prevent uneven stress on the plastic casing. This will help minimize the risk of accidental breakage or distortion of the controller’s structure.
- Be Mindful of Components: As you work on unscrewing the controller, be mindful of any internal components or delicate parts that may become exposed. Handle the controller with care and avoid placing excessive pressure on vulnerable areas.
By following these steps, you can effectively navigate the process of unscrewing your PS4 controller without the aid of a traditional screwdriver. With a steady hand and a strategic approach, you’ll soon have the controller ready for the next phase of disassembly, allowing you to explore its inner mechanisms and customize or repair as needed.
You can use a small flathead screwdriver, a coin, or a butter knife to carefully pry open the PS4 controller. Be gentle to avoid damaging the controller.
Step 3: Removing the Screws
Once you have successfully separated the two halves of your PS4 controller, you’ll need to address the task of removing the internal screws without the use of a conventional screwdriver. While this may initially seem challenging, with the right approach and tools, you can effectively tackle this step. Here’s how you can navigate the process of removing the screws without a traditional screwdriver:
- Assess the Screw Types: Take note of the types of screws used inside the controller. They may be standard Phillips or Torx screws, and understanding their configuration will help you determine the best approach for removal.
- Utilize Tweezers or Small Pliers: With a pair of tweezers or small pliers, carefully grip the head of each screw and begin turning them counterclockwise. Apply steady and controlled pressure to loosen and extract the screws from their respective positions.
- Exercise Precision: When using tweezers or small pliers to handle the screws, ensure that you maintain a firm grip while avoiding excessive force that could strip the screw heads. Precision and patience are key to successfully removing the screws without causing damage.
- Keep Screws Organized: As you remove each screw, place them in a secure and designated location to prevent misplacement. Organizing the screws ensures that you can easily identify and reinsert them during the reassembly process.
- Inspect for Hidden Screws: Some controllers may have hidden screws beneath stickers or labels. Carefully inspect the interior of the controller to identify and access any additional screws that may be concealed from view.
By employing these techniques, you can confidently tackle the task of removing the internal screws from your PS4 controller, even in the absence of a traditional screwdriver. With careful attention to detail and a methodical approach, you’ll soon have the necessary screws extracted, paving the way for further exploration and customization of your controller’s internal components.
Step 4: Opening the Controller
With the screws successfully removed, the next pivotal step in the process of unscrewing your PS4 controller without a screwdriver involves opening the controller’s housing to access its internal components. While this may seem daunting without the typical tools at hand, you can navigate this step with resourcefulness and precision. Here’s how you can proceed with opening the controller:
- Separate the Halves: Gently pry open the controller’s housing, taking care to maintain an even and controlled separation between the two halves. Use your fingers to carefully create additional space as needed, ensuring that you avoid sudden or forceful movements that could cause damage.
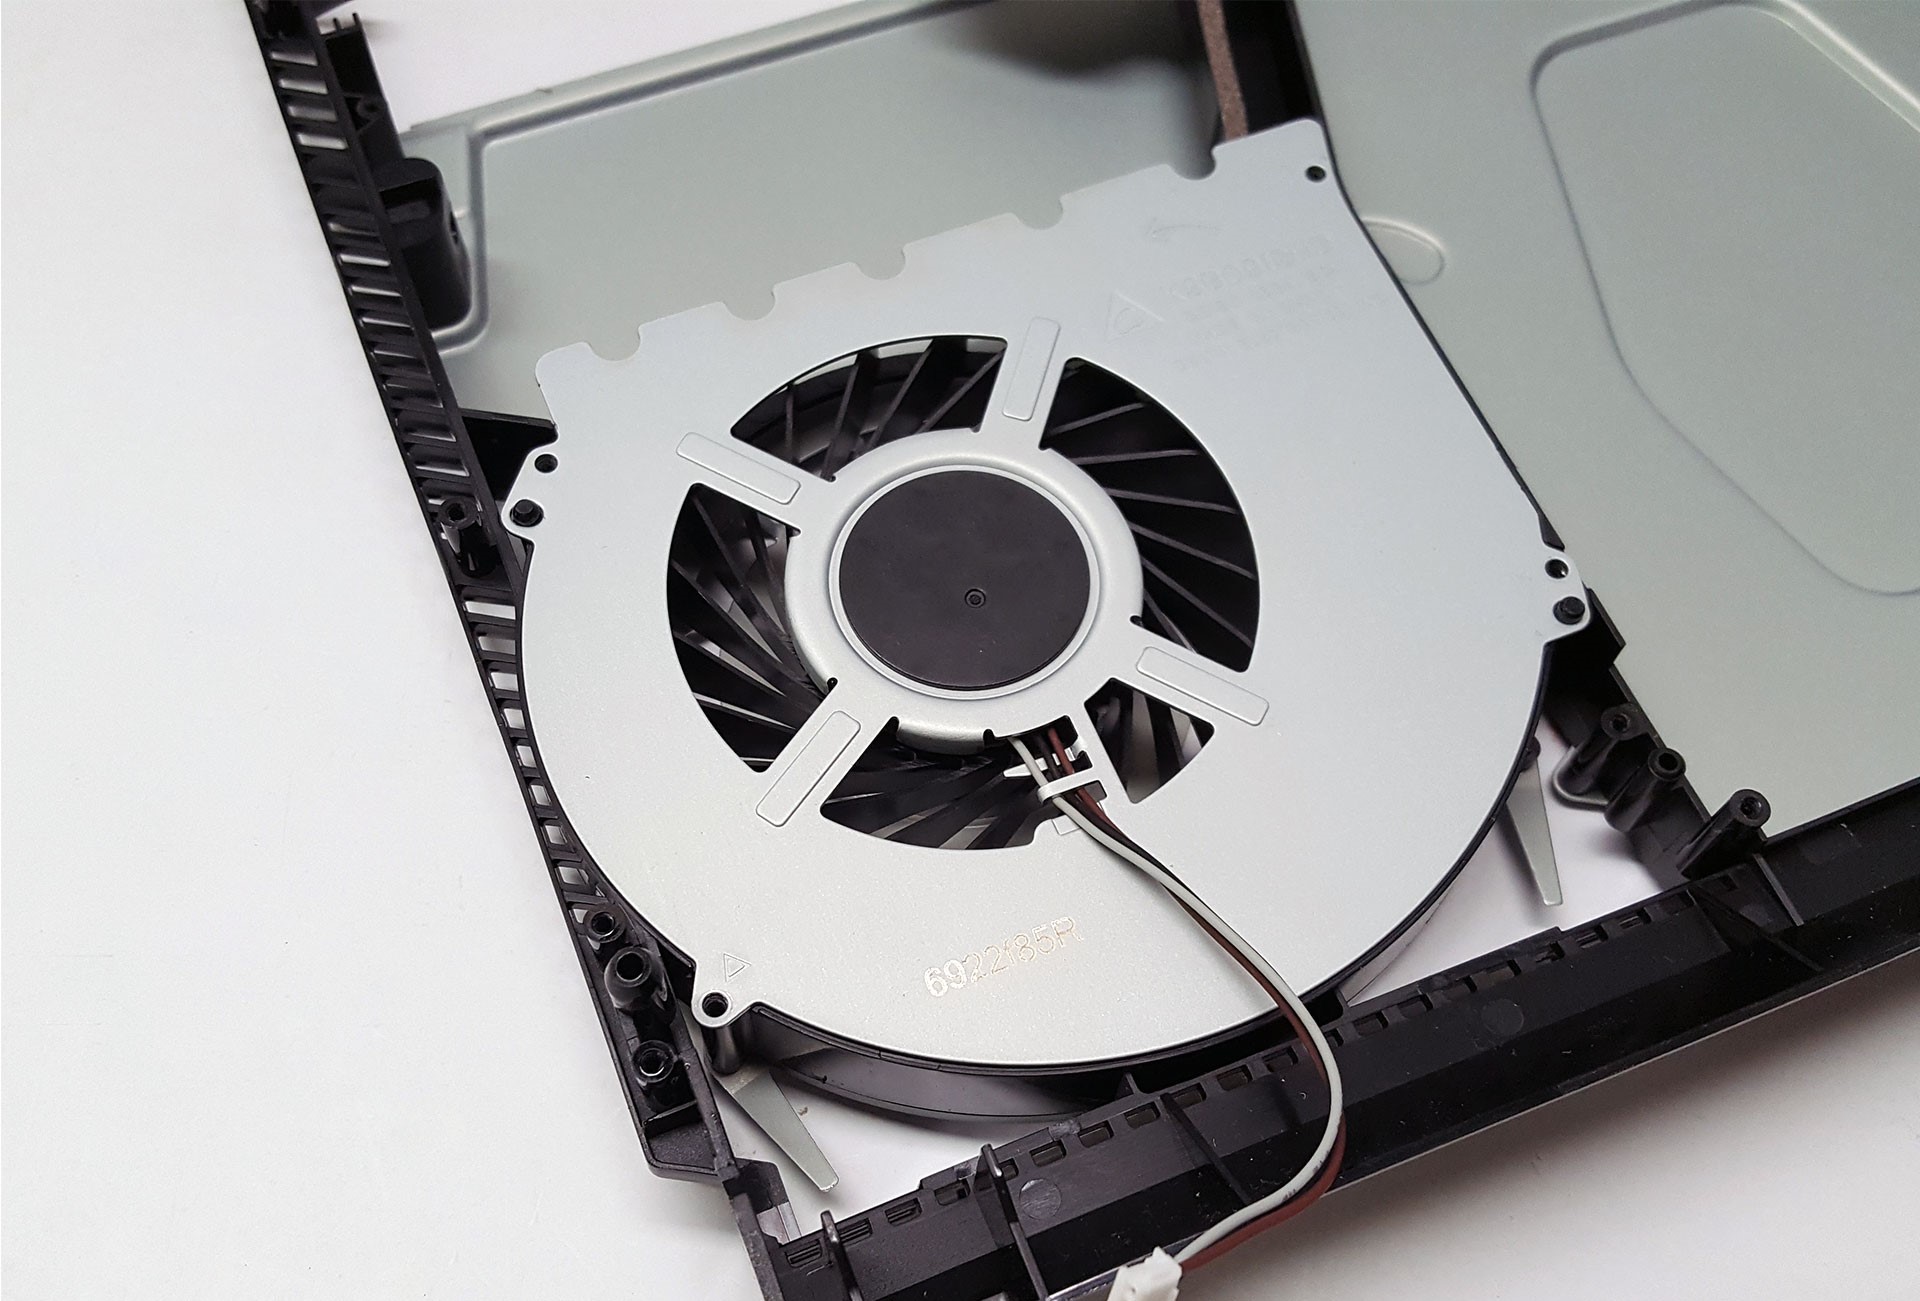
- Inspect for Latches or Clips: As you open the controller, be mindful of any latches or clips that may secure the internal components. These may require gentle manipulation to disengage, allowing you to fully access the controller’s interior without causing damage to the housing.
- Document the Internal Layout: Take note of the arrangement of components and cables inside the controller as you open it. This documentation will serve as a helpful reference when reassembling the controller and ensuring that all components are correctly positioned.
- Exercise Patience: Opening the controller’s housing may require patience and a steady hand, especially when encountering resistance from internal components or connectors. Proceed methodically, and if necessary, refer to online resources or guides specific to your controller model for additional insights.
- Maintain a Clean Environment: Throughout the process of opening the controller, maintain a clean and organized workspace to prevent dust or debris from entering the controller’s interior. This will help preserve the integrity of the internal components and facilitate a smoother reassembly process.
By following these steps, you can effectively open your PS4 controller’s housing and gain access to its internal components, even in the absence of a traditional screwdriver. With a cautious and deliberate approach, you’ll soon be ready to explore, customize, or repair the inner workings of your controller with confidence and precision.
Conclusion
Congratulations! You’ve successfully navigated the process of unscrewing your PS4 controller without a traditional screwdriver, demonstrating resourcefulness and determination in overcoming a common obstacle. By following the steps outlined in this guide, you’ve gained access to the inner sanctum of your controller, paving the way for customization, repair, or maintenance.
Throughout this journey, you’ve learned the value of preparation, patience, and adaptability when faced with a challenging task. By utilizing alternative tools and techniques, you’ve showcased your ability to think outside the box and achieve your goals without being hindered by the absence of a conventional screwdriver.
As you continue to explore the possibilities within your PS4 controller, remember to approach the reassembly process with the same care and attention to detail. Organize the components, refer to any documentation or guides available, and ensure that each part is securely positioned before closing the controller’s housing.
Whether you’re embarking on a customization project, addressing a technical issue, or simply satisfying your curiosity about the controller’s inner workings, this experience has empowered you to take control of your gaming gear with confidence and ingenuity.
As you reflect on this accomplishment, consider sharing your newfound knowledge with fellow gaming enthusiasts who may encounter similar challenges. Your resourceful approach may inspire others to tackle DIY projects with creativity and determination, fostering a community of gamers who are unafraid to explore and personalize their gaming experiences.
So, take pride in your achievement, and let the knowledge and skills you’ve acquired serve as a testament to your ability to overcome obstacles and unleash your creativity in the world of gaming.
Frequently Asked Questions about How To Unscrew PS4 Controller Without A Screwdriver
Was this page helpful?
At Storables.com, we guarantee accurate and reliable information. Our content, validated by Expert Board Contributors, is crafted following stringent Editorial Policies. We're committed to providing you with well-researched, expert-backed insights for all your informational needs.

0 thoughts on “How To Unscrew PS4 Controller Without A Screwdriver”